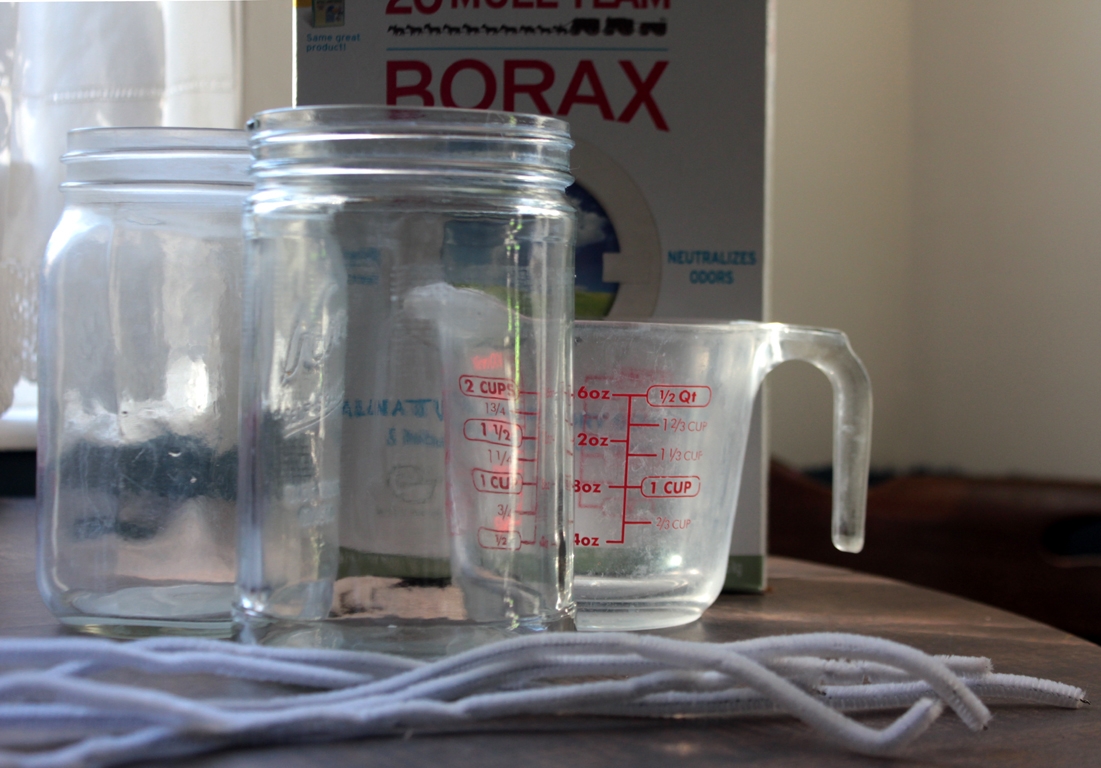
Step-by-step tutorial
Step 1
There are lots of different recipes for growing borax crystals, but we've done this lots over the years, and you don't need nearly as much as some recipes say! Three tablespoons of borax per cup of water does it just fine. (For simple measuring, remember that 16 Tbs is equal to 1 cup.)

Step 2
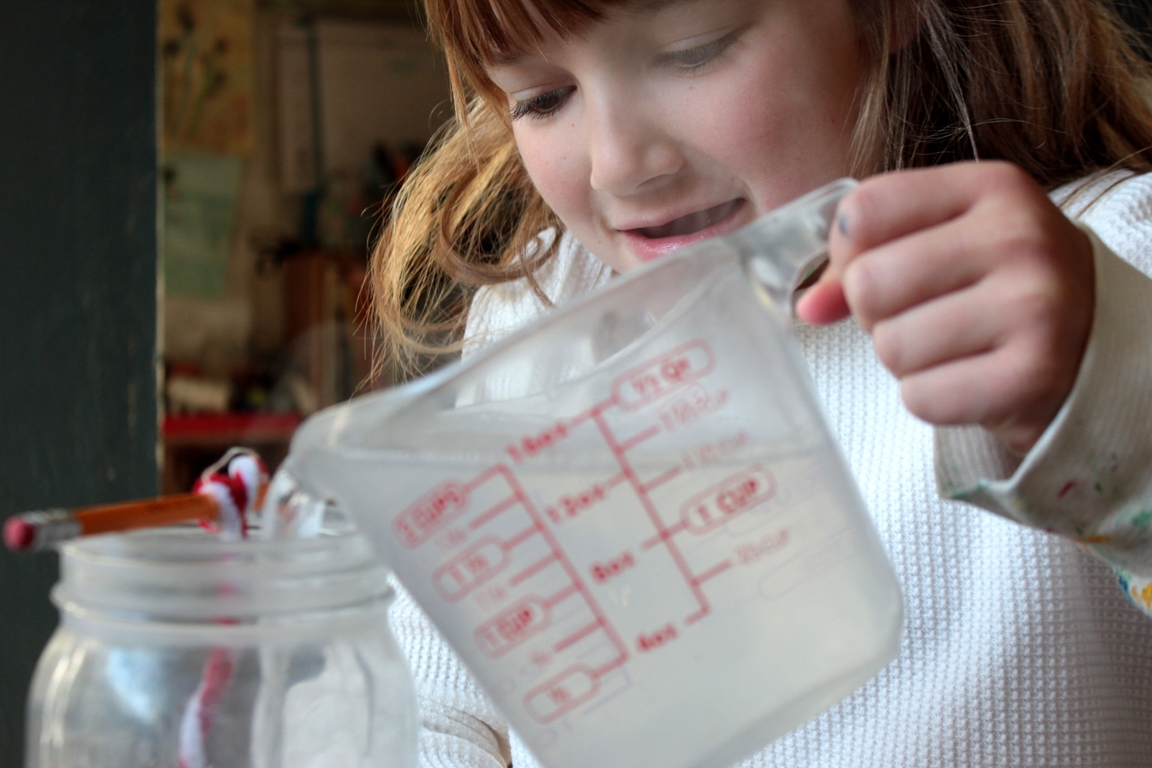
For a precise water amount, you could put water in your jars, then pour it into a measuring cup to measure exactly how much you'll need, but I just guessed 12 cups for three jars. (Actually, I underestimated, and we had to go back and make two more cups, but easily done!) We heated up the water. We boiled it, but that isn't strictly necessary, as long as it's very hot--hot enough to dissolve the borax.
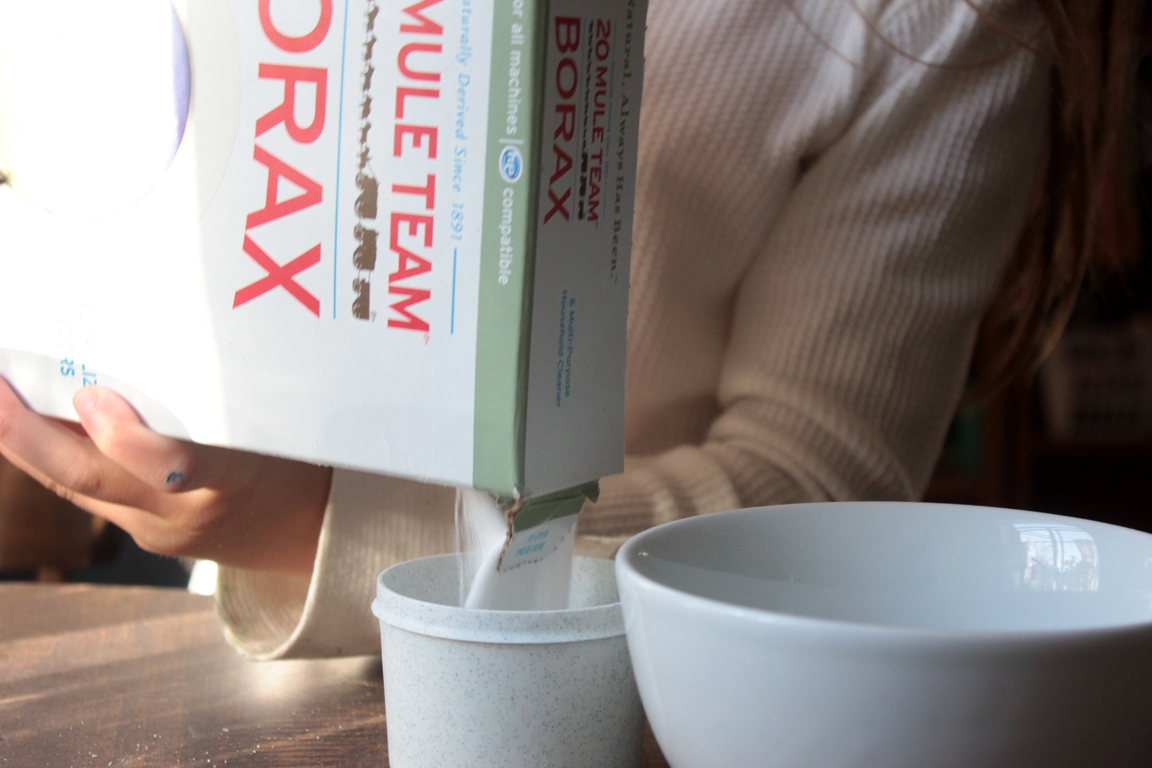
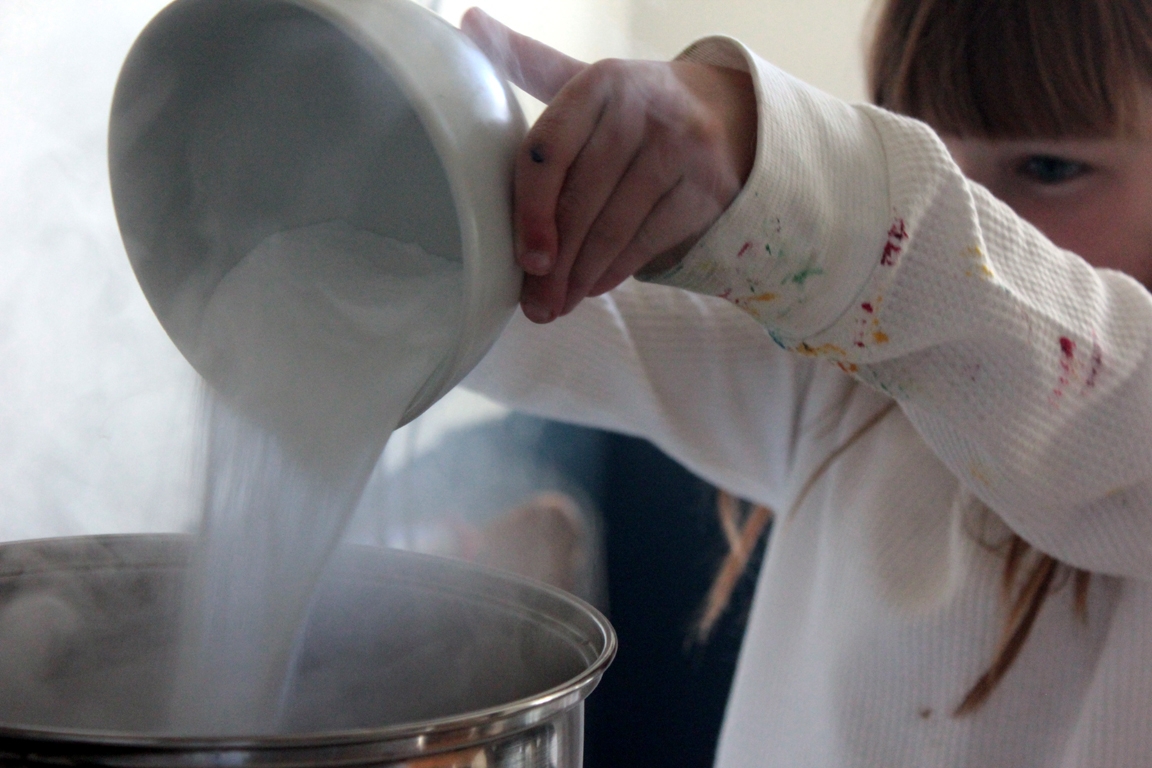
Step 3
"In it goes!" says the littlest chemist.
Step 4
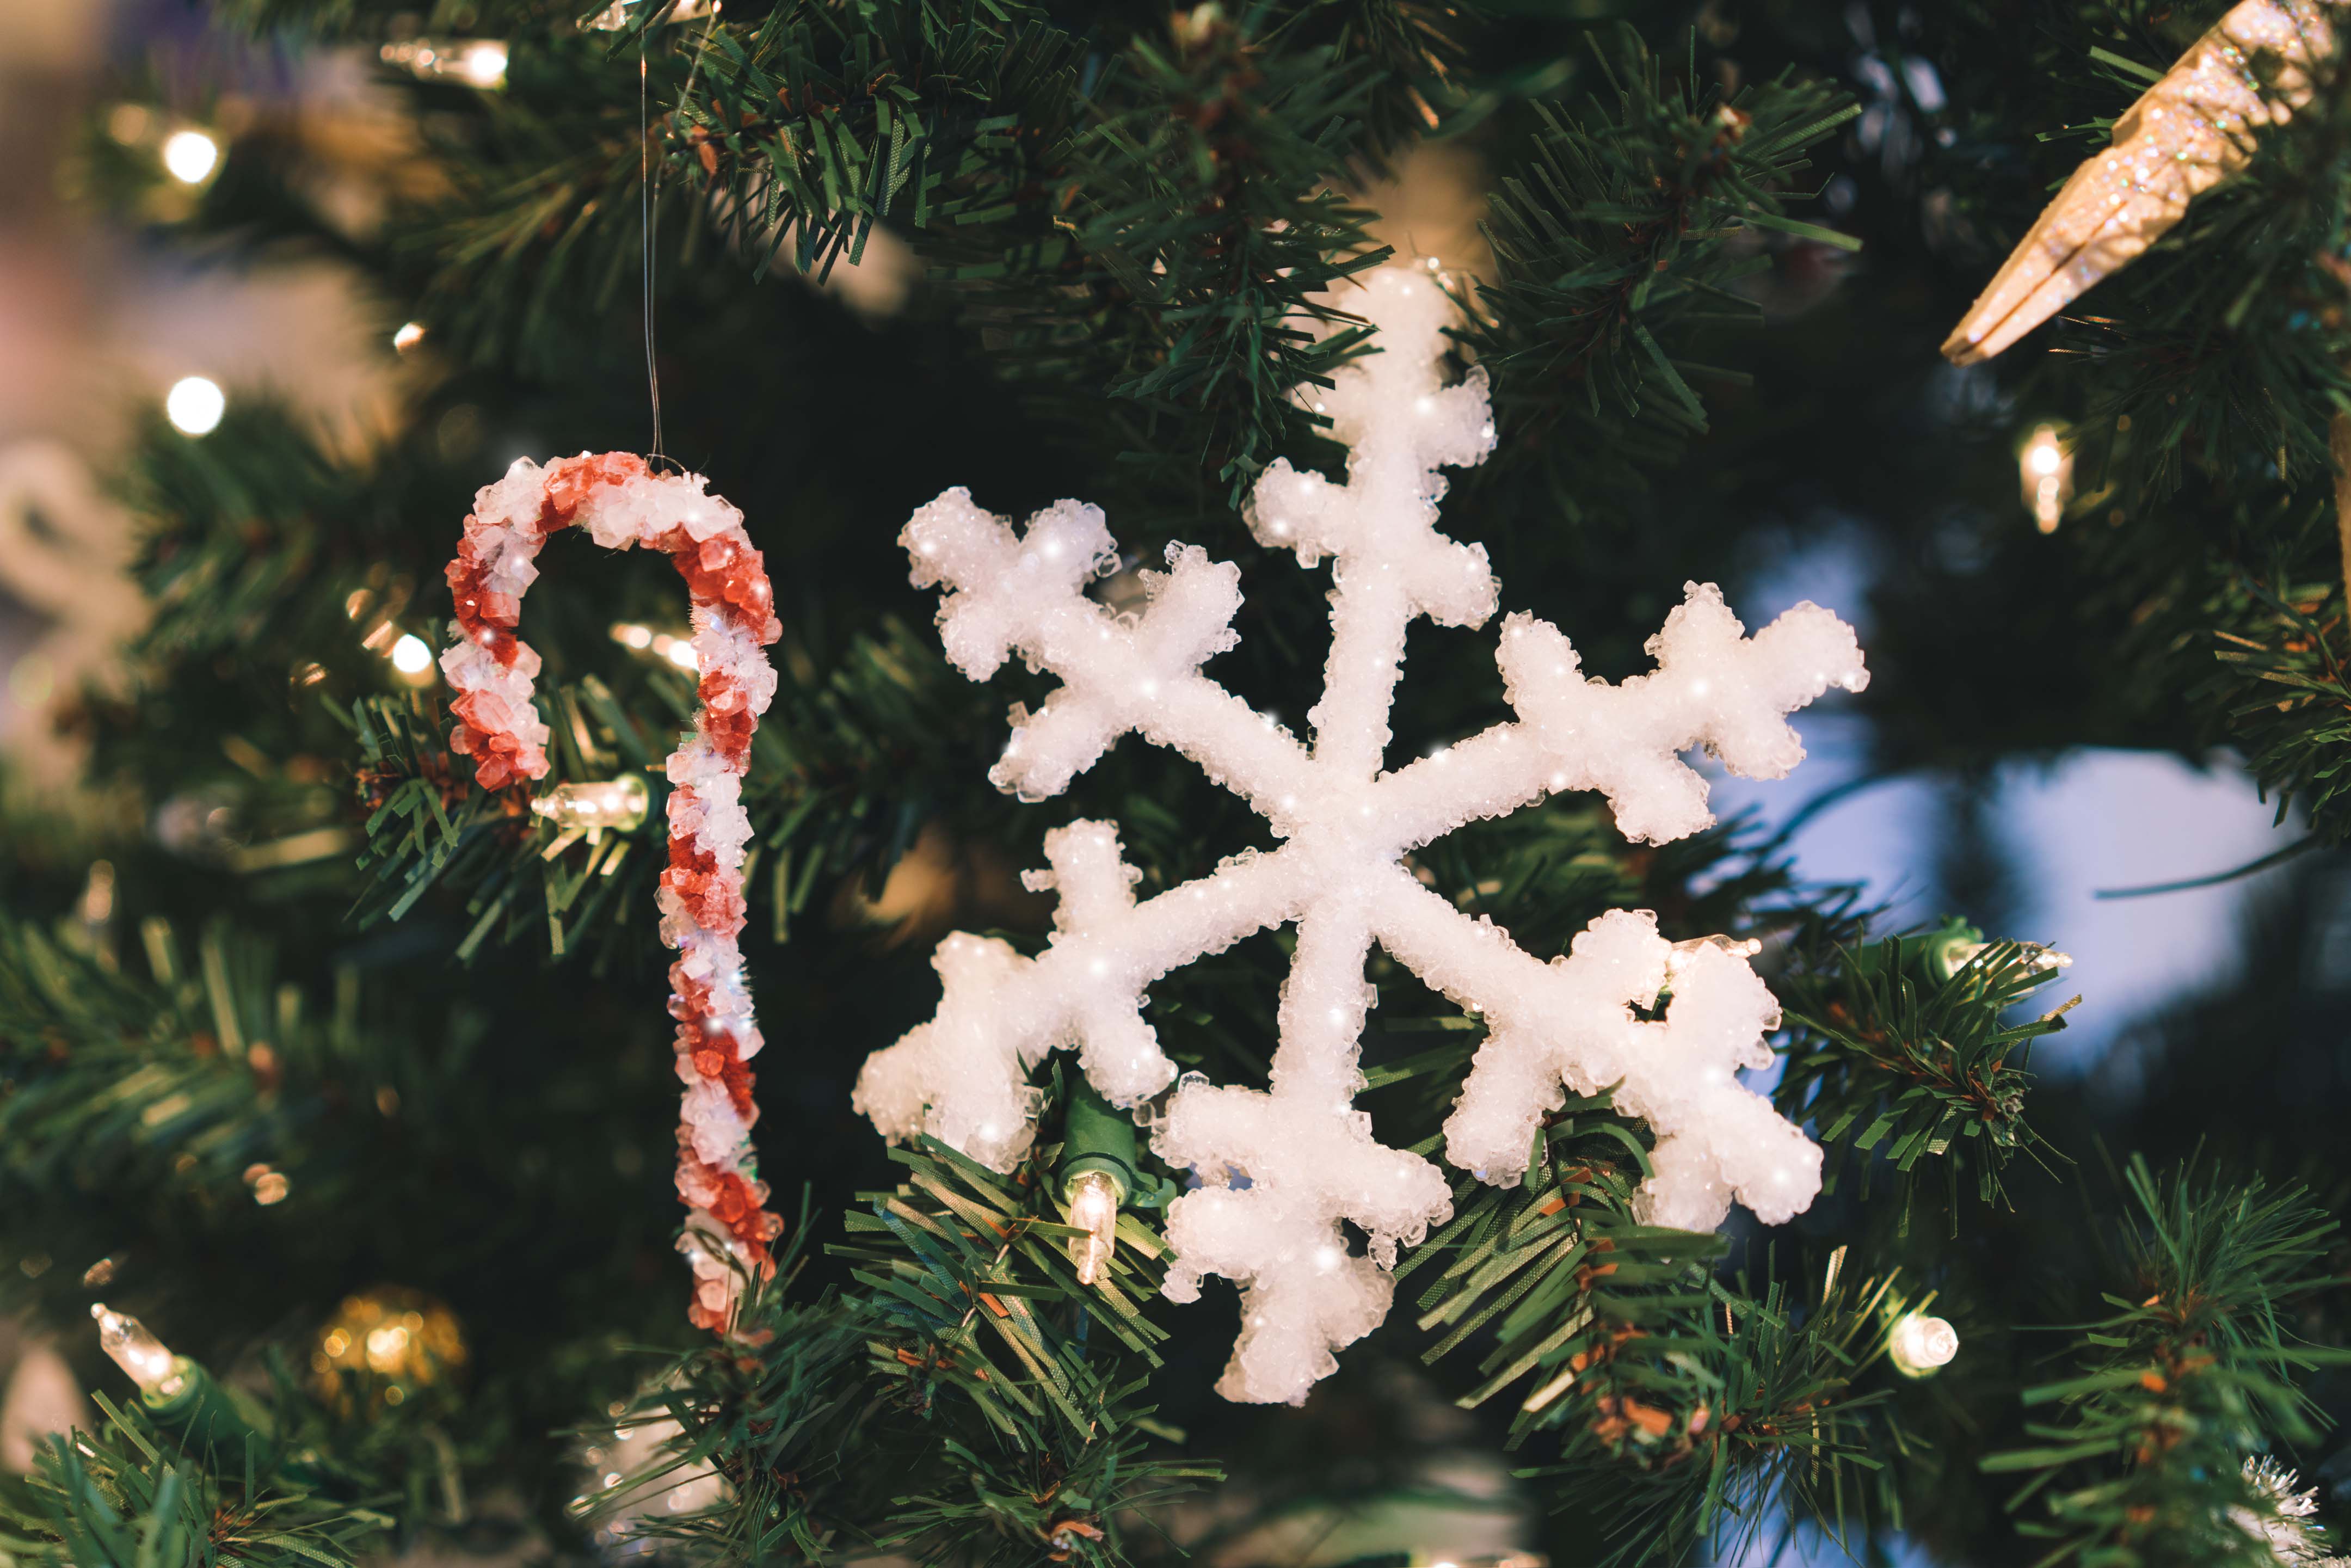
We stir, stir, stirred.... and then got the snowflakes ready. (Over the years, we've done icicles, pink hearts...lots of different shapes!) This time Madeleine had a brilliant idea for a candy cane!
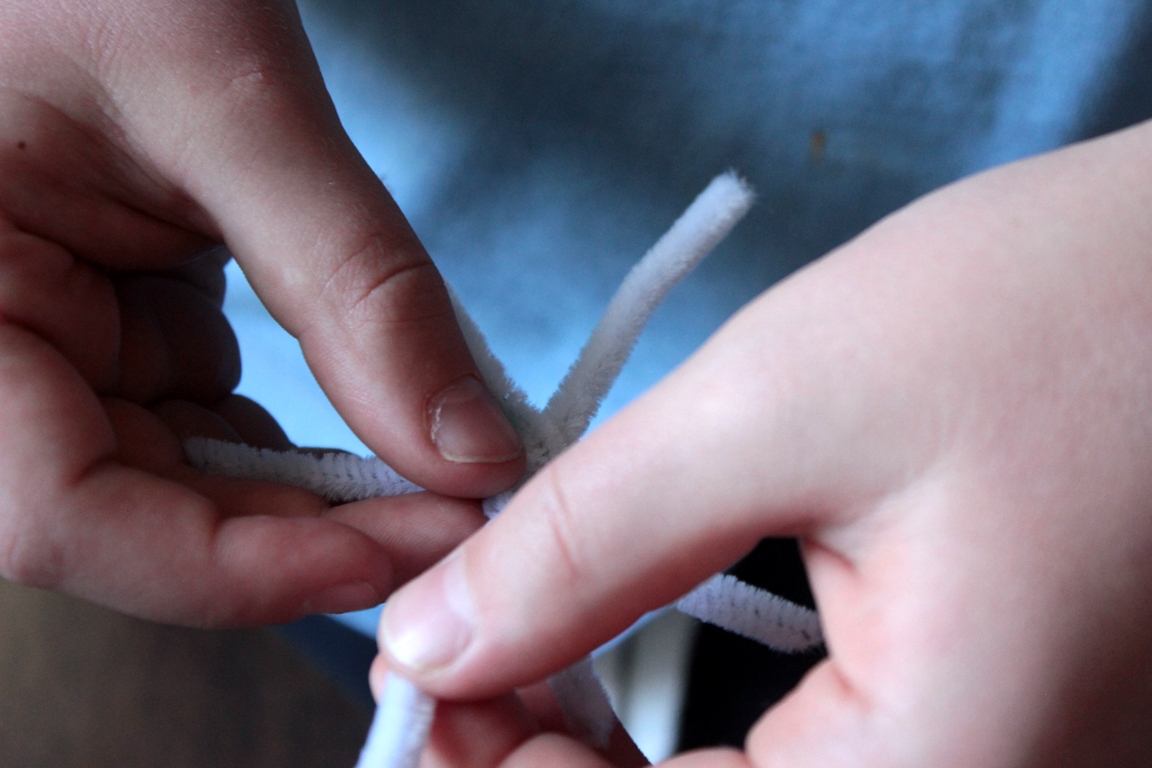
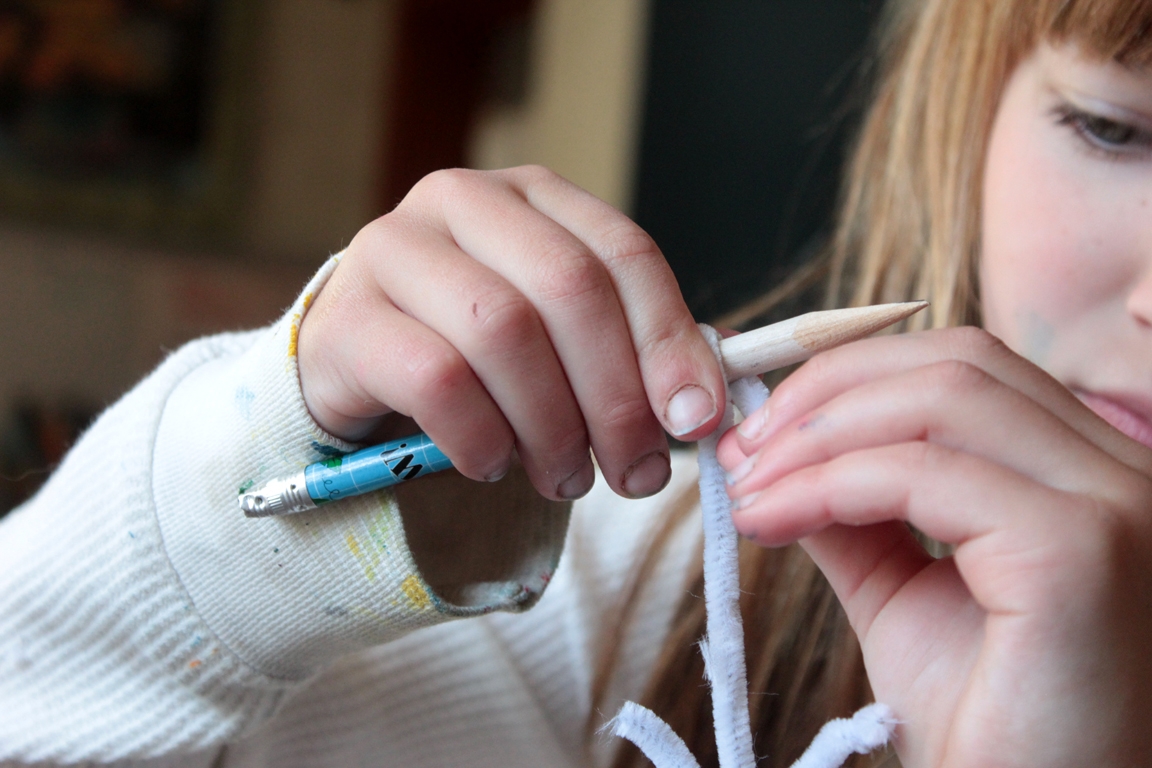
Step 5
When they were shaped the way the children wanted -leaving one end very tall to reach well over the top of the glass- they wrapped the top (longer piece) around a pencil. There are two more steps here: Make sure that your creation is narrow enough to fit through the mouth of your jar (it can be tilted, and "worked" out), and put your shape inside the jar and make sure it is hanging freely, and not resting at the bottom. Some of the borax will settle to the bottom of the jar, and you don't want your snowflake stuck to the crystals forming there.
Step 6
After checking that everything was just right, the kids were ready to stir again and then pour in the solution!
Step 7
We made sure the designs were hanging freely (not stuck to the bottom or sides), and filled them up the jars.
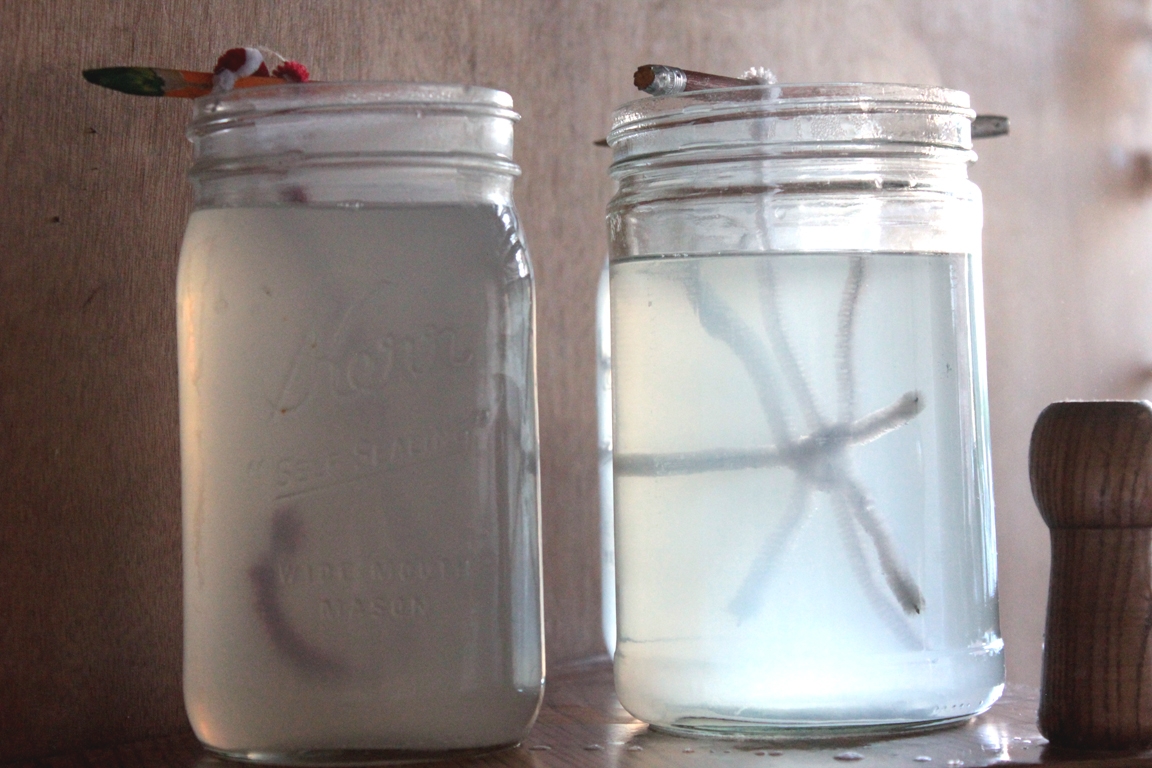
Step 8
Next, we moved the jars to a shelf where they could sit for several hours. (Where we kept a close eye on them!) After a couple of hours, as the water cooled, we could see the crystals forming. While salt and sugar form cube-shaped crystals, borax forms six-sided structures. We like to leave them in for a whole day. You could try for longer!
Final result!
The science behind it all: The hot water holds more borax than cold, because heated molecules move further apart from each other, leaving room for the borax crystals. As the solution cools, the water molecules move closer together again. Now there's less room, and the crystals begin to form and build on one another. Snowflakes in the wintertime are formed in the same way!
