Step-by-step tutorial
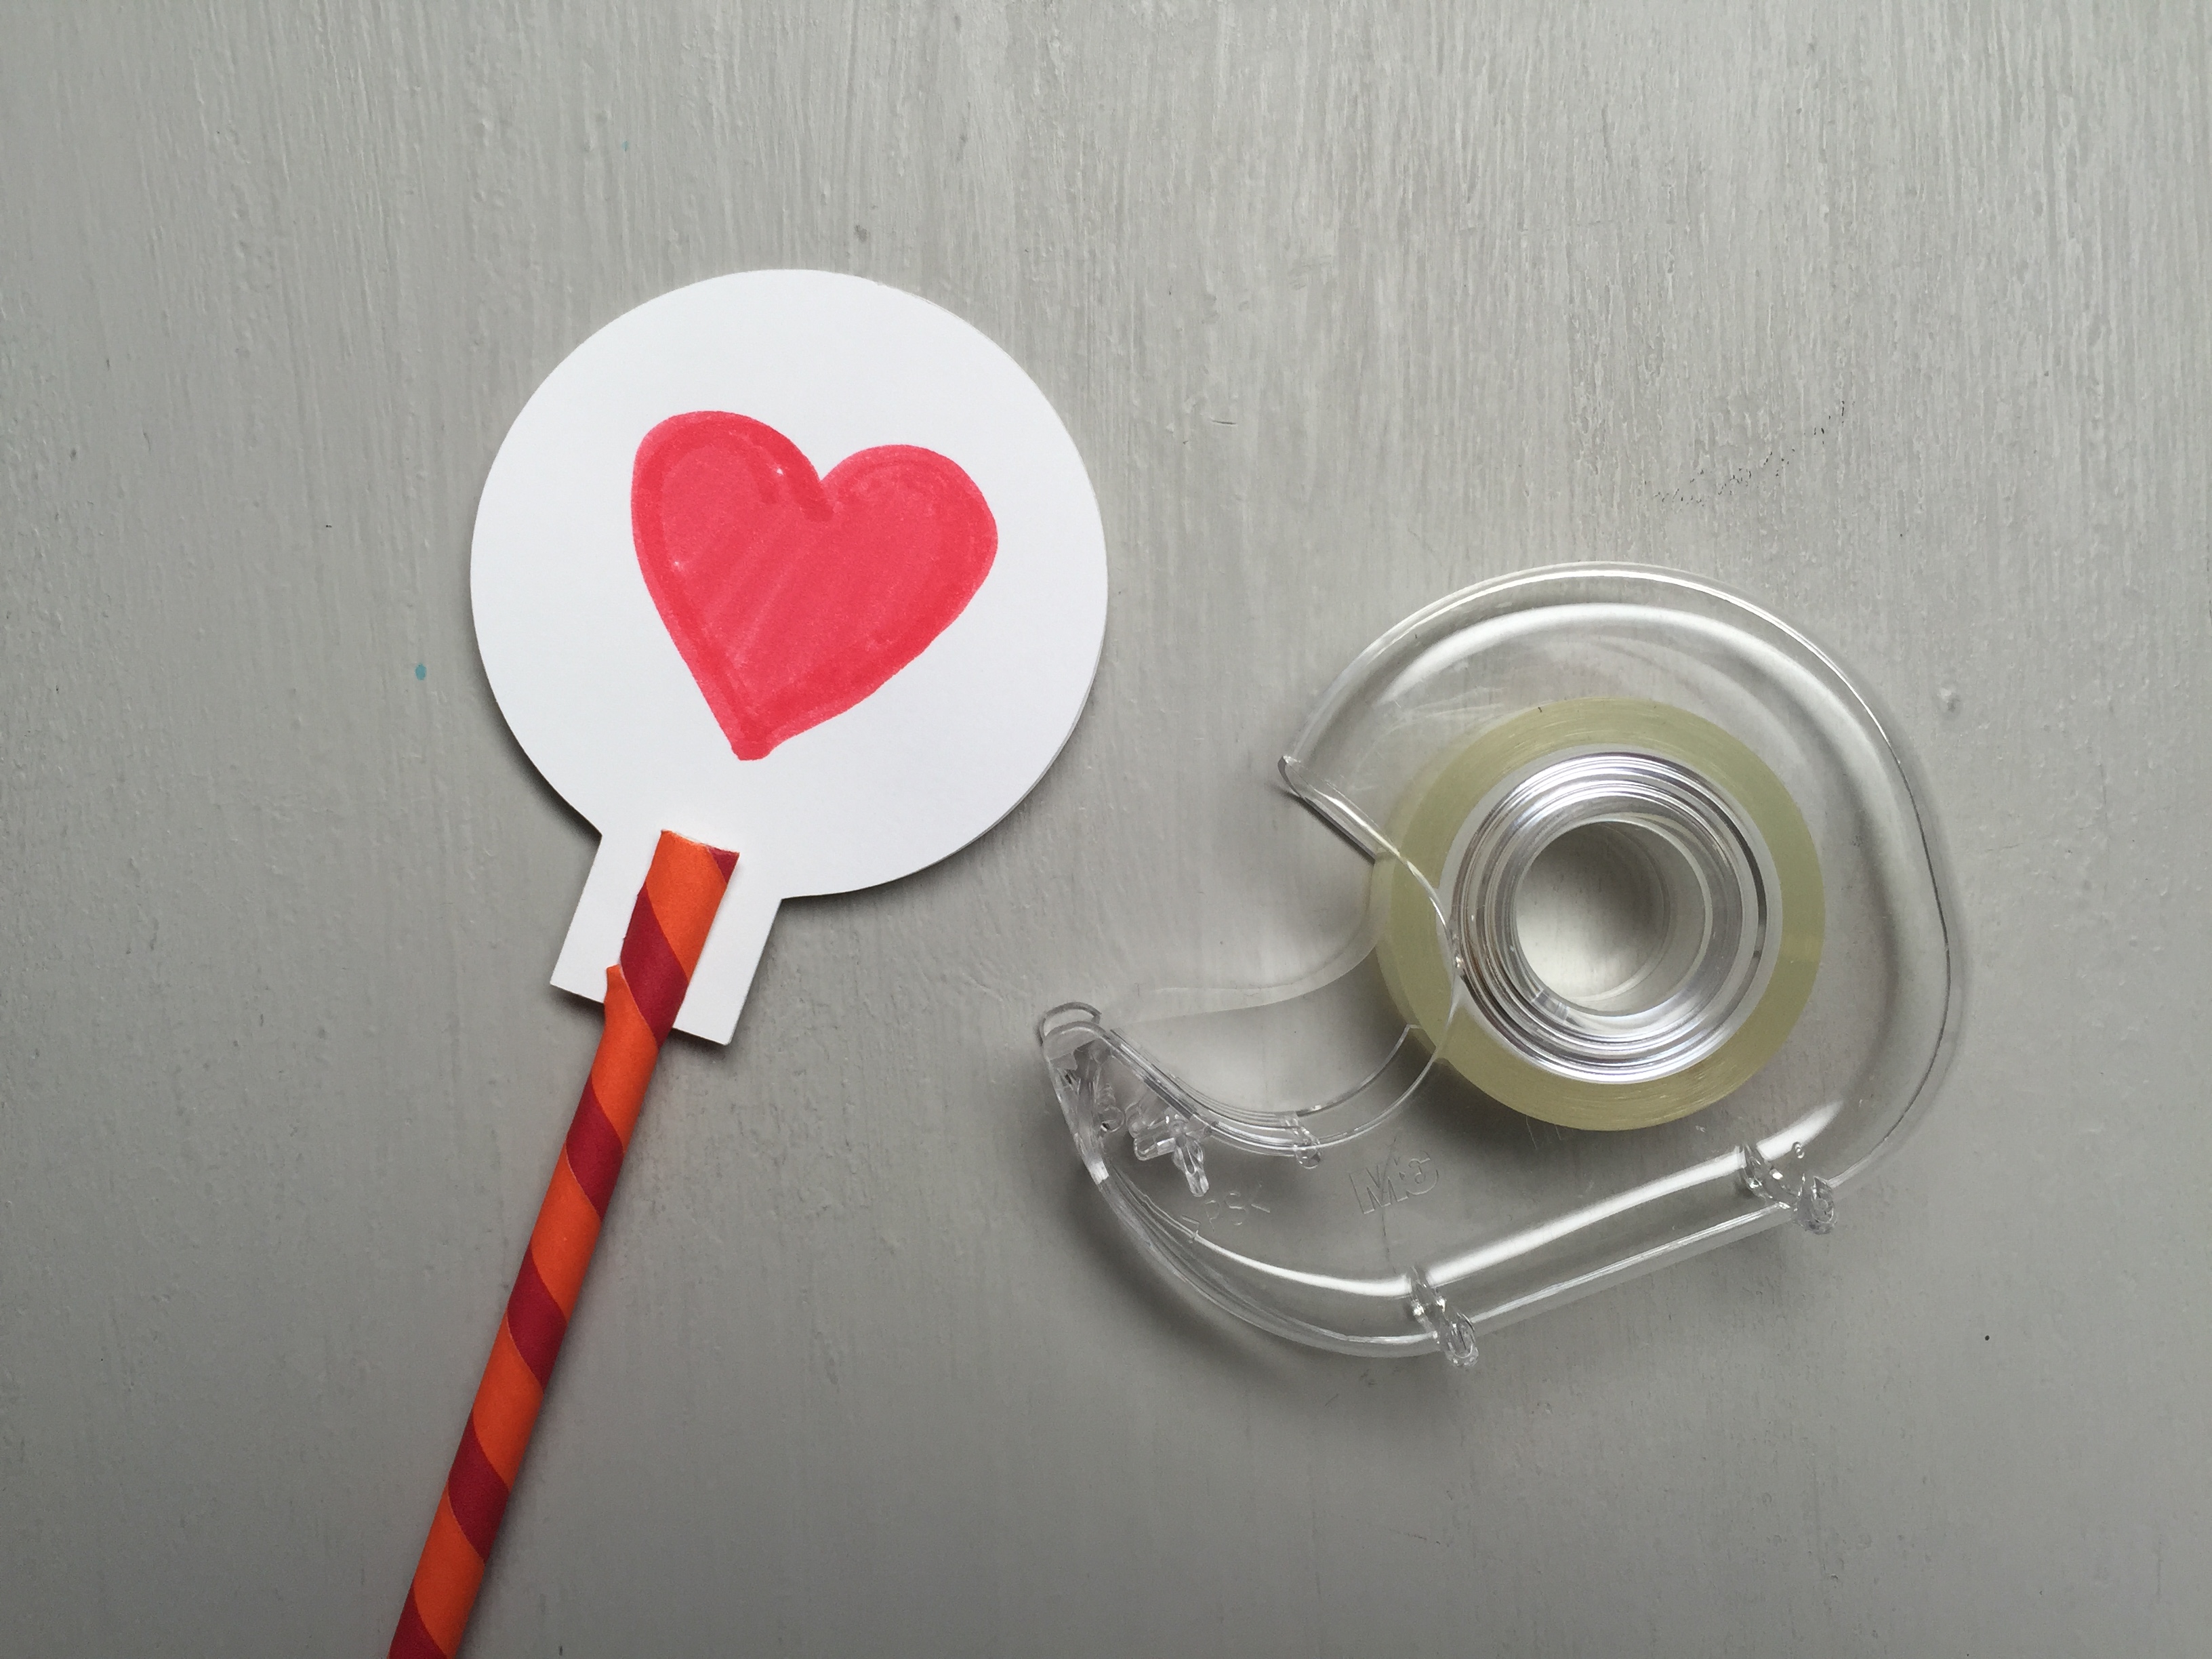
Step 1
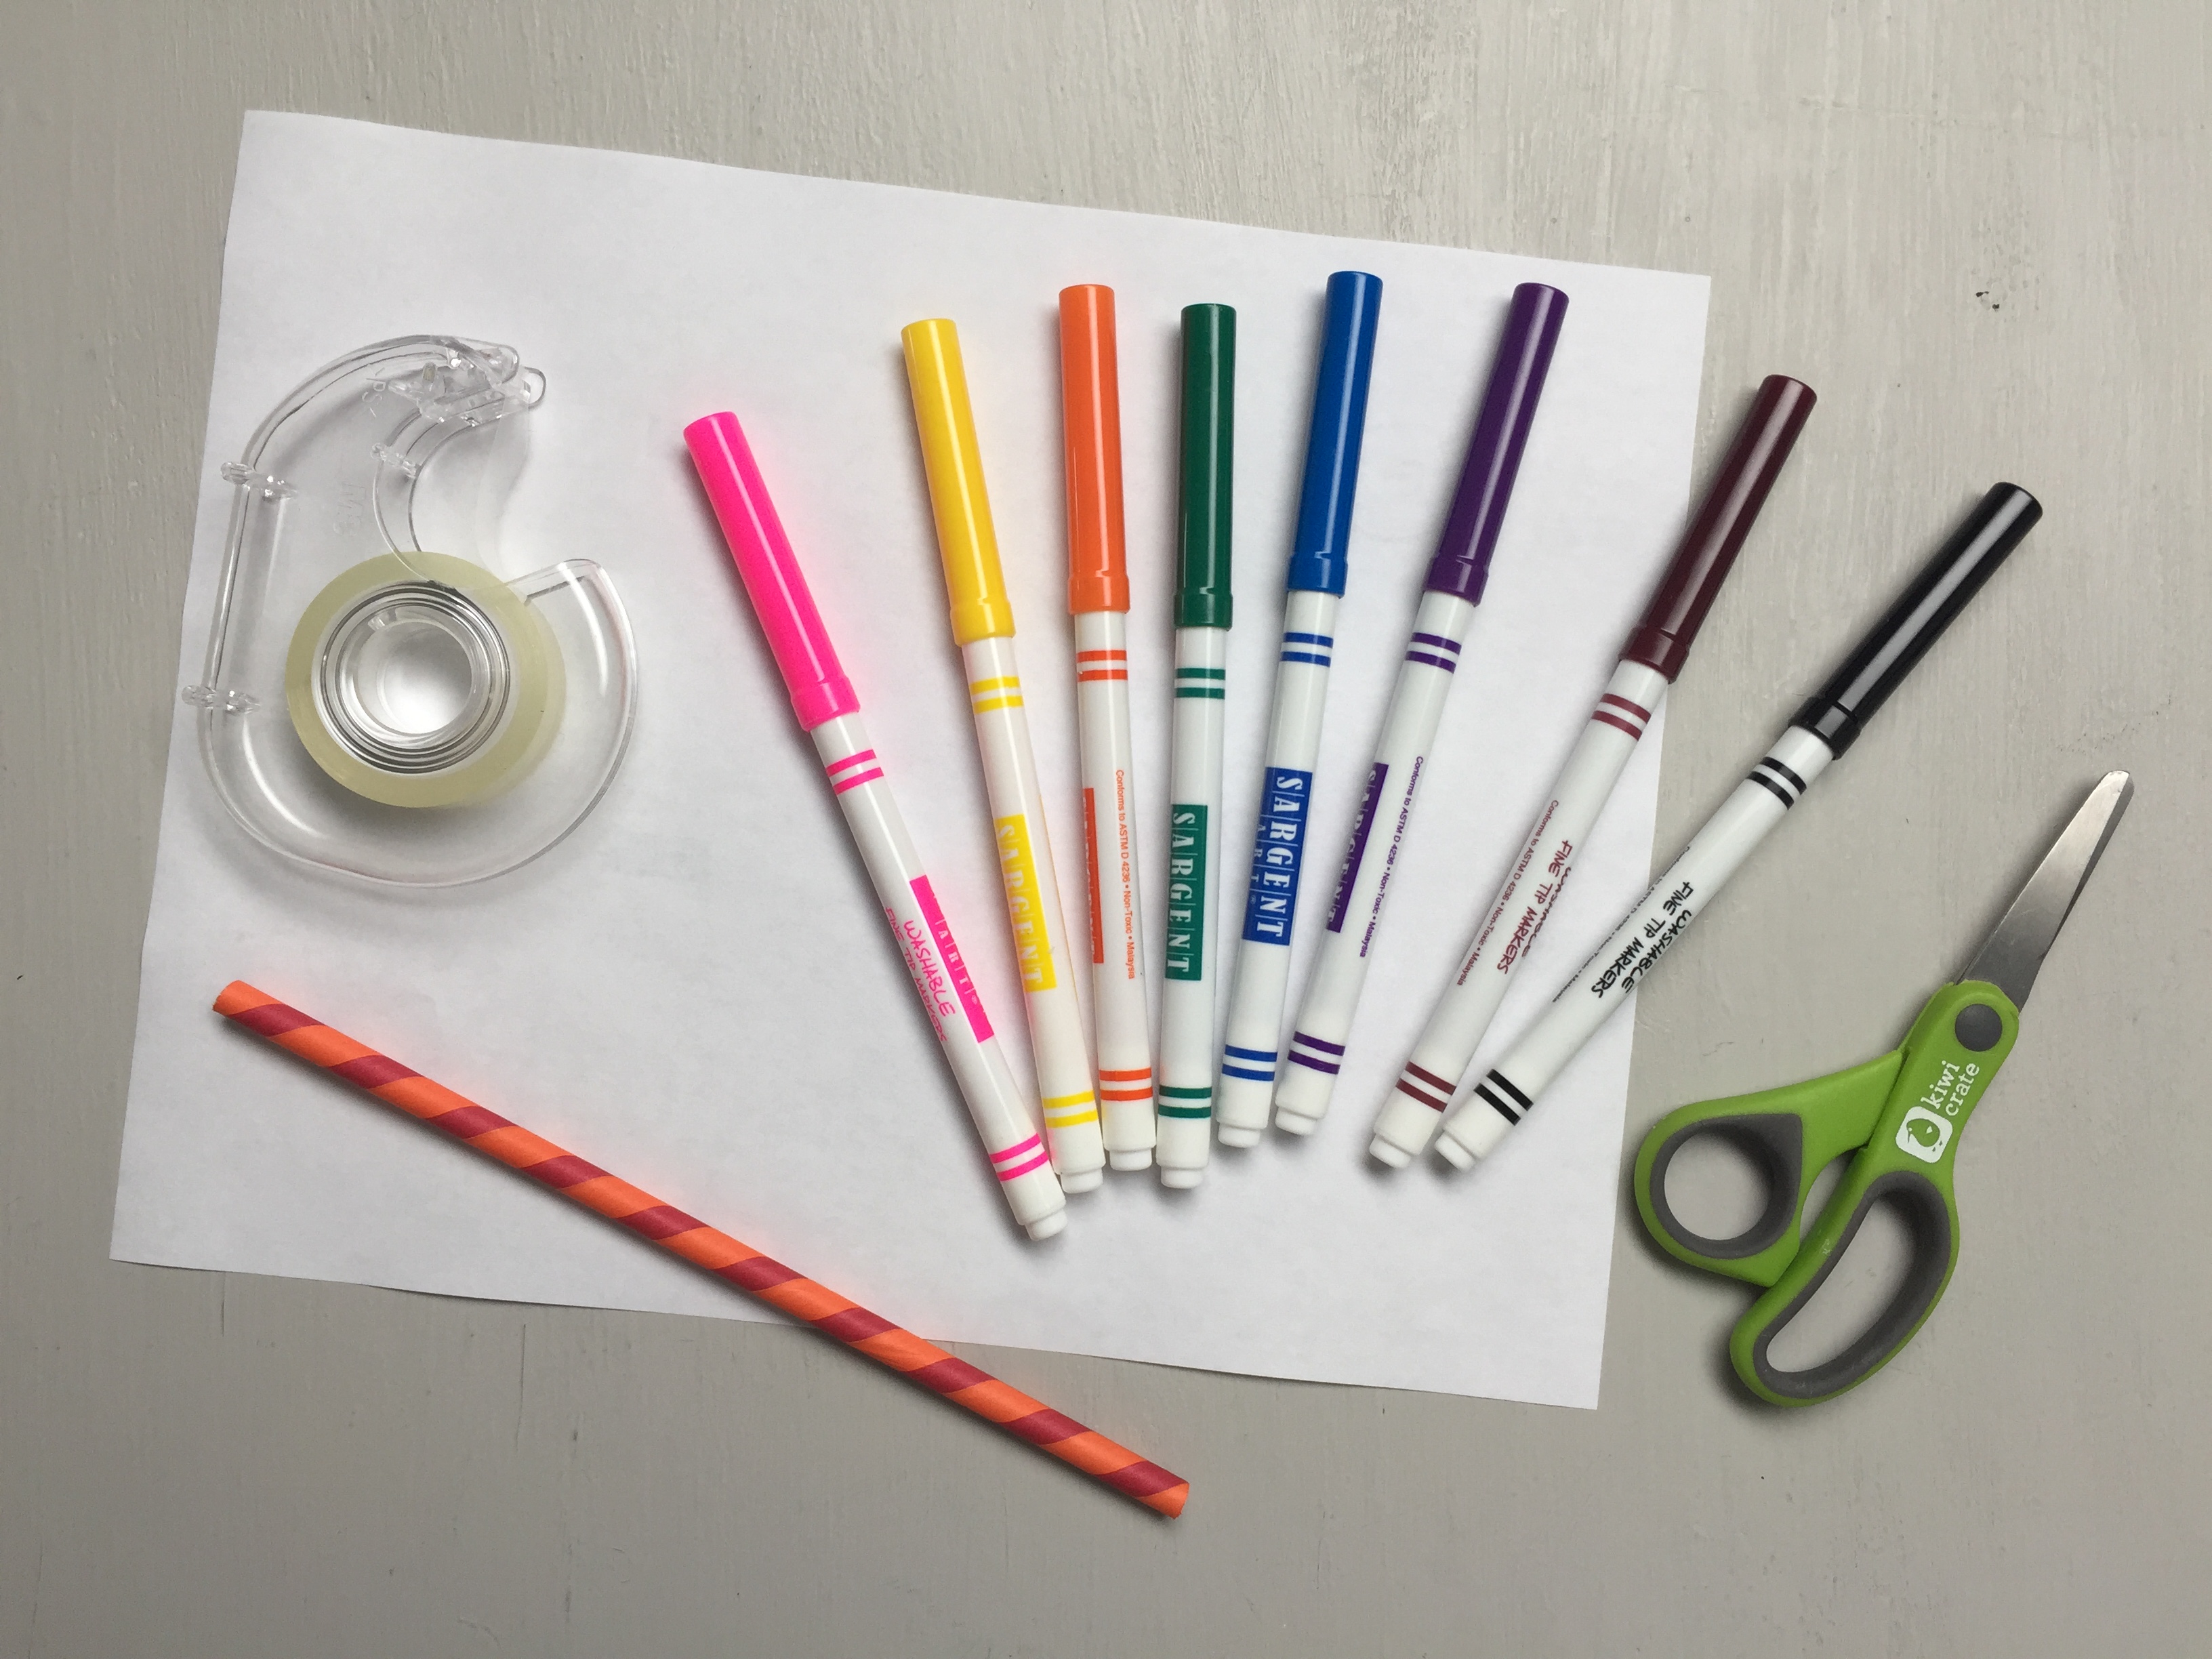
Gather your materials!

Step 2
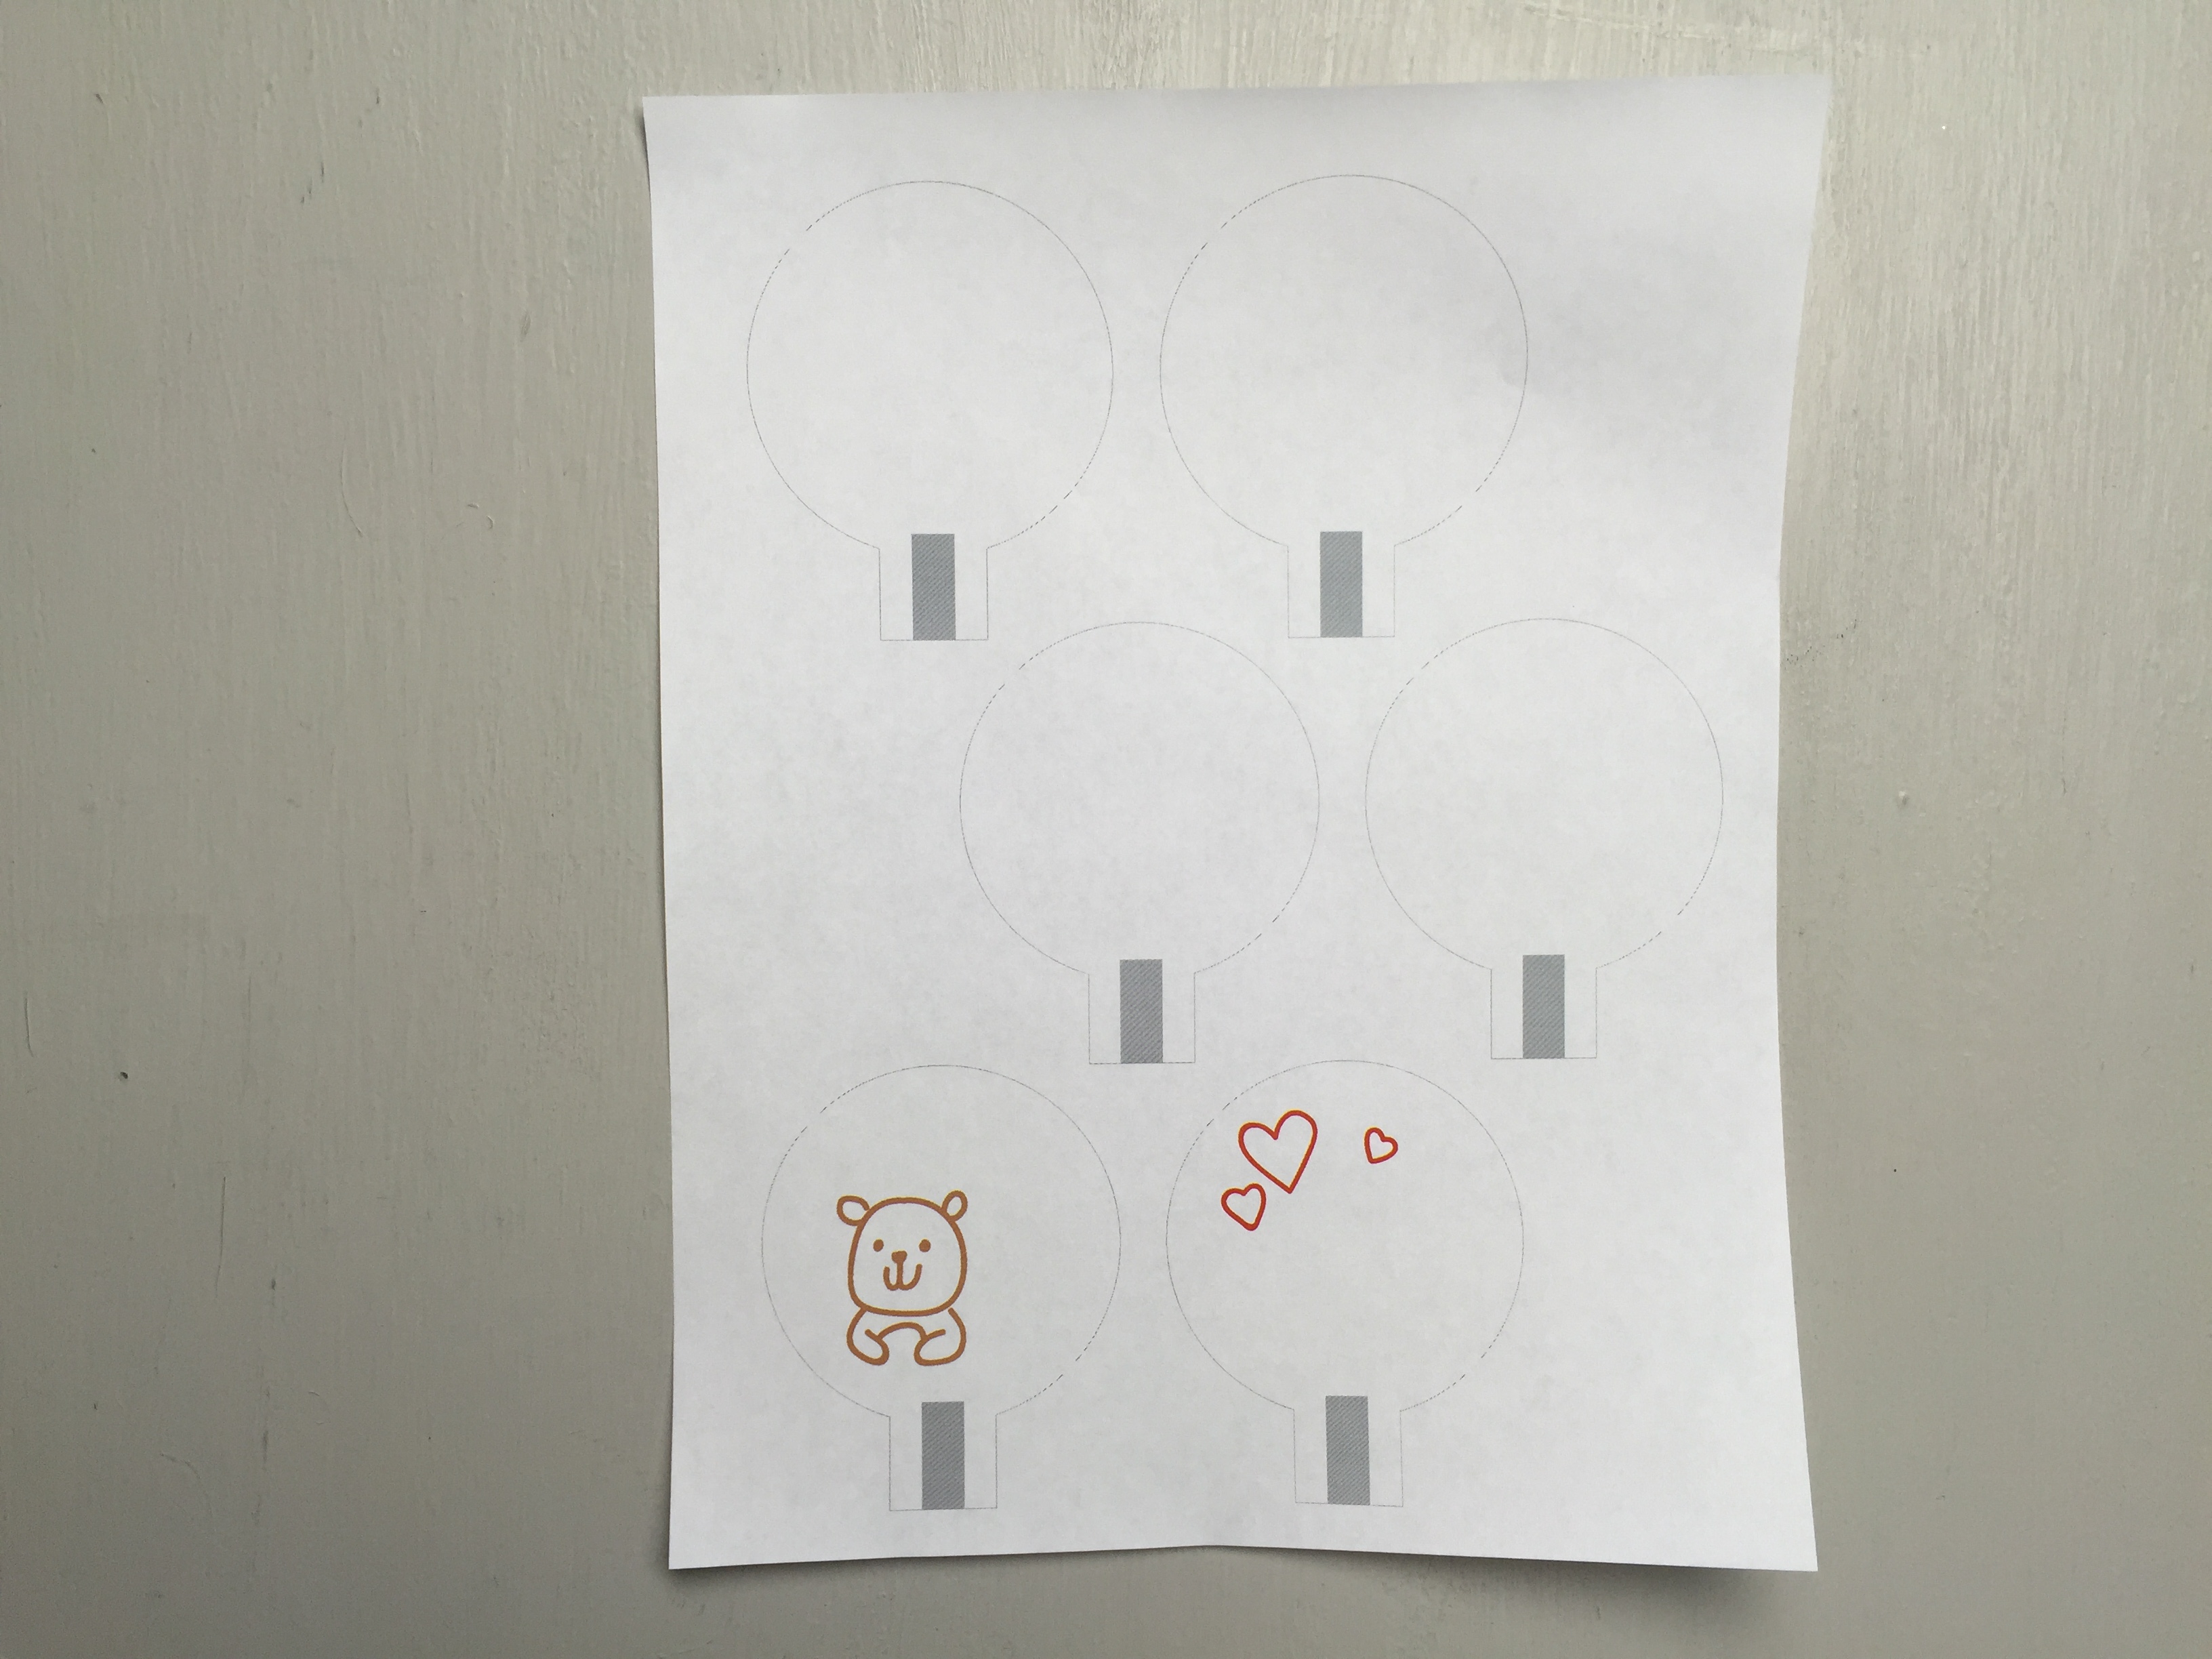
Print out the template on thick cardstock.
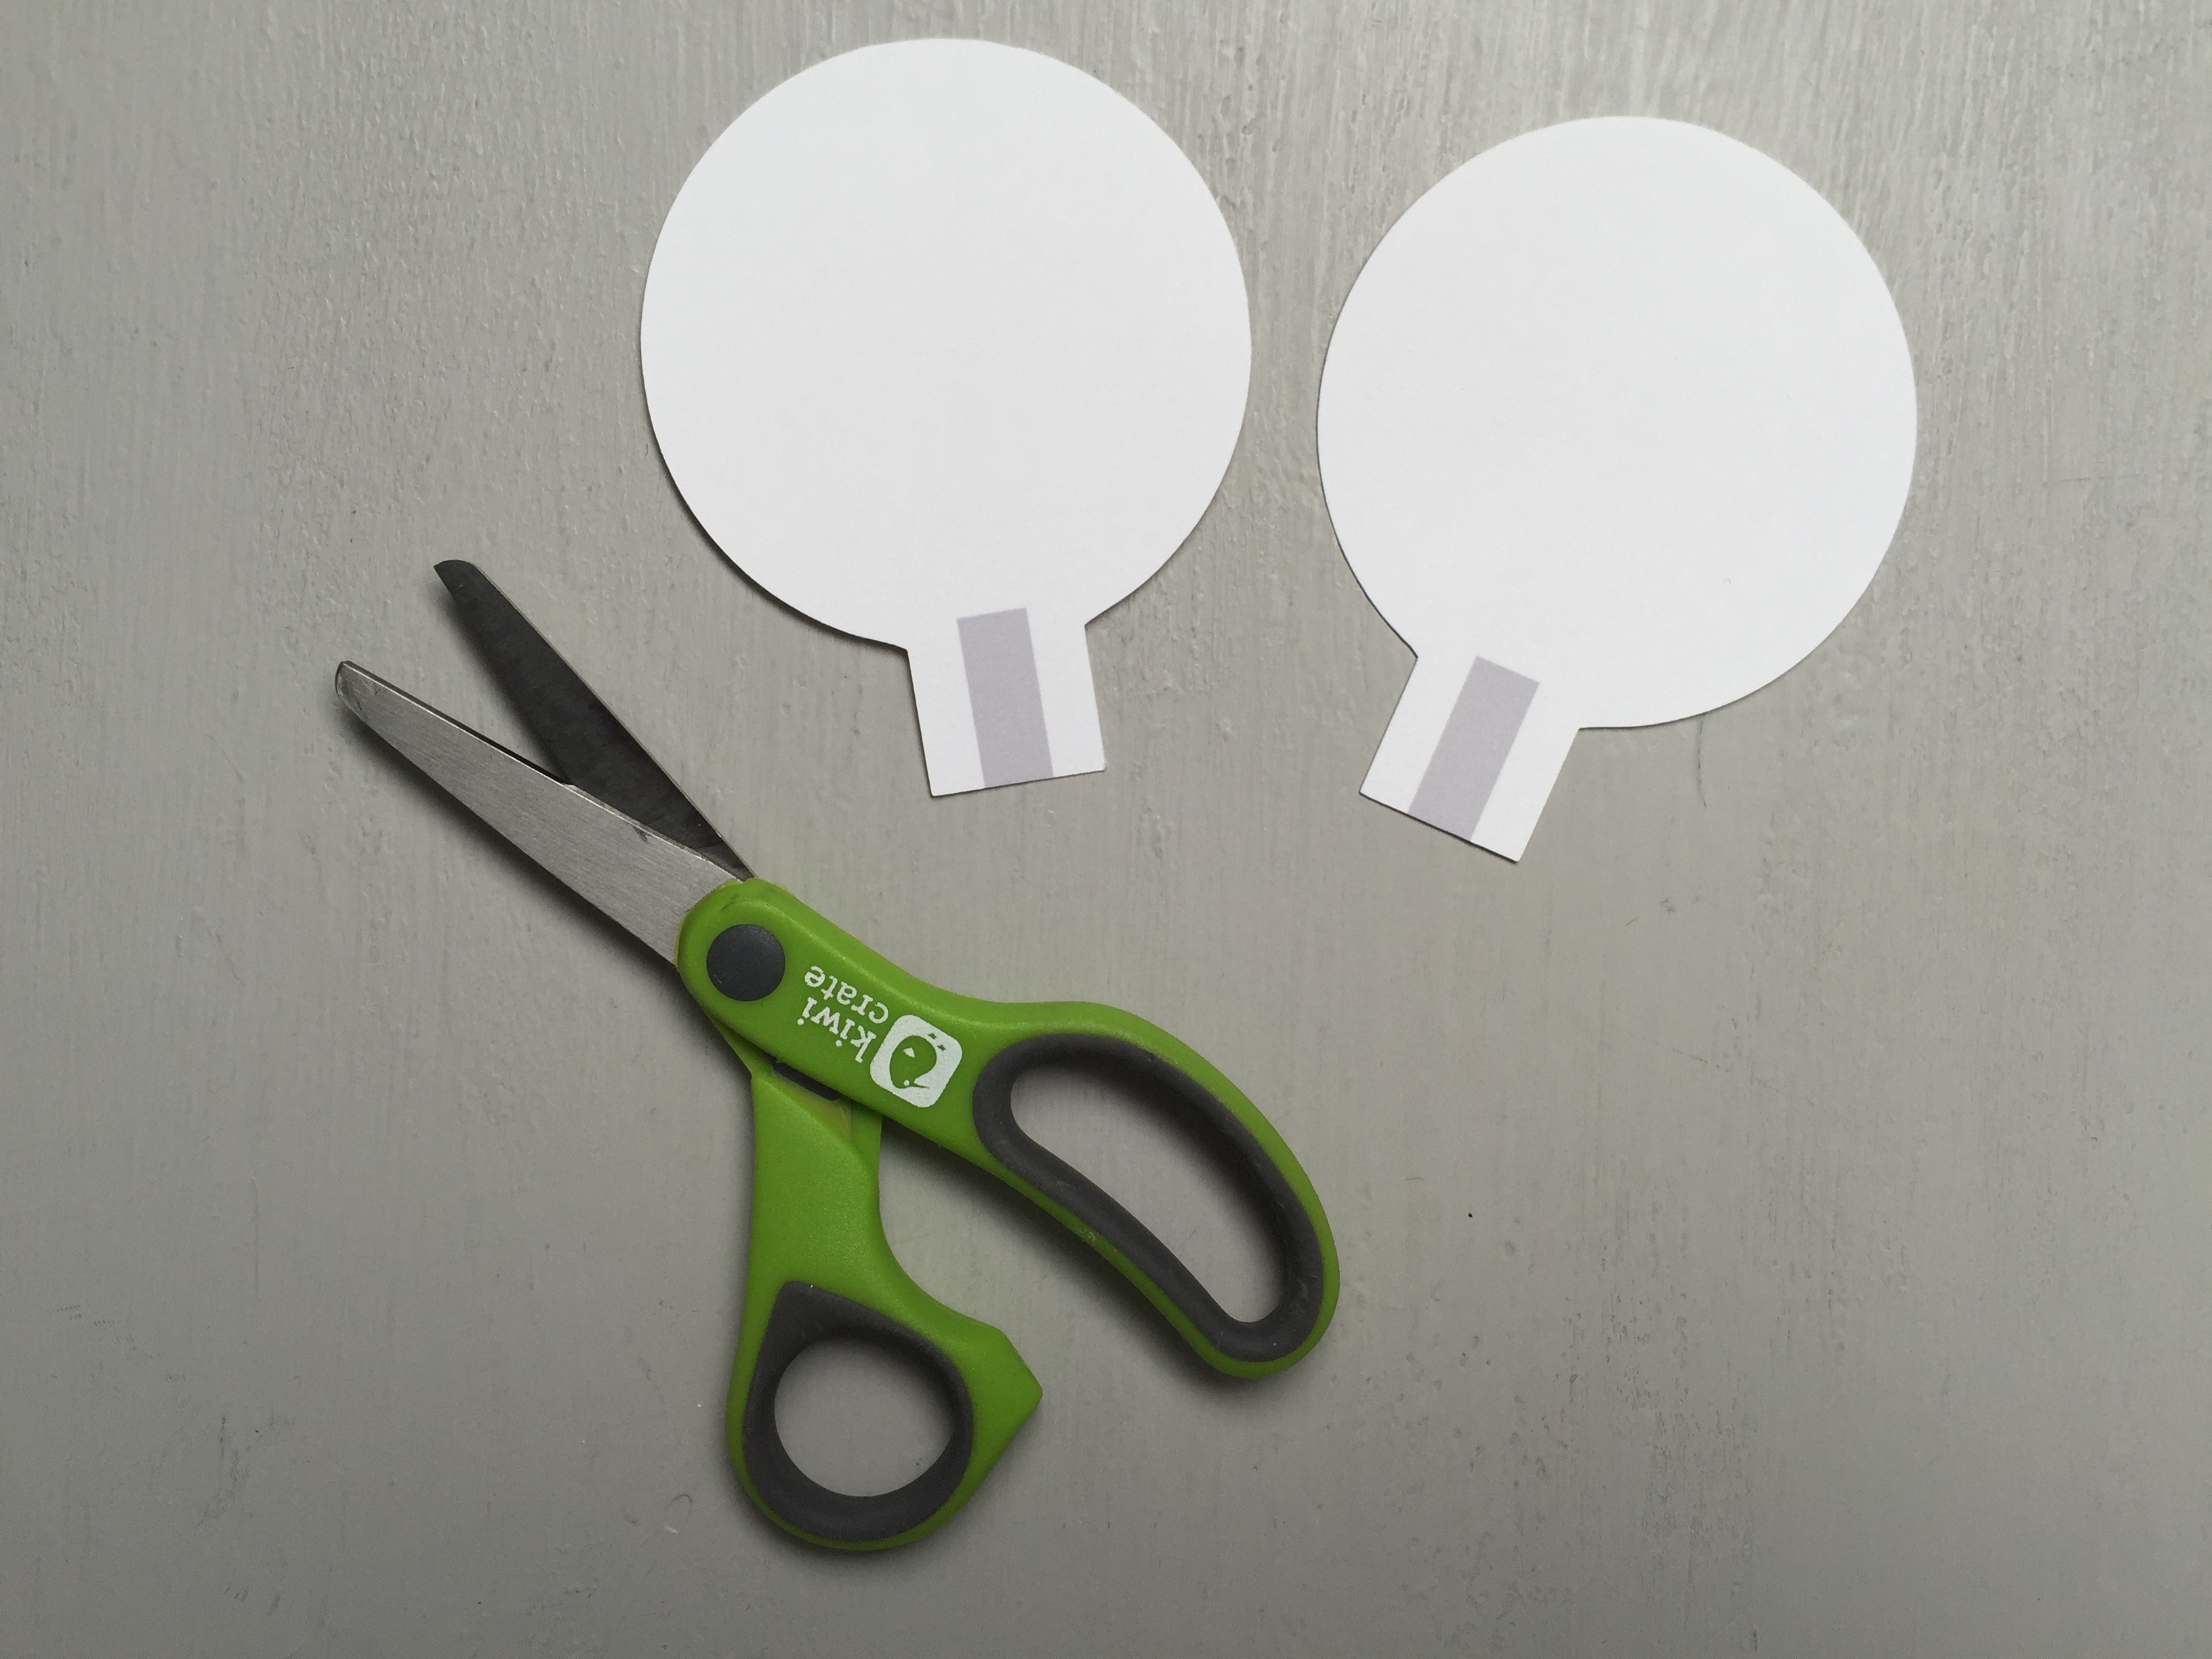
Step 3
Cut out each thaumatrope shape by carefully cutting along the thin grey outlines.
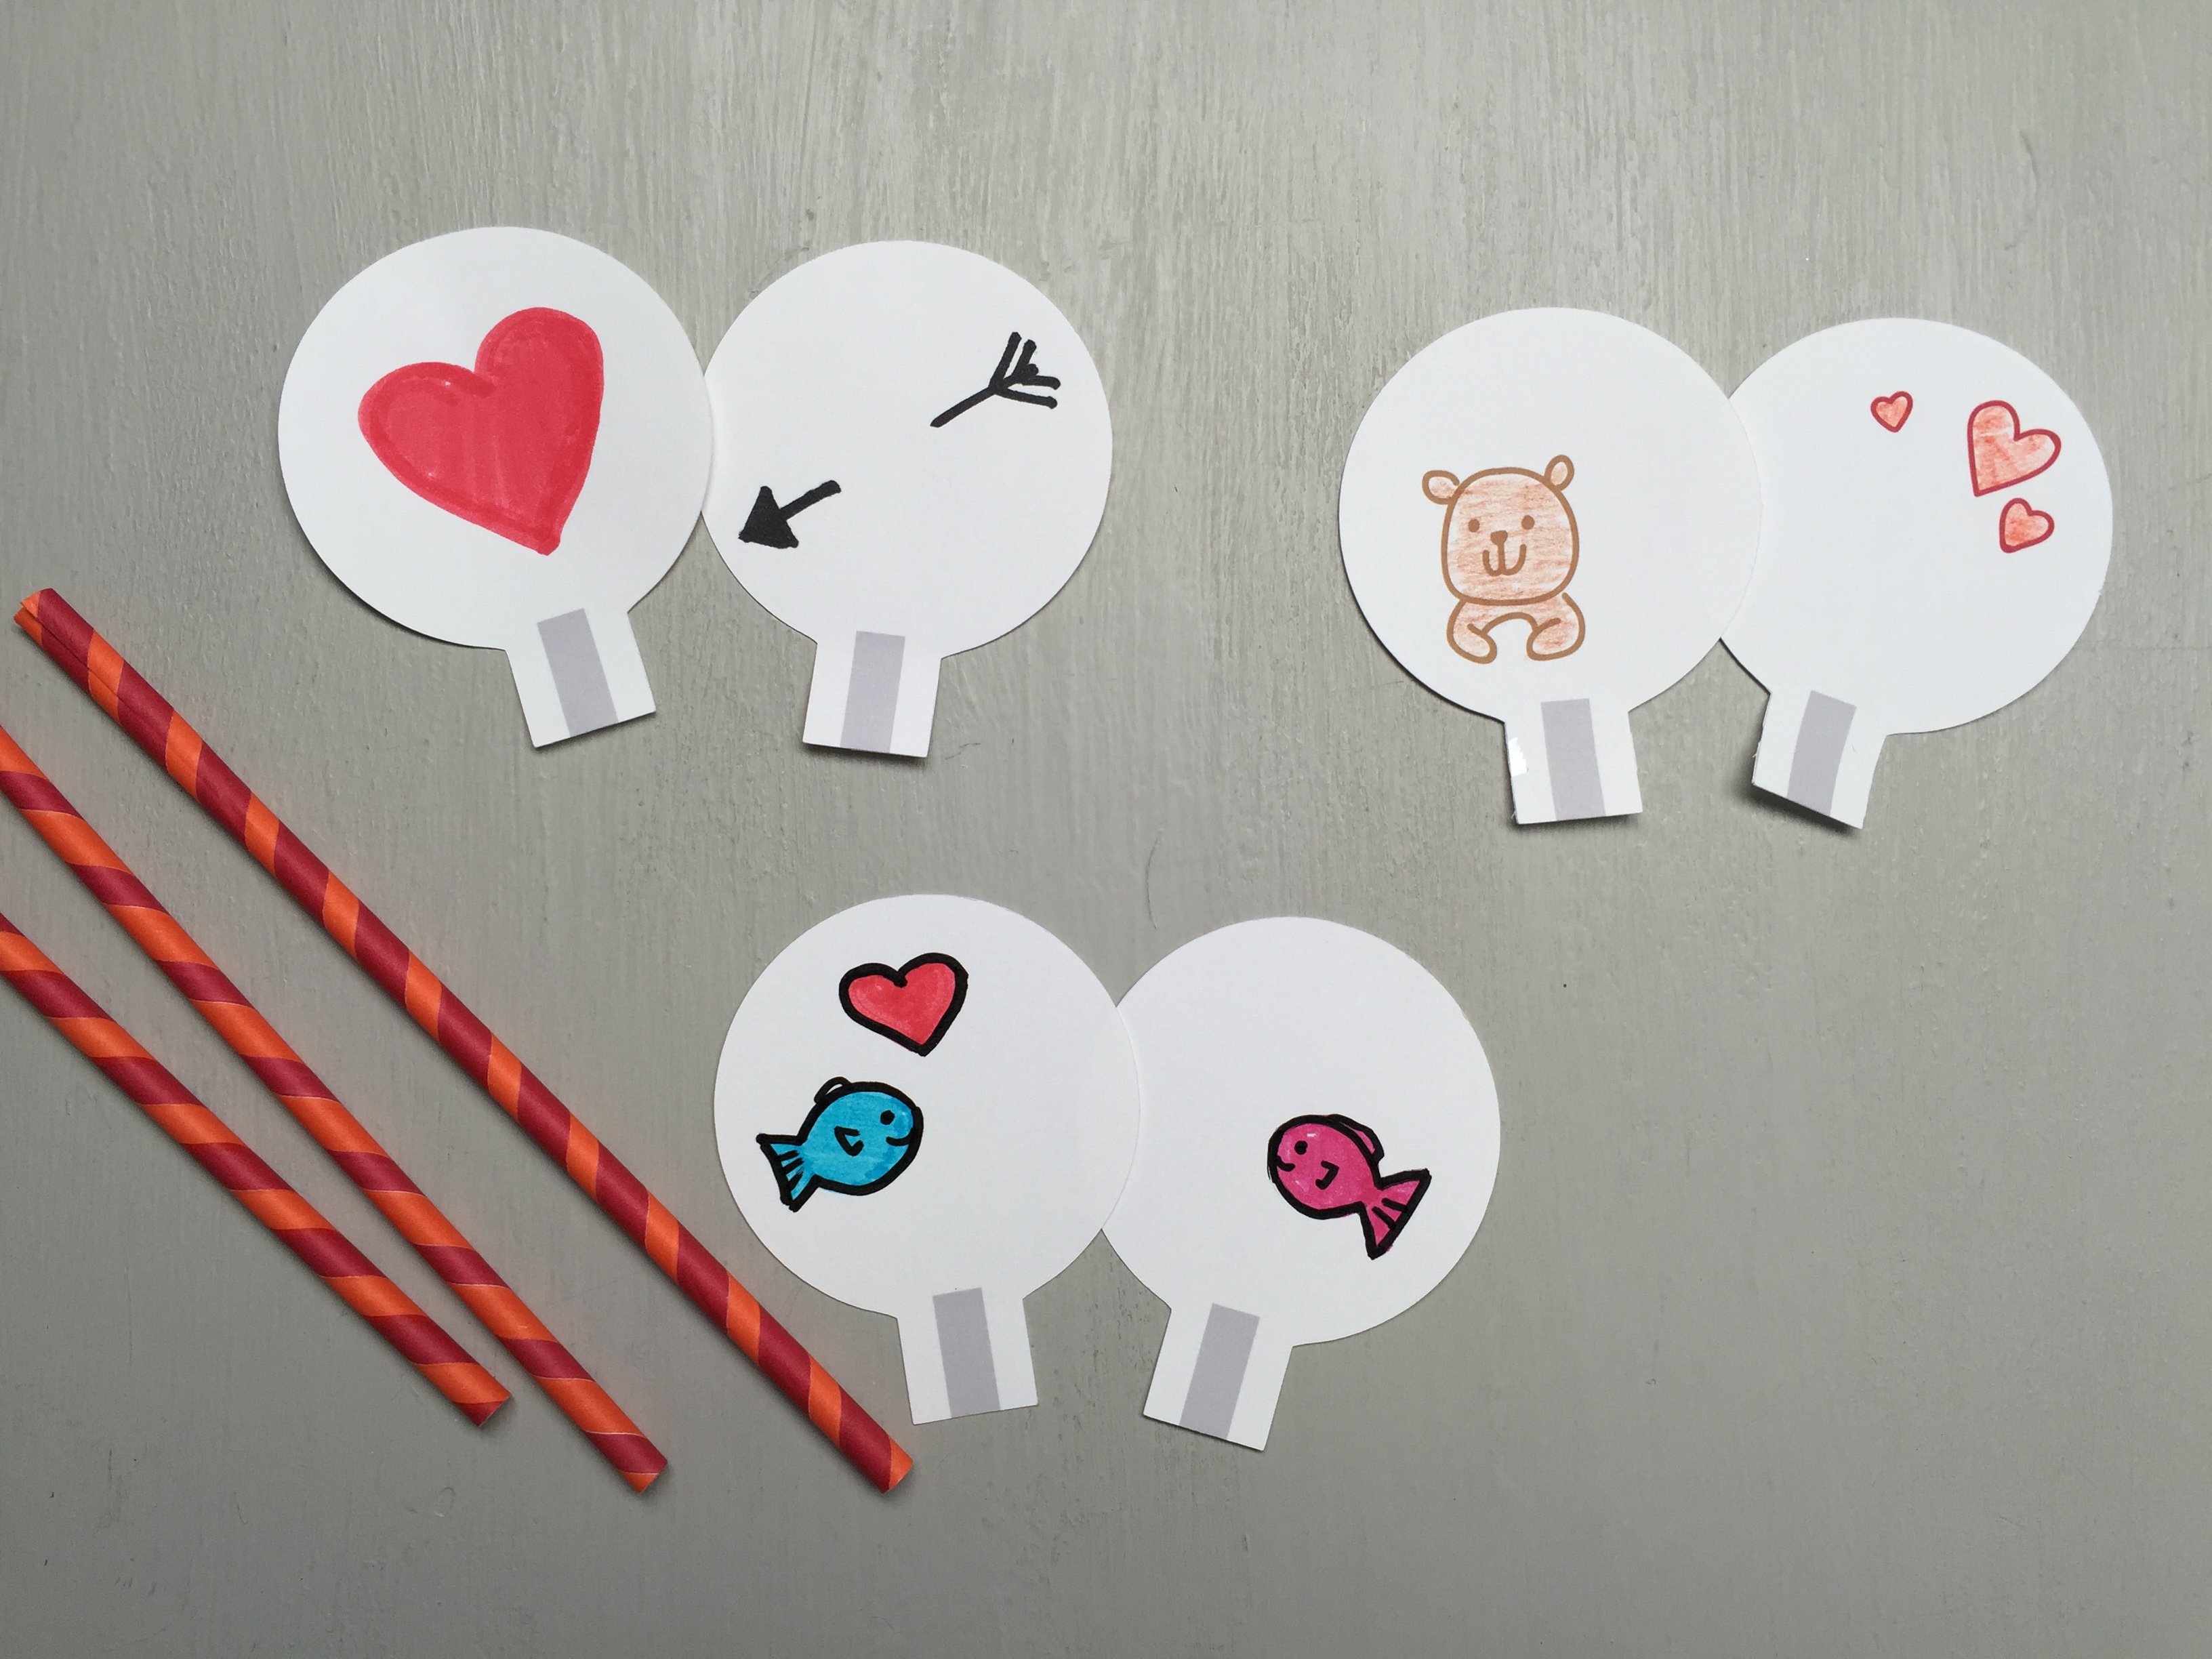
Step 4
Start by using our existing illustrations, or take two blank ones to create your own. Lay the shapes side by side and think of a design that you can split into two images. Draw the first image, and then draw the matching half on the second piece.
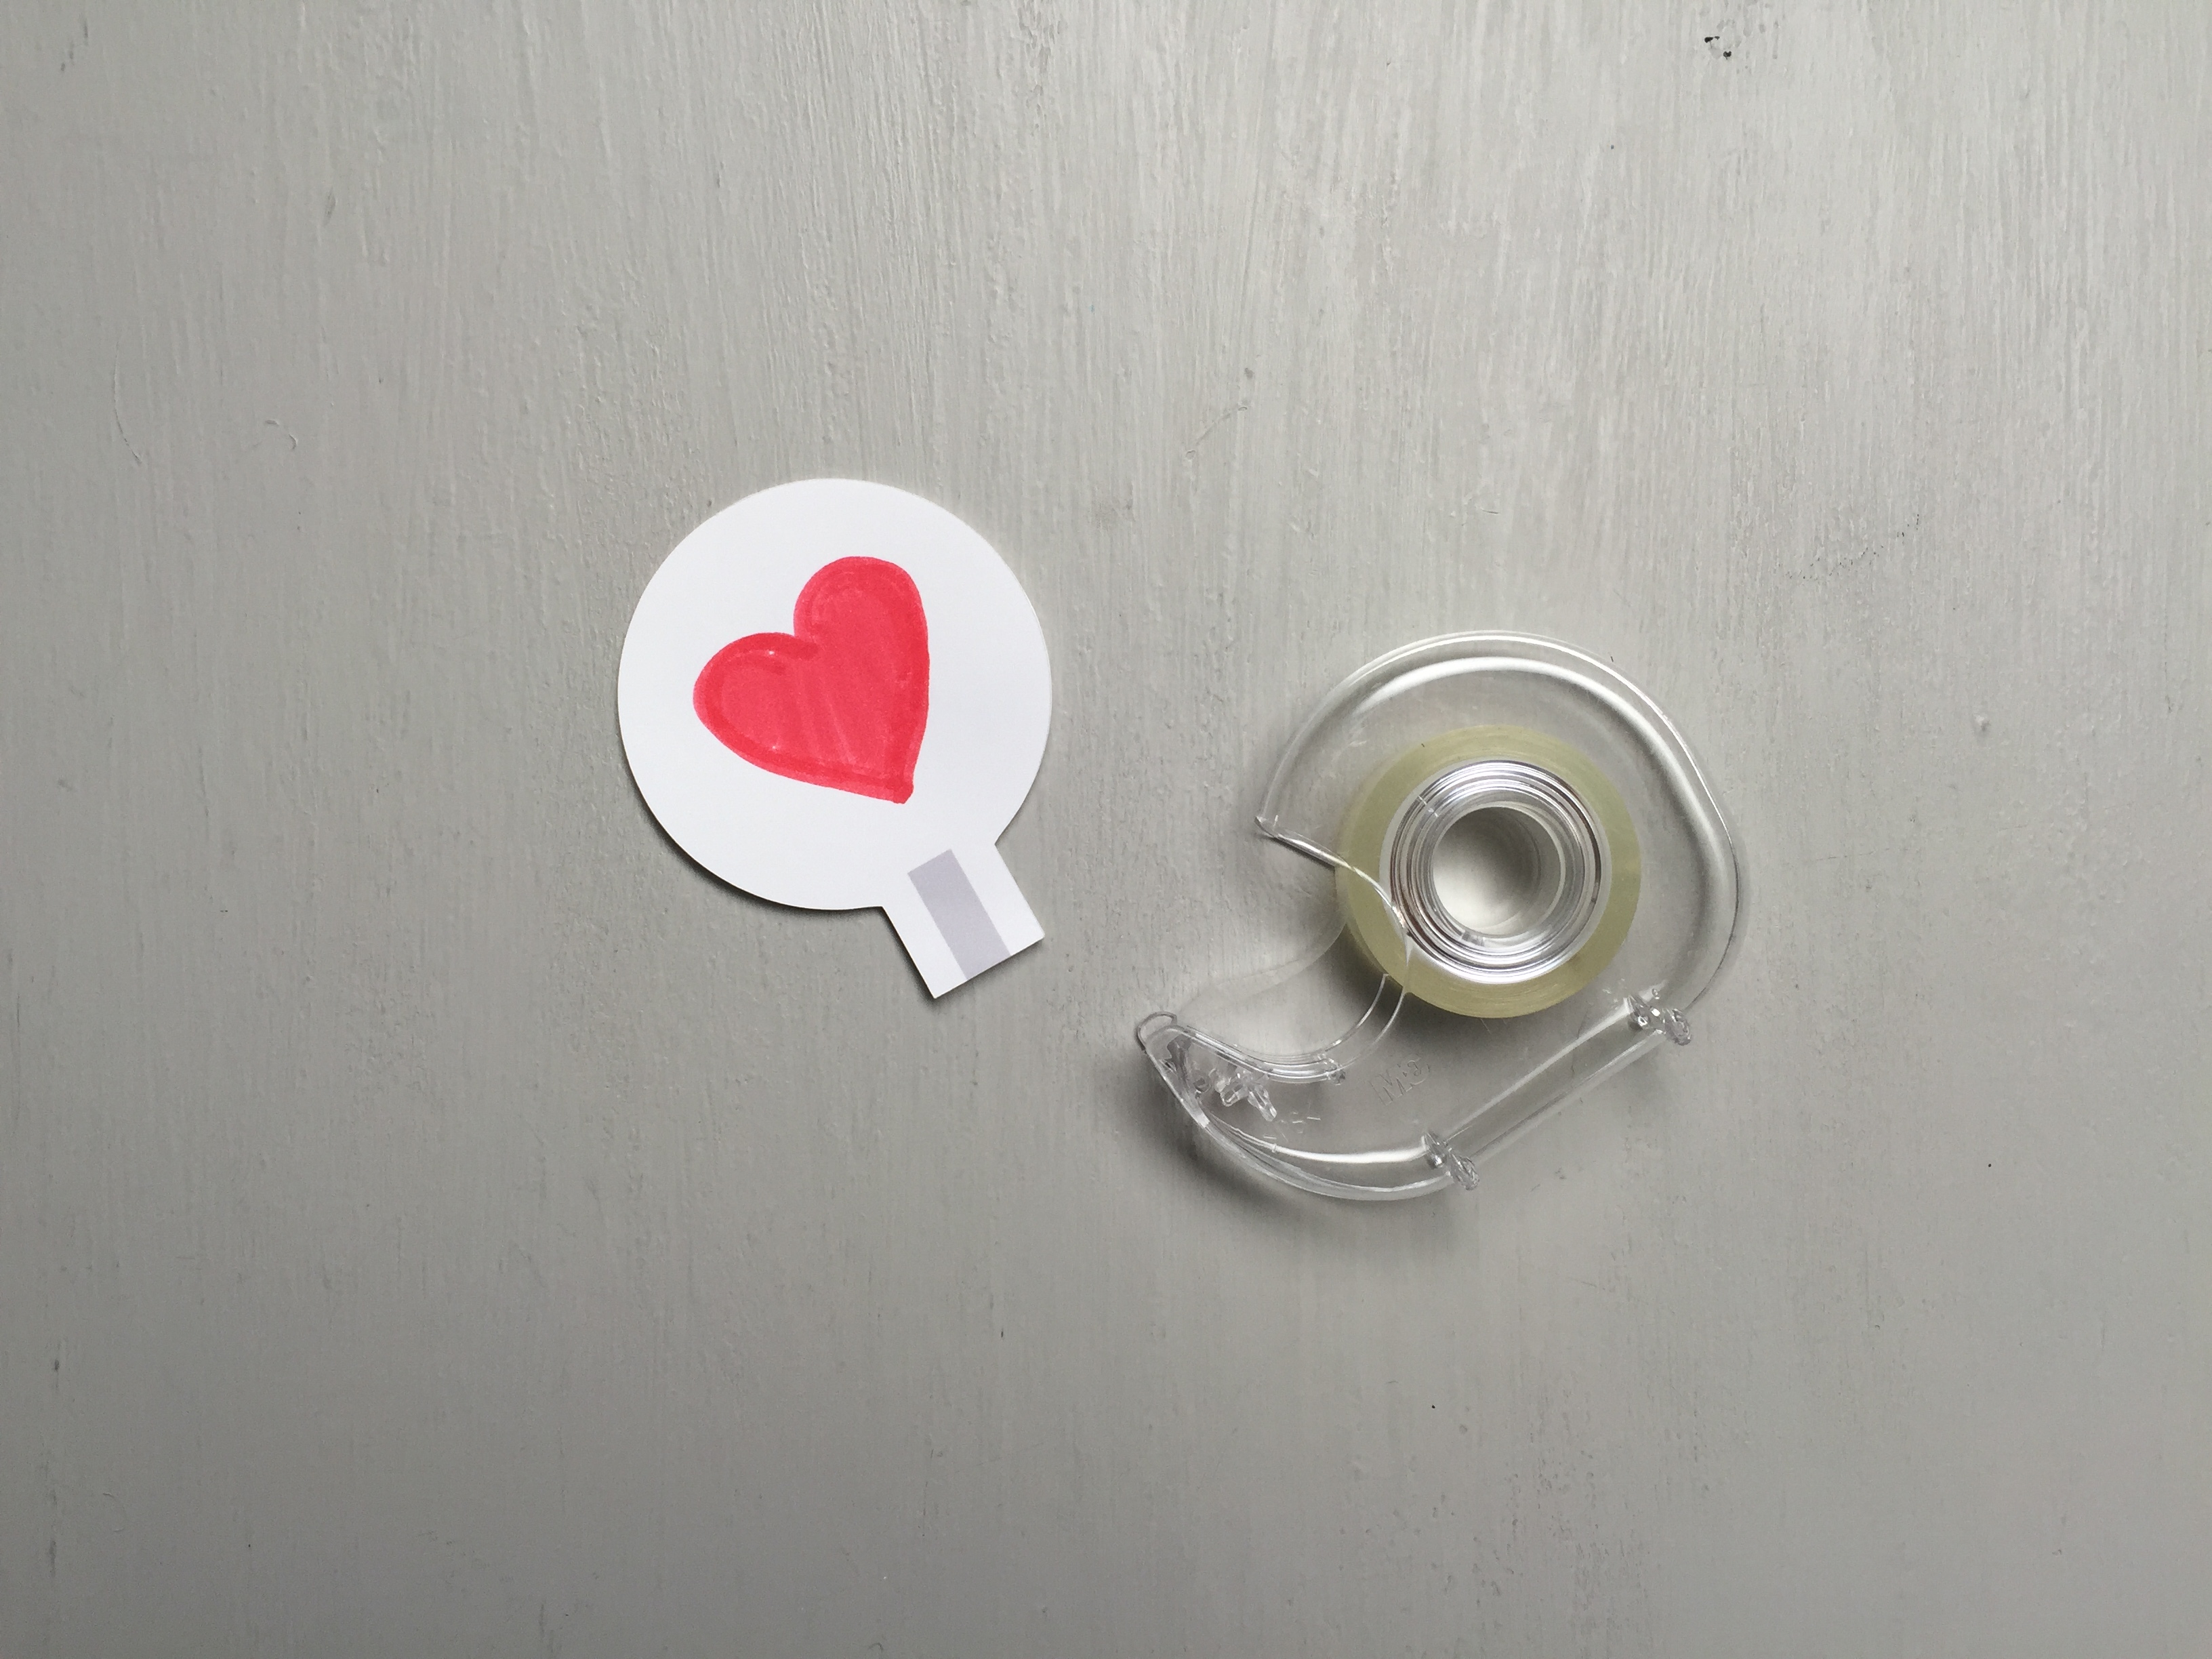
Step 5
Use double sided tape to carefully stick the two images back to back. Try your best to align the edges of the two pieces.
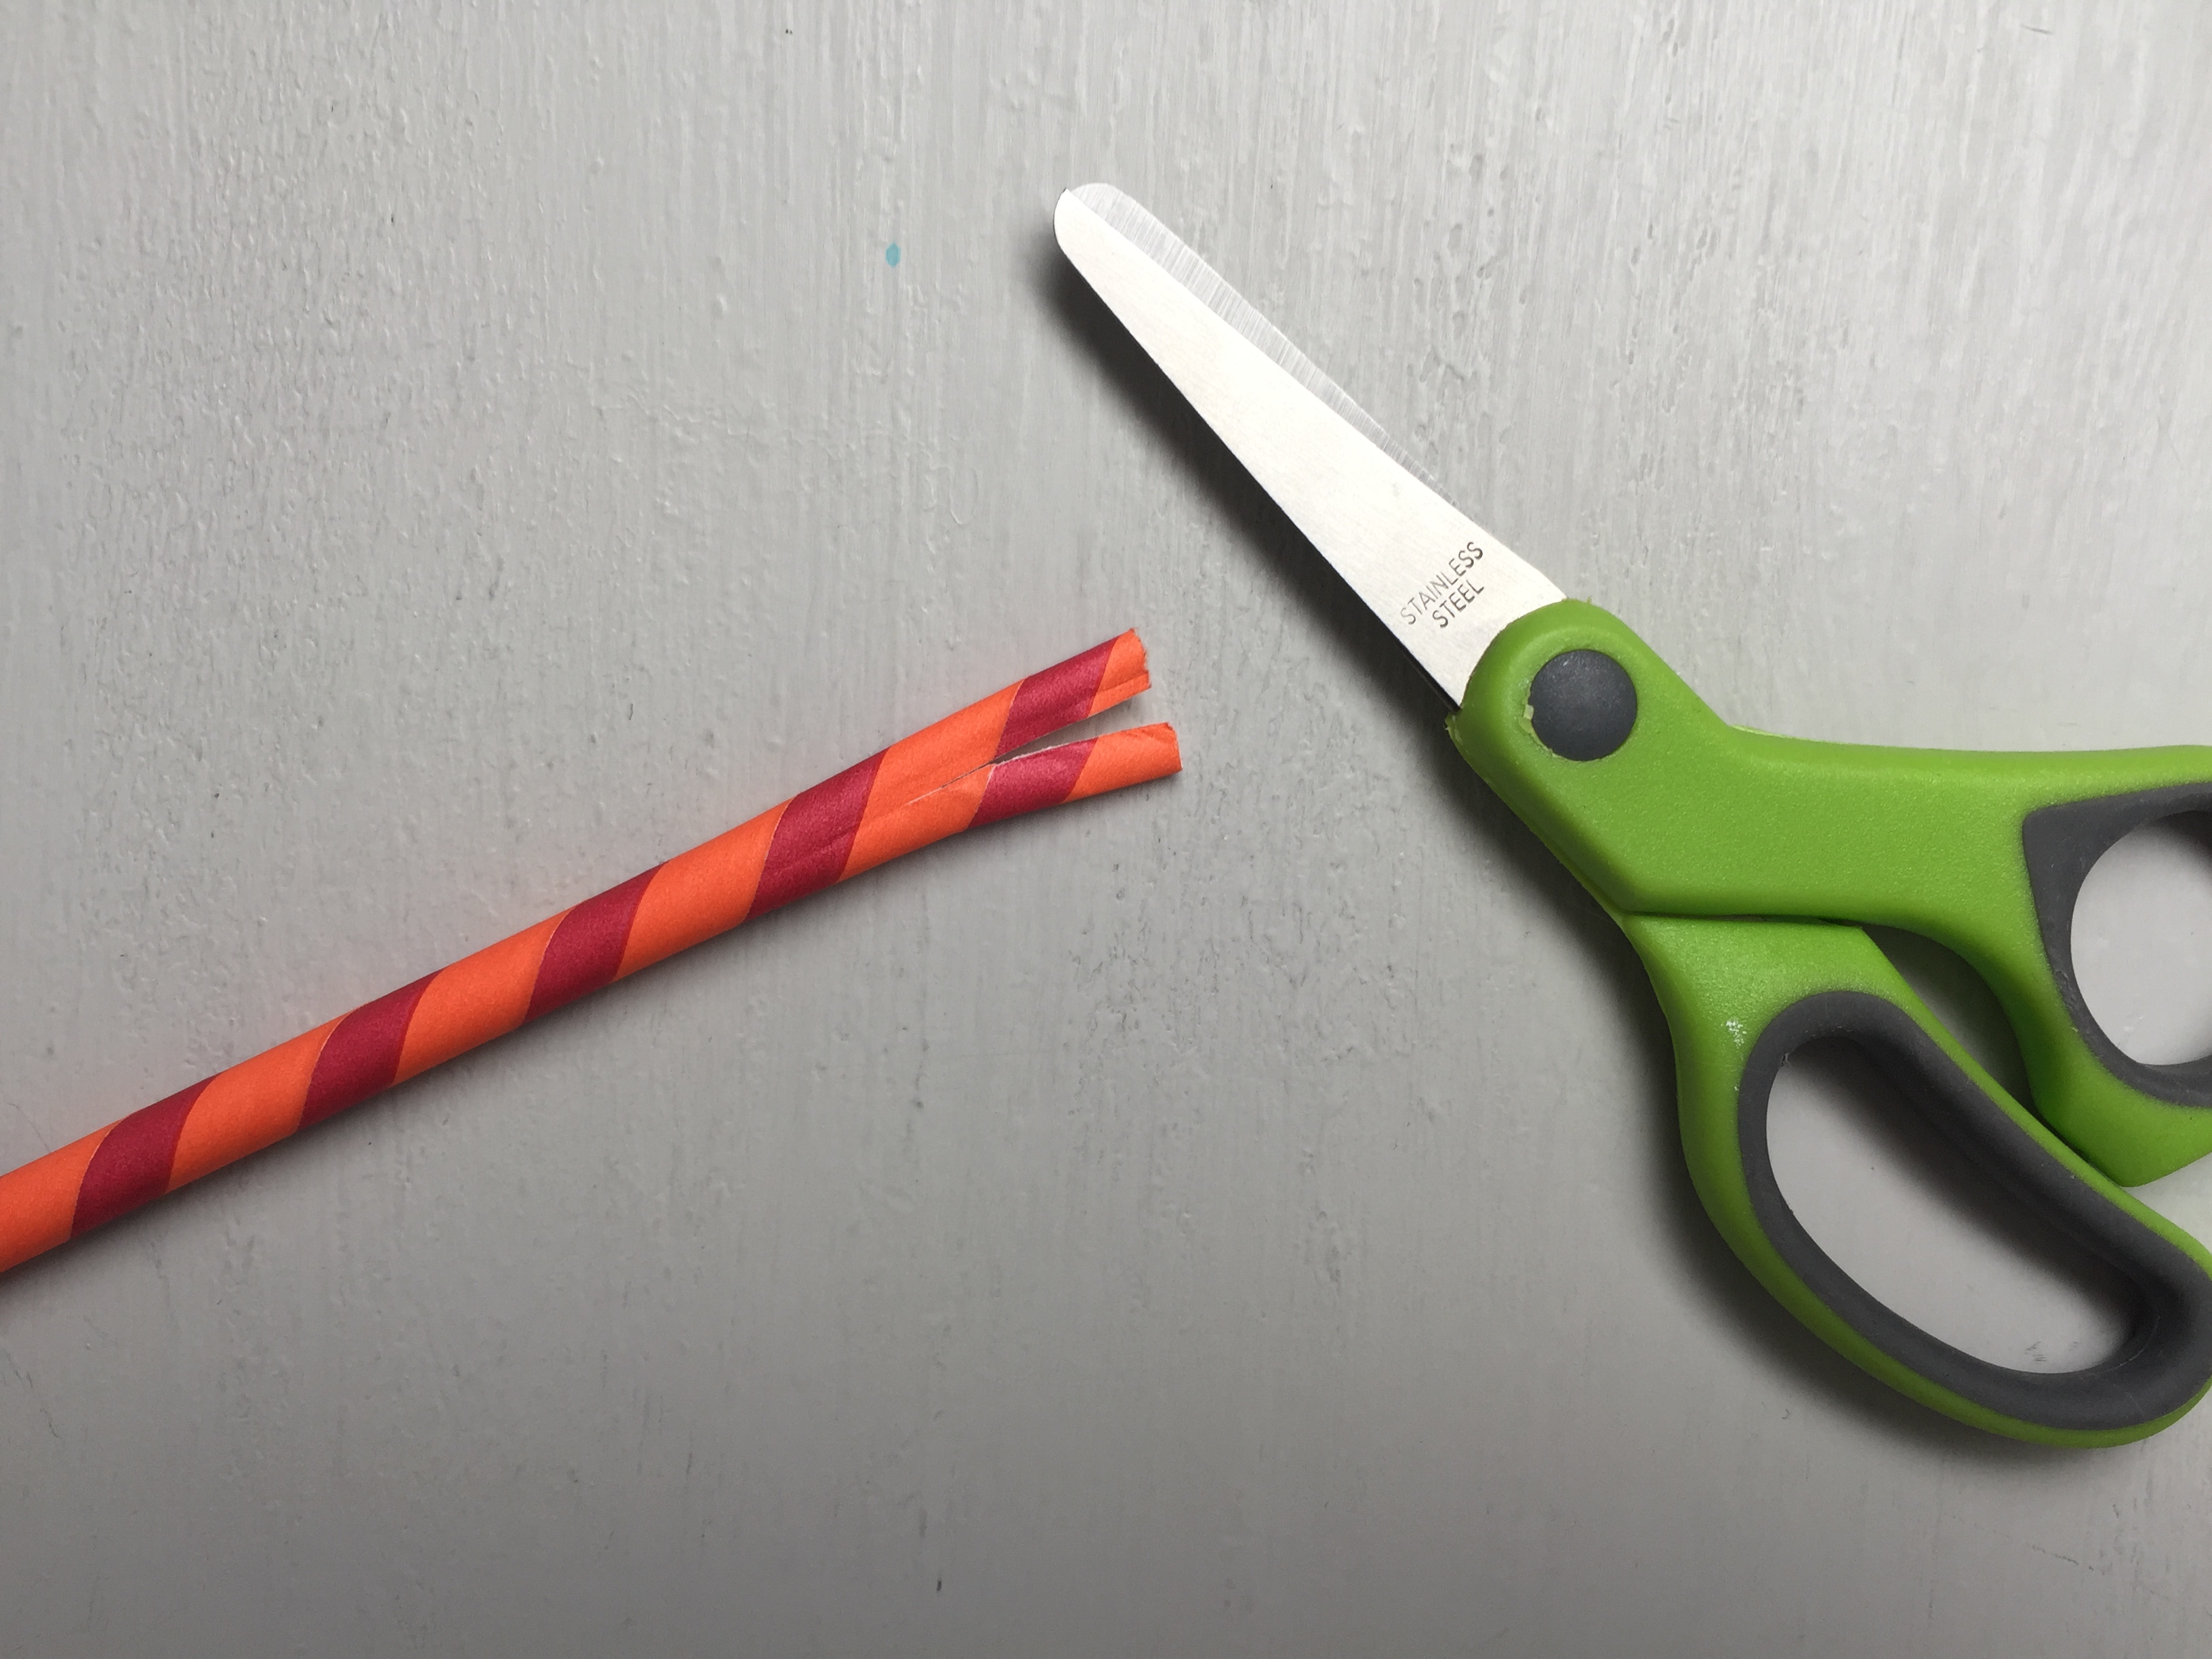
Step 6
To create the thaumatrope base, take scissors and carefully cut your straw down the middle. You’ll want to cut about 1 inch.
Step 7
Insert your illustrated paper tab into the cut slot on your straw. Align the straw to lay over the grey area. Tape the straw and paper tab together.
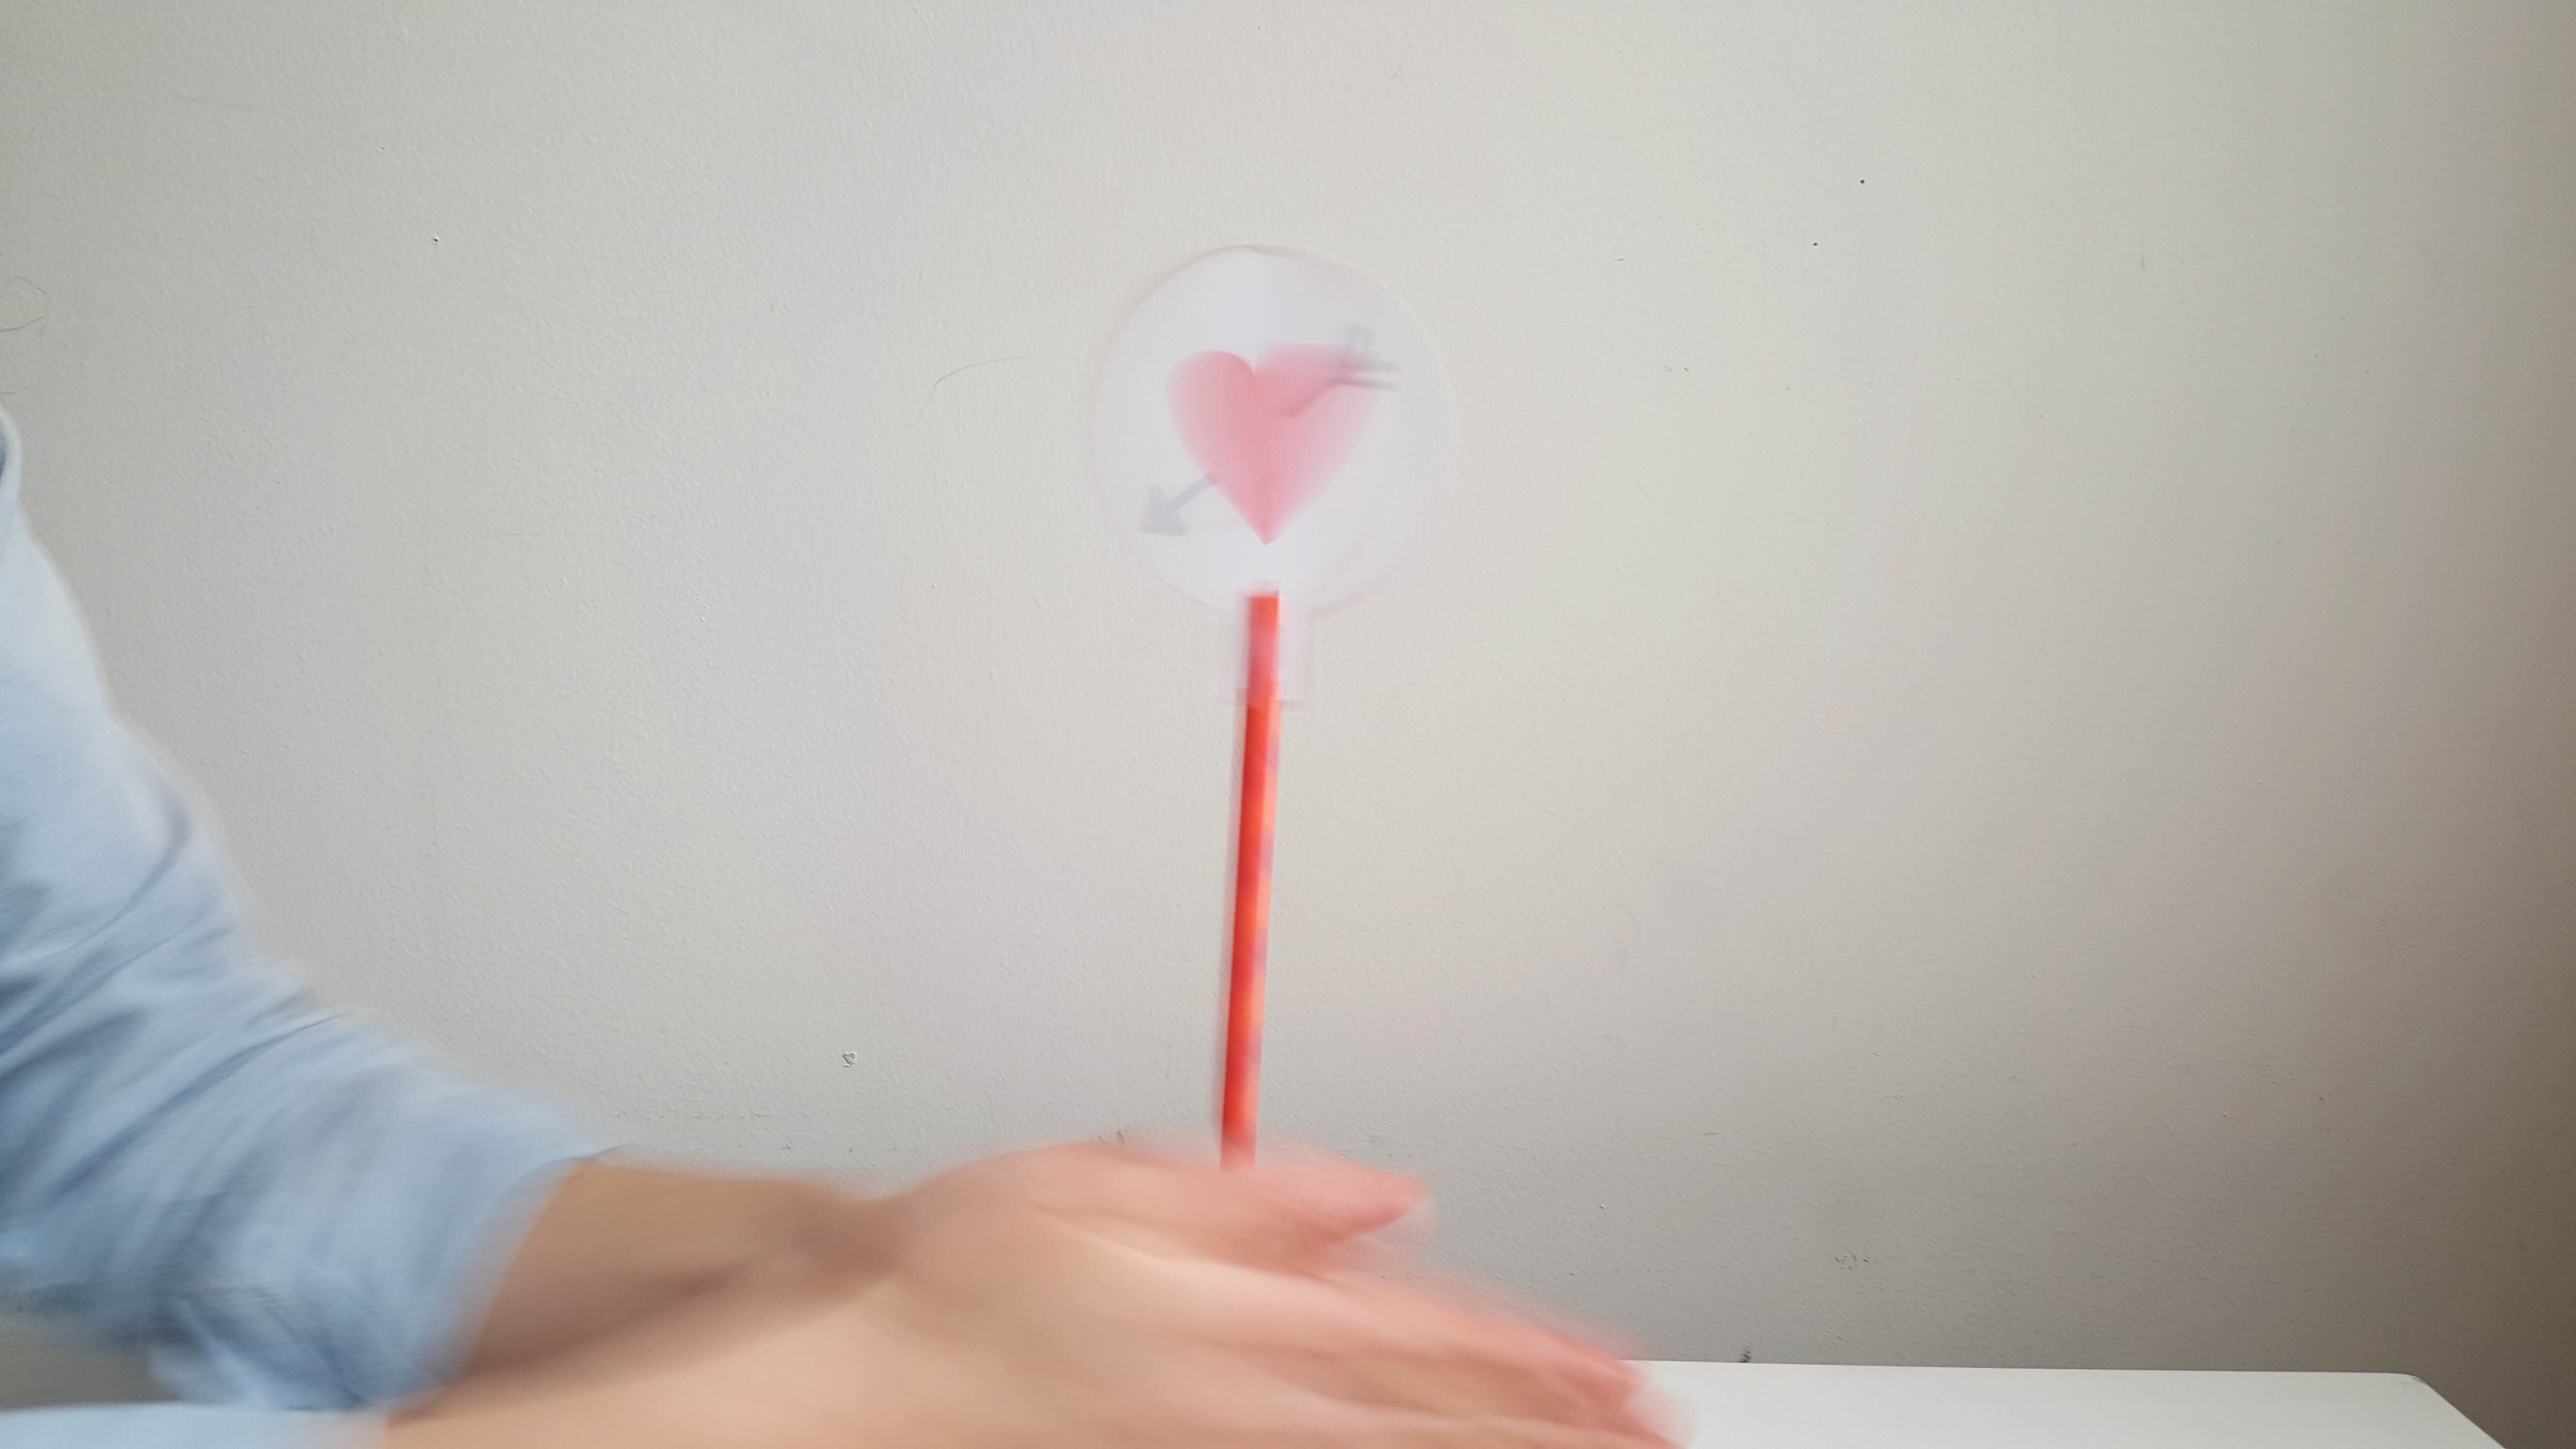
Final result!
Test your thaumatrope by rolling it back and forth between your hands. Can you see your two images meld into one? What other pairs of images can you think of? Try drawing a stick figure with arms that wave back and forth, or maybe an empty fish bowl and a goldfish.