Step-by-step tutorial
Step 1
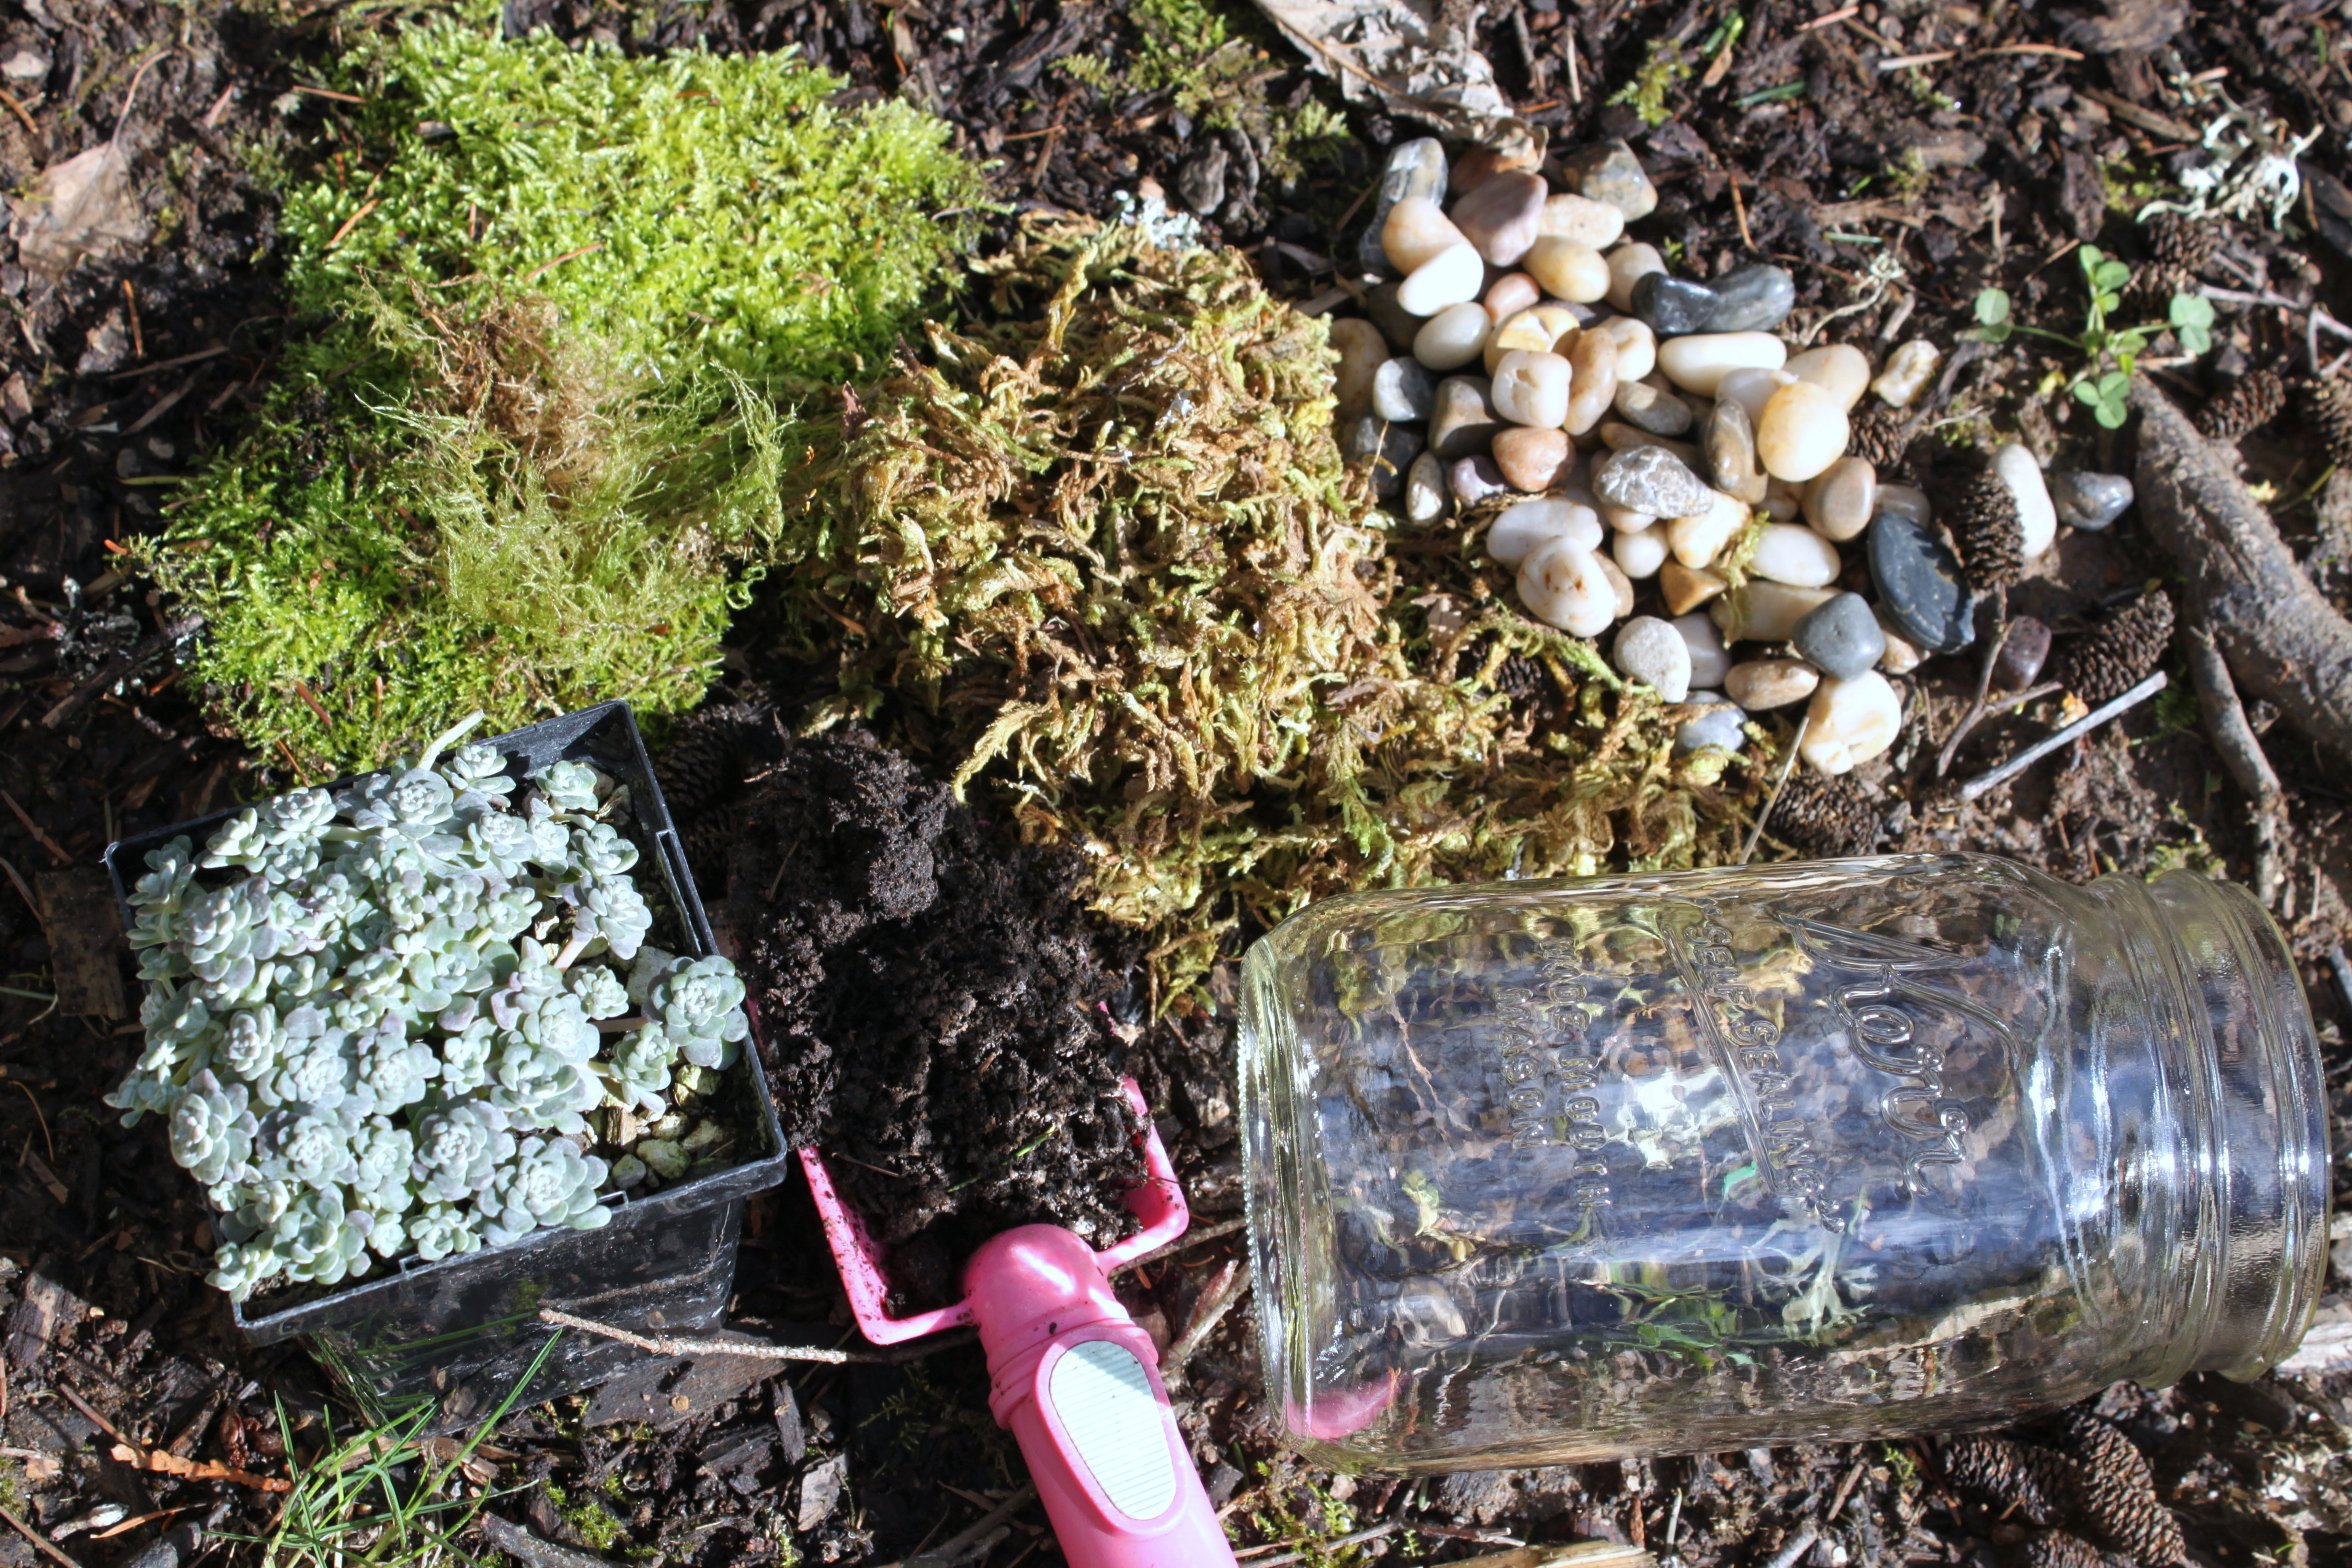
Most of the materials for our jars were found right in the yard. We went on a little nature walk to start off our adventure and collected rocks and moss and even scooped some soil from our own garden.

Step 2
Emma started off her terrarium by adding a layer of dry moss. You can find dry moss at any craft store.
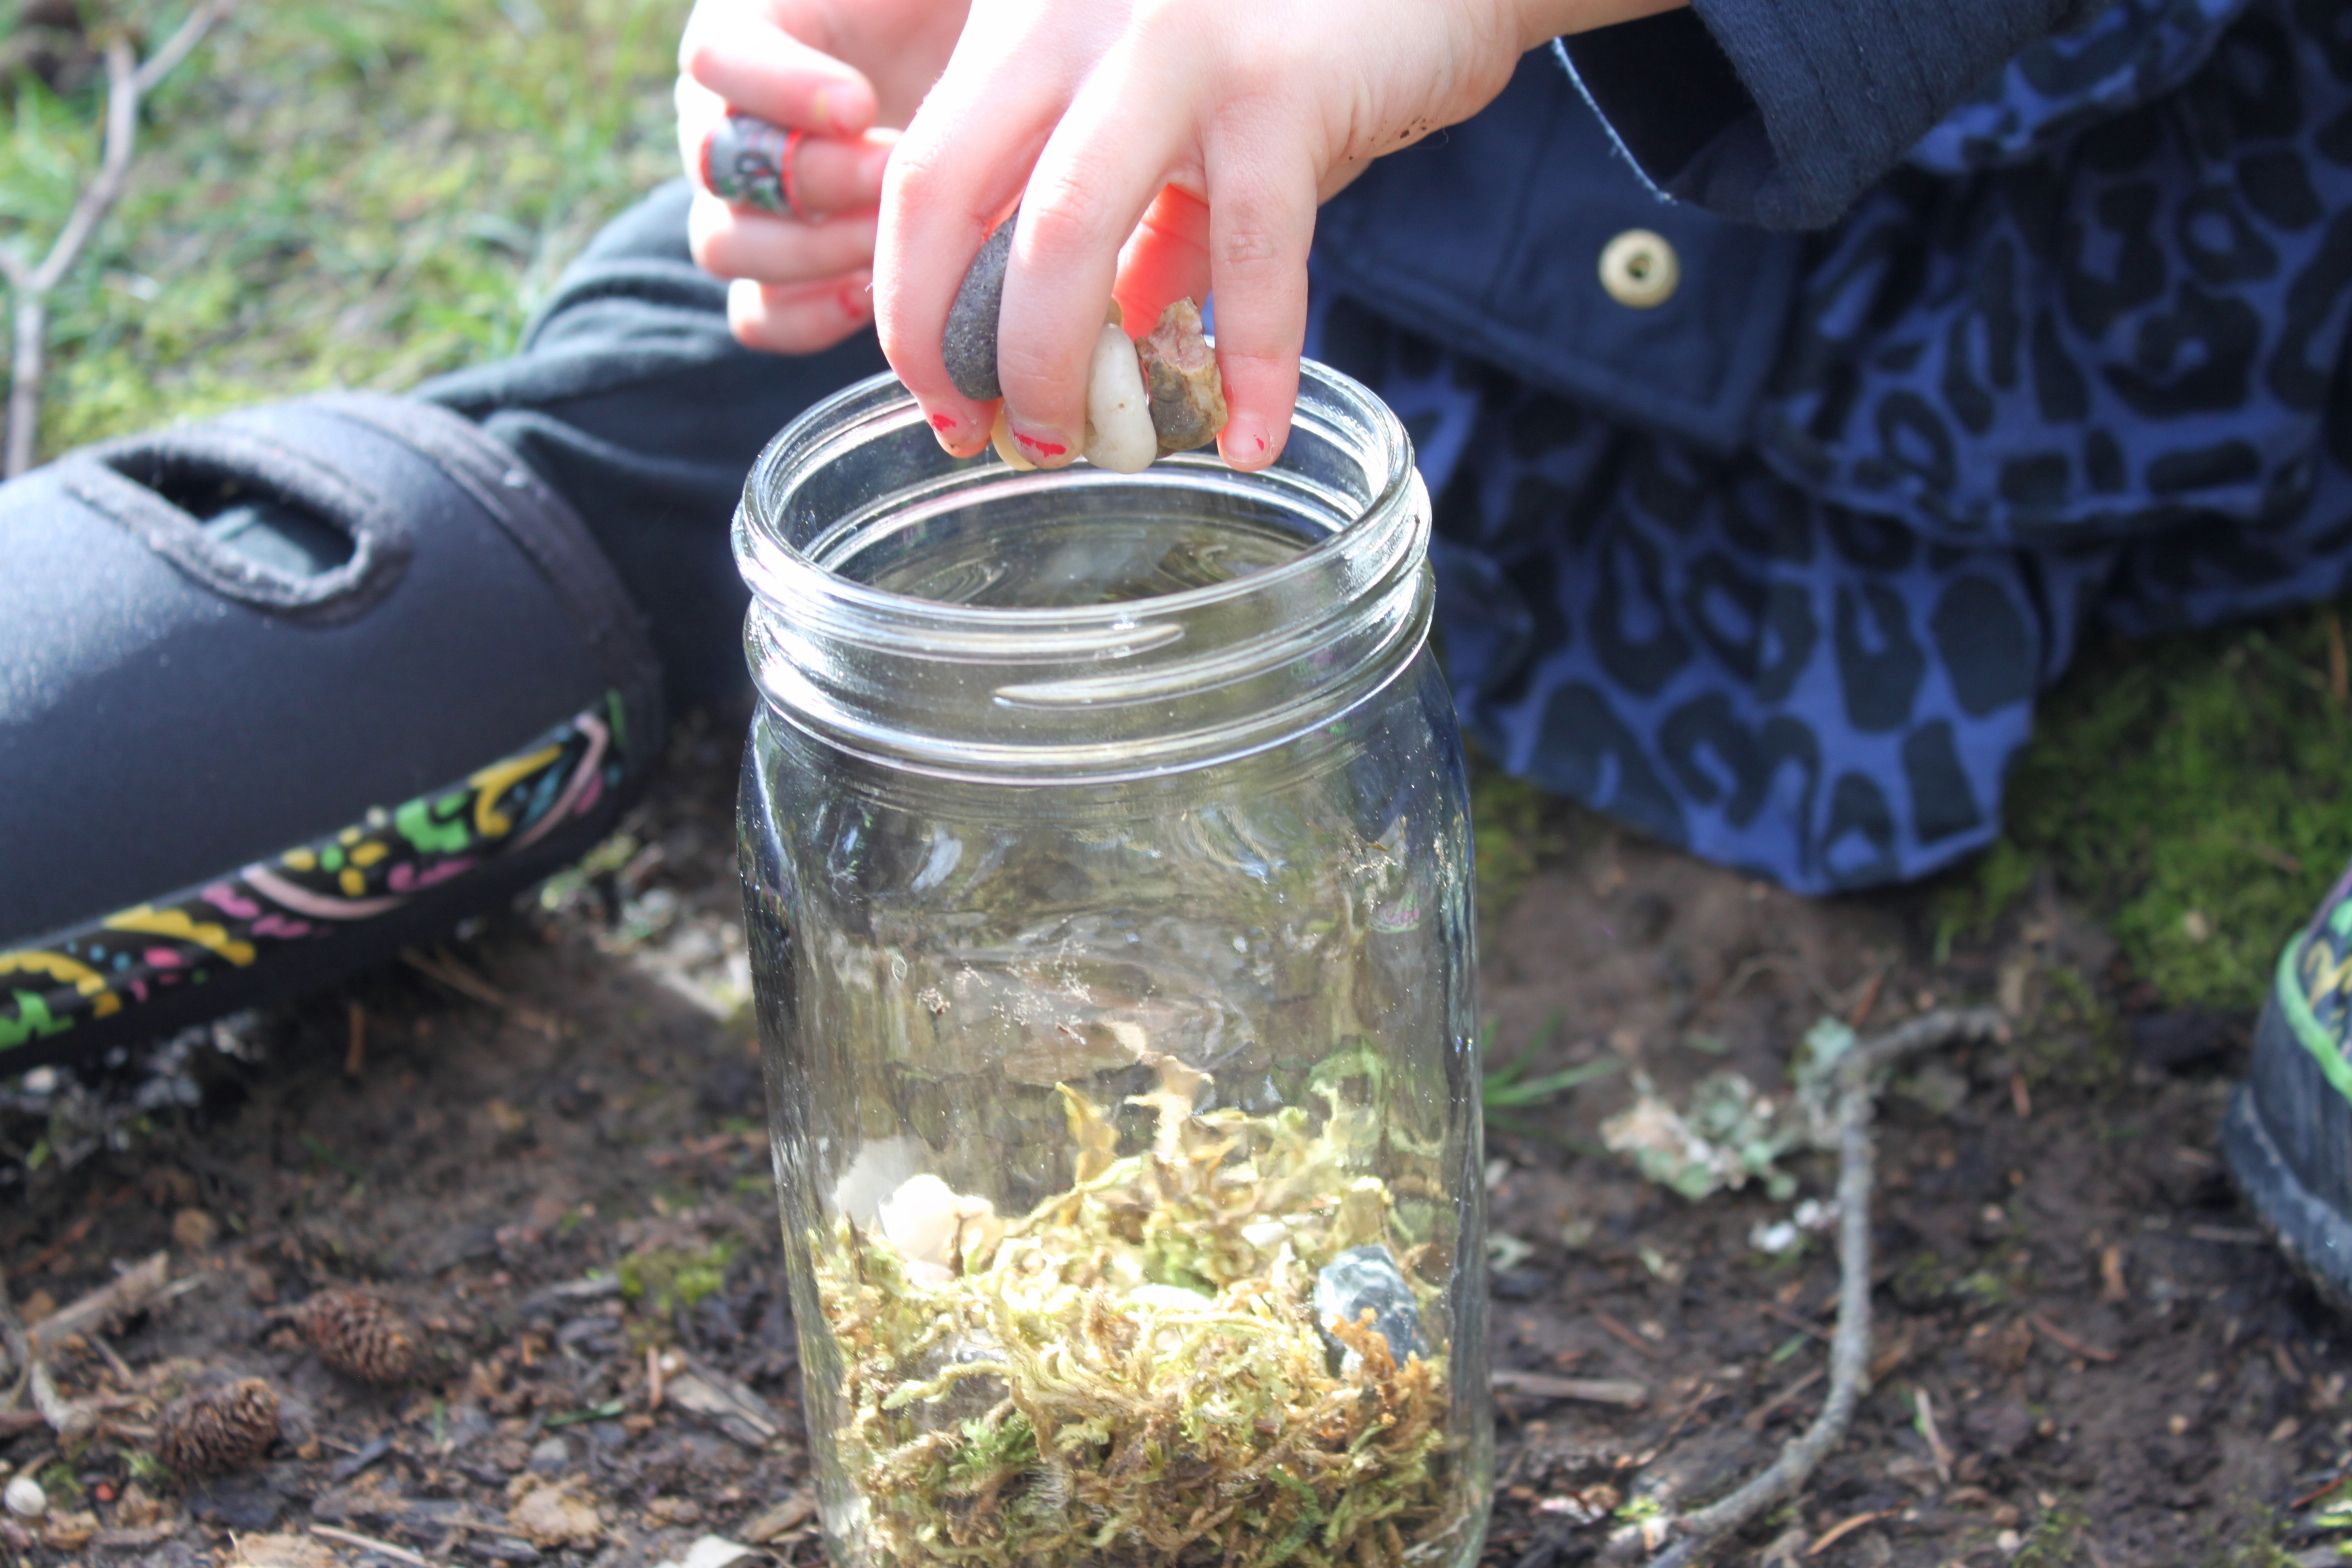
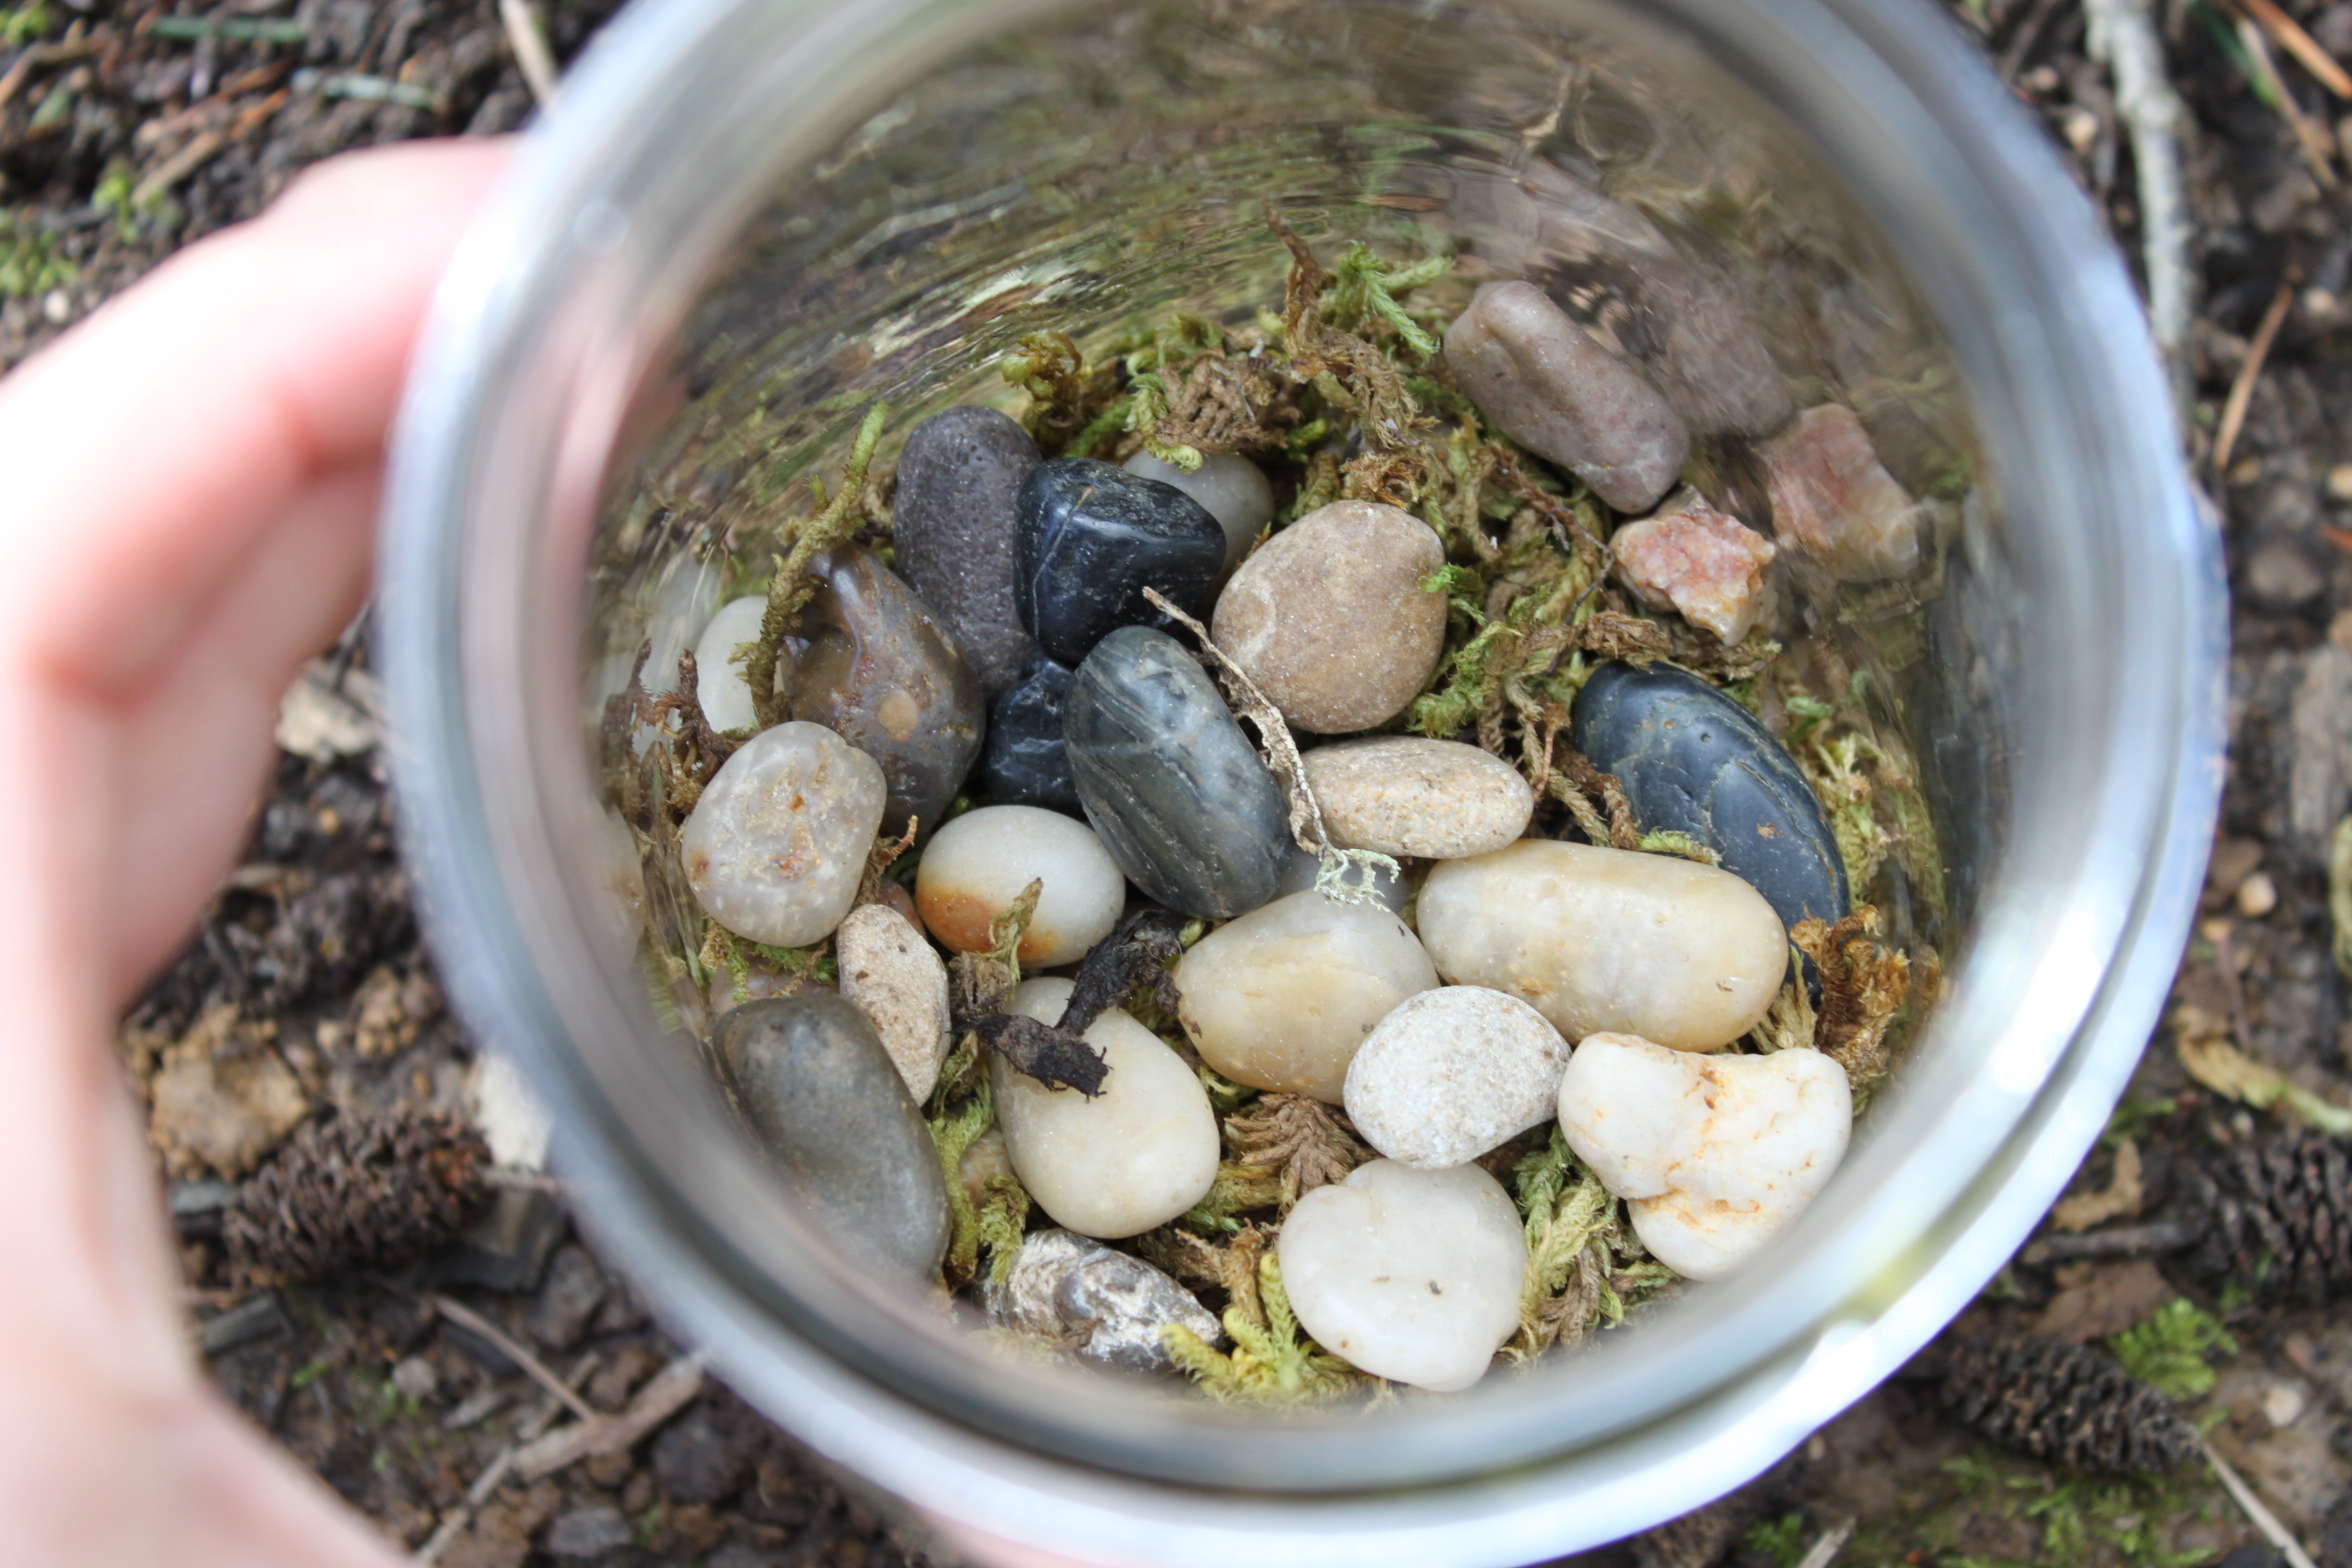
Step 3
Next, she added our collected stones. These first two layers help with drainage, since our jars don't have holes at the bottom.
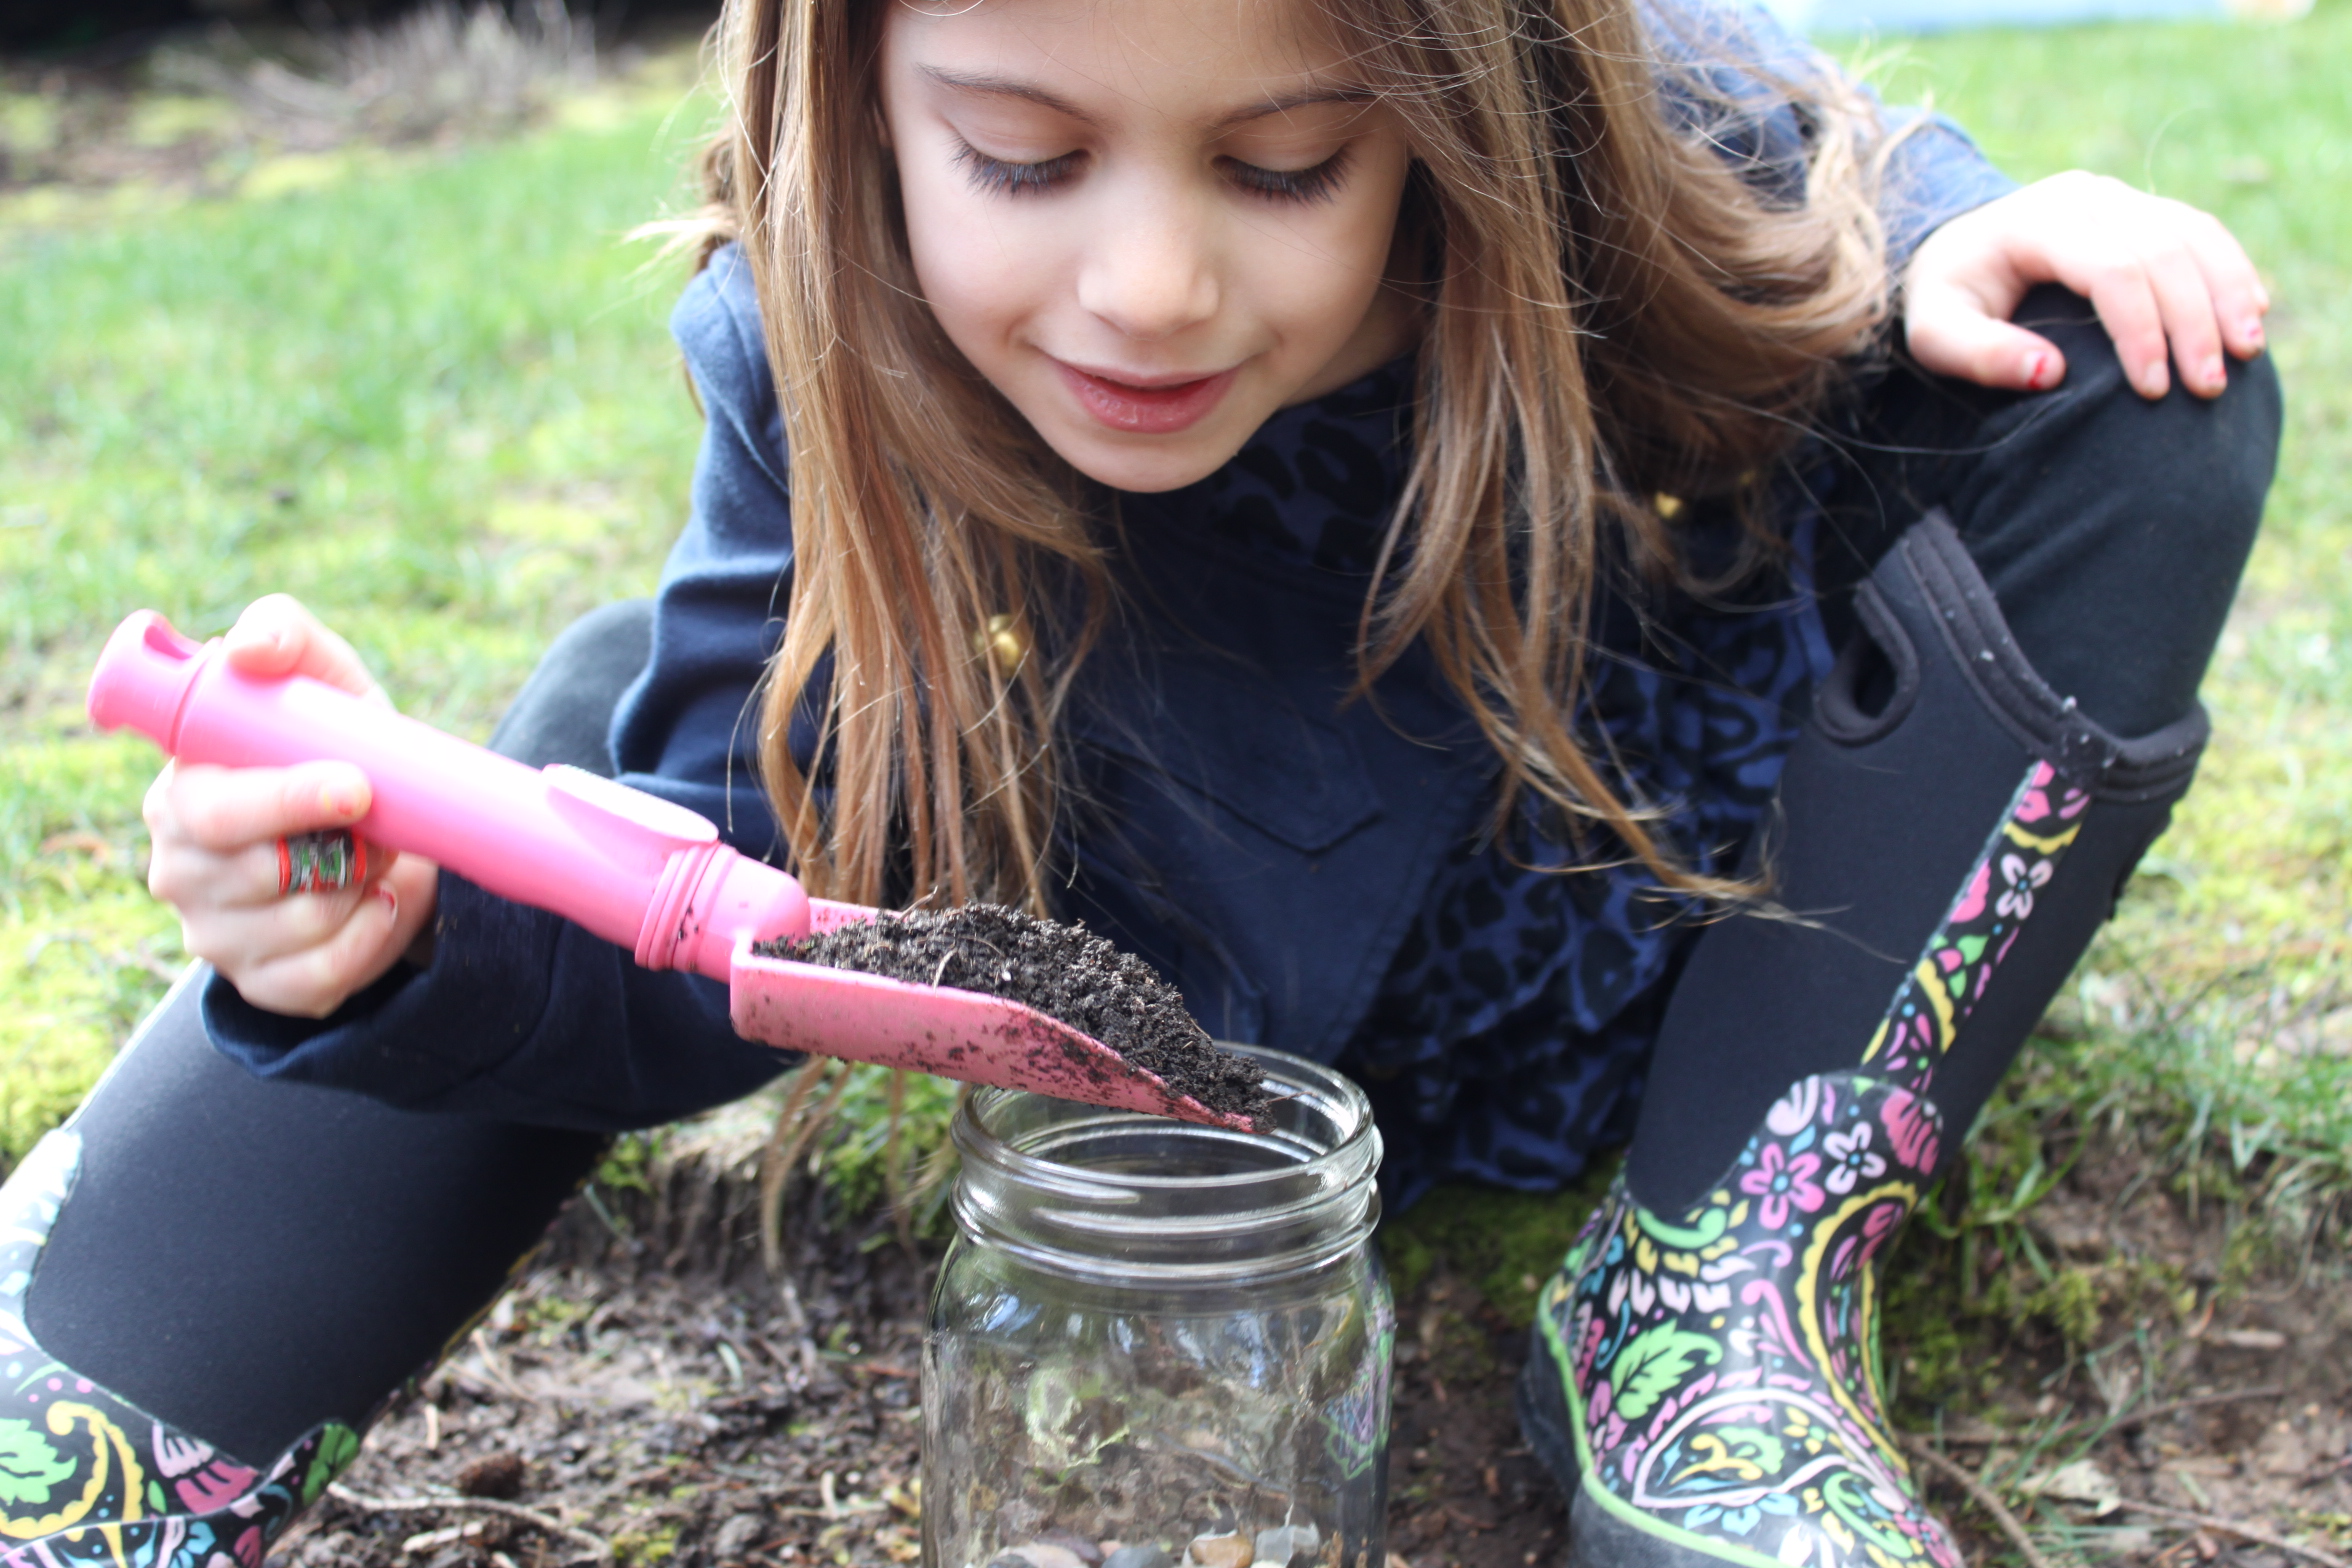
Step 4
Adding our soil was the most fun for both my children. Any reason to play with dirt is always exciting!
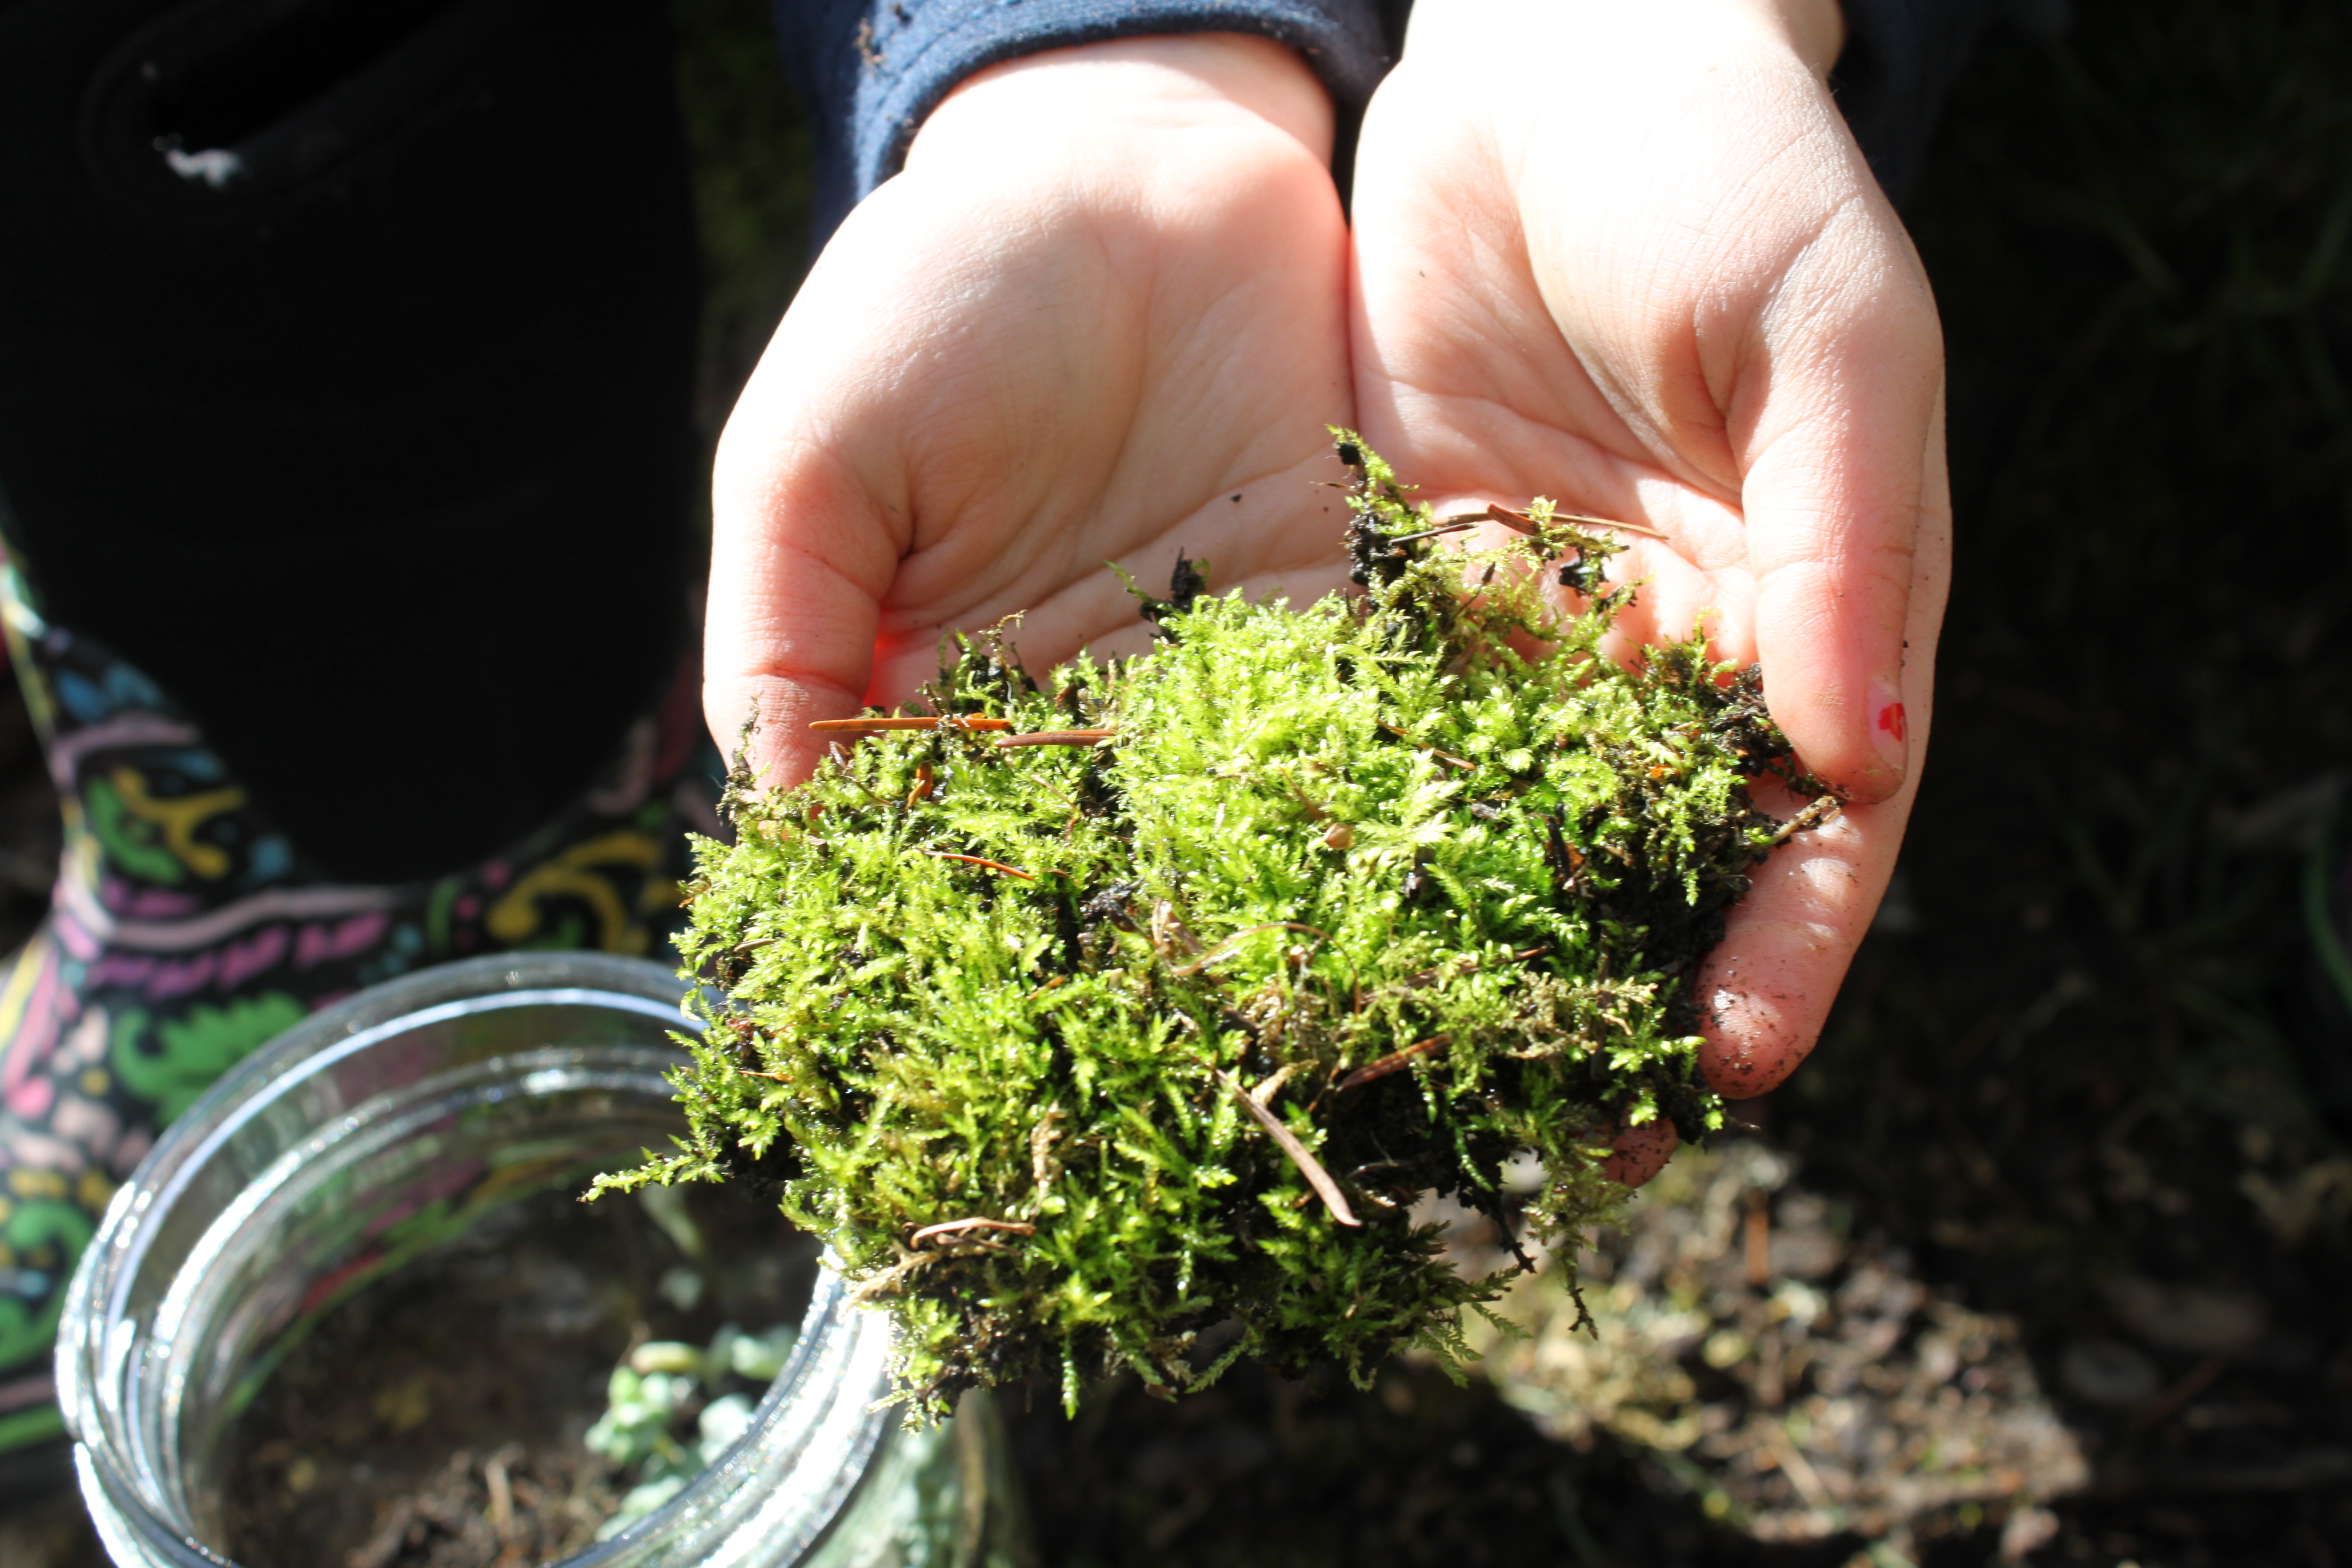
Step 5
Once we had our soil in, it was time to begin placing our live moss and plants in the jar. This moss came right out of our yard. It is very easy to dig right up.
Step 6
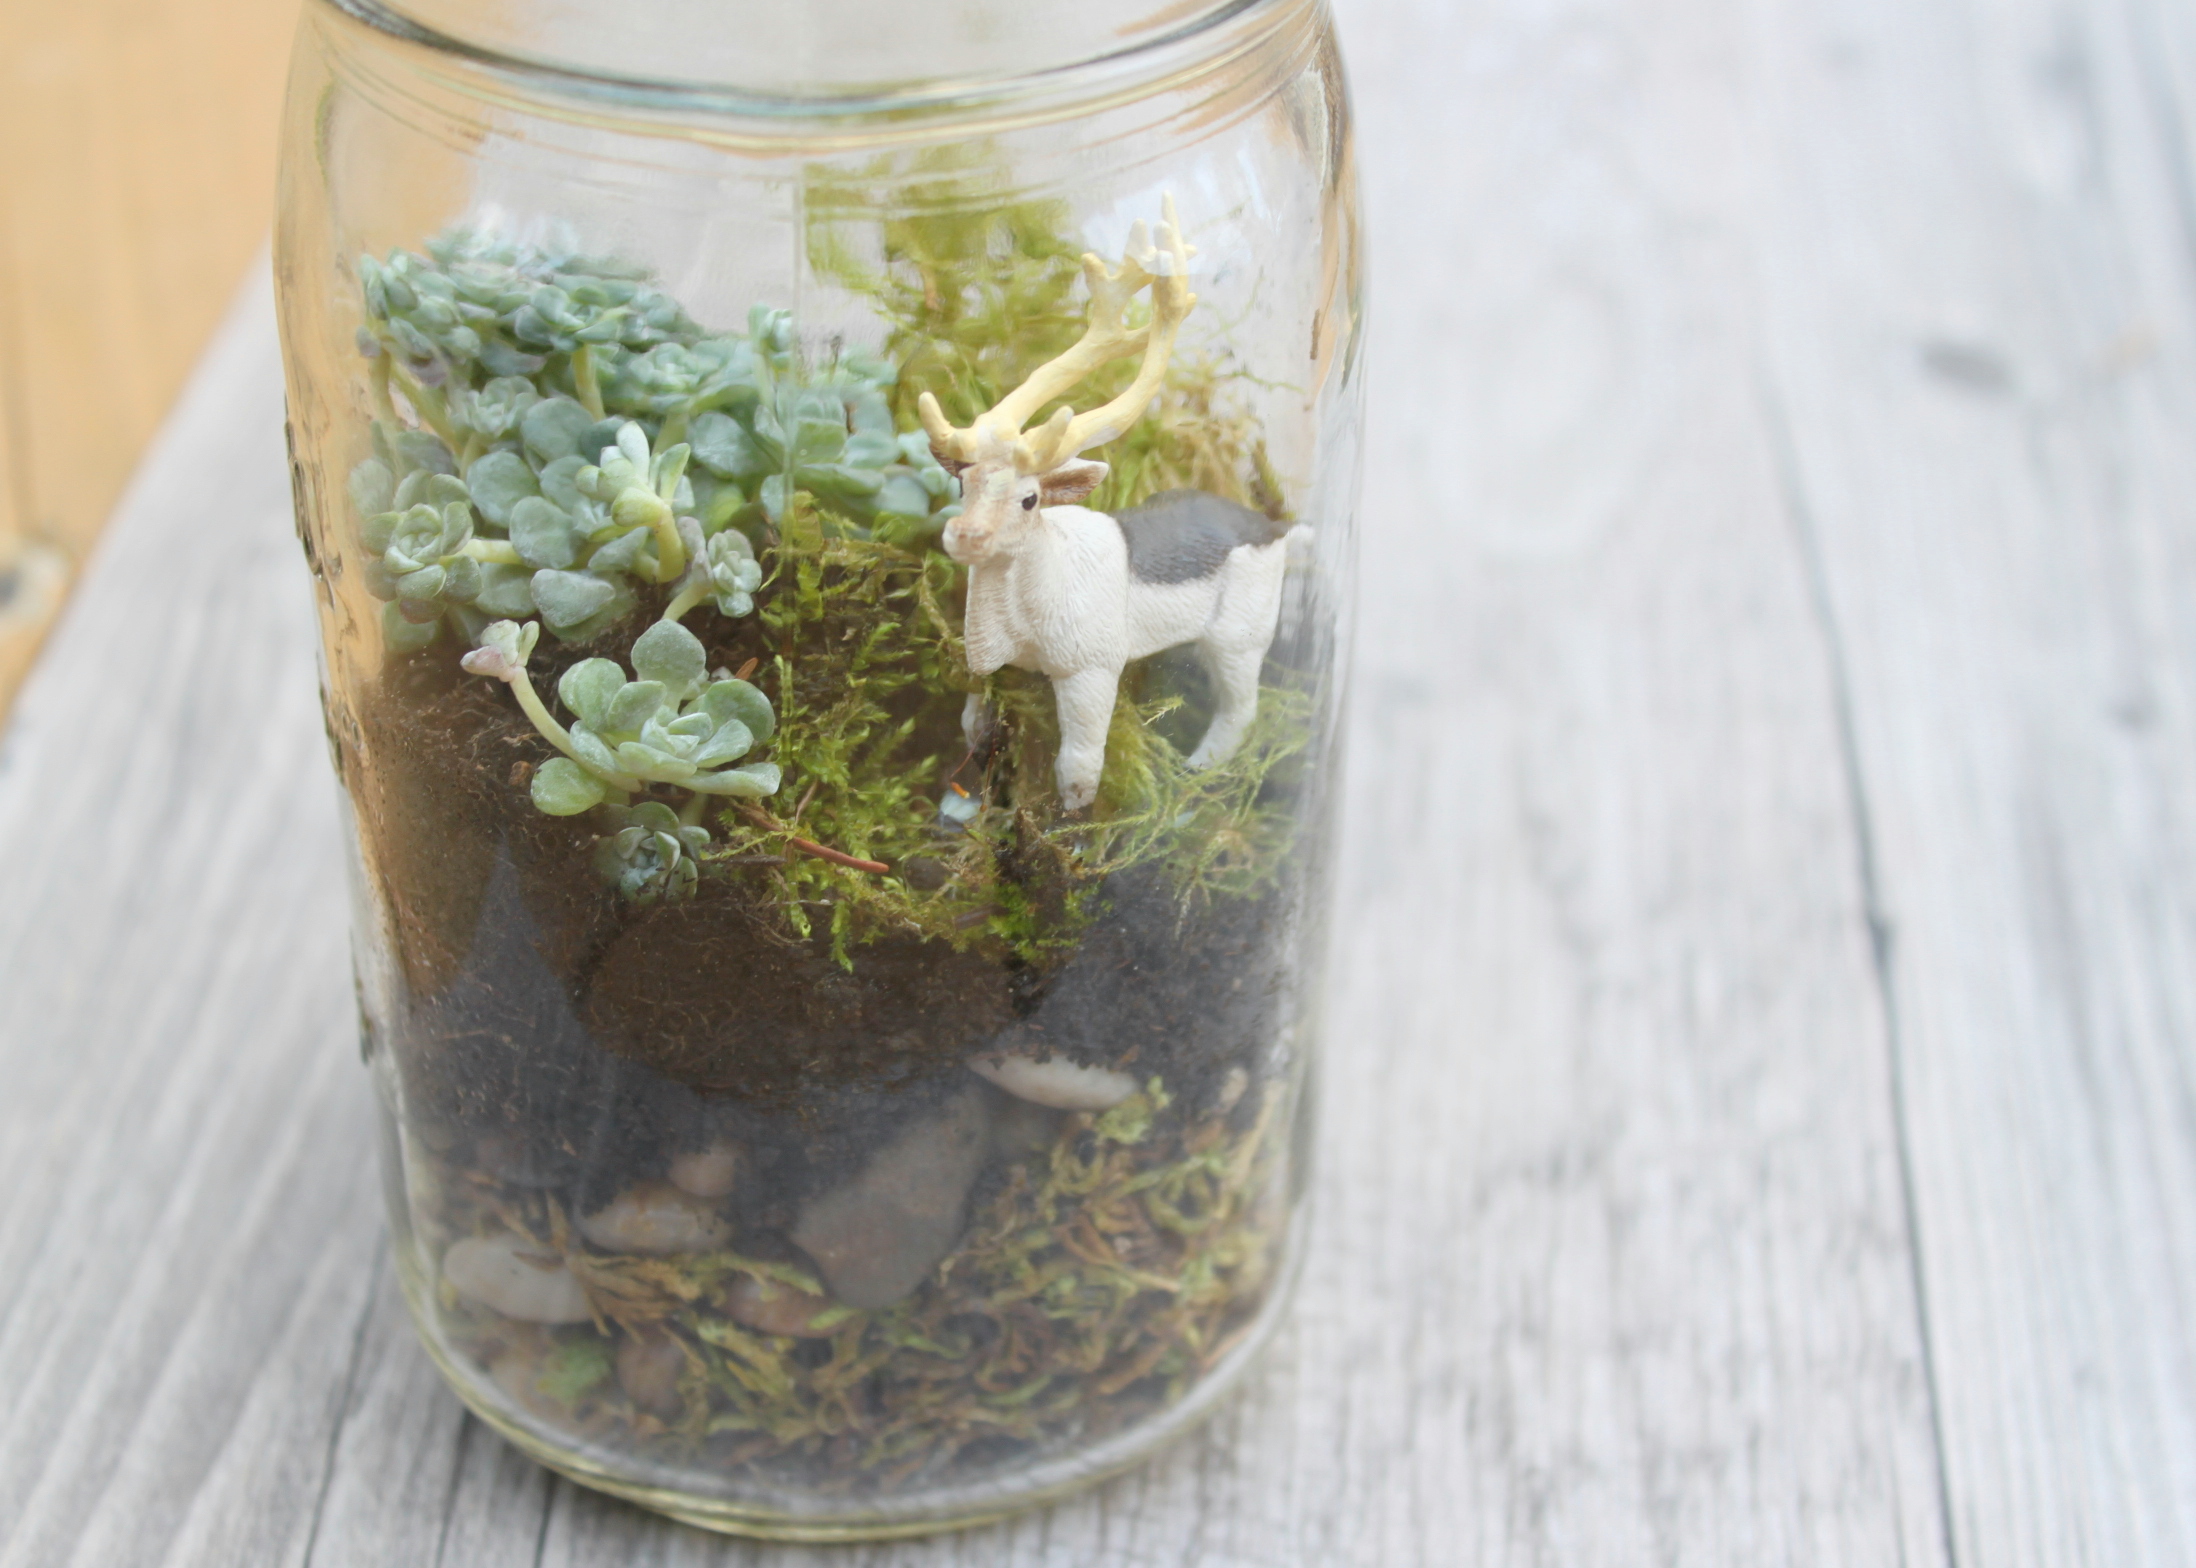
Emma decided her terrarium needed a little friend. This sweet little deer figurine was the perfect finishing touch.
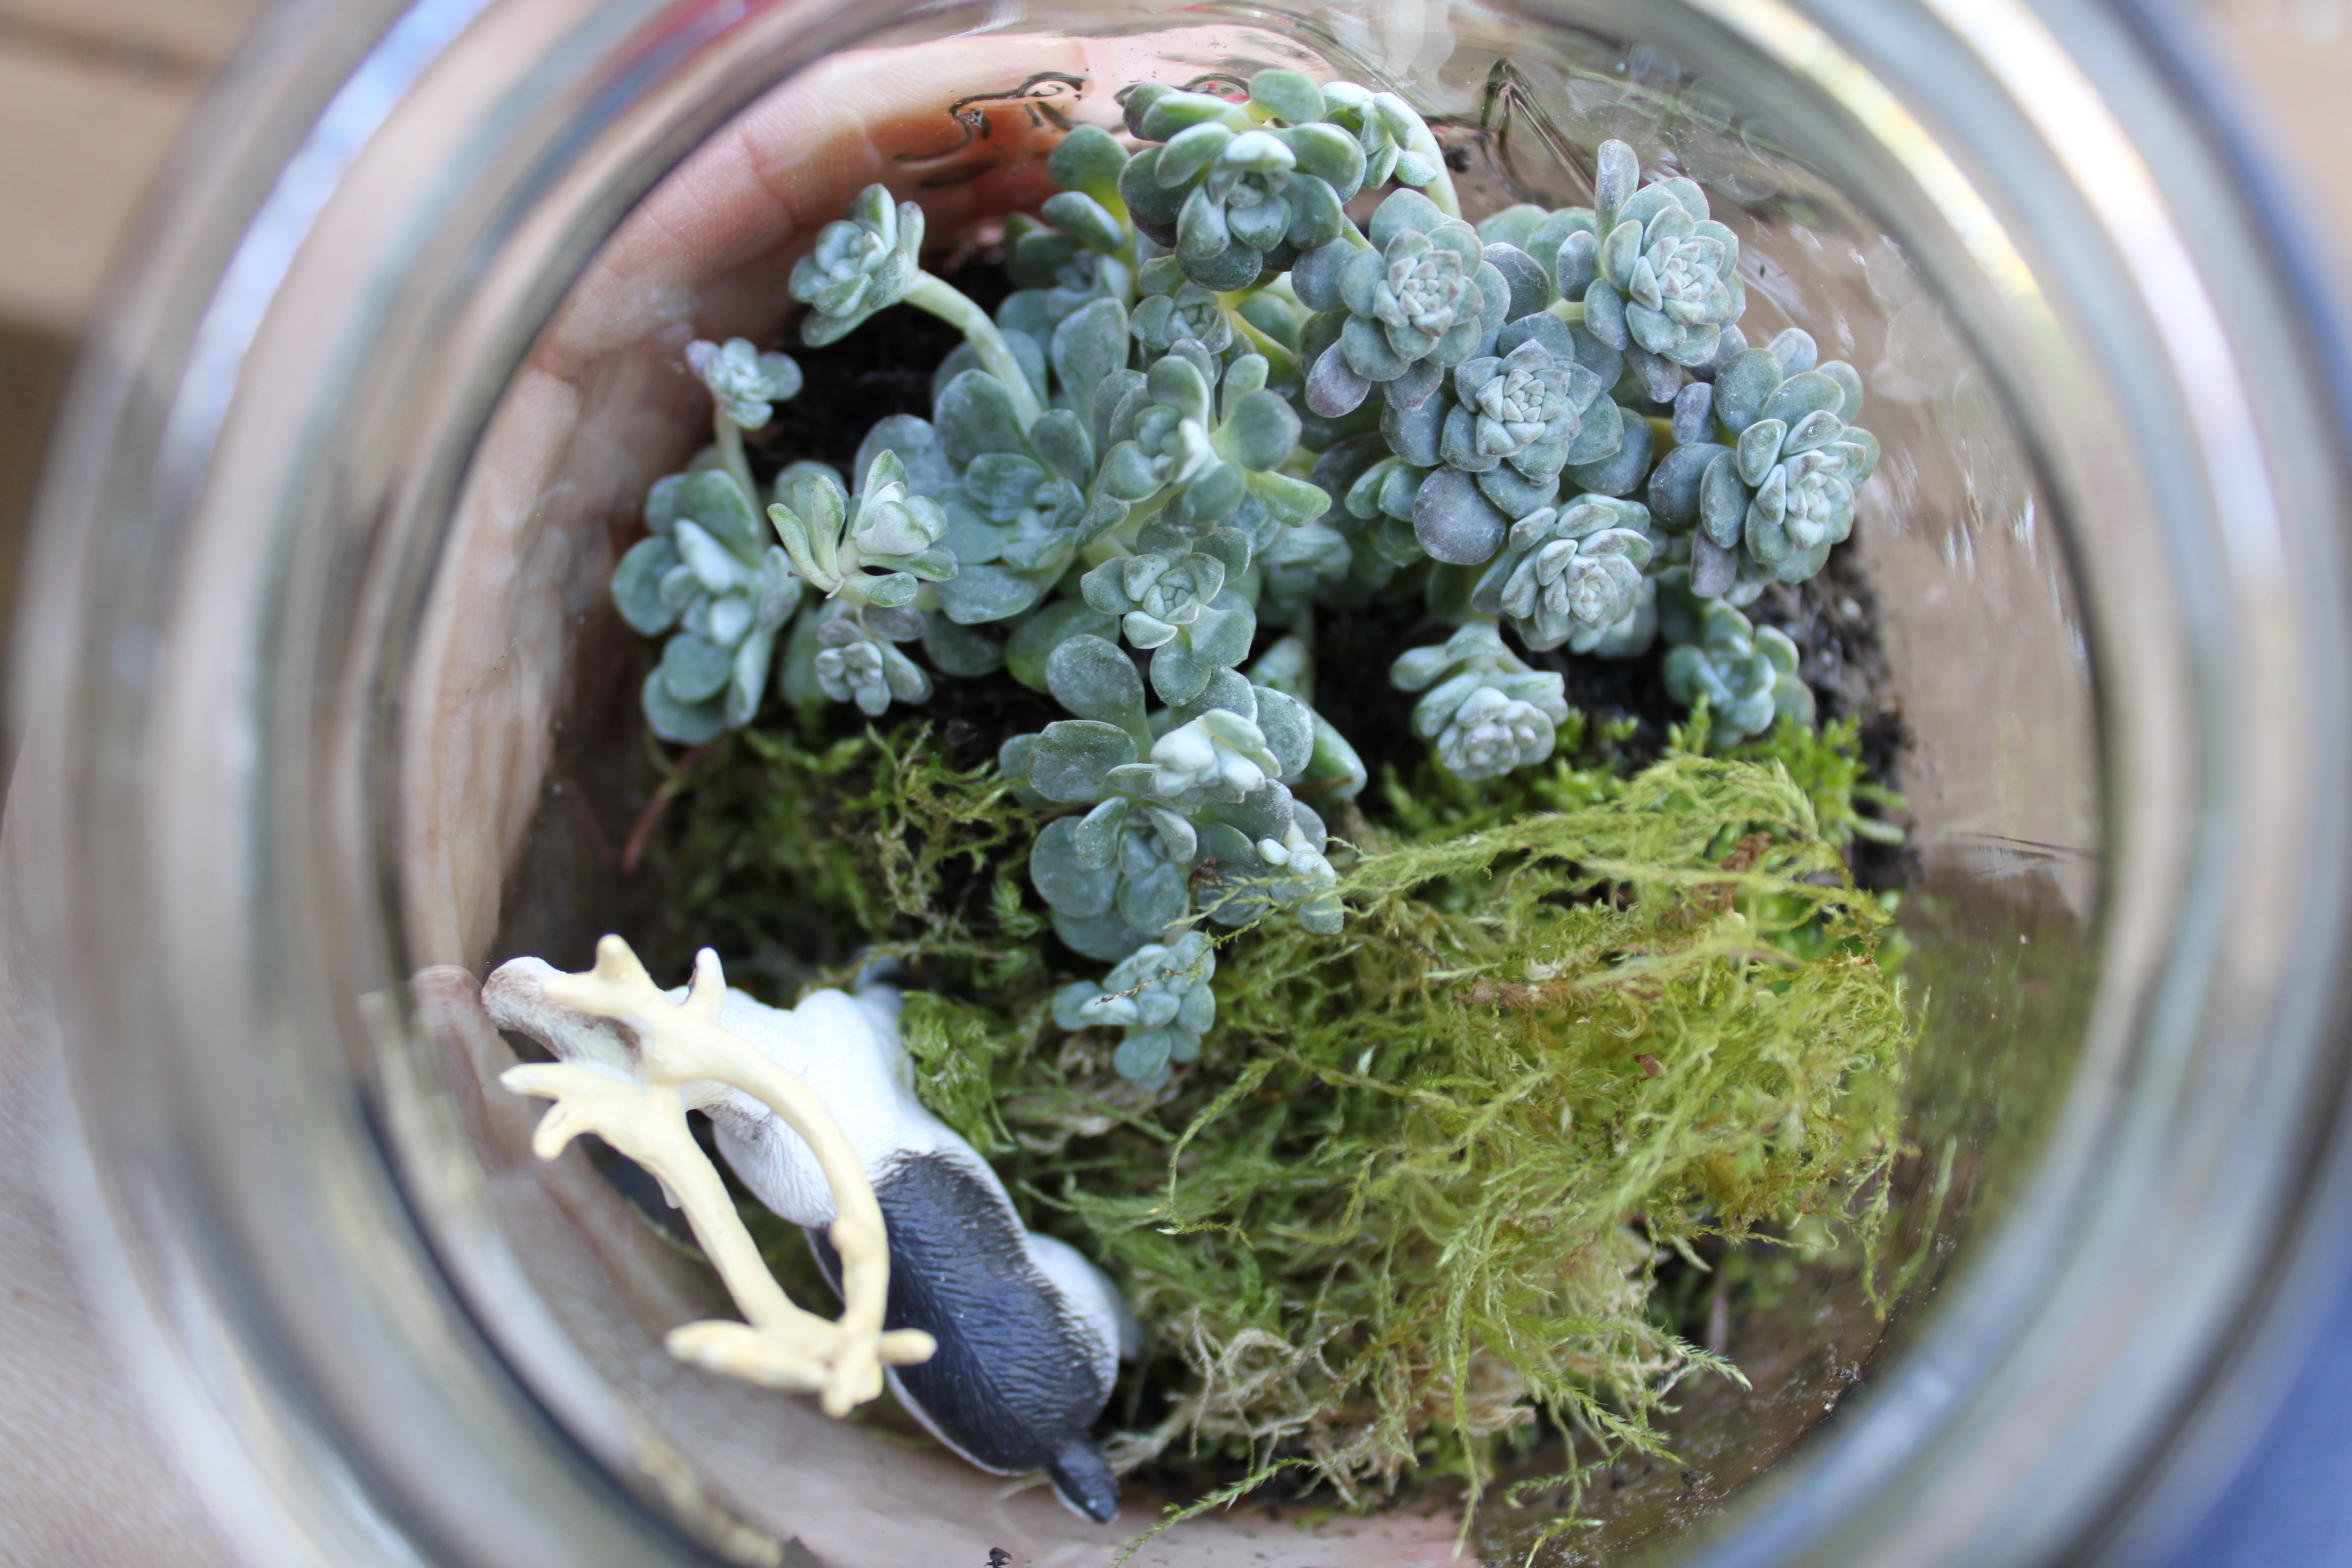
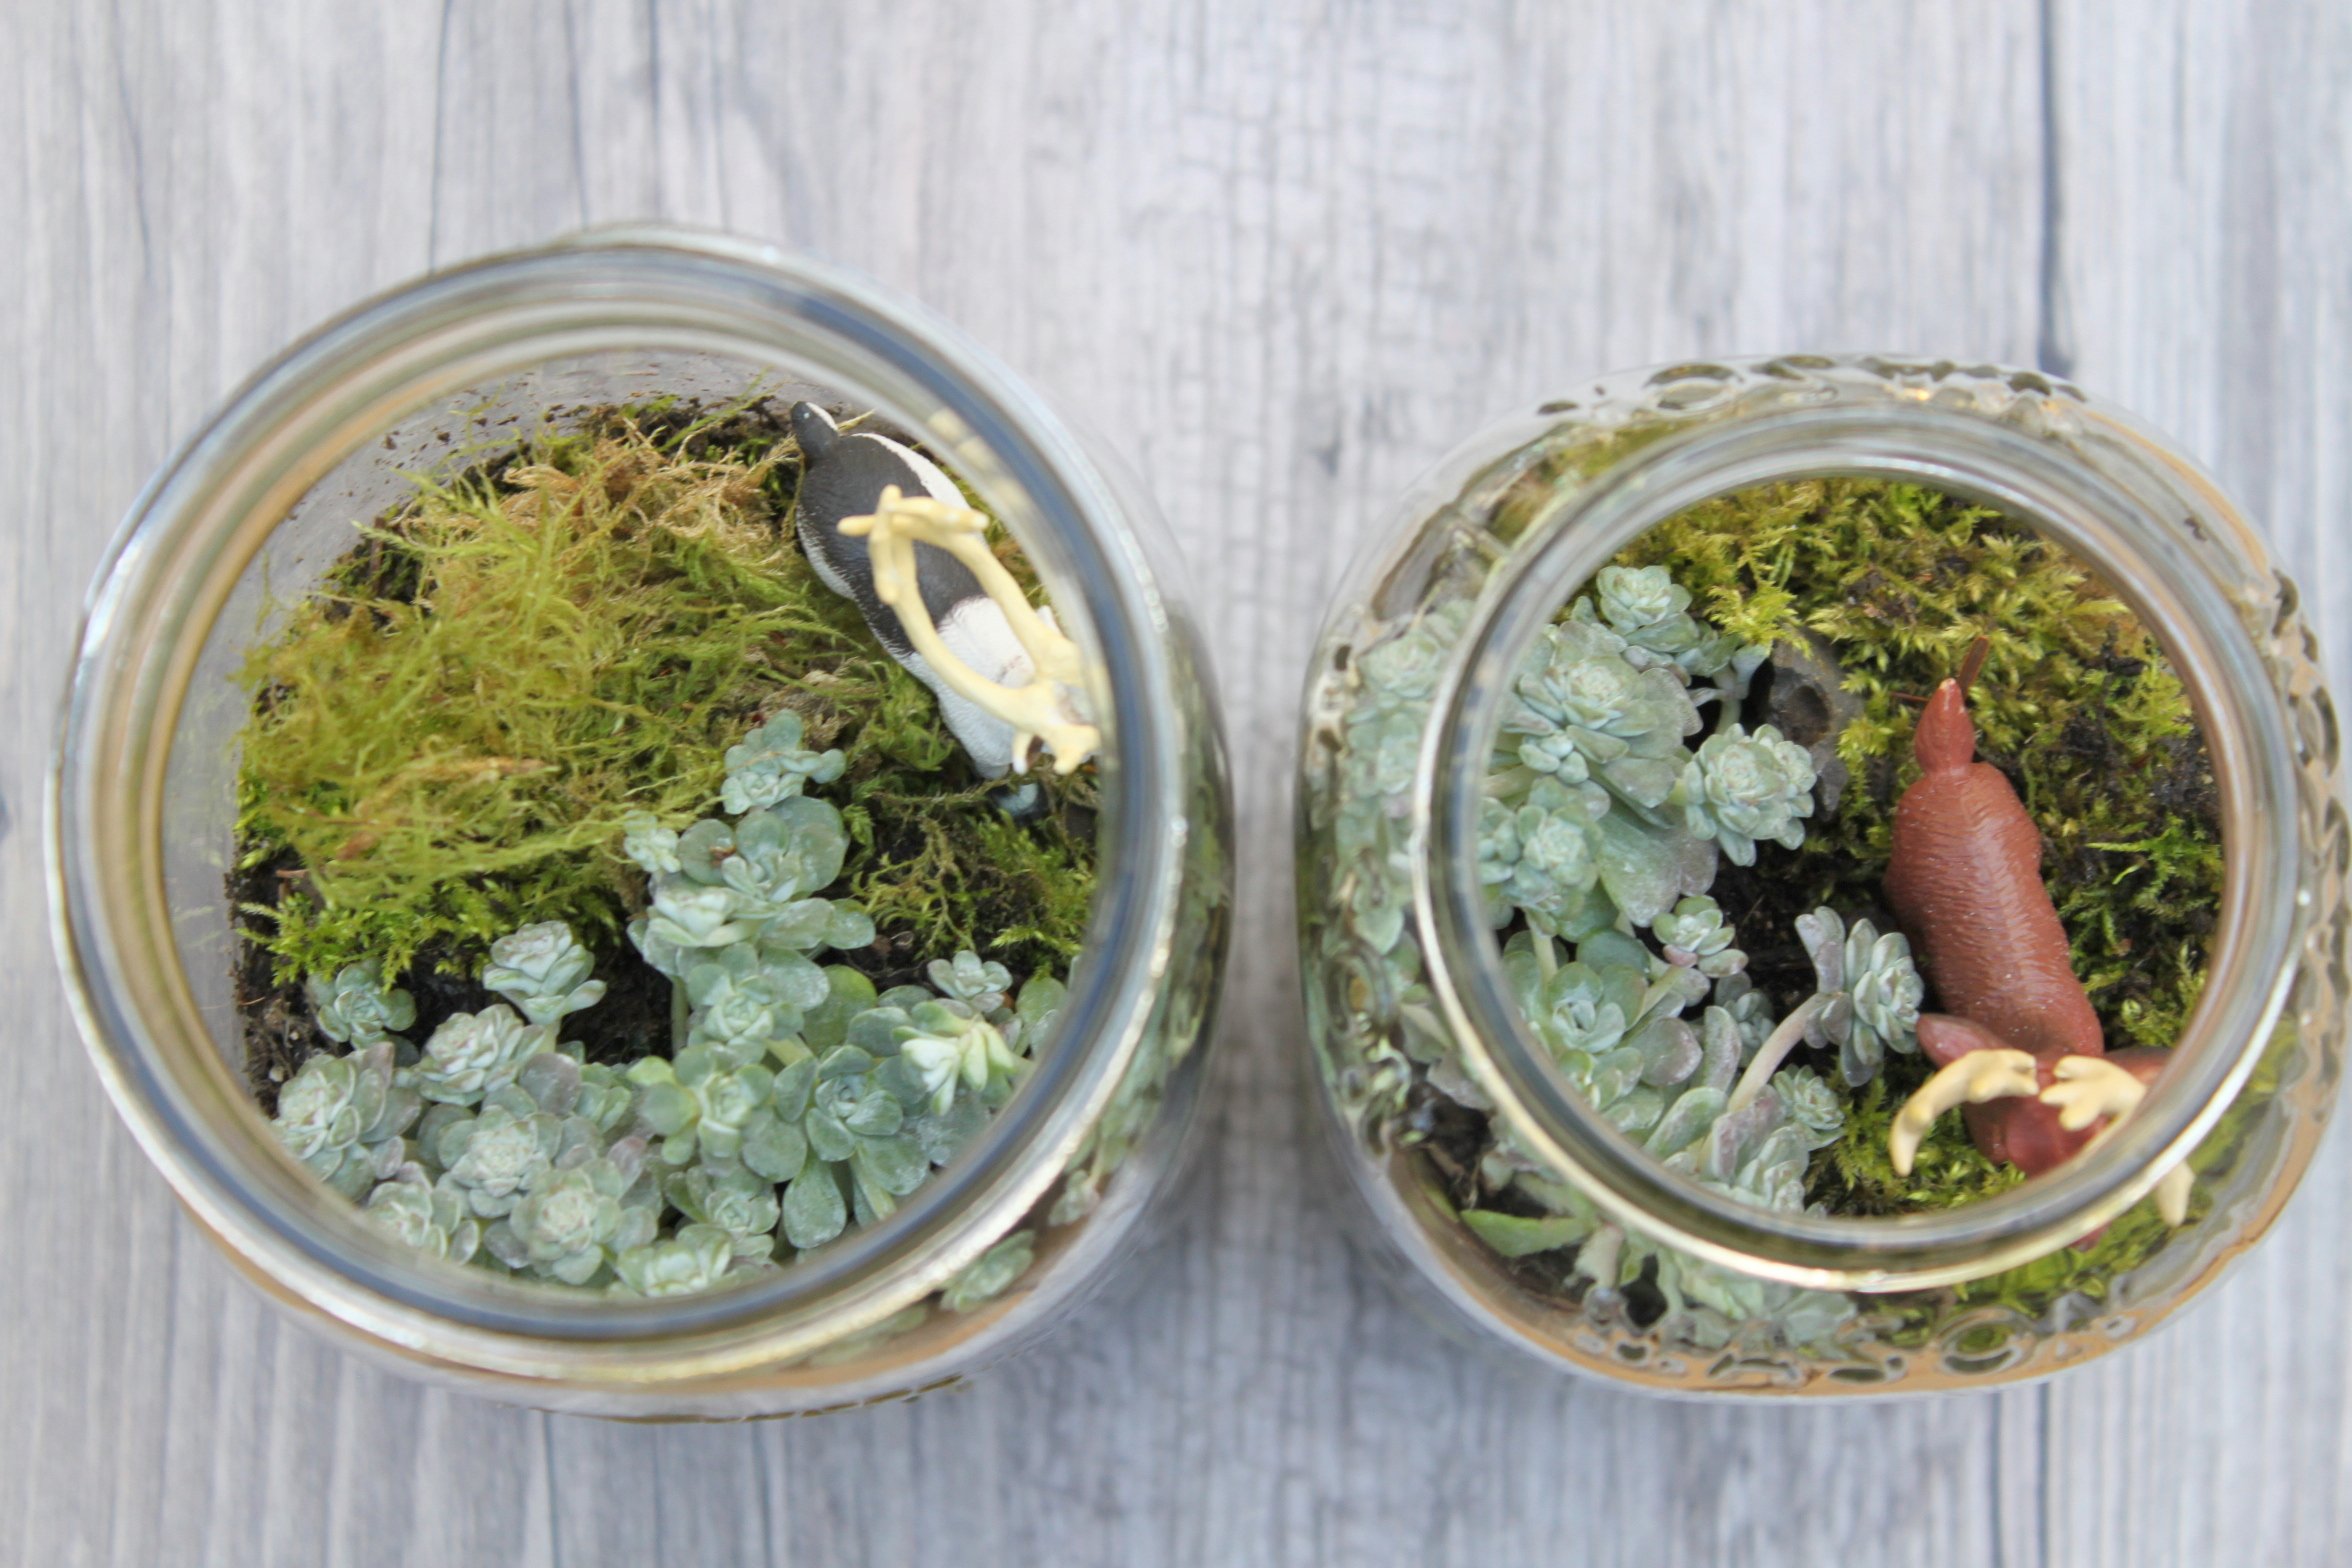
Final result!
They came out so beautifully! We love how you can see each layer. My kids love to care for their little gardens with just a spritz of water every other day. Terrariums make great gifts and are lovely to have around the house.