Step-by-step tutorial
Step 1
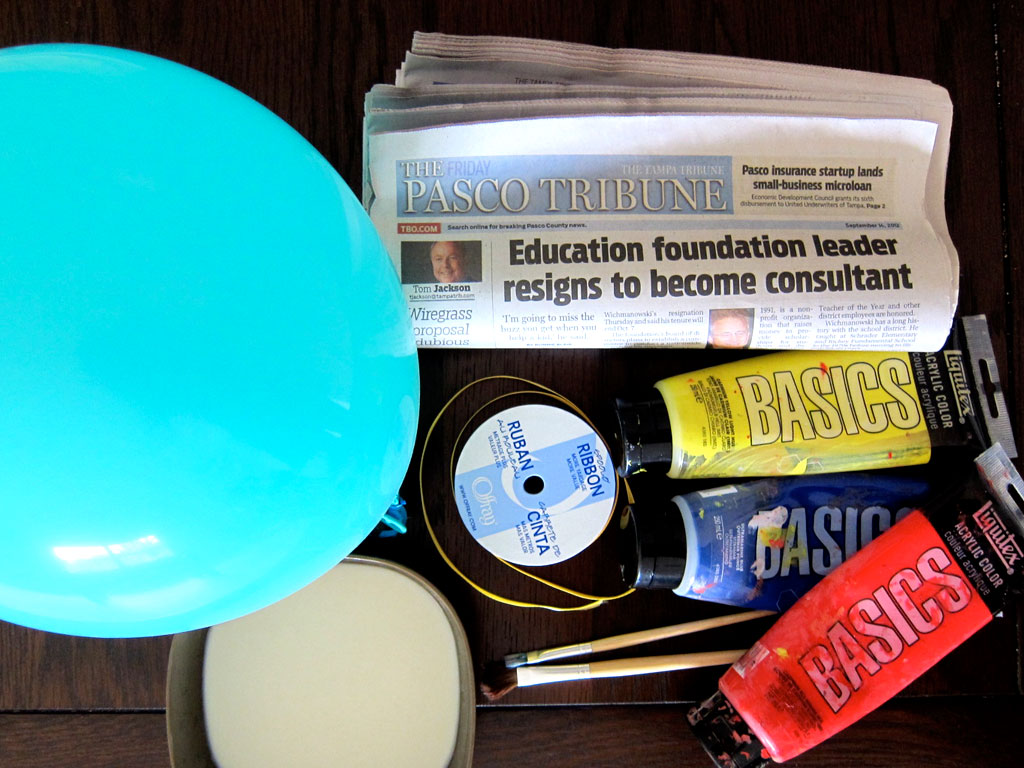
This project has quite a few supplies, but I love how they are all basic things we have around the house. So the cost for the project is actually very low.

Step 2
To start, my son tore newspaper into small pieces. (He loves this step!) He washed his hands afterwards because ink would have gotten everywhere otherwise.
While he worked on this task, I blew up a balloon and hung it upside down off the chandelier (to make the papier mache process easier).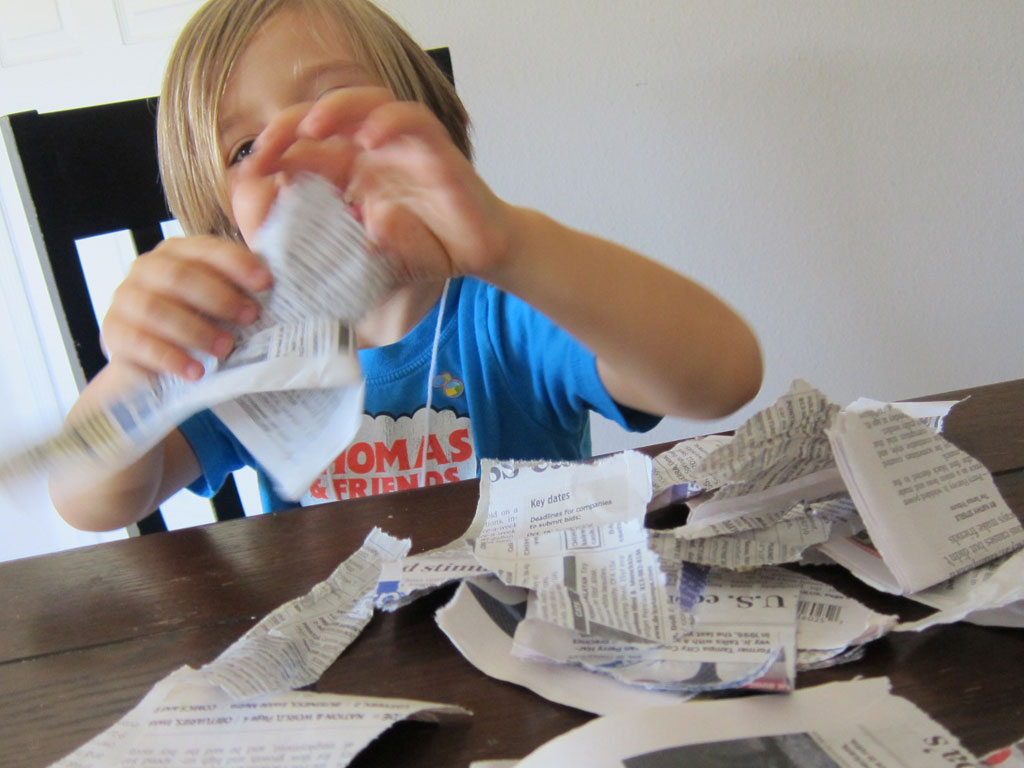
Step 3
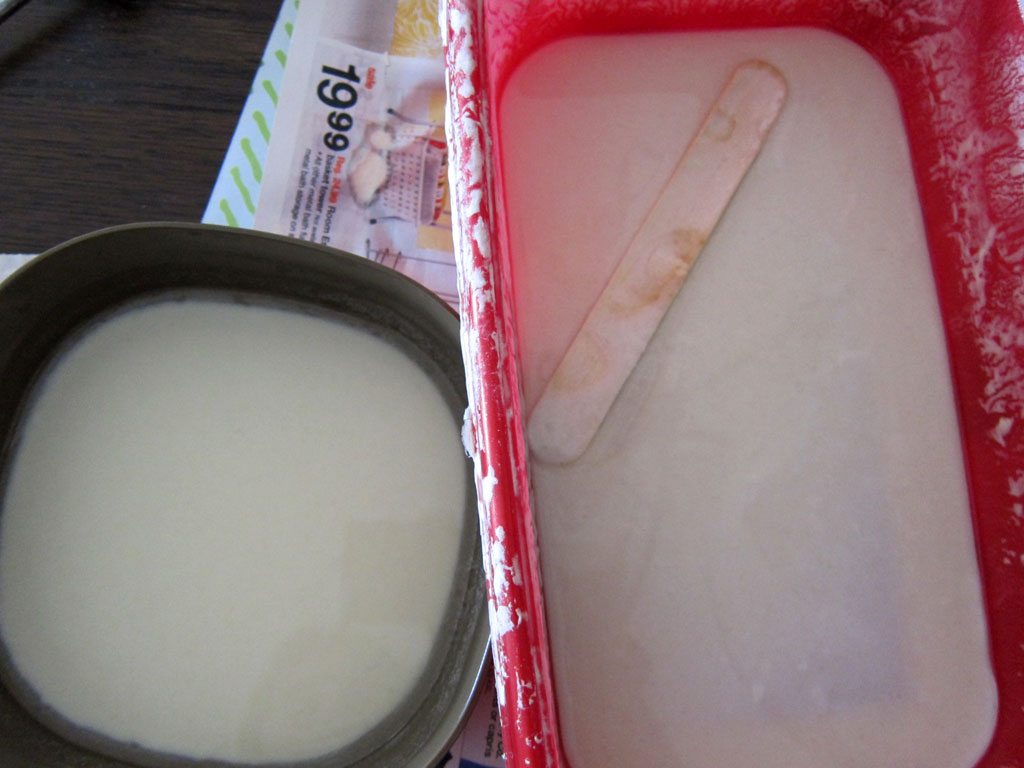
He squeezed half a bottle of glue into a bowl and thinned it out with 1/4 cup of water.
Step 4
He dropped small squares of newspaper into the glue and gently placed the paper on the balloon. He slightly overlapped the paper. (This will give the paper a stronger bond, once the paper dries.)
My son didn't cover the top of the balloon (because that's where the candy will go!) -- but if you have very young kids, you may want to enclose most of the balloon and just leave a little hole for the candy. This will save you some spills throughout the night.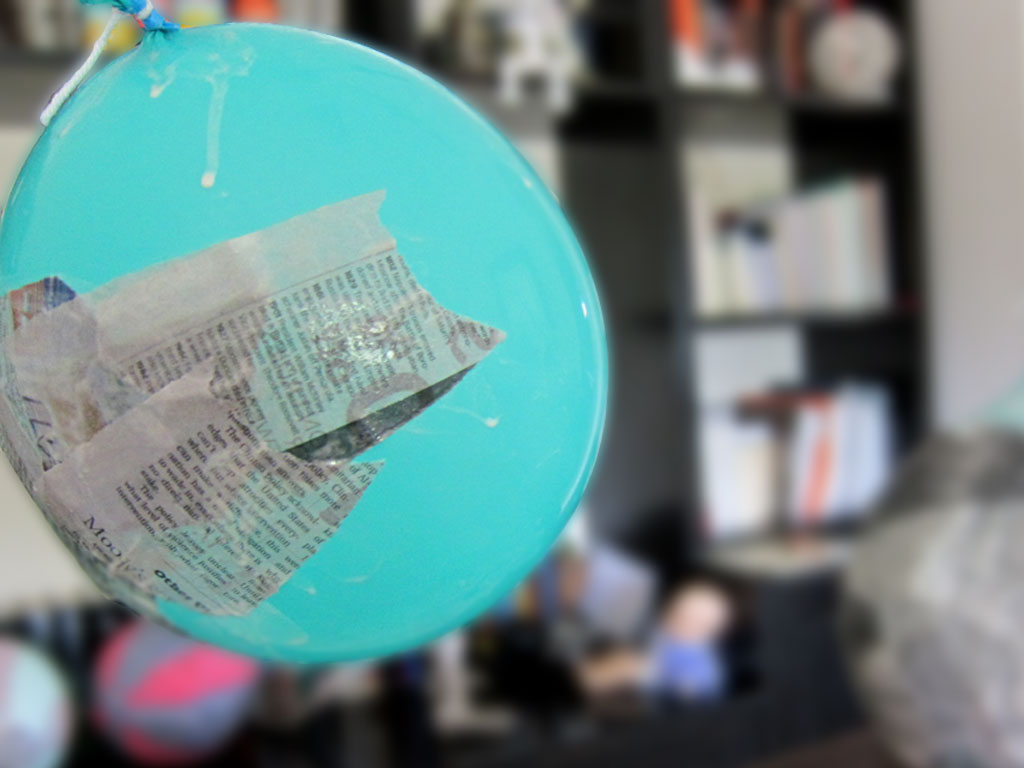
Step 5
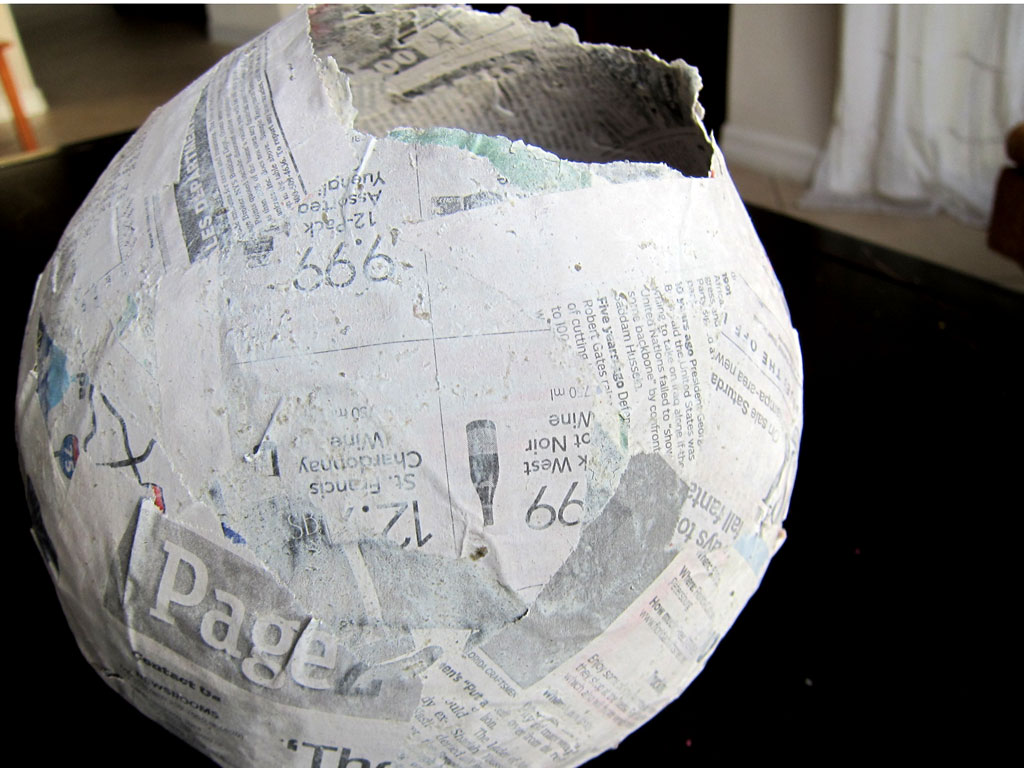
He added on about three or four layers of newspaper on the balloon, making sure each layer dried in-between coats. (We used a blow dryer to speed up the process.)
Step 6
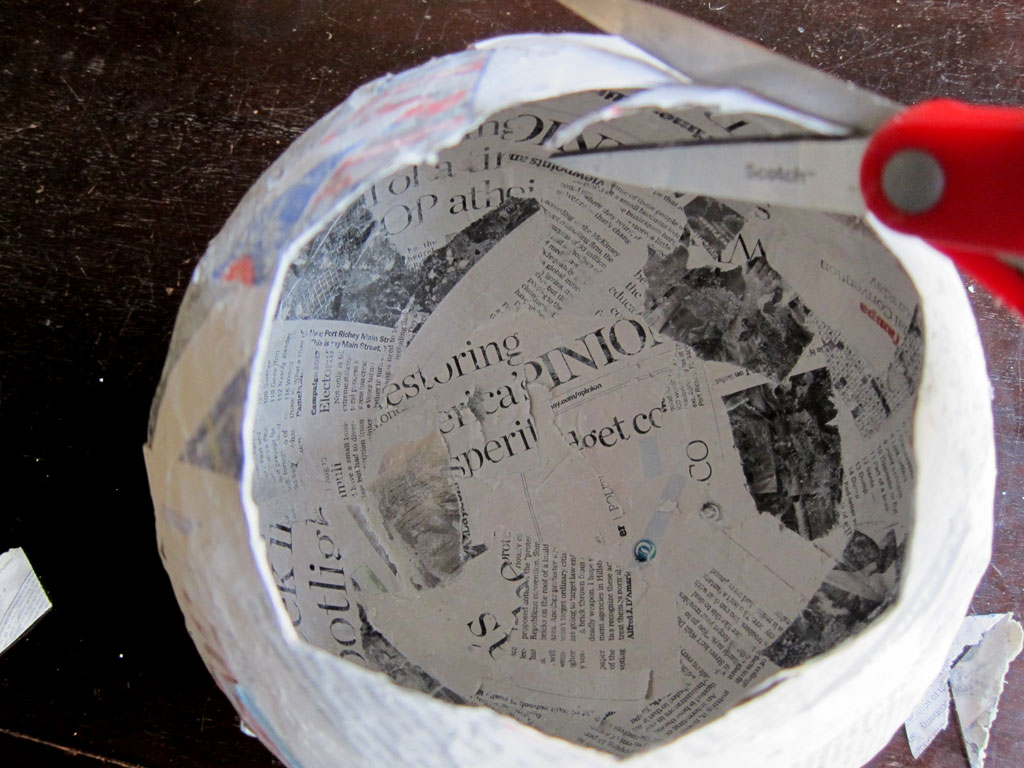
Once the newspaper completely dried, my son popped the balloon. (He loved this part, too.) He then trimmed the opening so that it had a smooth, clean edge.
Step 7
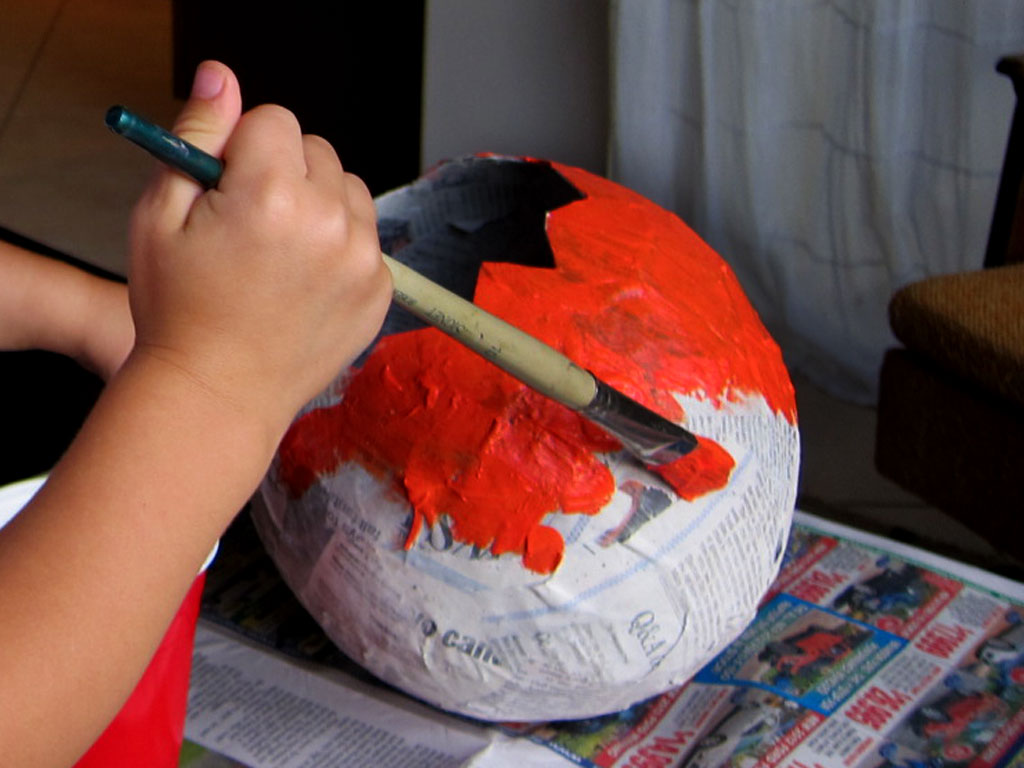
He painted his treat-or-treat bag orange, like a pumpkin -- but of course the creative possibilities are endless. (Does your princess want a pink purse? Does your honeybee want a honey pot?)
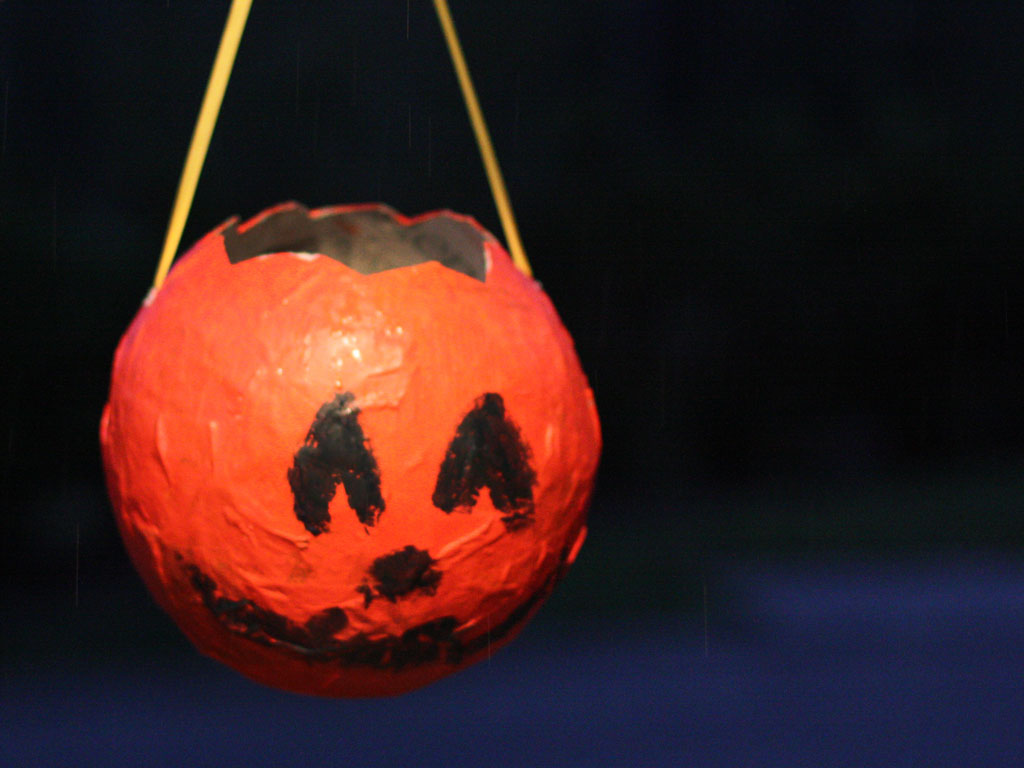
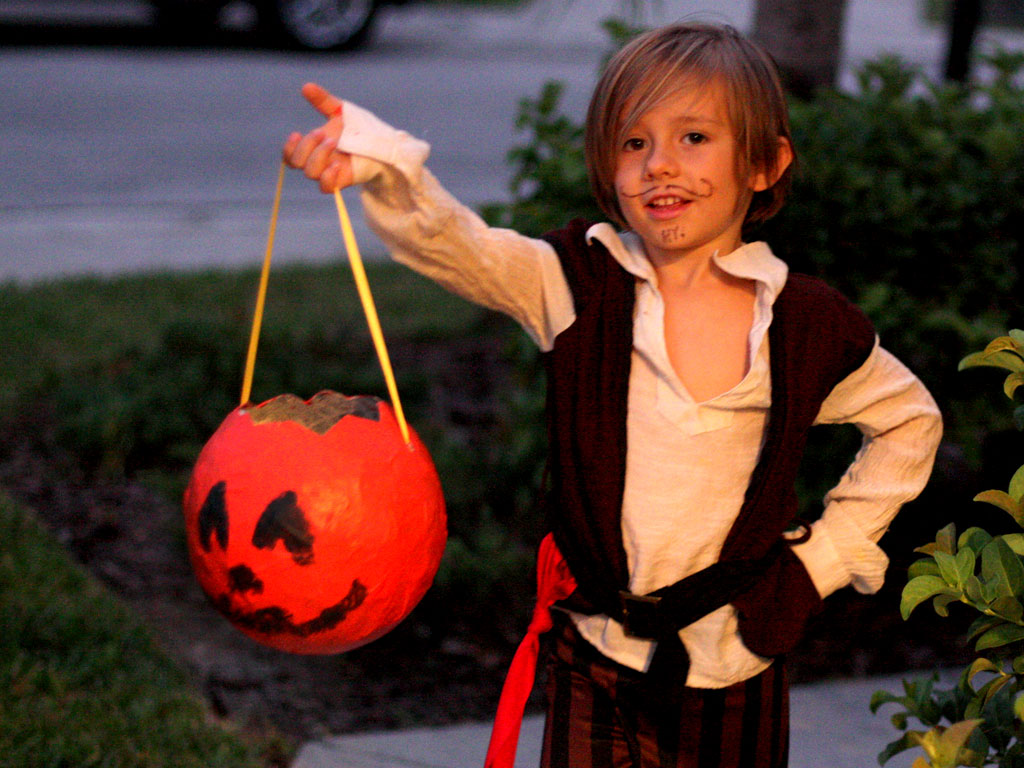
Final result!
Once the paint dried, he tied a string to both sides of the basket. And then my little pirate was all set for trick-or-treating!