Step-by-step tutorial
Step 1
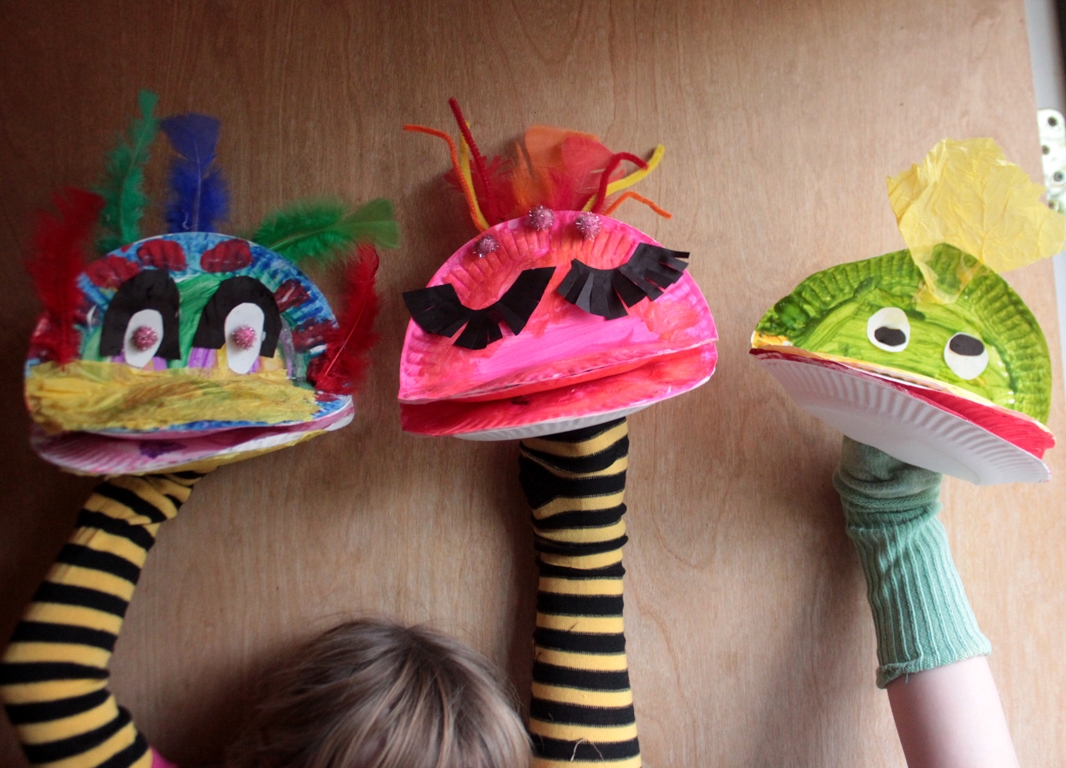
My children and I love these crazy birds. Trevelyn goes for serious, and Maddie goes for everything she can get her hands on! I love that there is no wrong way to do it!

Step 2
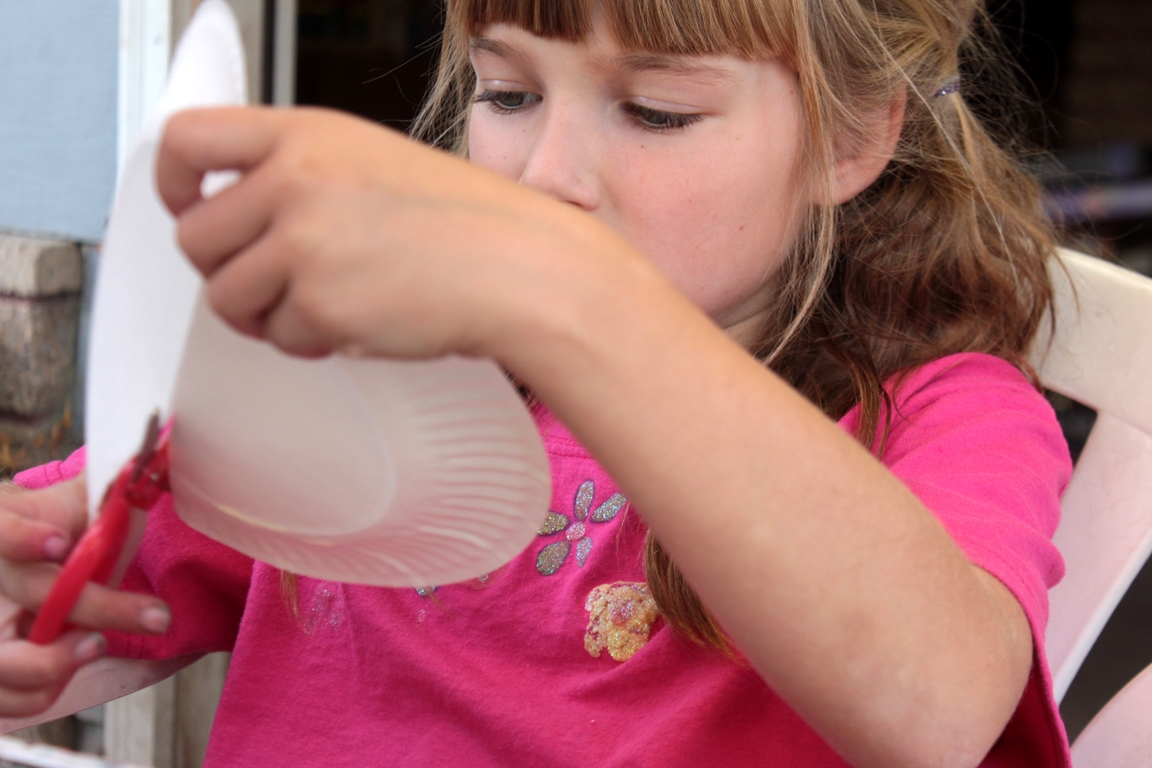
You'll use two and a half paper plates. For the third plate, cut a paper plate in half then trim off about 0.5" from your cut edge. Fold the two uncut plates in half and crease them; fold them so that the "bowl" is facing outward, not inward.
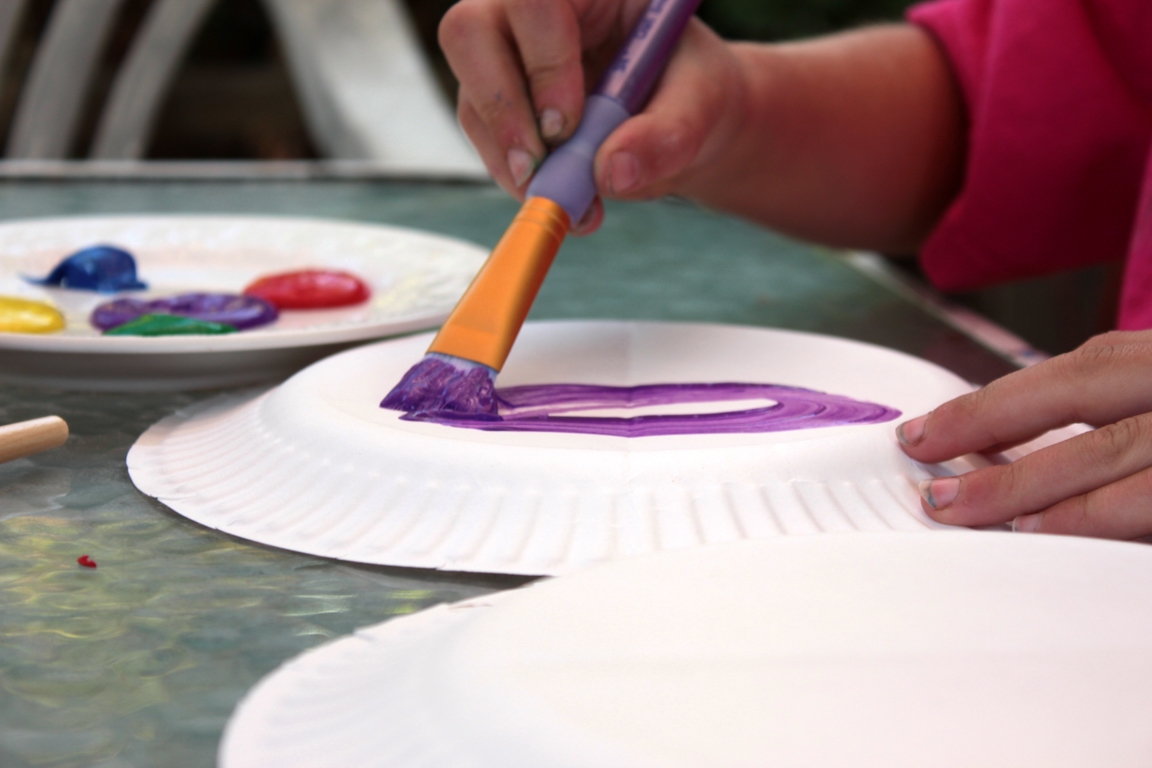
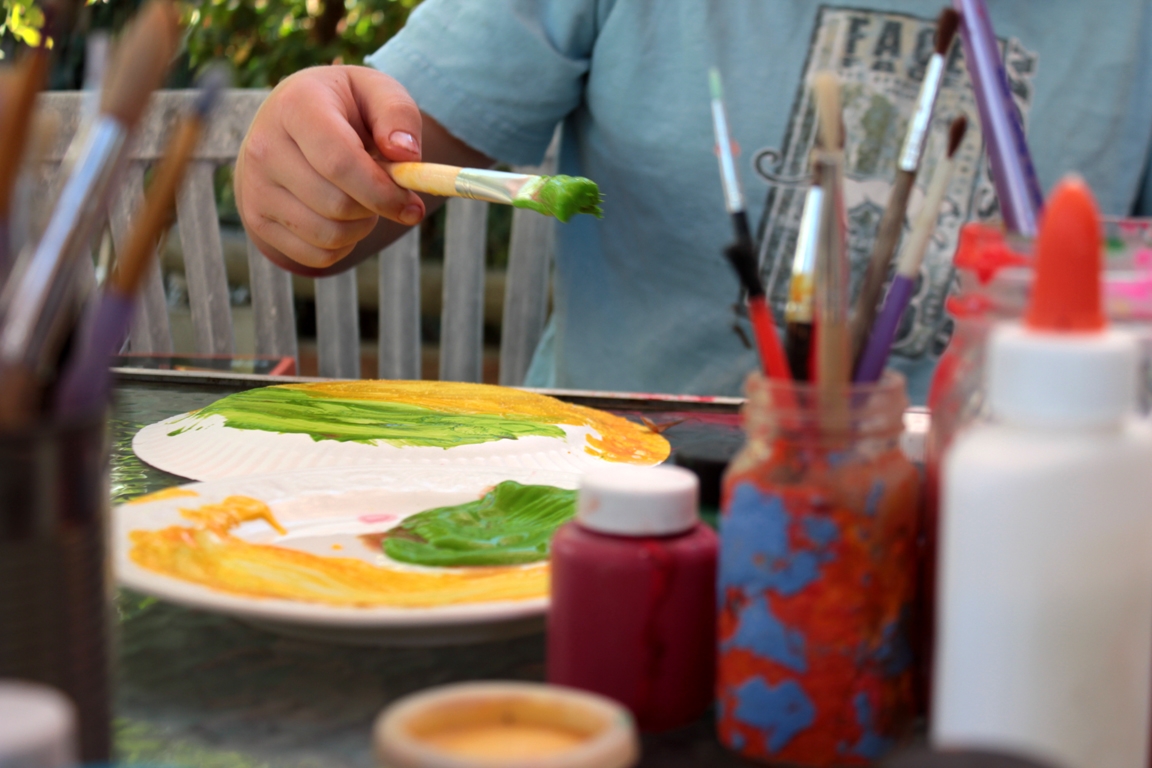
Step 3
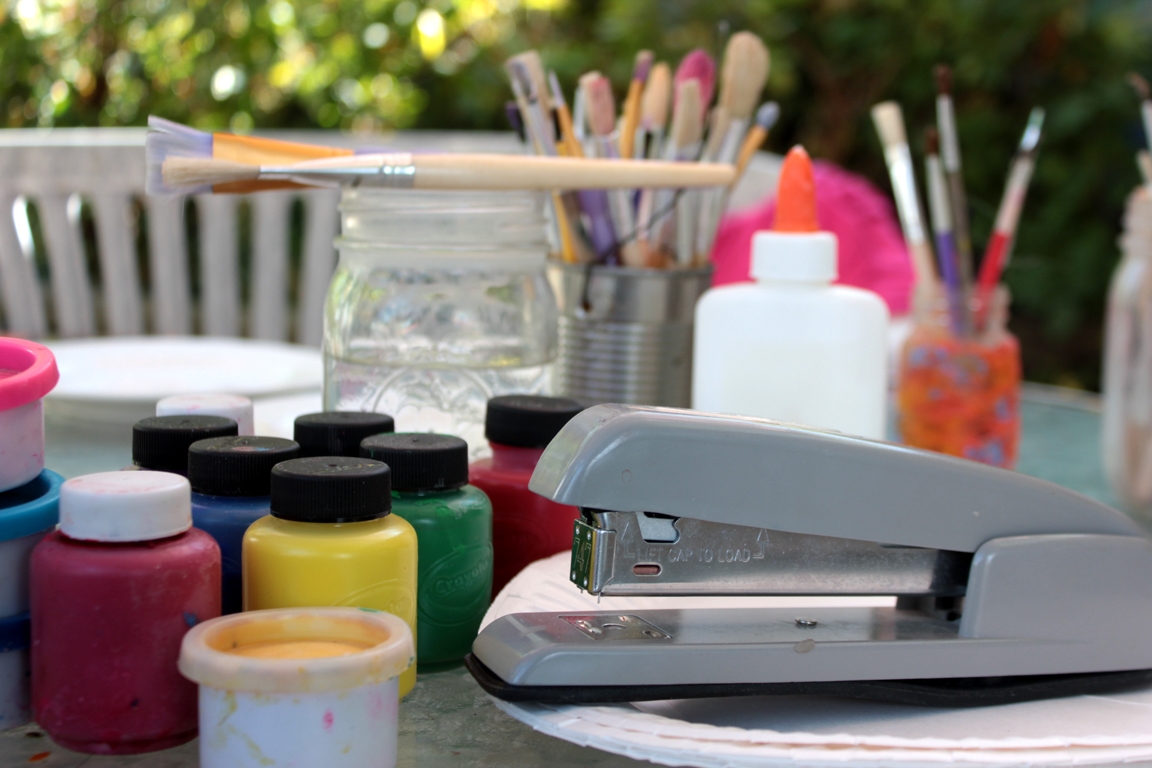
Next, we chose our paint colors... I was thinking that they'd each want two or maybe three colors... Madeleine was committed to using more like eight! Paint the underside of two paper plates; the third (half) plate, you can either paint or leave as is.
Step 4
One plate will be the face and top of the beak, the other whole plate will be the inside of the puppet's mouth. The half will be the bottom of the puppet's beak.
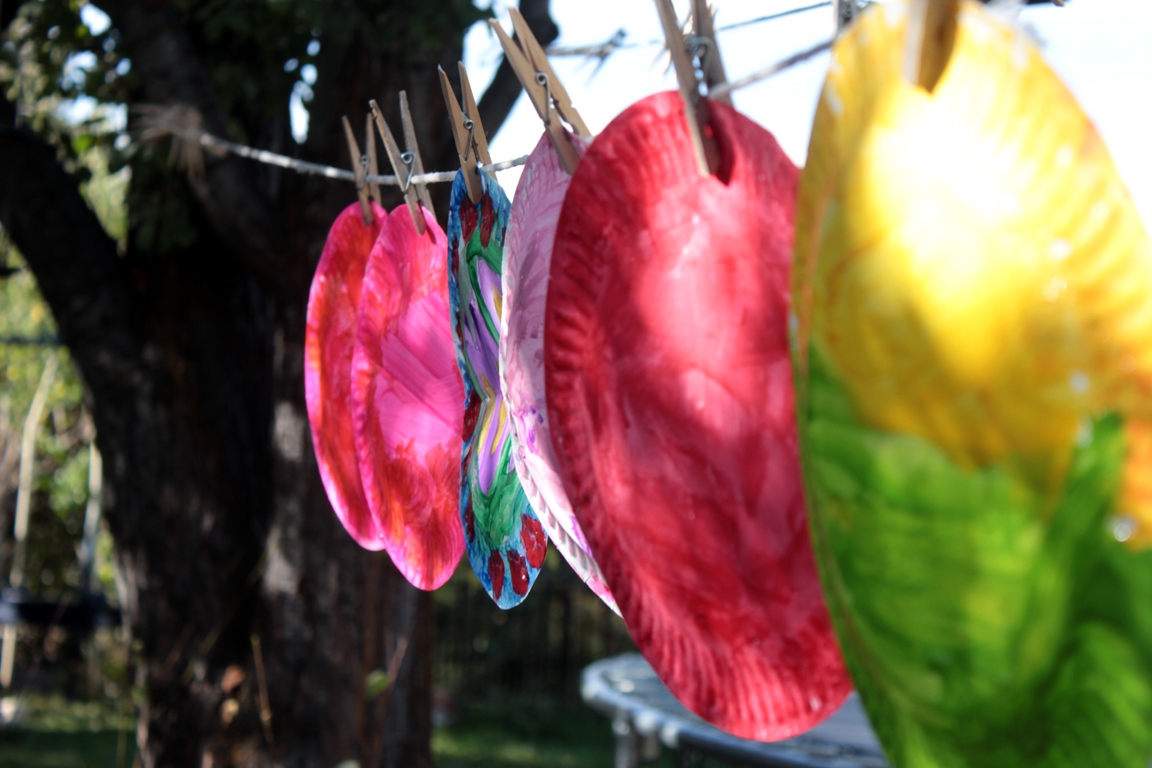
Step 5
We hung the plates up to dry...
Step 6
...and then we started the assembly! We reinforced the folds...
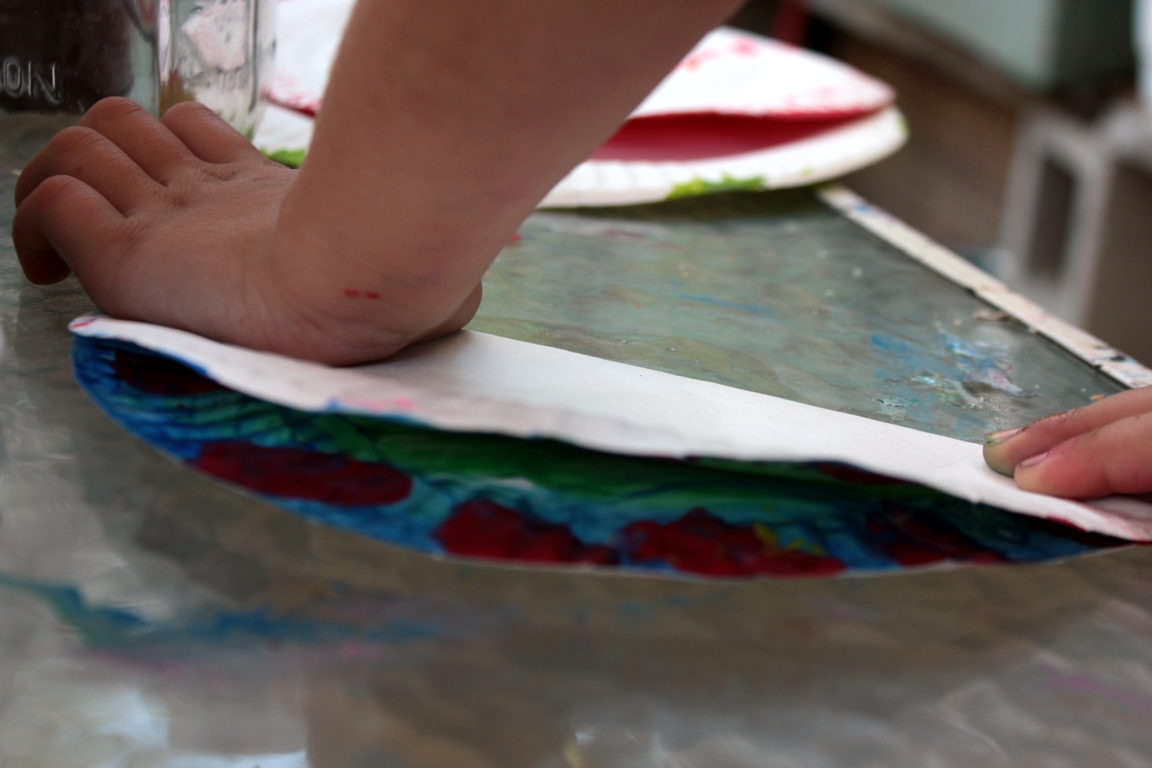
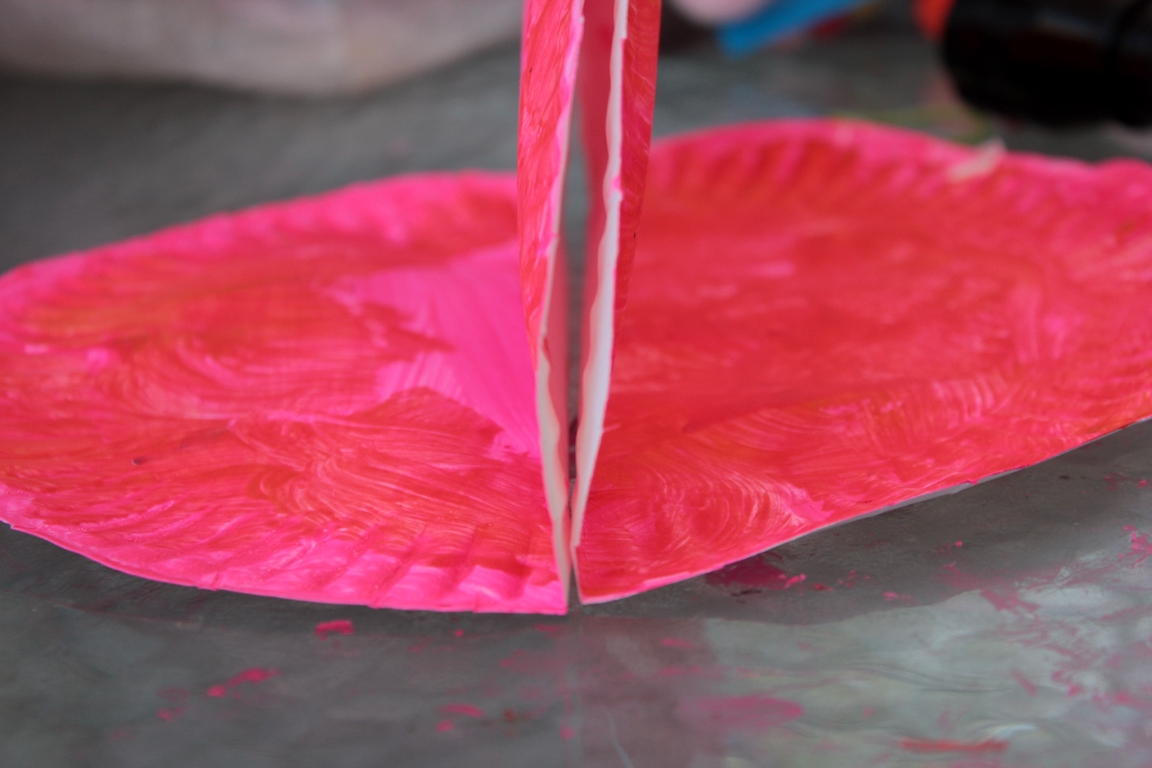
Step 7
...and then stapled the plates together. (Make sure to staple the very edge, so that you don't flatten the plate.)
Step 8
Choose which side is the face, then staple or tape the half-plate to the back of the bottom of the beak. Your hand (fingers and thumb) goes inside the beak's "pockets"; the top of the plate is free.
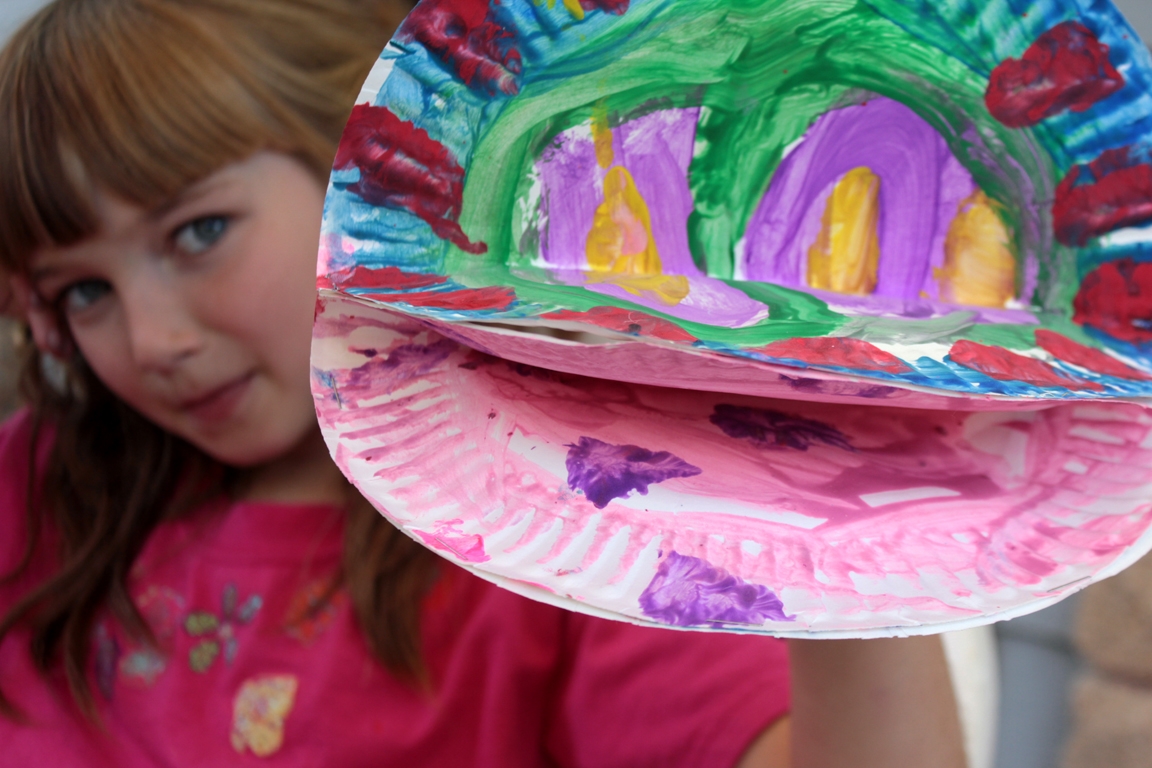
Done!
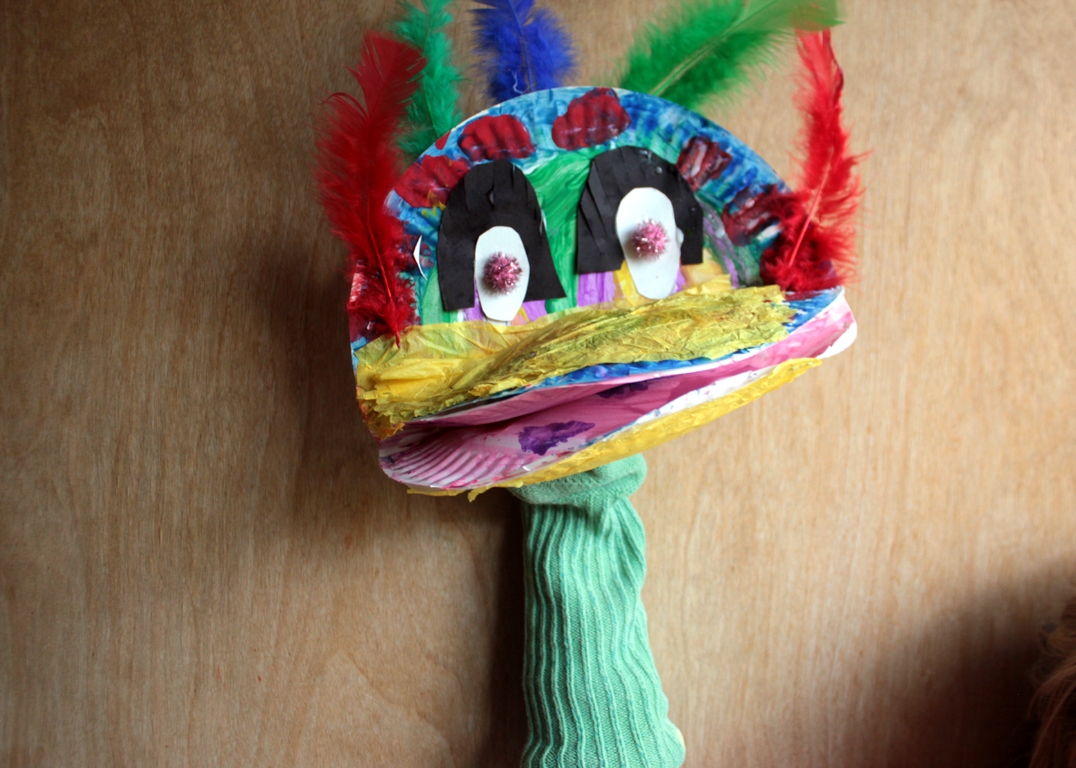
Time to decorate! We used pipe cleaners, pom-poms, googly eyes, glitter... whatever makes you happy. Definitely the most fabulous birds in town!