Step-by-step tutorial
Step 1
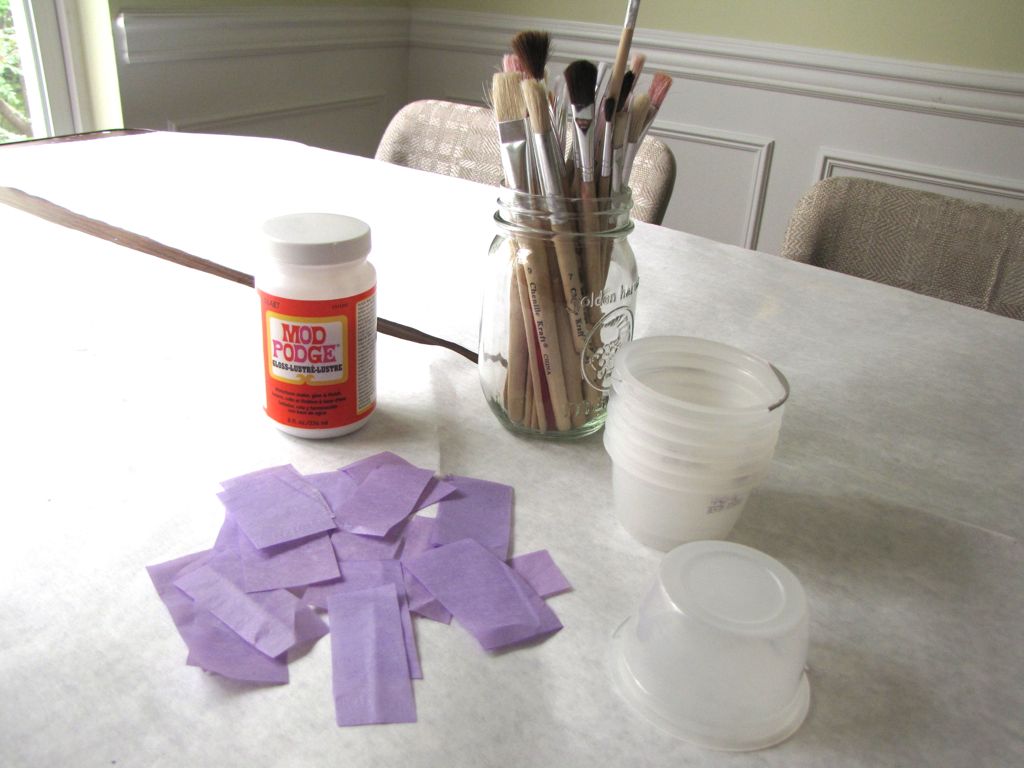
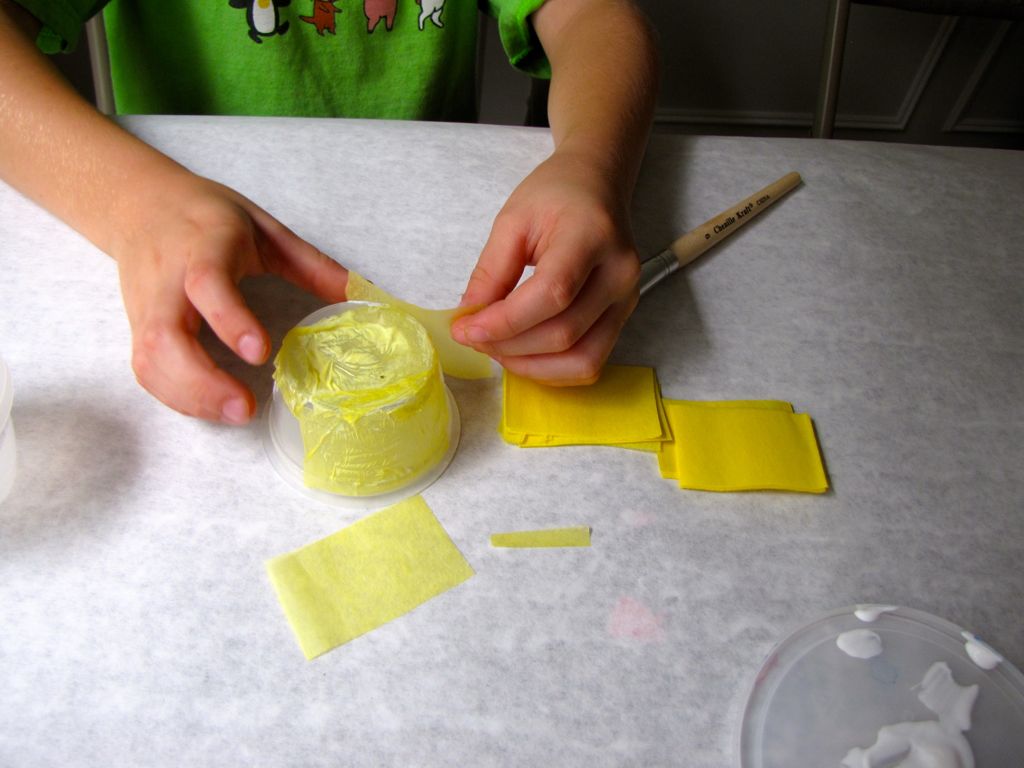
First, we assembled our ingredients. My oldest son and I cut the tissue paper into squares.

Step 2
We started by painting a layer of glue onto the outside of the snack cup, then put on a layer of tissue paper, followed by another layer of glue. We repeated this process until the snack cup was covered and you could no longer see through the tissue paper (about two to three layers).
Step 3
We propped the creations up to dry on this old baby bottle drying rack.

Step 4
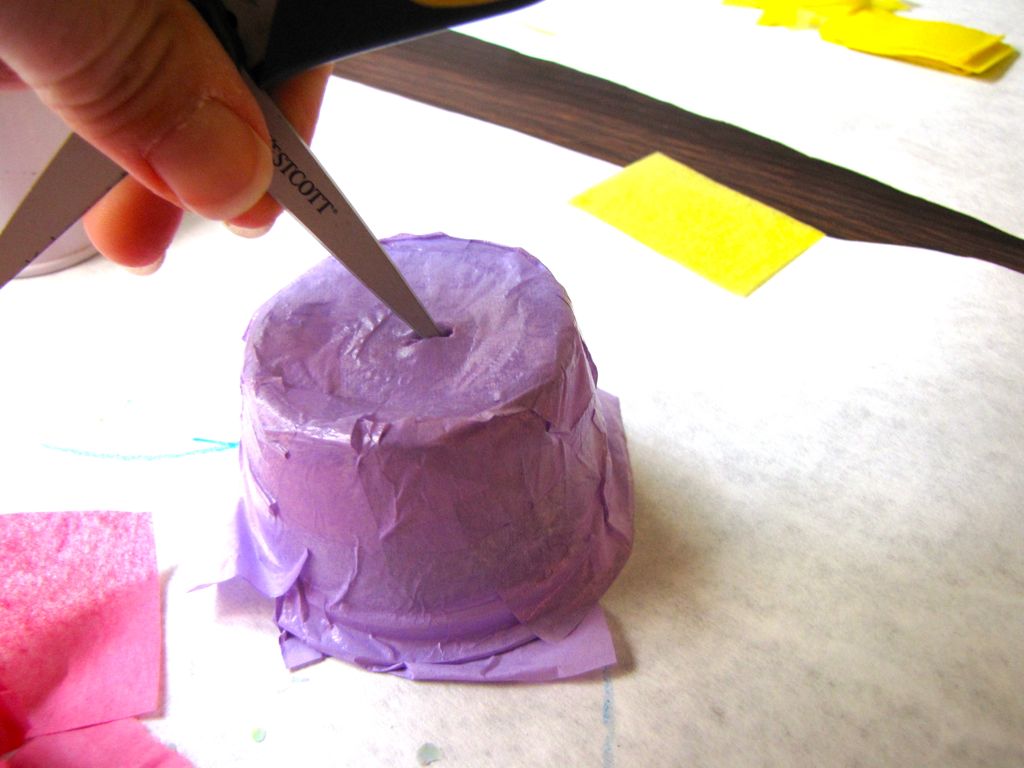
I used a small, sharp scissor to poke a hole in the center of the cups so we could later attach a string to hang up our jellyfish.
Step 5
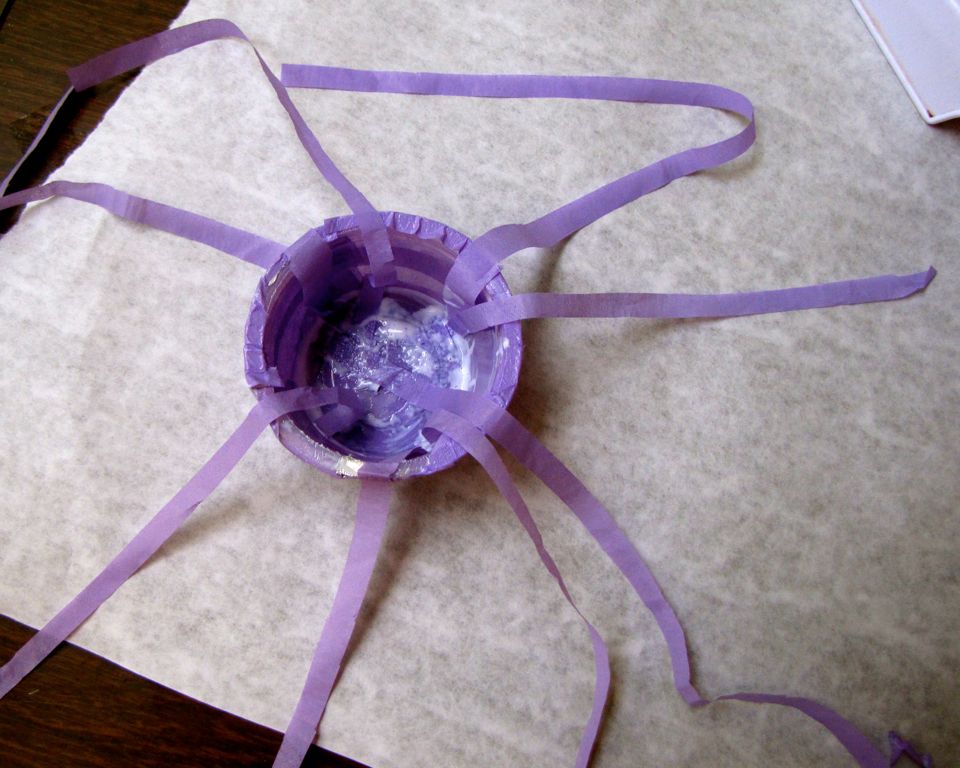
Once the outside was dry, we flipped the snack cups over and glued the edges of the tissue paper to the inside of the cup. Then we added our tentacles, long skinny strips of tissue paper. We secured them with a dab of glue and let them sit to dry.
Step 6
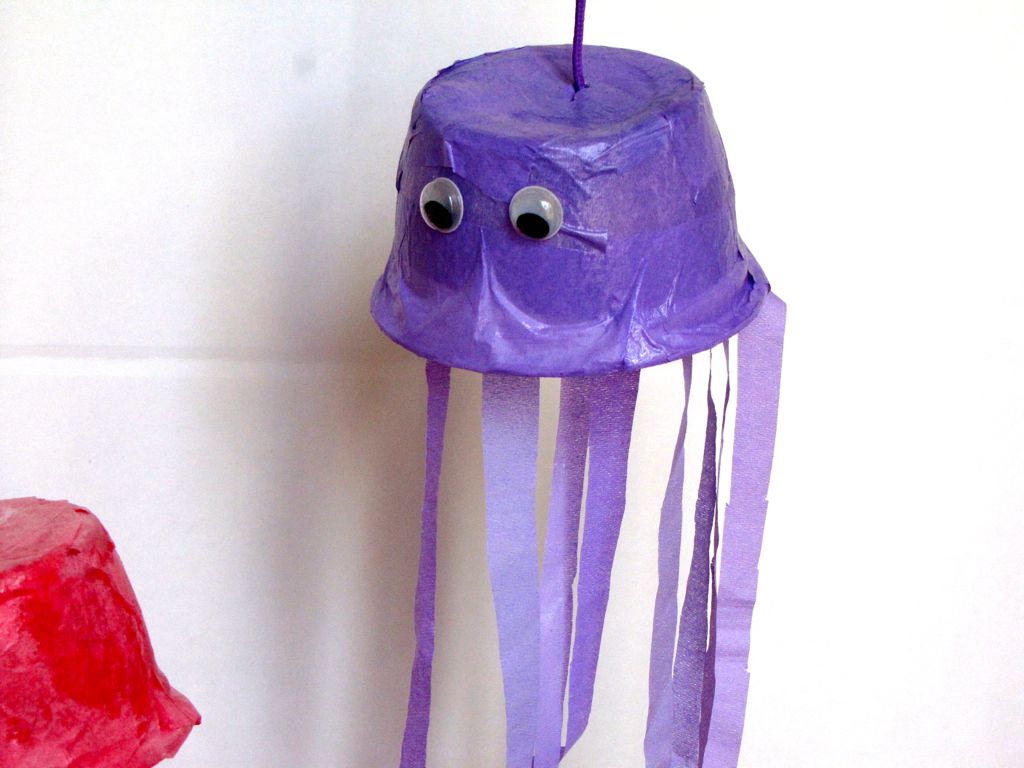
Once everything was dry, we put a piece of craft string through the top and knotted it inside the craft cup.
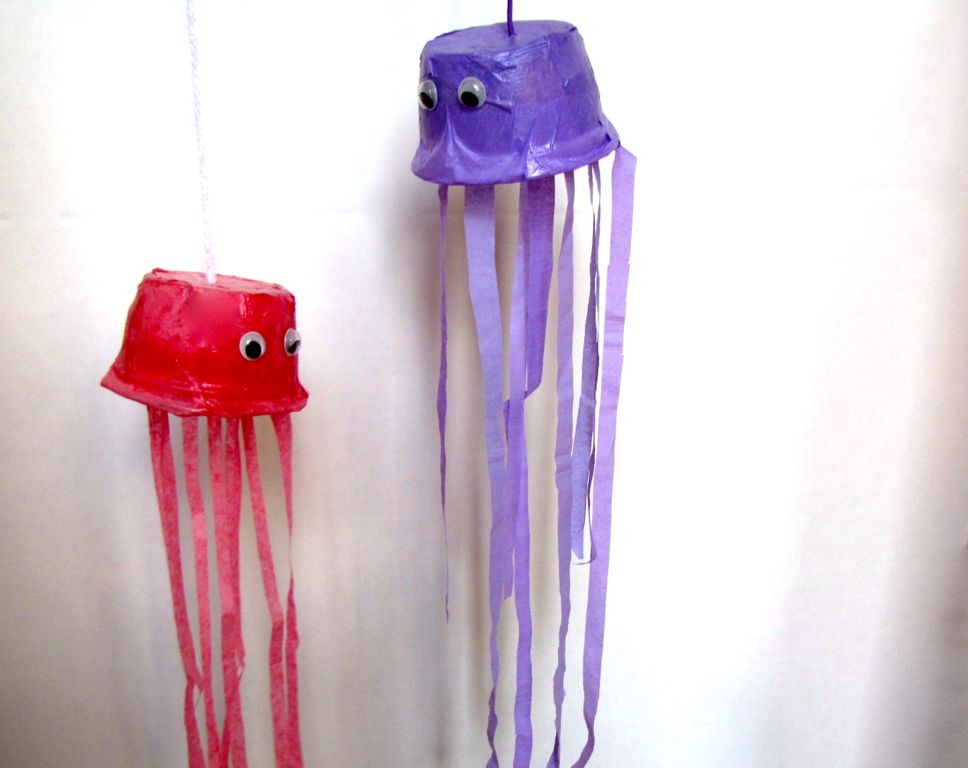
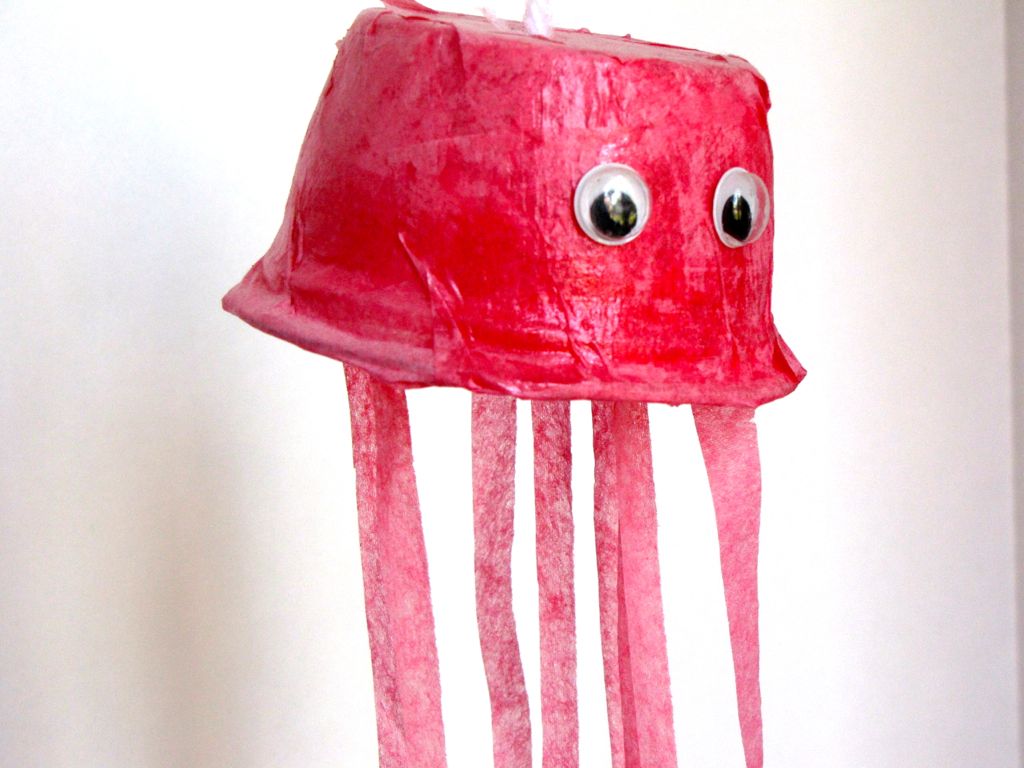
Done!
Our cute jellyfish look like they are wiggling and floating. We hung them over an air vent and when the air comes on, they look like they are dancing in the sea!