
Step-by-step tutorial
Step 1
Gather your materials.


Tip
Missing any of these supplies? Get them from the KiwiCo Store!
Step 2
To learn how to fold your bookmark, jump over to the Origami Corner Bookmarks DIY. Then, come back for the rest of the instructions!

Step 3
Use colored paper to cut out a snout, nose, ears, and teeth.

Step 4
Glue the paper parts onto your bookmark.

Step 5
Use a black marker to make tiger stripes and whiskers.

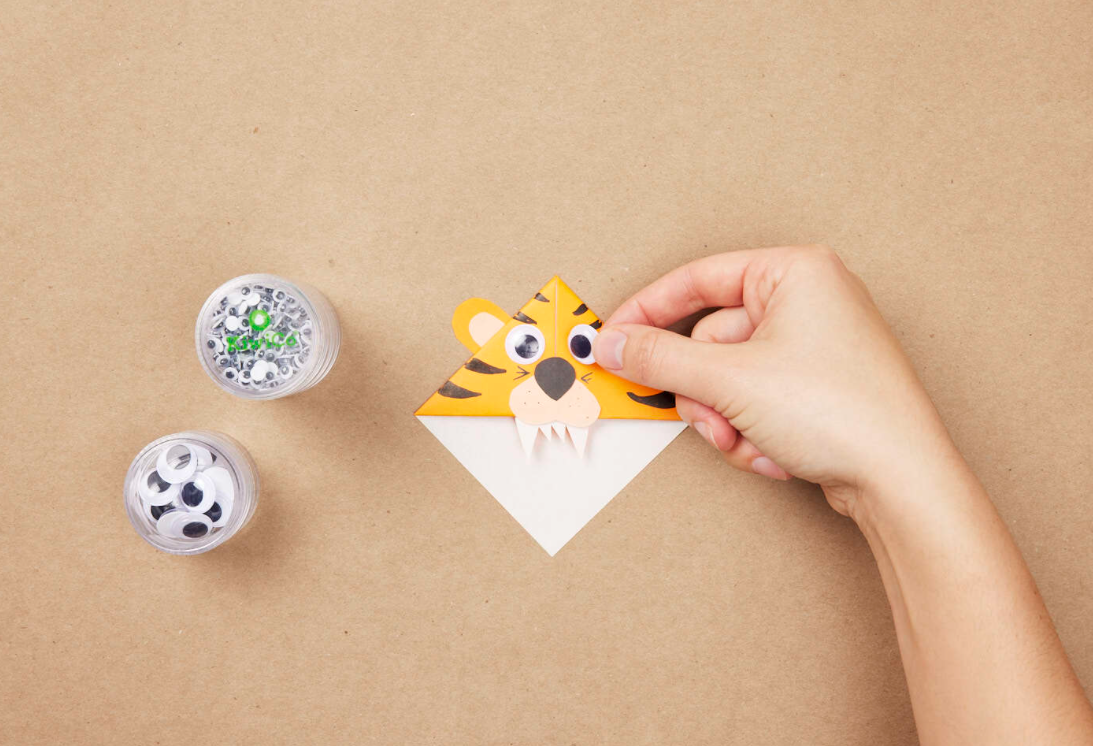
Step 6
Add wiggle eyes!
Done!