Step-by-step tutorial
Step 1
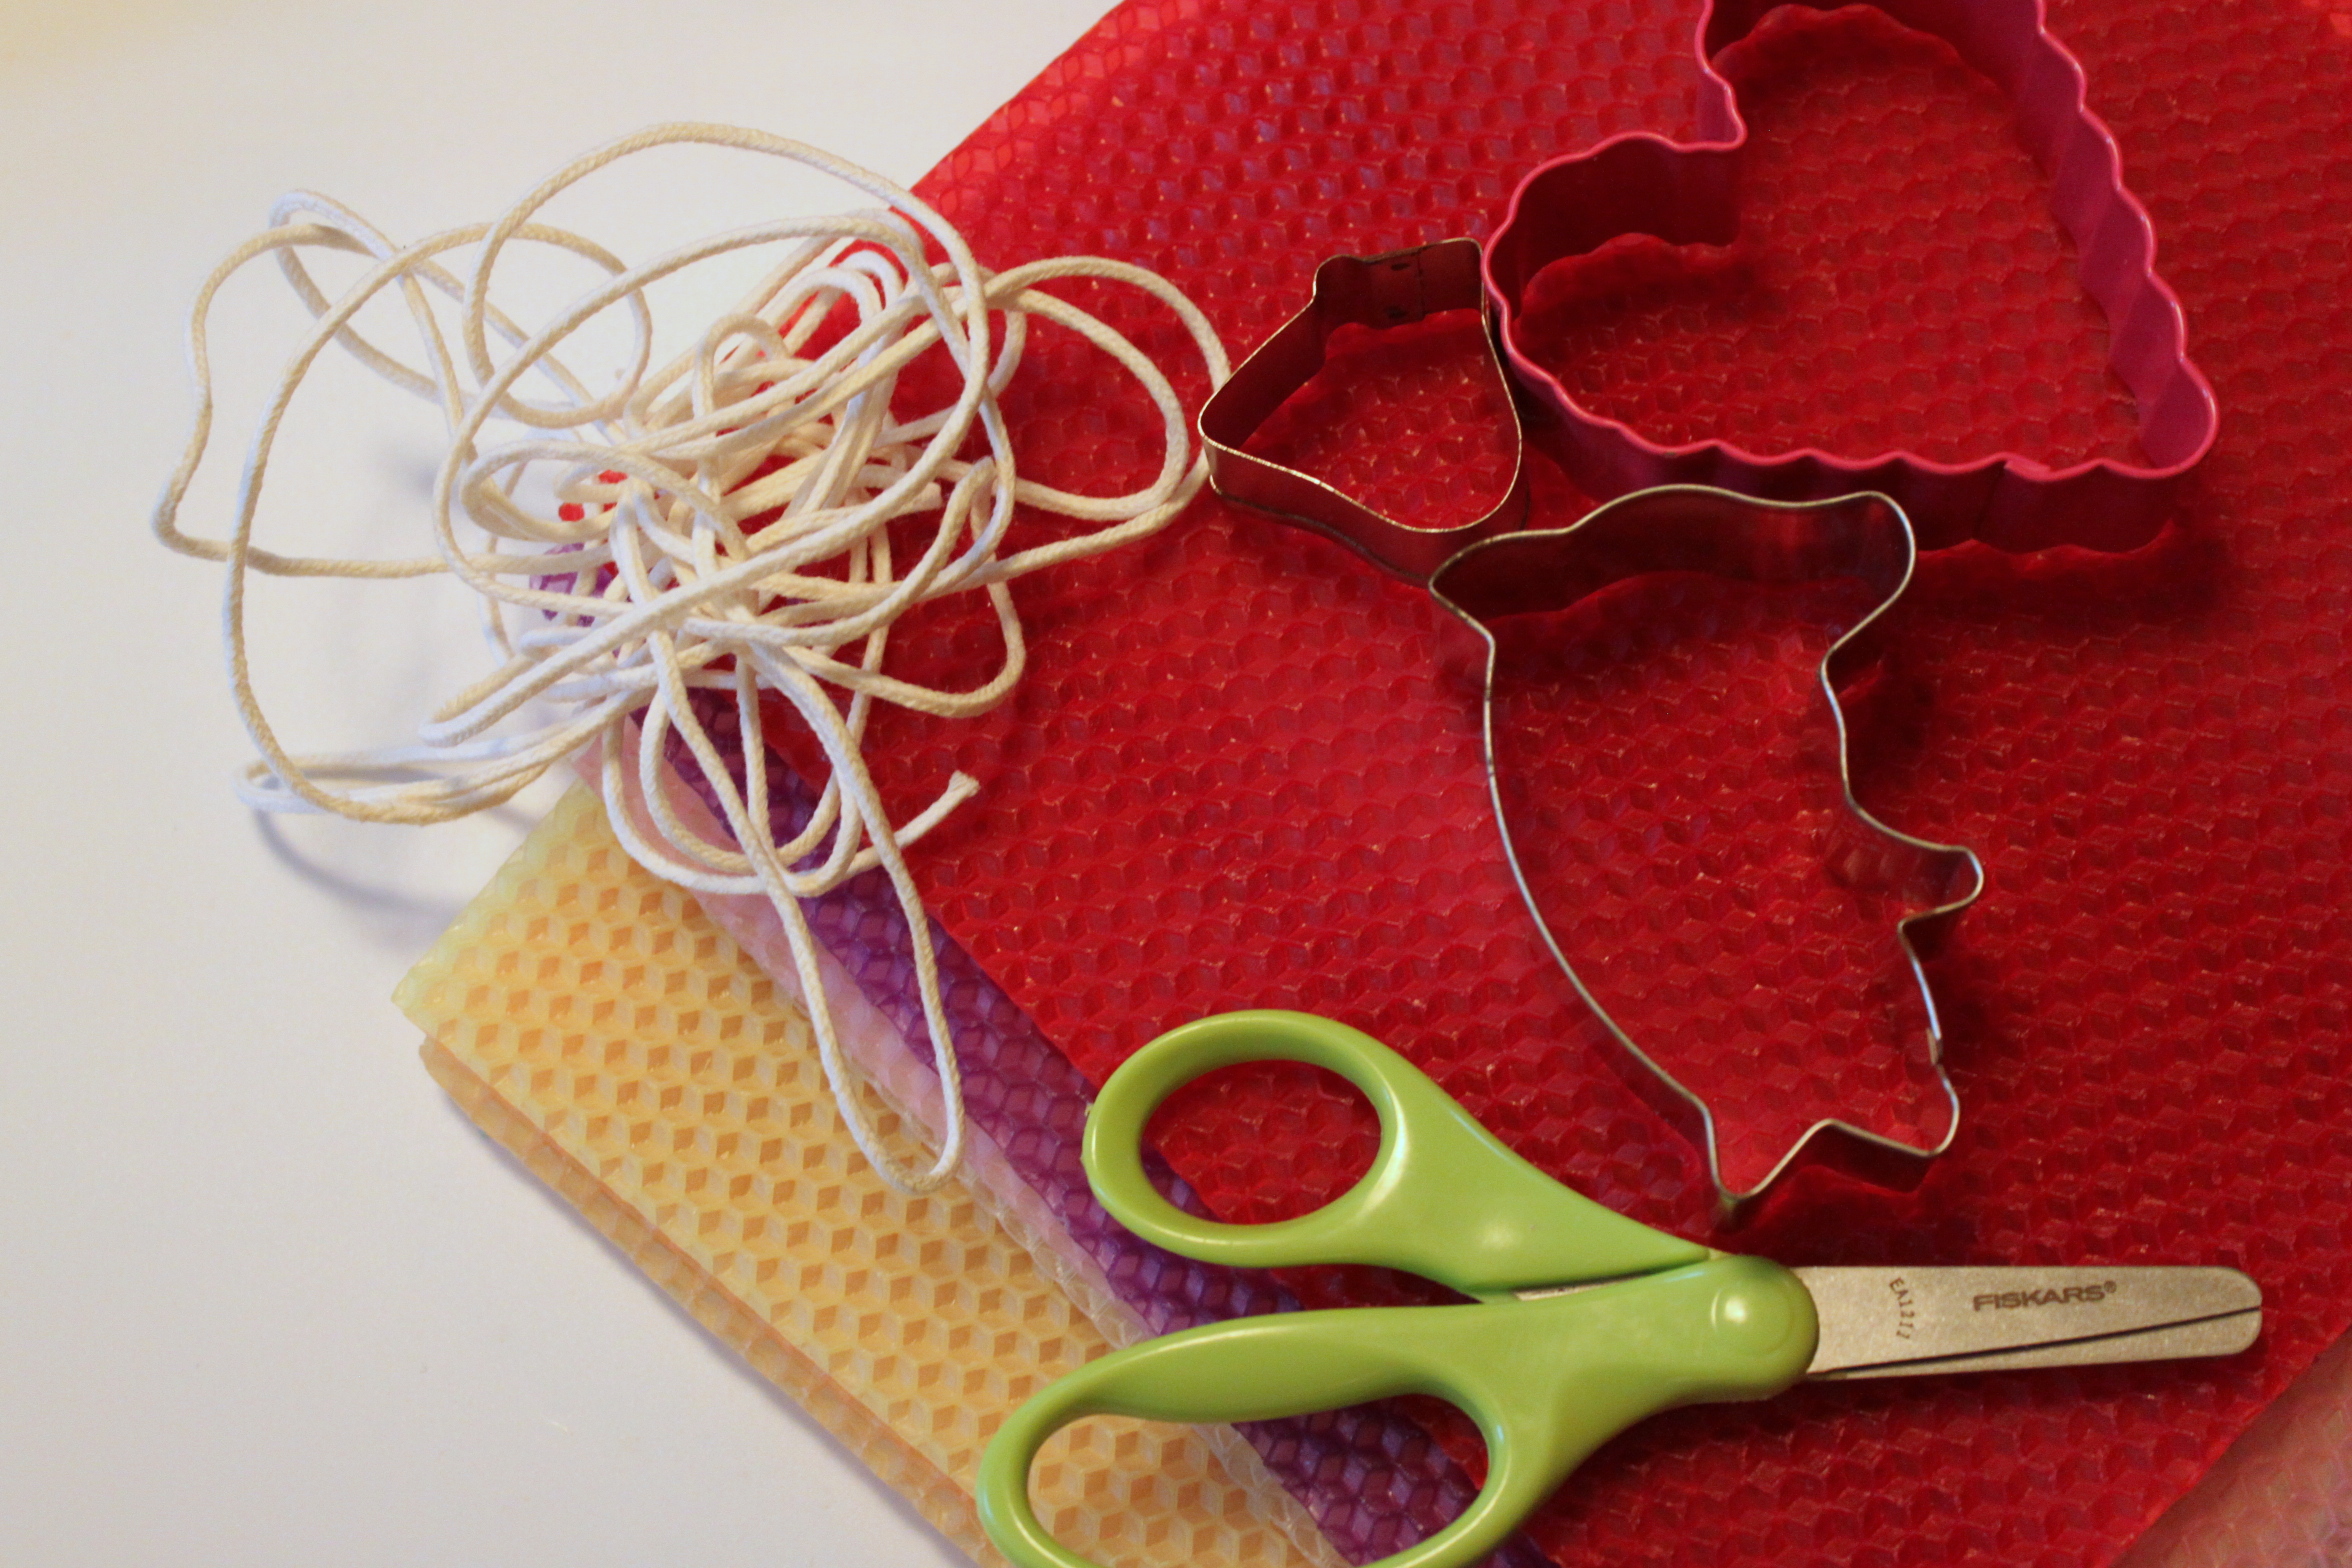
Beeswax sheets are available in most crafts stores and really simple to use. We grabbed some wick and few good cookie cutters and were ready for an afternoon of candle making.

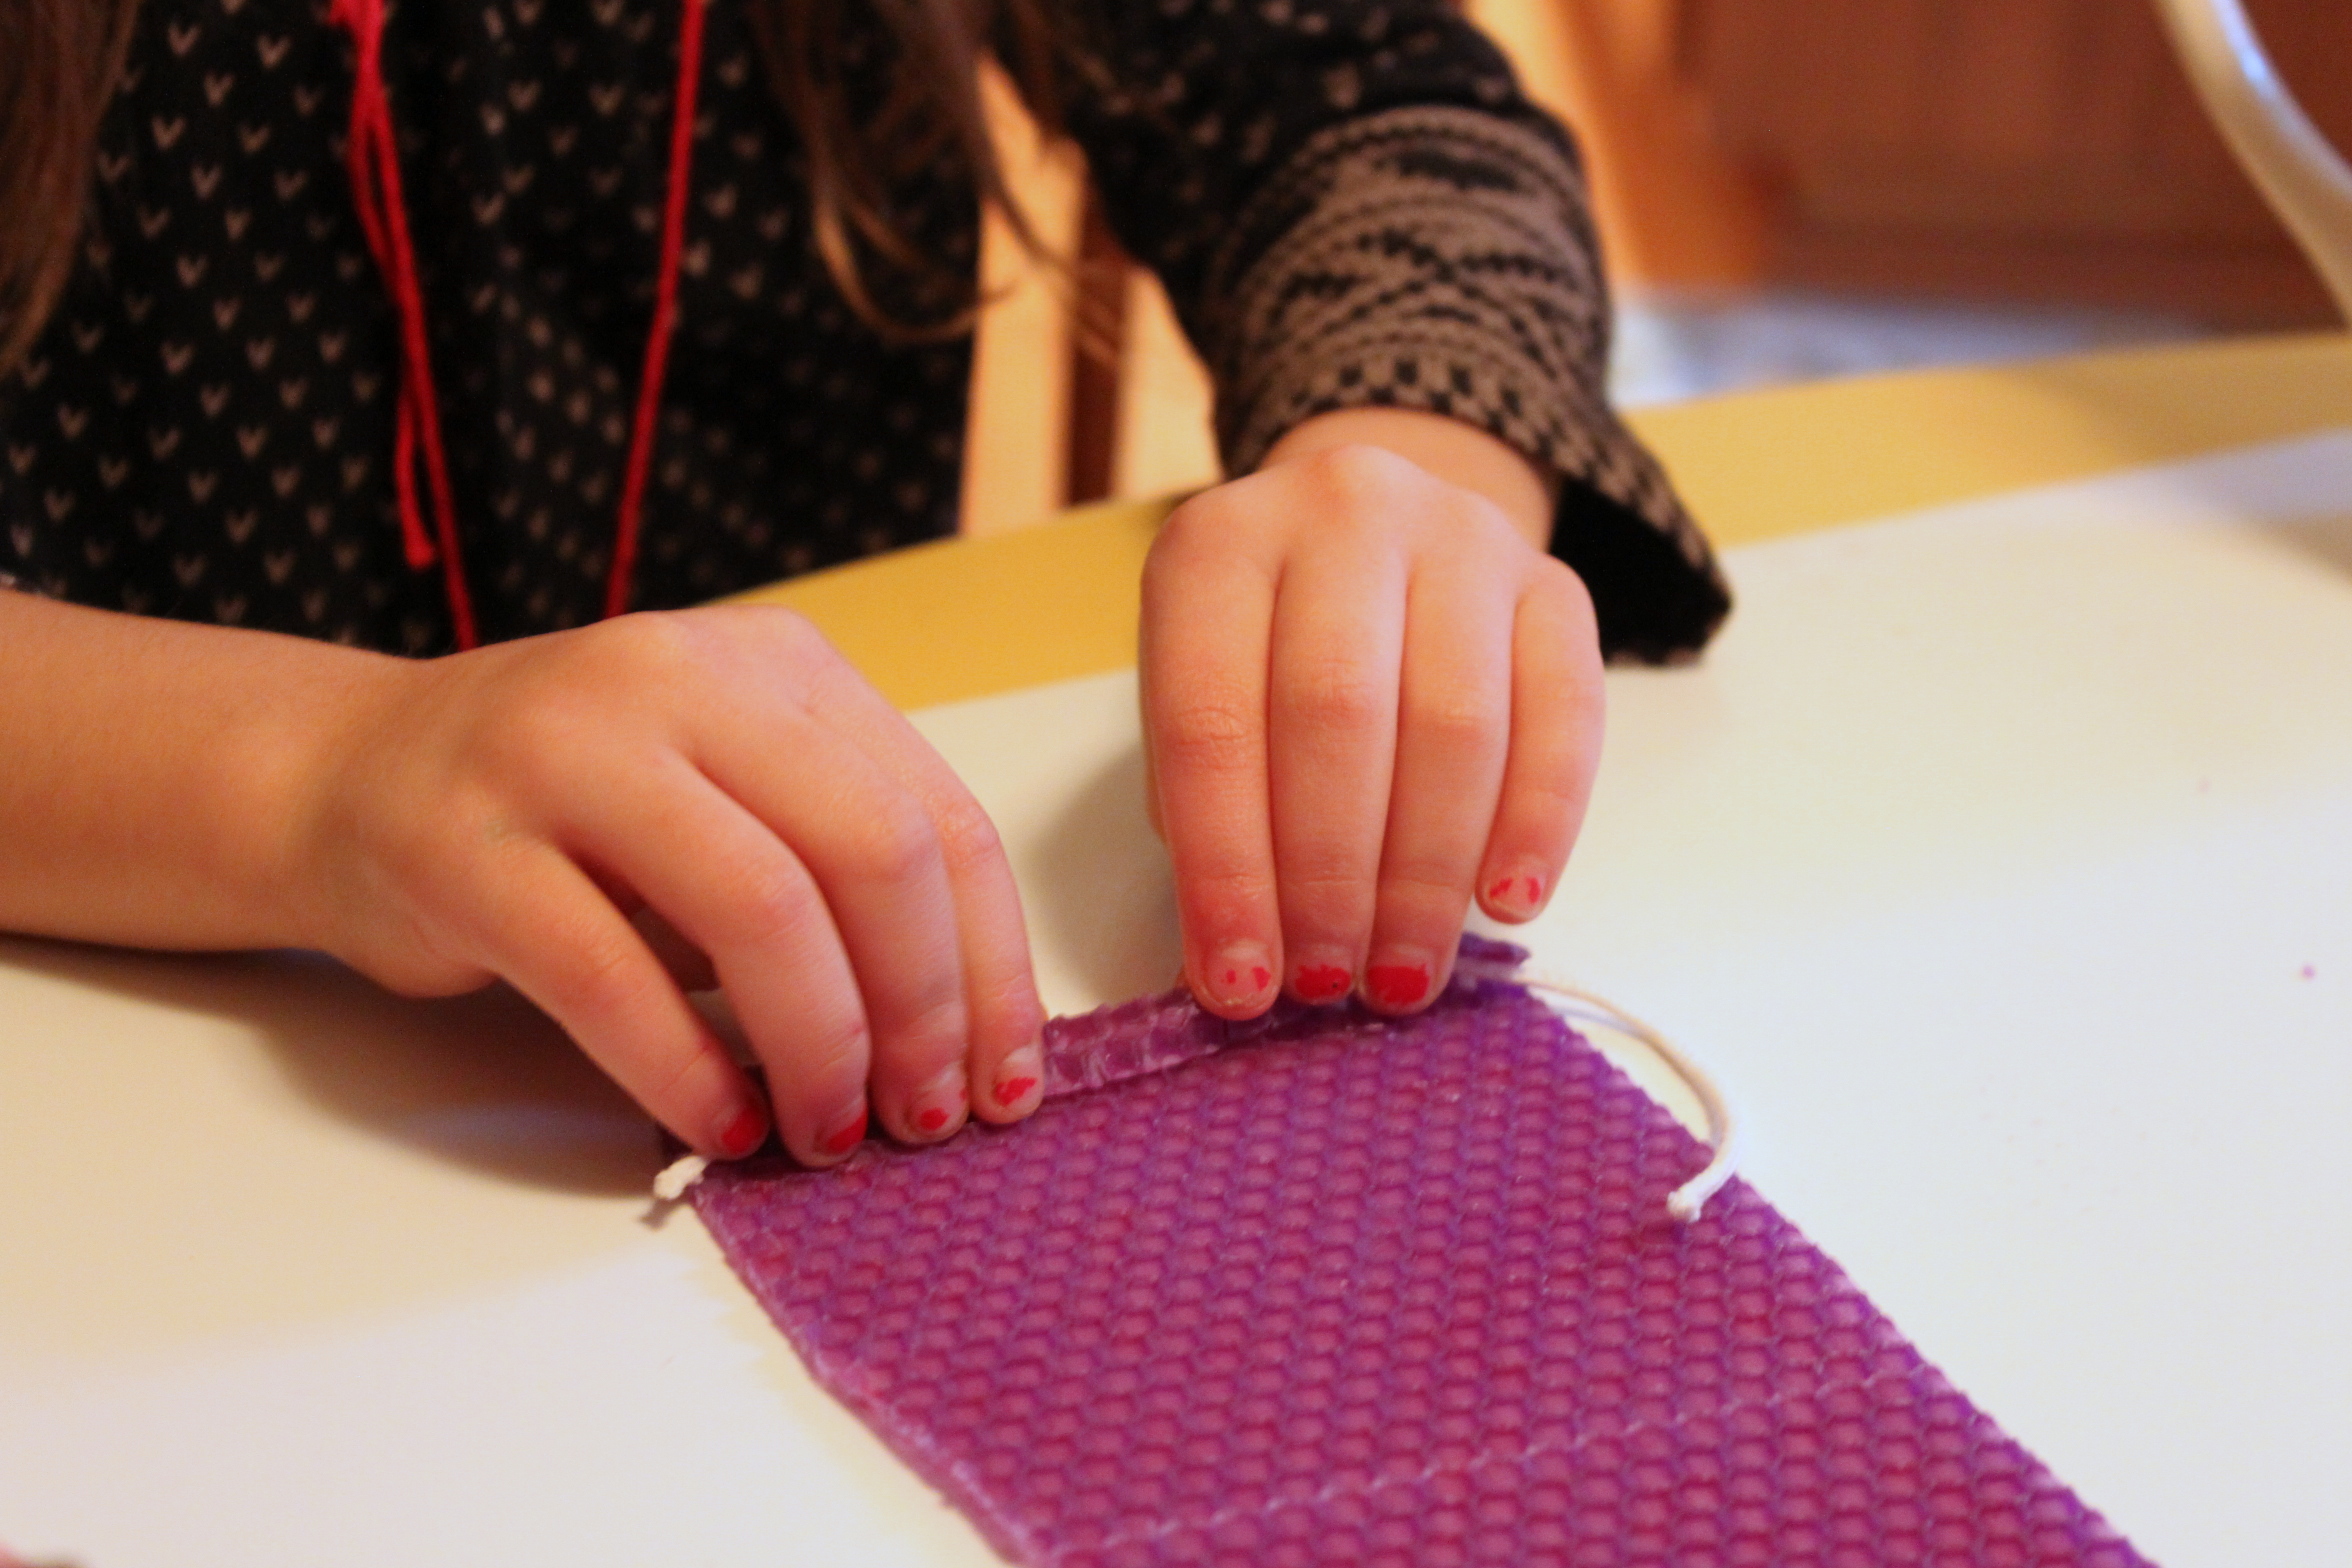
Step 2
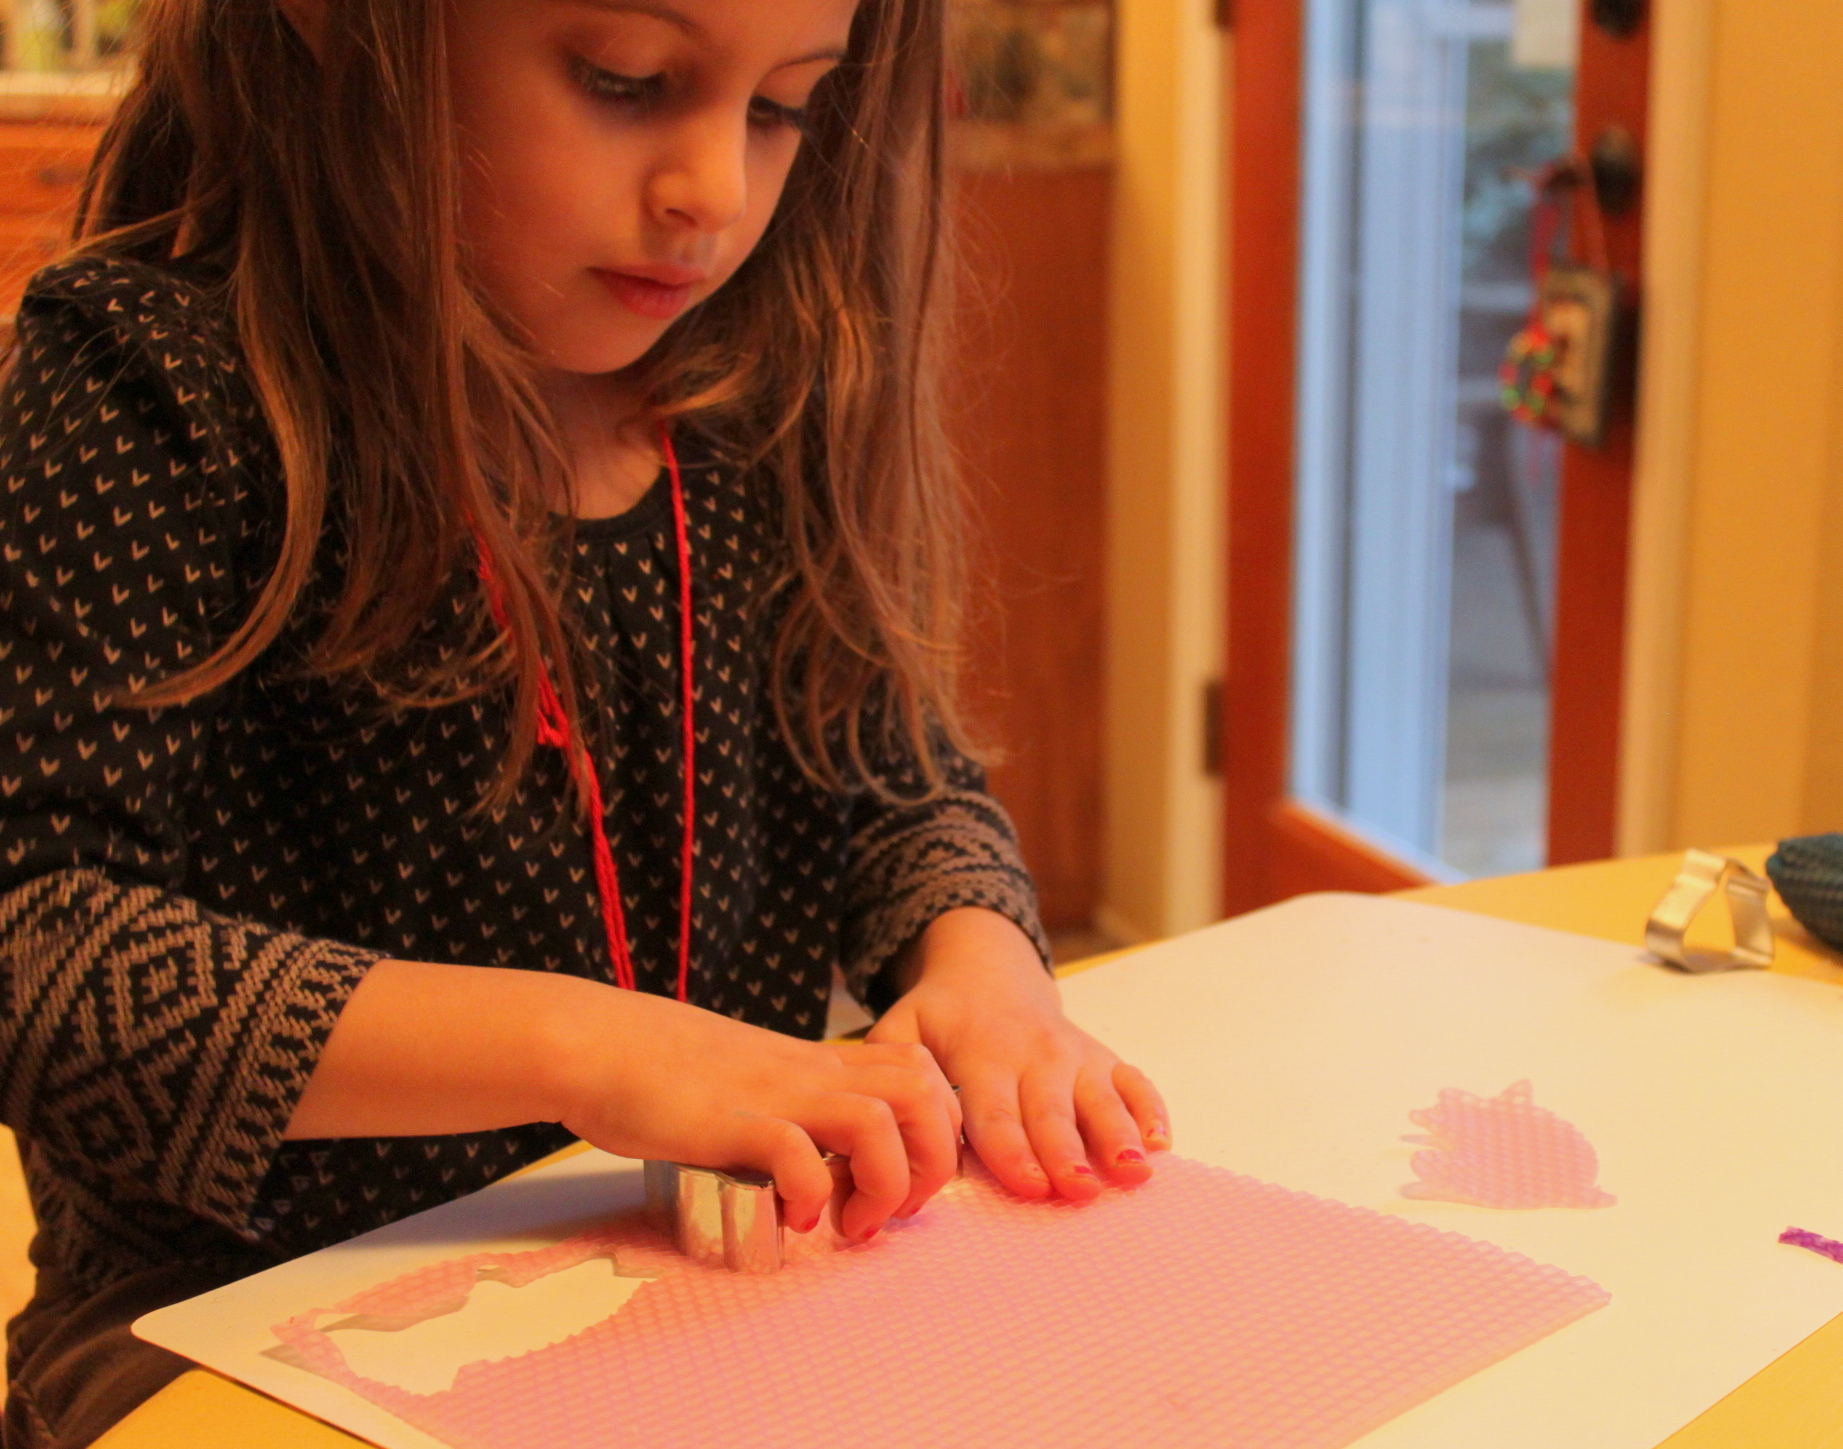
The beeswax is much easier to use when warm. A grown-up can warm these slightly by holding over a burner or using a hair dryer. Once it was a little more flexible Emma cut shapes out with cookie cutters. We used six of each shape for one candle.
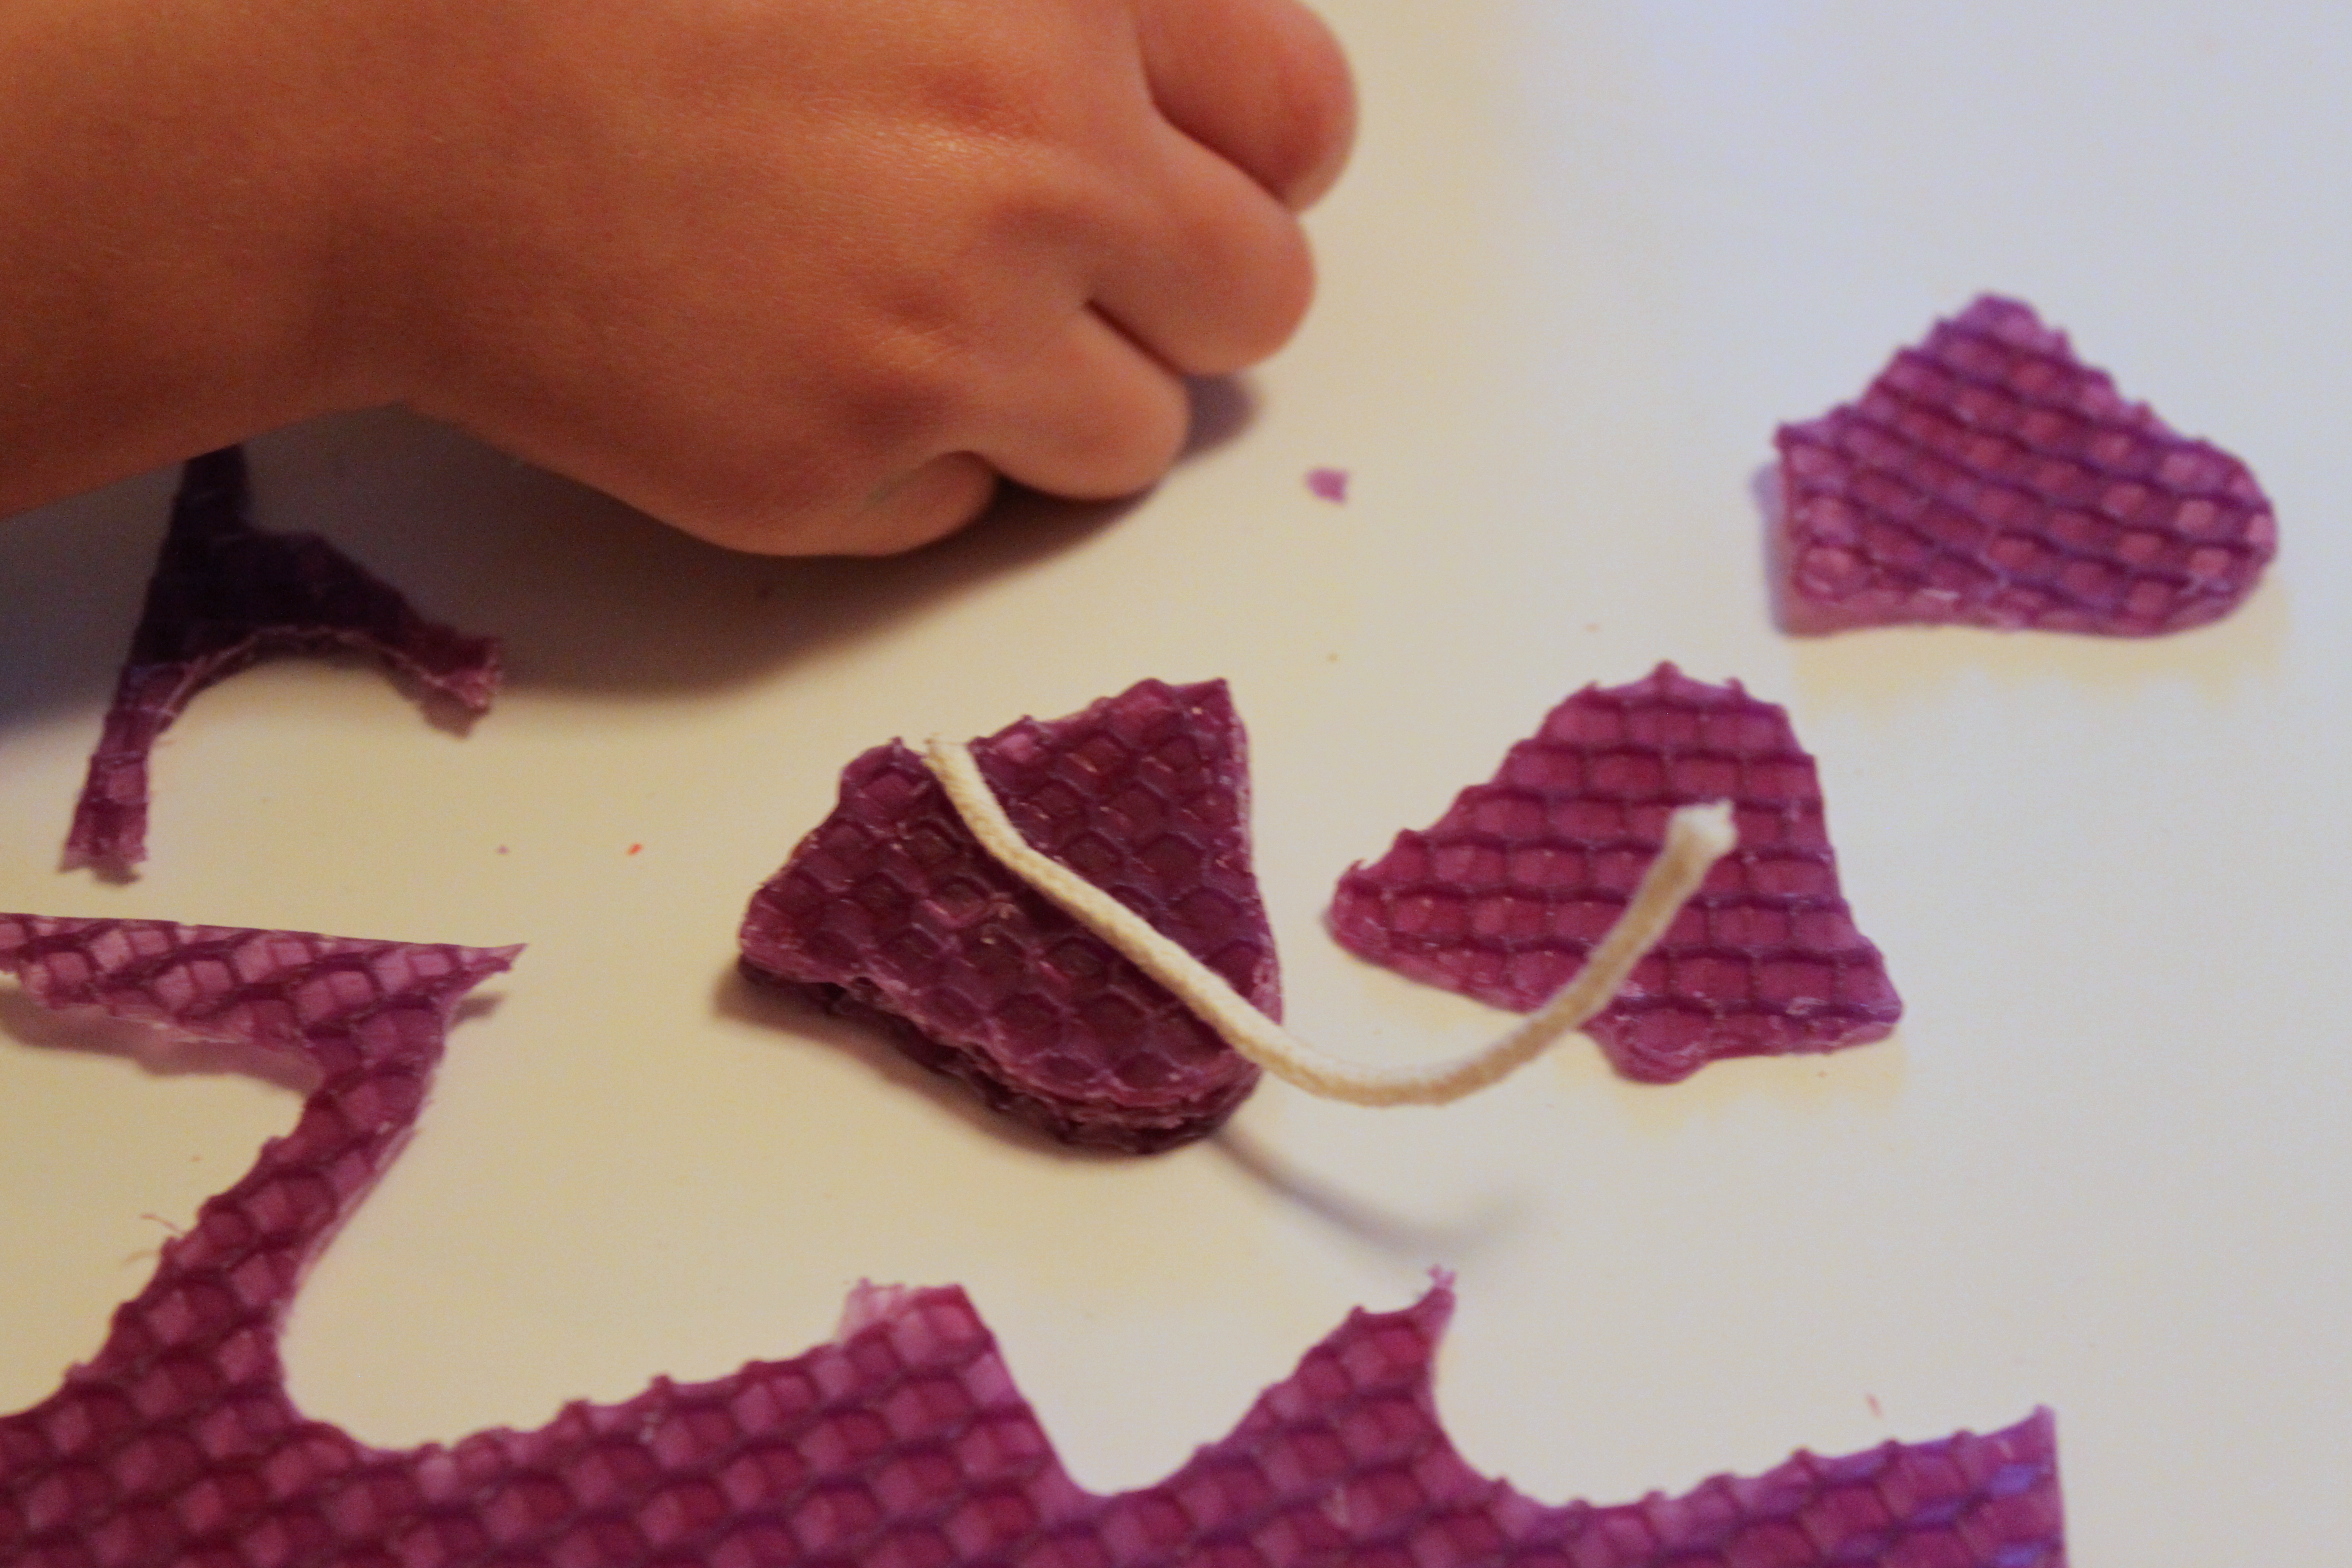
Step 3
We stacked three shapes and added a wick before stacking the other three on top and pressing firmly. We left about an inch of wick on top and our cookie cutter candle was complete. Very simple.
Step 4
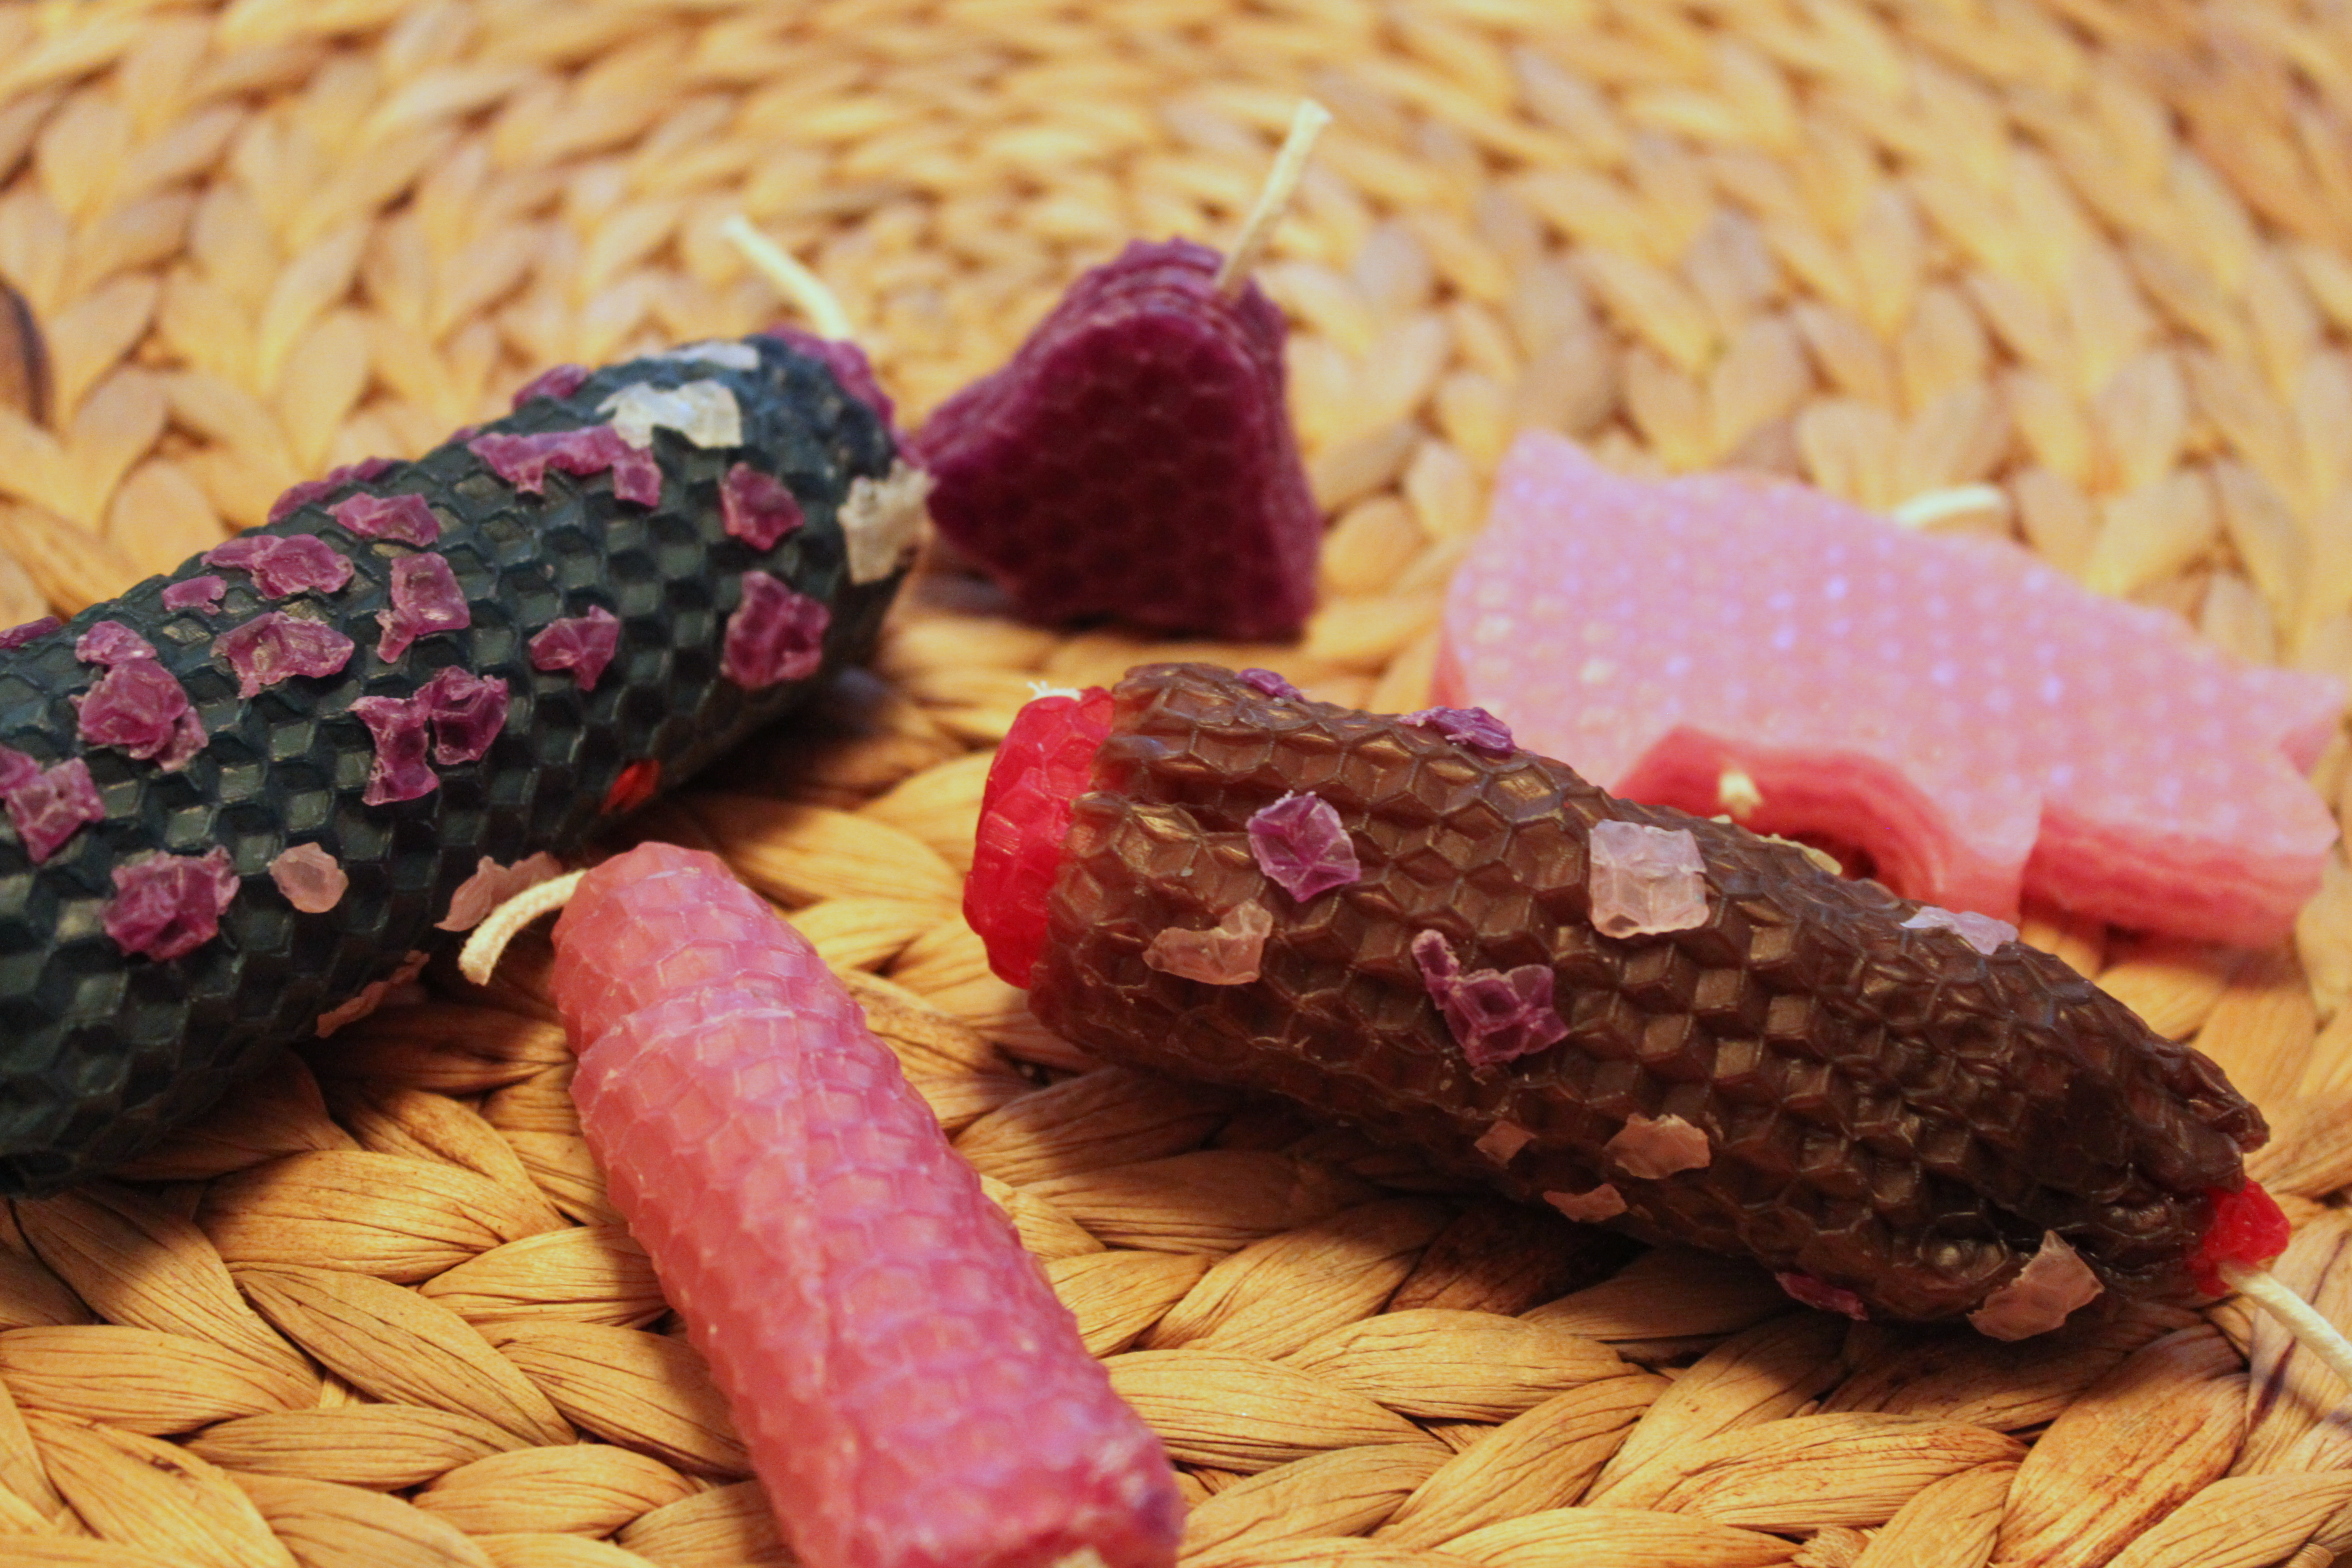
We also made the rolled style candle. We warmed the sheets again just a bit and placed a wick at one end. Emma rolled the sheet very tightly and flattened the bottom once she had a complete roll. You can add more layers or leave it more of a taper candle size.
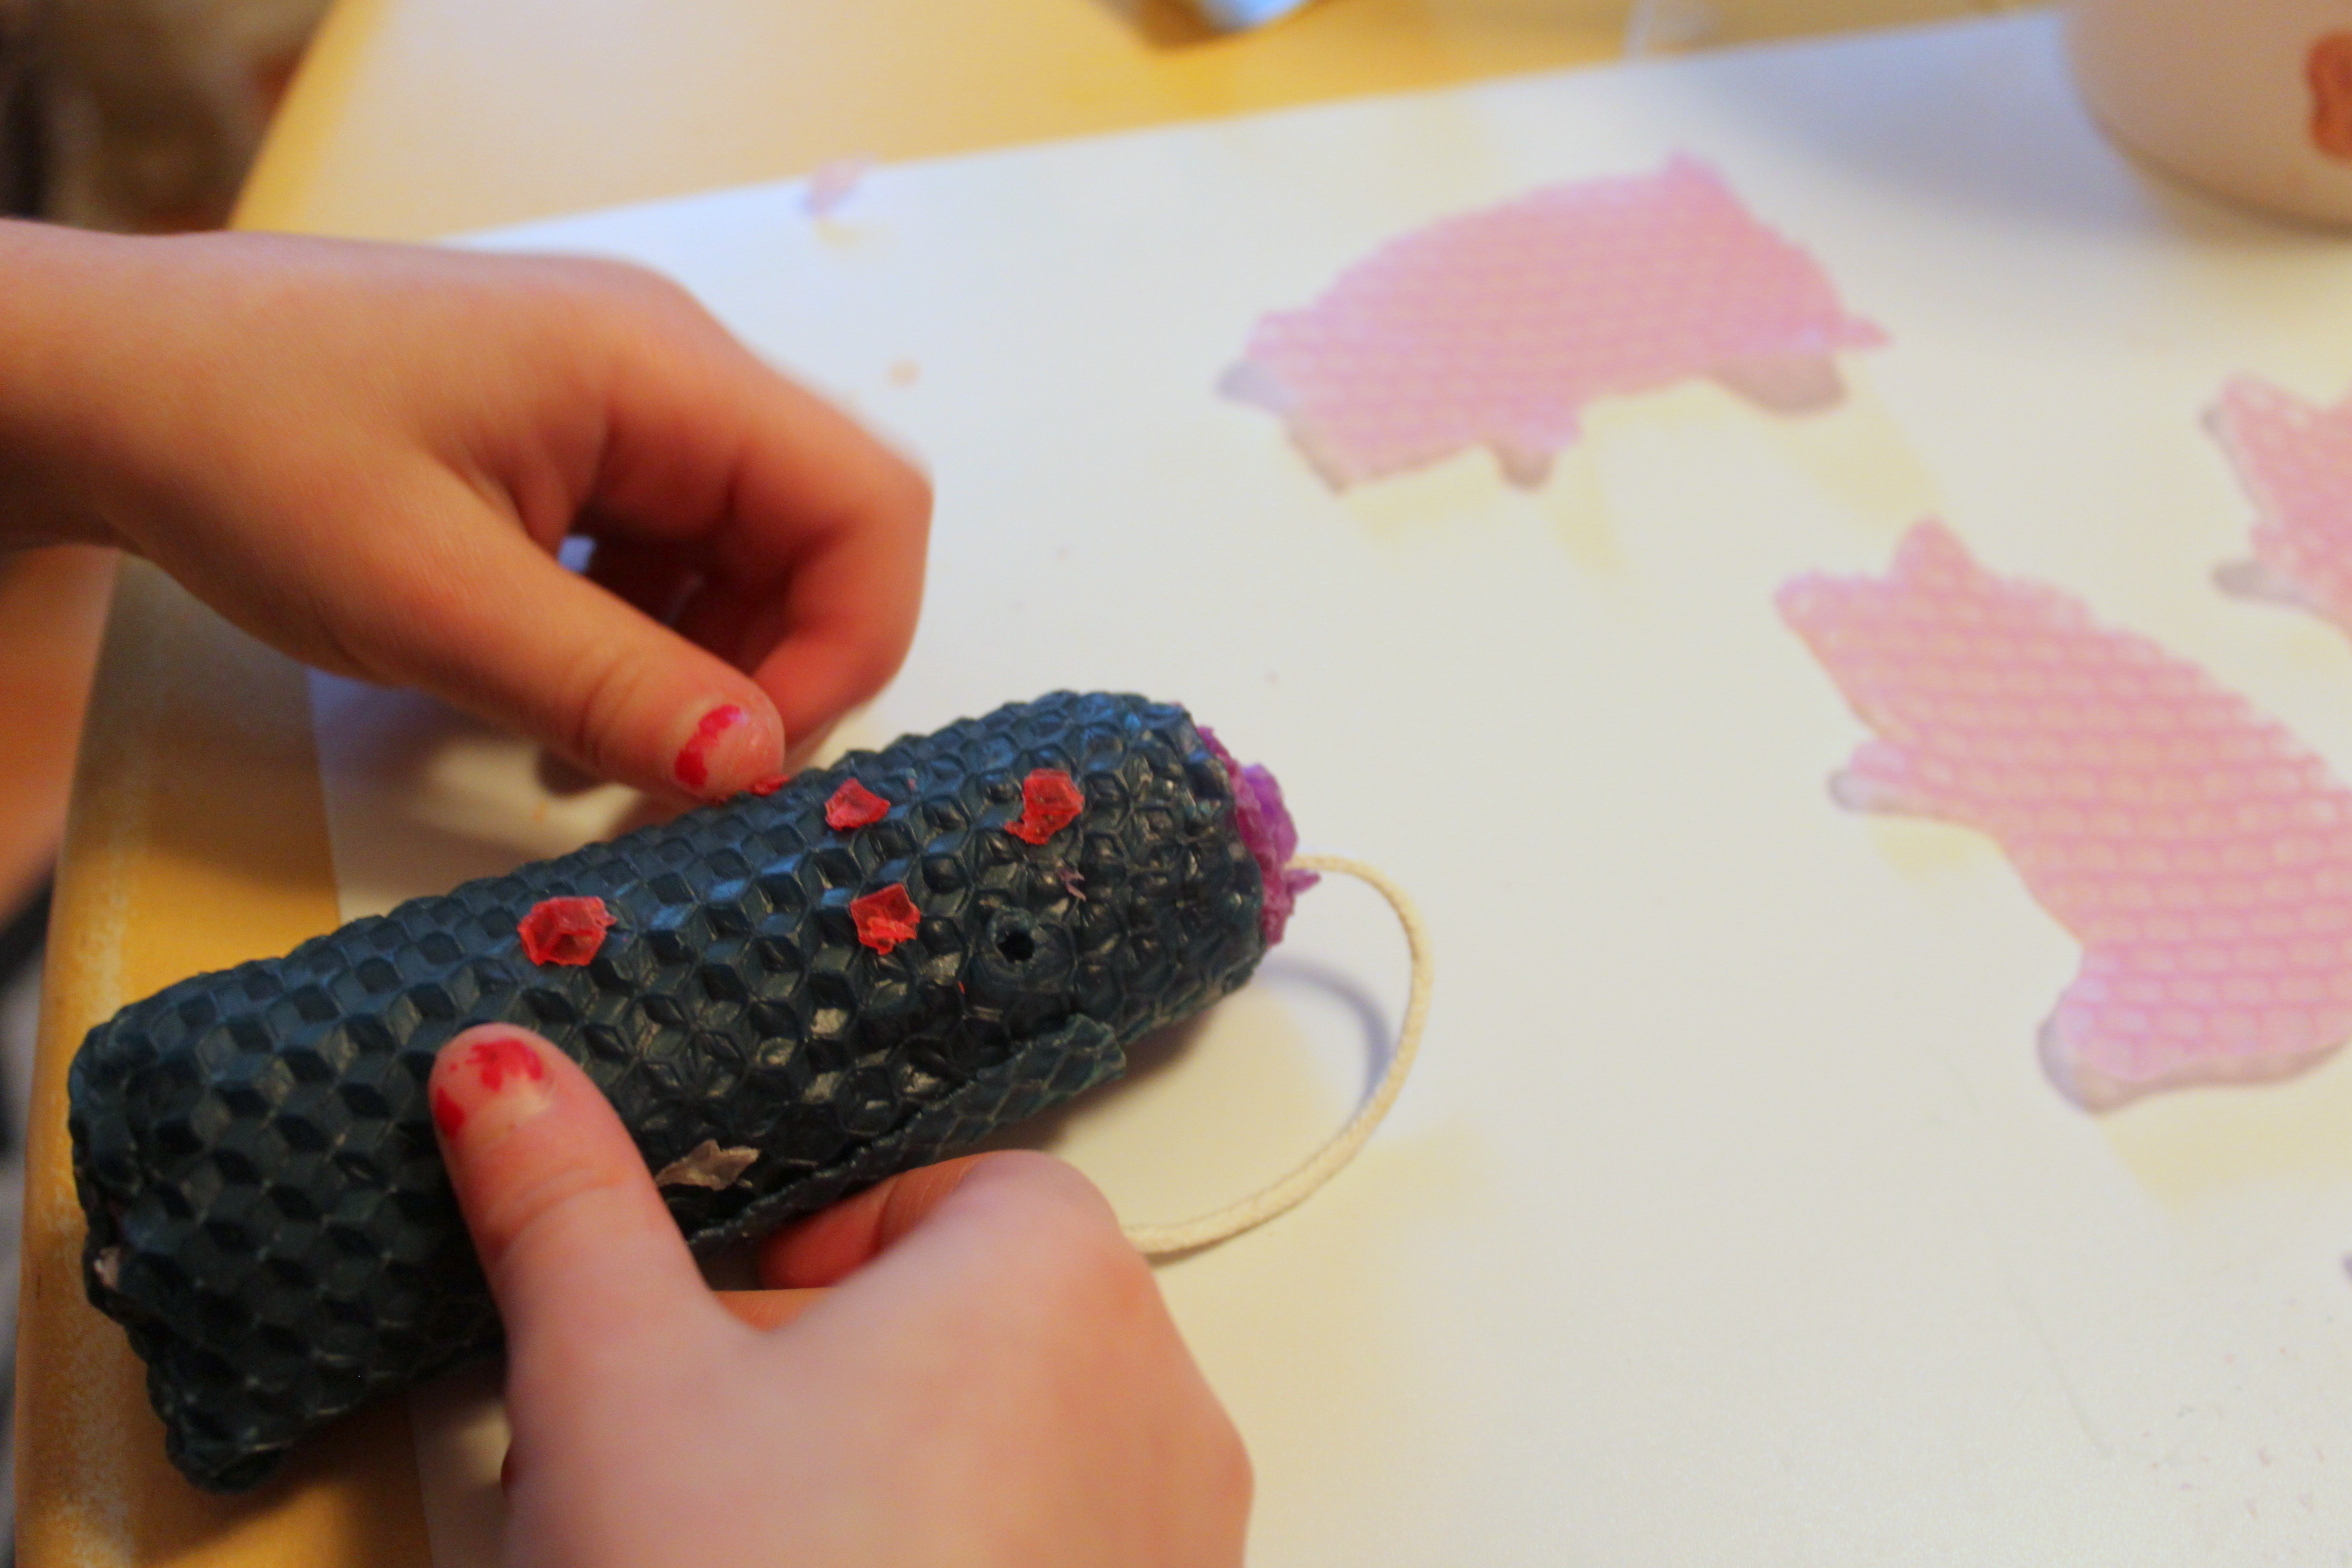
Step 5
Emma really enjoyed this style of candle making and she really loved adding more pieces of wax to decorate her candles.
Done!
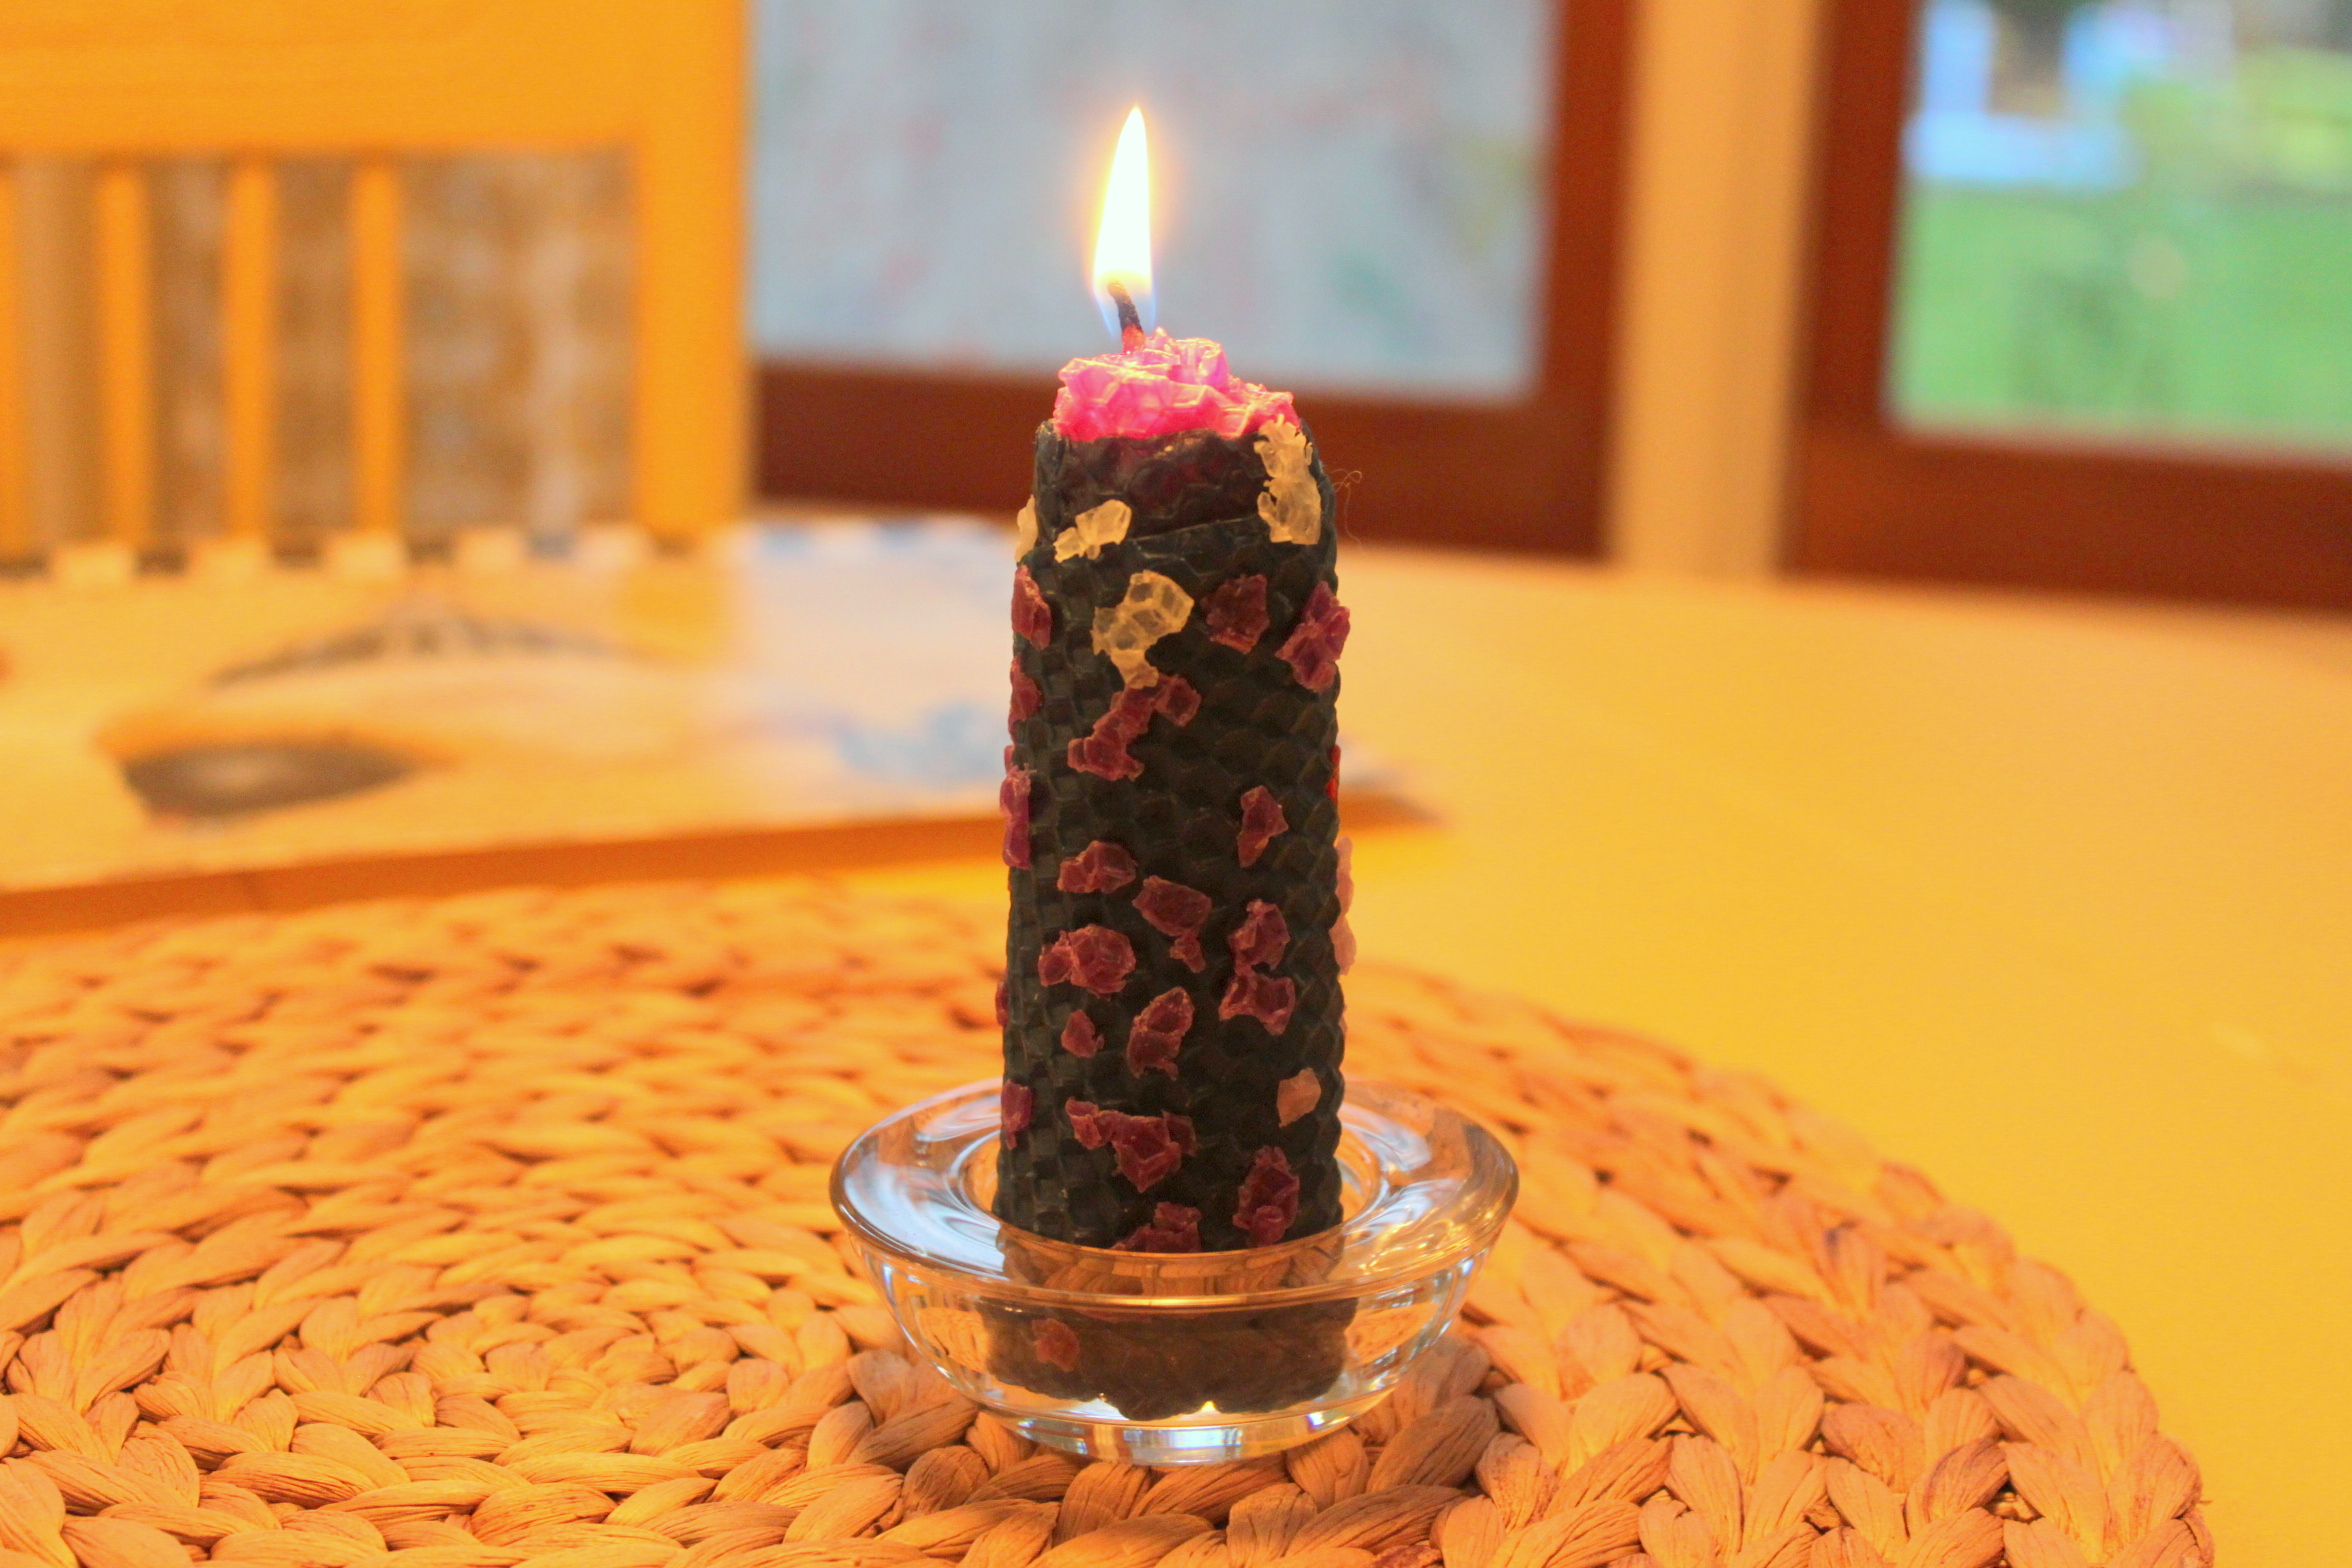
We snipped all of our wicks to leave about a half inch and they were ready to be lit. These candles would also make wonderful holiday gifts.