
Step-by-step tutorial
Step 1
Multi-colored yarns make for wonderful costumes for these dolls!

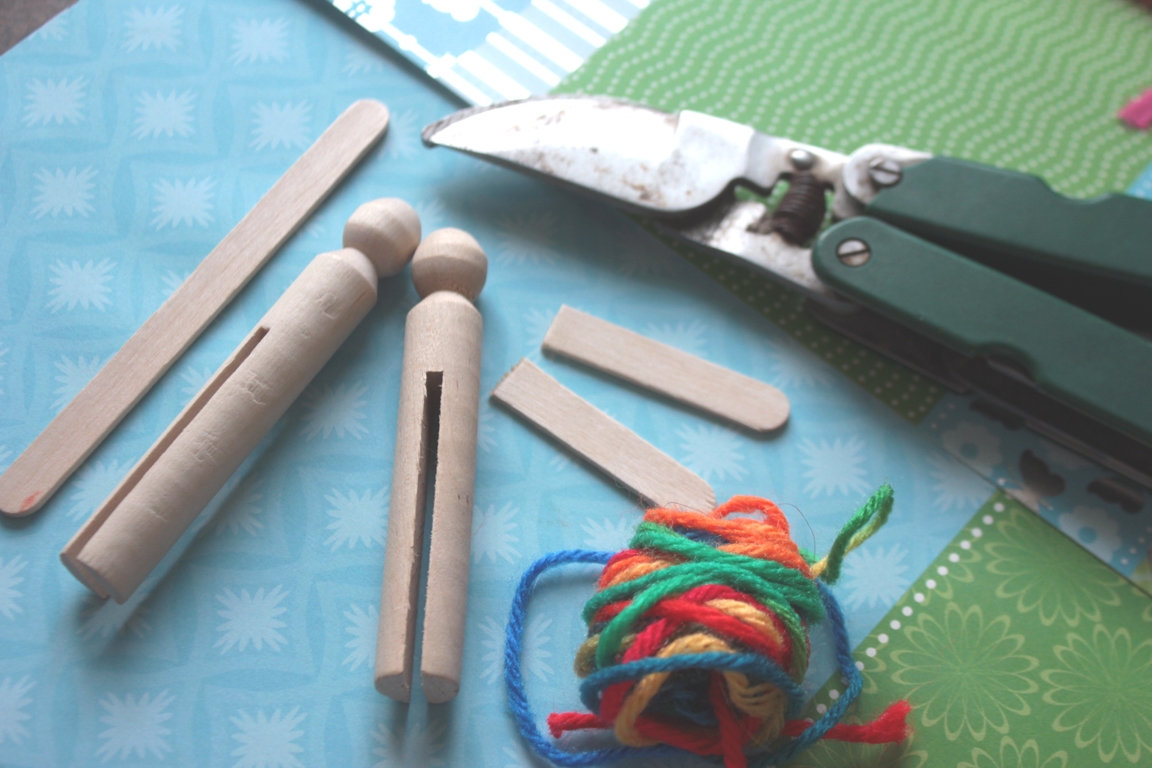
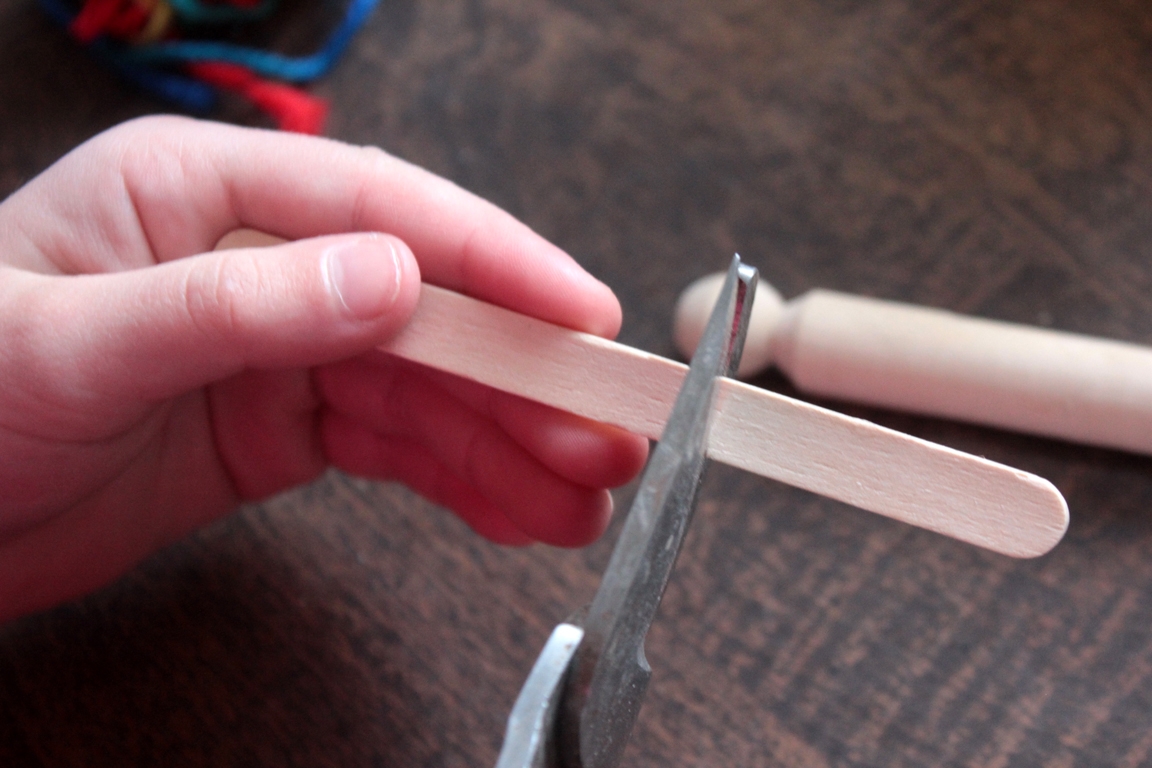
Step 2
Craft sticks can be broken or cut with scissors (the break won't show), but we discovered that our pruning tool made the cut even and quick.
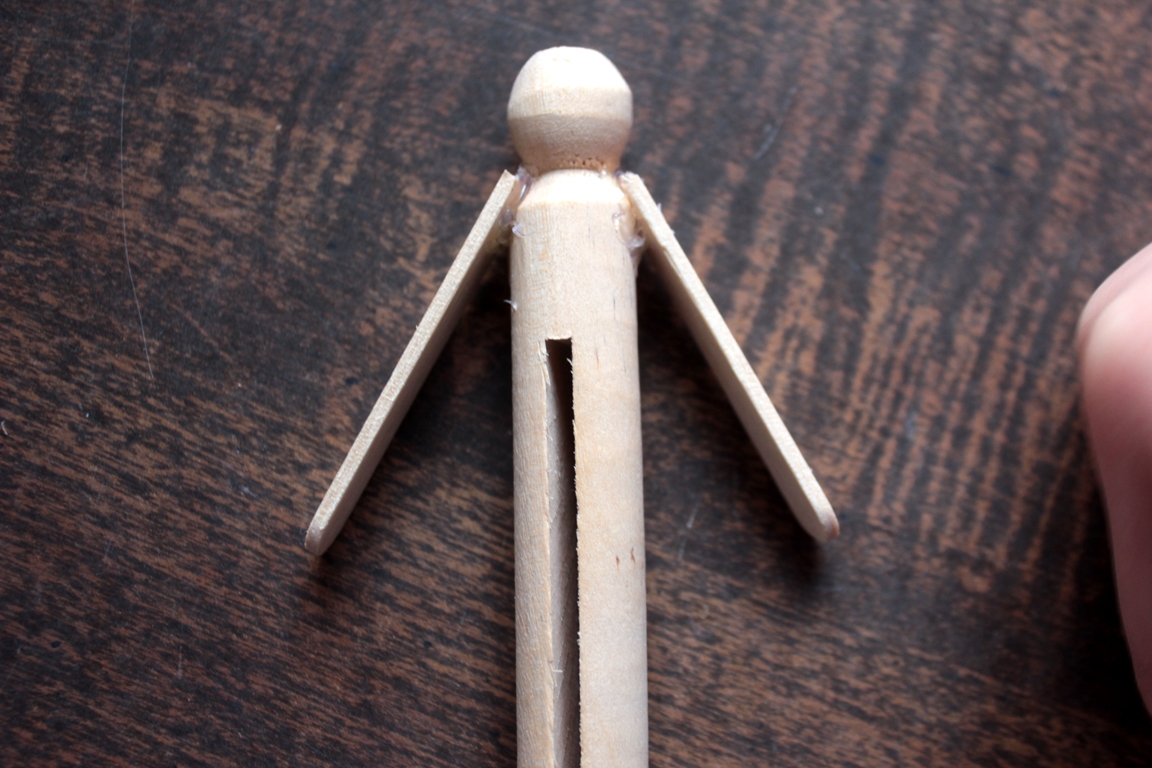
Step 3
If you don't want to use hot glue, then glue each craft stick to the shoulder, hold it in place with masking tape, and leave it until it dries. We opted for the glue gun, which allowed us to make our dolls immediately.
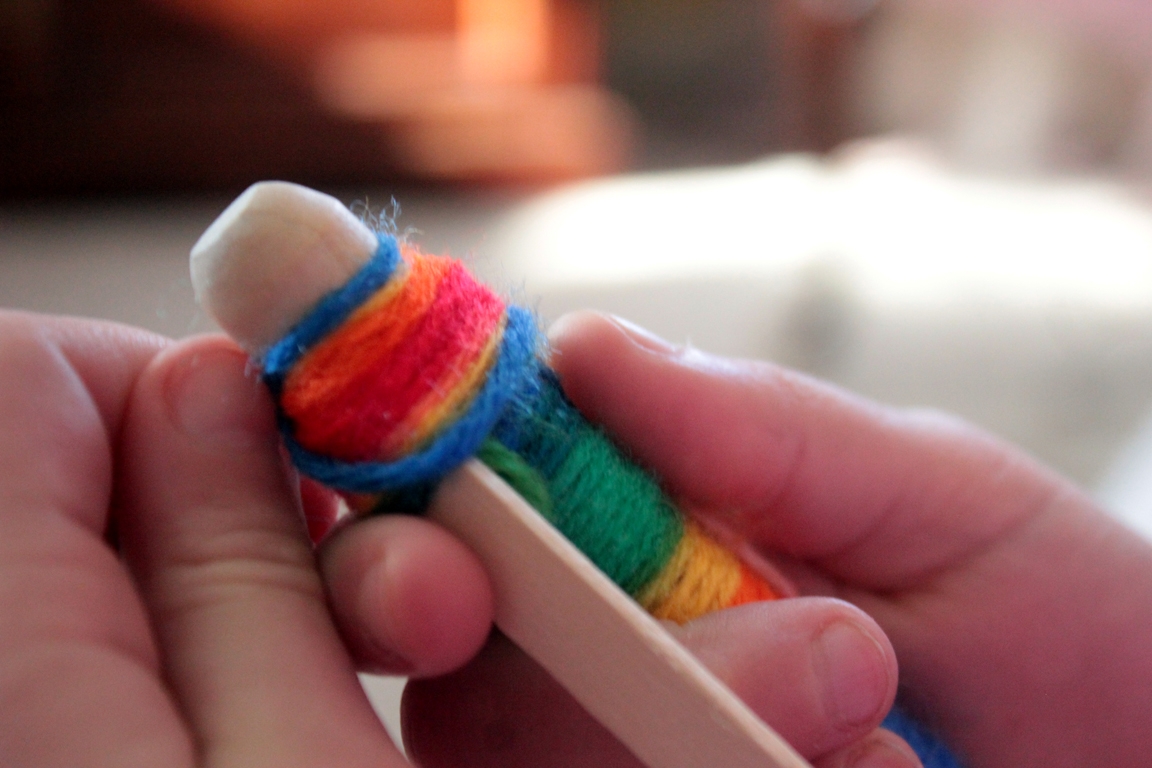
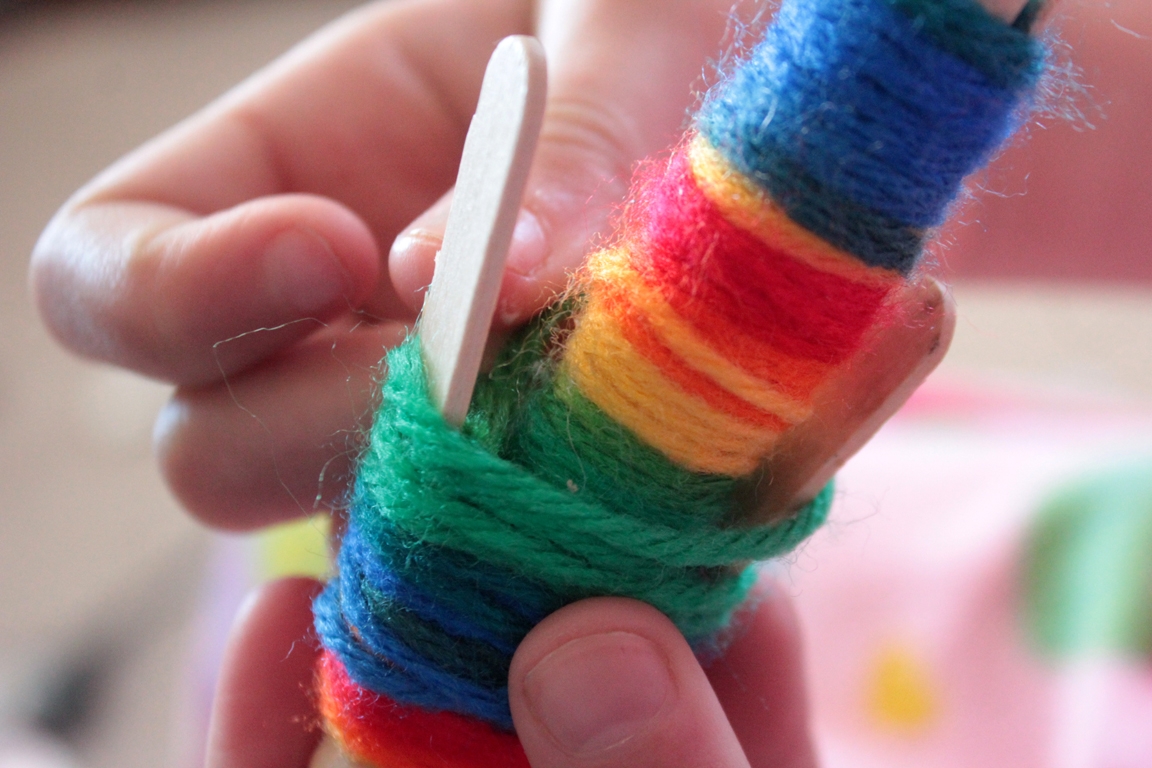
Step 4
Maddie chose her yarn, and began wrapping the doll, starting underneath the arms. You can wrap the legs individually, or make a skirt. She enjoyed wrapping -it went quickly- but I did have to show her to make sure the yarn was 'pushed up', so as not to leave any uncovered gaps. When the lower part was done, she came up to the neck, and wrapped over the shoulders, and down the arms a bit.
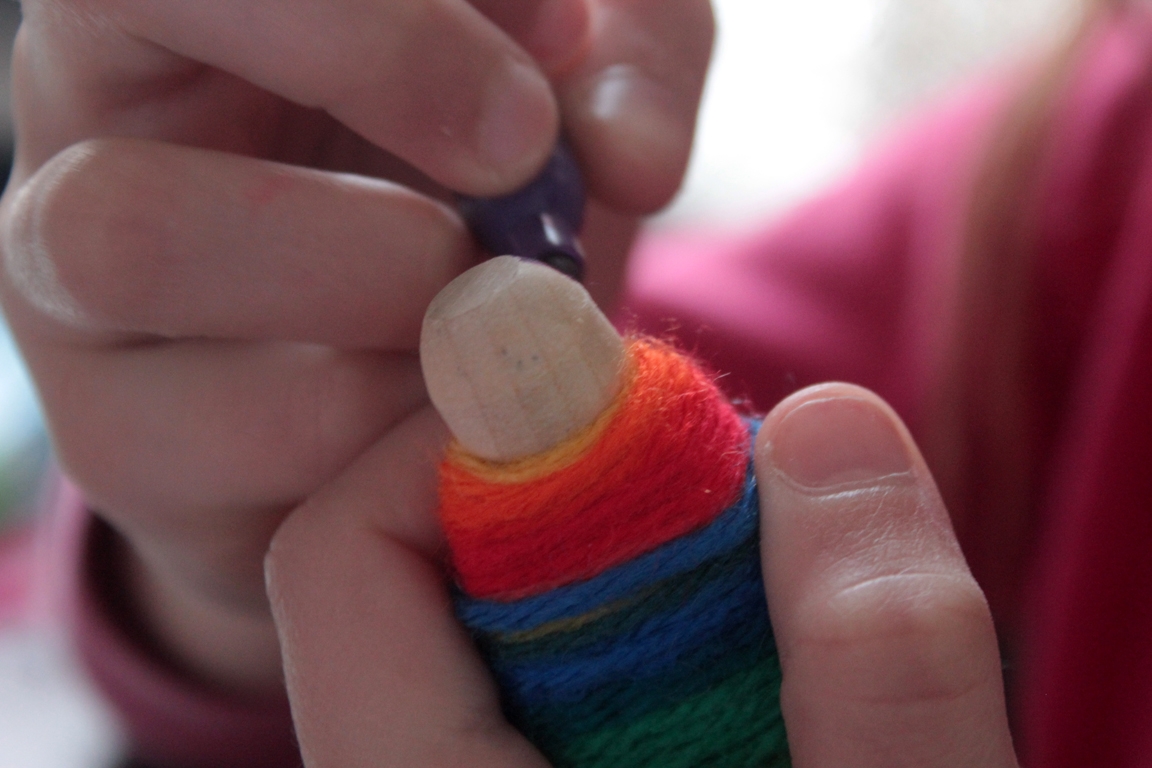
Step 5
When she was done with wrapping each area, she put a bit of glue on the end of the yarn, and tucked it in--under the arm for above, and between the feet for the bottom half.
Step 6
Lastly, with a permanent pen, she gave her dolls a face and hair. She didn't opt for shoes, but you certainly could!
Done!
They're all finished! A collection of dolls to ensure sweet dreams and a happy morning.


