Step-by-step tutorial
Step 1
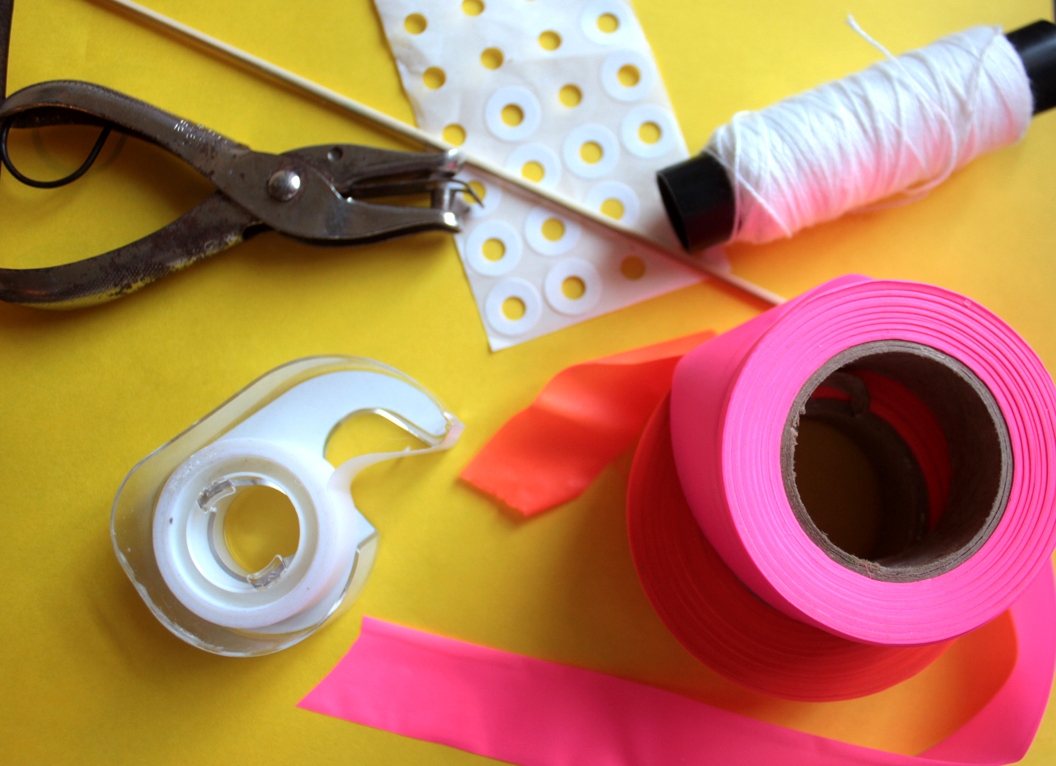
If you don't have a very light, plastic ribbon, cut up pieces of plastic garbage bags for the tail. We used light copy paper, too, instead of construction paper.

Step 2
The first thing we had to do was to fold the paper in half.
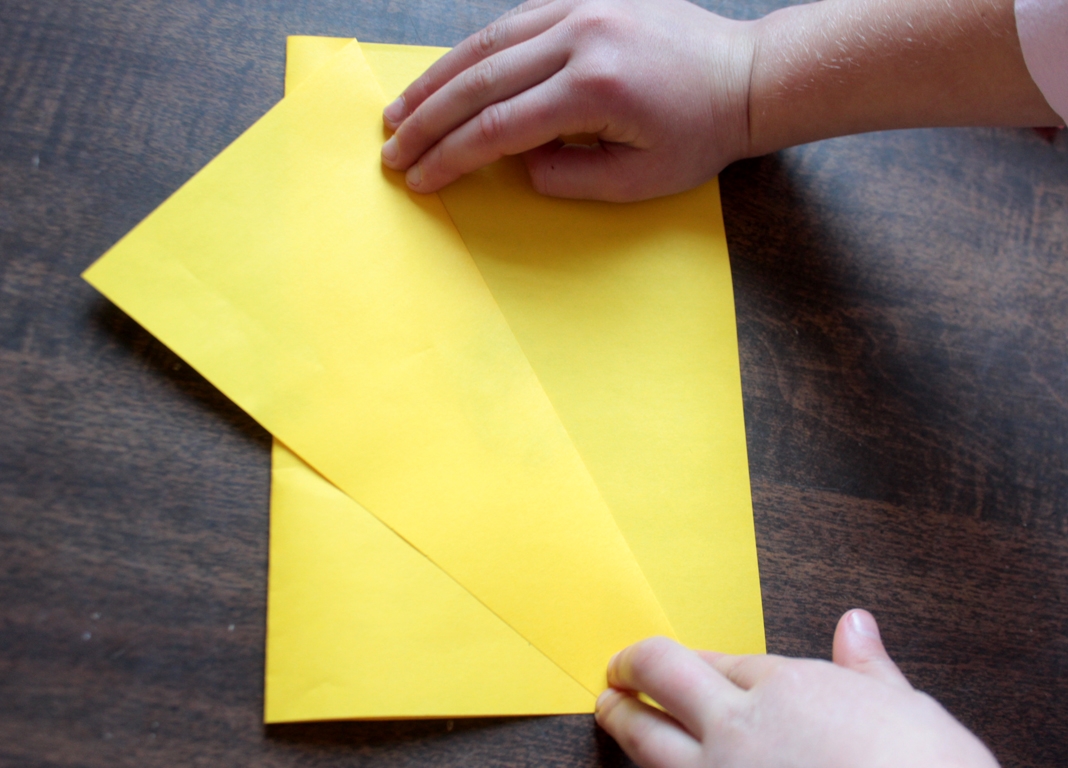
Step 3
Then, with the fold on the left, we folded one side over like this, leaving about an inch at each corner (notice we did not go "around" the bottom corner).
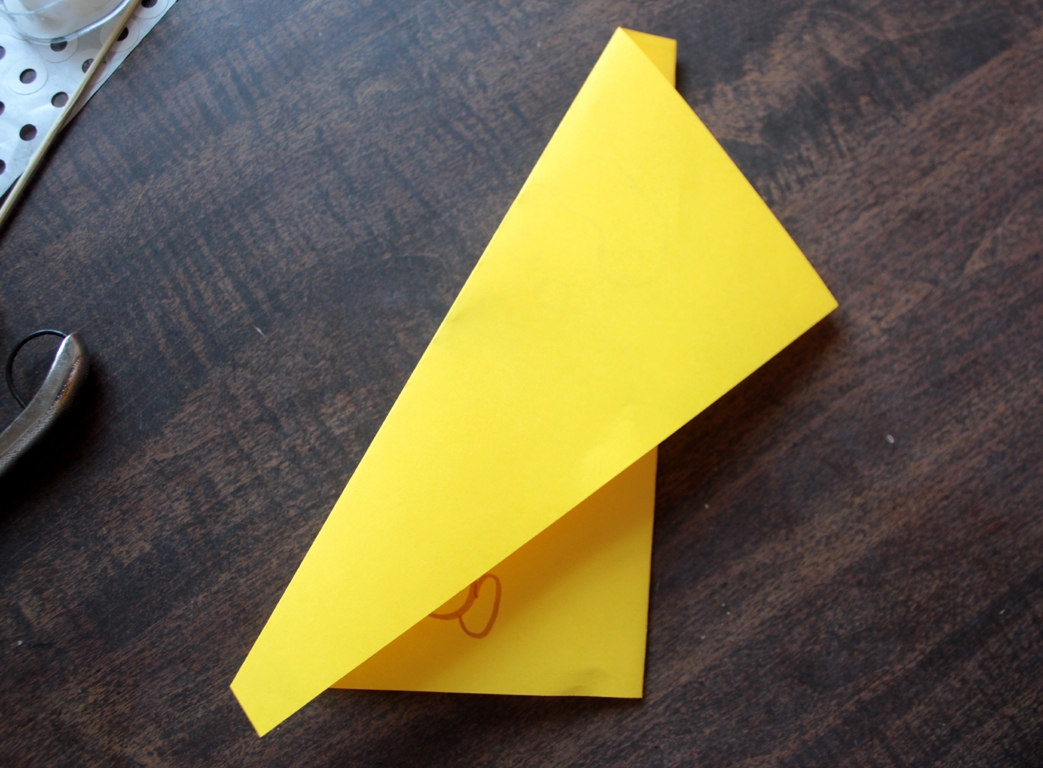
Step 4
We flipped over the paper and folded the other side to match the first.
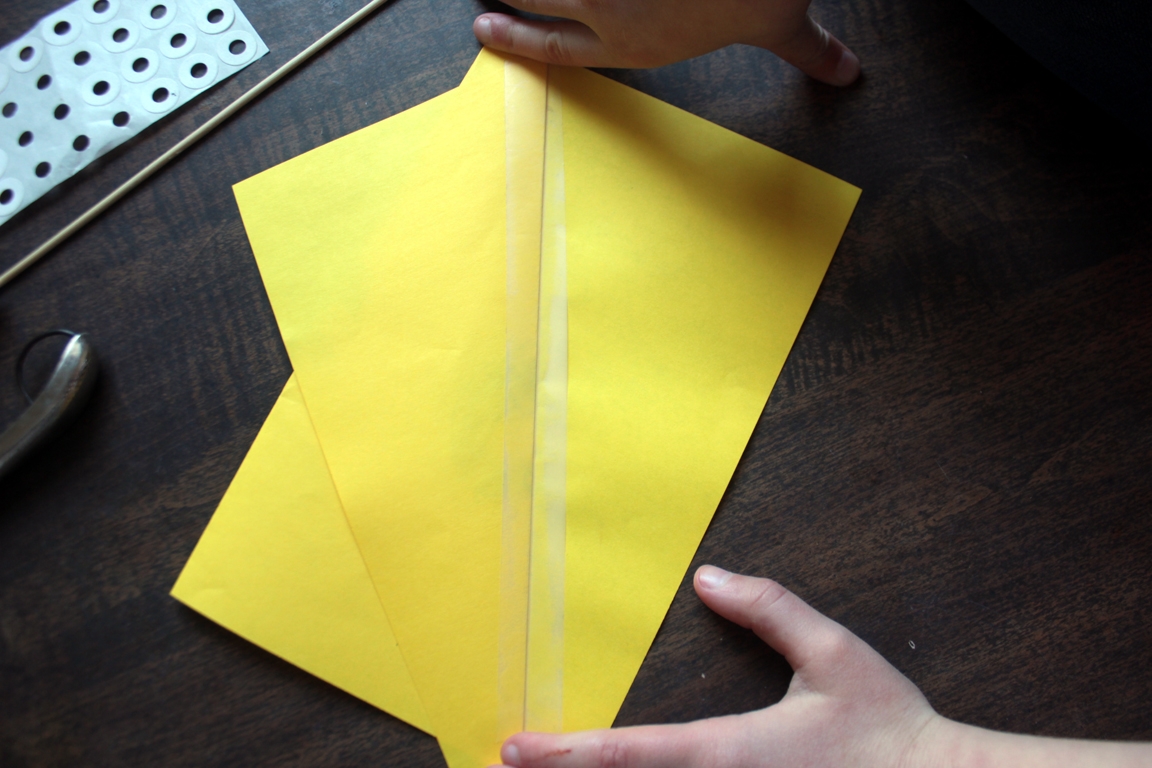
Step 5
We flipped it back over and put a long piece of tape all along the spine of the kite.
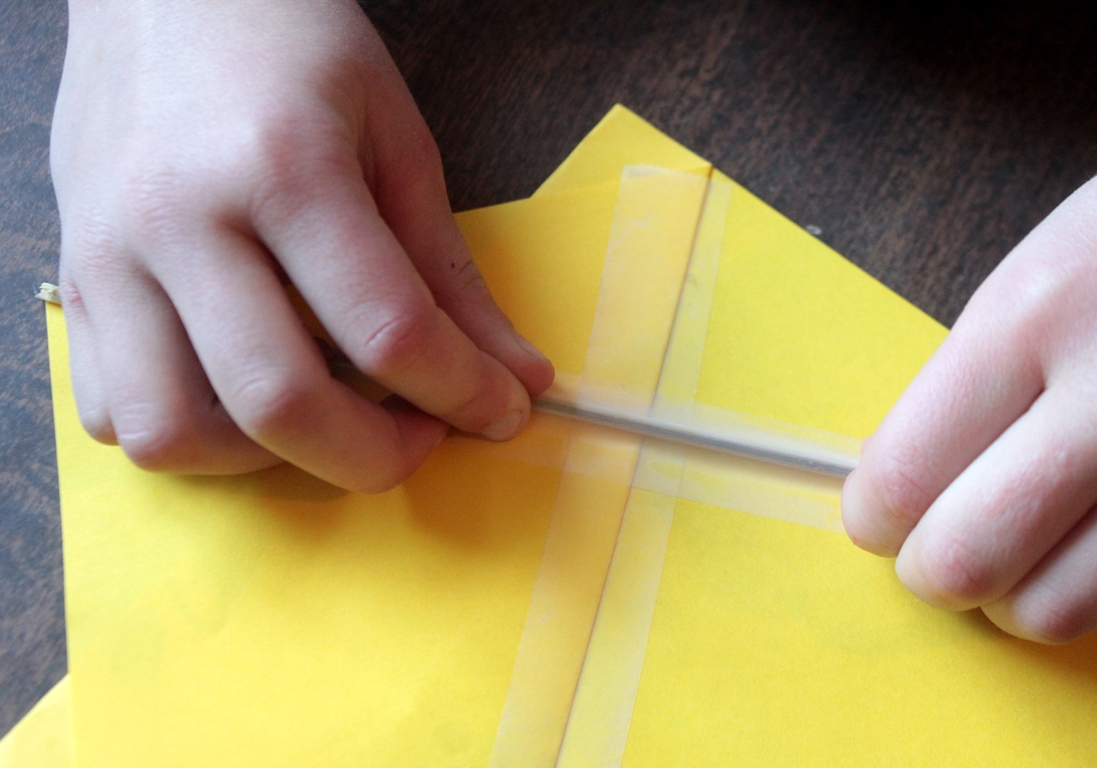
Step 6
Next goes on the skewer - we measured, corner to corner...
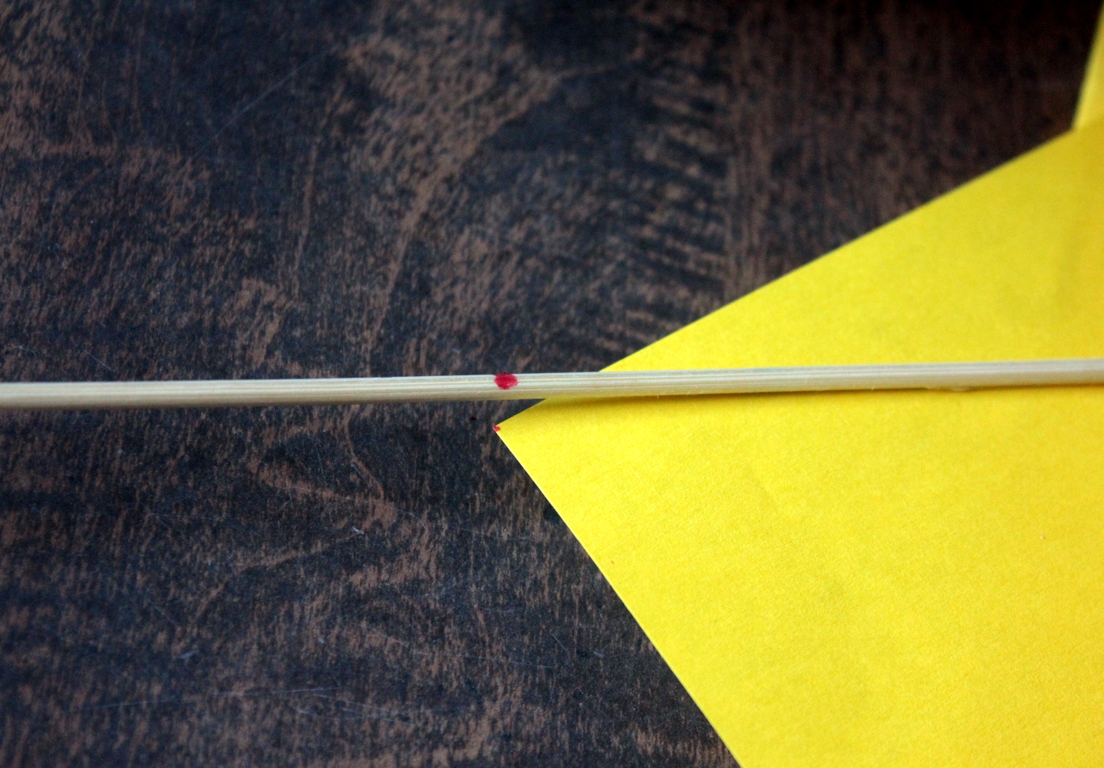
Step 7
...and taped it down.
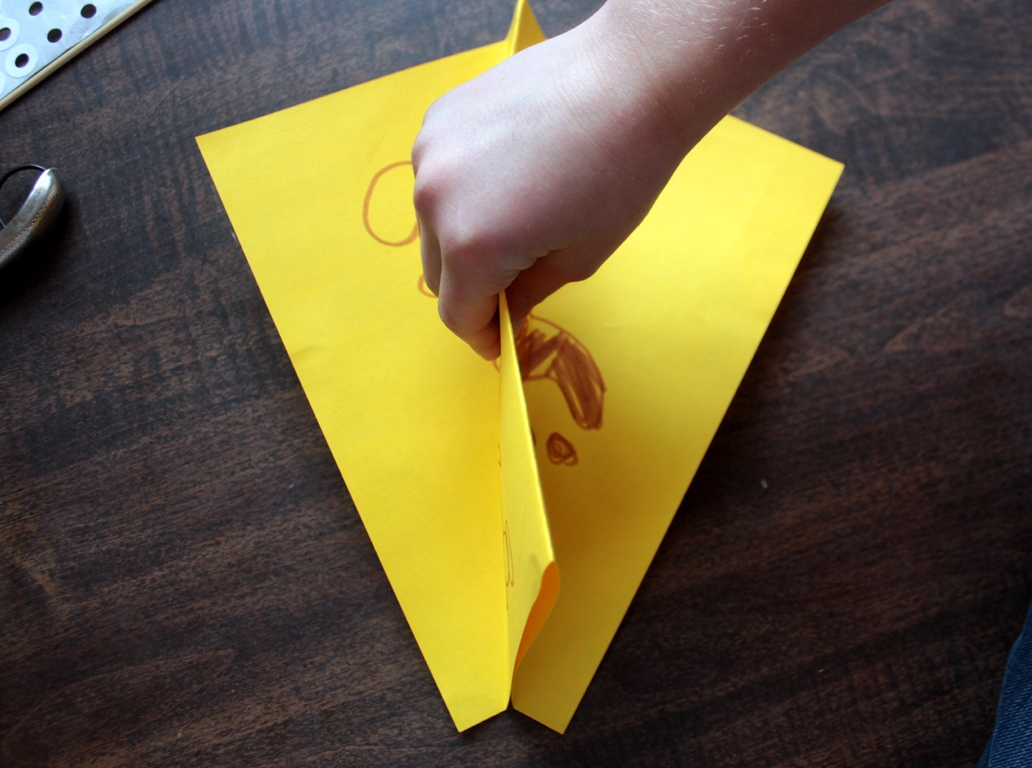
Step 8
We needed to make sure the rudder was straight, so we folded (creased) it back and forth until it stood up straight.
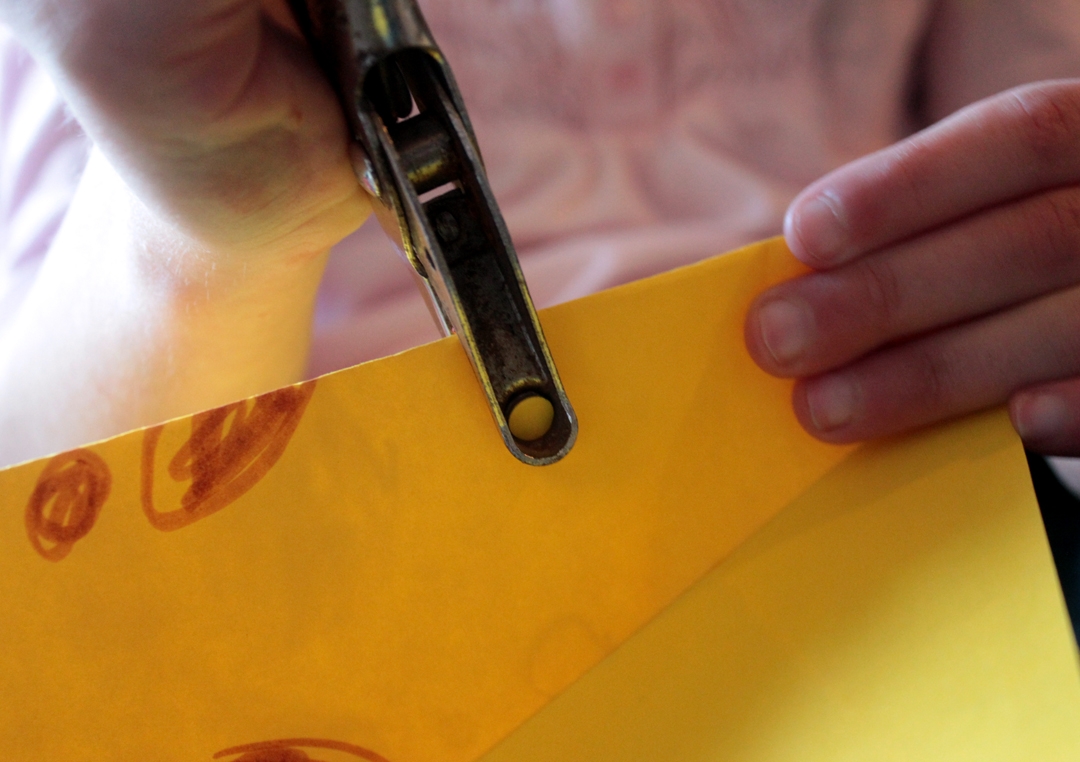
Step 9
Maddie punched a hole about 1/3 of the way from the nose of the kite, for tying on the string.
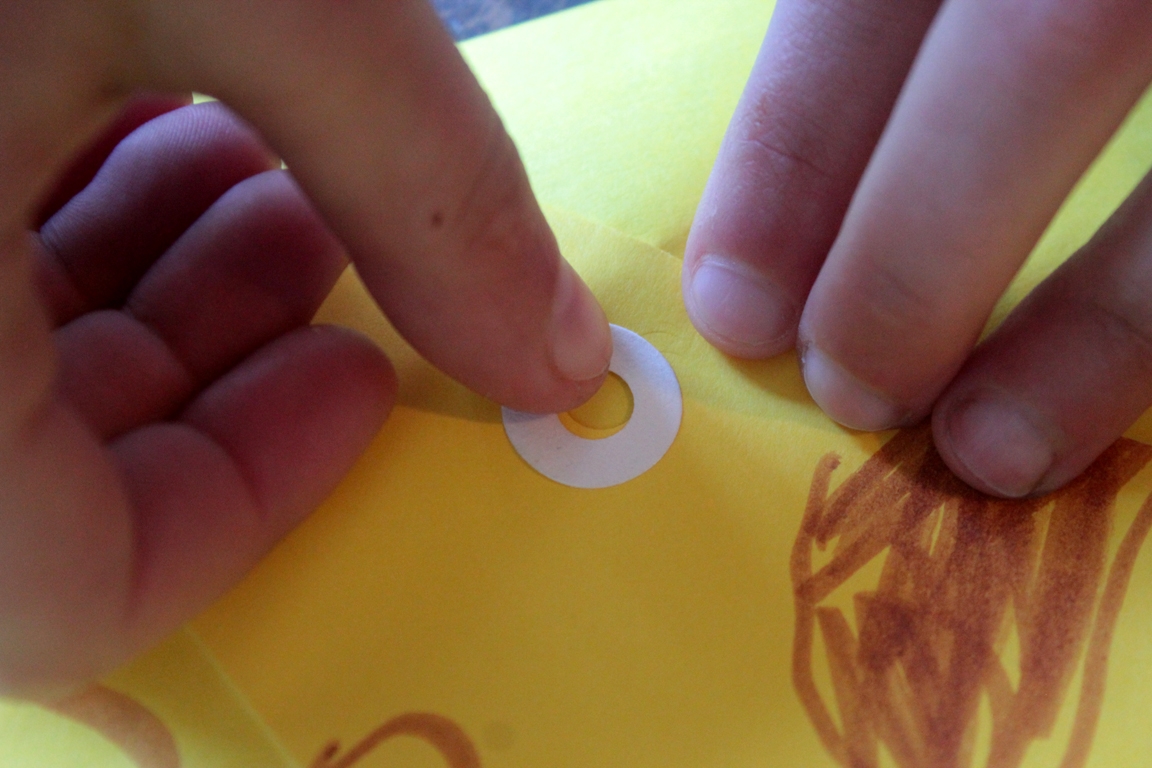
Step 10
She put reinforcers on so that the kite might last longer before tearing.
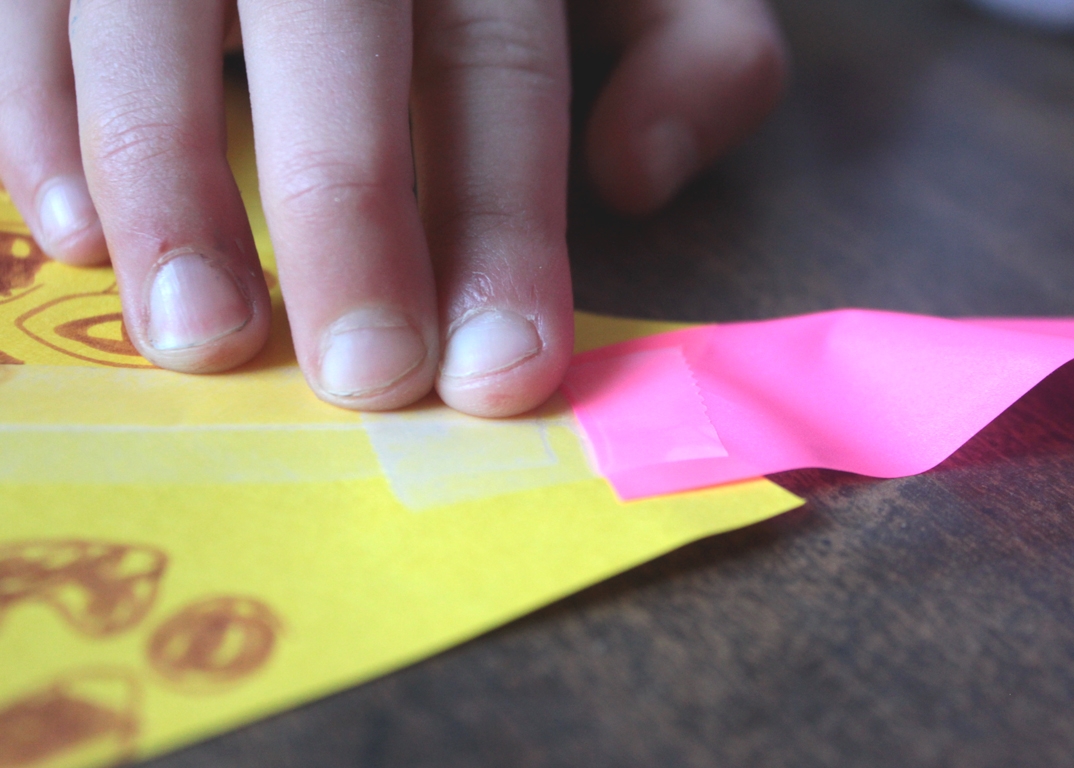
Step 11
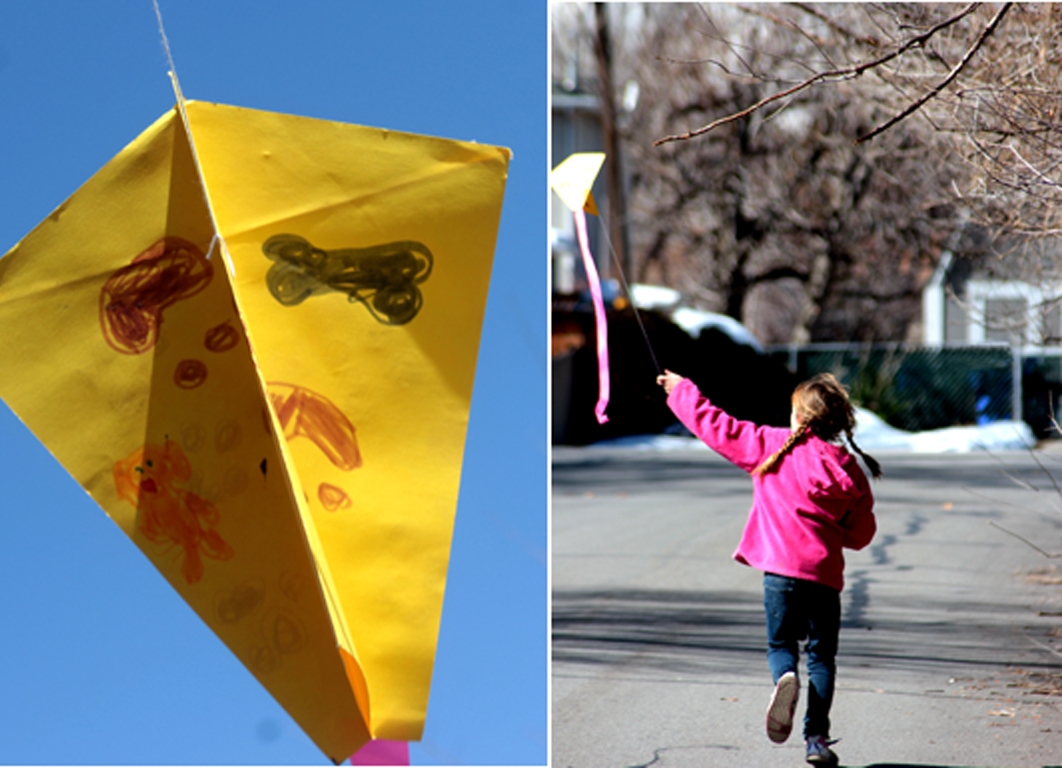
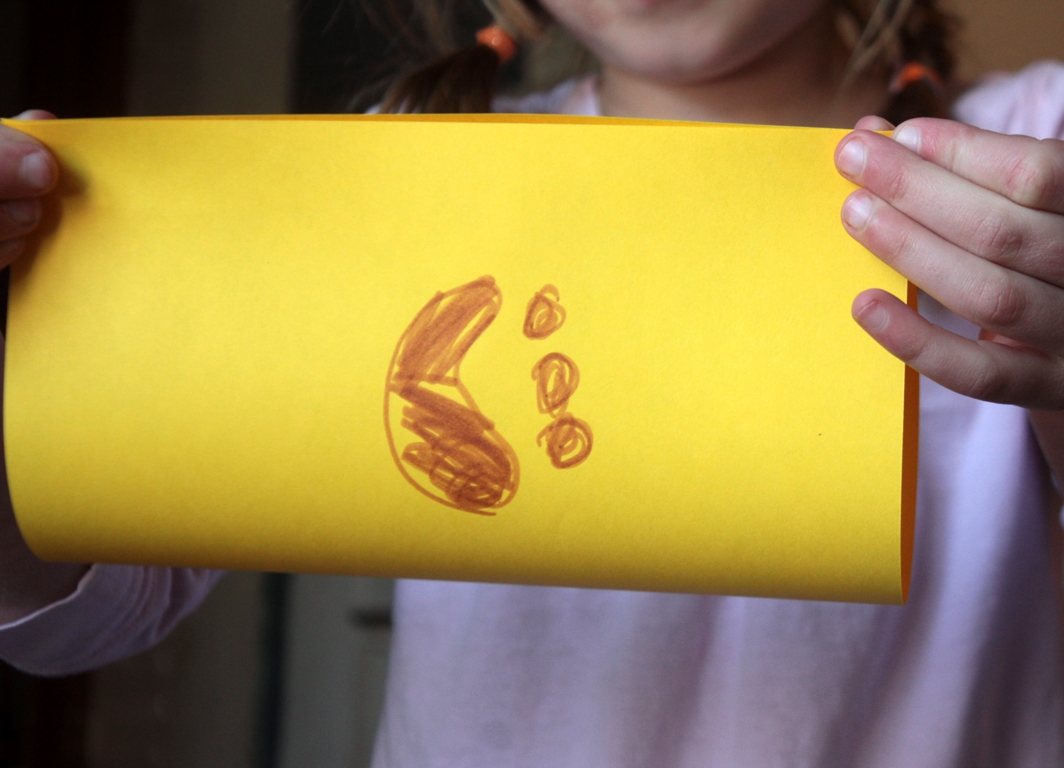
She finished decorating (puppies, puppy prints, and dog bones), tied on the kite string, and taped on the kite tail.
Done!
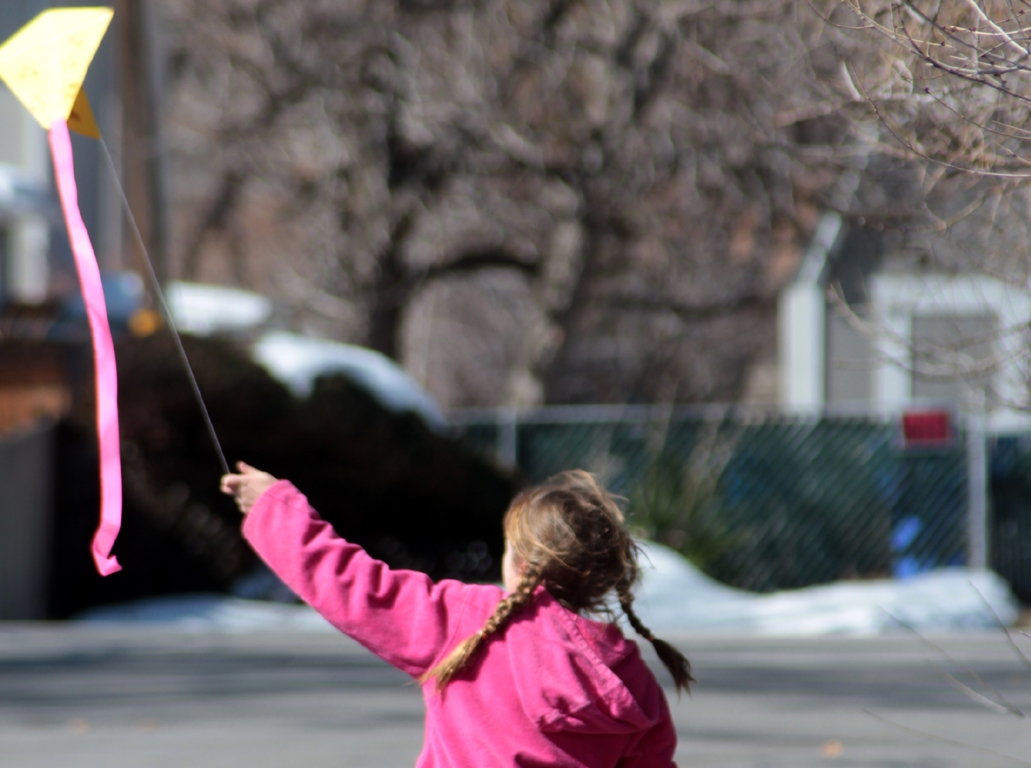
Out we went, into the world! In the backyard. In the neighborhood. Through the park... held securely to her scooter. So fun!!