Step-by-step tutorial
Step 1
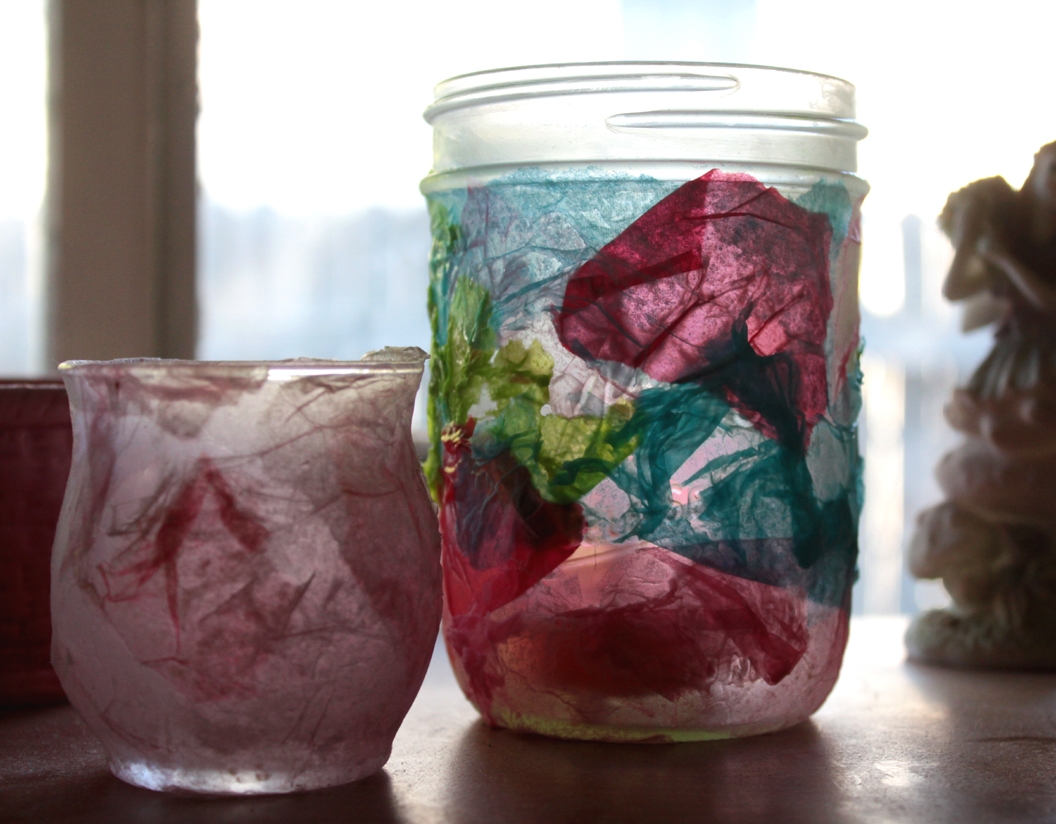
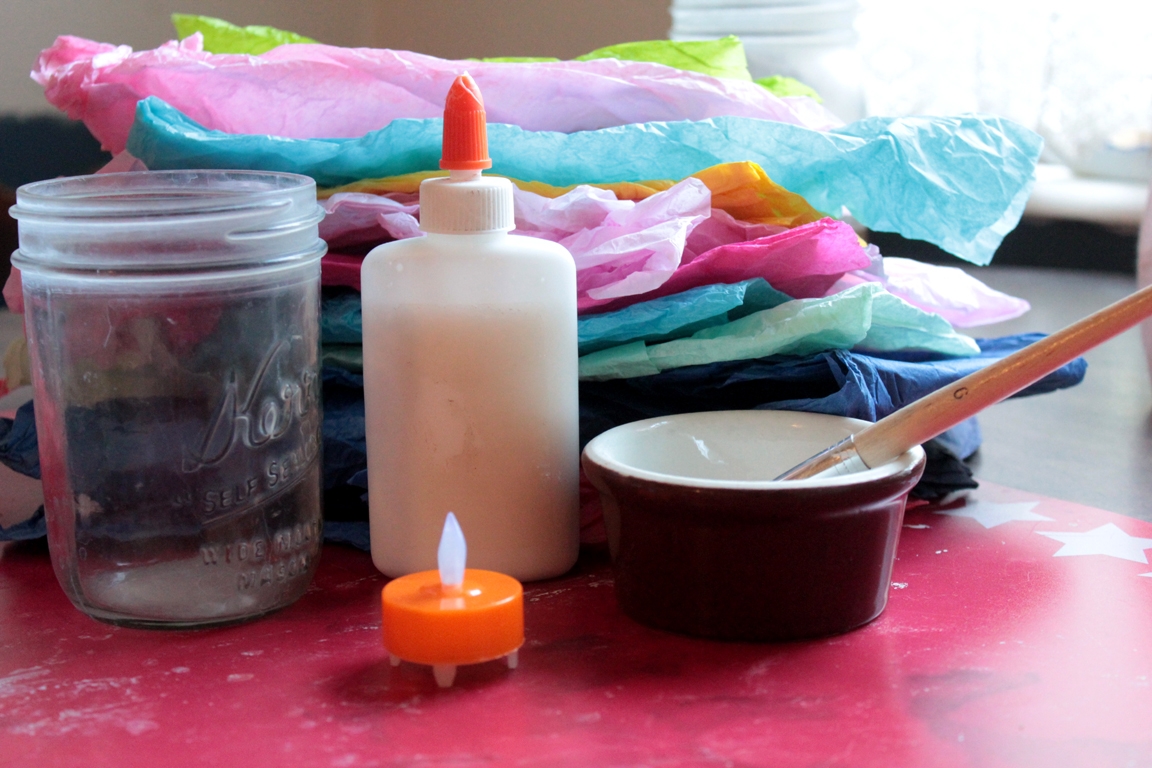
Any kind of glass jar is perfect for this project... you can use a jelly jar, a fancy-shaped jar, a baby food jar--whatever you like.

Step 2
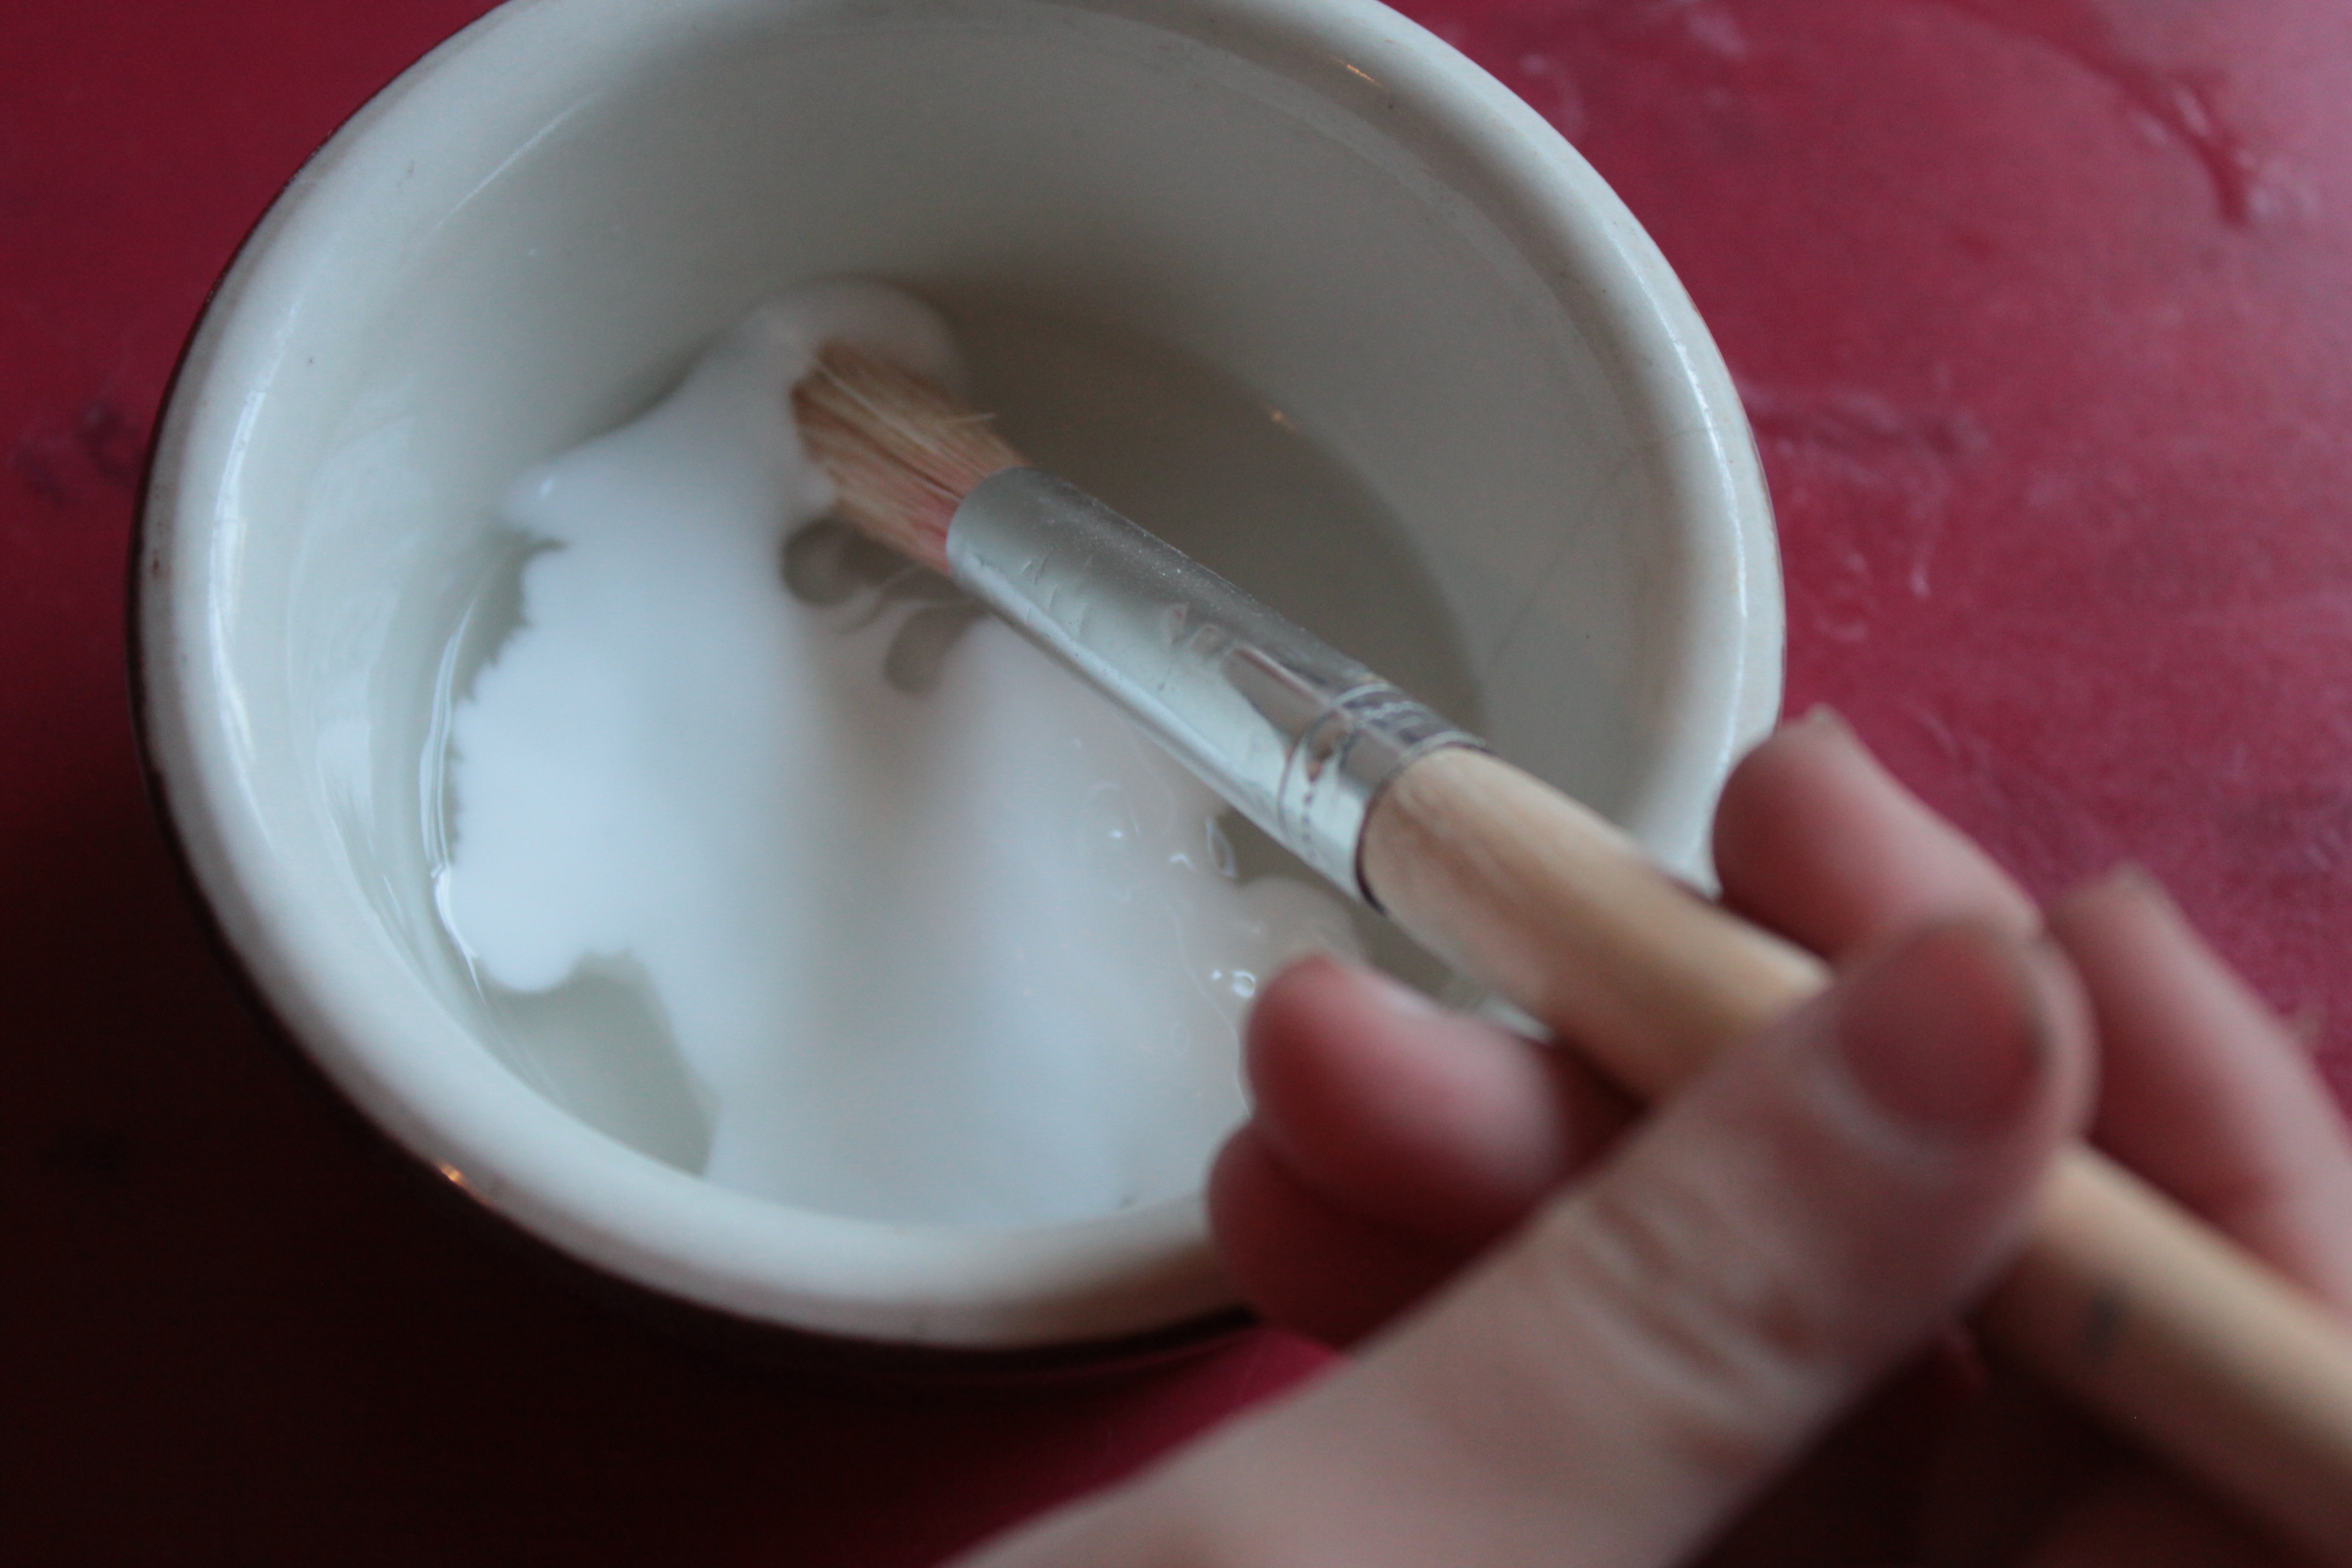
First choose your favorite colors, and either cut or tear them into smallish bits. (It's always fun to tear up paper!) Then add a splash of water and a bit of glue into a small bowl, and mix the two liquids together.
Step 3
You may choose to cover your entire jar with glue at this point, or to work in smaller areas--it's up to you! Madeleine chose to work in sections, spreading her colors around. I love when she has a vision and knows just how she wants to make it!
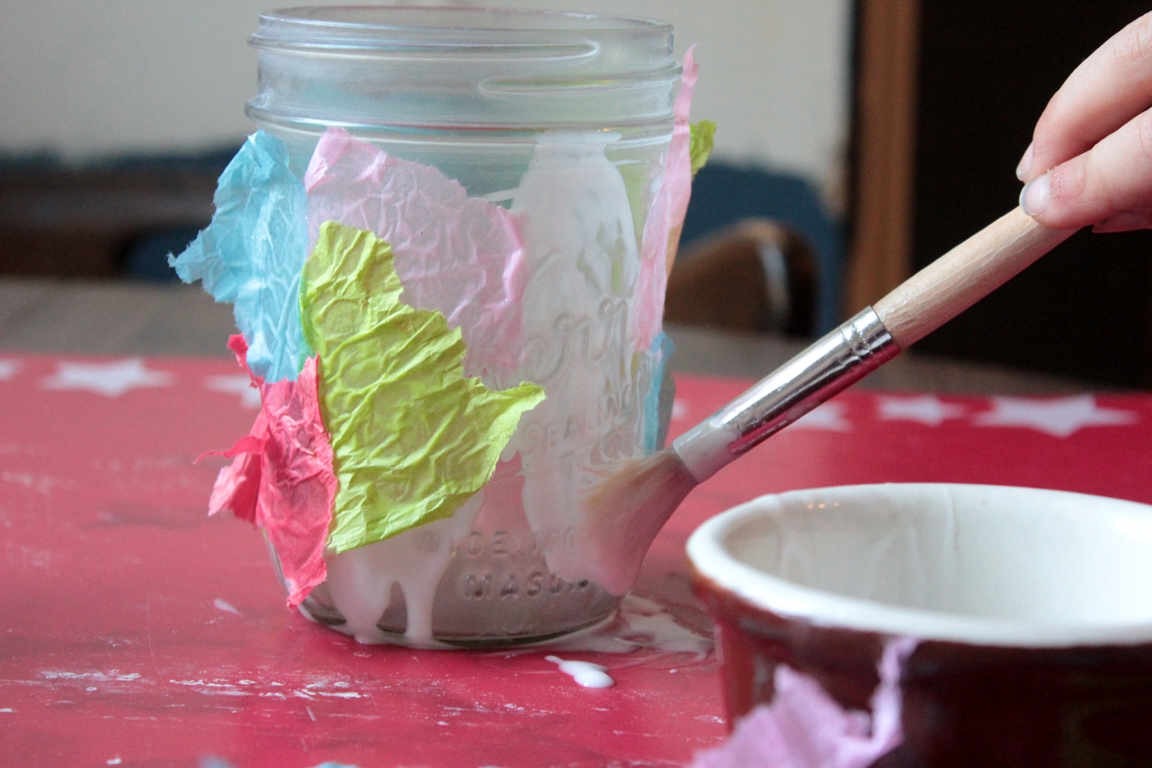
Step 4
Once you have the jar mostly covered and are covering empty spots (should you want them covered), it's easy to pick up the jar and turn it upside down to add your final touches. When it's covered to your satisfaction, finish it off with a layer of glue, pressing all the tissue flat against the jar.
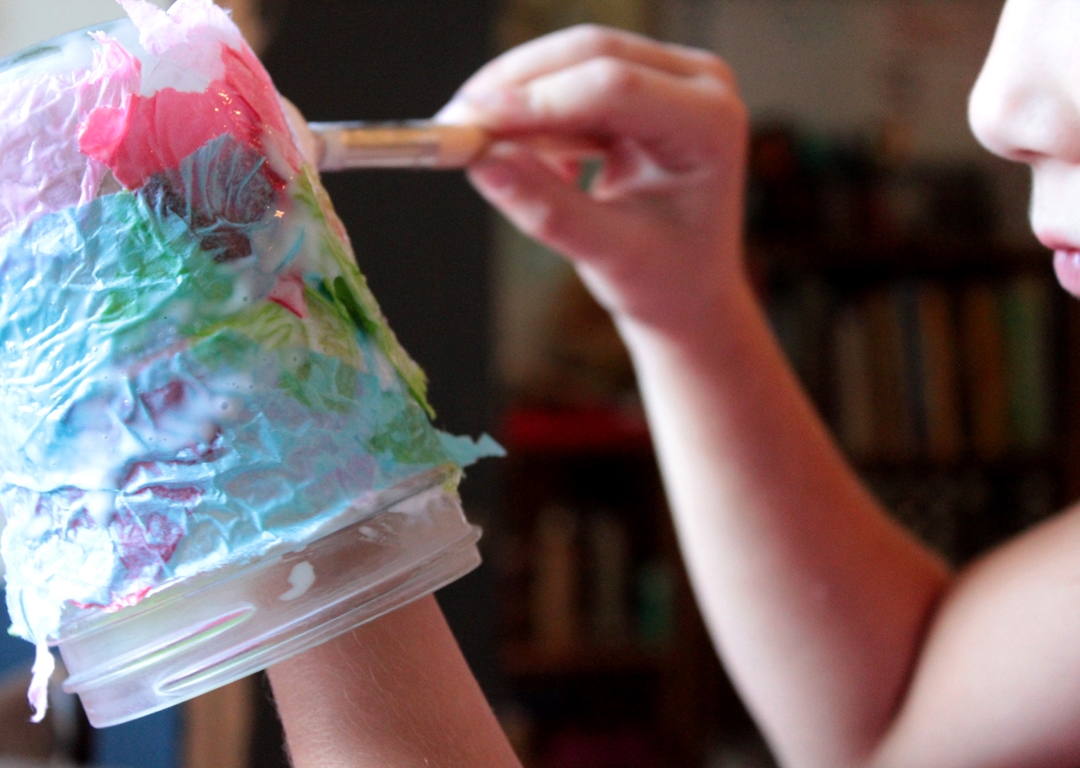
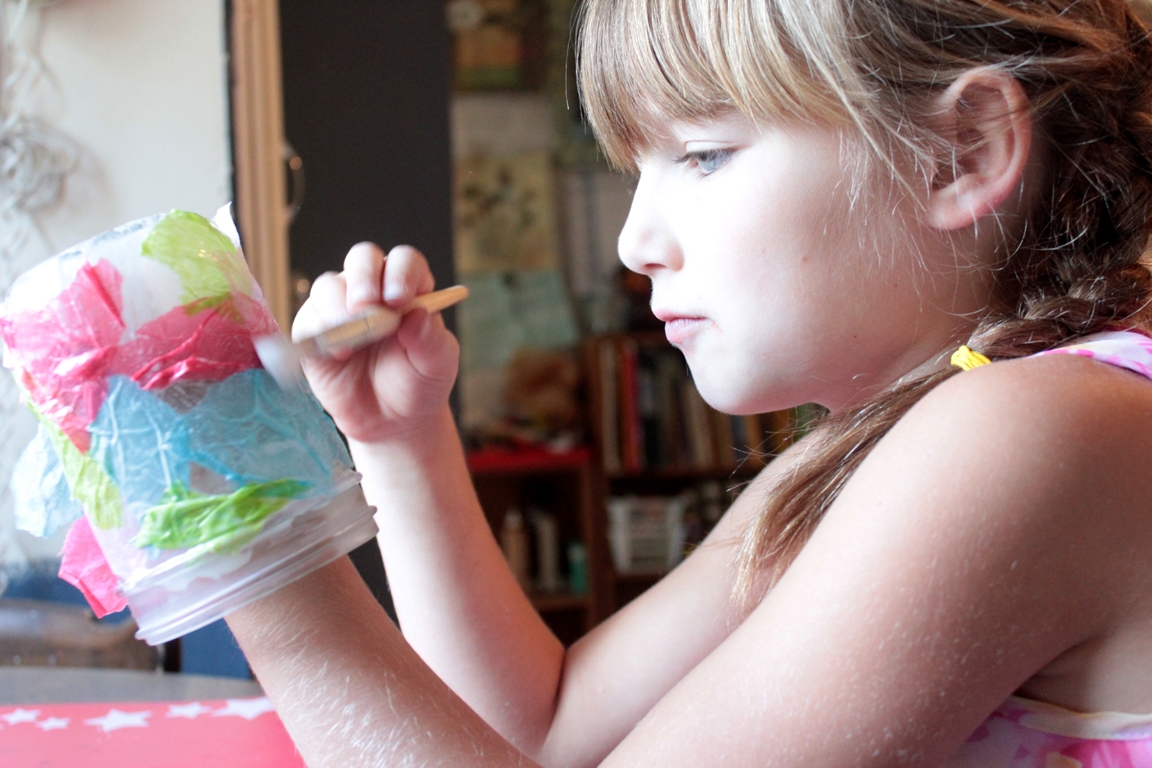
Step 5
We set the jar outside to dry for a bit, then noticed that it had a few "empty" spots... Madeleine decided that just wouldn't do, so she repeated the last two steps (hooray for adding more color!)...
Done!
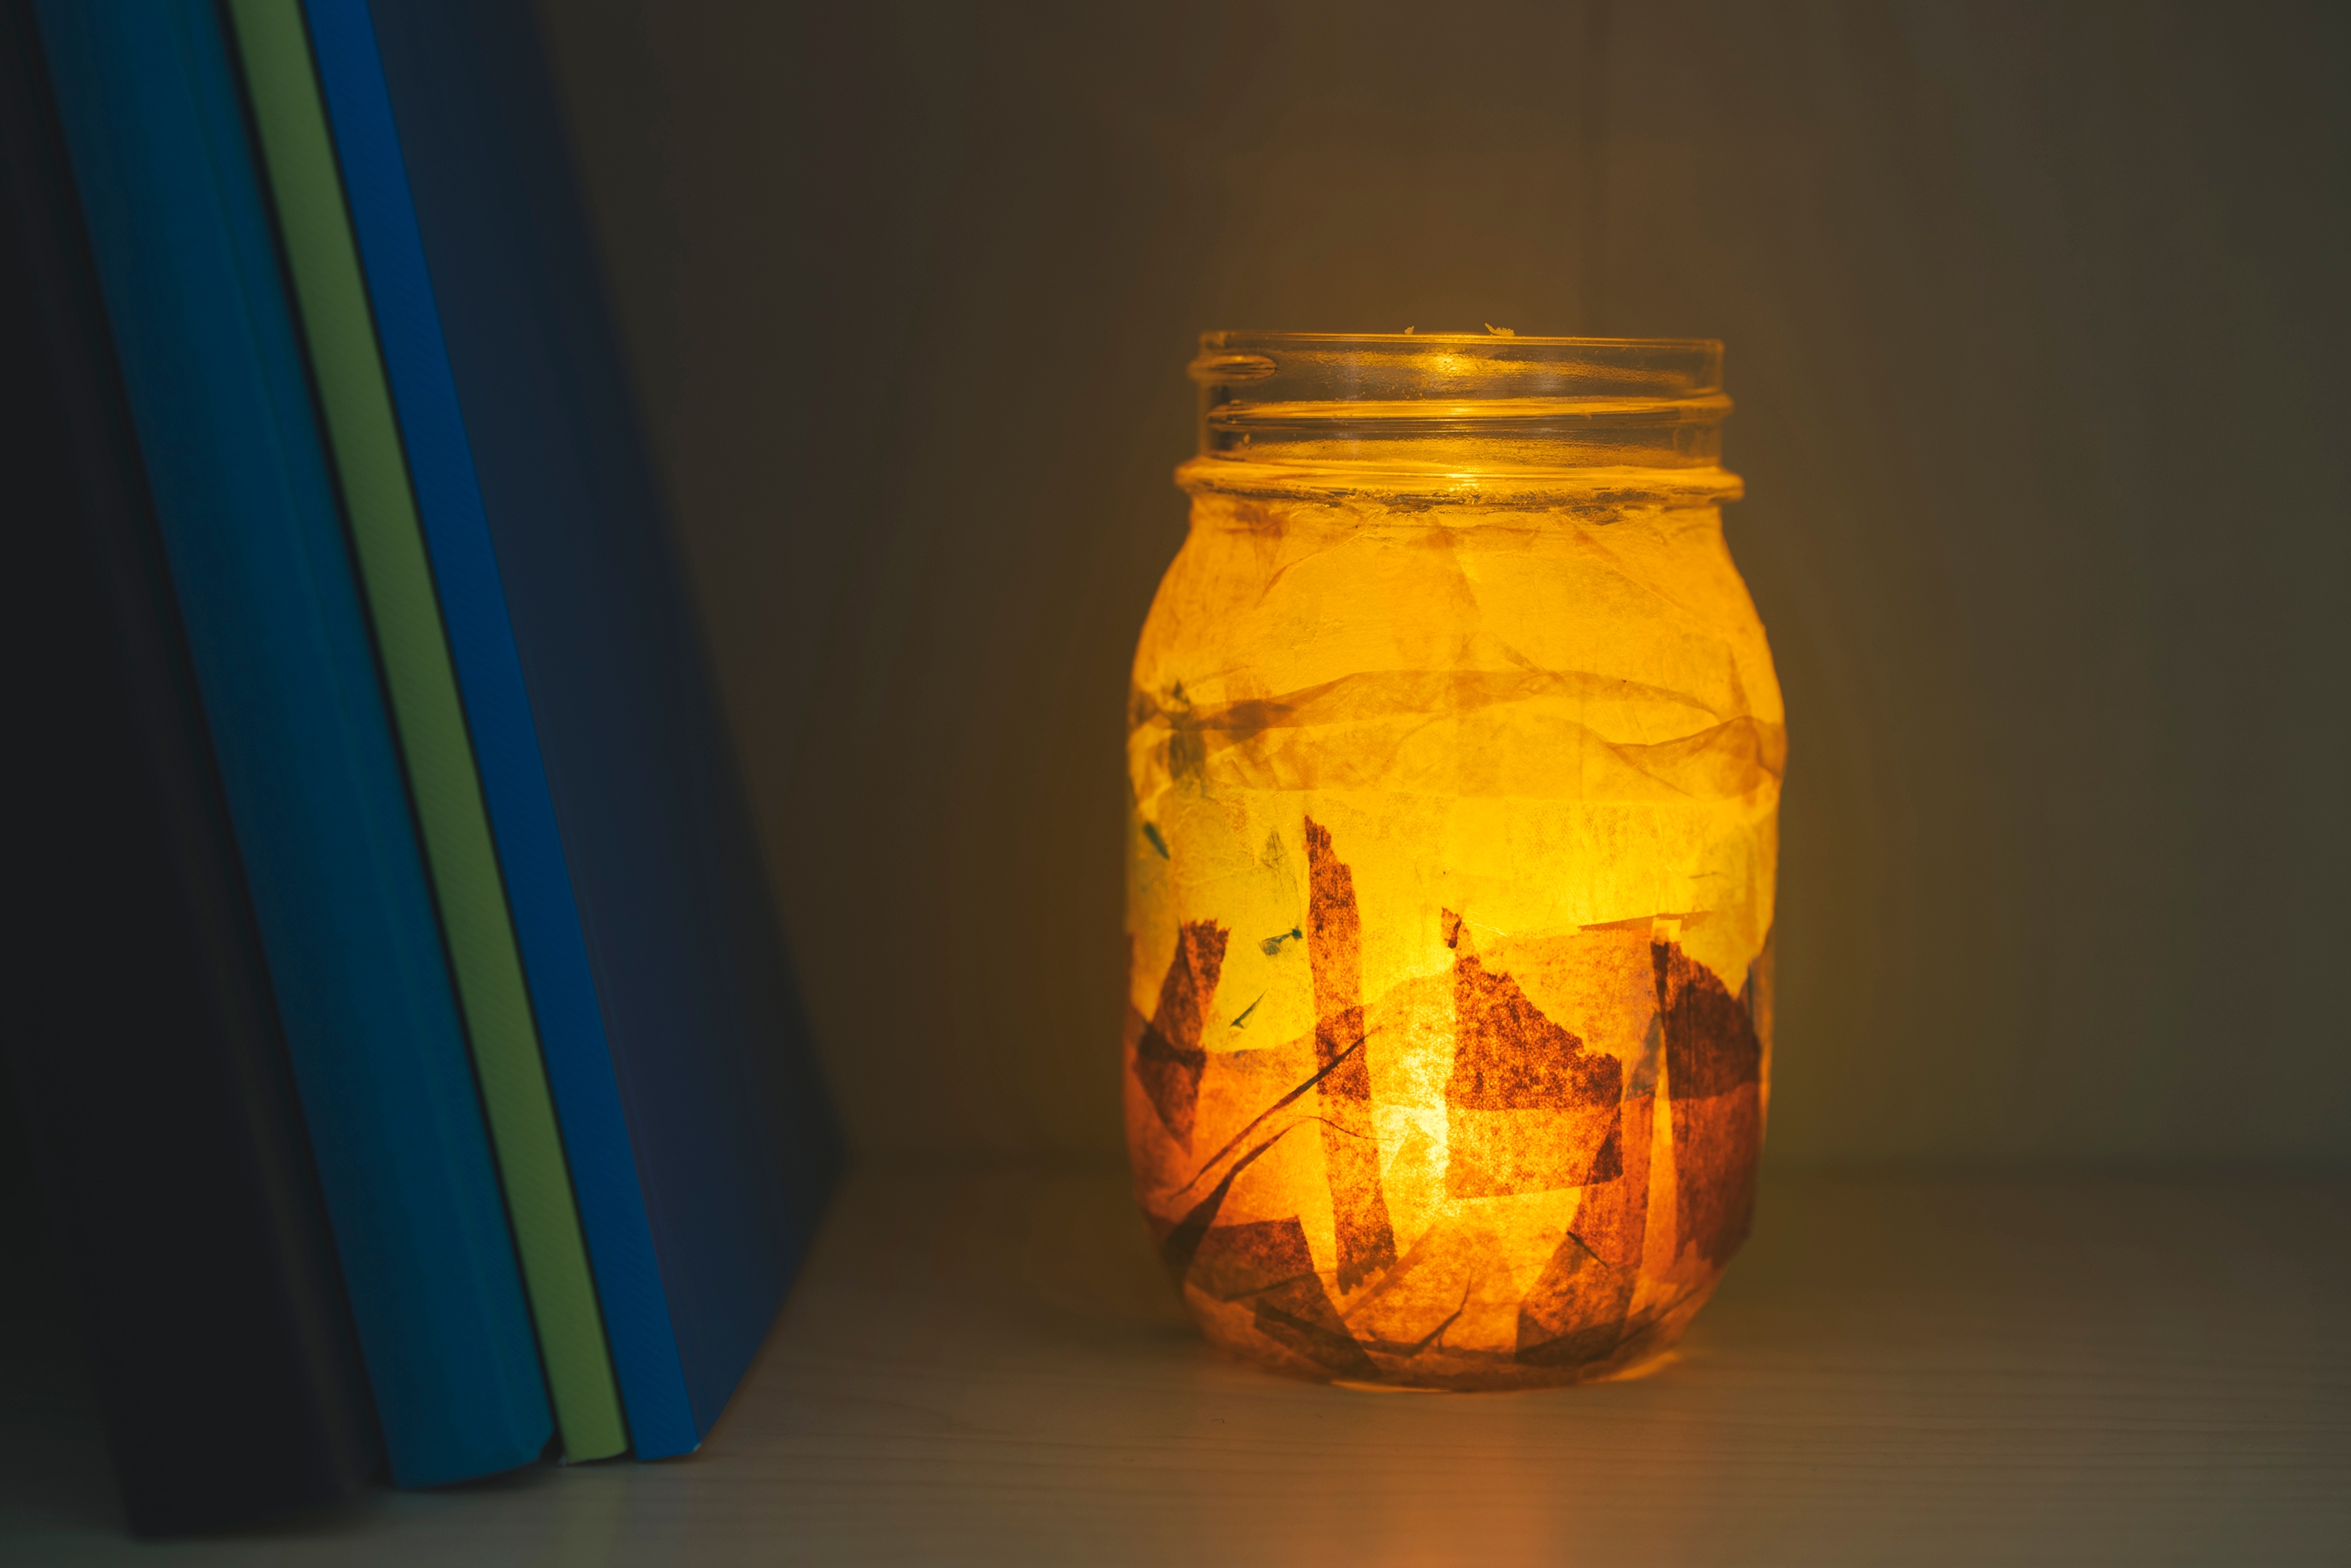
Then it was really done! Put on a lid, if you think it should have one (paint the lid first, if you'd like), and then go find exactly the right spot for your beautiful new light-light. Perfect!