Step-by-step tutorial
Step 1
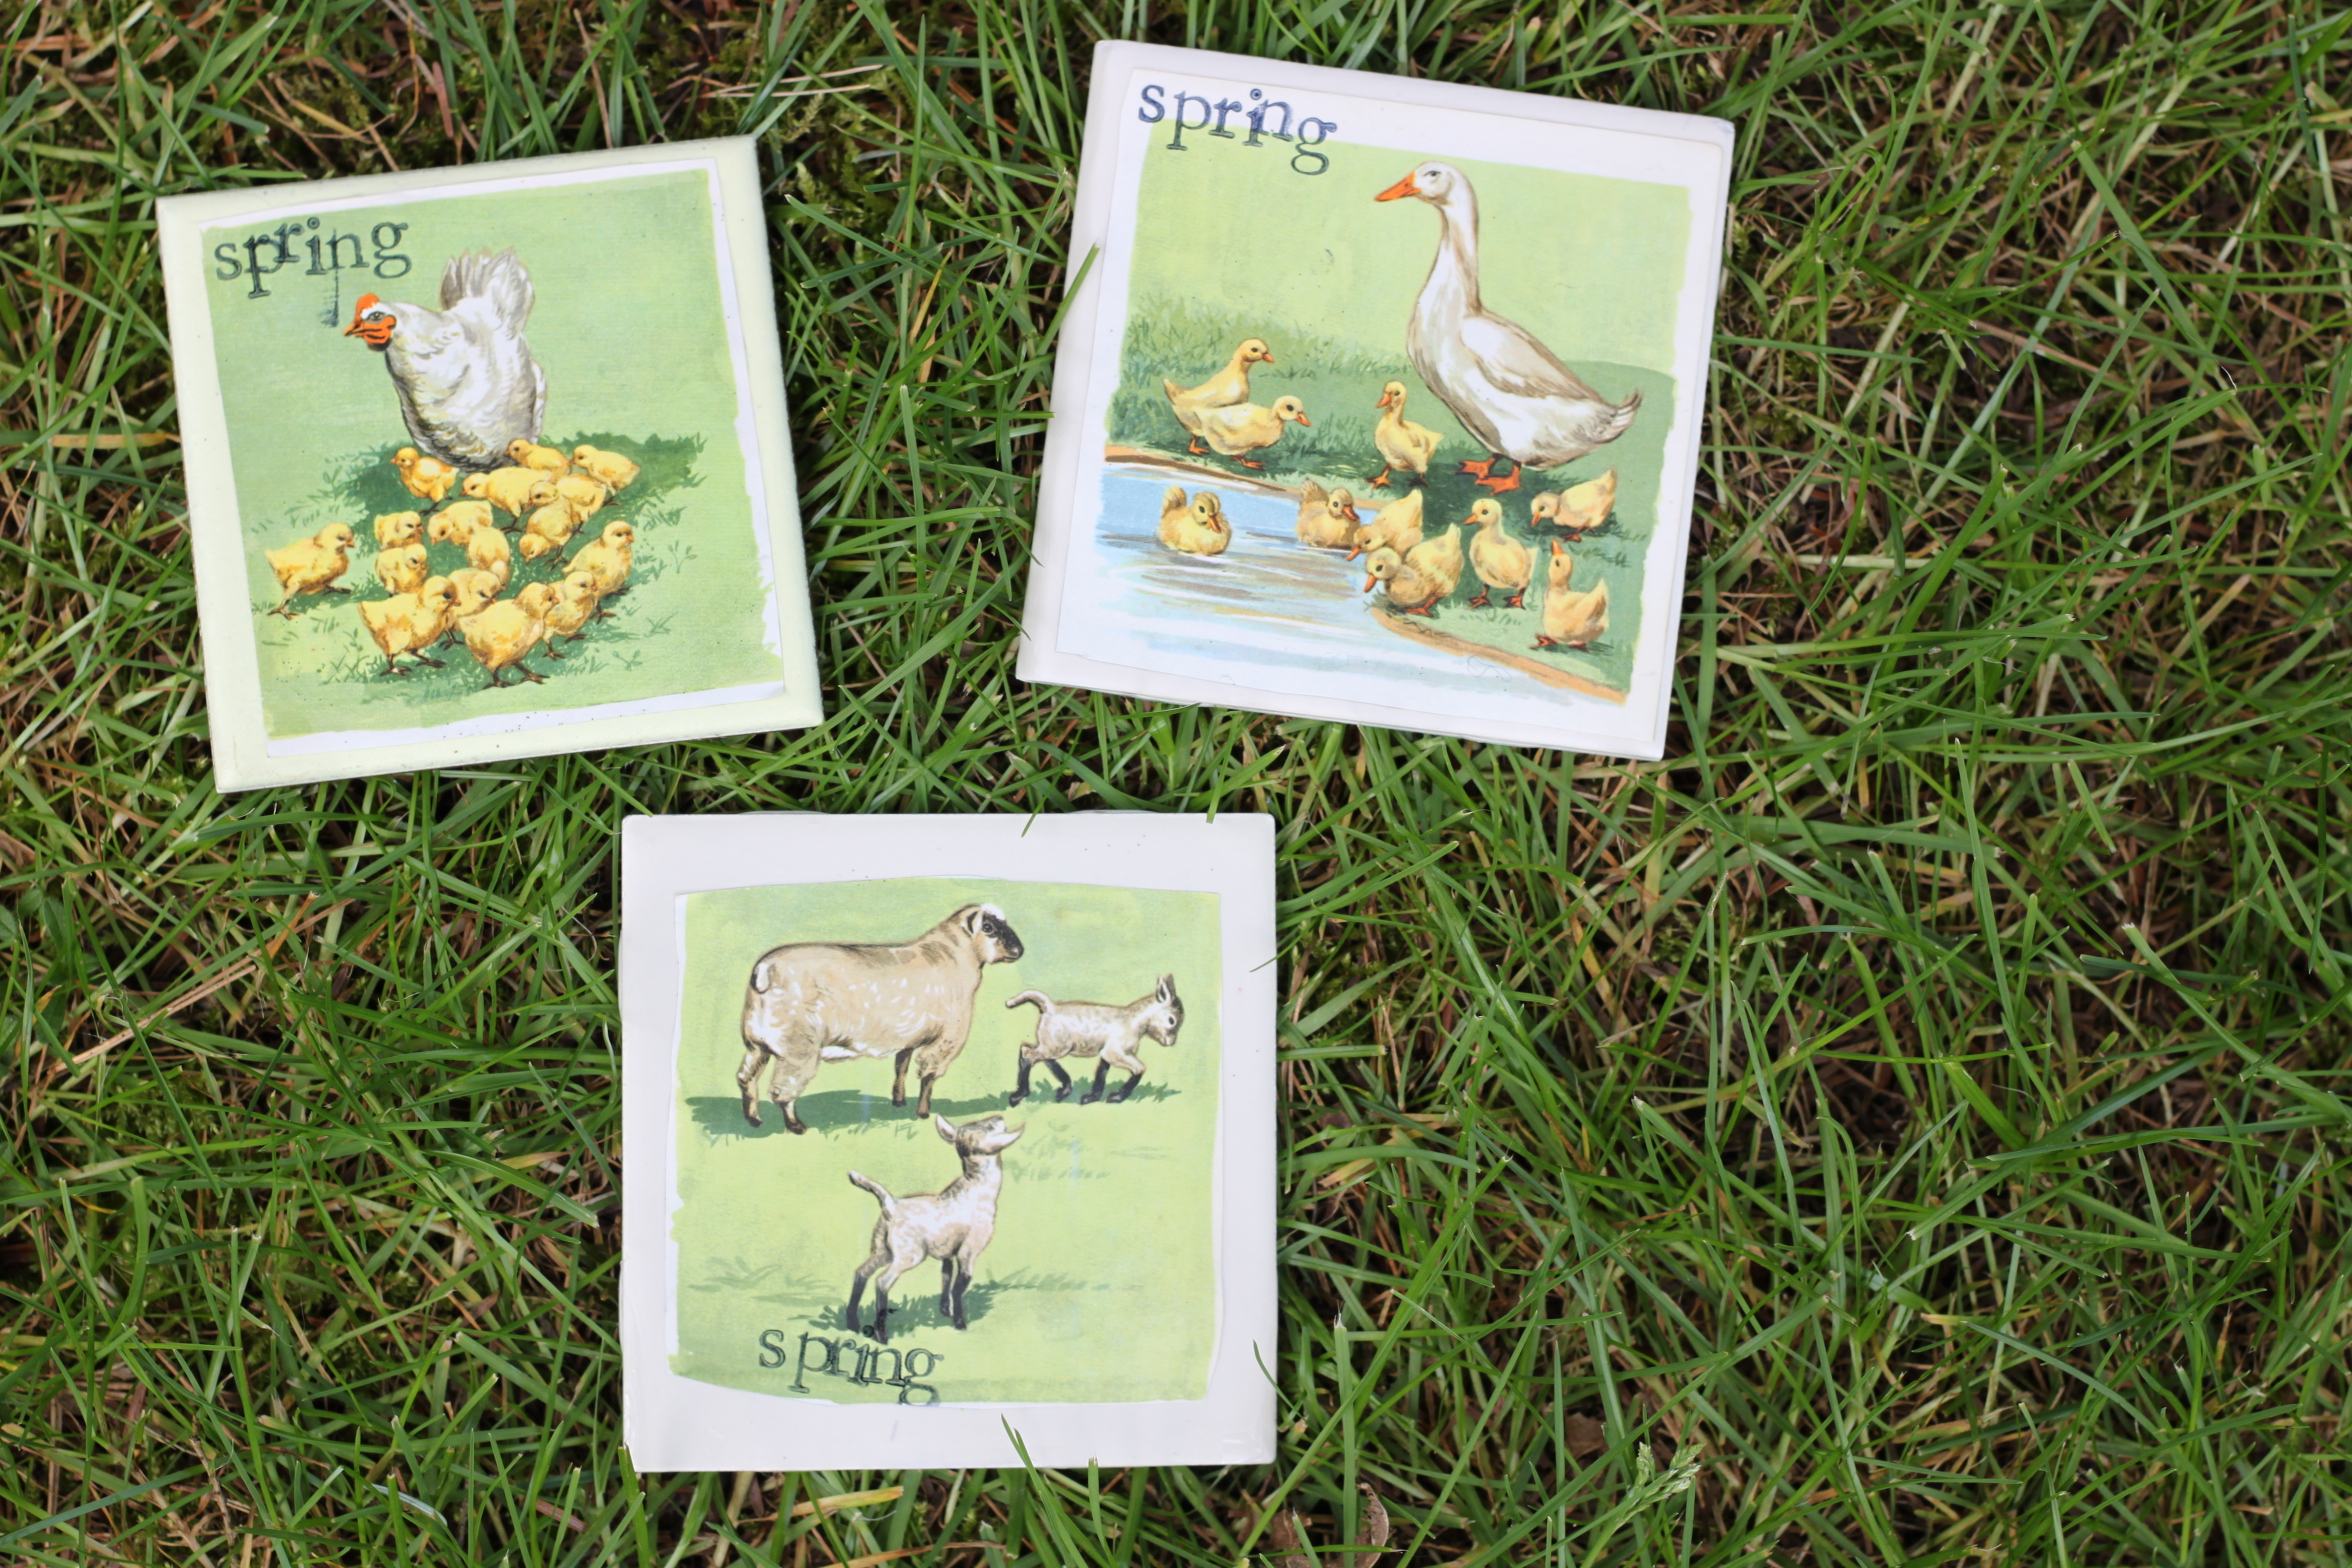
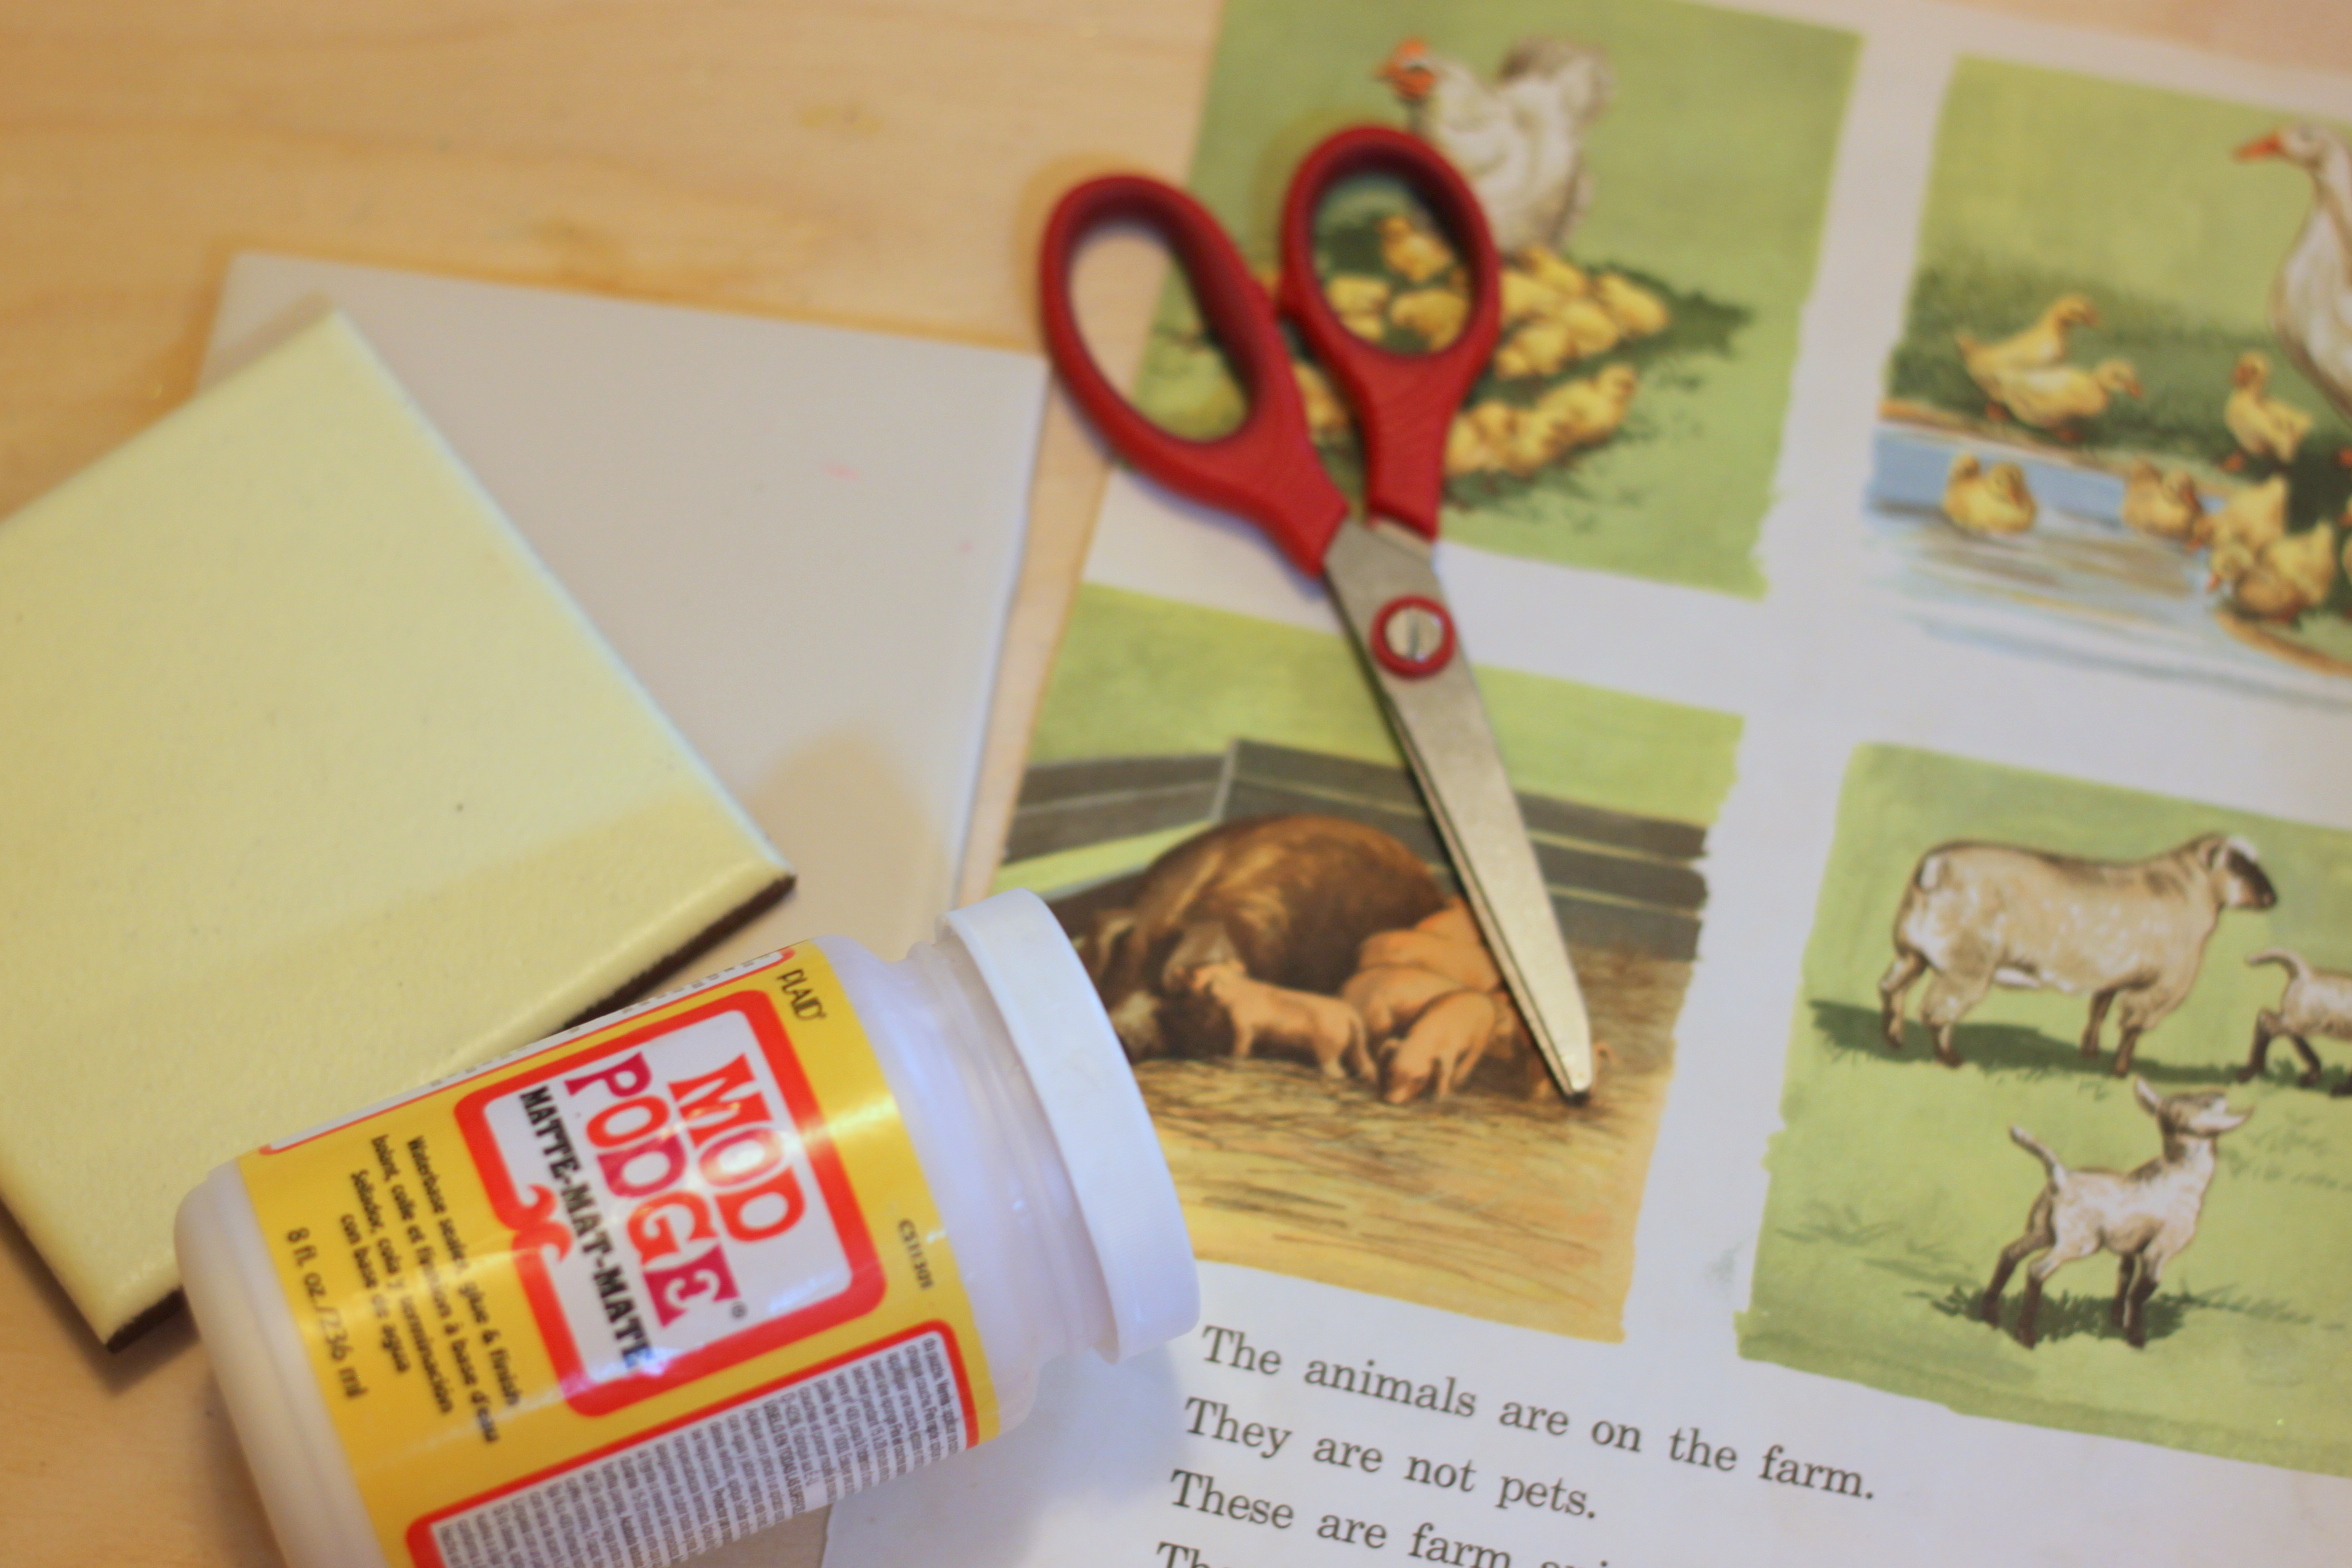
We found these vintage-style pictures in an old story book, but I have also seen similar ones in the scrapbook paper section at the art store.

Step 2
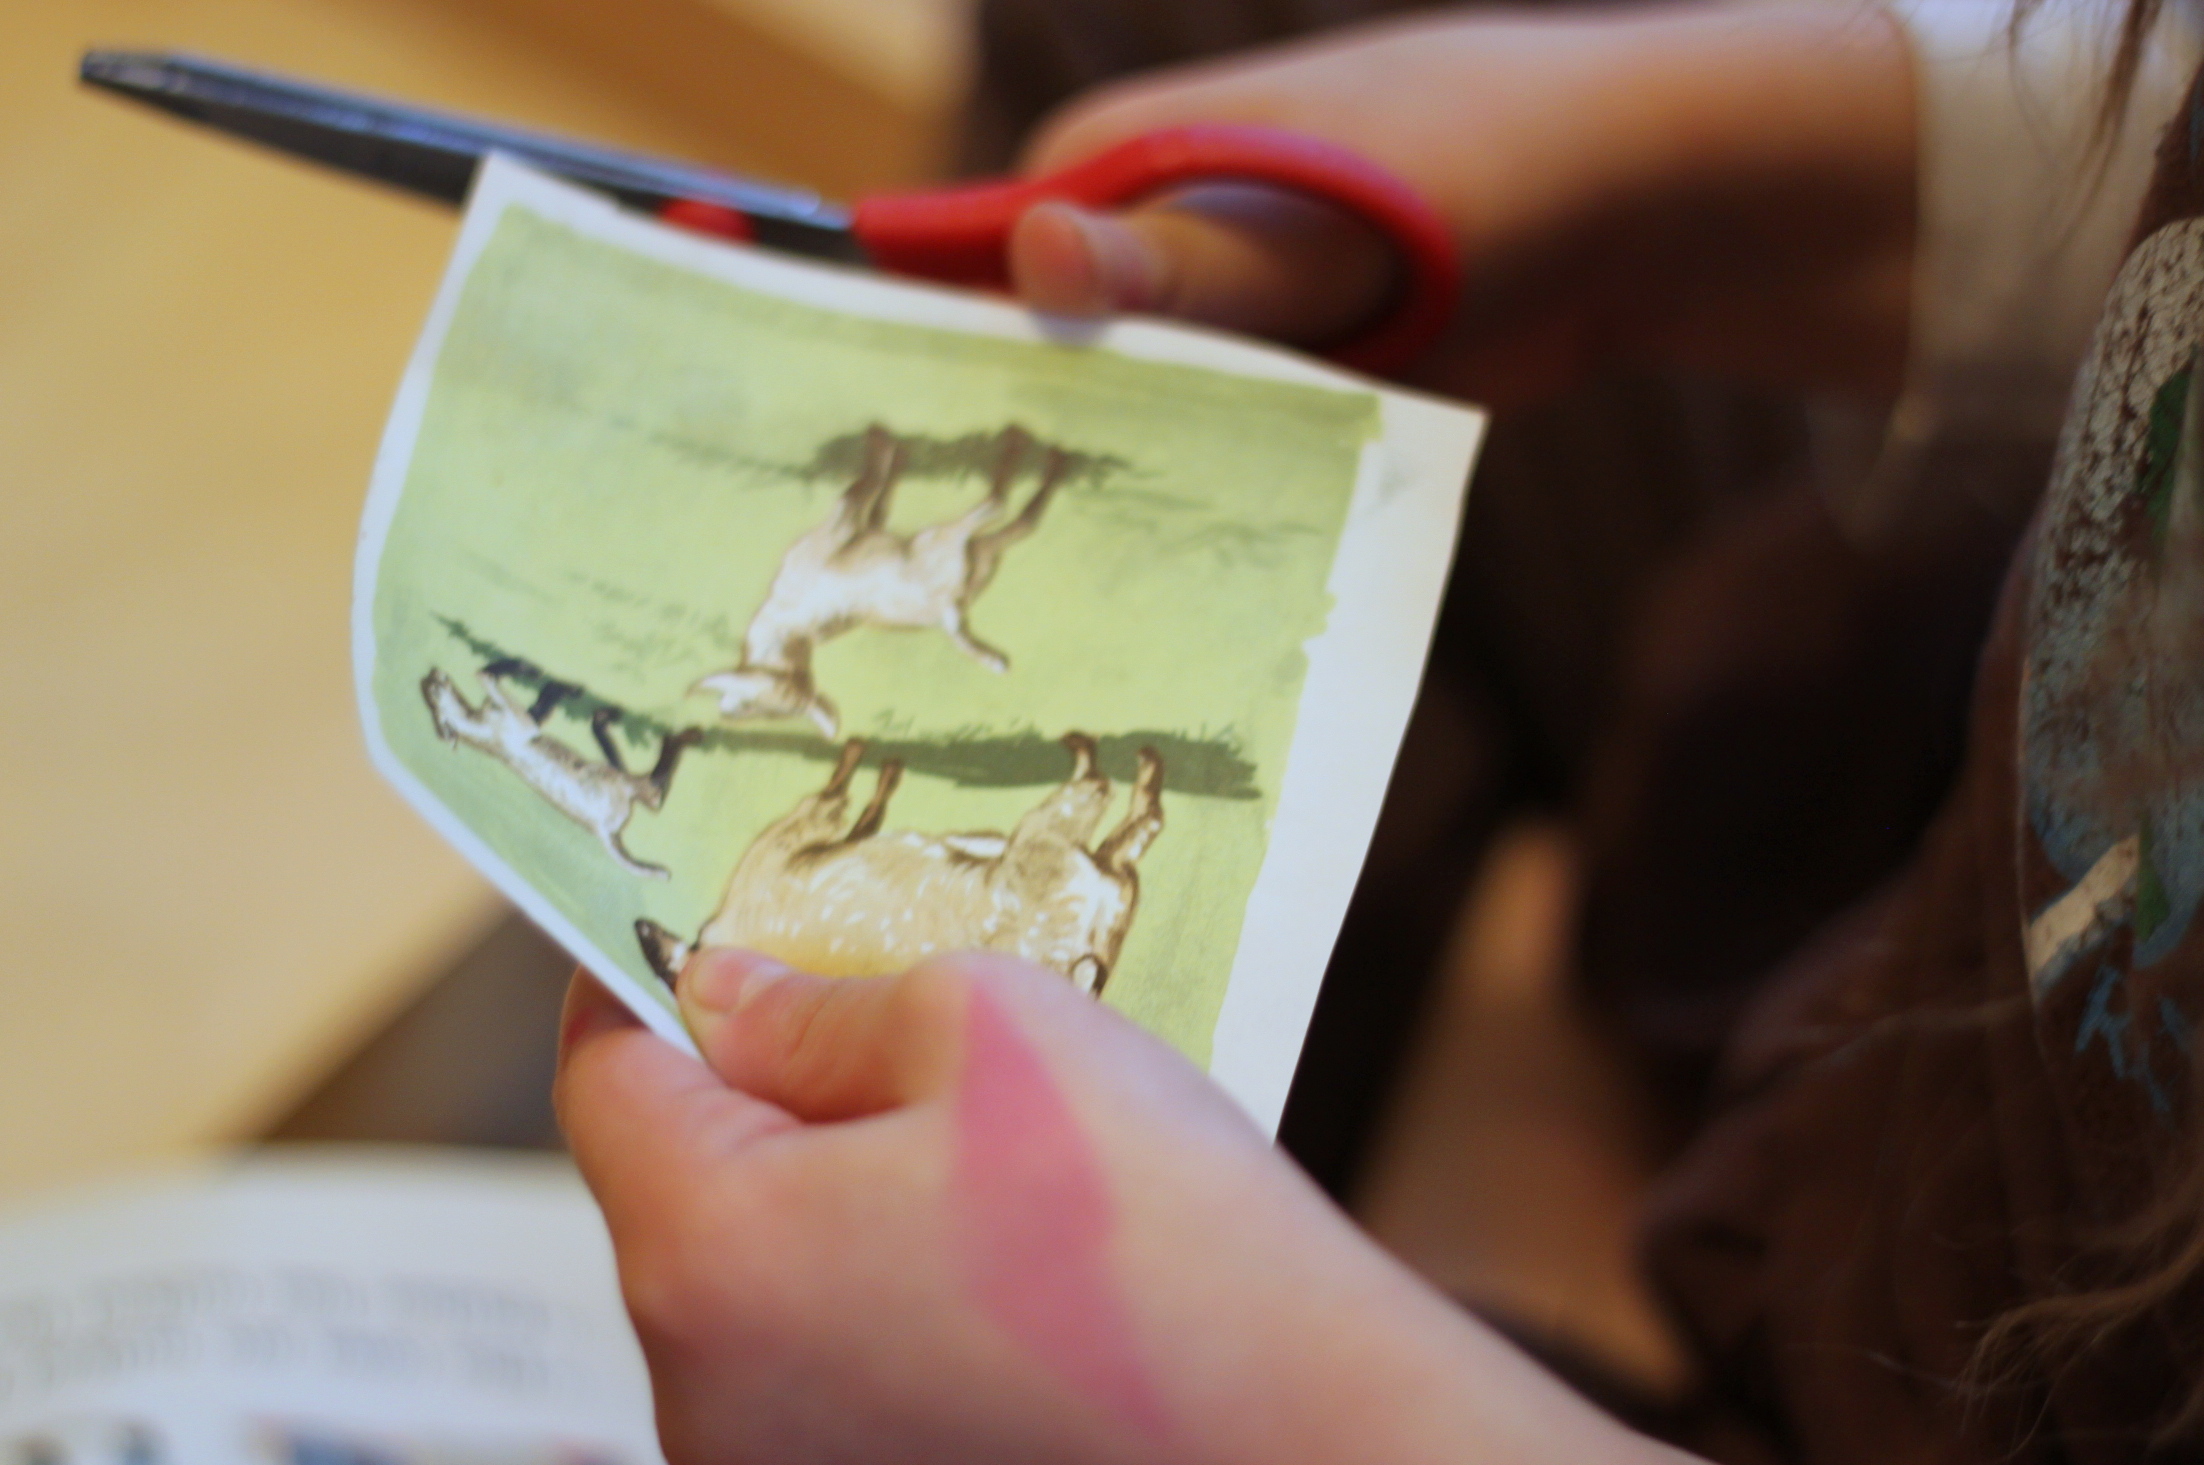
Emma cut each picture out carefully.
Step 3
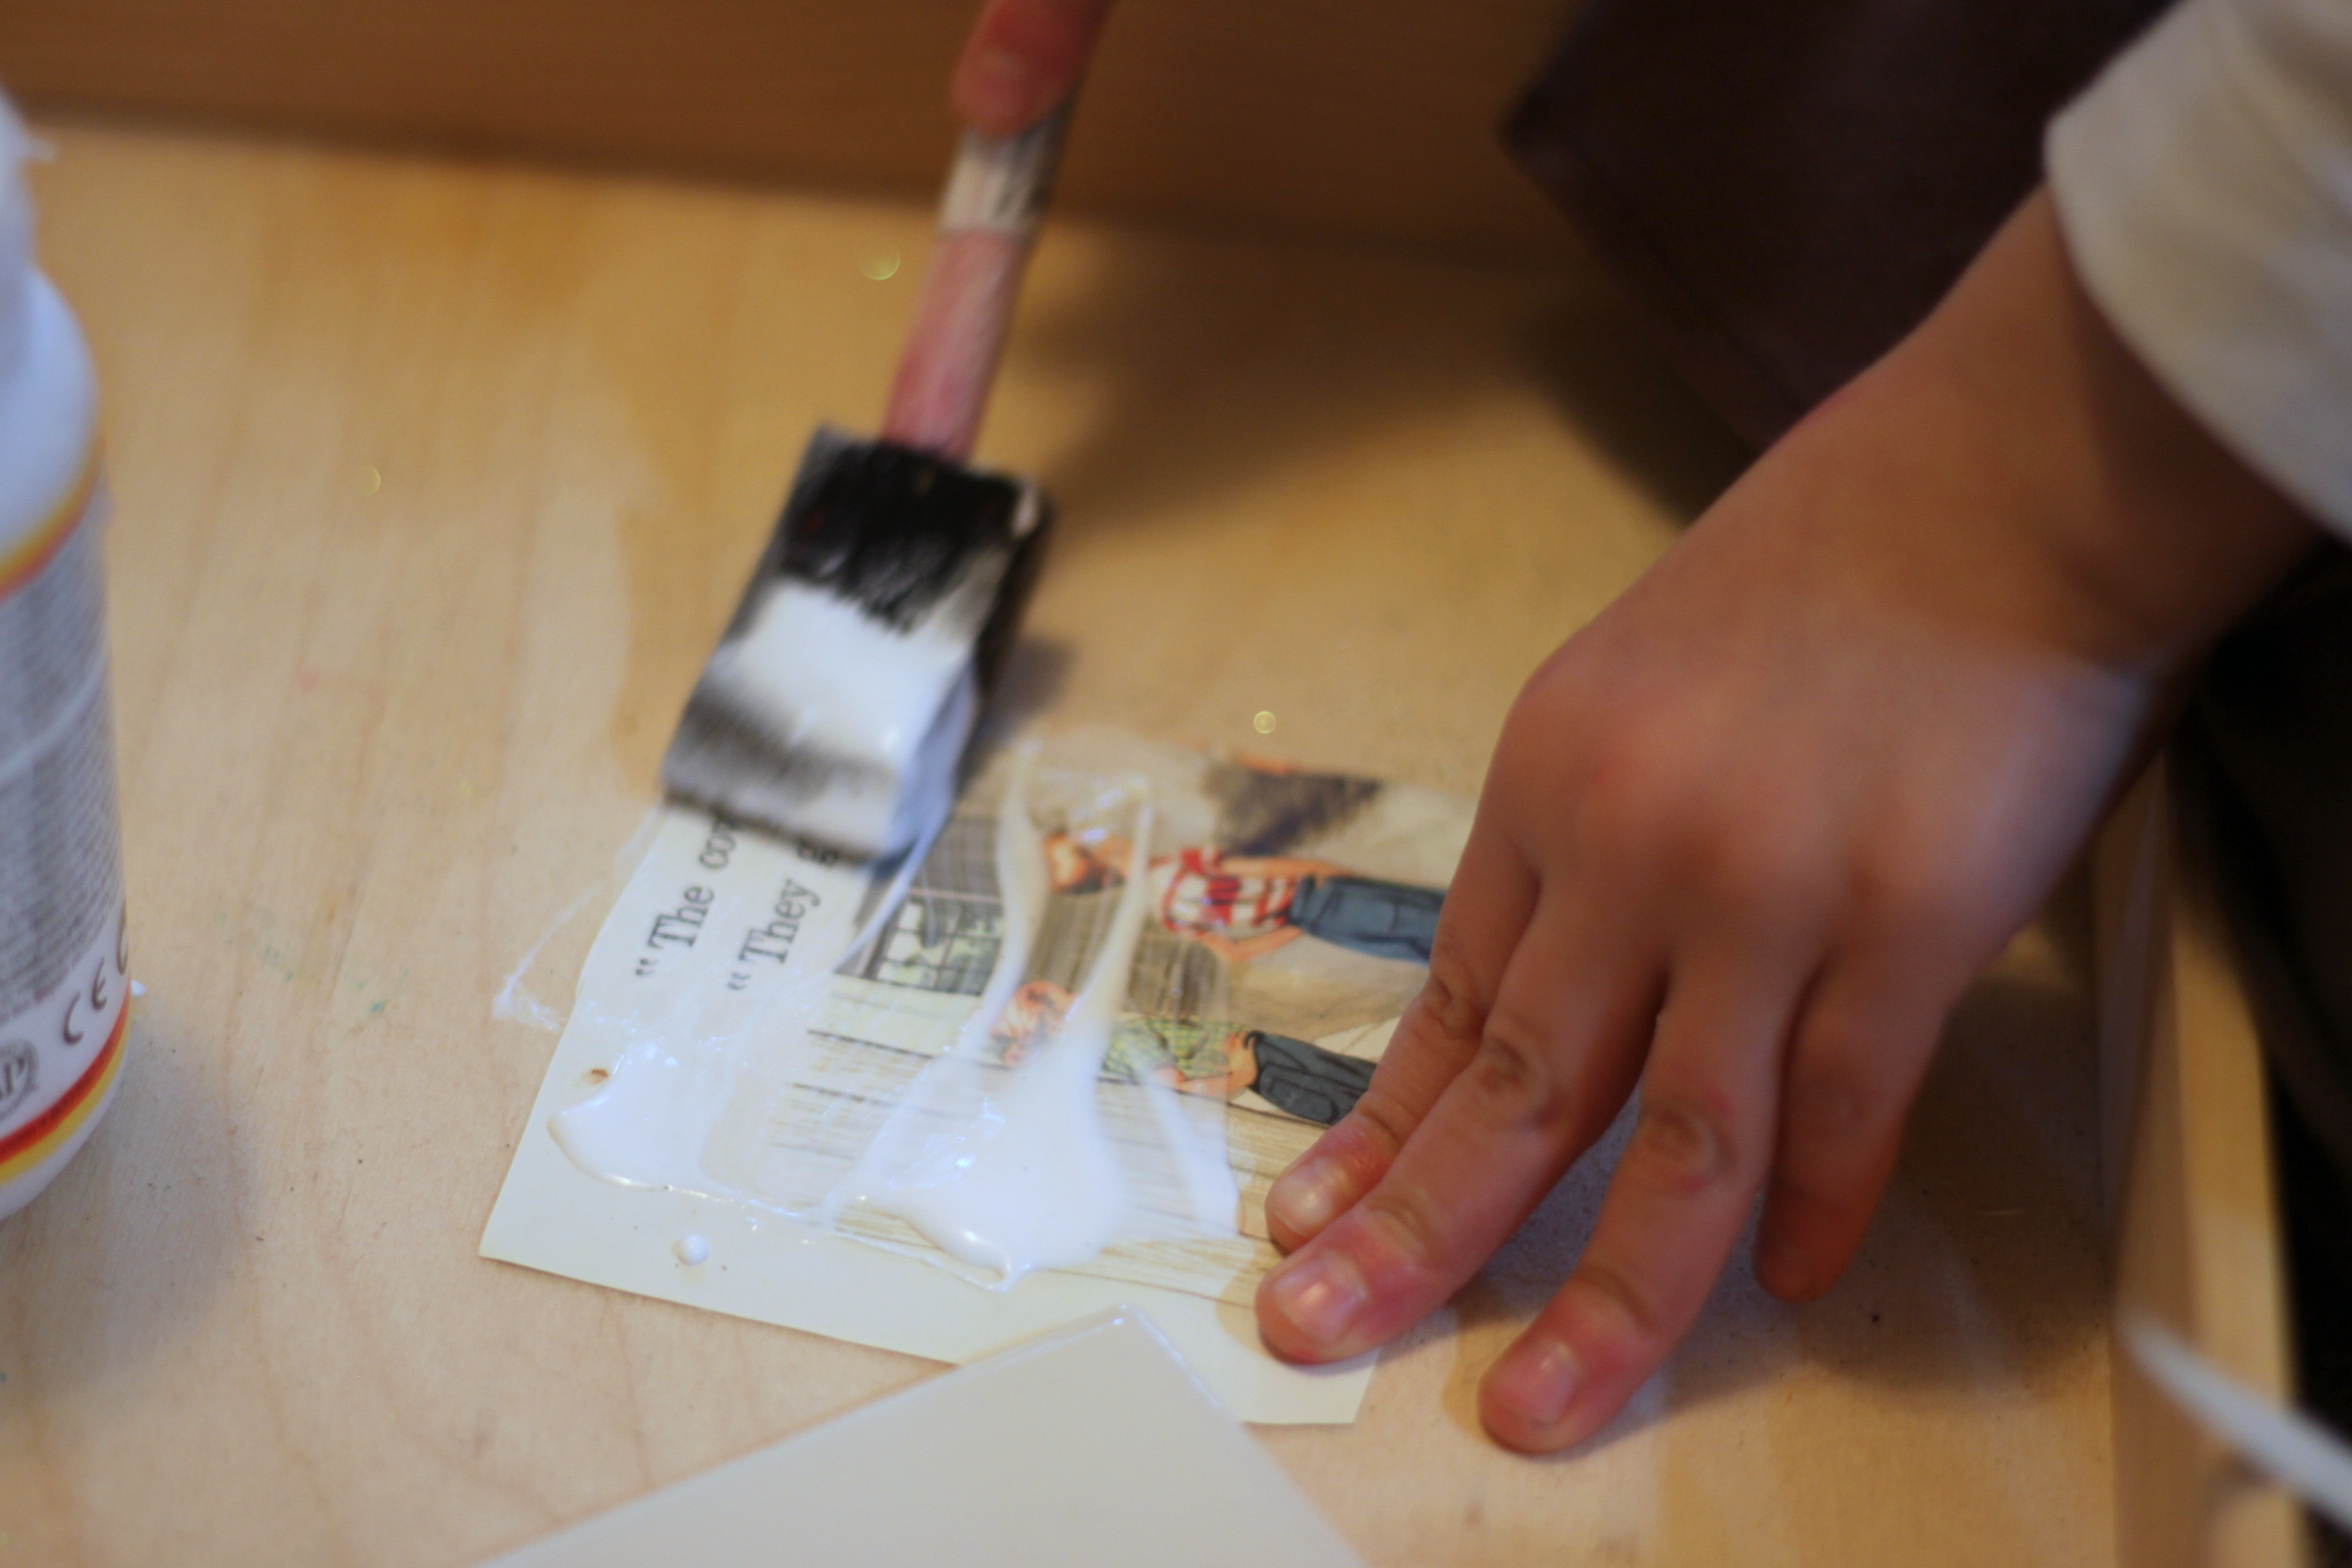
Next, she used Mod Podge to attach the pictures to the tiles.
Step 4
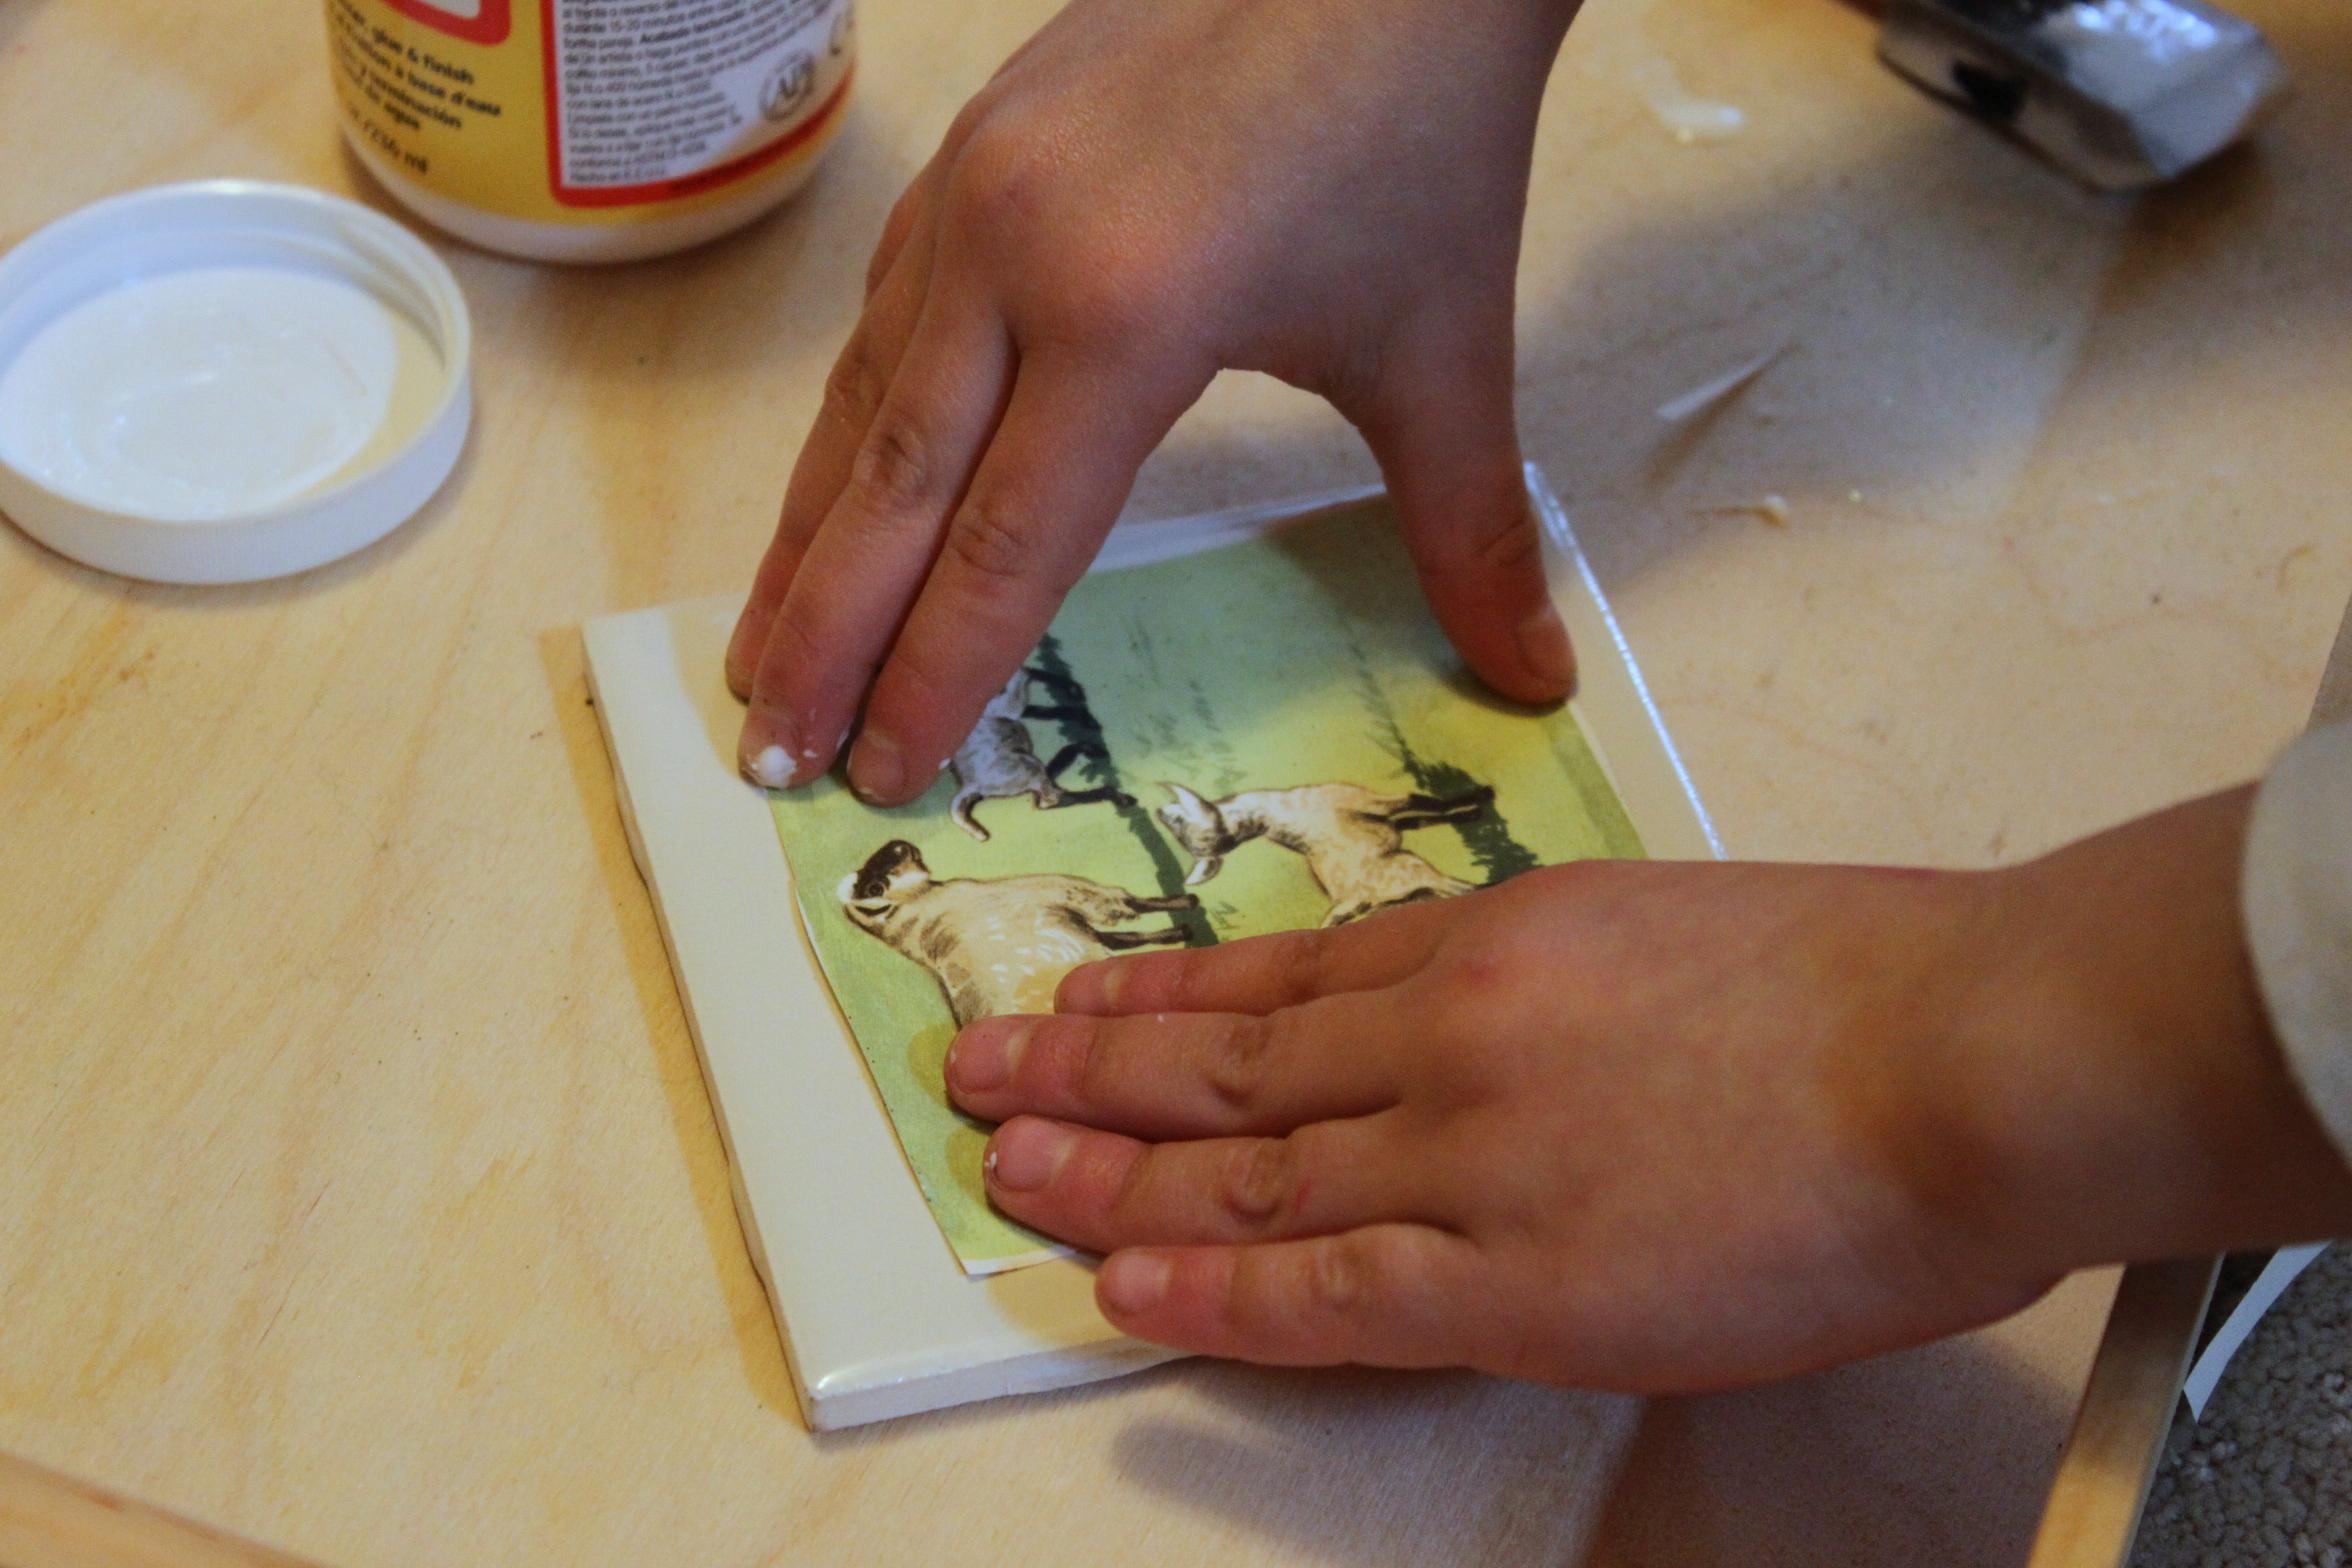
She pressed each one in place, being sure to press out the air bubbles.
Step 5
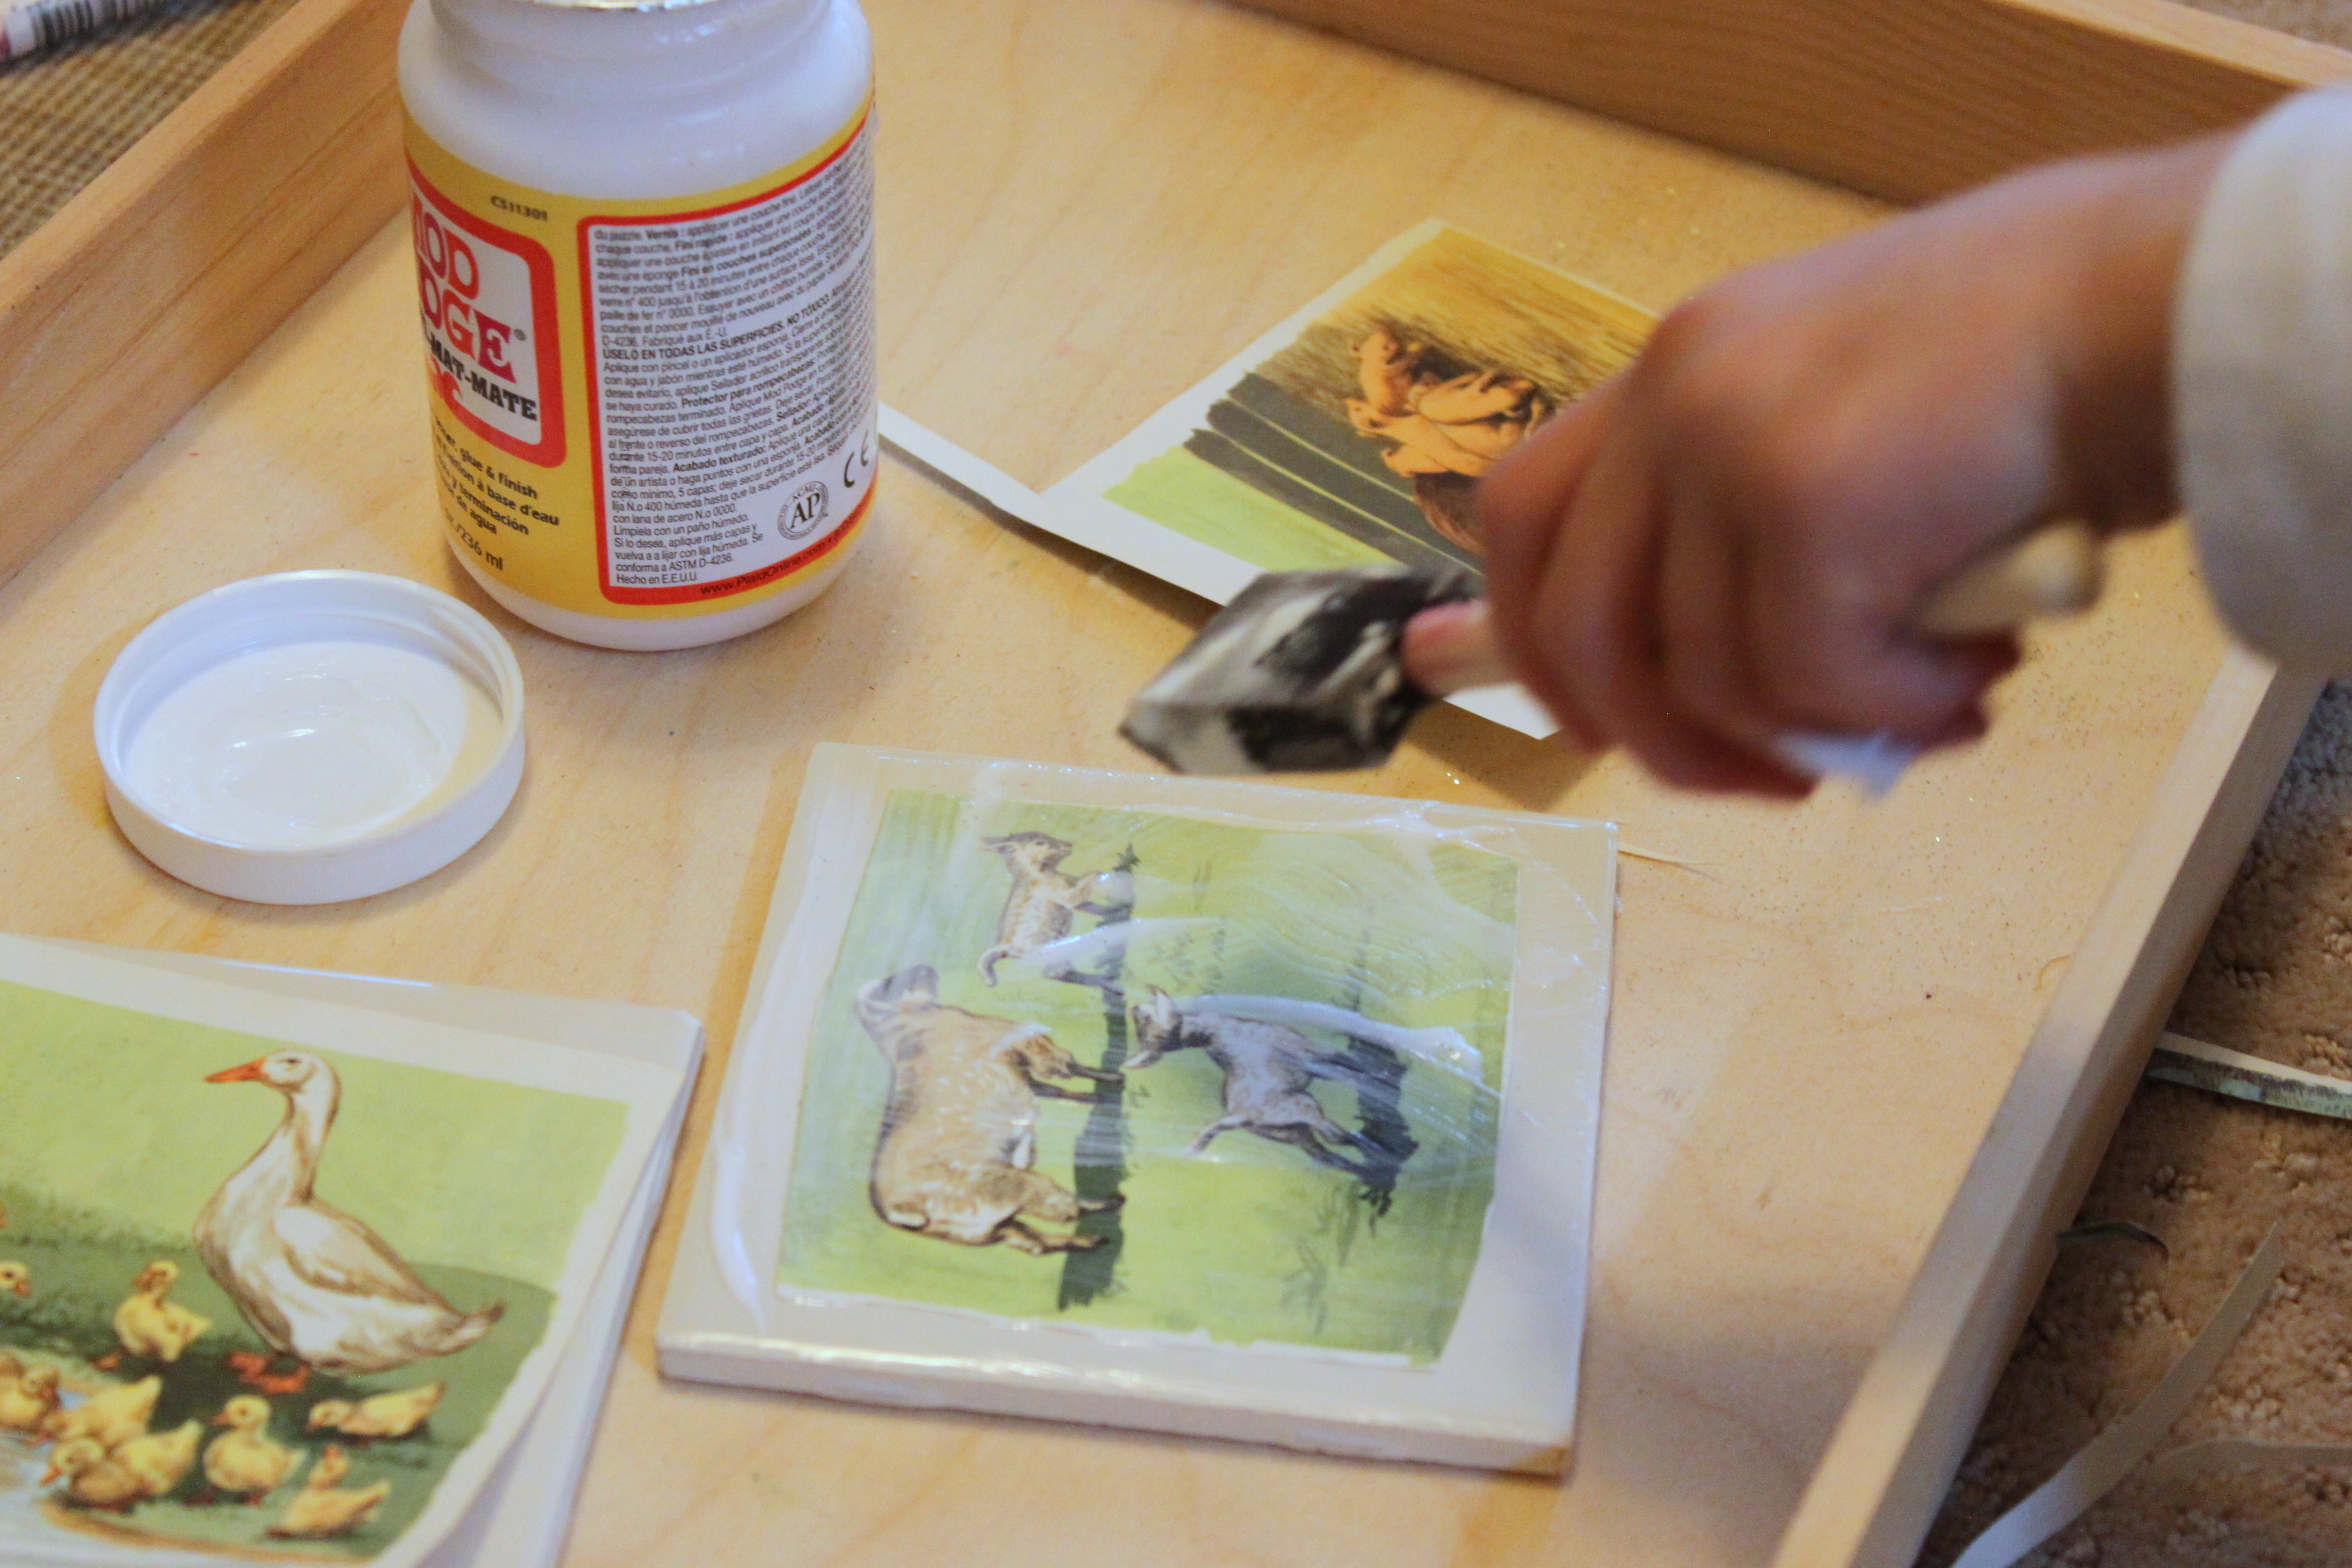
One more coat of Mod Podge over the top and it was ready to dry for about one hour.
Done!
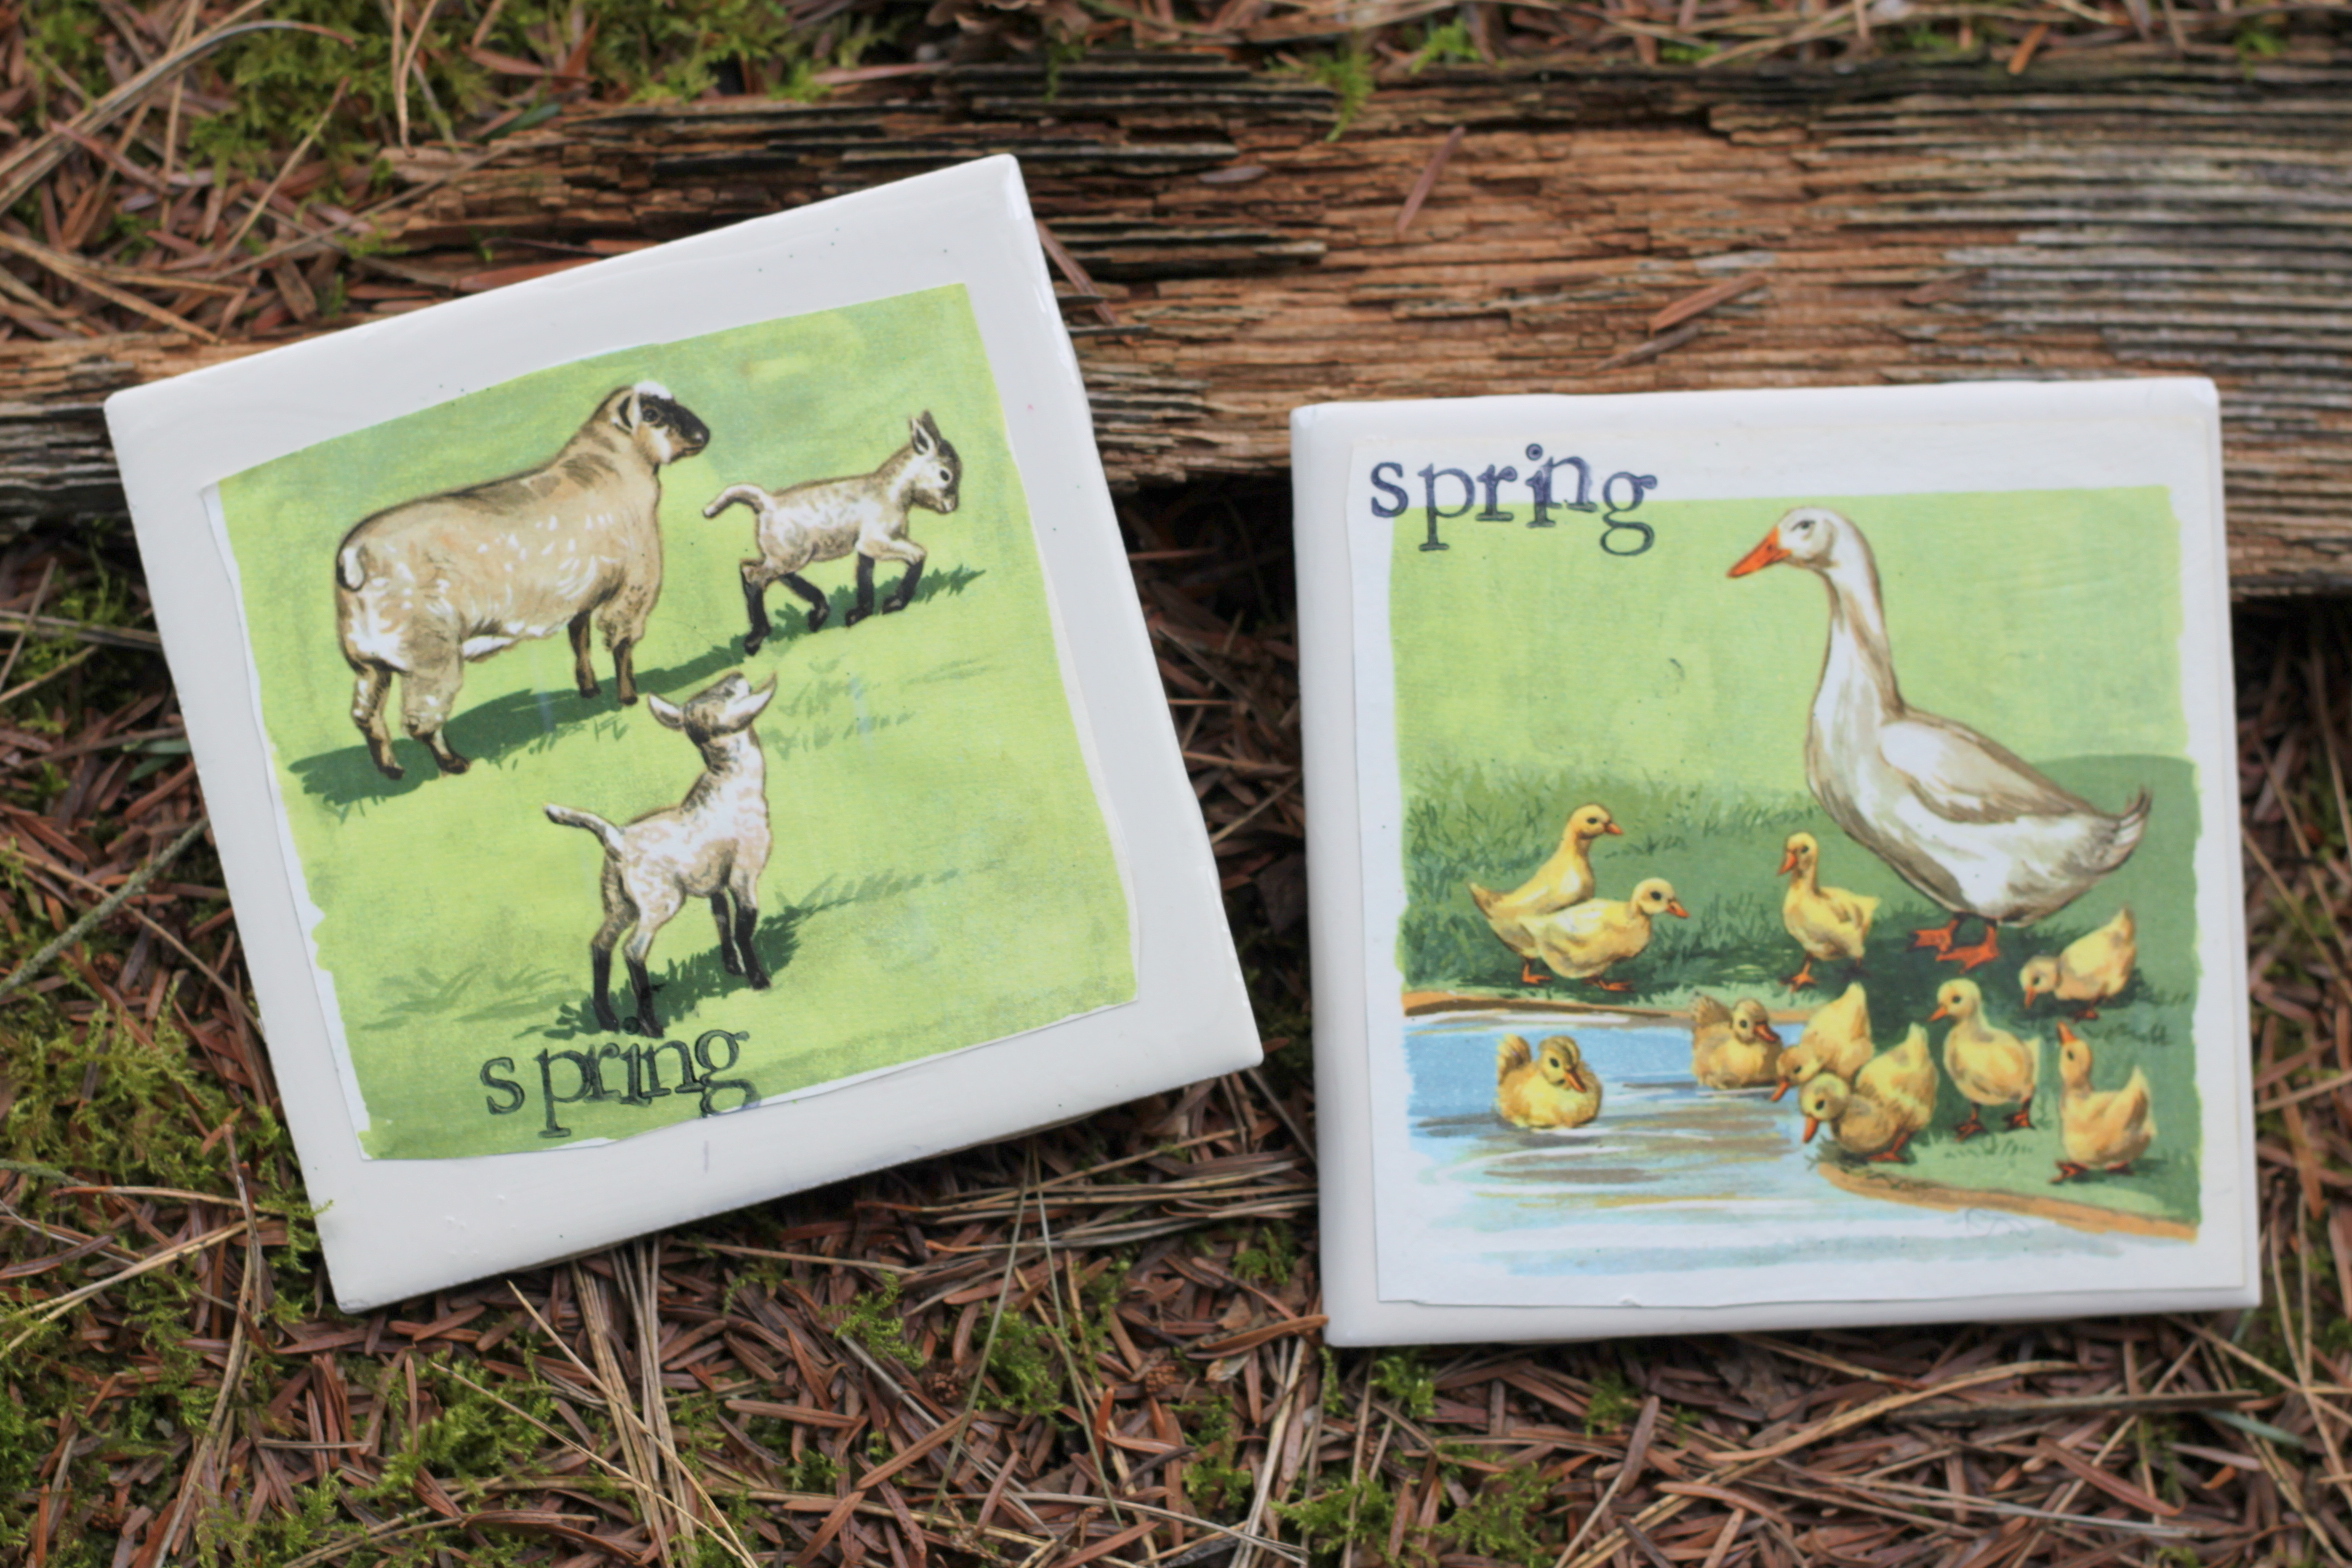
We used stamps to add the word "spring" to each one. These make the perfect addition to spring decor, and would make a wonderful gift for someone special!