Step-by-step tutorial
Step 1
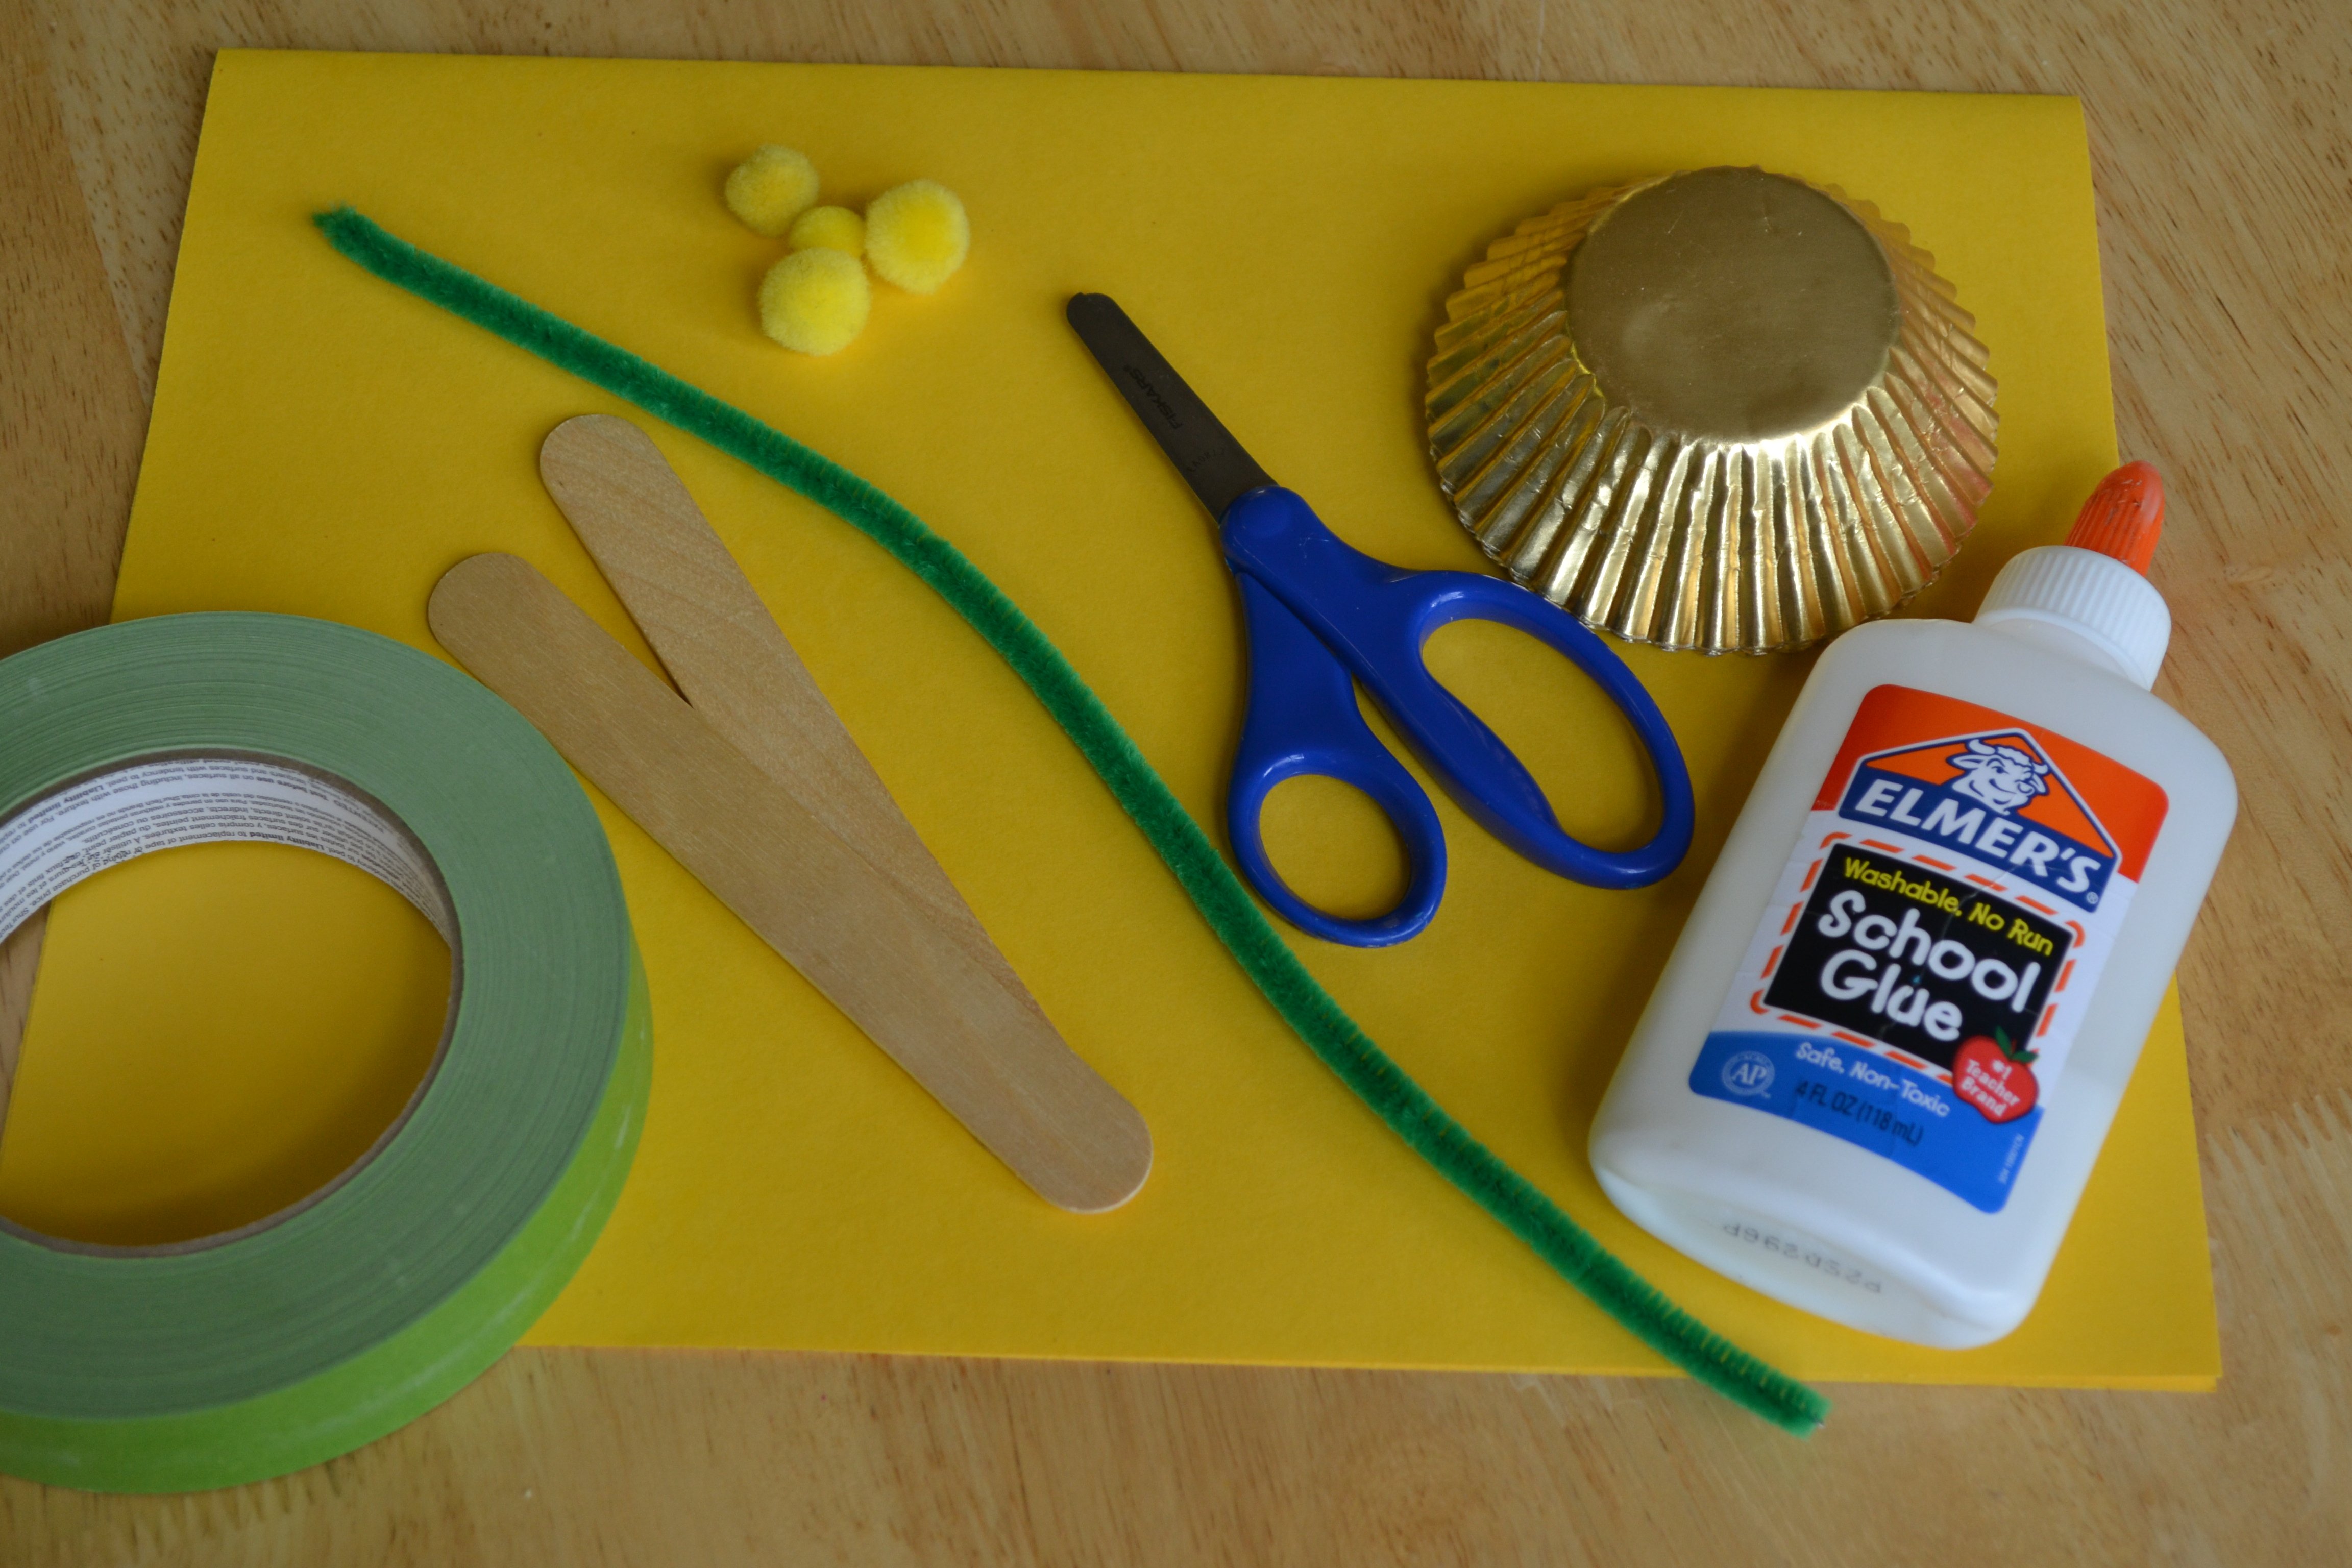
Gather all materials. Instead of florist tape, we used green painter's tape. We also used gold cupcake liners that I had left over from some St. Patrick's Day cupcakes.

Step 2
The kids glued the jumbo craft sticks together to give us a longer stem for our flowers. As we worked on our daffodil, we reviewed the parts of the flower and what each part did. I happened to have a flower nearby that we used to compare our craft parts to the real parts in the flower.

Step 3
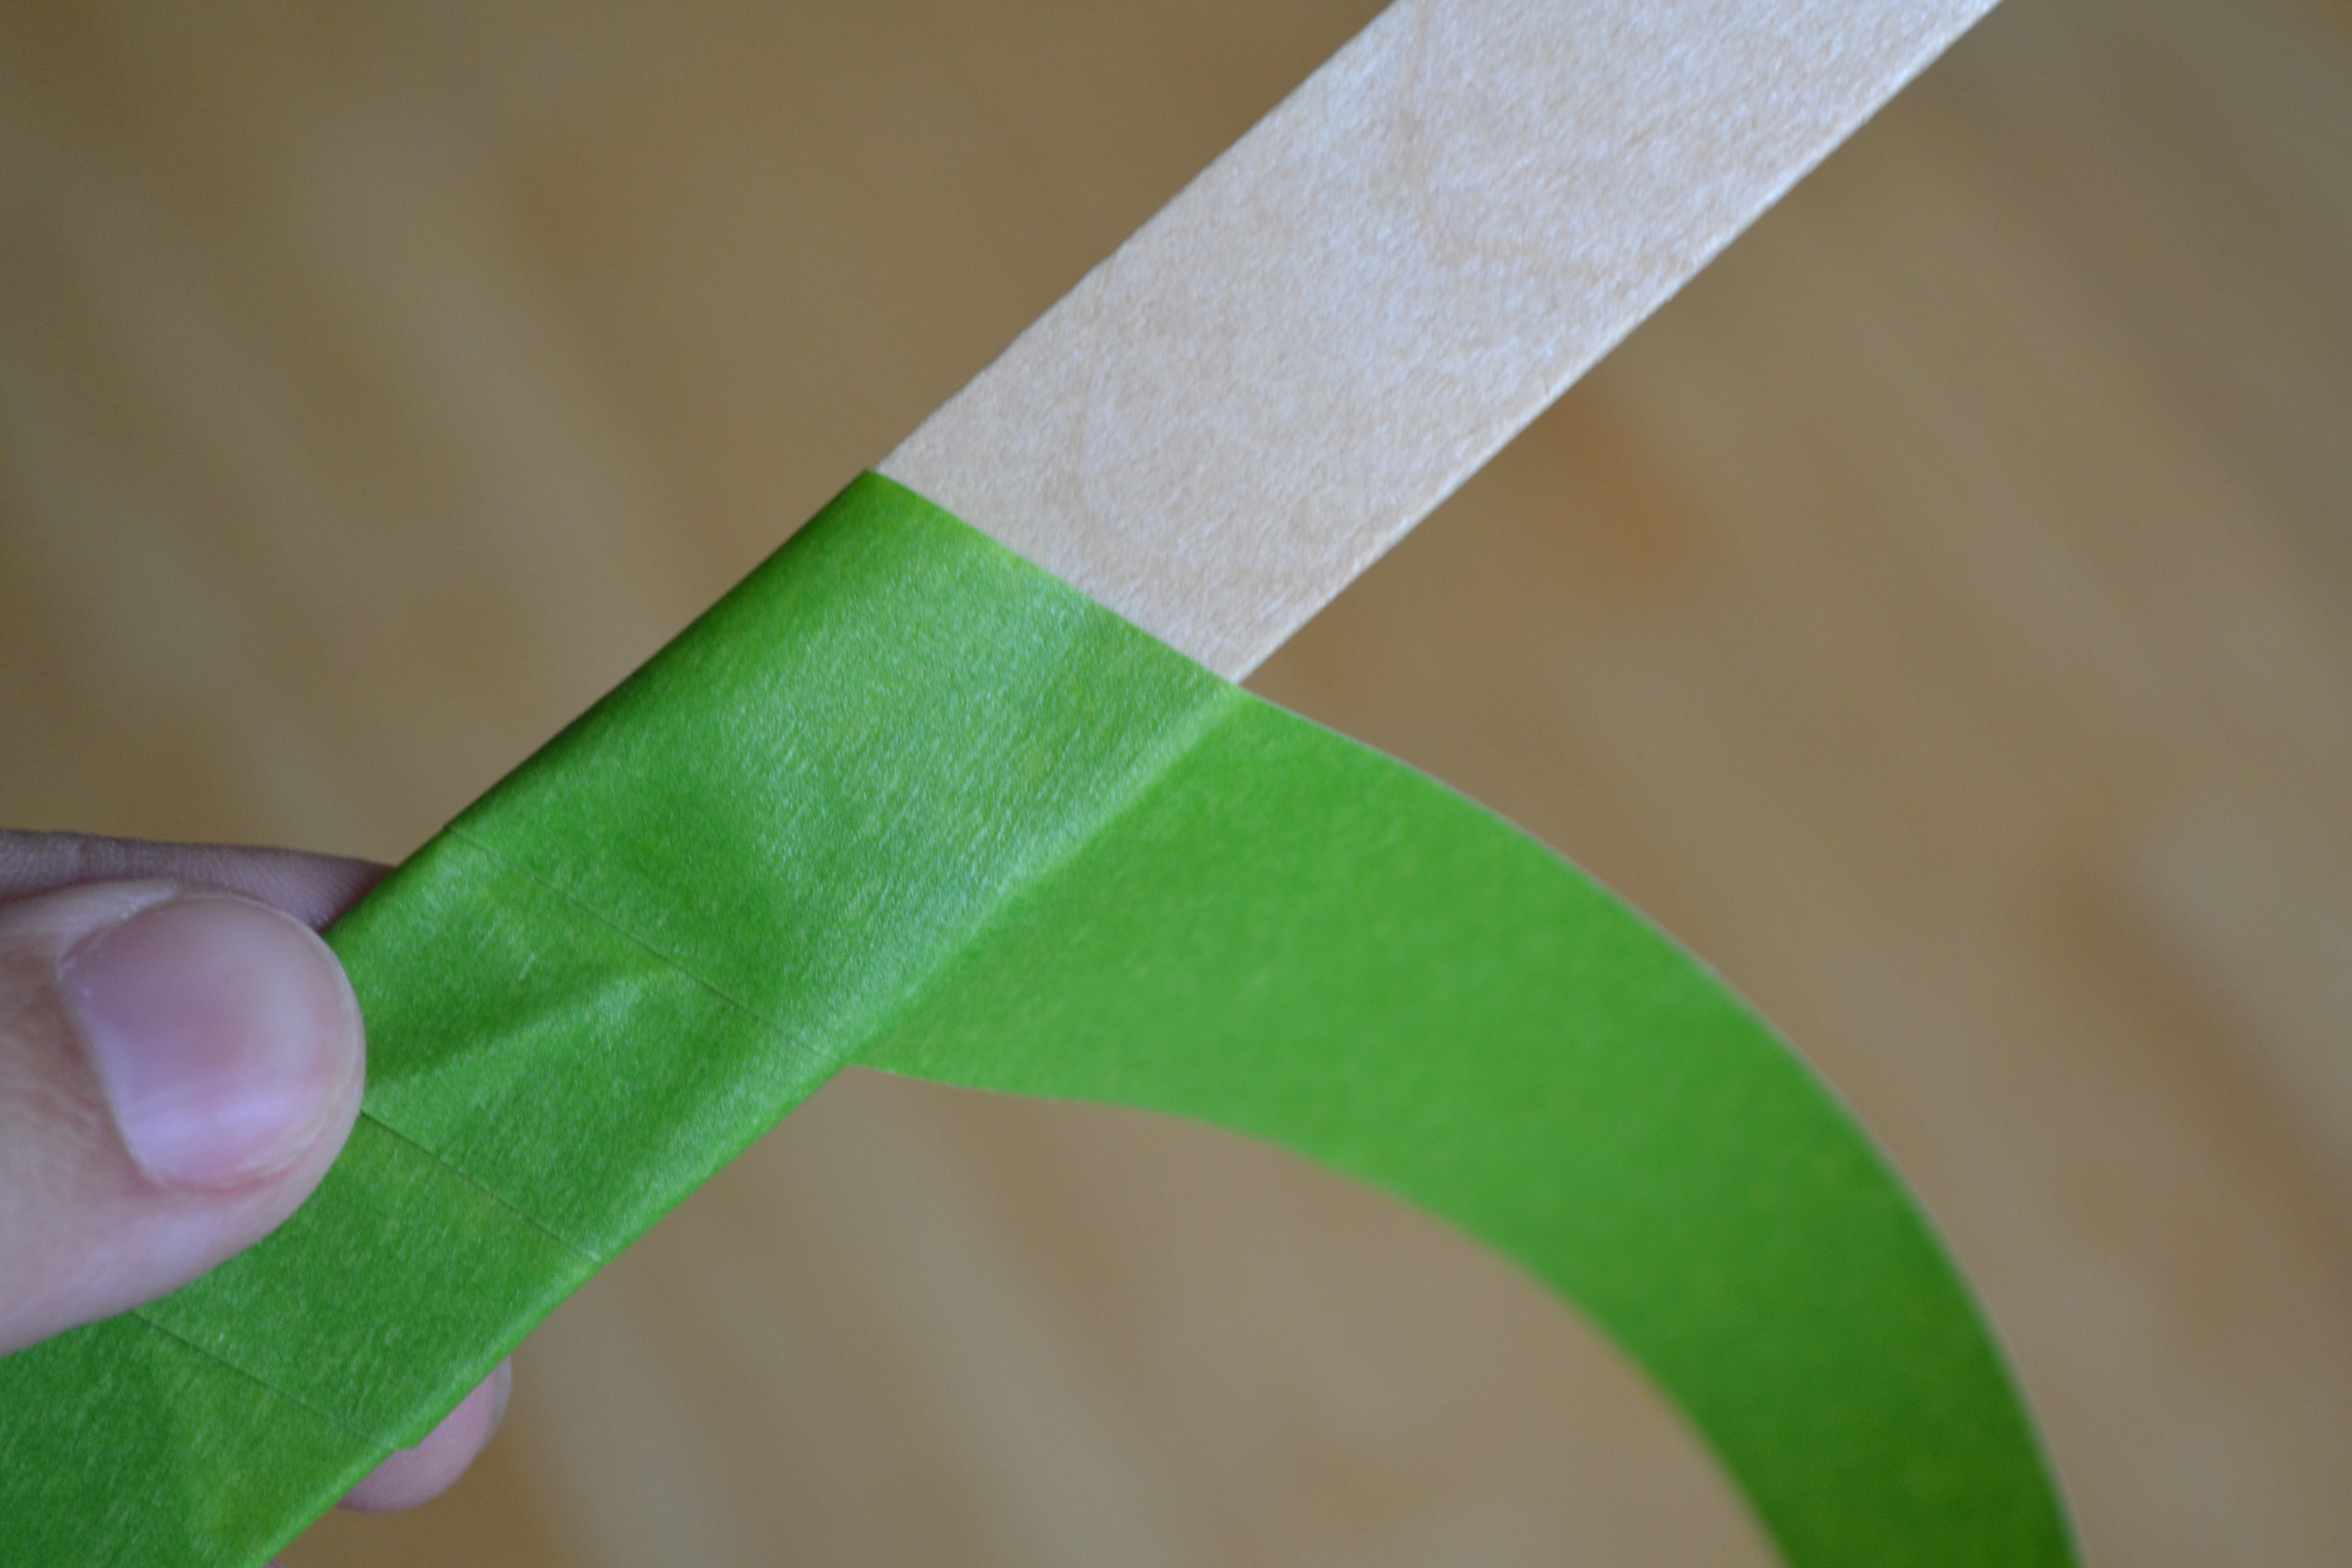
Once the glue dried, we wrapped the green tape around our craft sticks to create the stem. This is easiest to do when you start the tape diagonally. I helped my 2-year-old with this part, but my 4-year-old had fun rolling his stem in the tape. The good thing is that it doesn't matter how neatly they wrap the stem.
Step 4
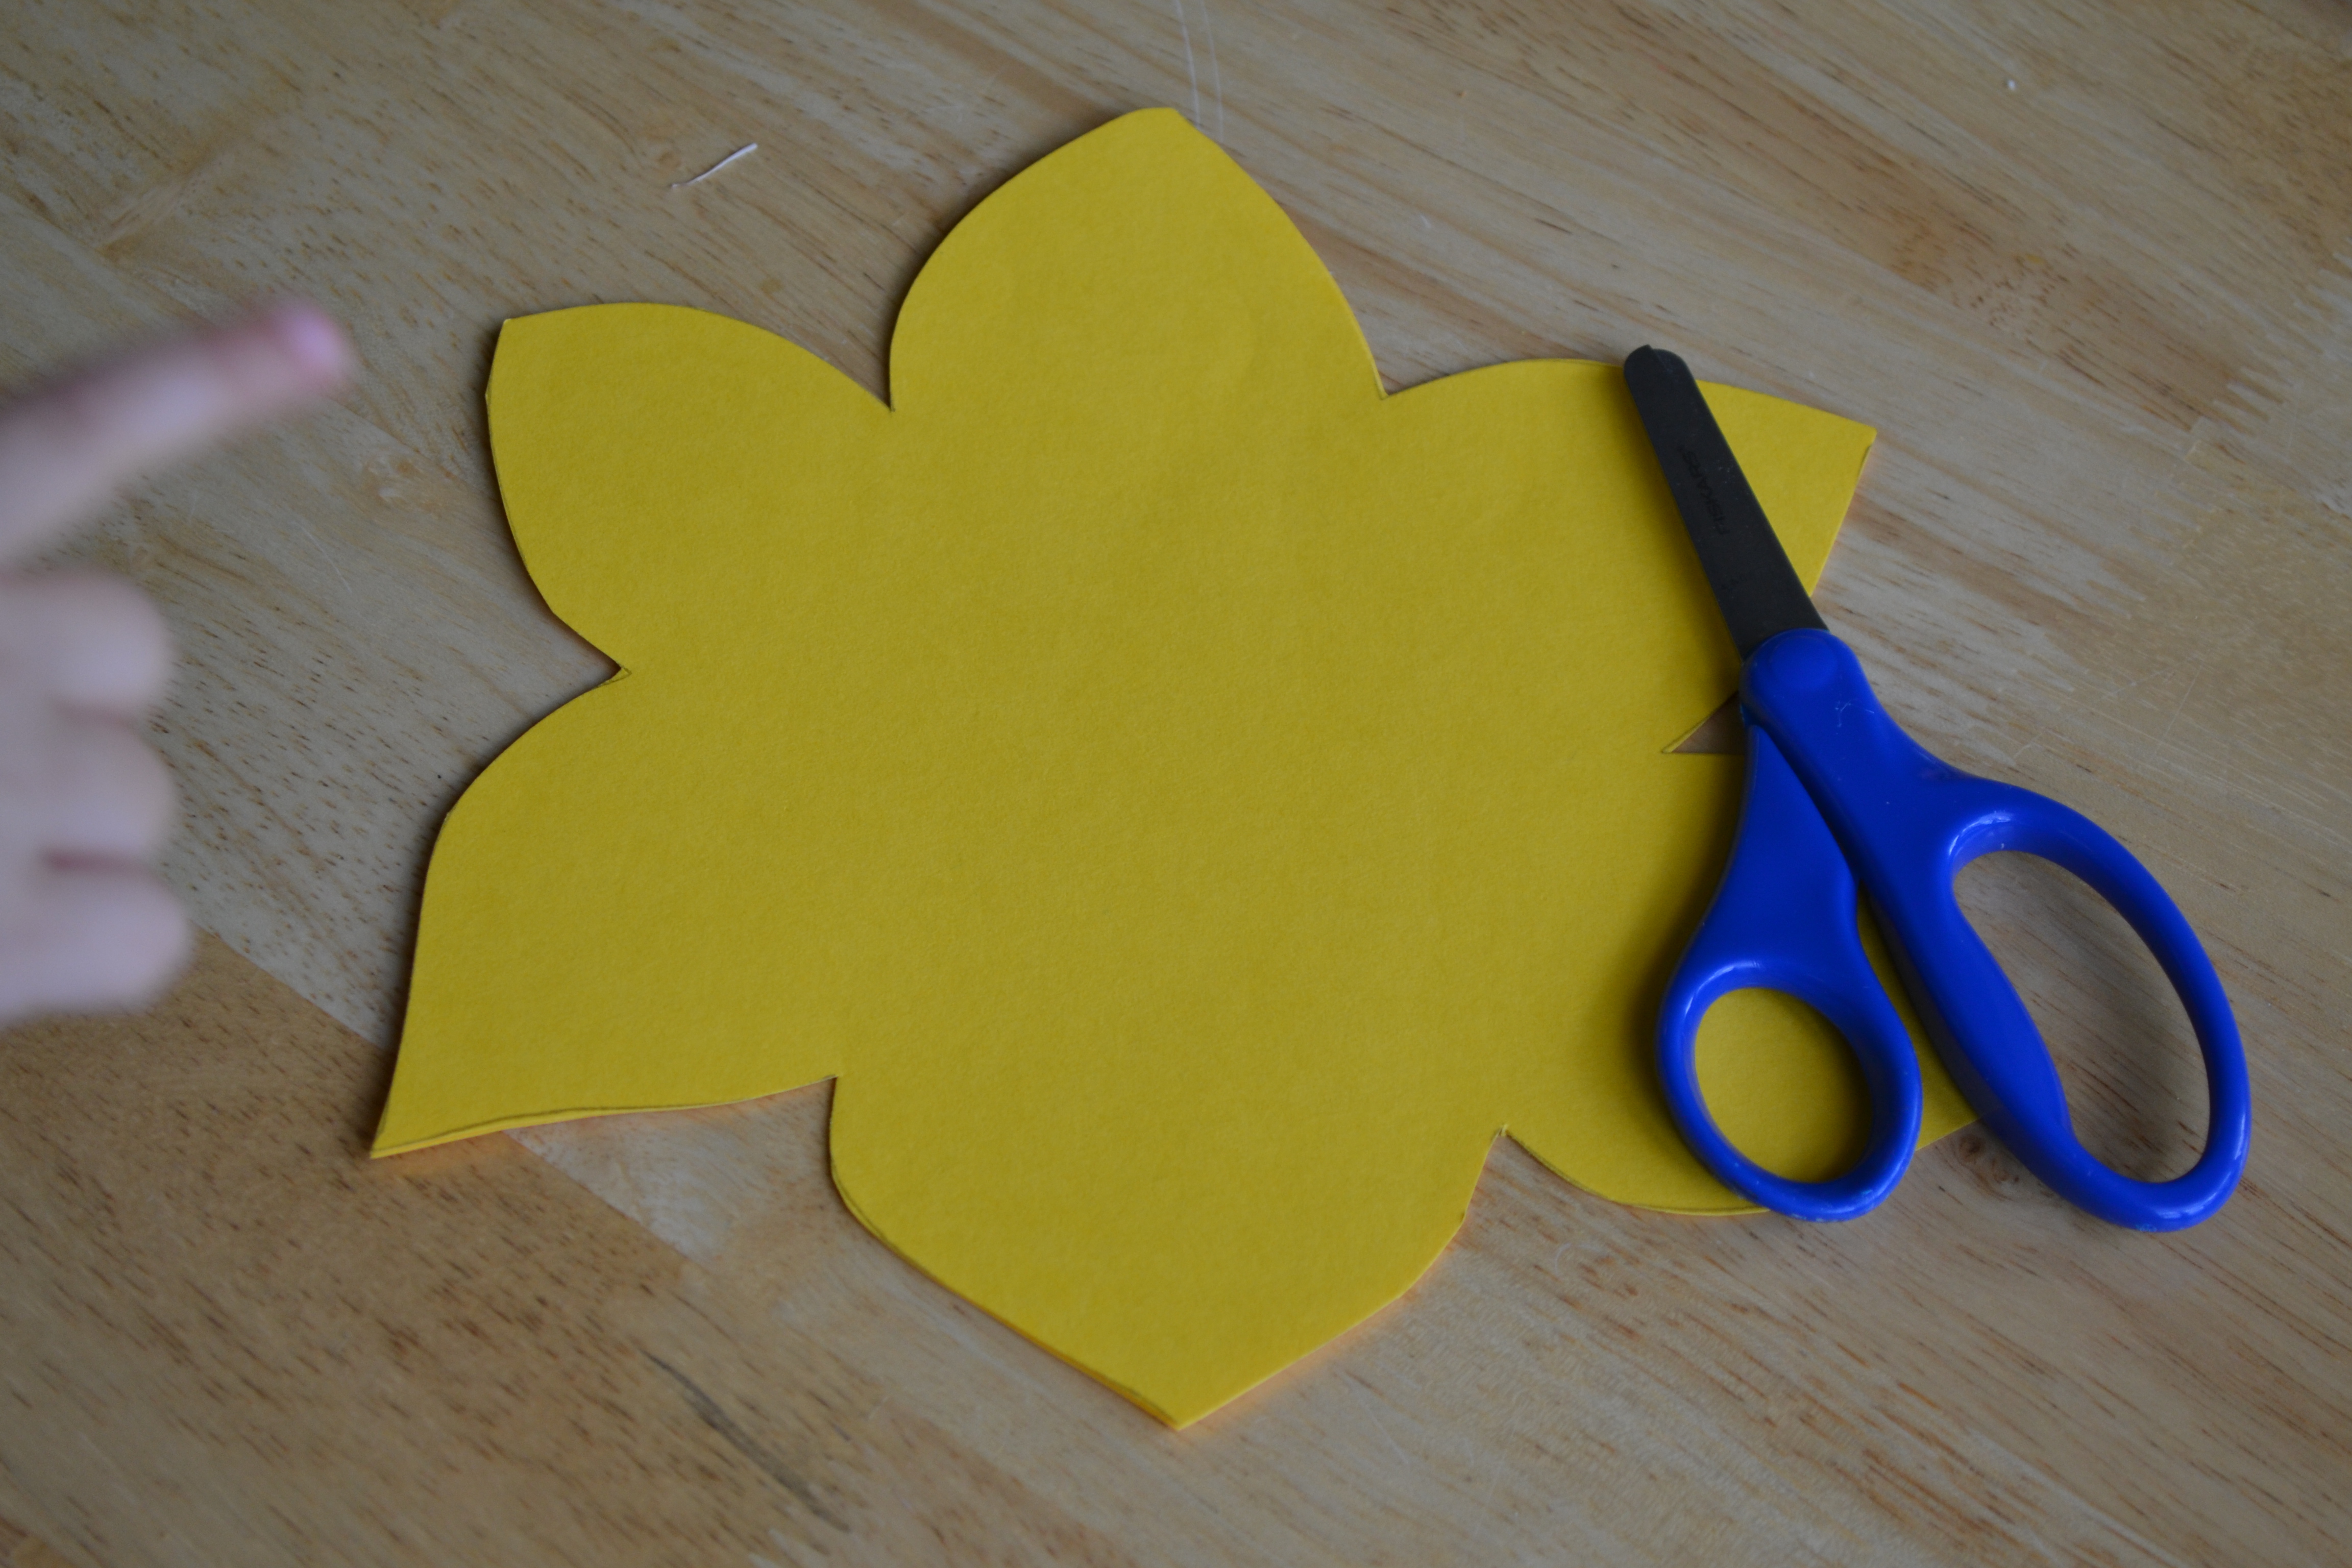
We cut the back of the daffodil out of yellow construction paper. I put the cupcake liner on the paper as a guide to make sure our flower would be large enough for the cupcake liner to fit in the center.
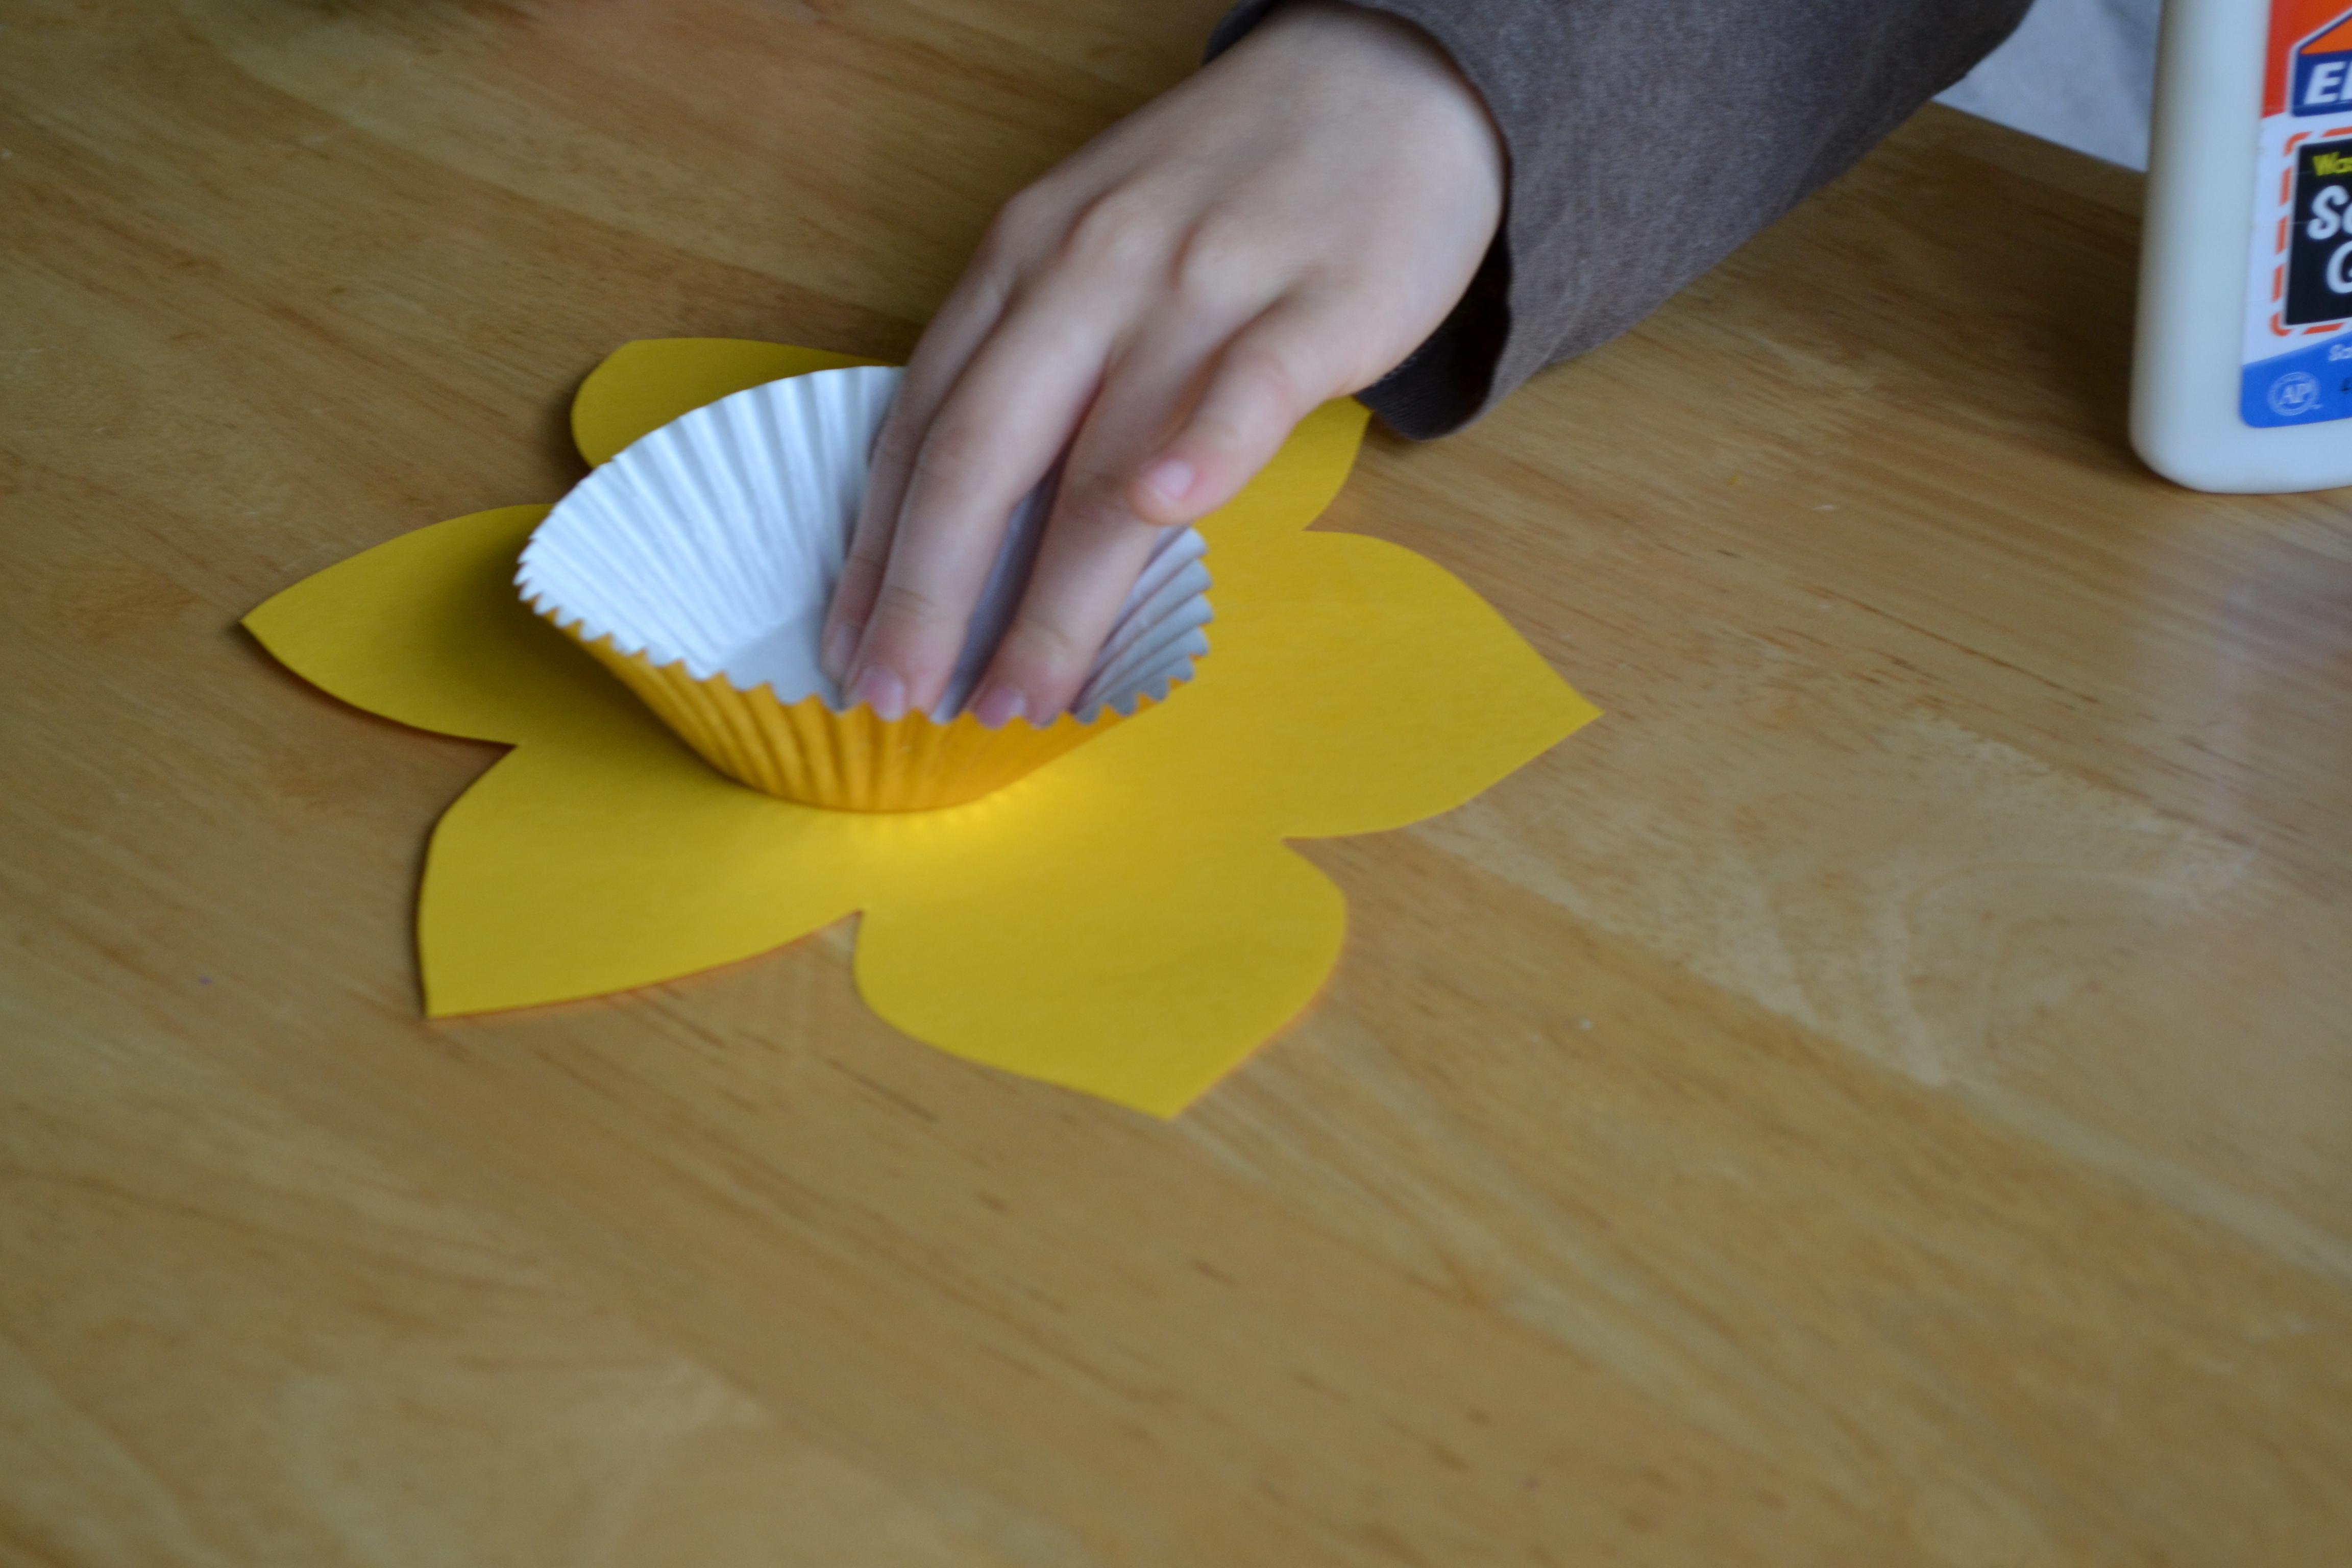
Step 5
The kids glued their flowers to the top of their stems and then glued the cupcake liners to the center of their flower. They were very careful not to squish their cupcake liner.
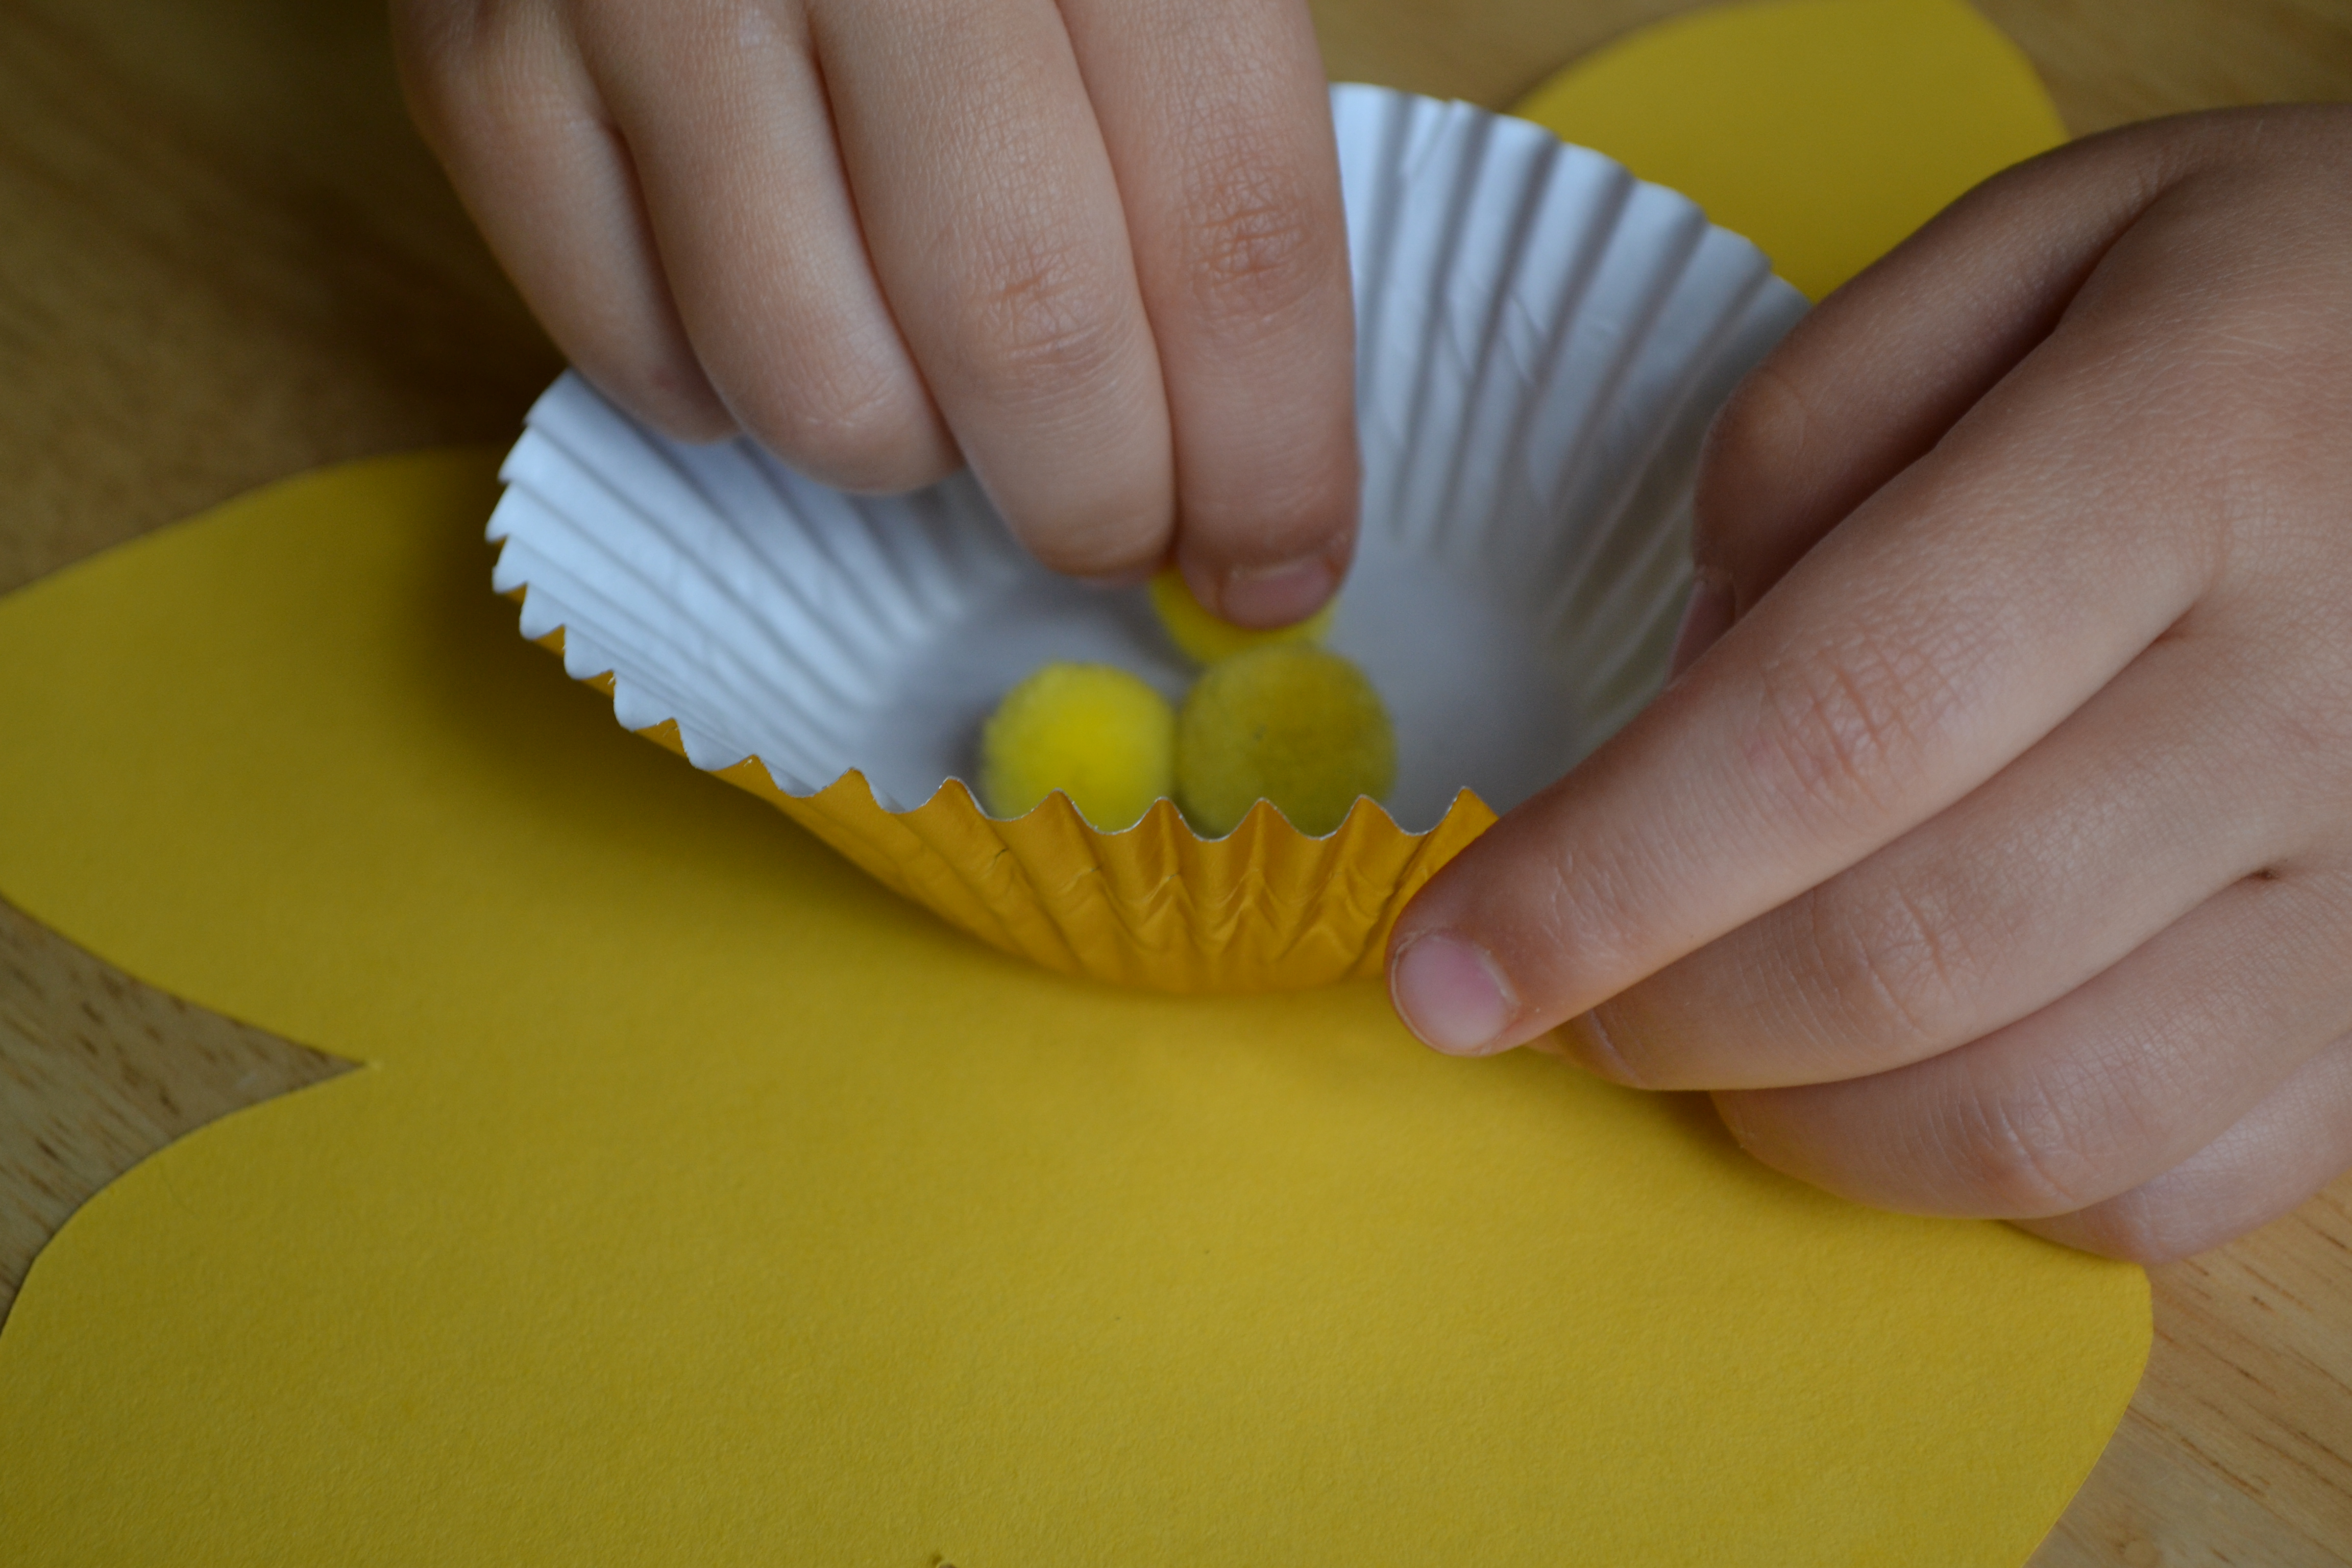
Step 6
Since our cupcake liners were gold on the outside and white on the inside, we decided to add some extra color by gluing some yellow pom pom balls inside the cupcake liner. This was great fine motor skill practice for my 2-year-old as he worked to place the pom poms just so in his flower.
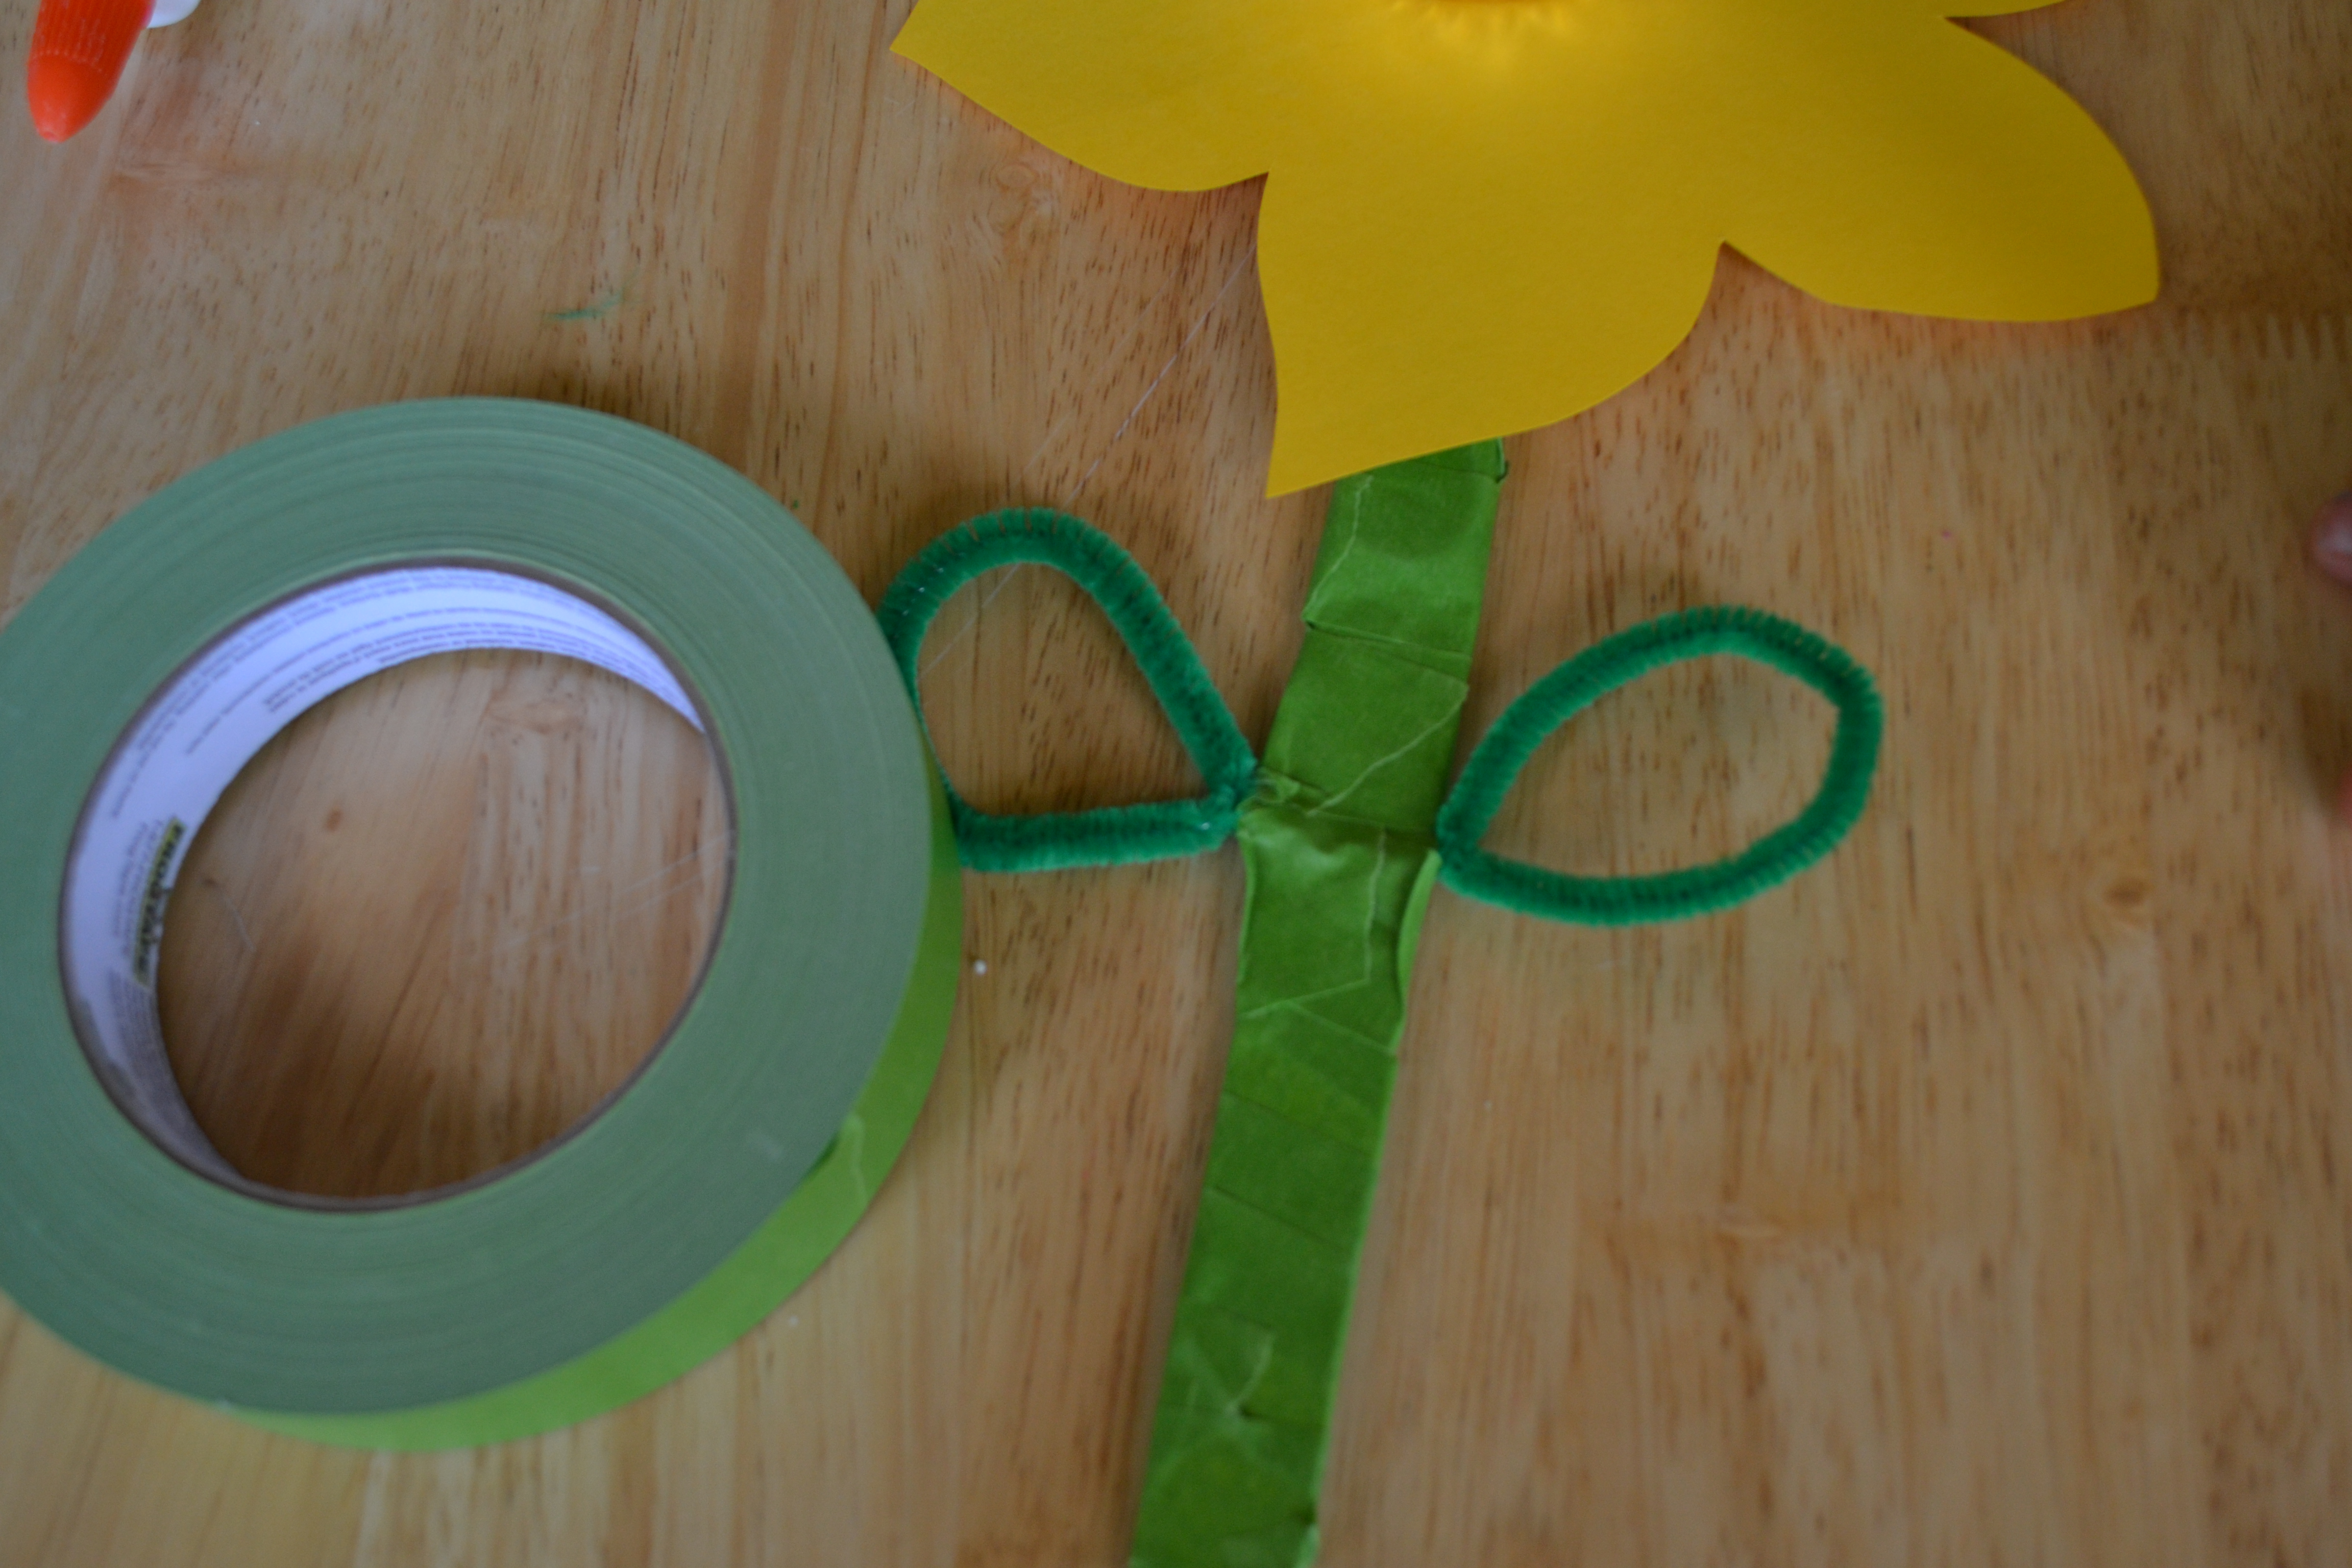
Step 7
As the kids looked at our real flower, they noticed that our craft was missing leaves. To add leaves to our daffodils, we shaped green pipe cleaners into a leaf shape and used the green tape to secure them into place. Some of the kids wanted one leaf and some wanted two. For those who wanted two leaves, we cut the pipe cleaners in half and made two smaller leaves.
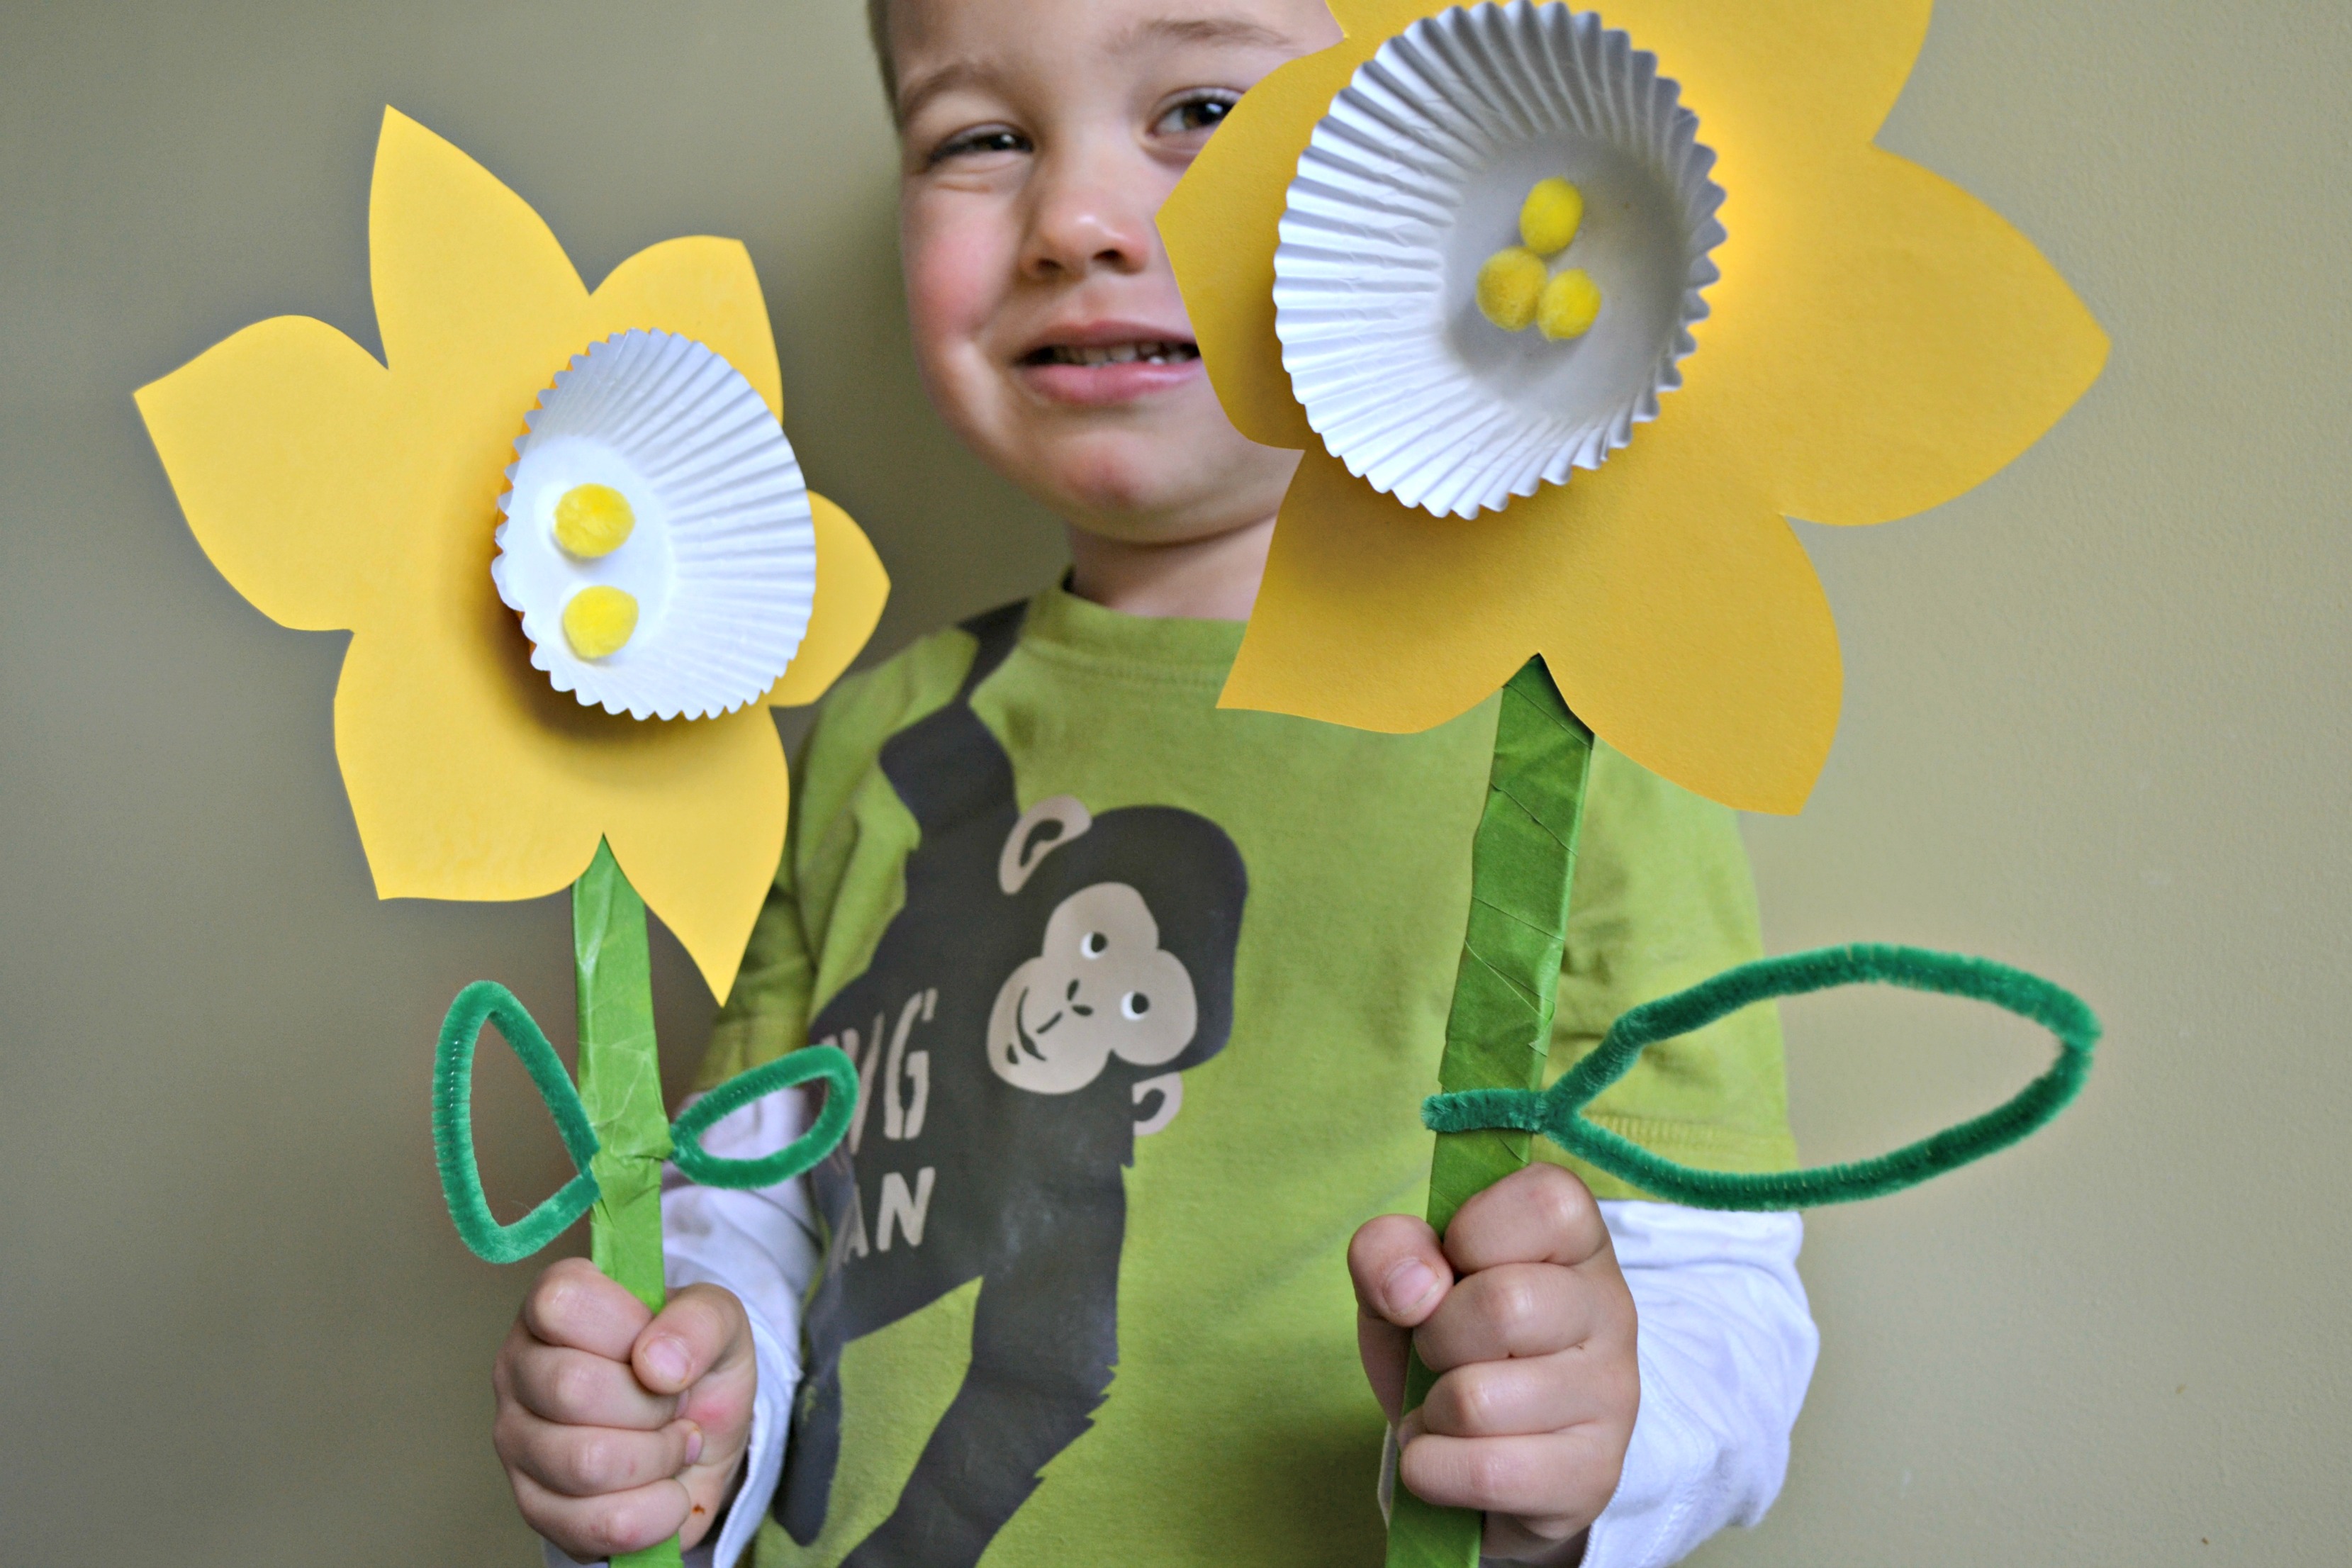
Done!
The kids had so much fun making their daffodils. My 3-year-old couldn't wait to give hers to her Grandma!