Step-by-step tutorial
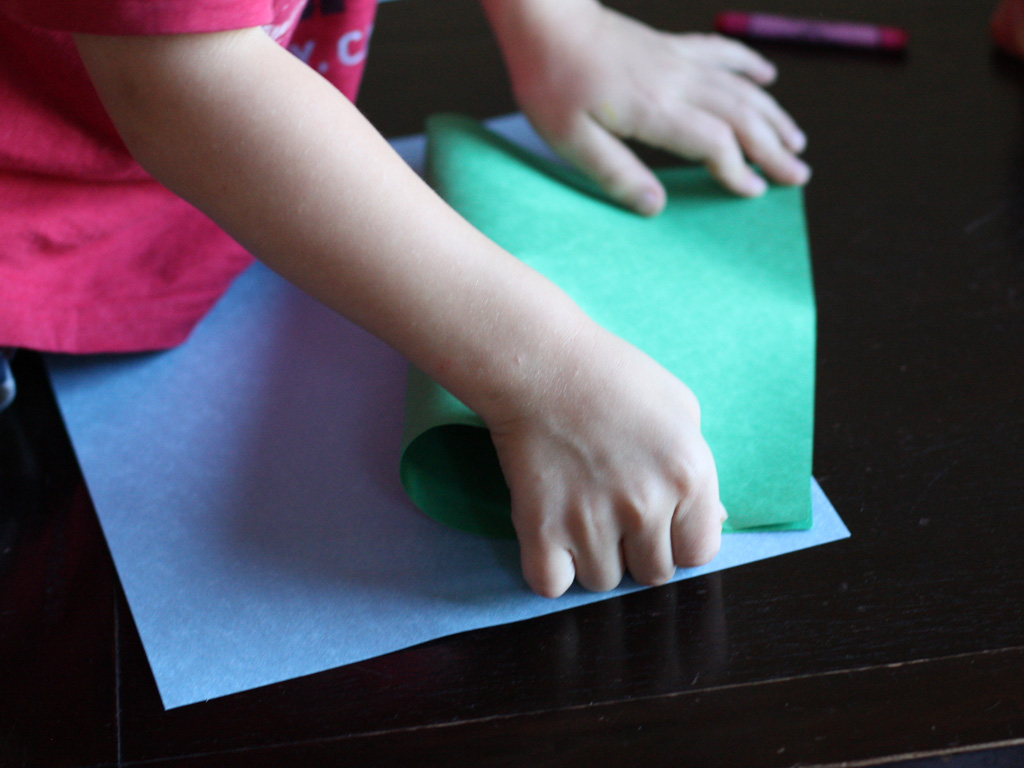
Step 1
We took two sheets of construction paper and folded them in half. One will become the pop-up section the other one will be the outside cover.

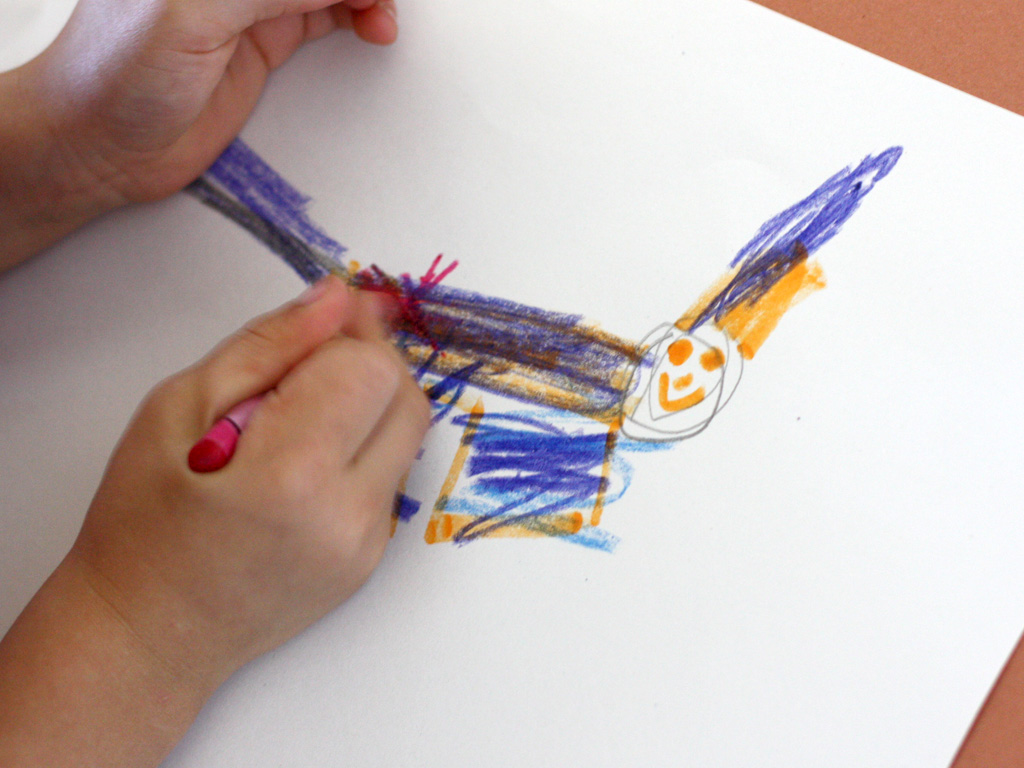
Step 2
Then Jackson drew a pony on a sheet of plain white paper and colored it with crayons.
Step 3
Then he cut it out.
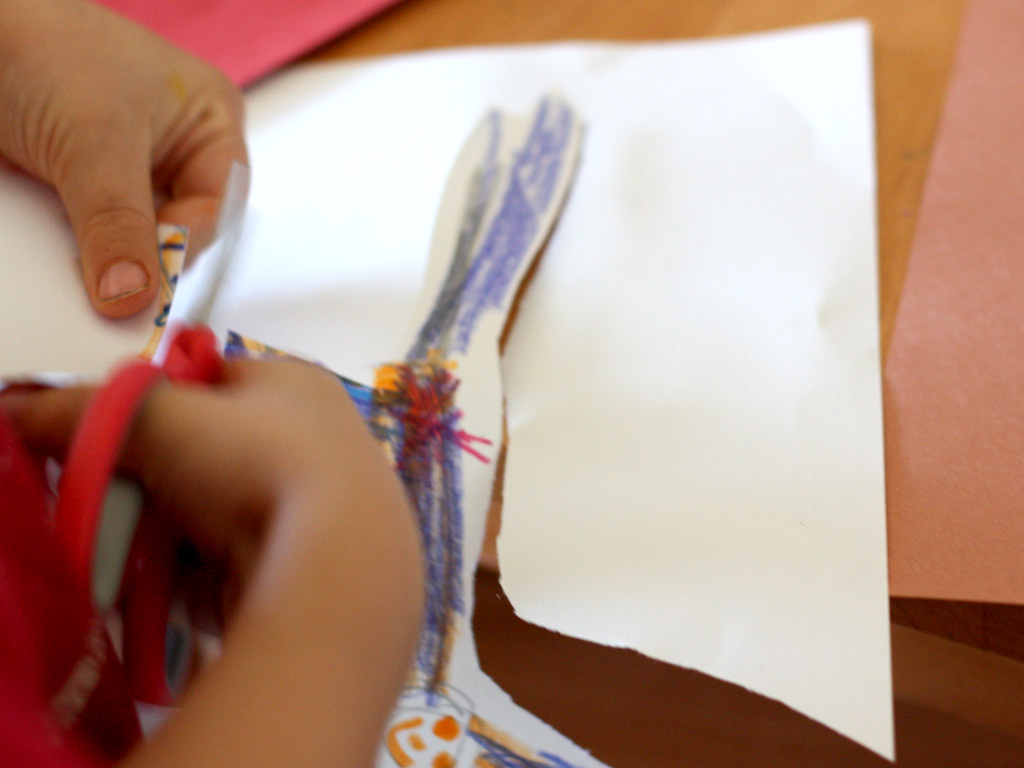
Tip
If you decide to use a drawing you need to make sure it is smaller than a half sheet of construction paper or it will stick out of your card.
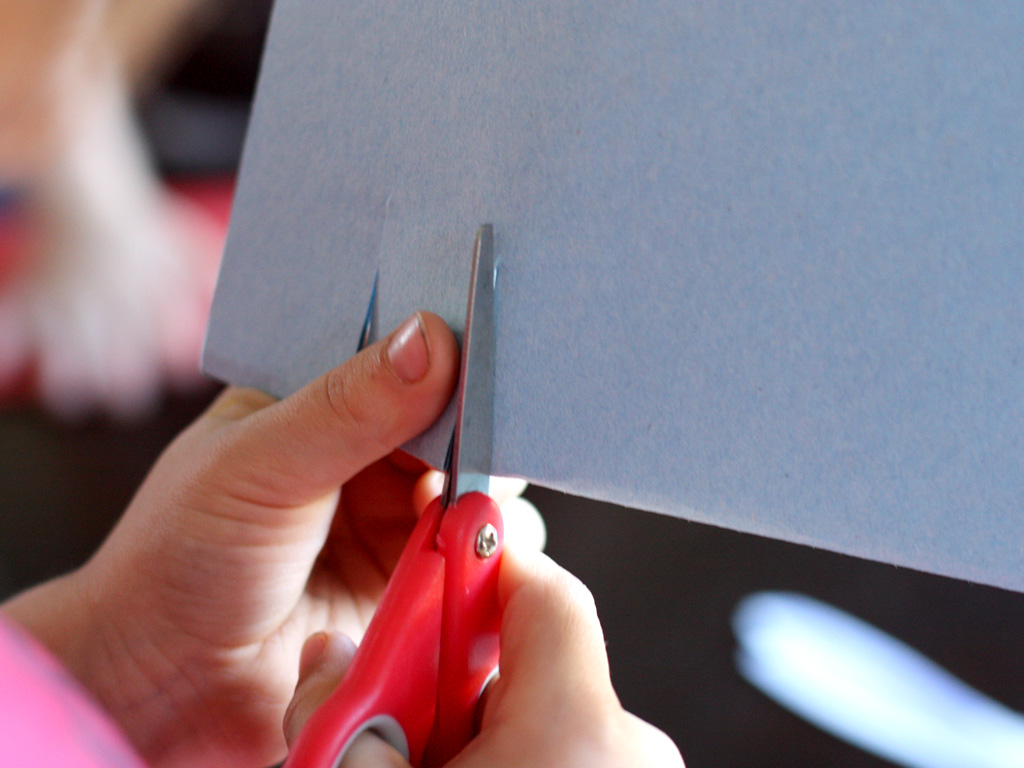
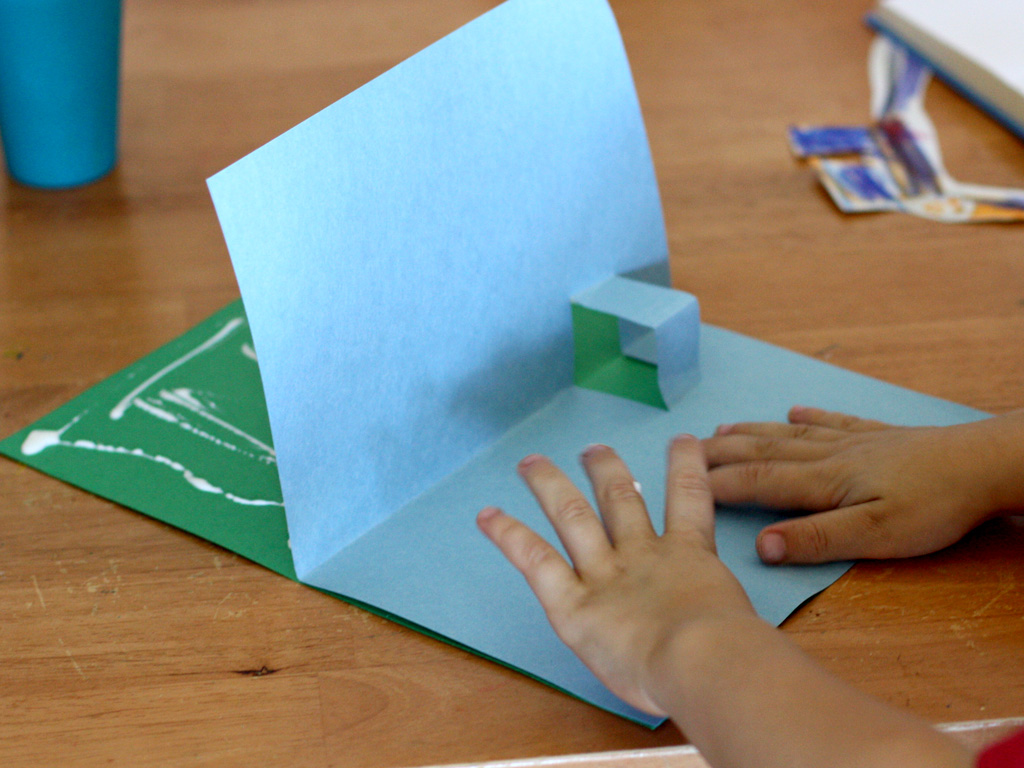
Step 4
Take the construction paper that will be for the inside layer and cut two slits on the fold about 2 inches long. Then pull out the area between the two cuts and fold the paper in half.
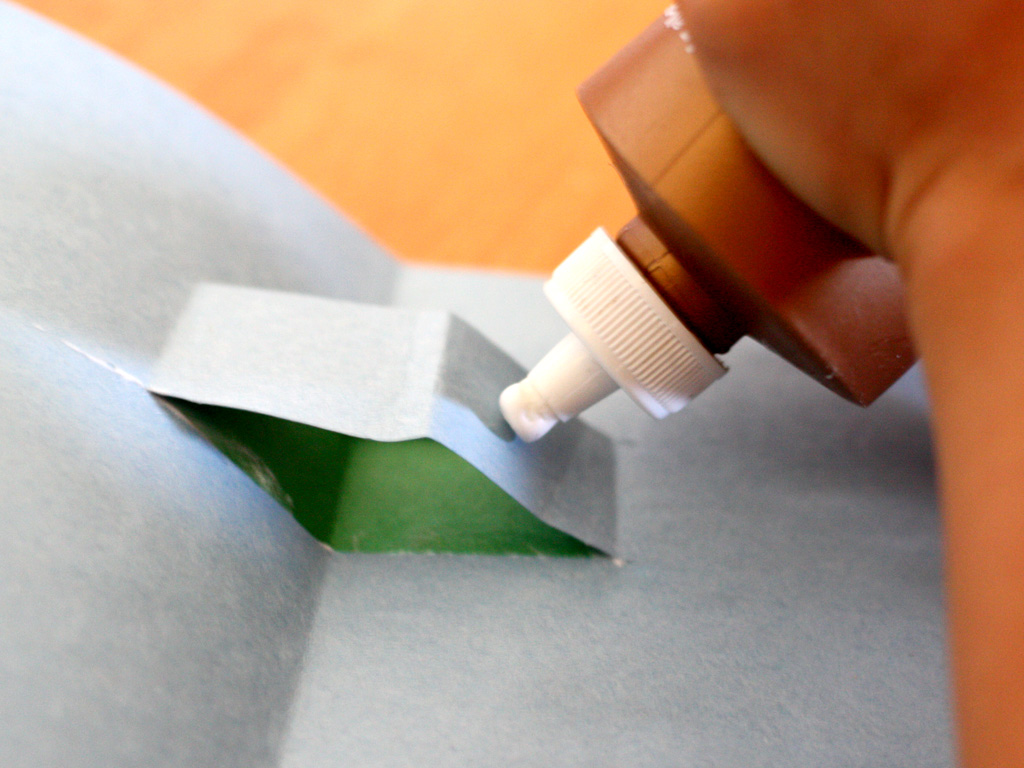
Step 5
Then we glued the cover on to the backside of the pop-up page.
Step 6
Then Jackson glued his pony to the front side of the "pop-up" part of the paper. The pop-up part is done. You can get as creative as you want try experimenting with different size cuts and even multiple pop-ups.
Step 7
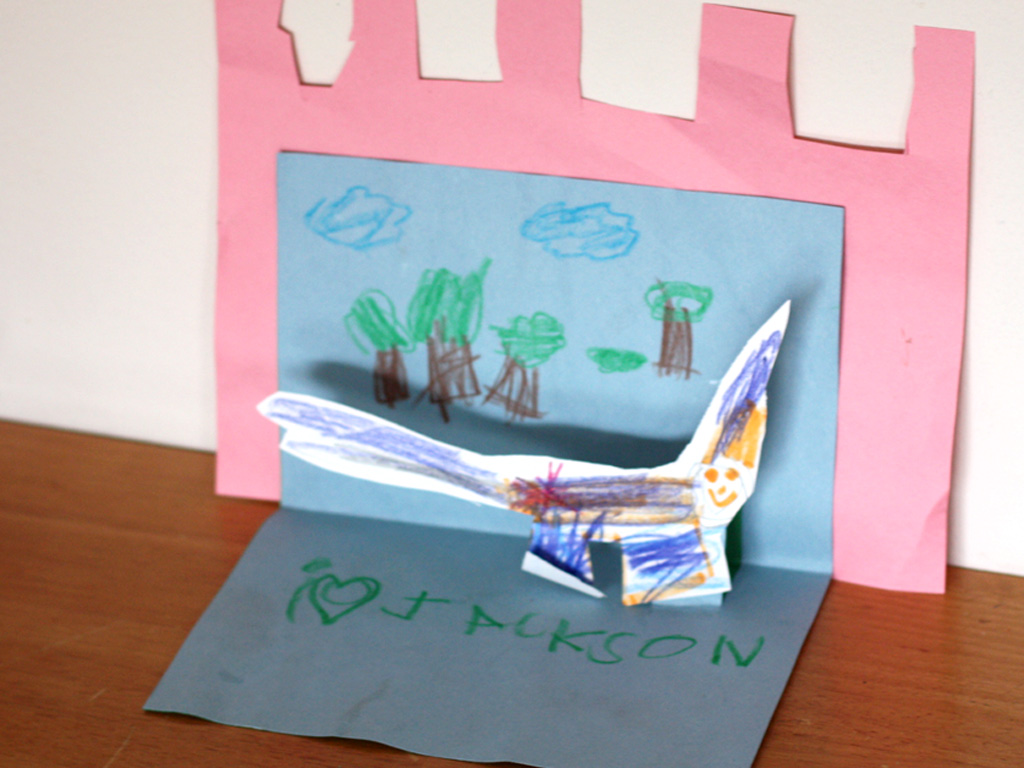
Once the glue dried Jackson drew in the back ground with a few trees and clouds. He got real creative and even added a pink castle to the card!
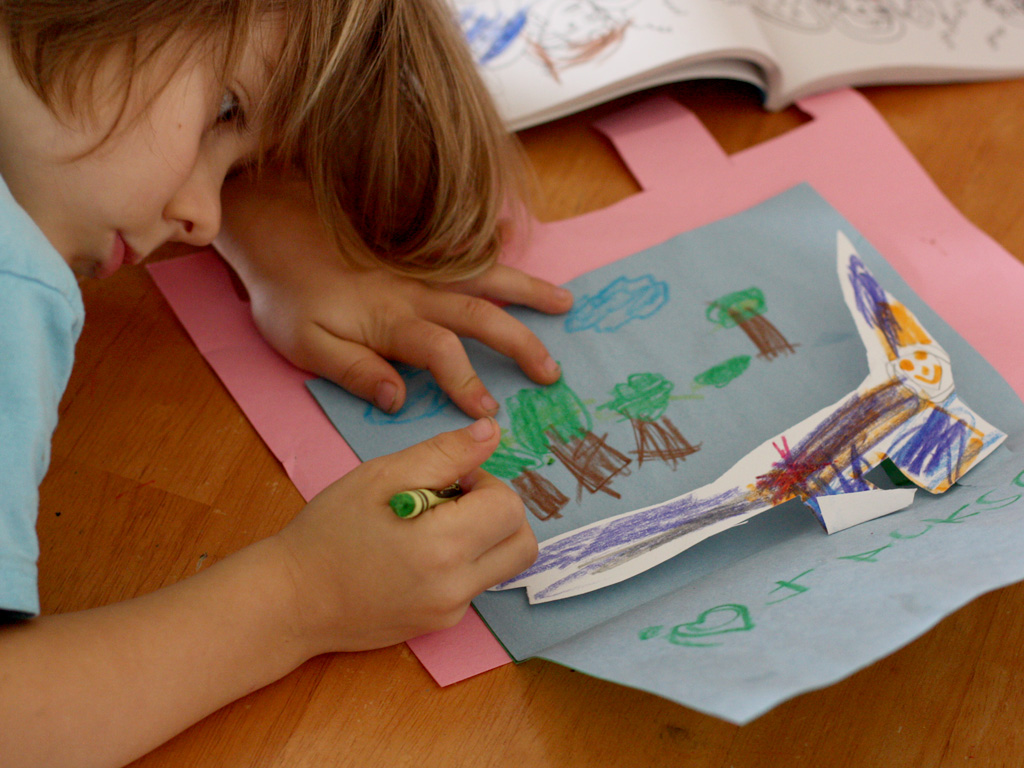
Done!
Then like any good artist, he signed his name. This simple card could easily become a treasure to his grandma or a friend at school. I hope that you enjoyed our little pop-up card. If you really like this you can even make multiple pop-up cards and glue them together to create your very own pop-up book!


