Step-by-step tutorial
Step 1
We began this project by talking about all the different layers of a terrarium garden.


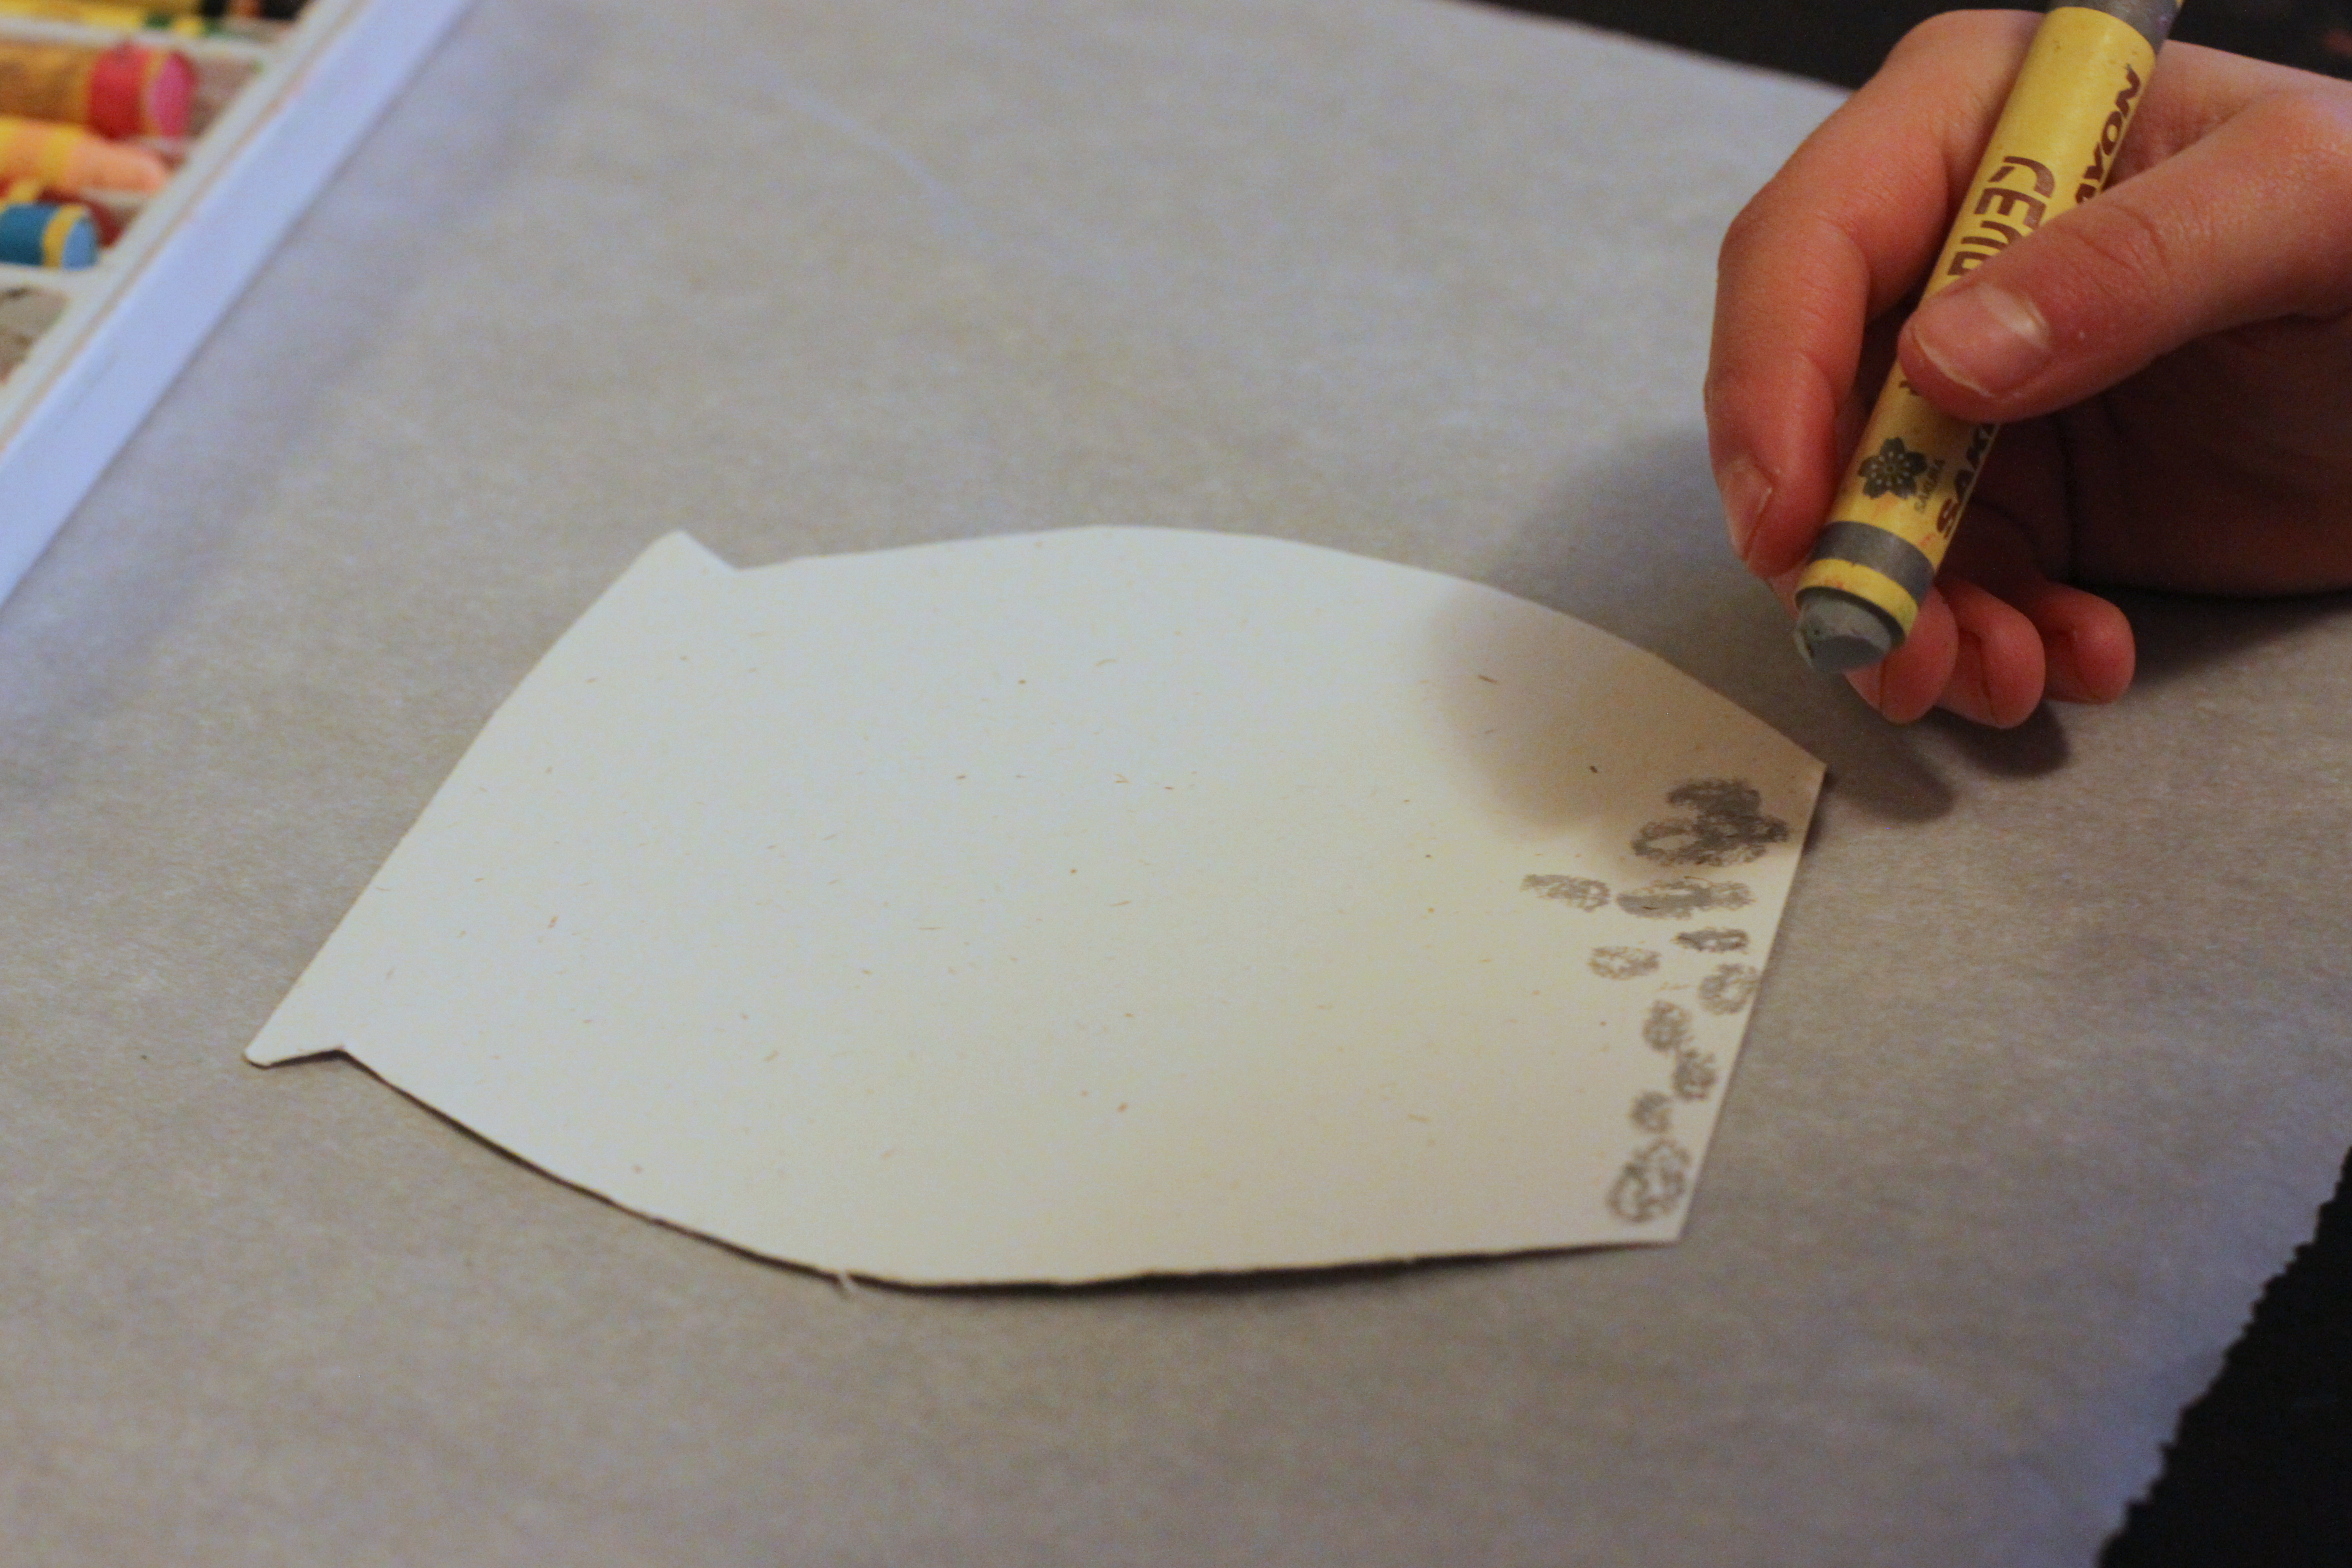
Step 2
We cut shapes from the card stock to resemble that of a terrarium glass jar. Next, Emma used crayons to add her rock and moss layers.
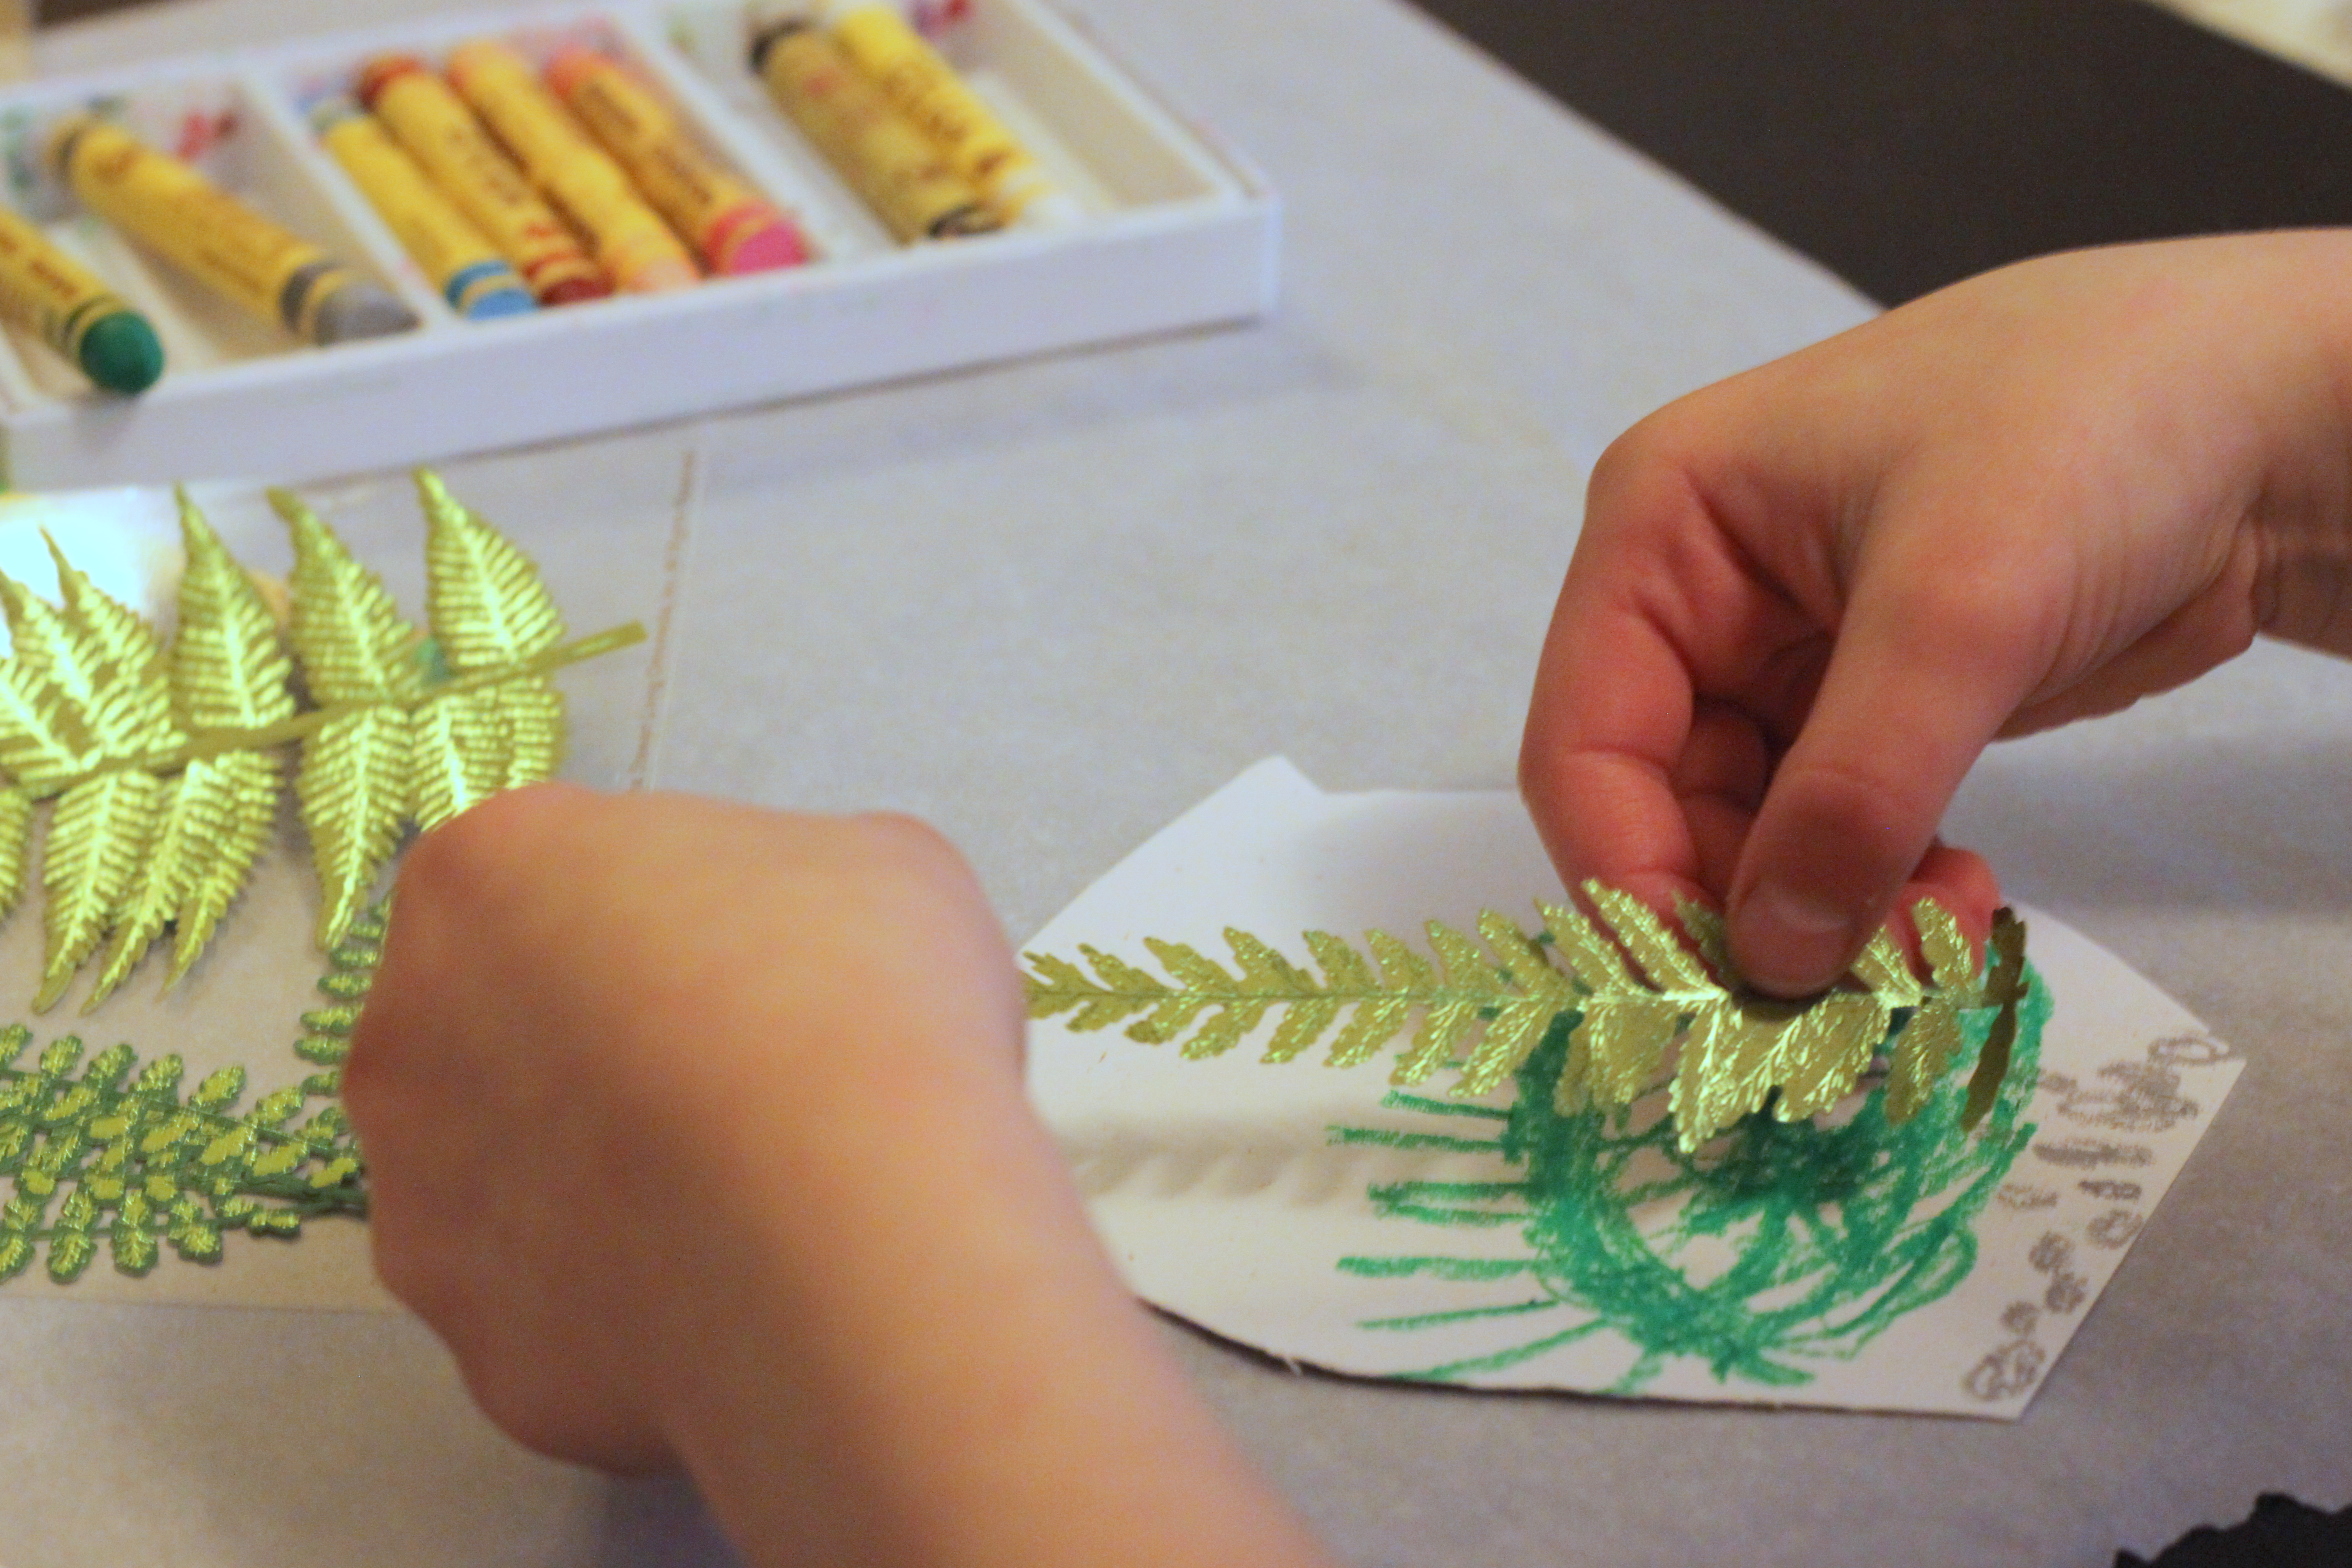
Step 3
She used these beautiful foliage stickers next. You can also draw the plants if you do not have stickers on hand.
Step 4
We cut our plastic sheet to the same size/shape as our card.
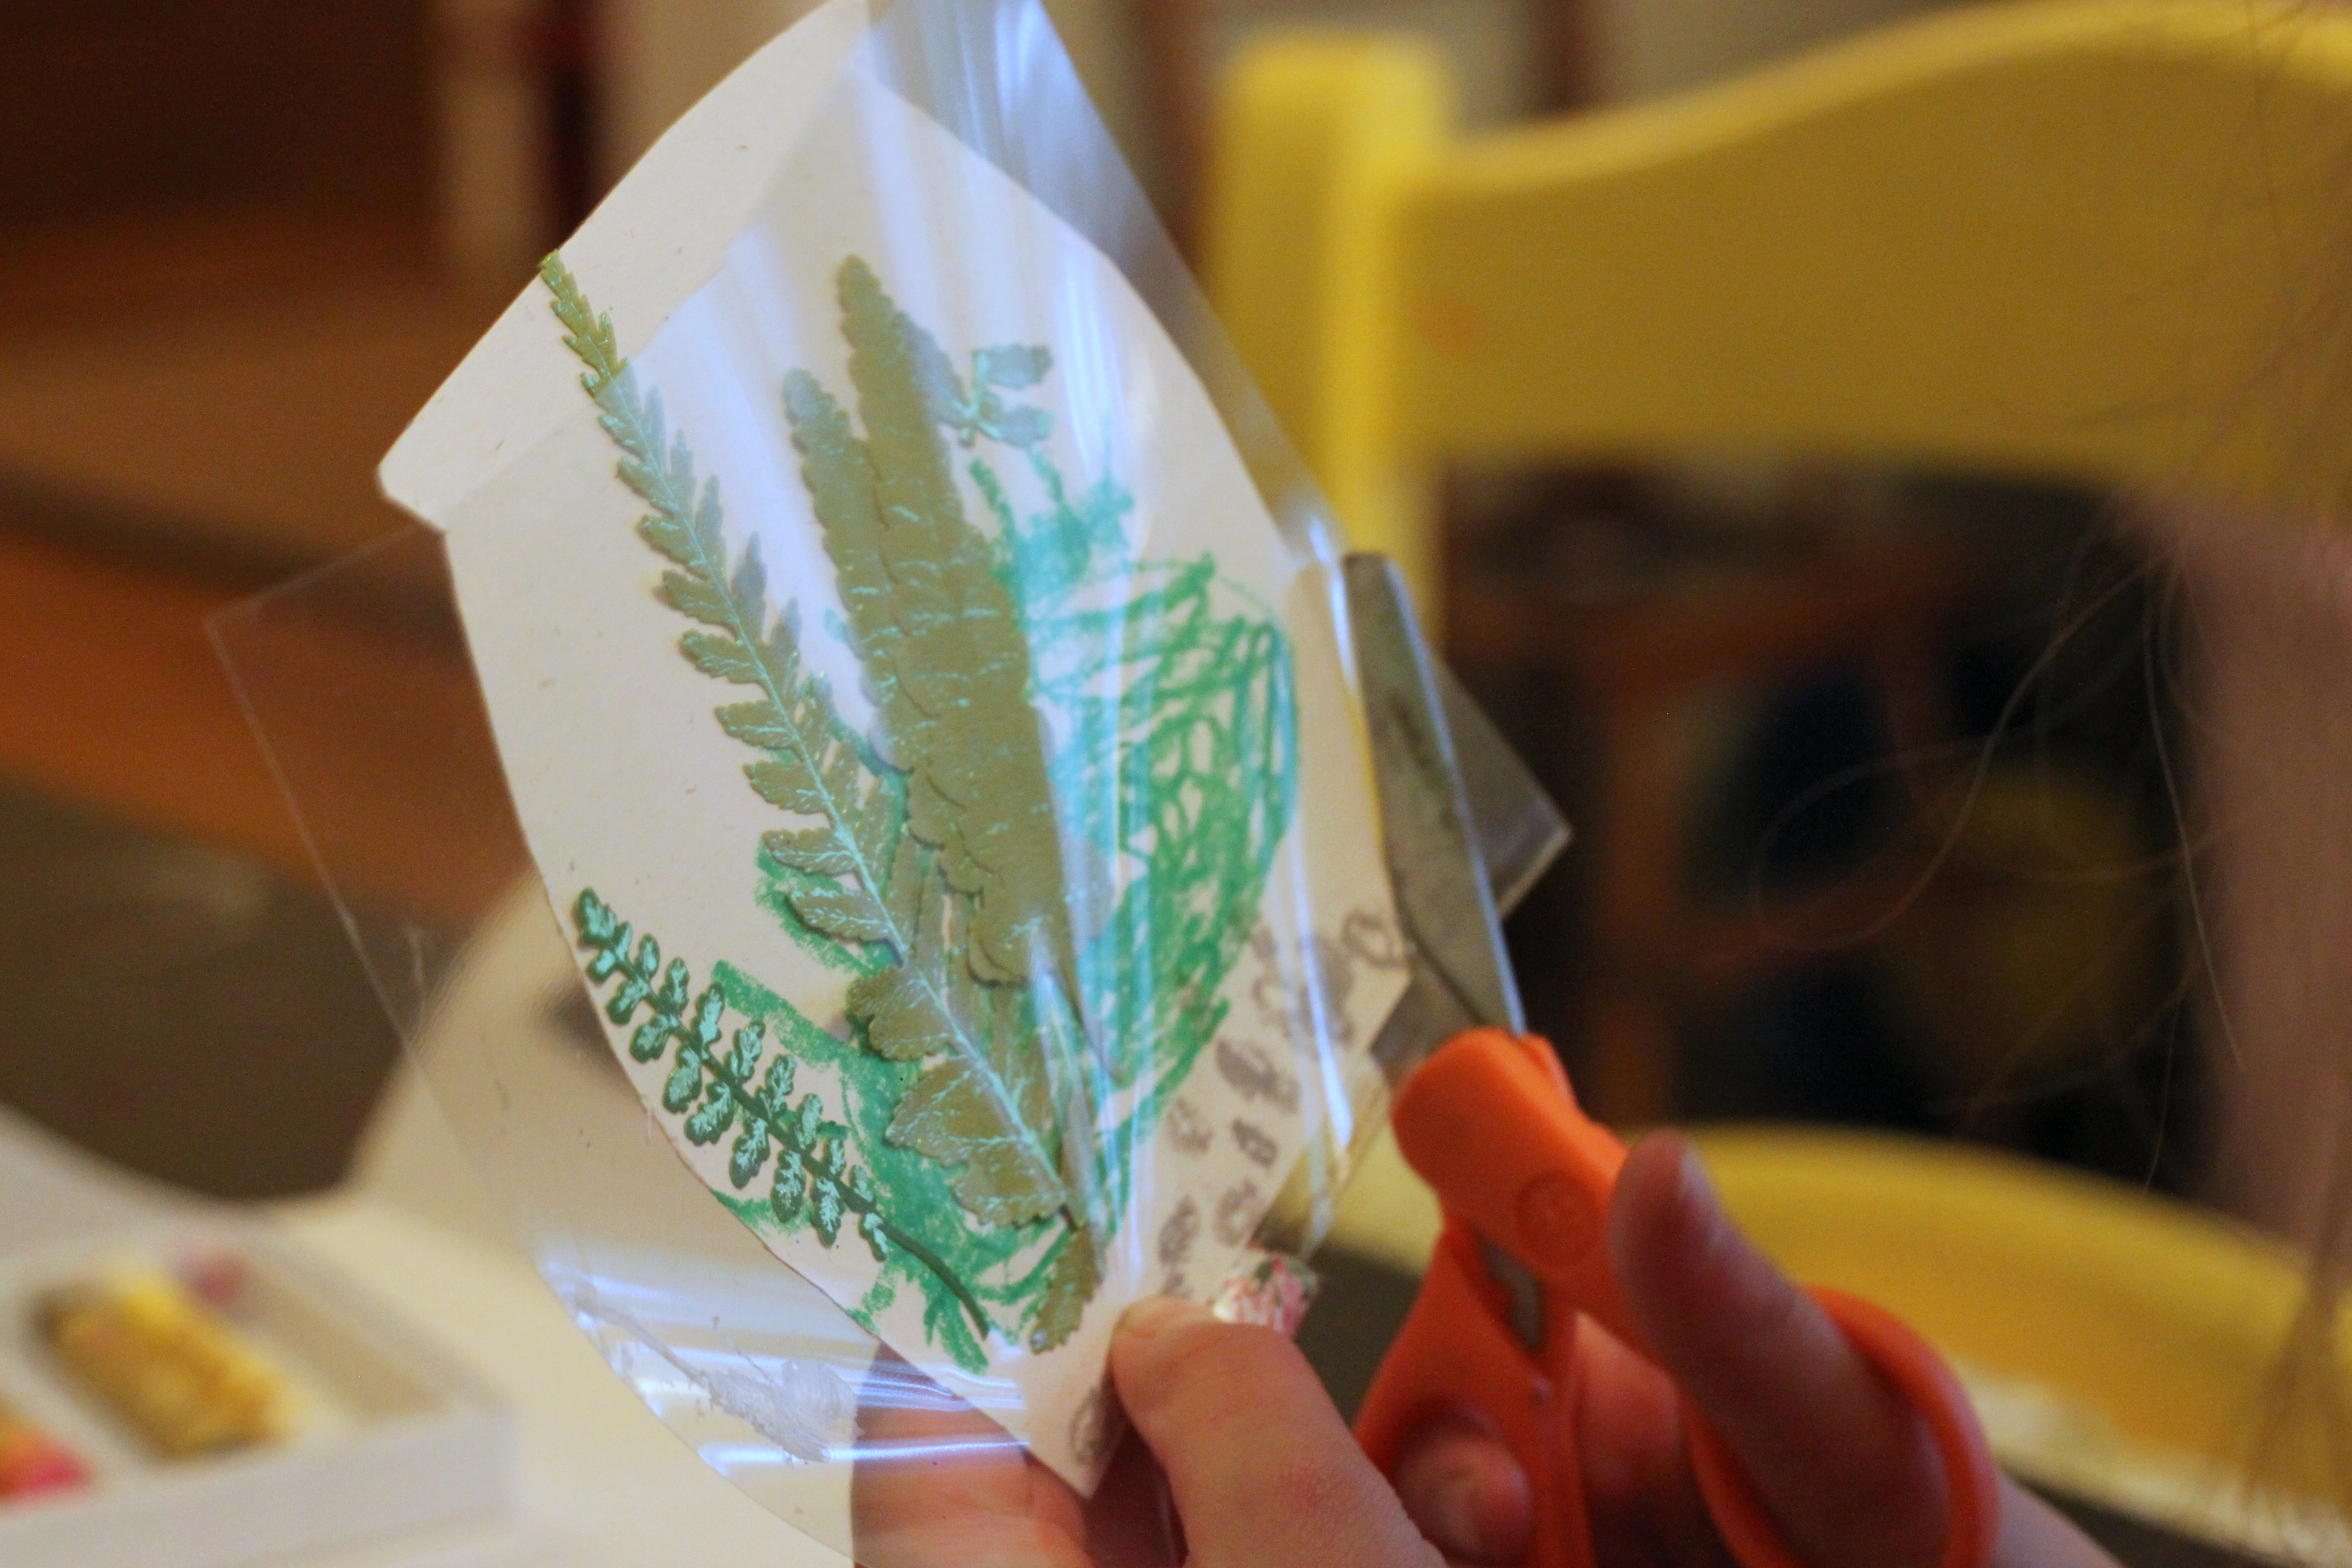
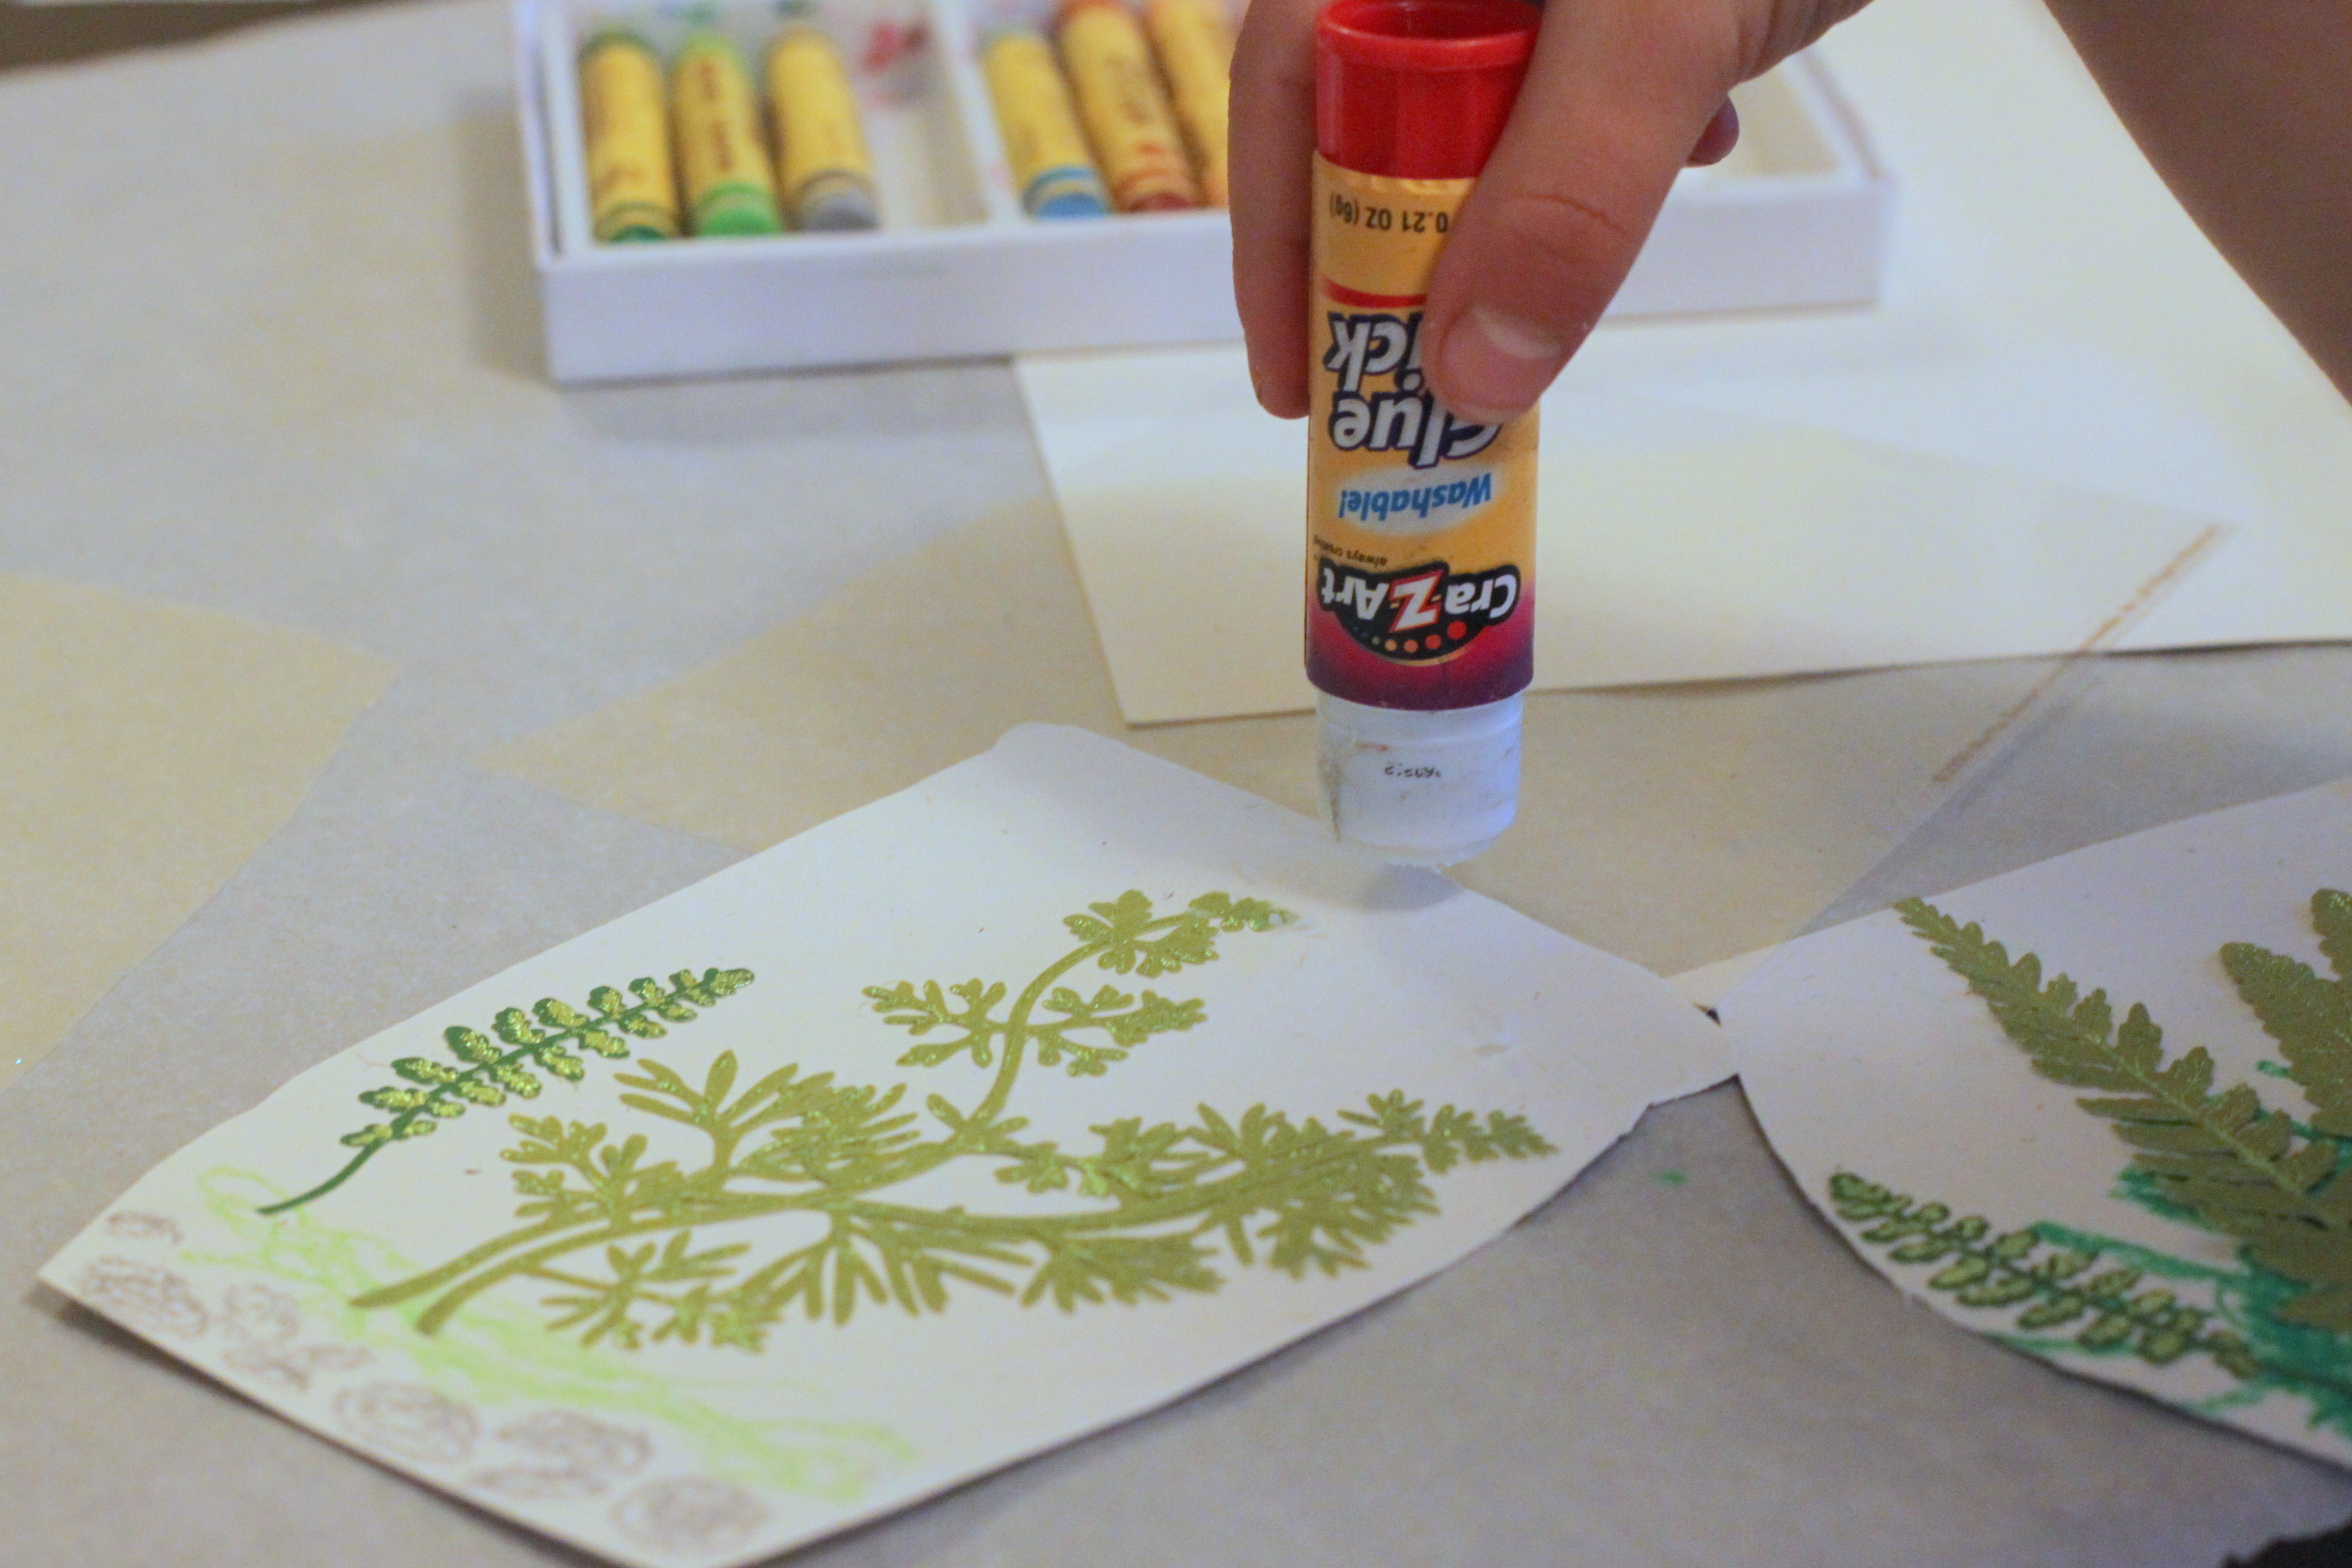
Step 5
Paste or glue just around the edge of the card to seal the plastic layer to the top. This is to create that glass jar look.
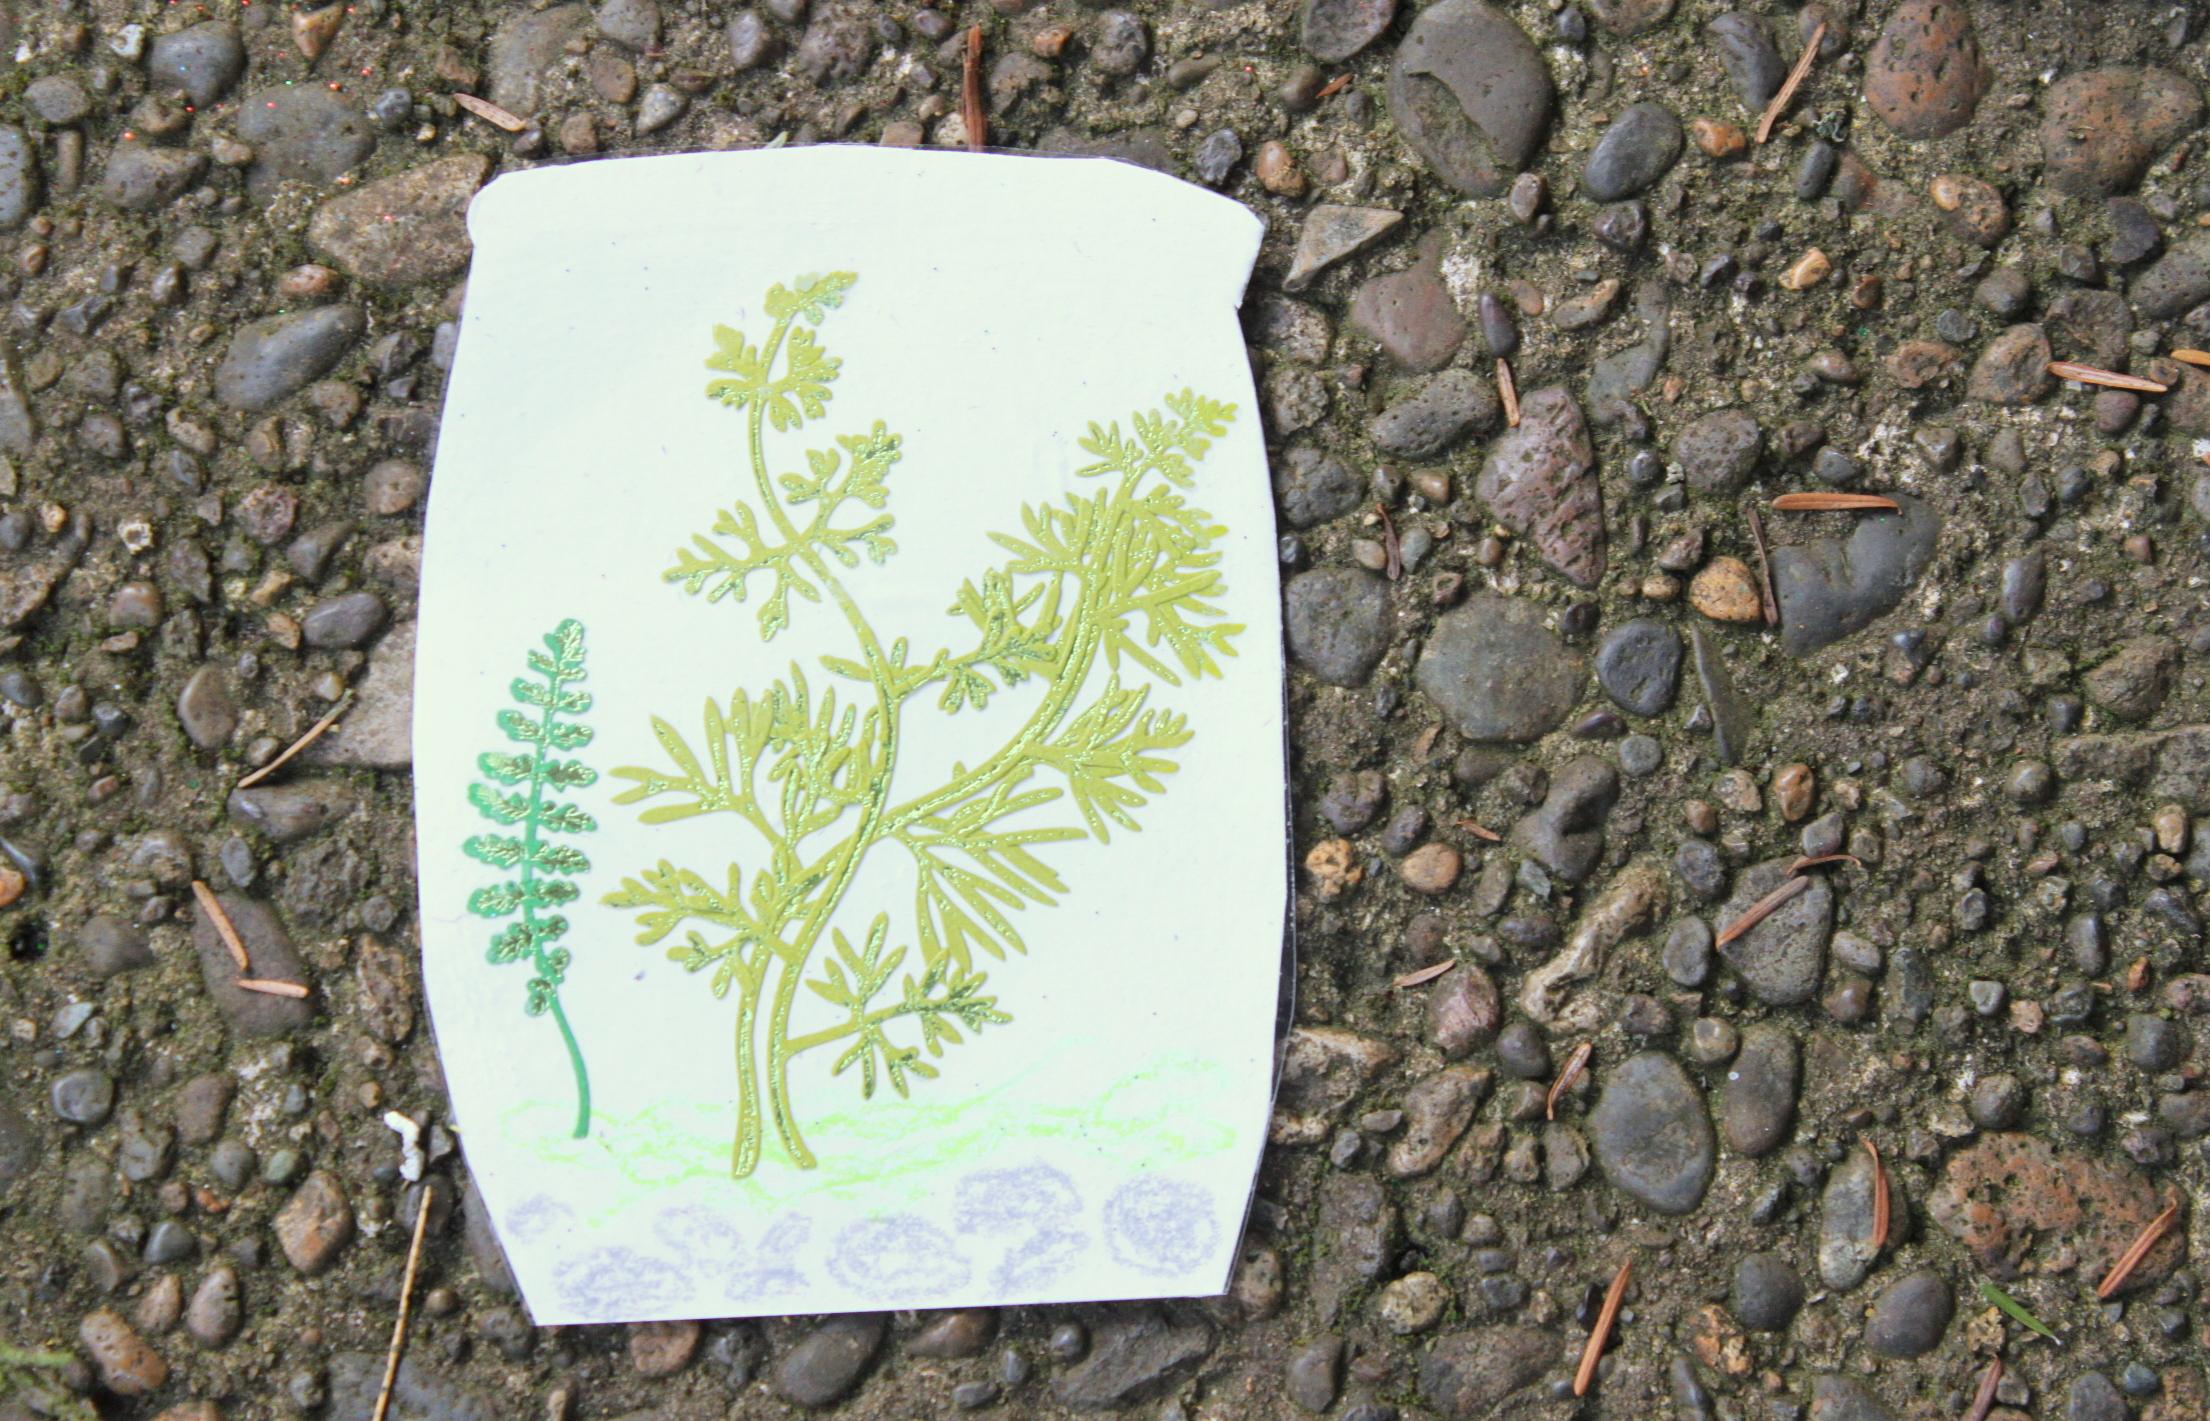
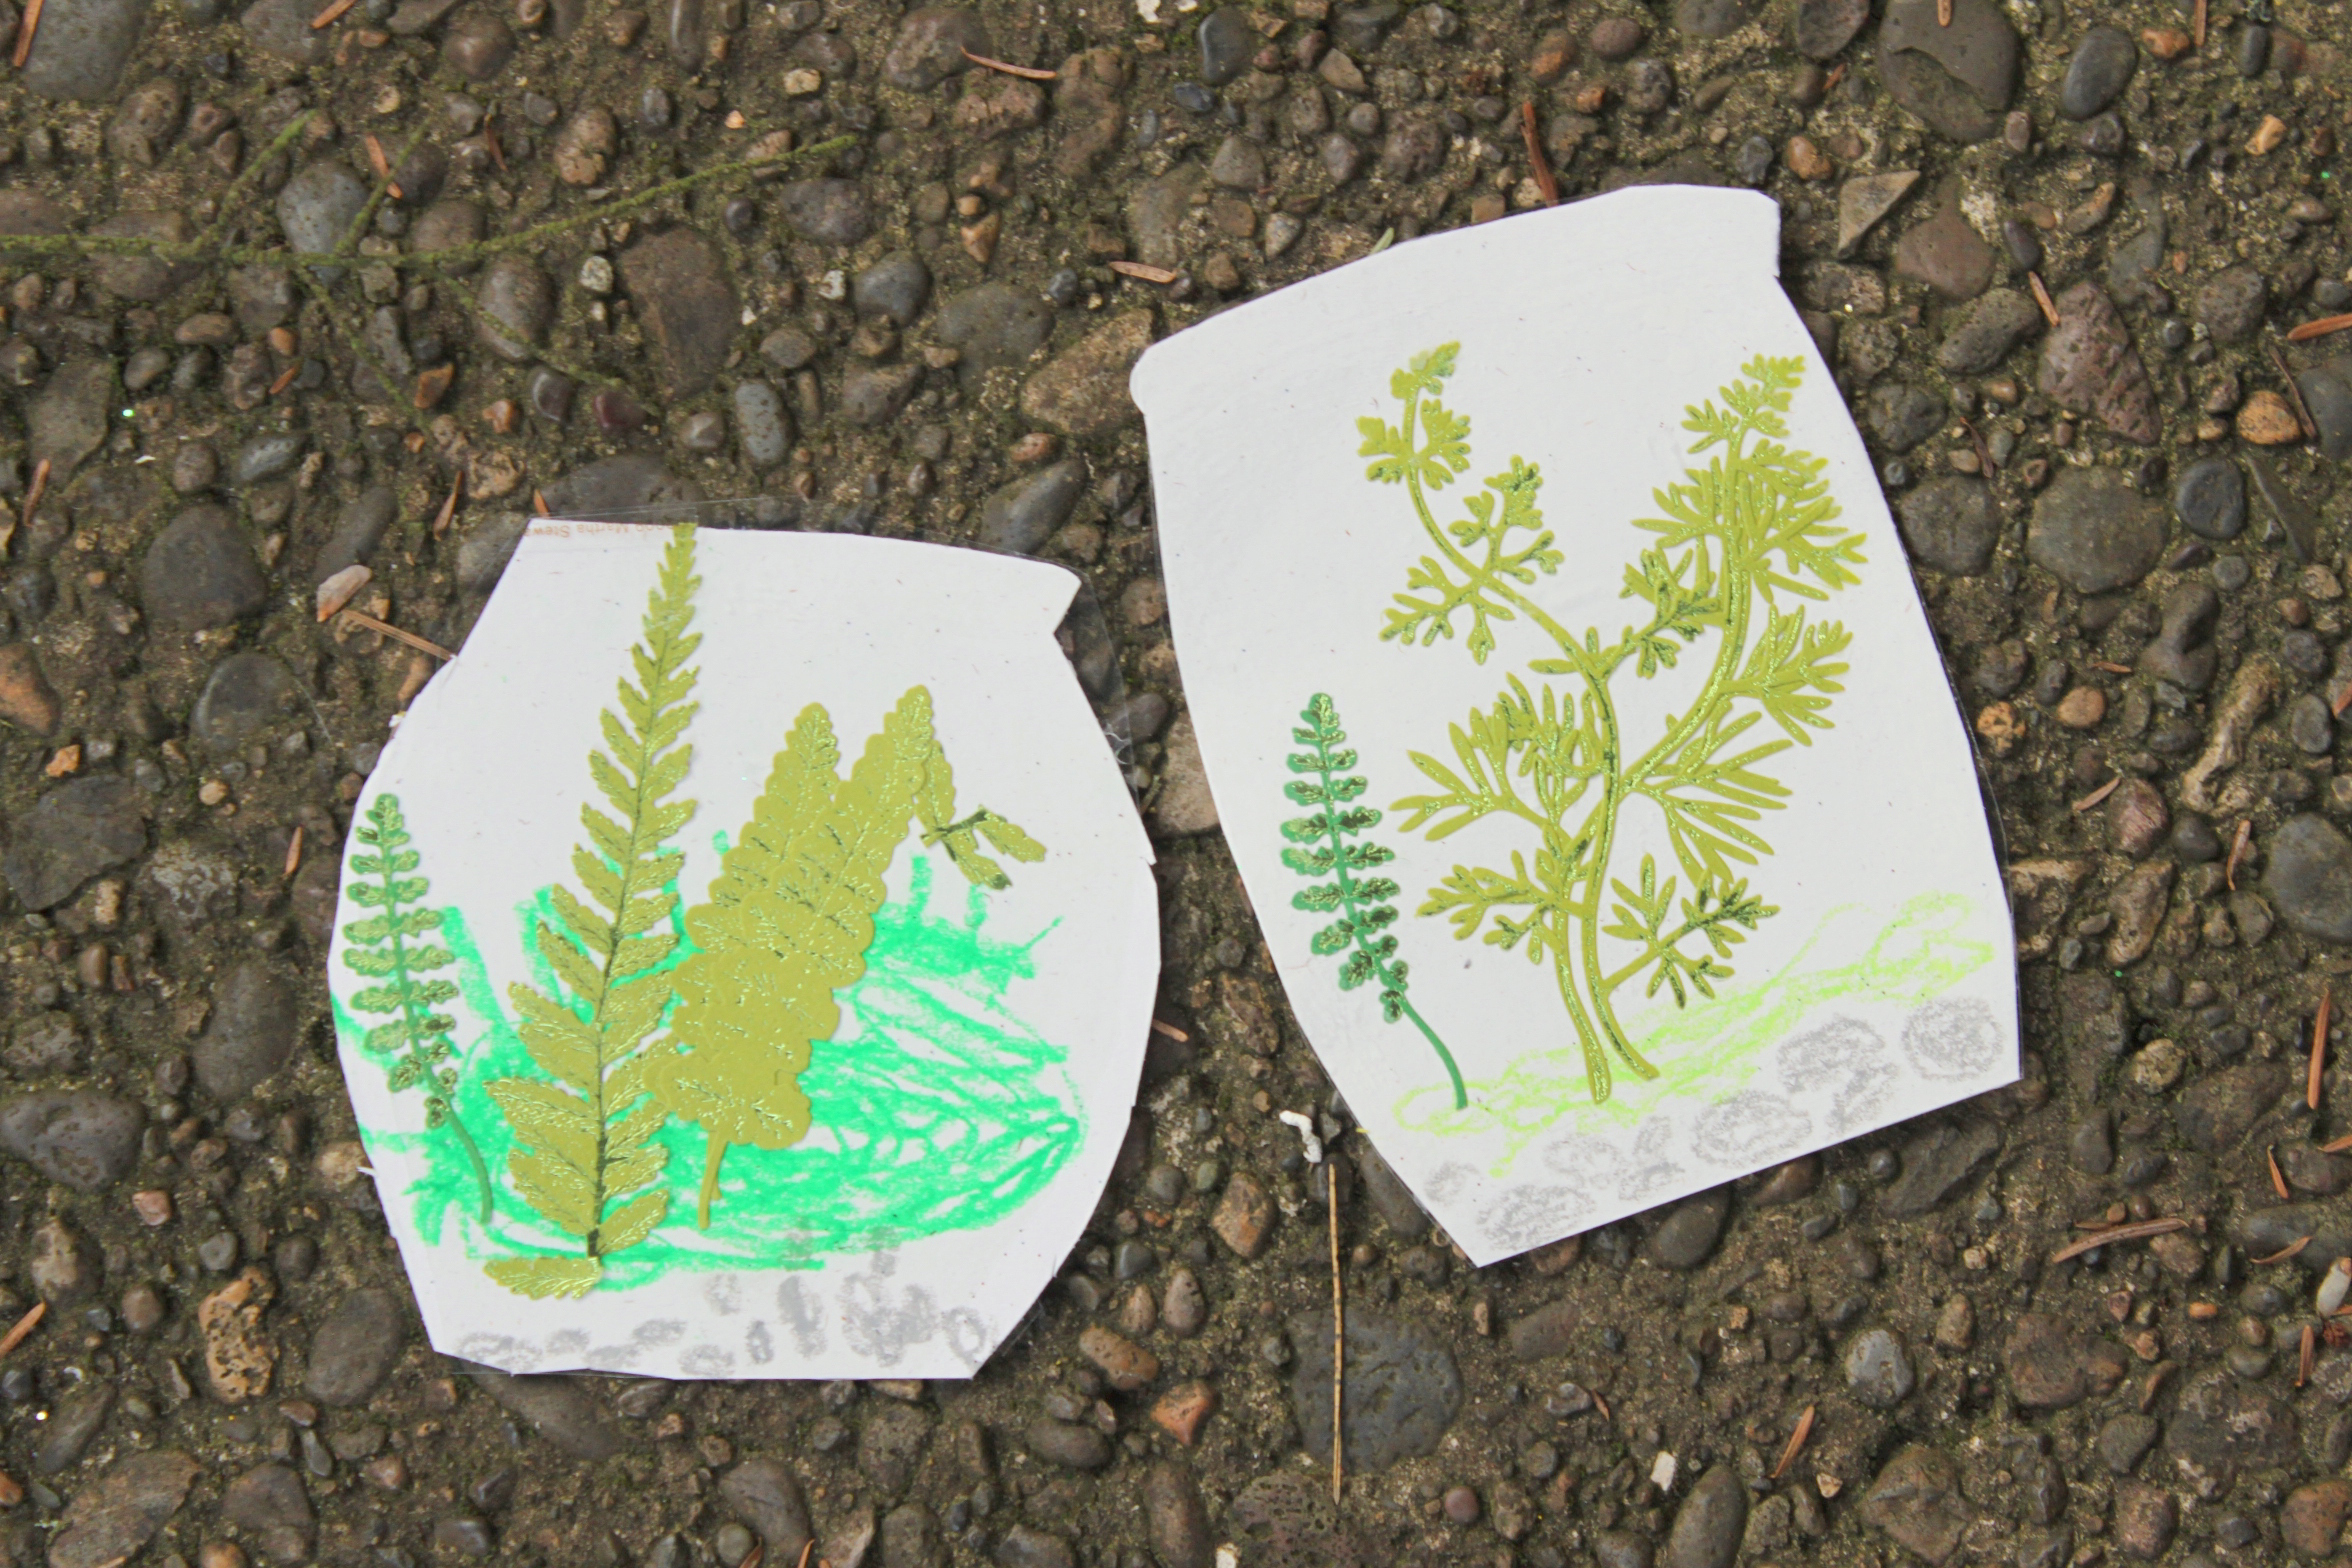
Done!
The cards came out great and the back was the perfect spot to write a note to a friend. It's hard to see in the photo, but the plastic on top makes this card so unique and fun!