Step-by-step tutorial
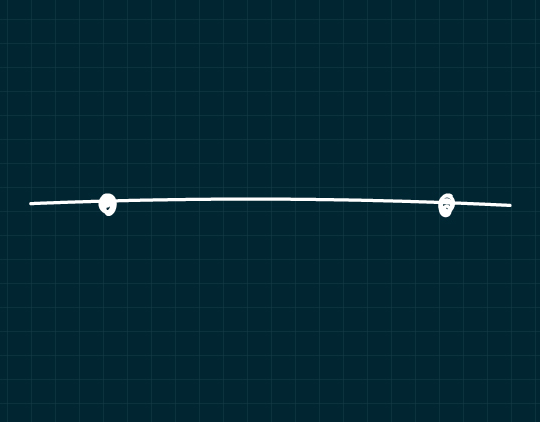
Step 1
Draw a straight line across the paper. This is your horizon line. Then draw two points on the line.

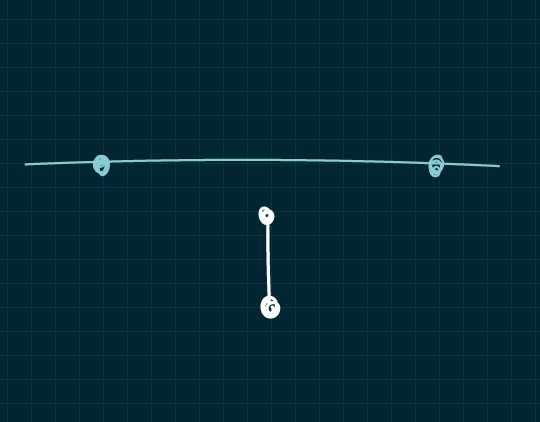
Step 2
Draw another two points somewhere below the horizon line, one above the other. Then draw a line between the two points. This will be the front of your cube.
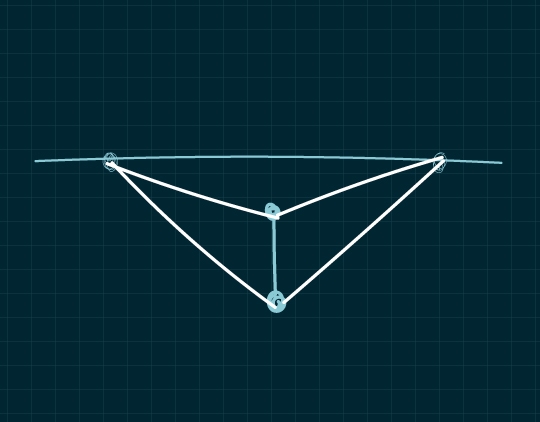
Step 3
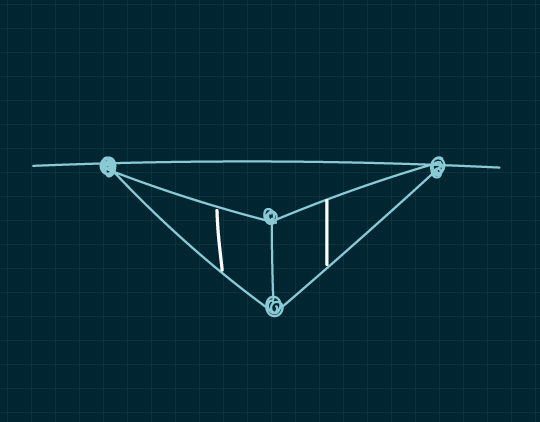
Use a ruler to draw a line from each of the points on the horizon to each of the points on the cube line.
Step 4
Draw two more vertical lines, one on either side of the first cube line. This forms the two sides of the cube.
Step 5
Use a ruler to draw a line from the right-hand side of the cube over to the left-hand horizon dot. Draw another line from the left-hand side of the cube to the right-hand horizon dot.
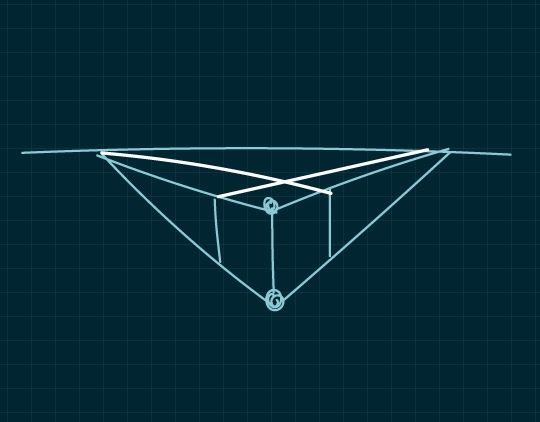
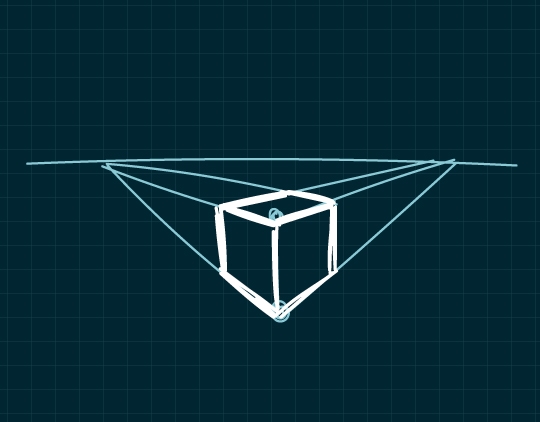
Done!
Draw over the cube lines to darken. If you want, you can then erase the guidelines you drew.