Step-by-step tutorial
Step 1
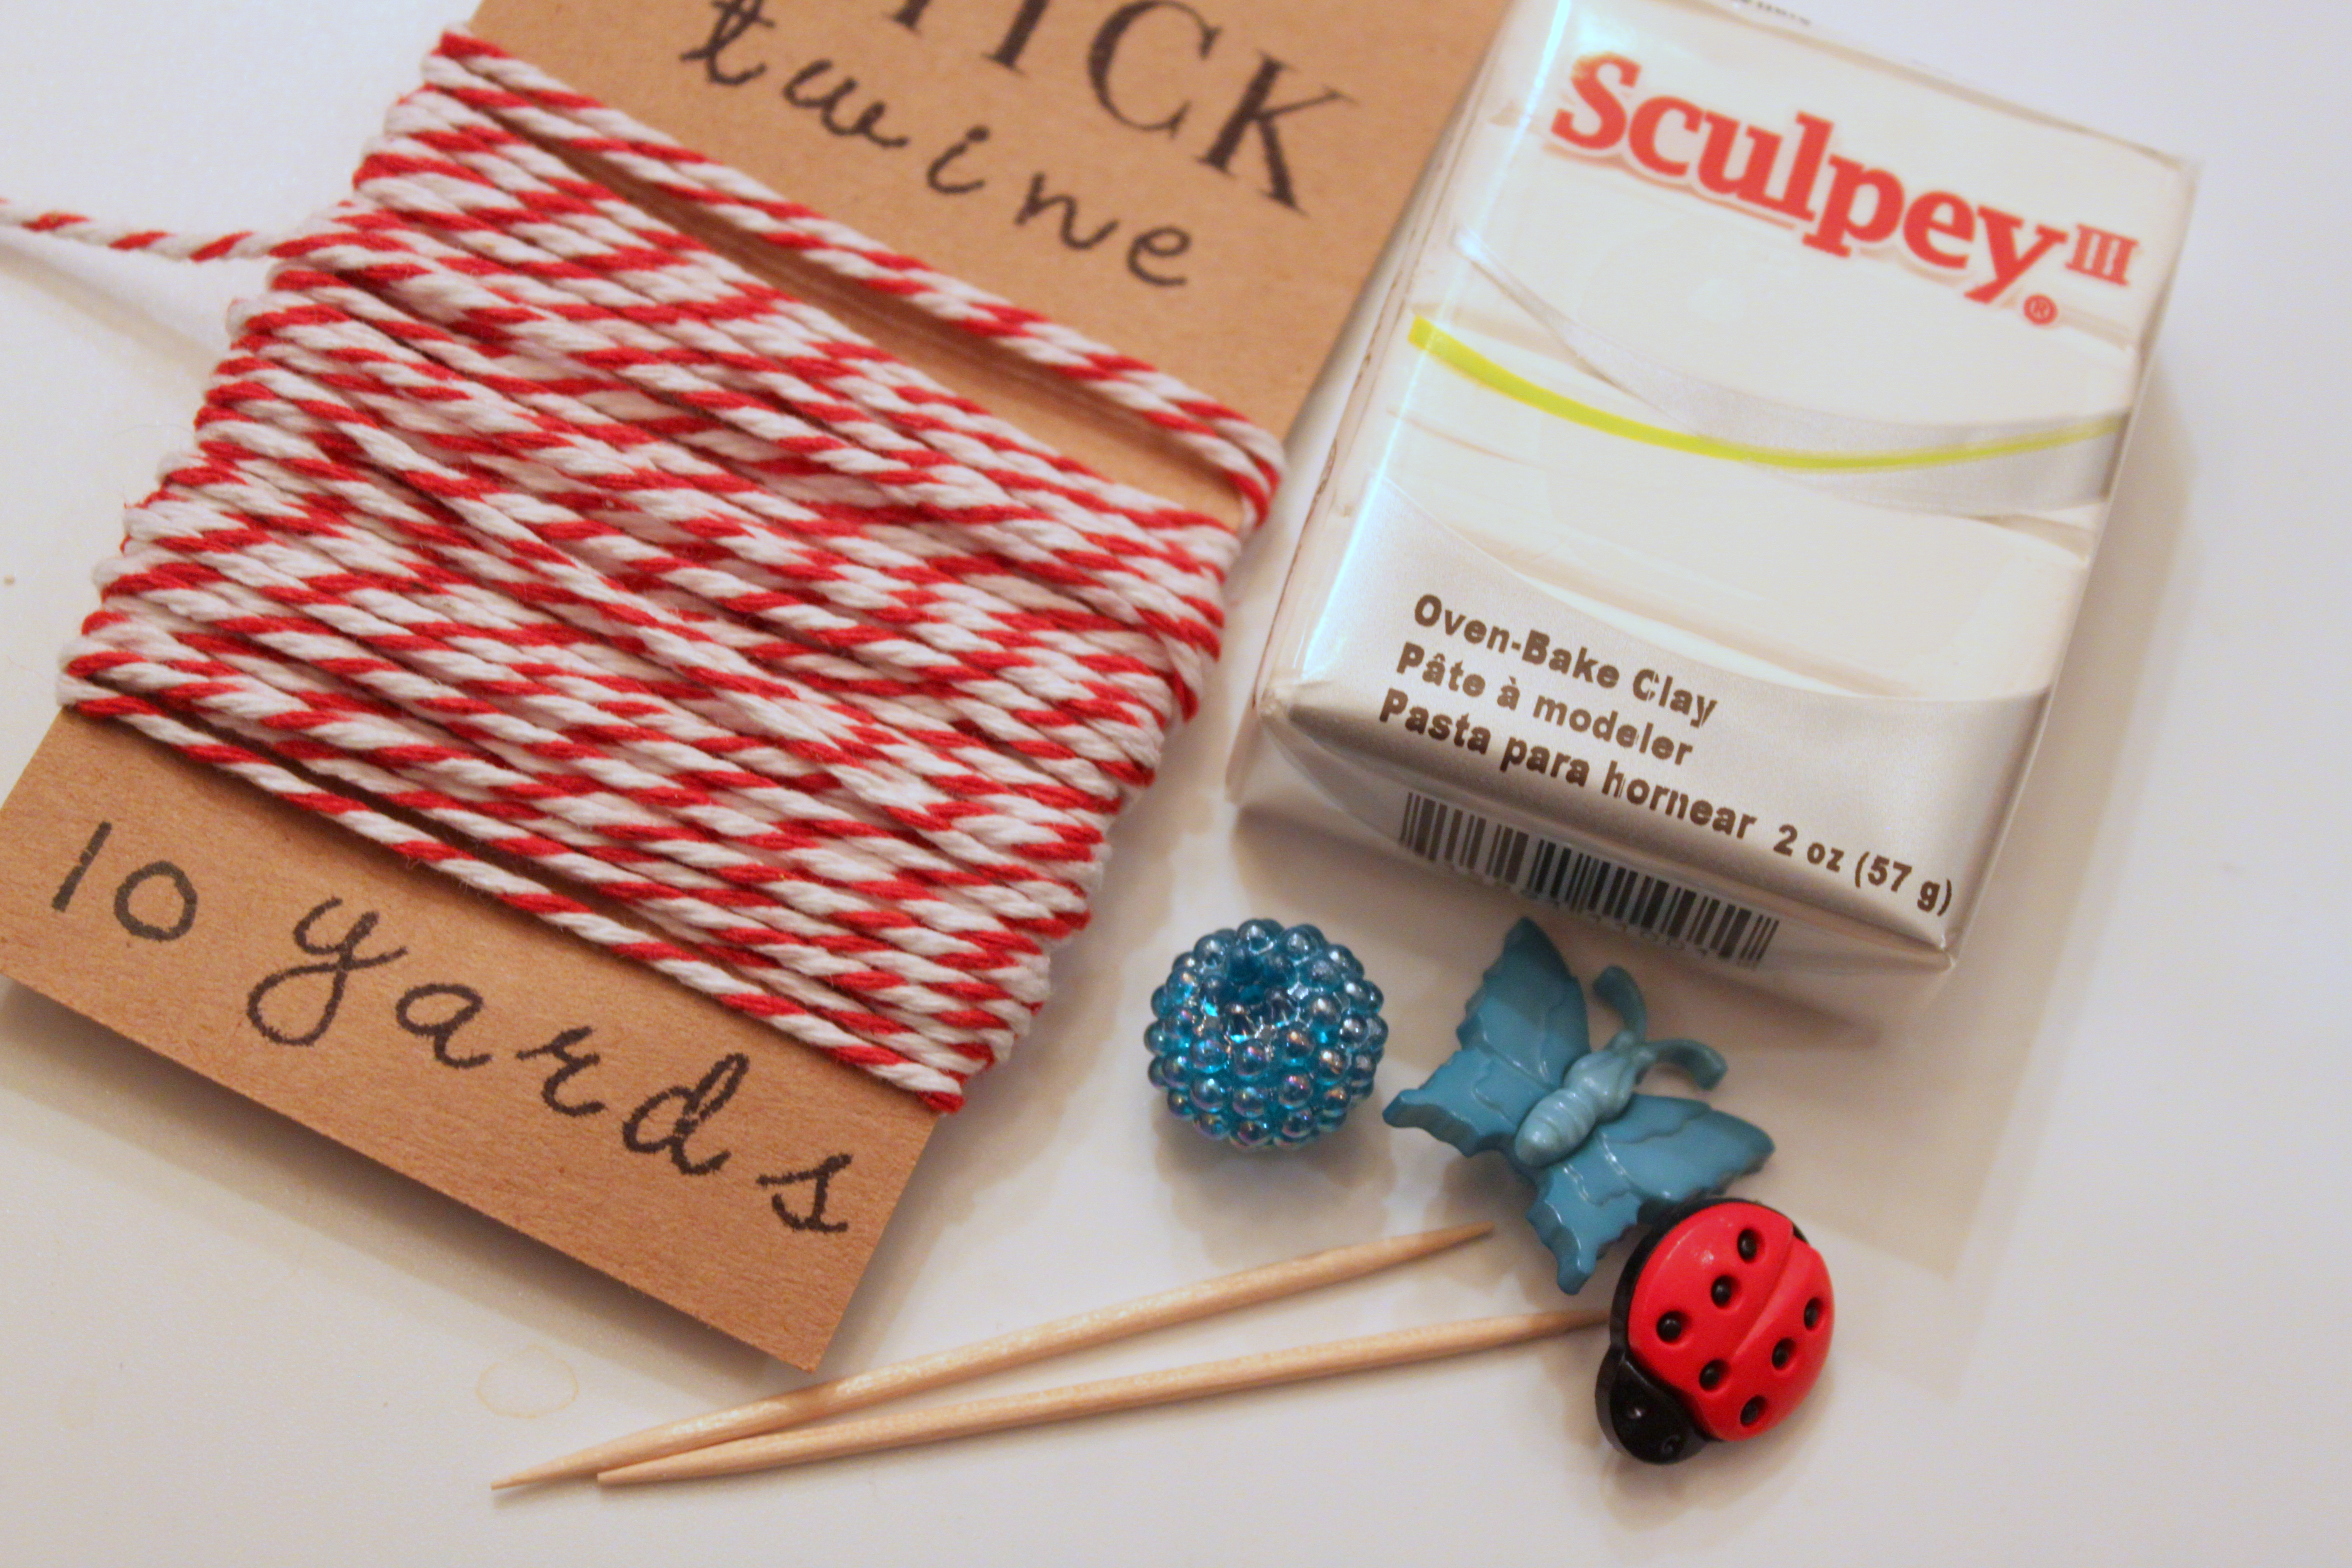
To start, I worked the clay a little bit to soften it up for the kids.

Step 2
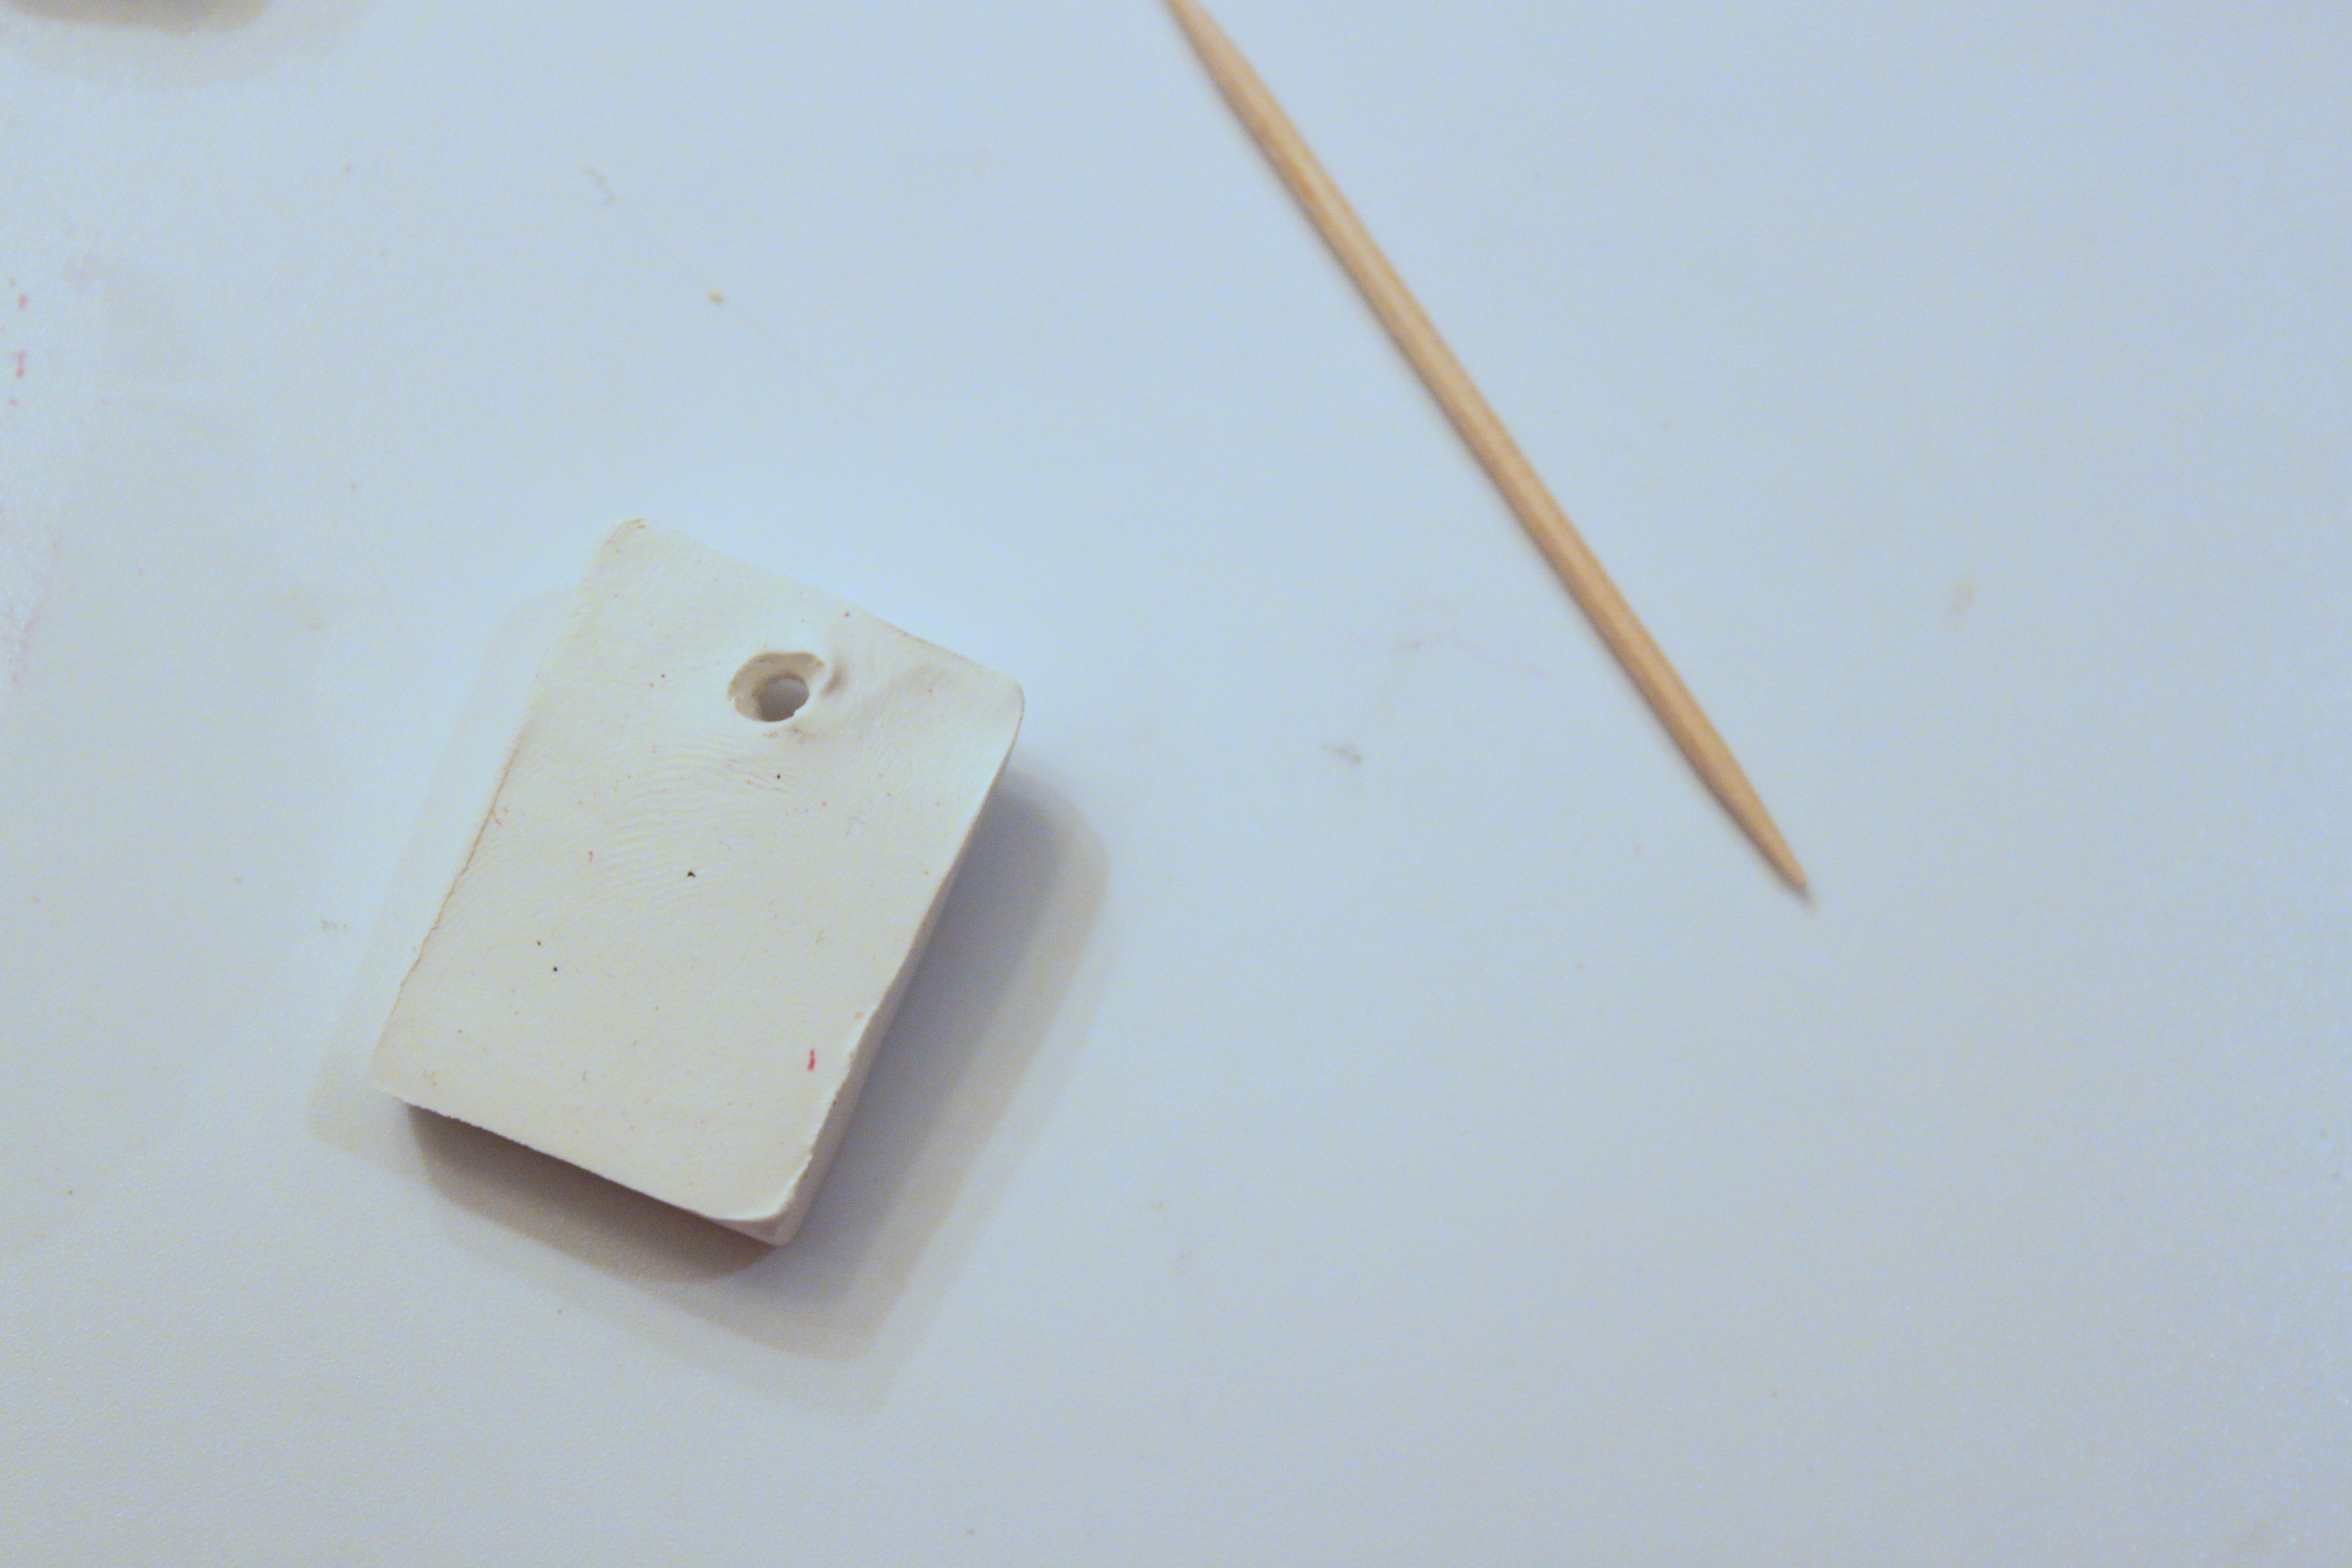
Emma rolled out her clay and used a butter knife to cut the square shapes. Small cookie cutters would work well, too. A toothpick is perfect to make the hole for the twine.
Step 3
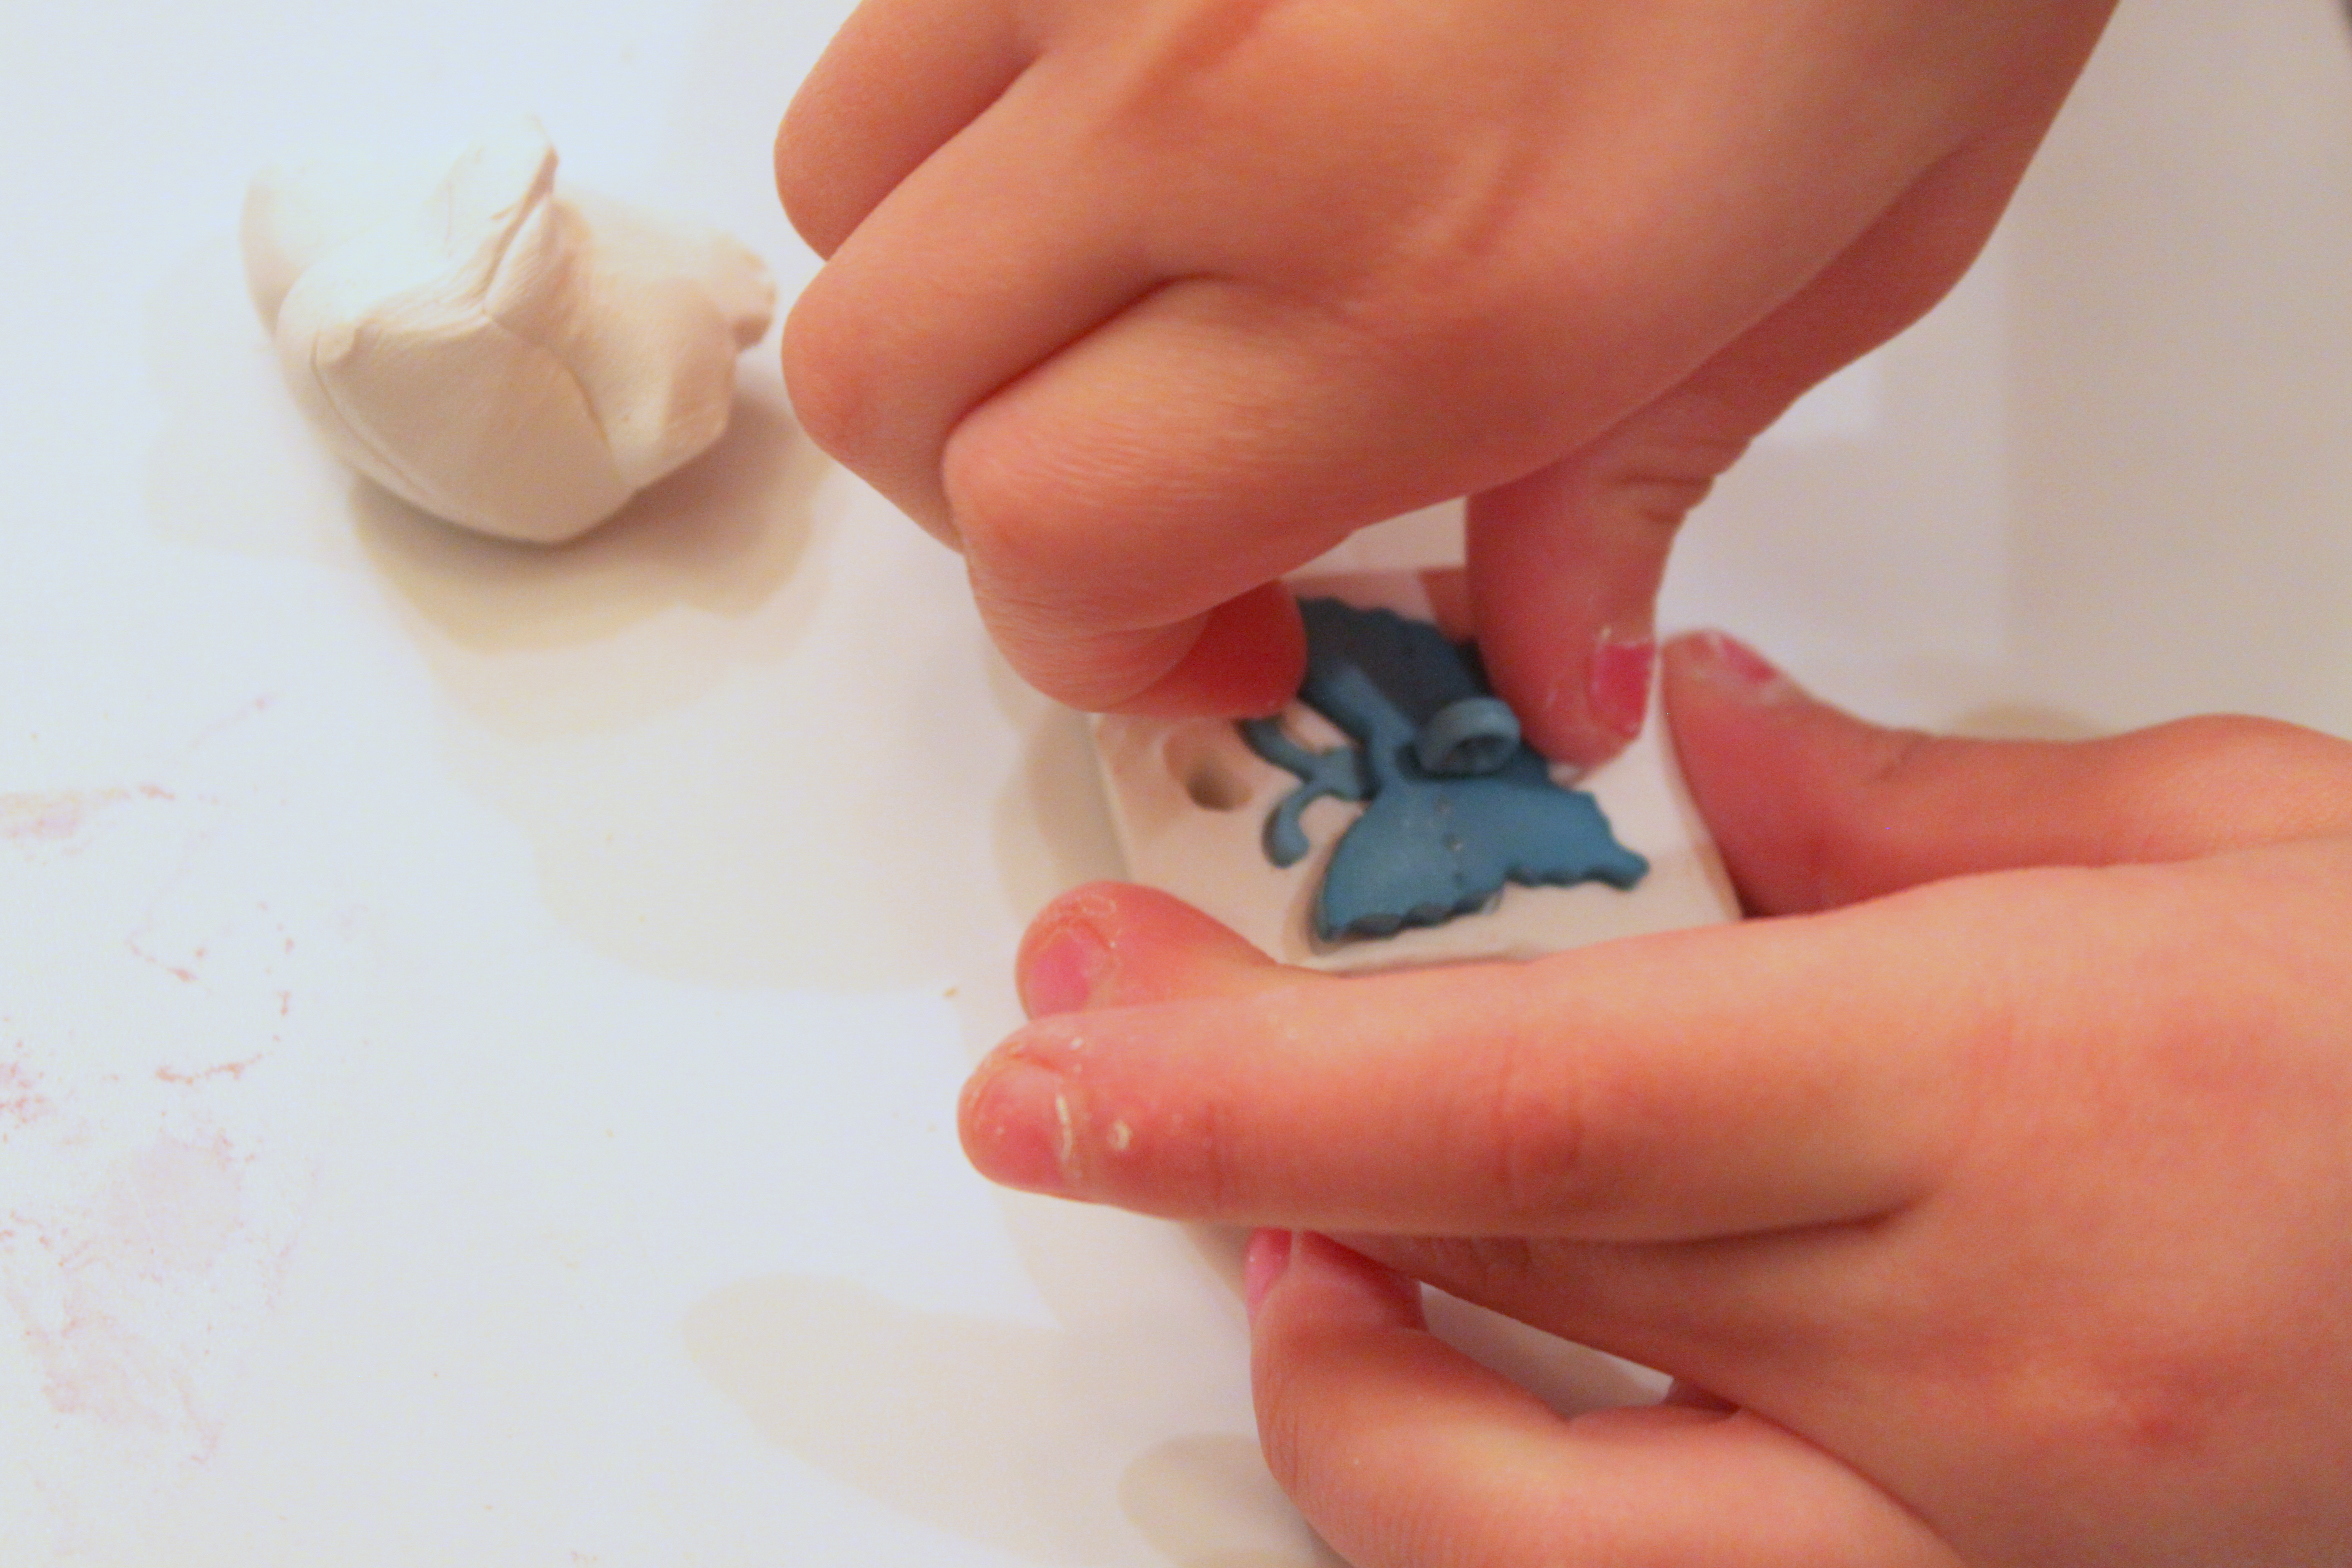
Emma used buttons to make prints on her charms. This butterfly button was perfect for this.
Step 4
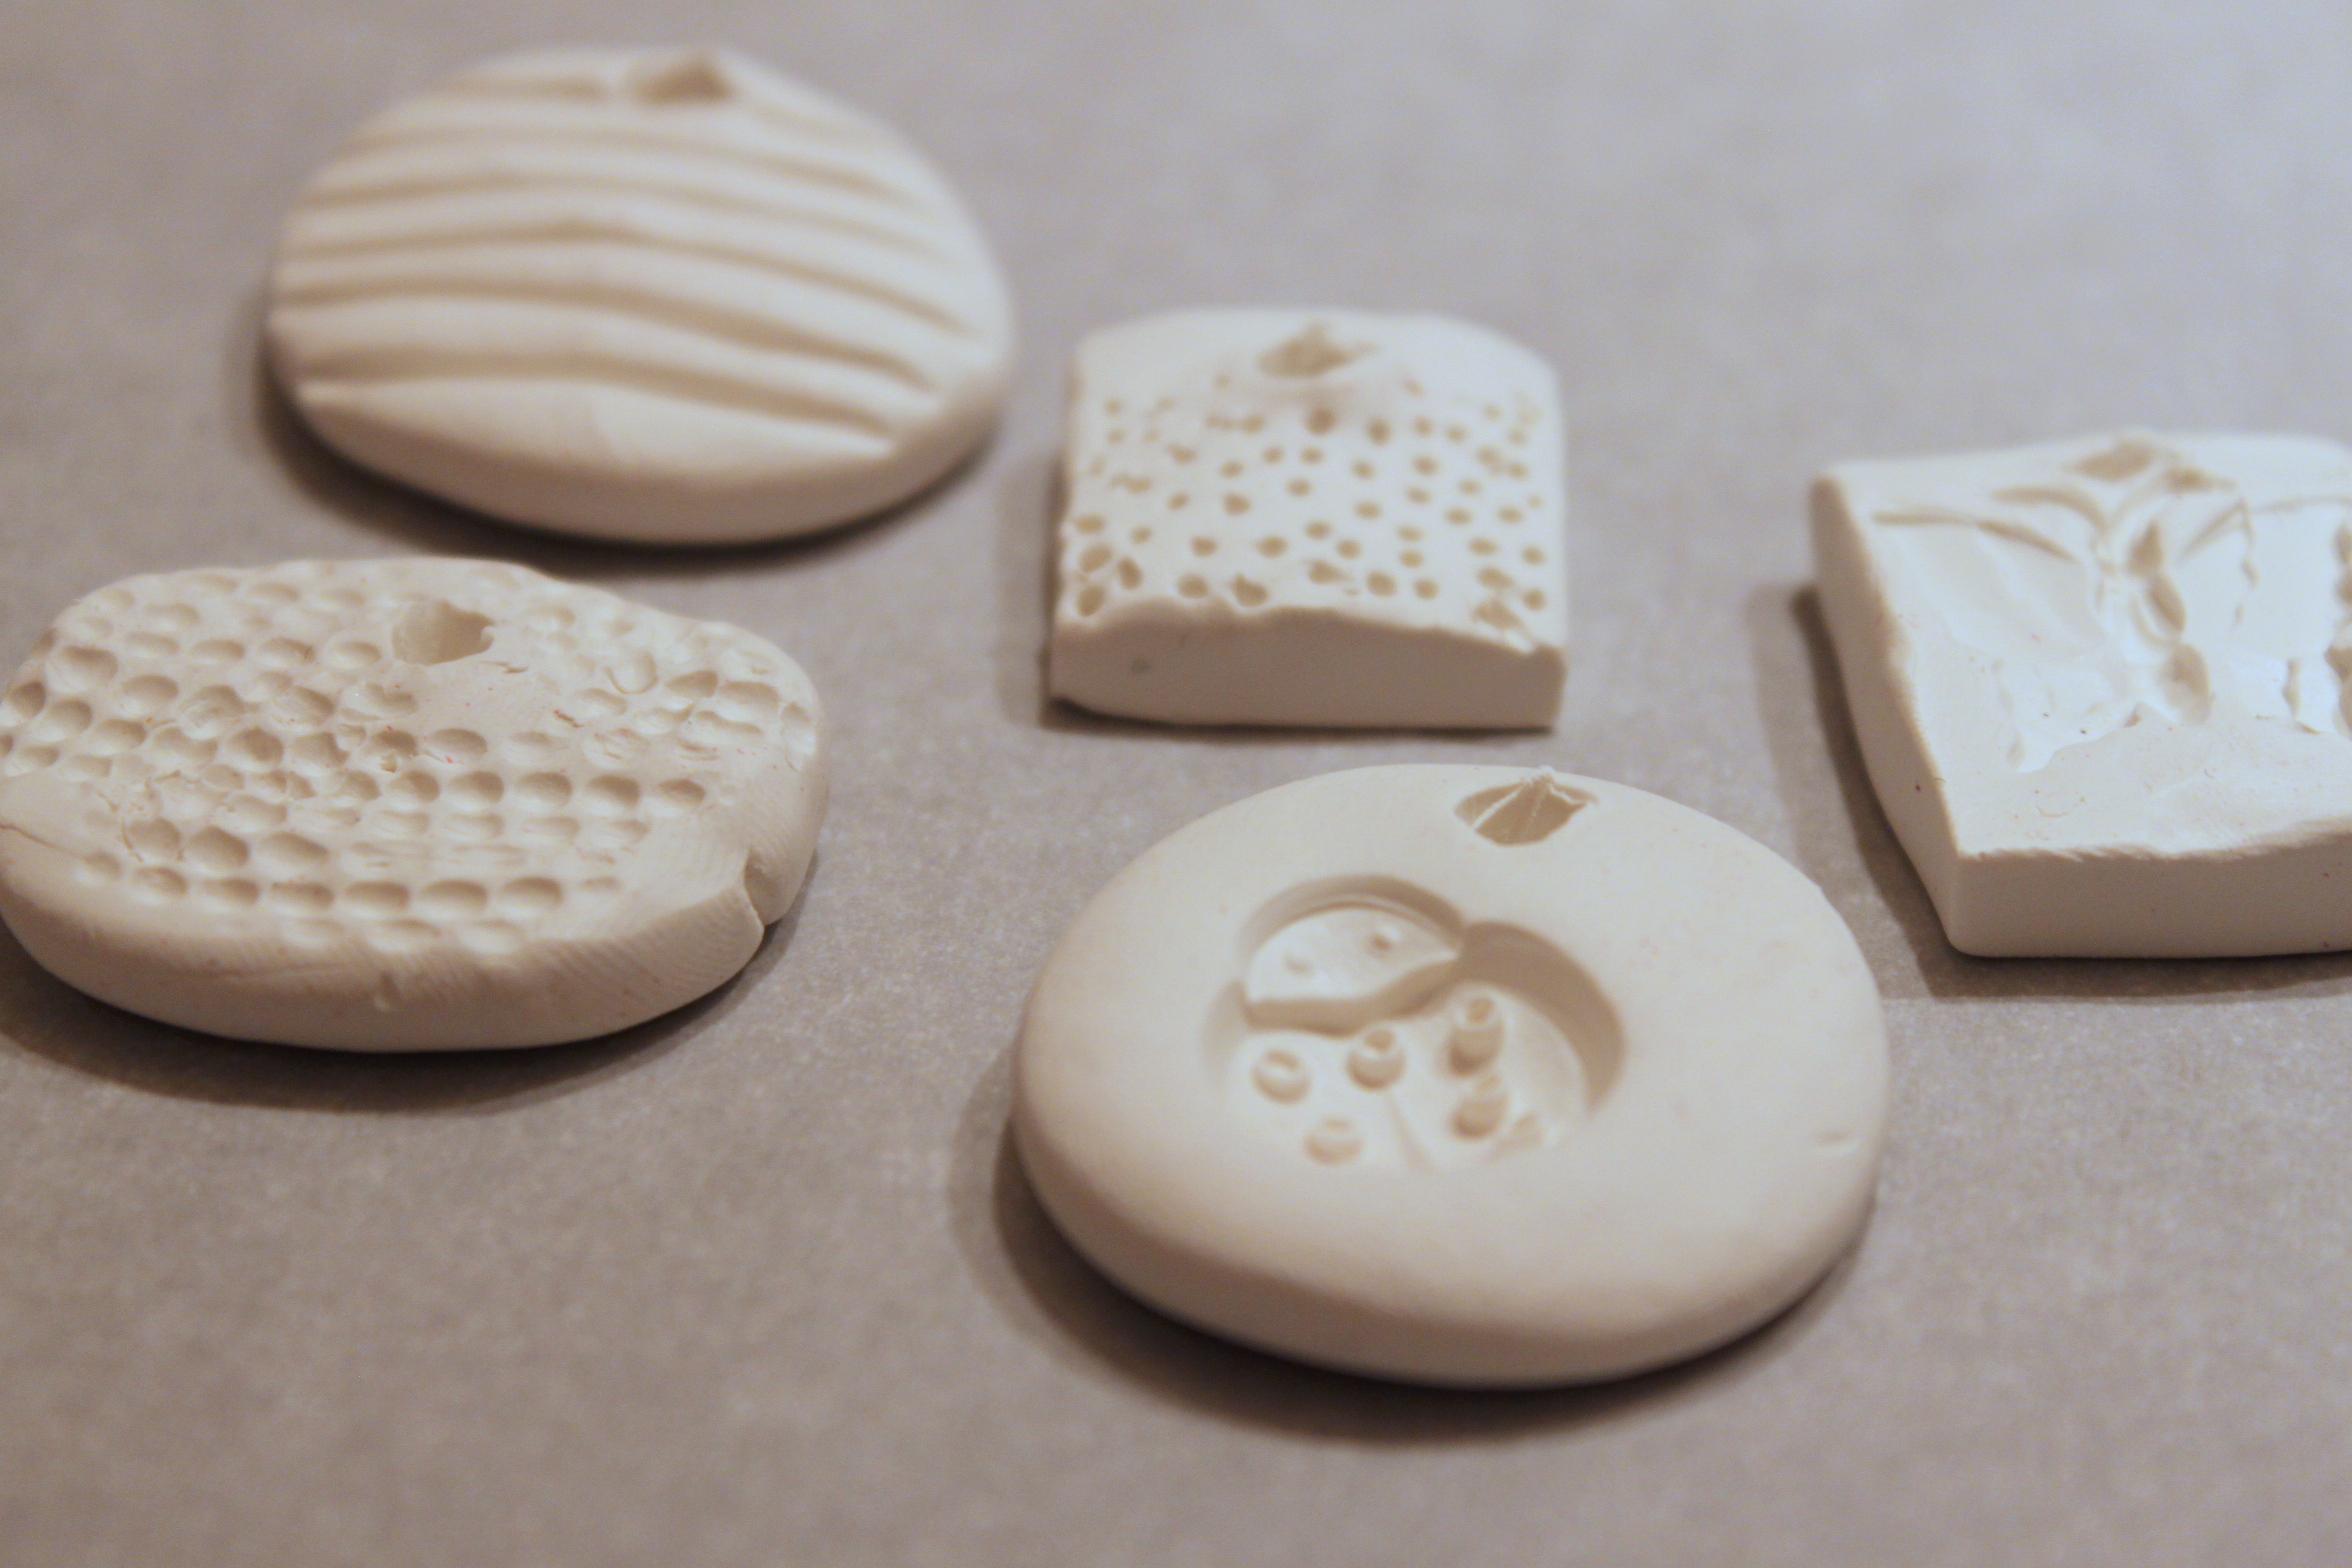
When they were all finished we followed our clay directions for cooking. We placed all the charms on a parchment lined baking sheet and baked them at 275 degrees for about 20 minutes.
Step 5
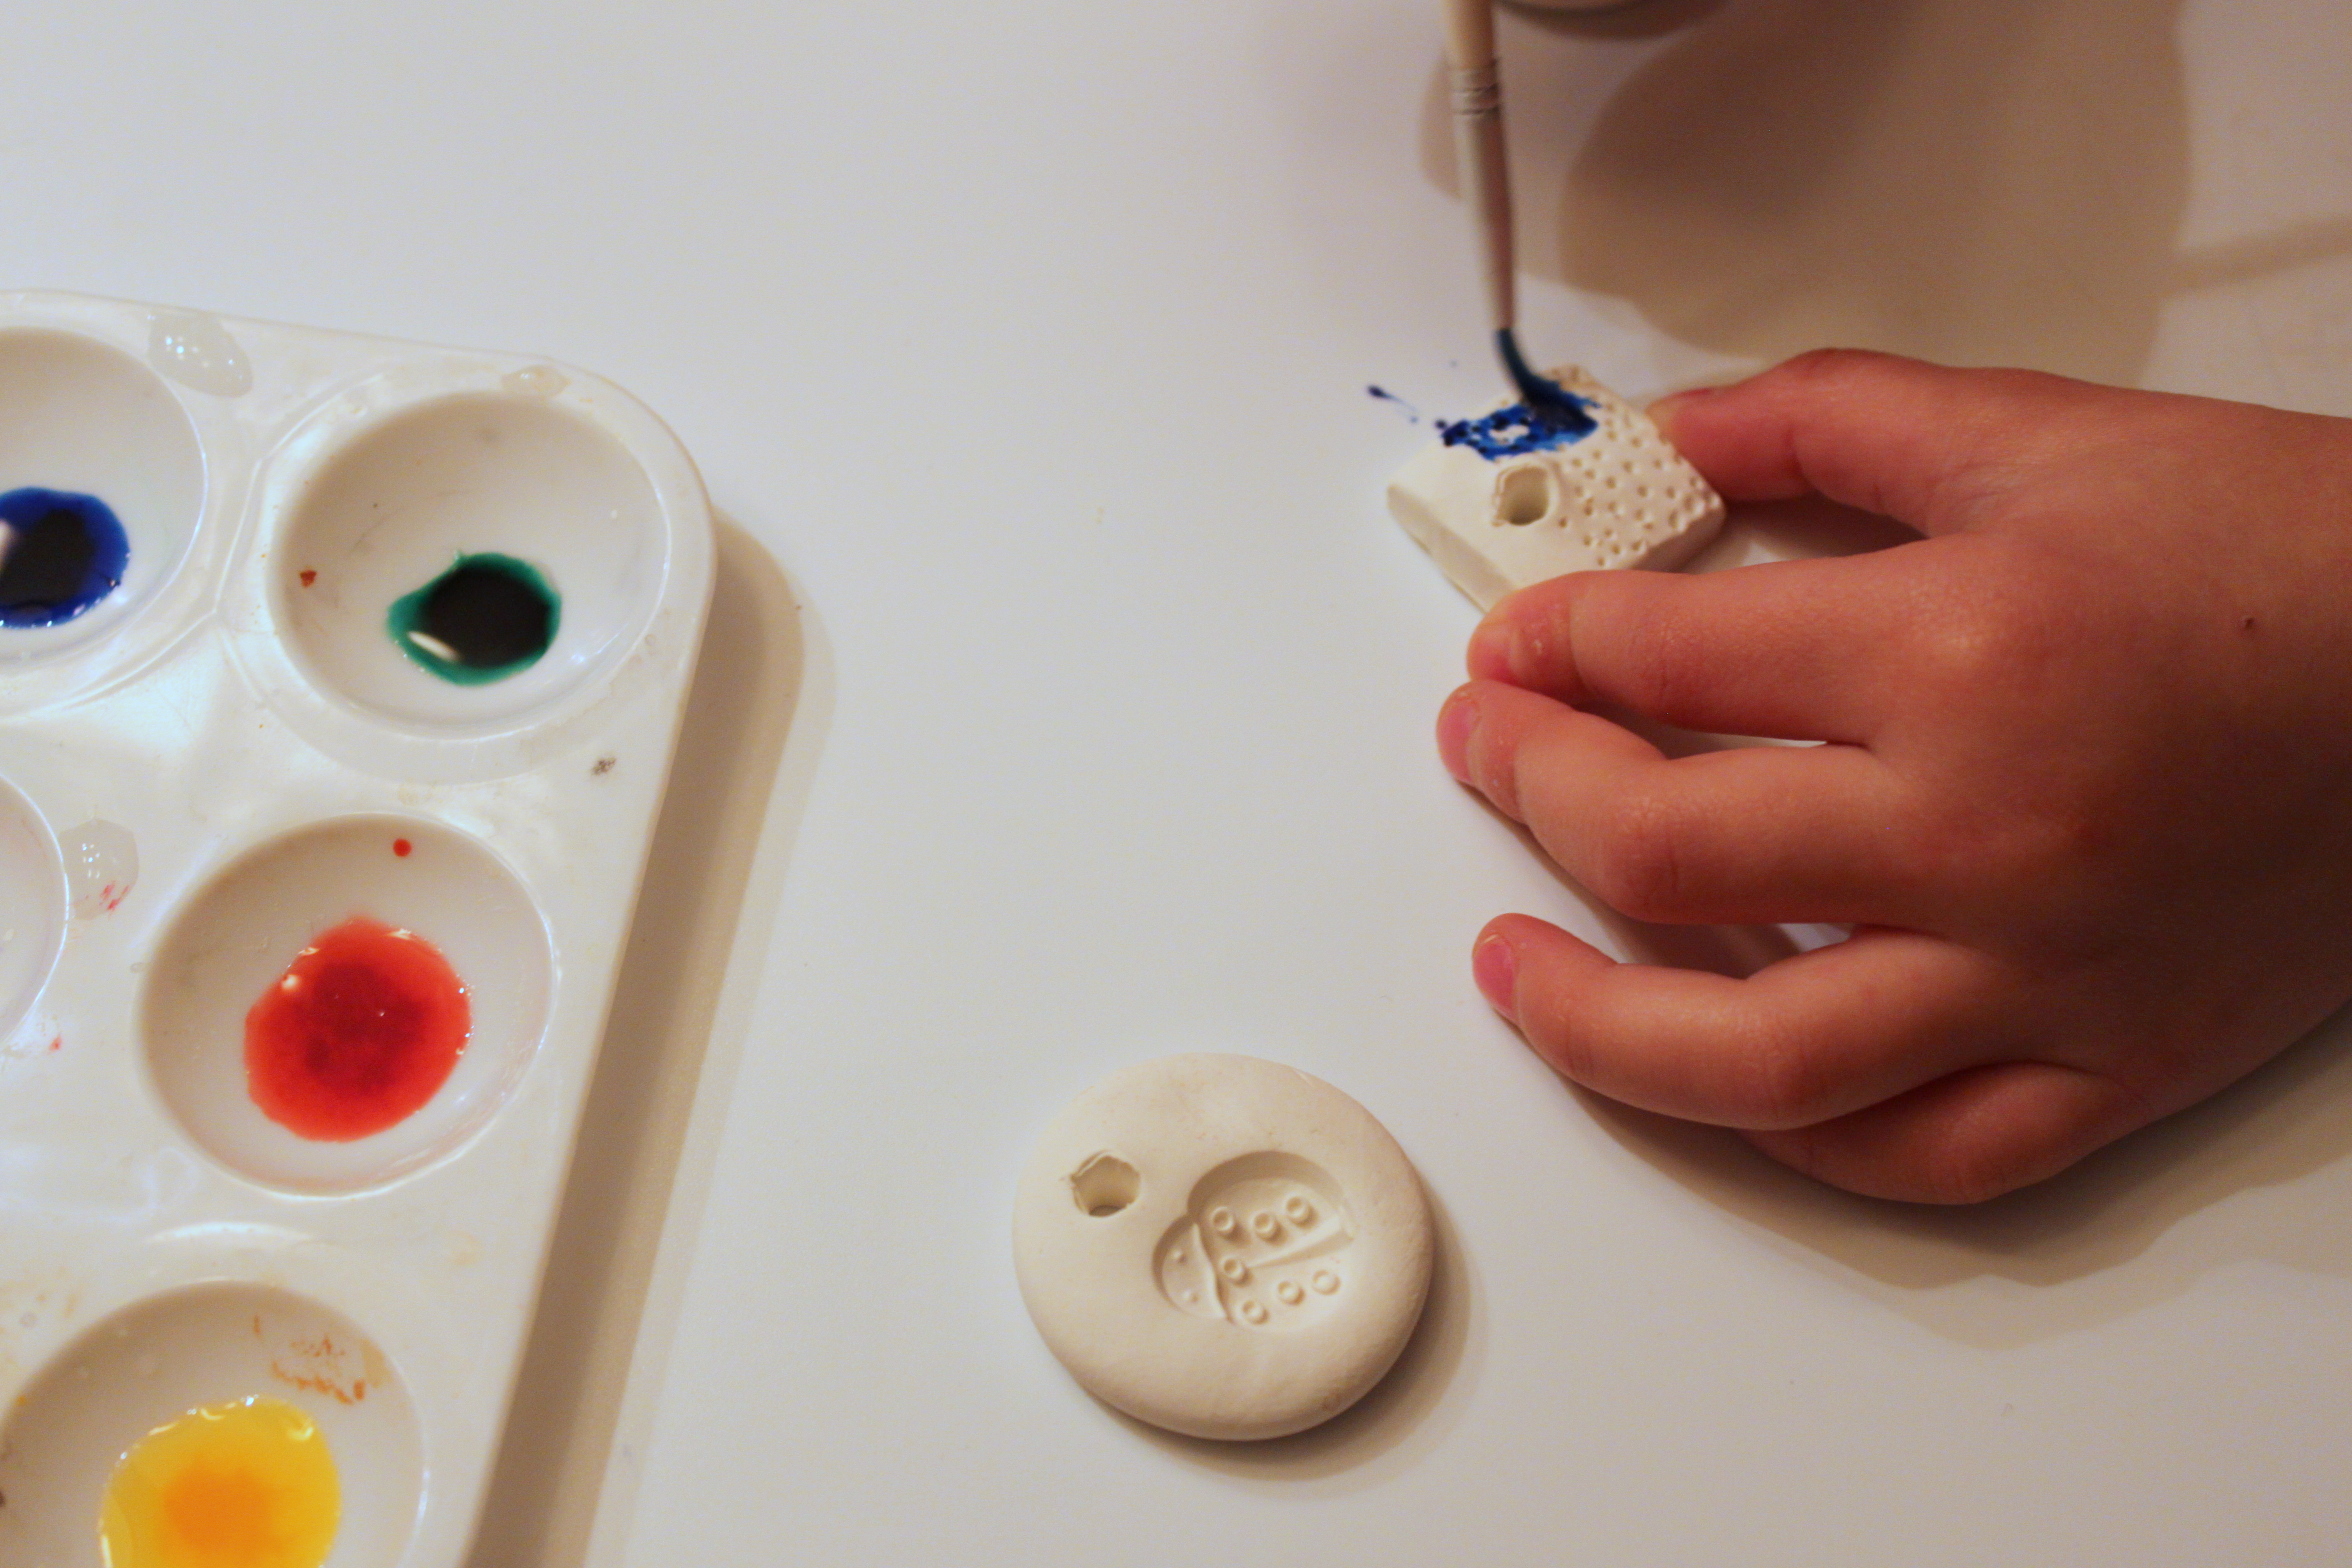
Once they were done and cooled Emma got to painting. She was very excited to see her charms had hardened and could be worn now.
Step 6
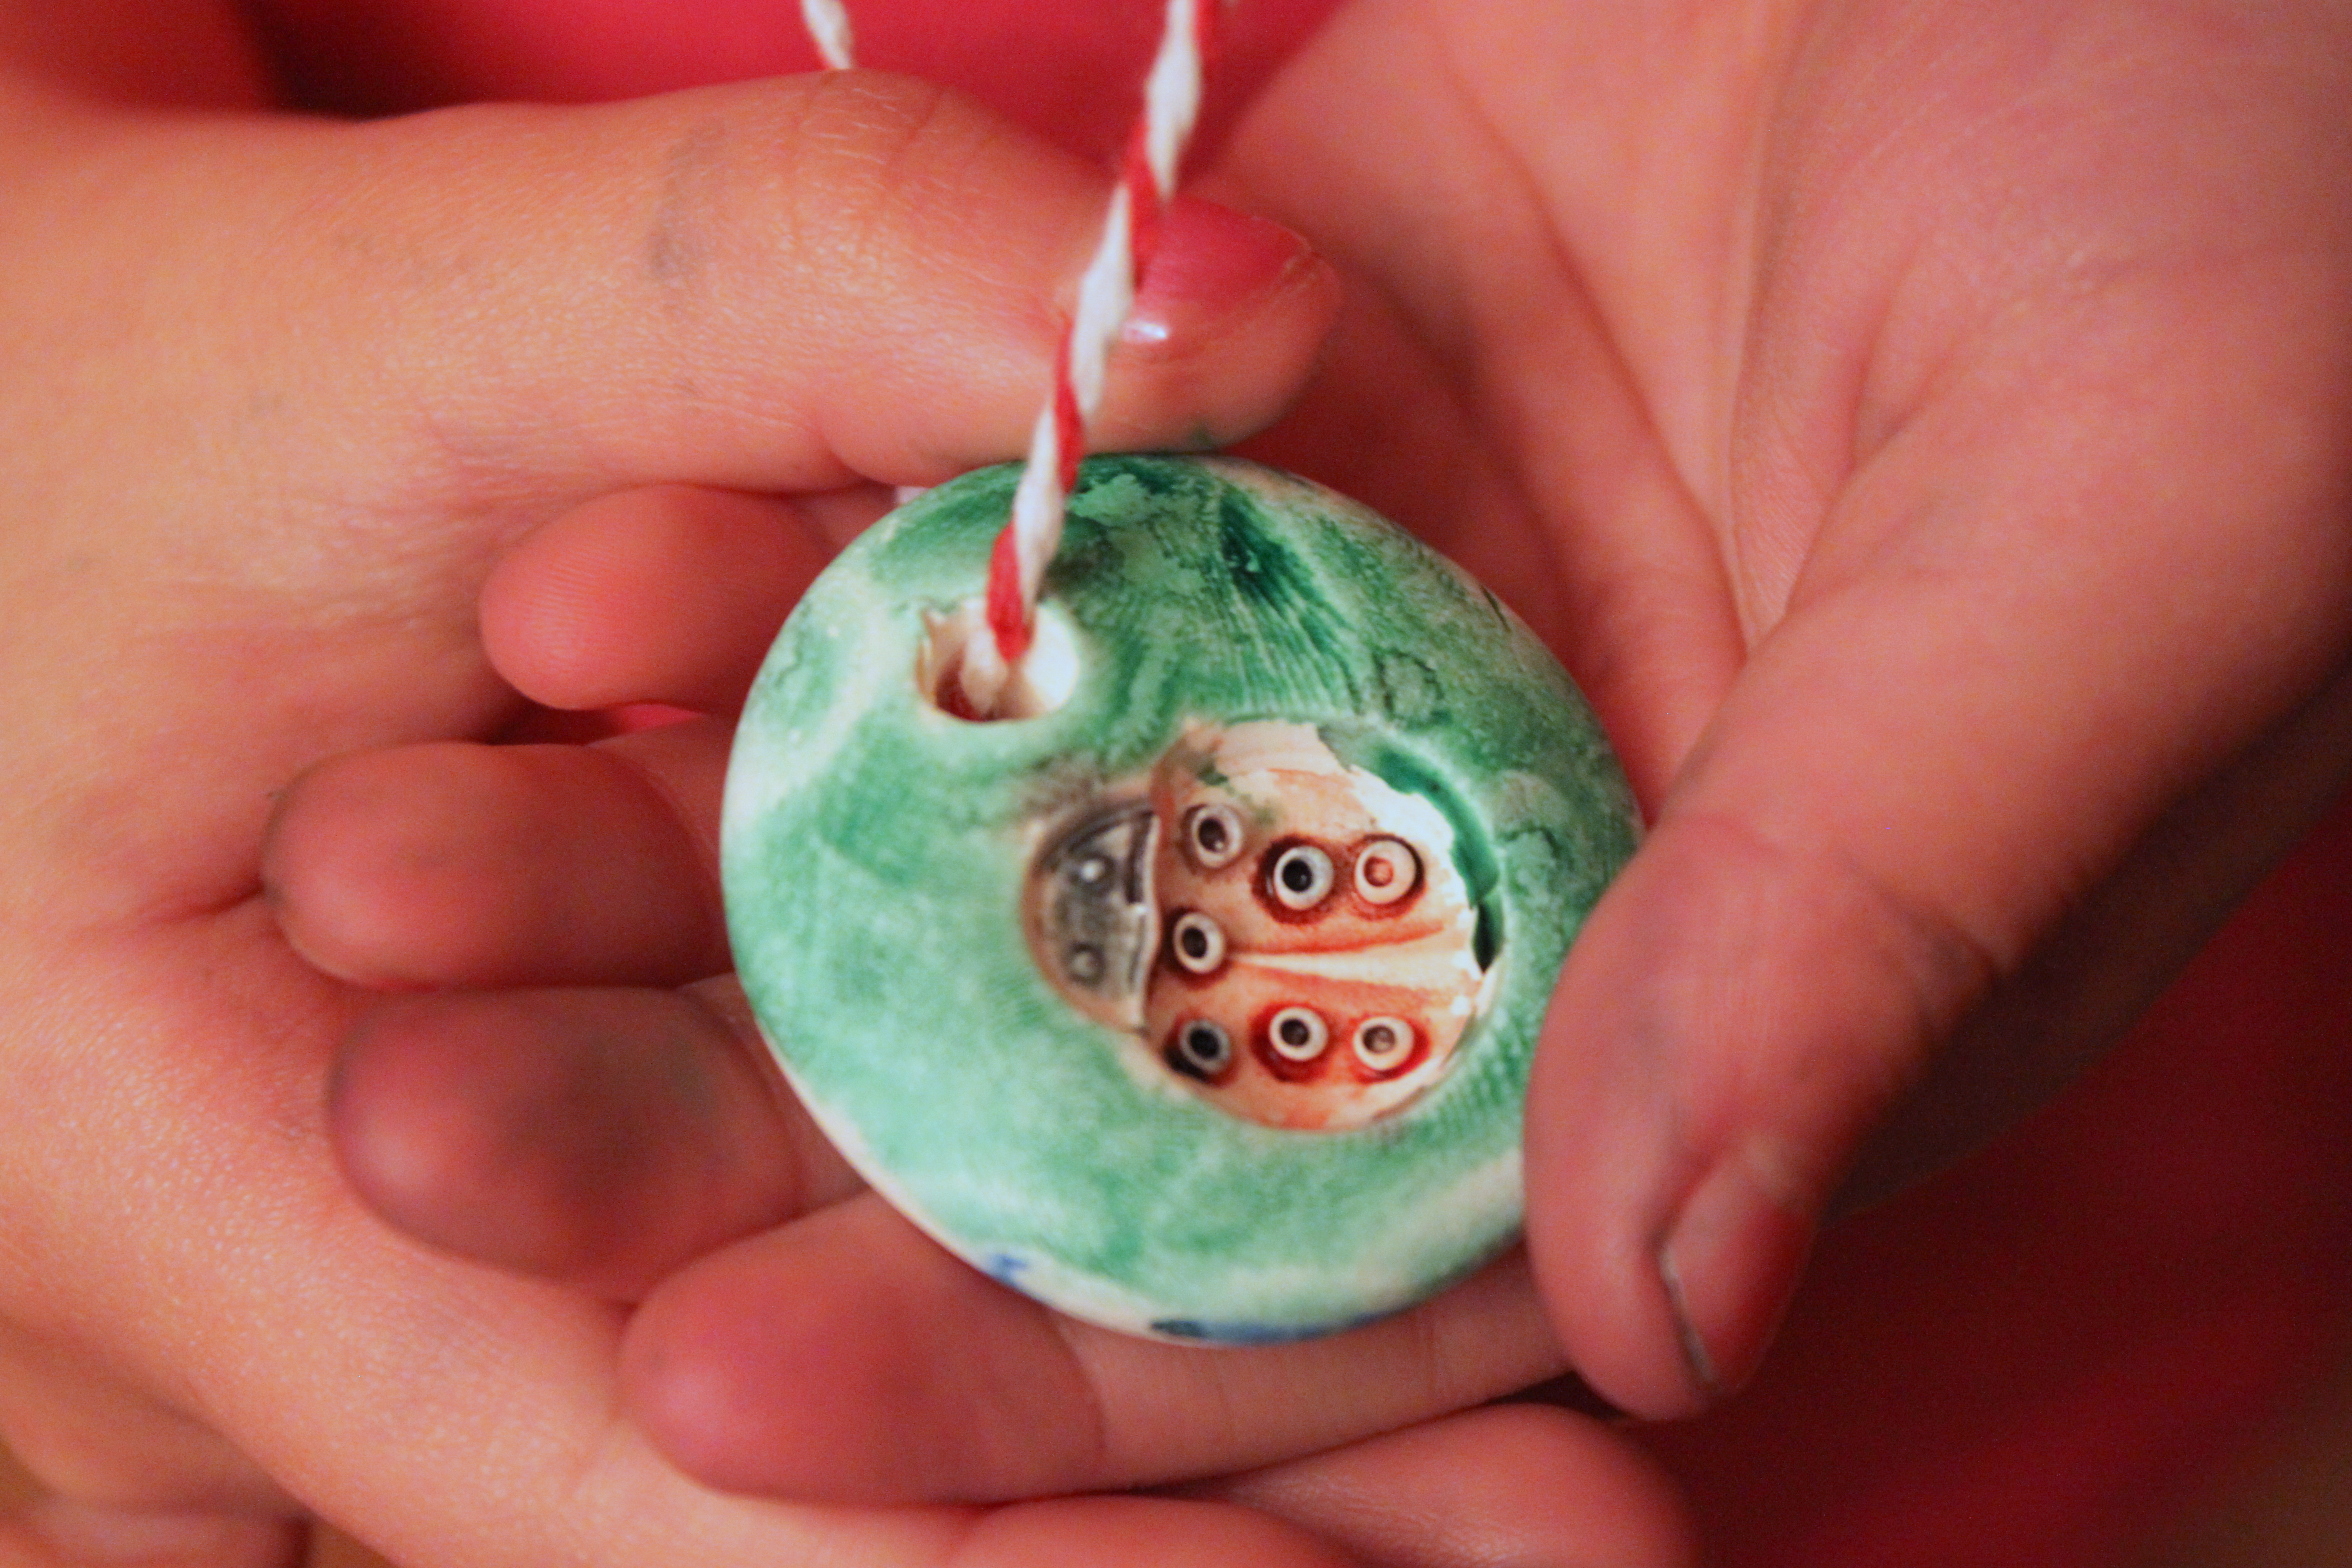
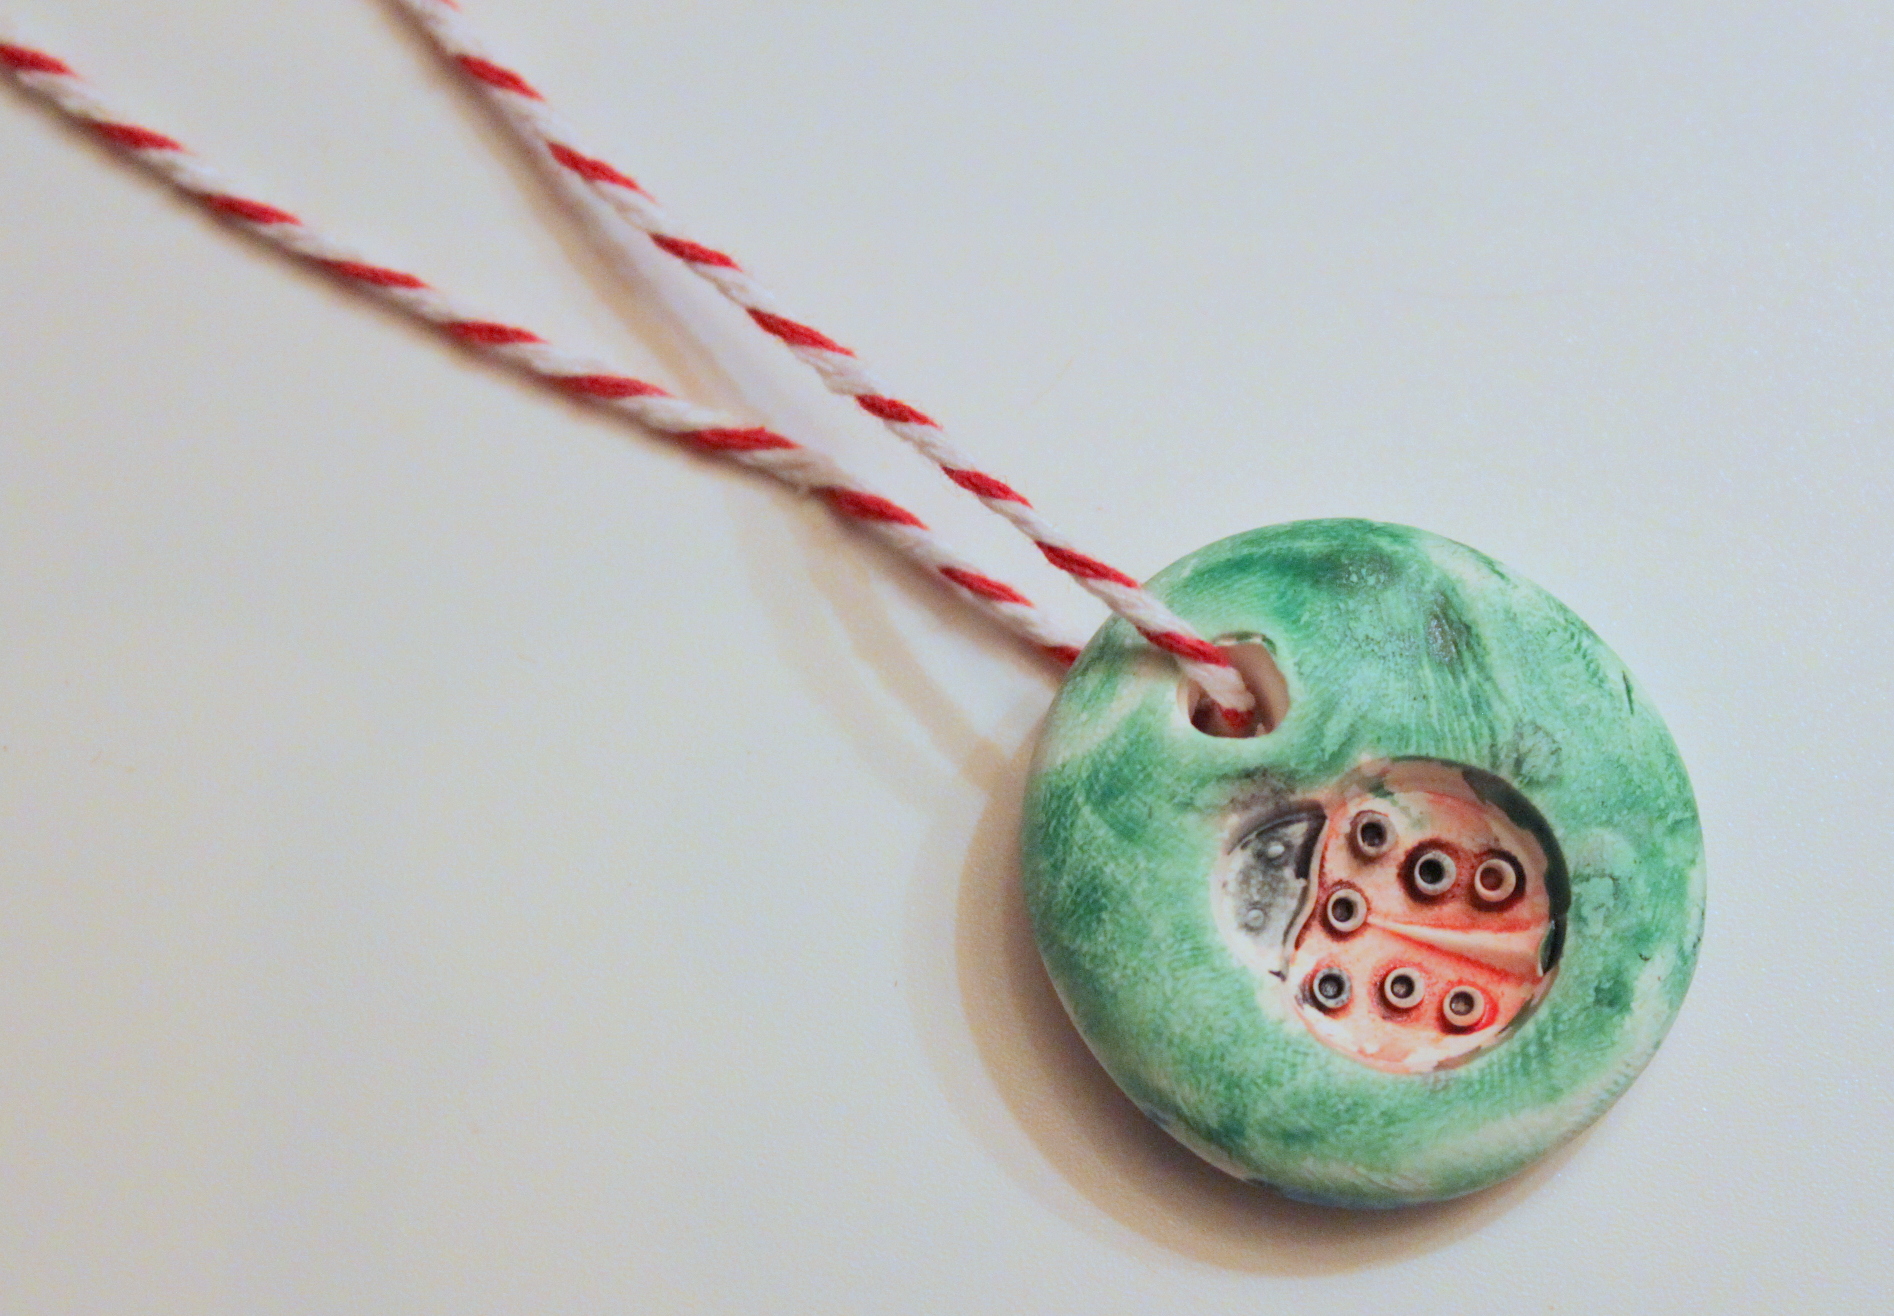
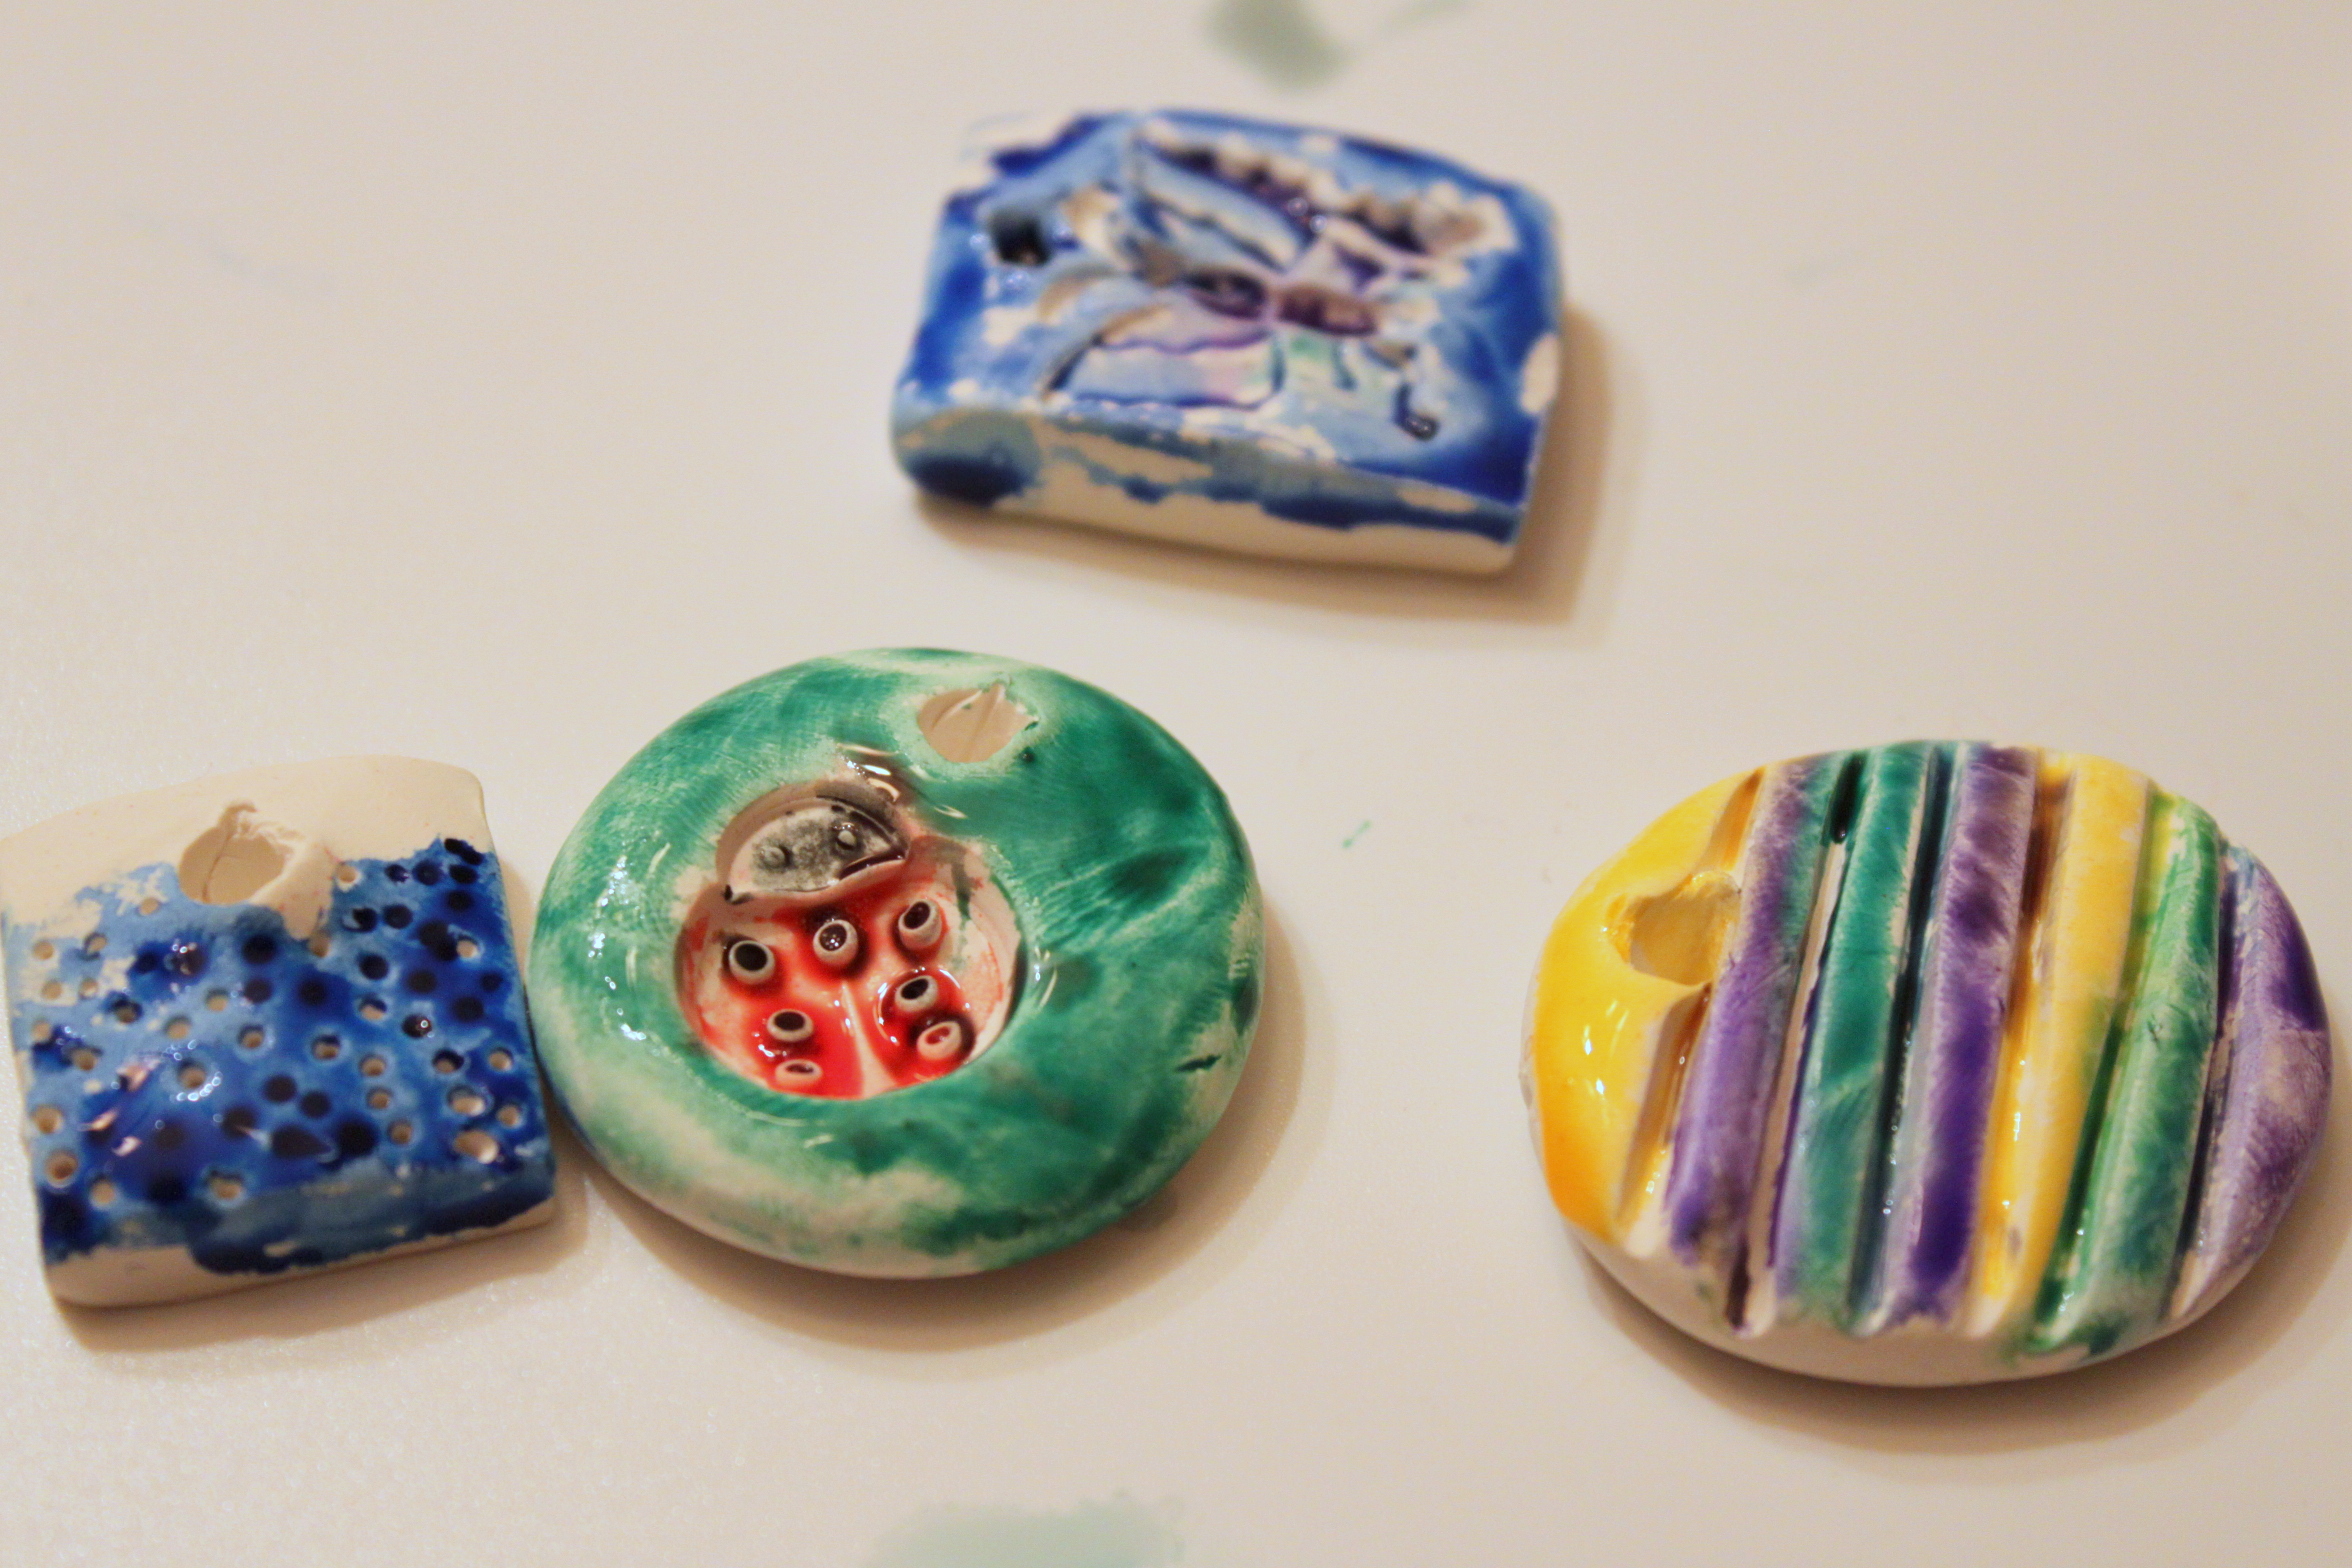
With some paint they were so beautiful! All that was left was to thread these sweet charms onto some twine.
Done!
She decided to keep her favorite one for herself.