Step-by-step tutorial
Step 1
You could use polymer clay if you like, for extra durability, but we used natural clay for ours.
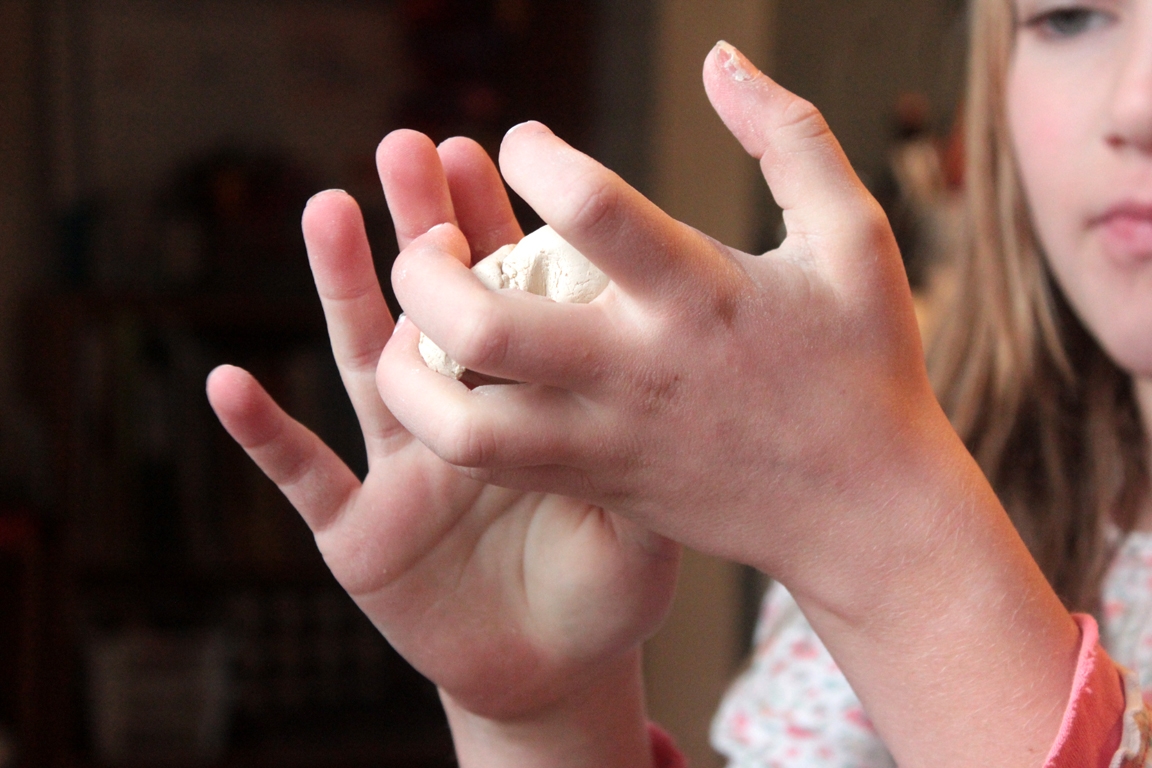
Step 2
I showed Maddie how to make a ball of clay, by rolling it in her hands. (That's hard to do when your hands are small!)

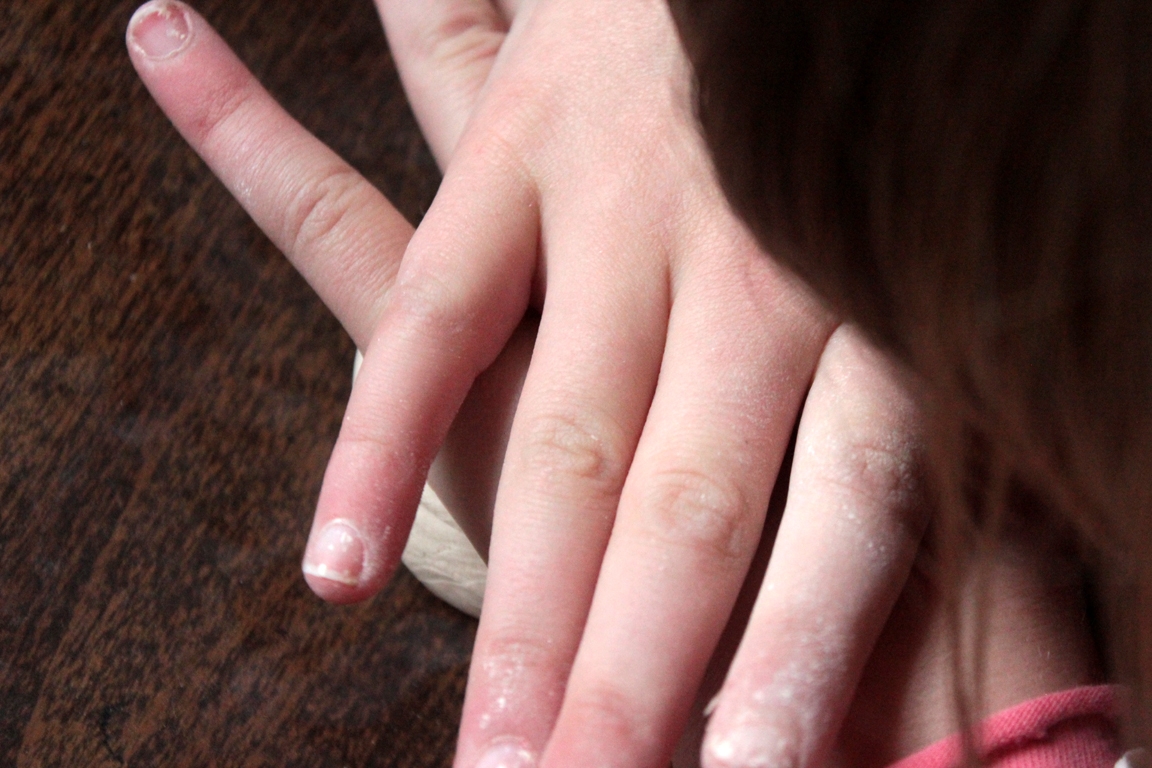
Step 3
When she had it as smooth as she could make it, she flattened it out.
Step 4
After some trial and error with making the heart, I lightly scored it for her with a butter knife, showing her where to cut to make one that suited our purpose.
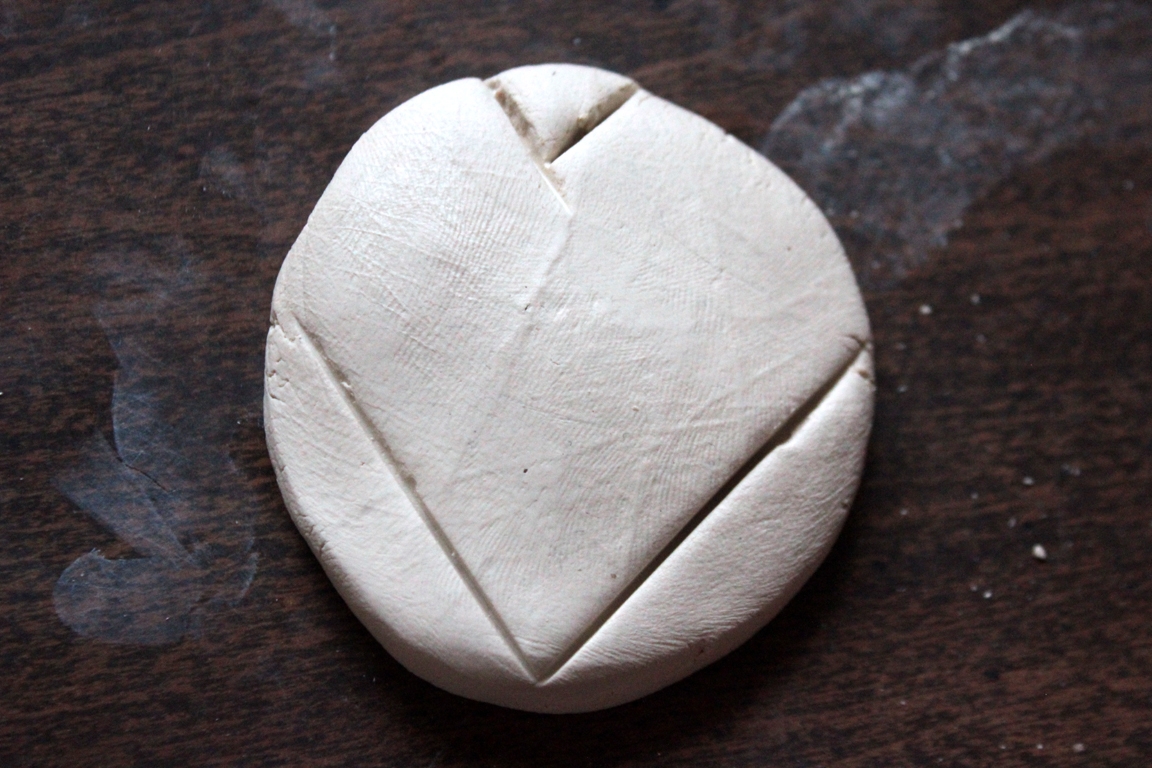
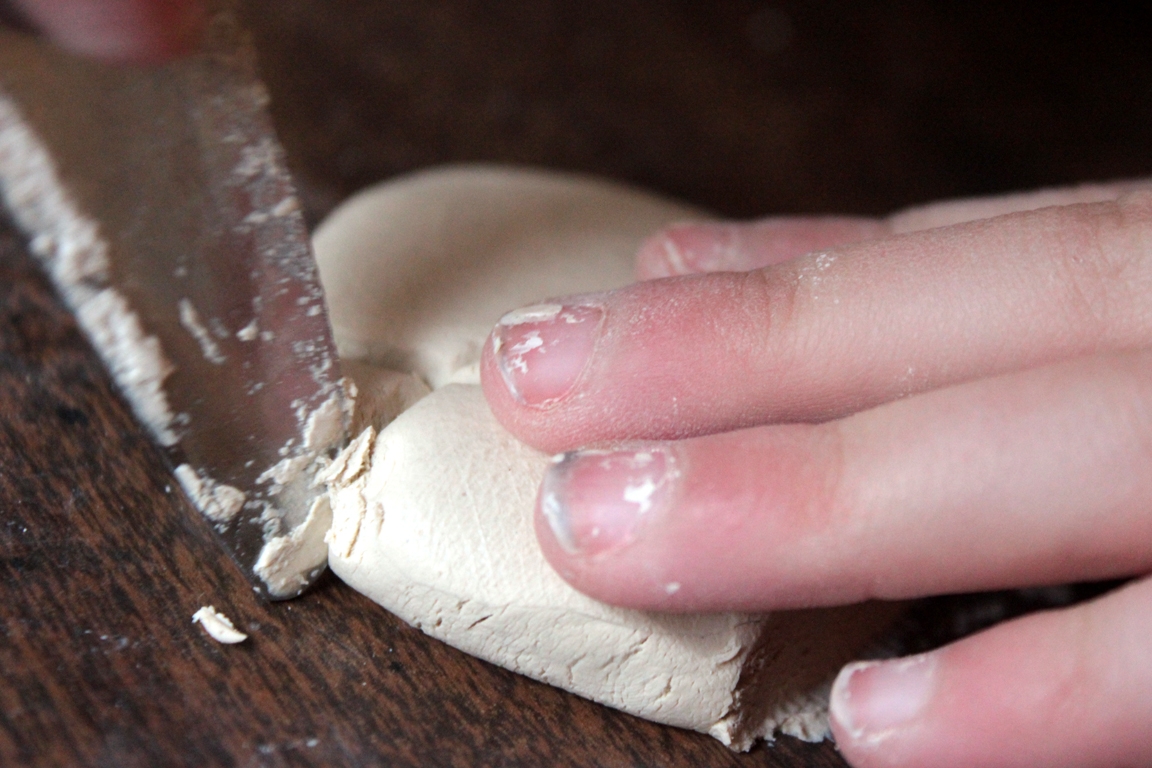
Step 5
"Oh! I see!" she said. Much better. She cut it out with the butter knife,
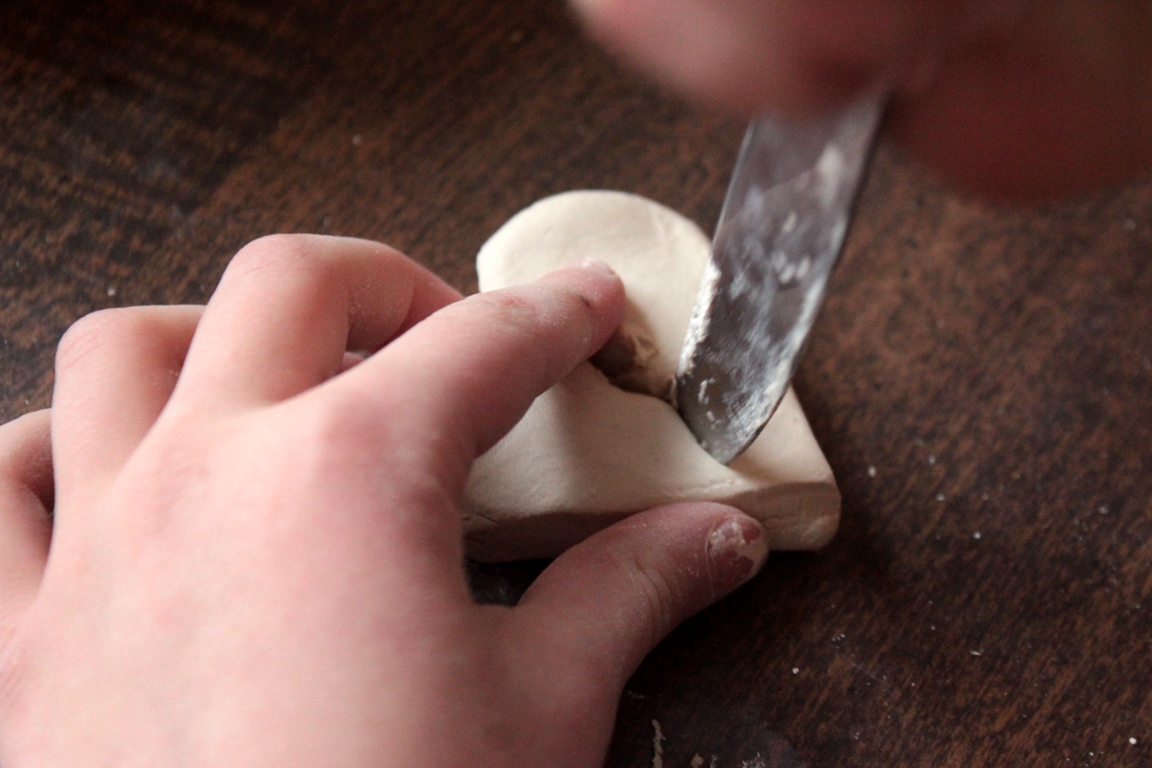
Step 6
And then made the cuts to divide it in half.
Step 7
There! Just right.
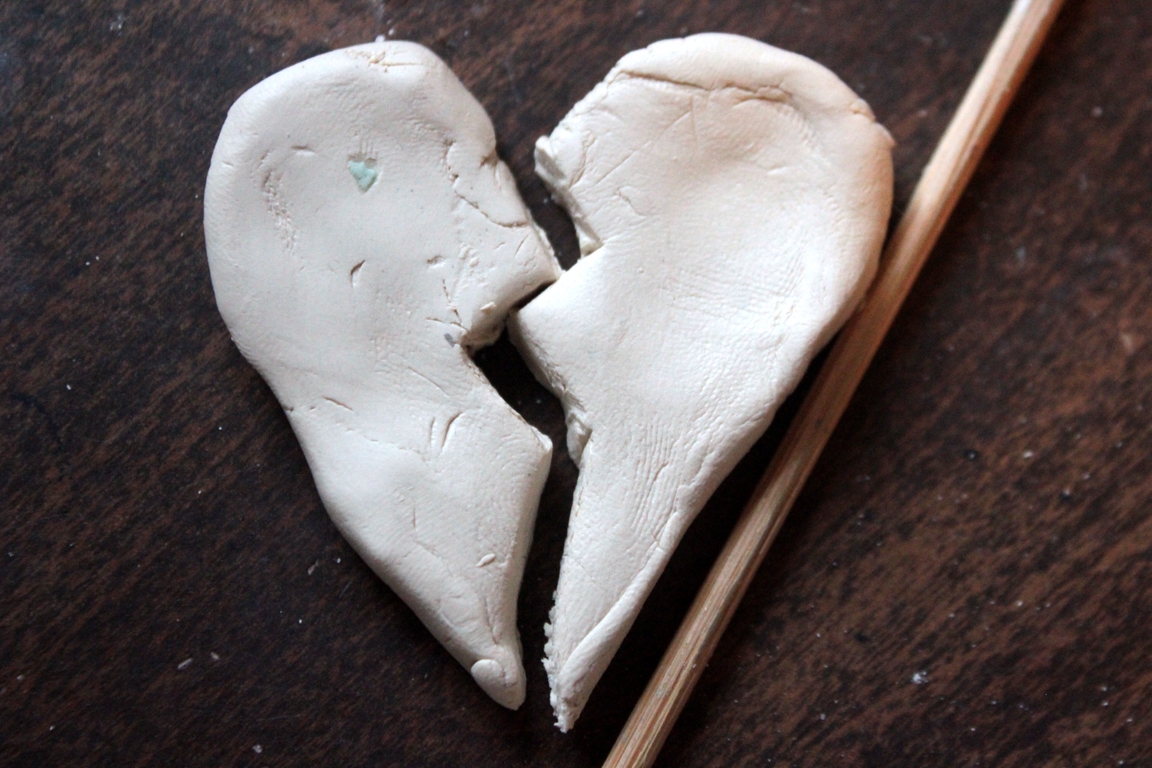
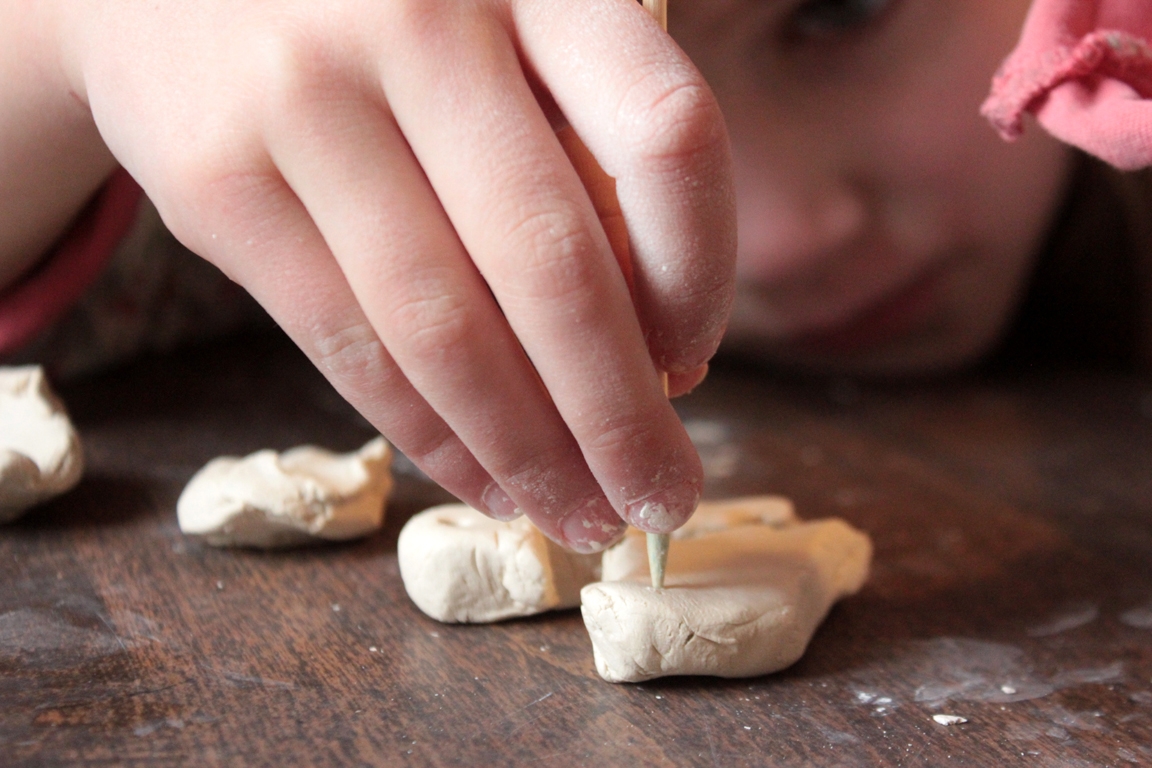
Step 8
Holes went into the top of each half for stringing, and then we set them aside to dry overnight.
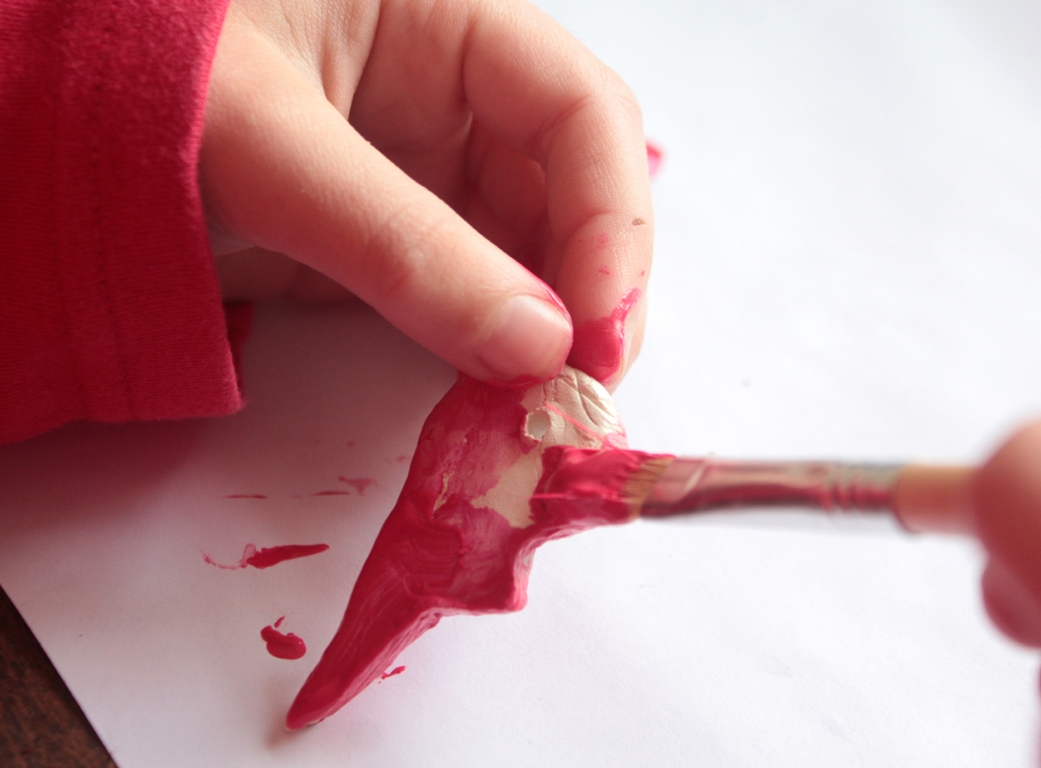
Step 9
When it was mostly dry and firm, out came the paints! A color coat first, then left to dry for a minute...
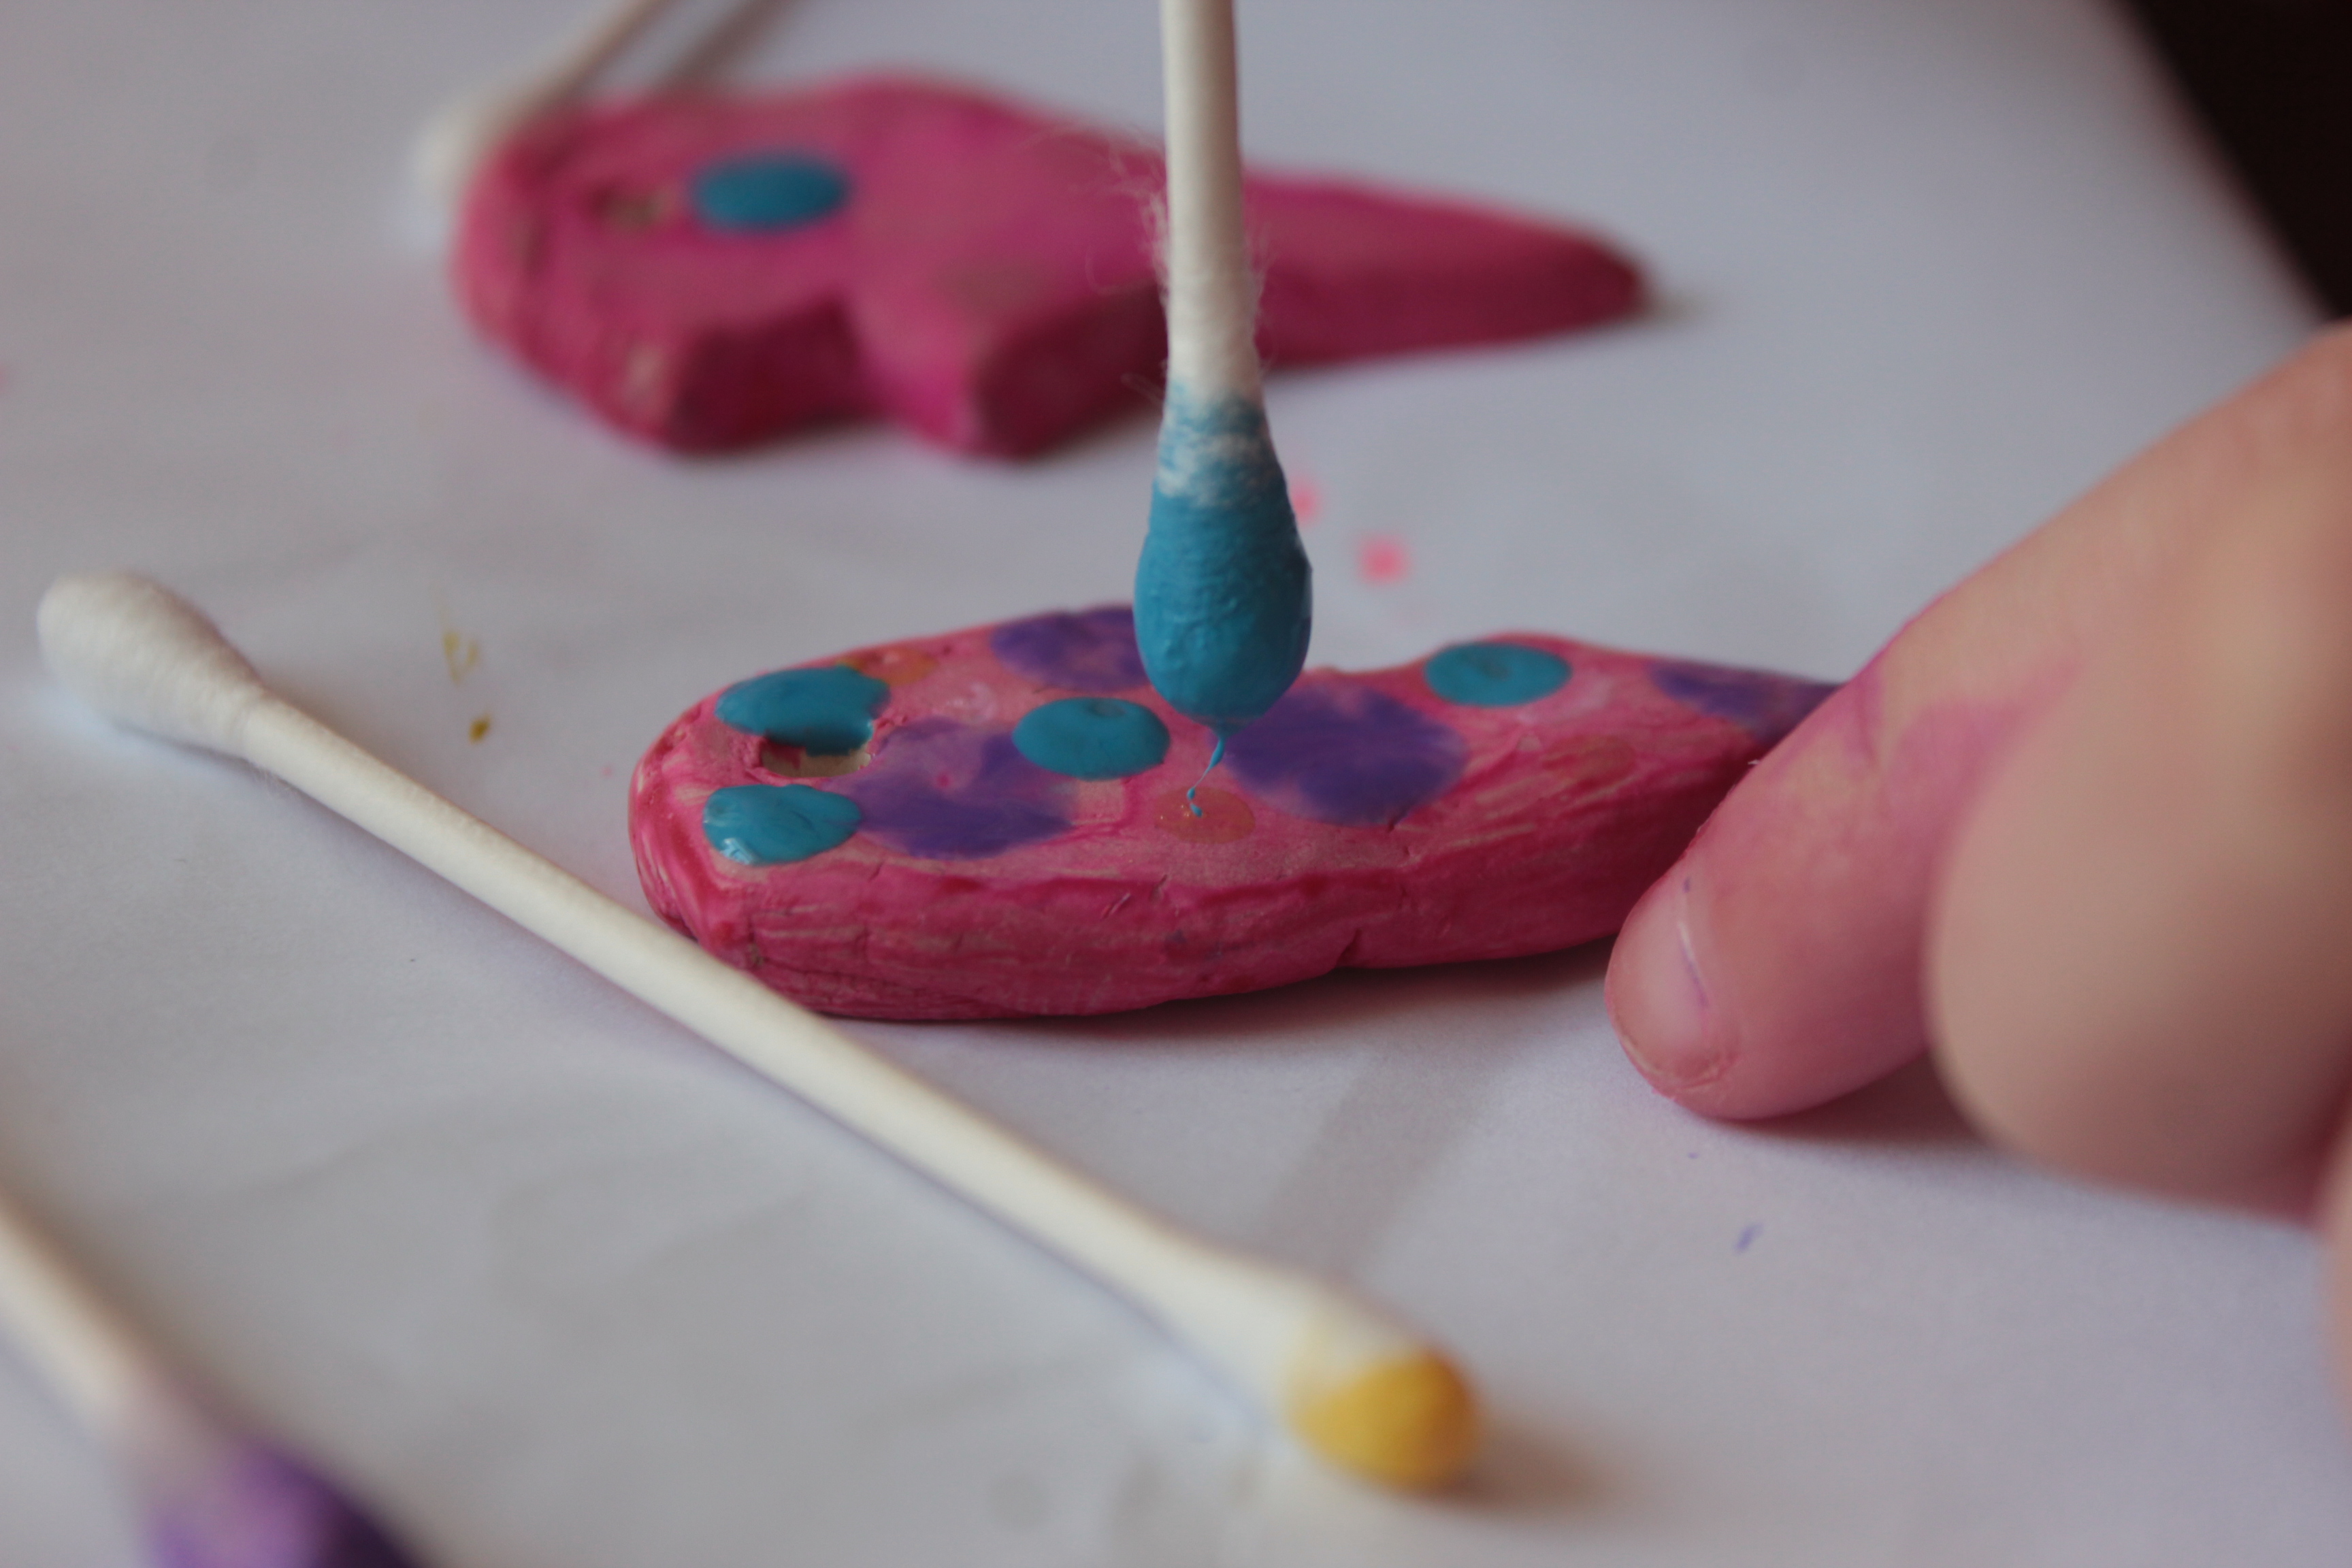
Step 10
then the final decorating began. Round polka dots are easy to make with cotton swabs!
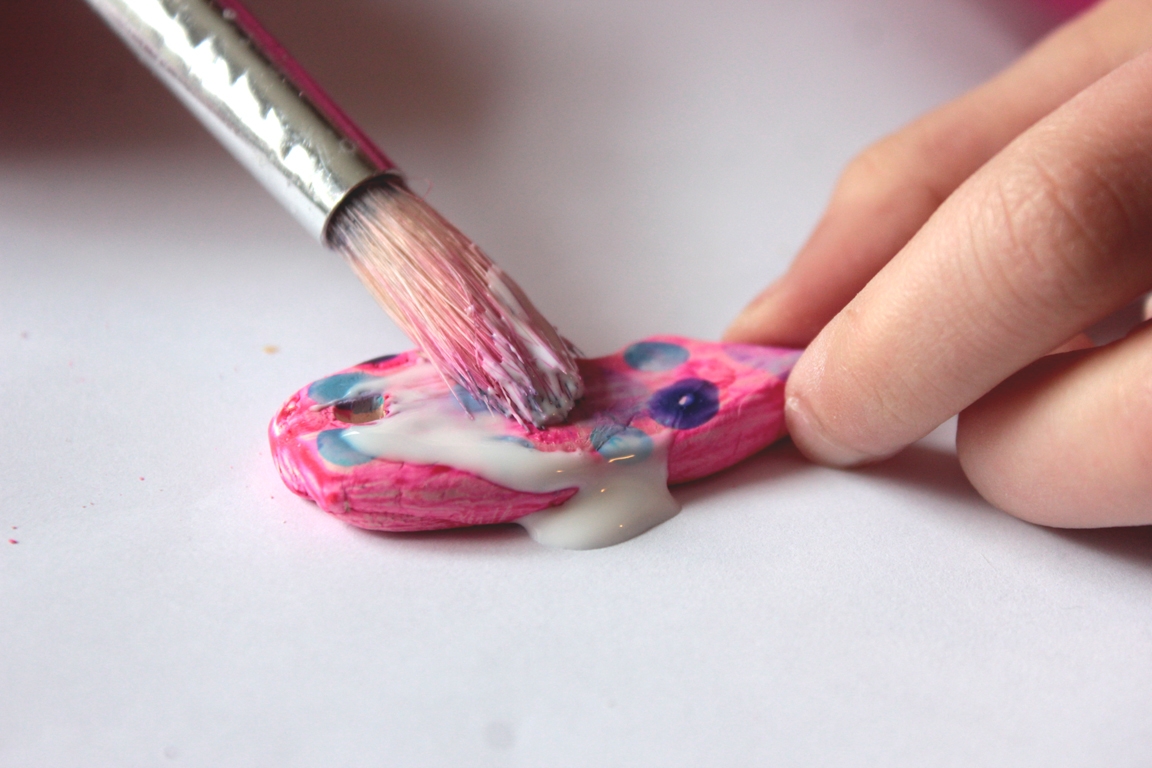
Step 11
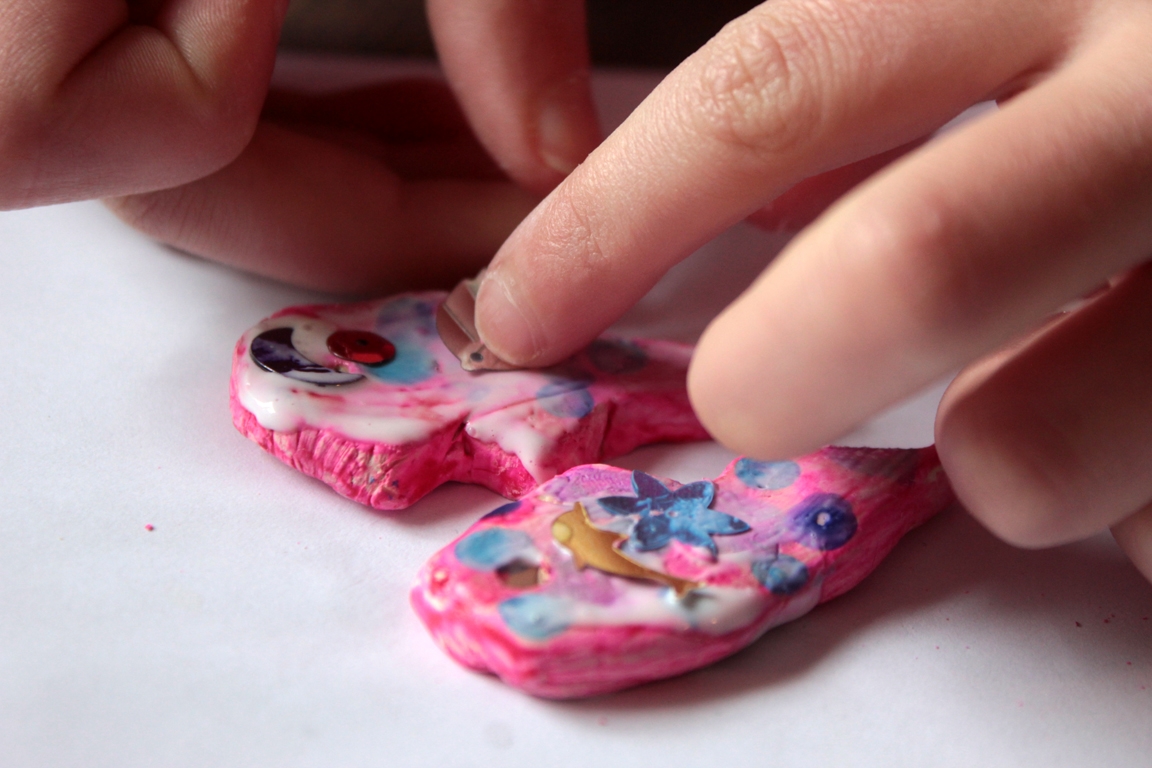
After the paint dried, she brushed glue over the whole heart,
Step 12
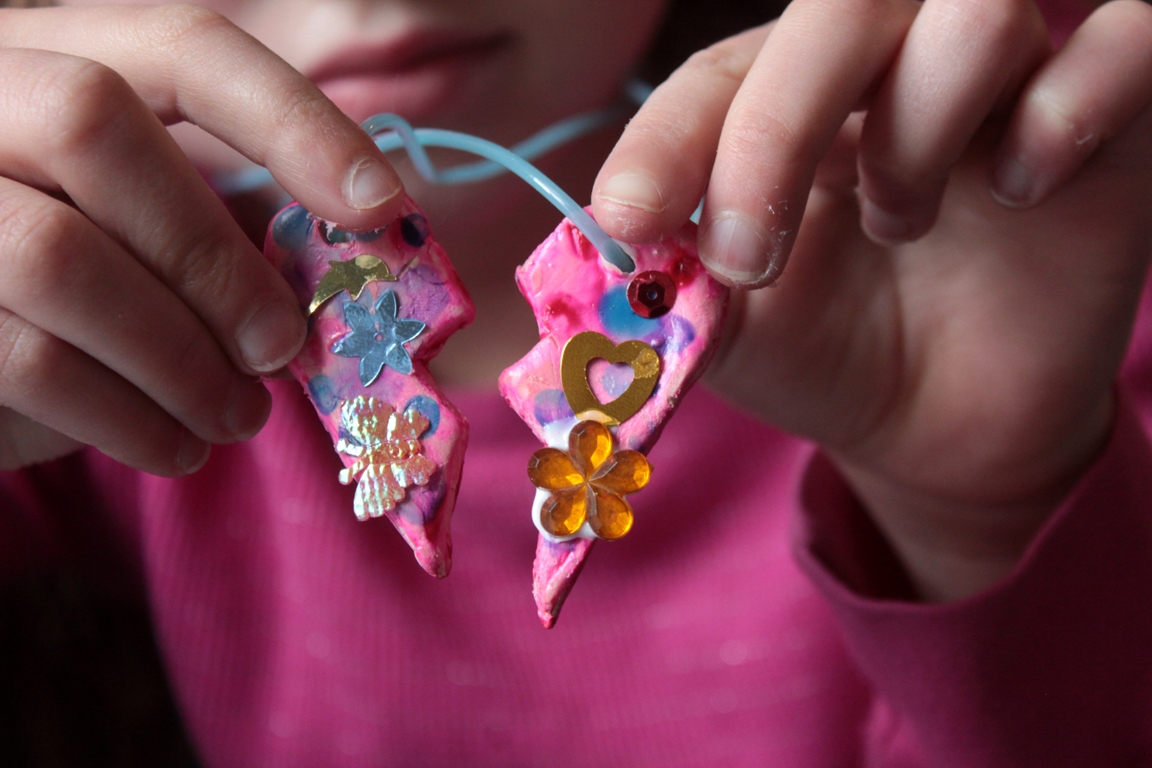
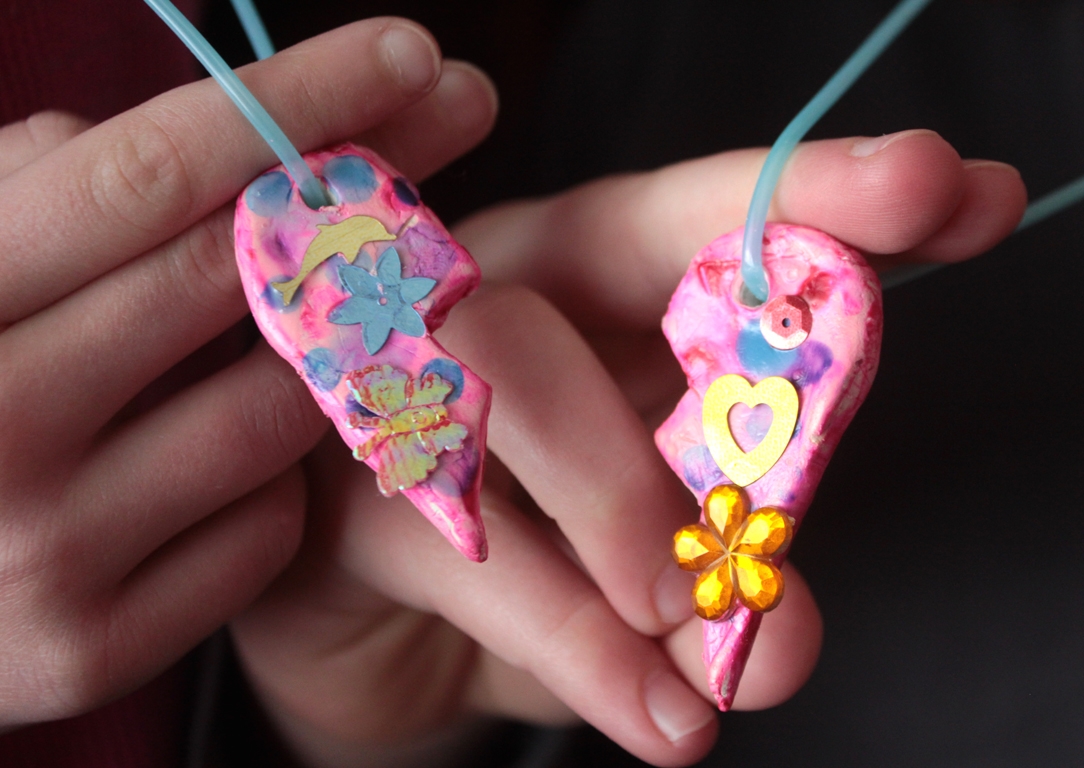
then added her final embellishments--a favorite part, digging through all those sparklies! All that was left to do then, was to let it dry....
Done!
and string it and give it to a favored friend.