Step-by-step tutorial
Step 1
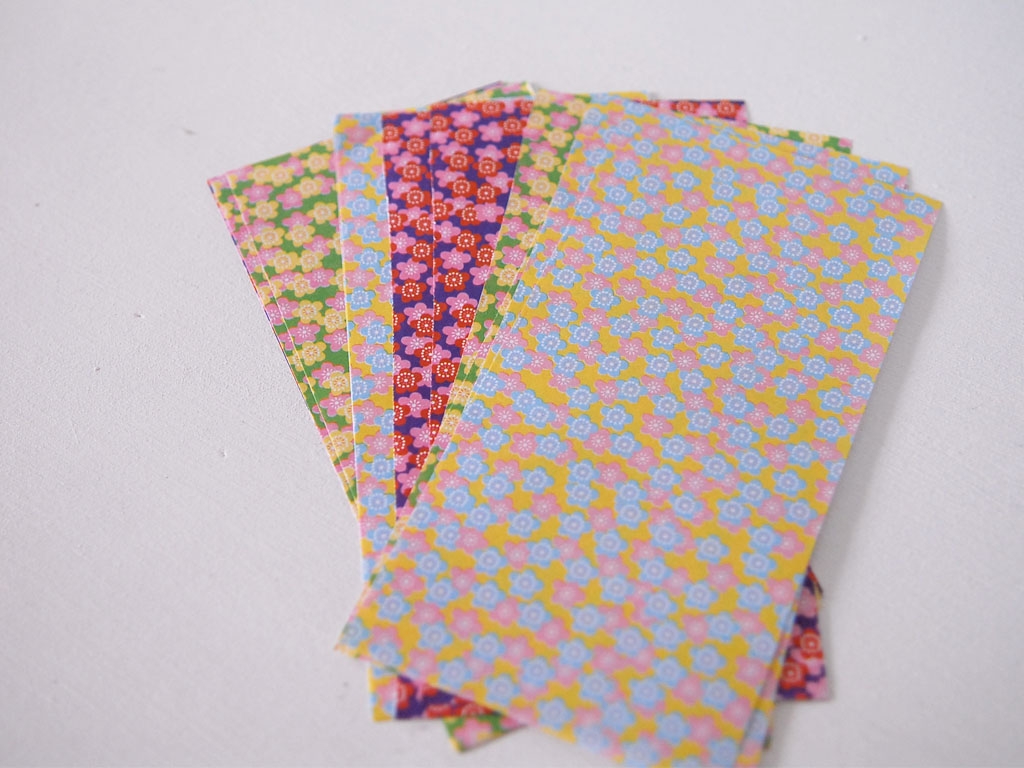
My favorite thing about this project is you only need one thing, paper. We used origami paper for this bracelet because it folds so nicely and it has pretty designs, but gum wrappers, or other rectangular candy wrappers work just fine.

Step 2
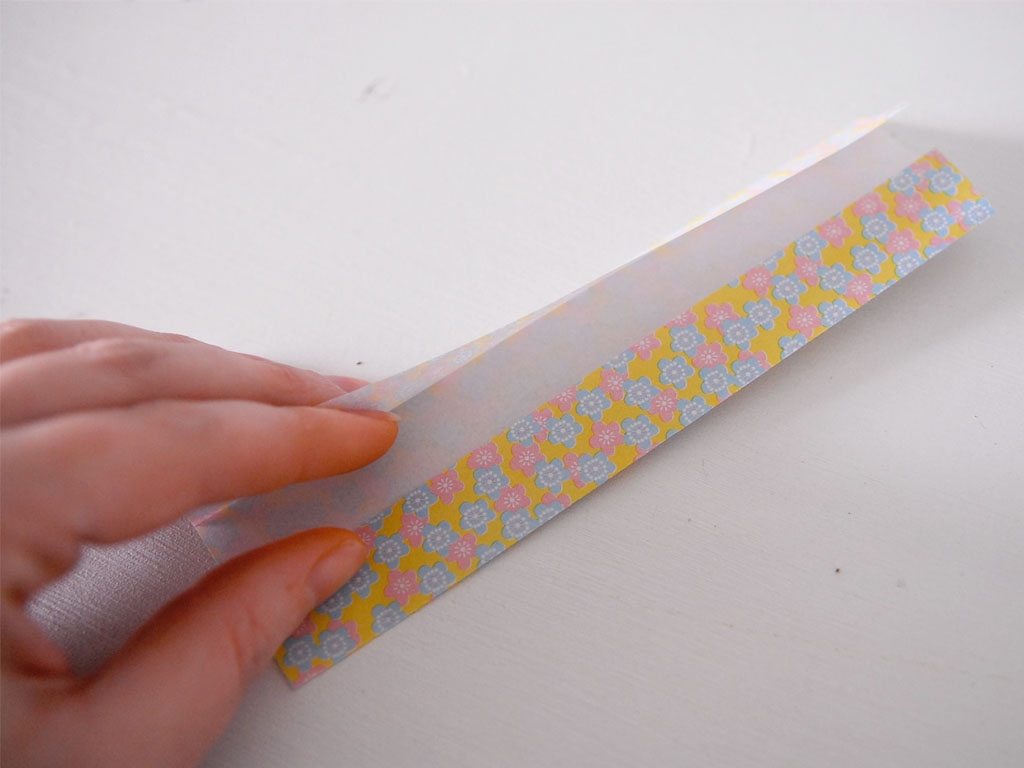
Since I was making this with my 3 year old she was a bit young to be doing the folding (or at least didn't want to do it) Older kids should be able to do this easily and it teaches about folding things in half and using fine motor skills. Start by folding the paper ends in to meet in the middle. (folding the long edges in)
Step 3
Then fold the whole thing in half (long ways) and in half again (long ways)
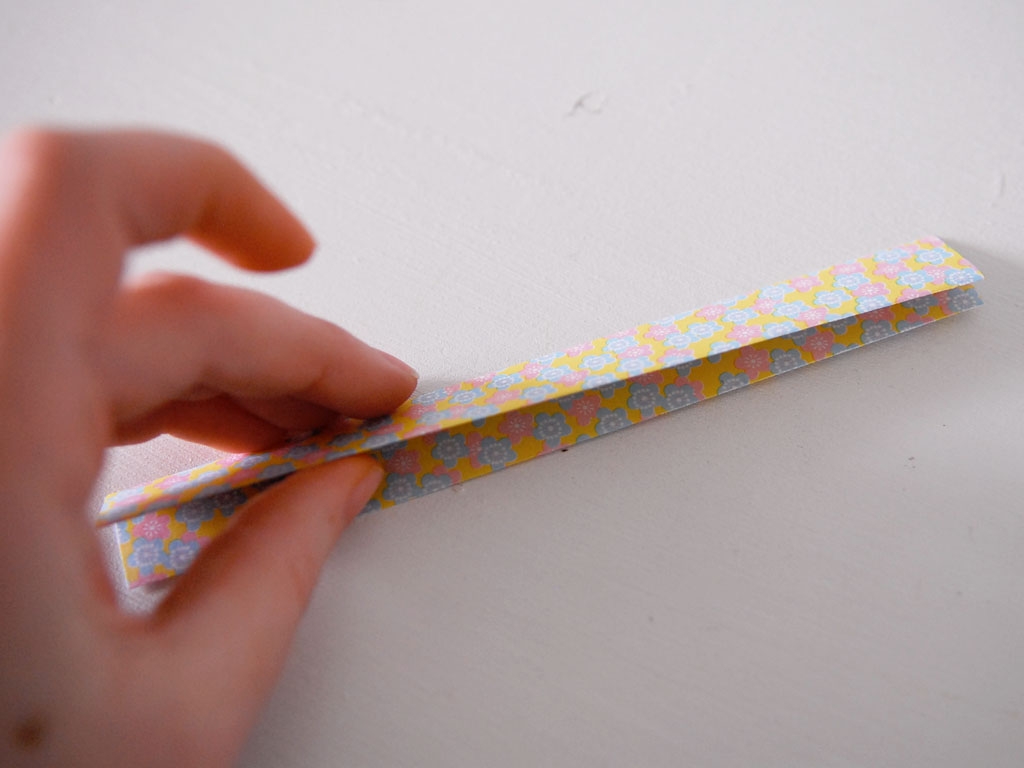
Step 4
Then you will fold the small strip in half so the bottom meets the top.
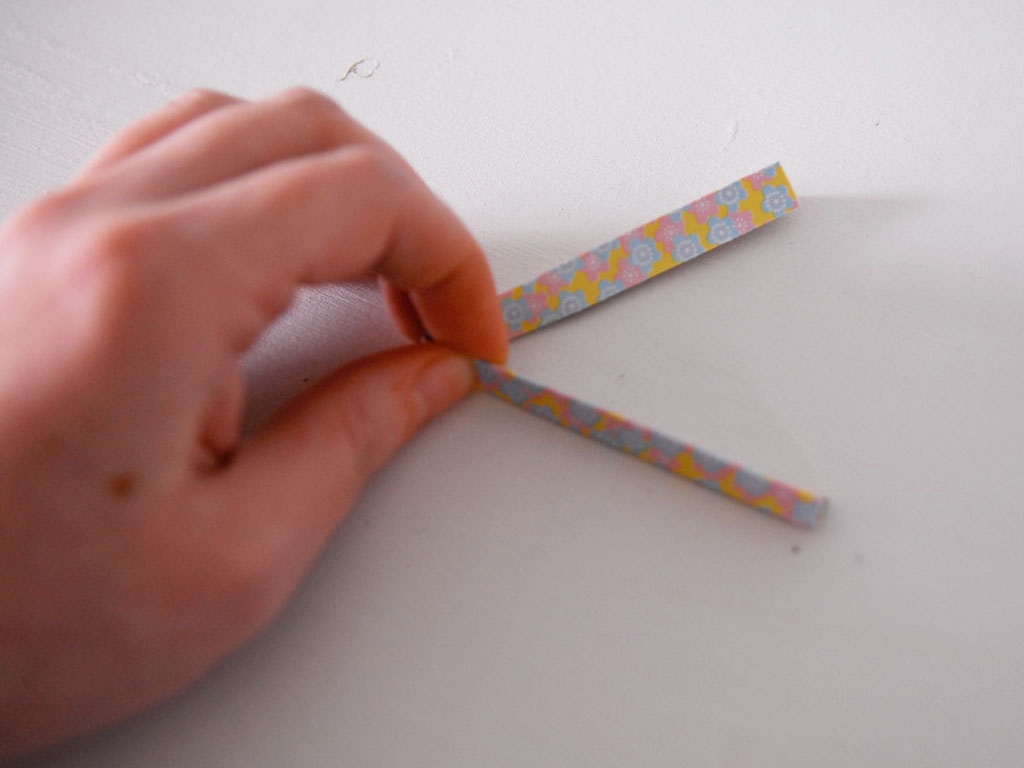
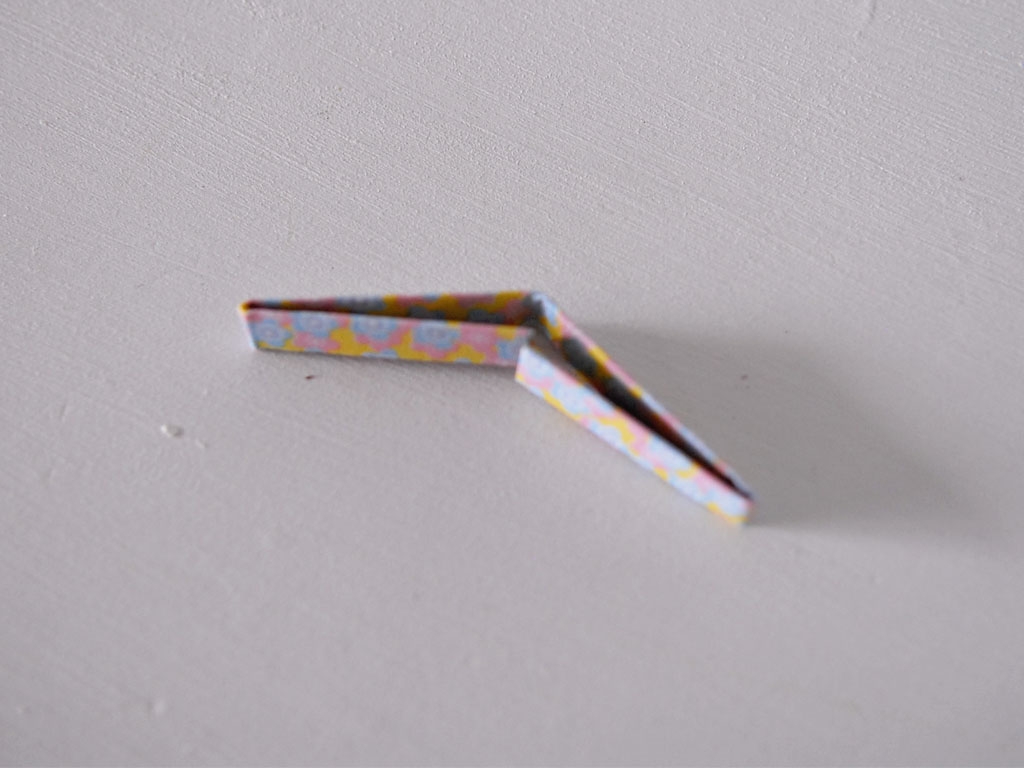
Step 5
Then fold the bottom towards the center fold and the top towards the center fold. Now you have link for the chain. Repeat so you have several.
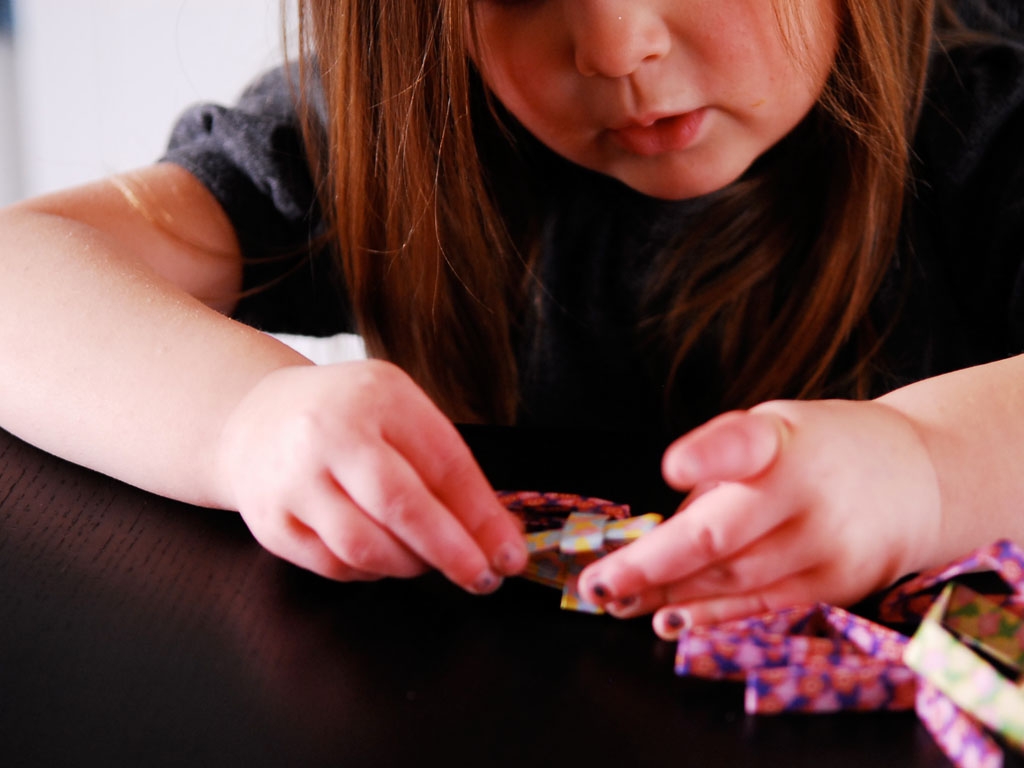
Step 6
Now for the part my daughter could easily do, and liked doing. Building the chain. With each piece folded up you slide the folds into each other so they are connected in a woven way.
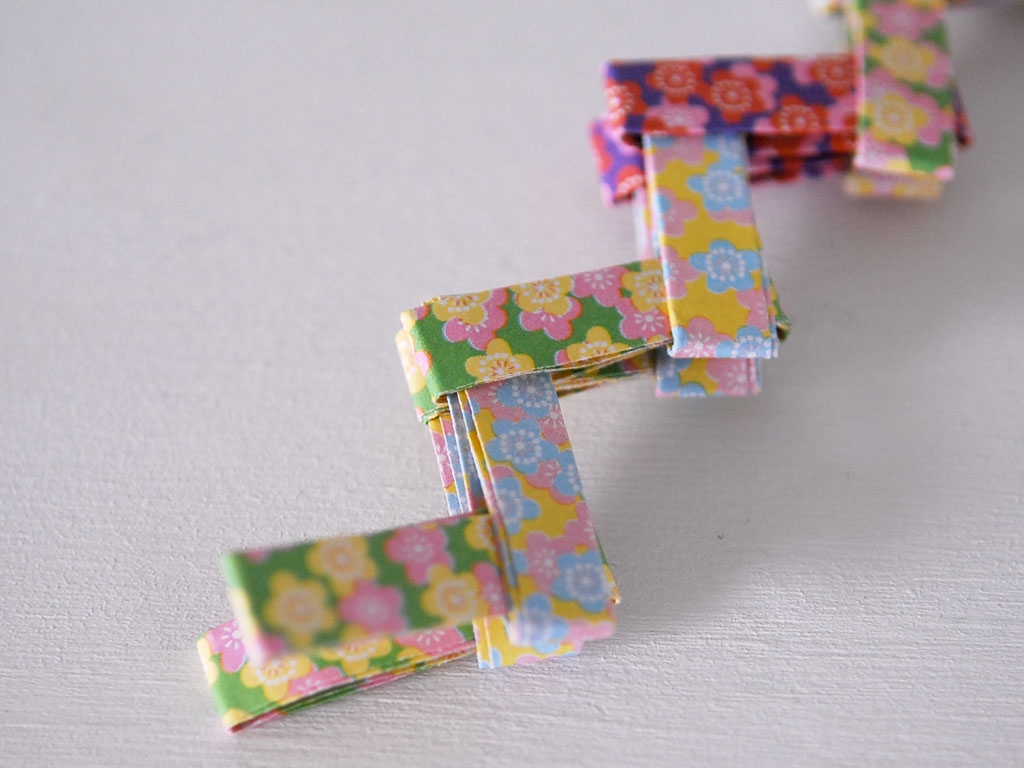
Step 7
Keep adding to the chain so they go back and forth like so.
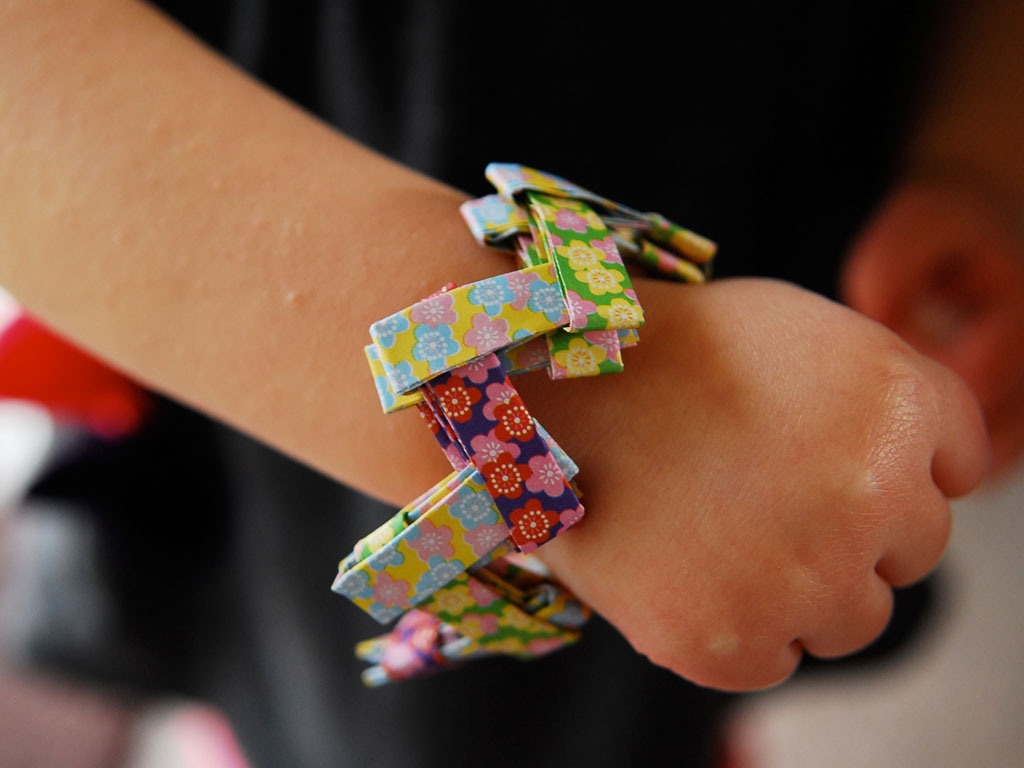
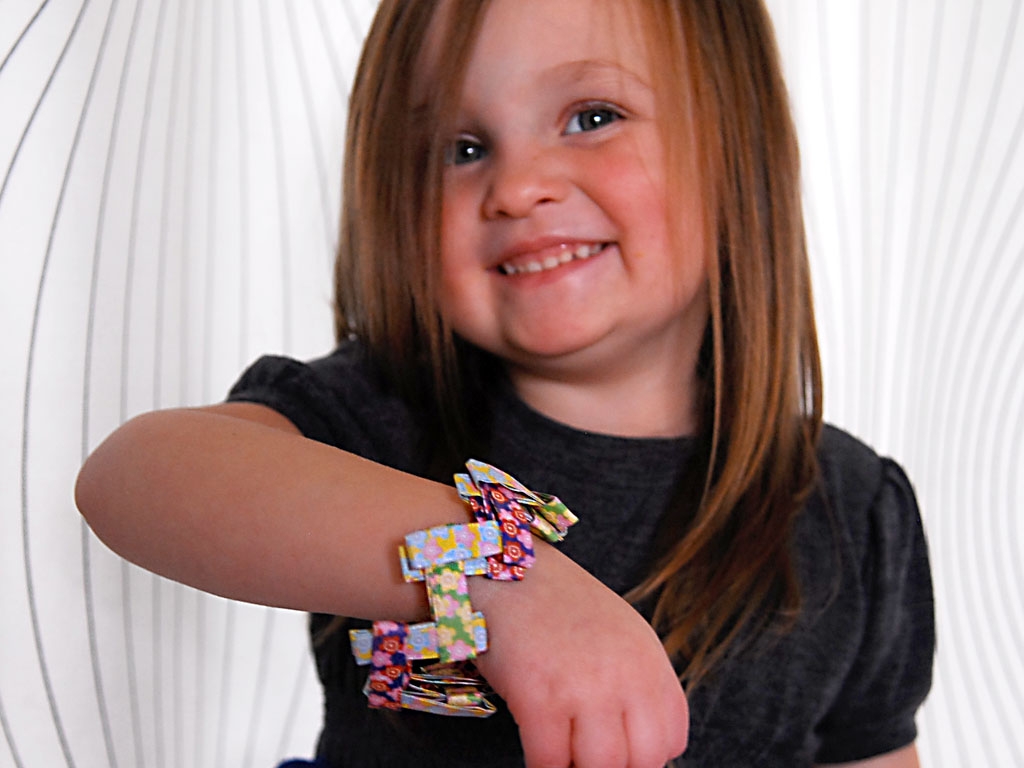
Done!
When you have enough to wrap around the wrist weave the two ends together just as you were doing for the chain and you have a bracelet.