Step-by-step tutorial
Step 1
Here's what we used (but of course, every home will have different supplies) so just let your kids look through the recycling bin and get creative!


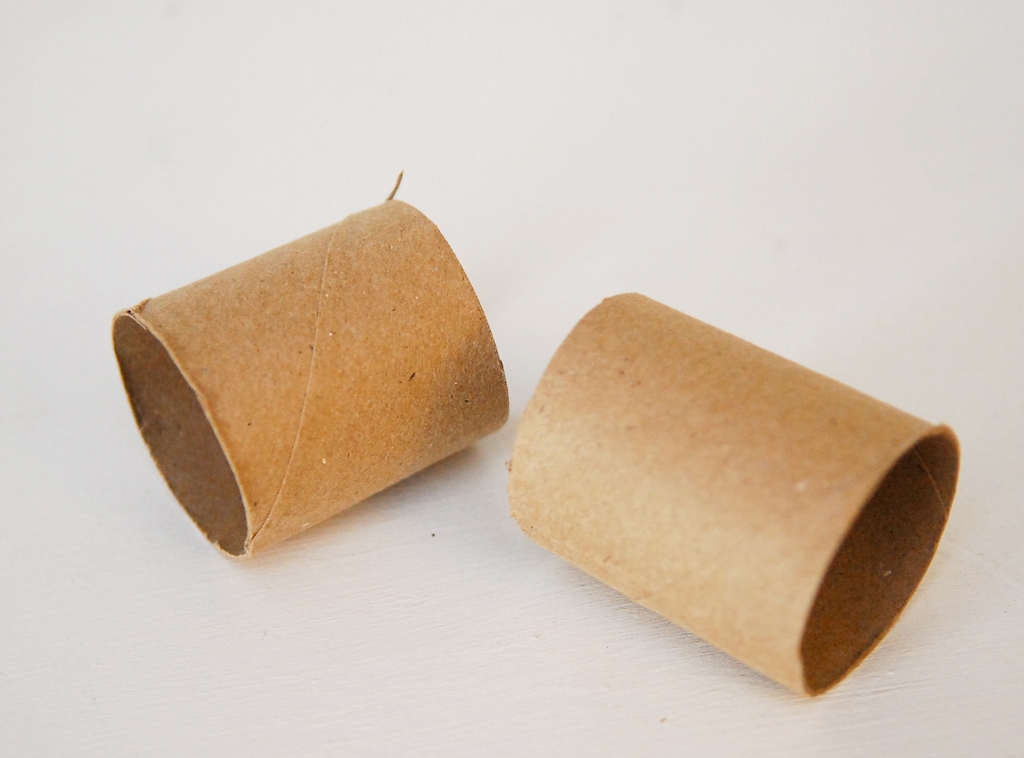
Step 2
Since my kids are young (ages 3 and 5), I helped put the jet pack together. However, slightly older kids may not need as much grownup assistance. To make the basic jet pack shape, we first cut a toilet paper roll in half.
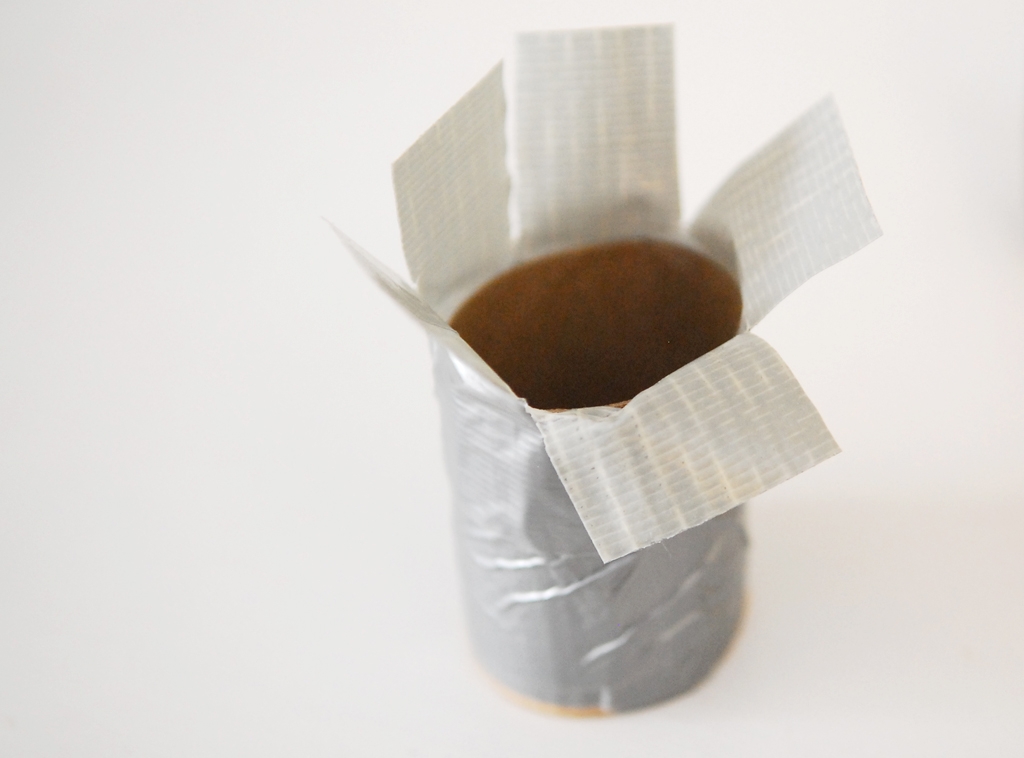
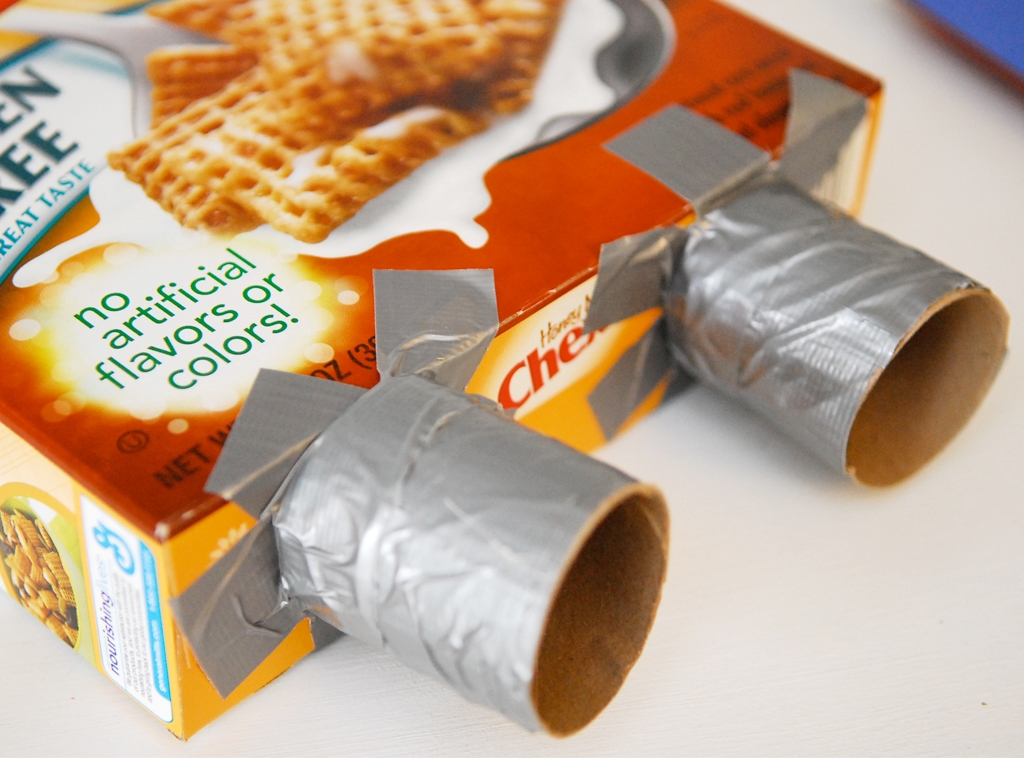
Step 3
I wrapped duct tape around each cut tube and cut slits along one end of the tape. My son called these tubes his "octopus jets"
Step 4
The kids then attached the tubes (octupi jets?) to the bottom of their cereal boxes.
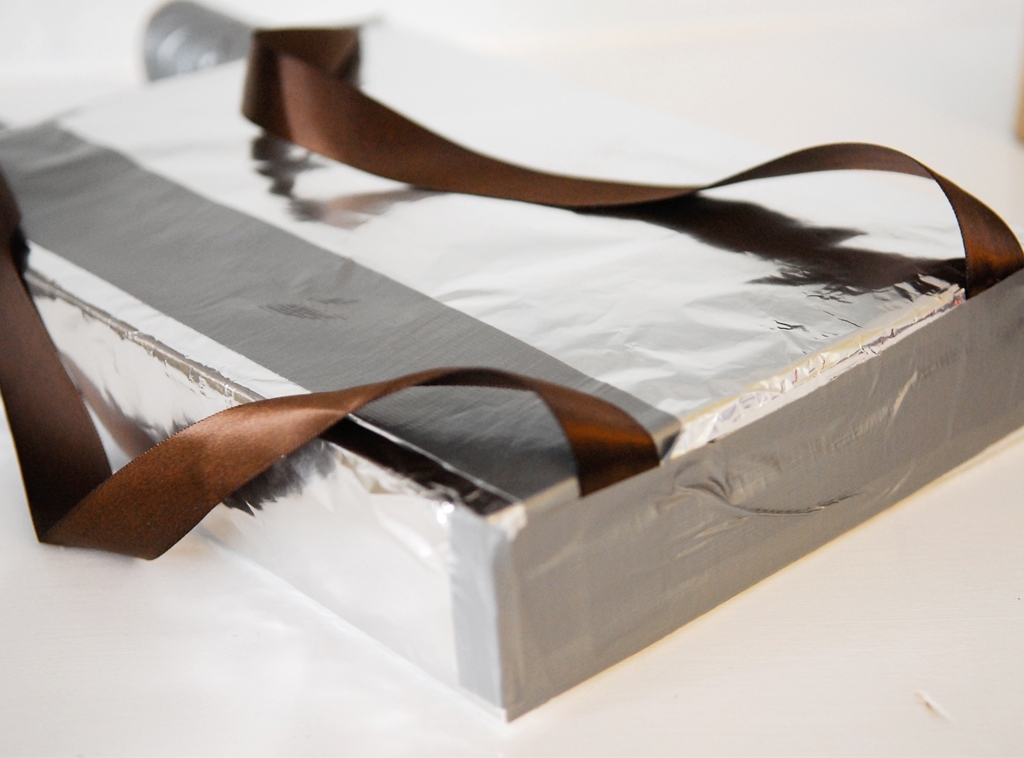
Step 5
After wrapping the box in tinfoil, we secured the top of the box with duct tape. Then I helped the kids add straps to their jet packs. We made sure the ribbons were long enough that the jet packs could be taken off easily.
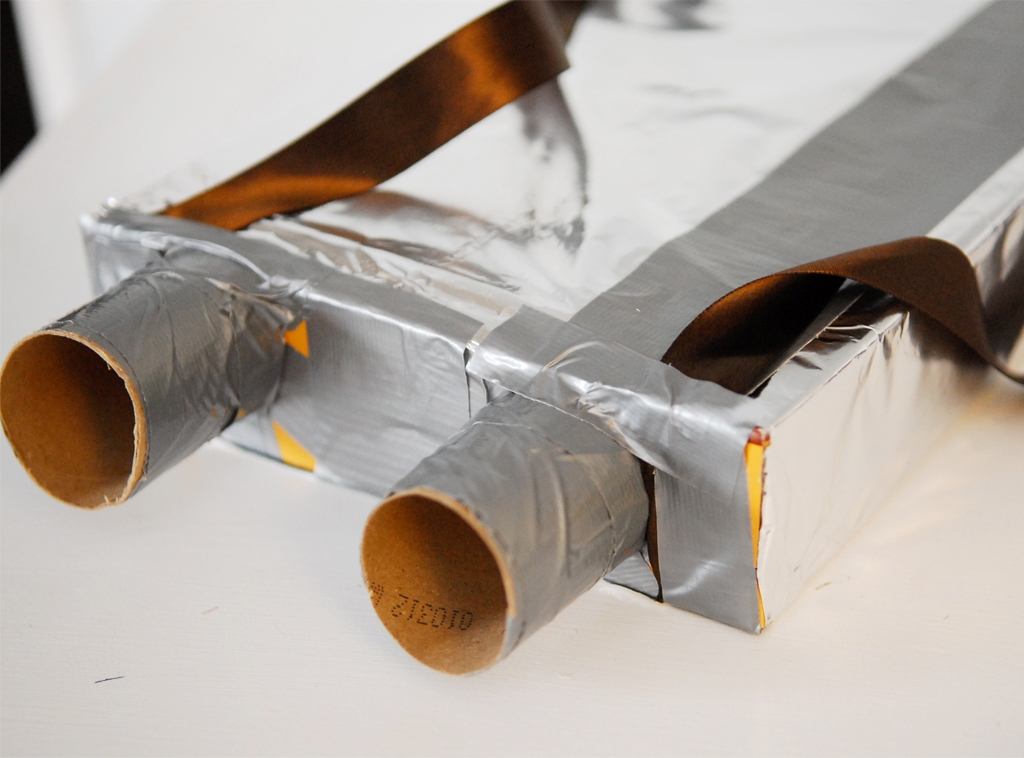
Step 6
We secured the ribbon to the bottom of the box and added some more duct tape all around the jet pack for good measure.
Step 7
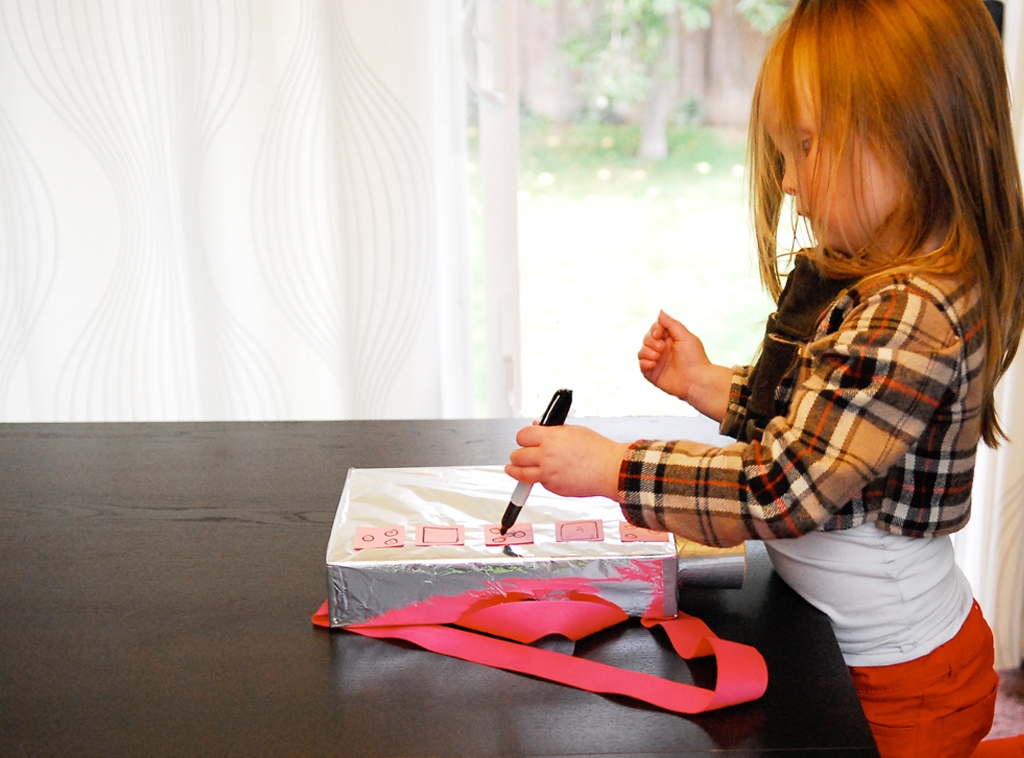
Then the kids got busy decorating! They added construction paper "buttons"...
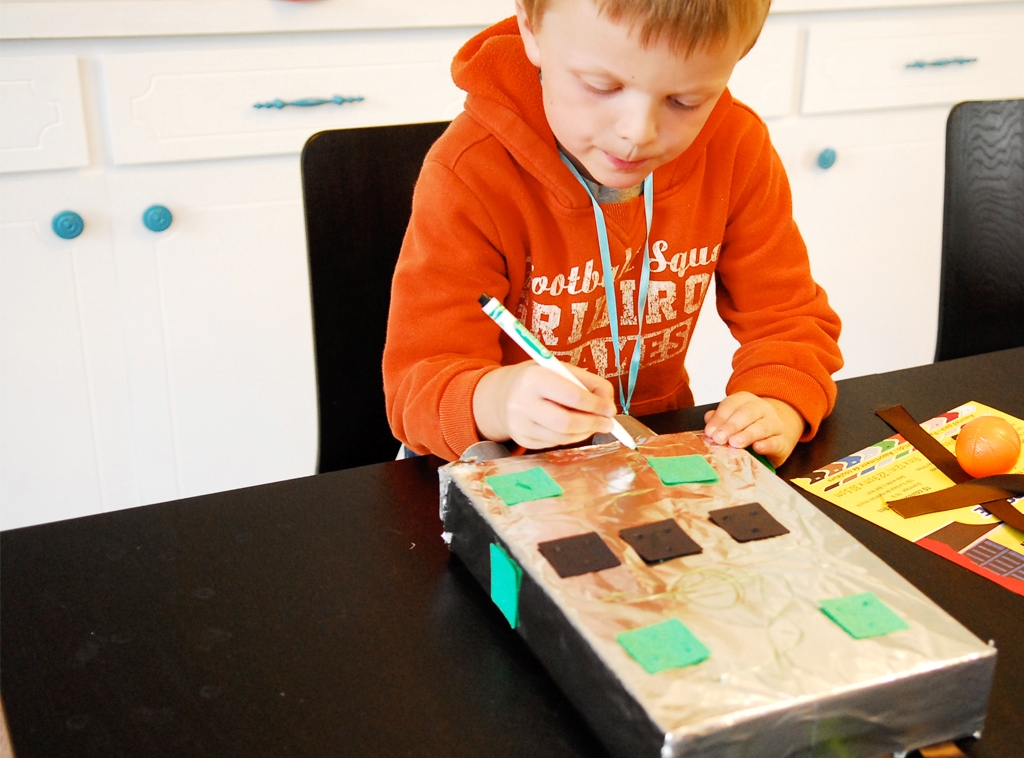
Step 8
...and used markers to add details. The kids loved cutting, gluing, and personalizing their creations.
Step 9
Of course, my son insisted that jet packs needed flames. Who could argue with such impeccable logic? Together we glued cut strips of tissue paper to add some "flare."
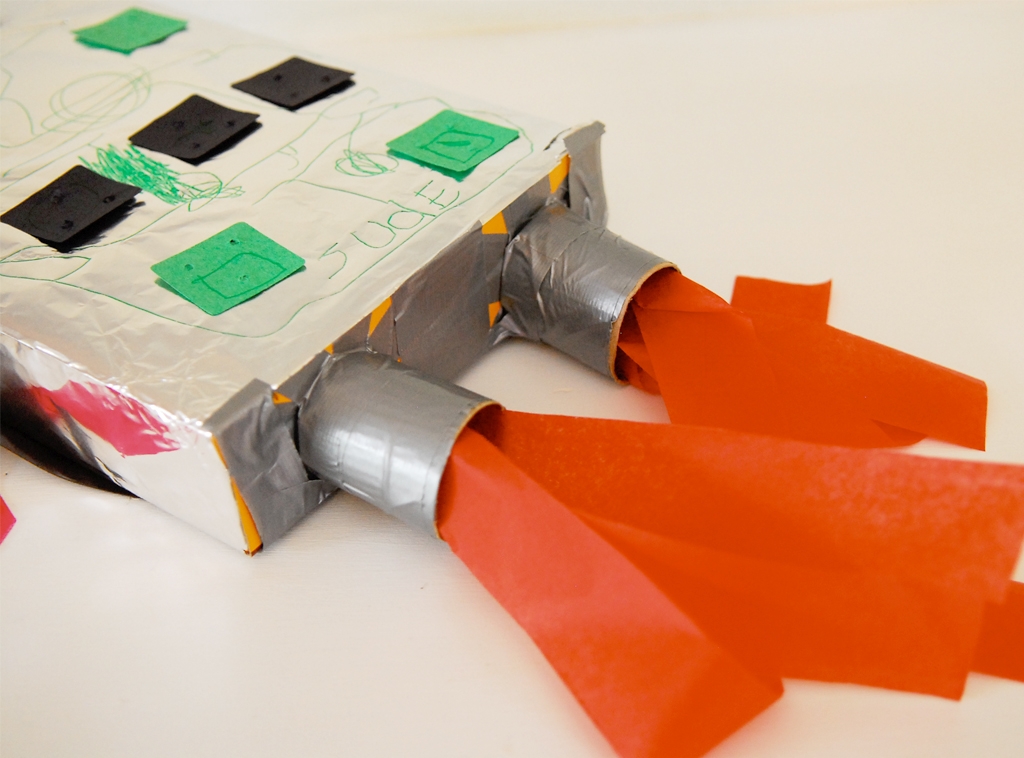
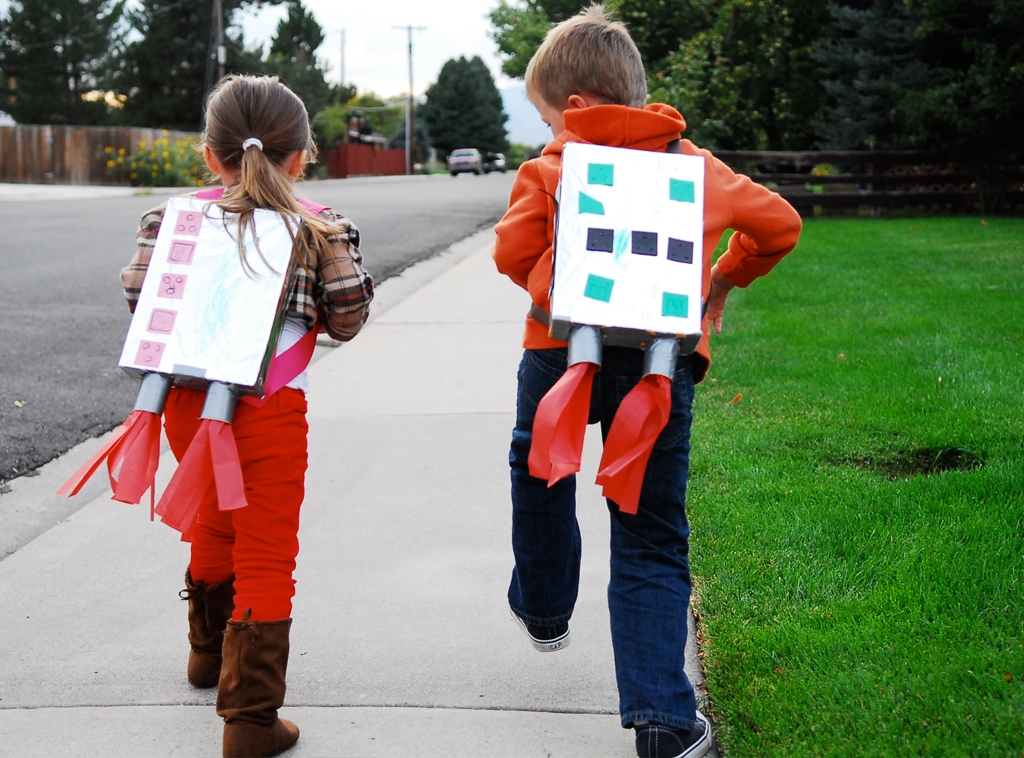
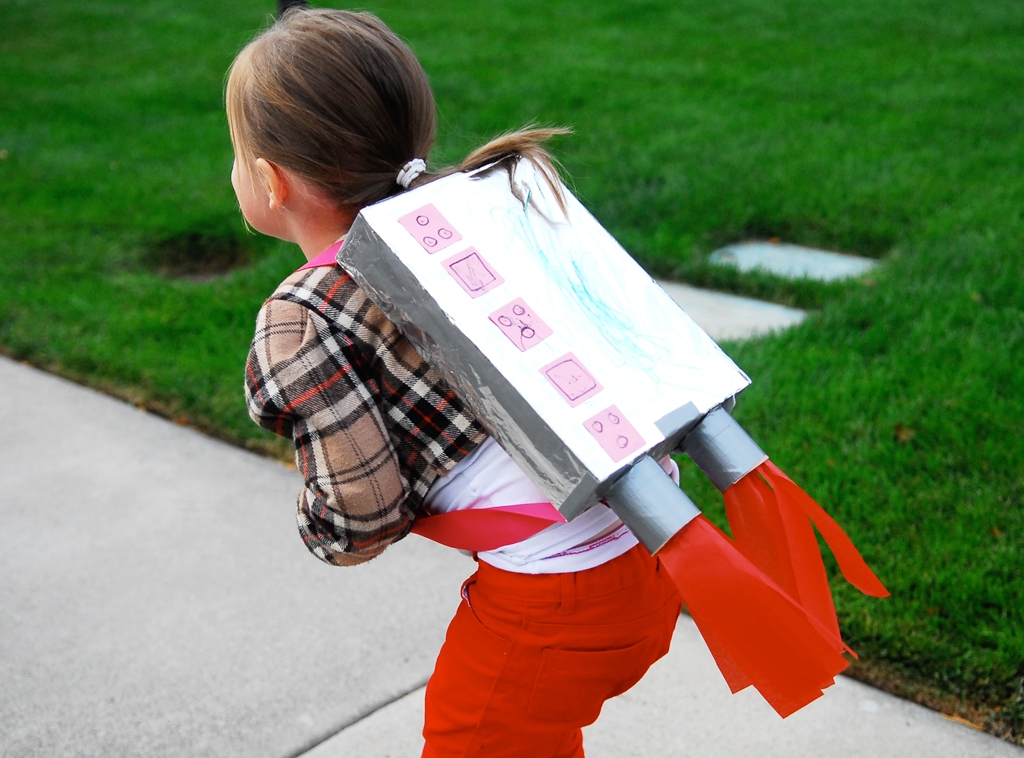
Done!
The kids eagerly strapped on their packs and jetted off. They had things to do, people to see, planets to get to at g-force speeds! I just hoped they came back in time for bed; blasting off is hard work!