Step-by-step tutorial
Step 1
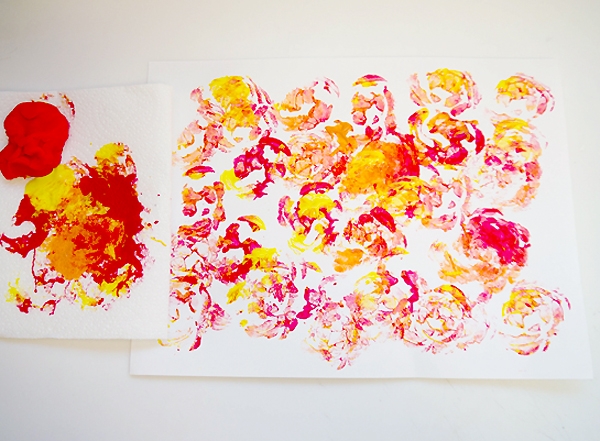
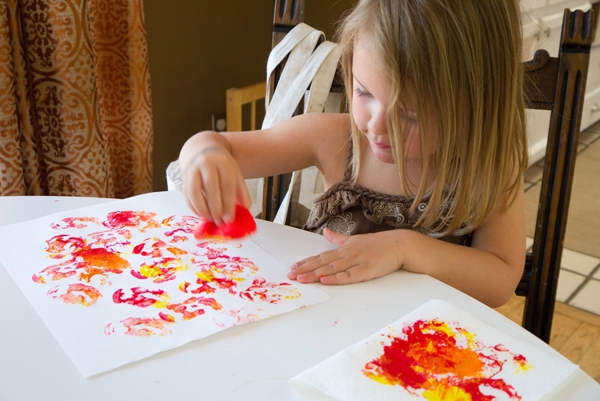
My daughter's favorite color of the moment is red, so to make our stamp we rolled out a golf-ball sized amount of red play dough and squeezed a bit of red paint (and yellow and orange) on a folded paper towel. After we spent a few moments pressing and indenting the ball of play dough with a few items, I encouraged her to gently press the molded play dough into the paint and then print on the white paper. She continued pressing and printing until her paper was covered with interesting shapes and designs.

Step 2
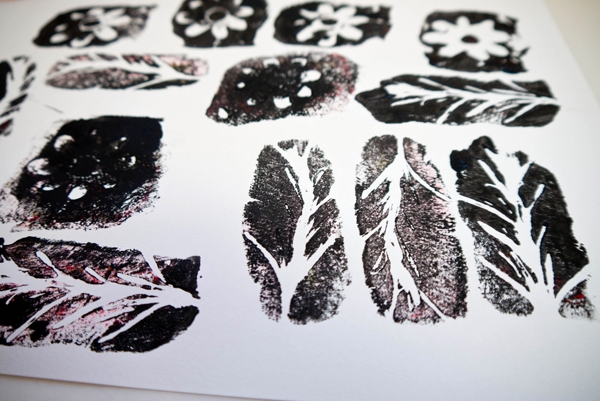
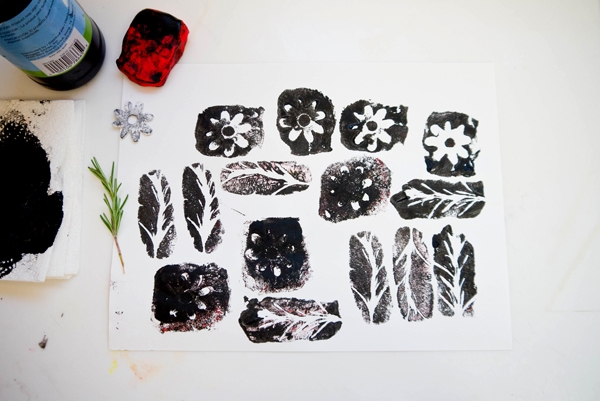
While she was exploring, I couldn't help seeing what would happen with a bit more patience. I pressed a bit of play dough over a sprig of rosemary and she had a great time creating a little pattern. Then we tried a flower puffy sticker, which also created a fun graphic stamp.
Done!
This is a fun and simple project for little ones as well as older kids that understand the printmaking process. You can press the play dough on just about anything to create really awesome stamps. And this is a great way to use old bits and pieces of play dough, or that glob of dough that's been created from mixing all the colors!