Step-by-step tutorial
Step 1
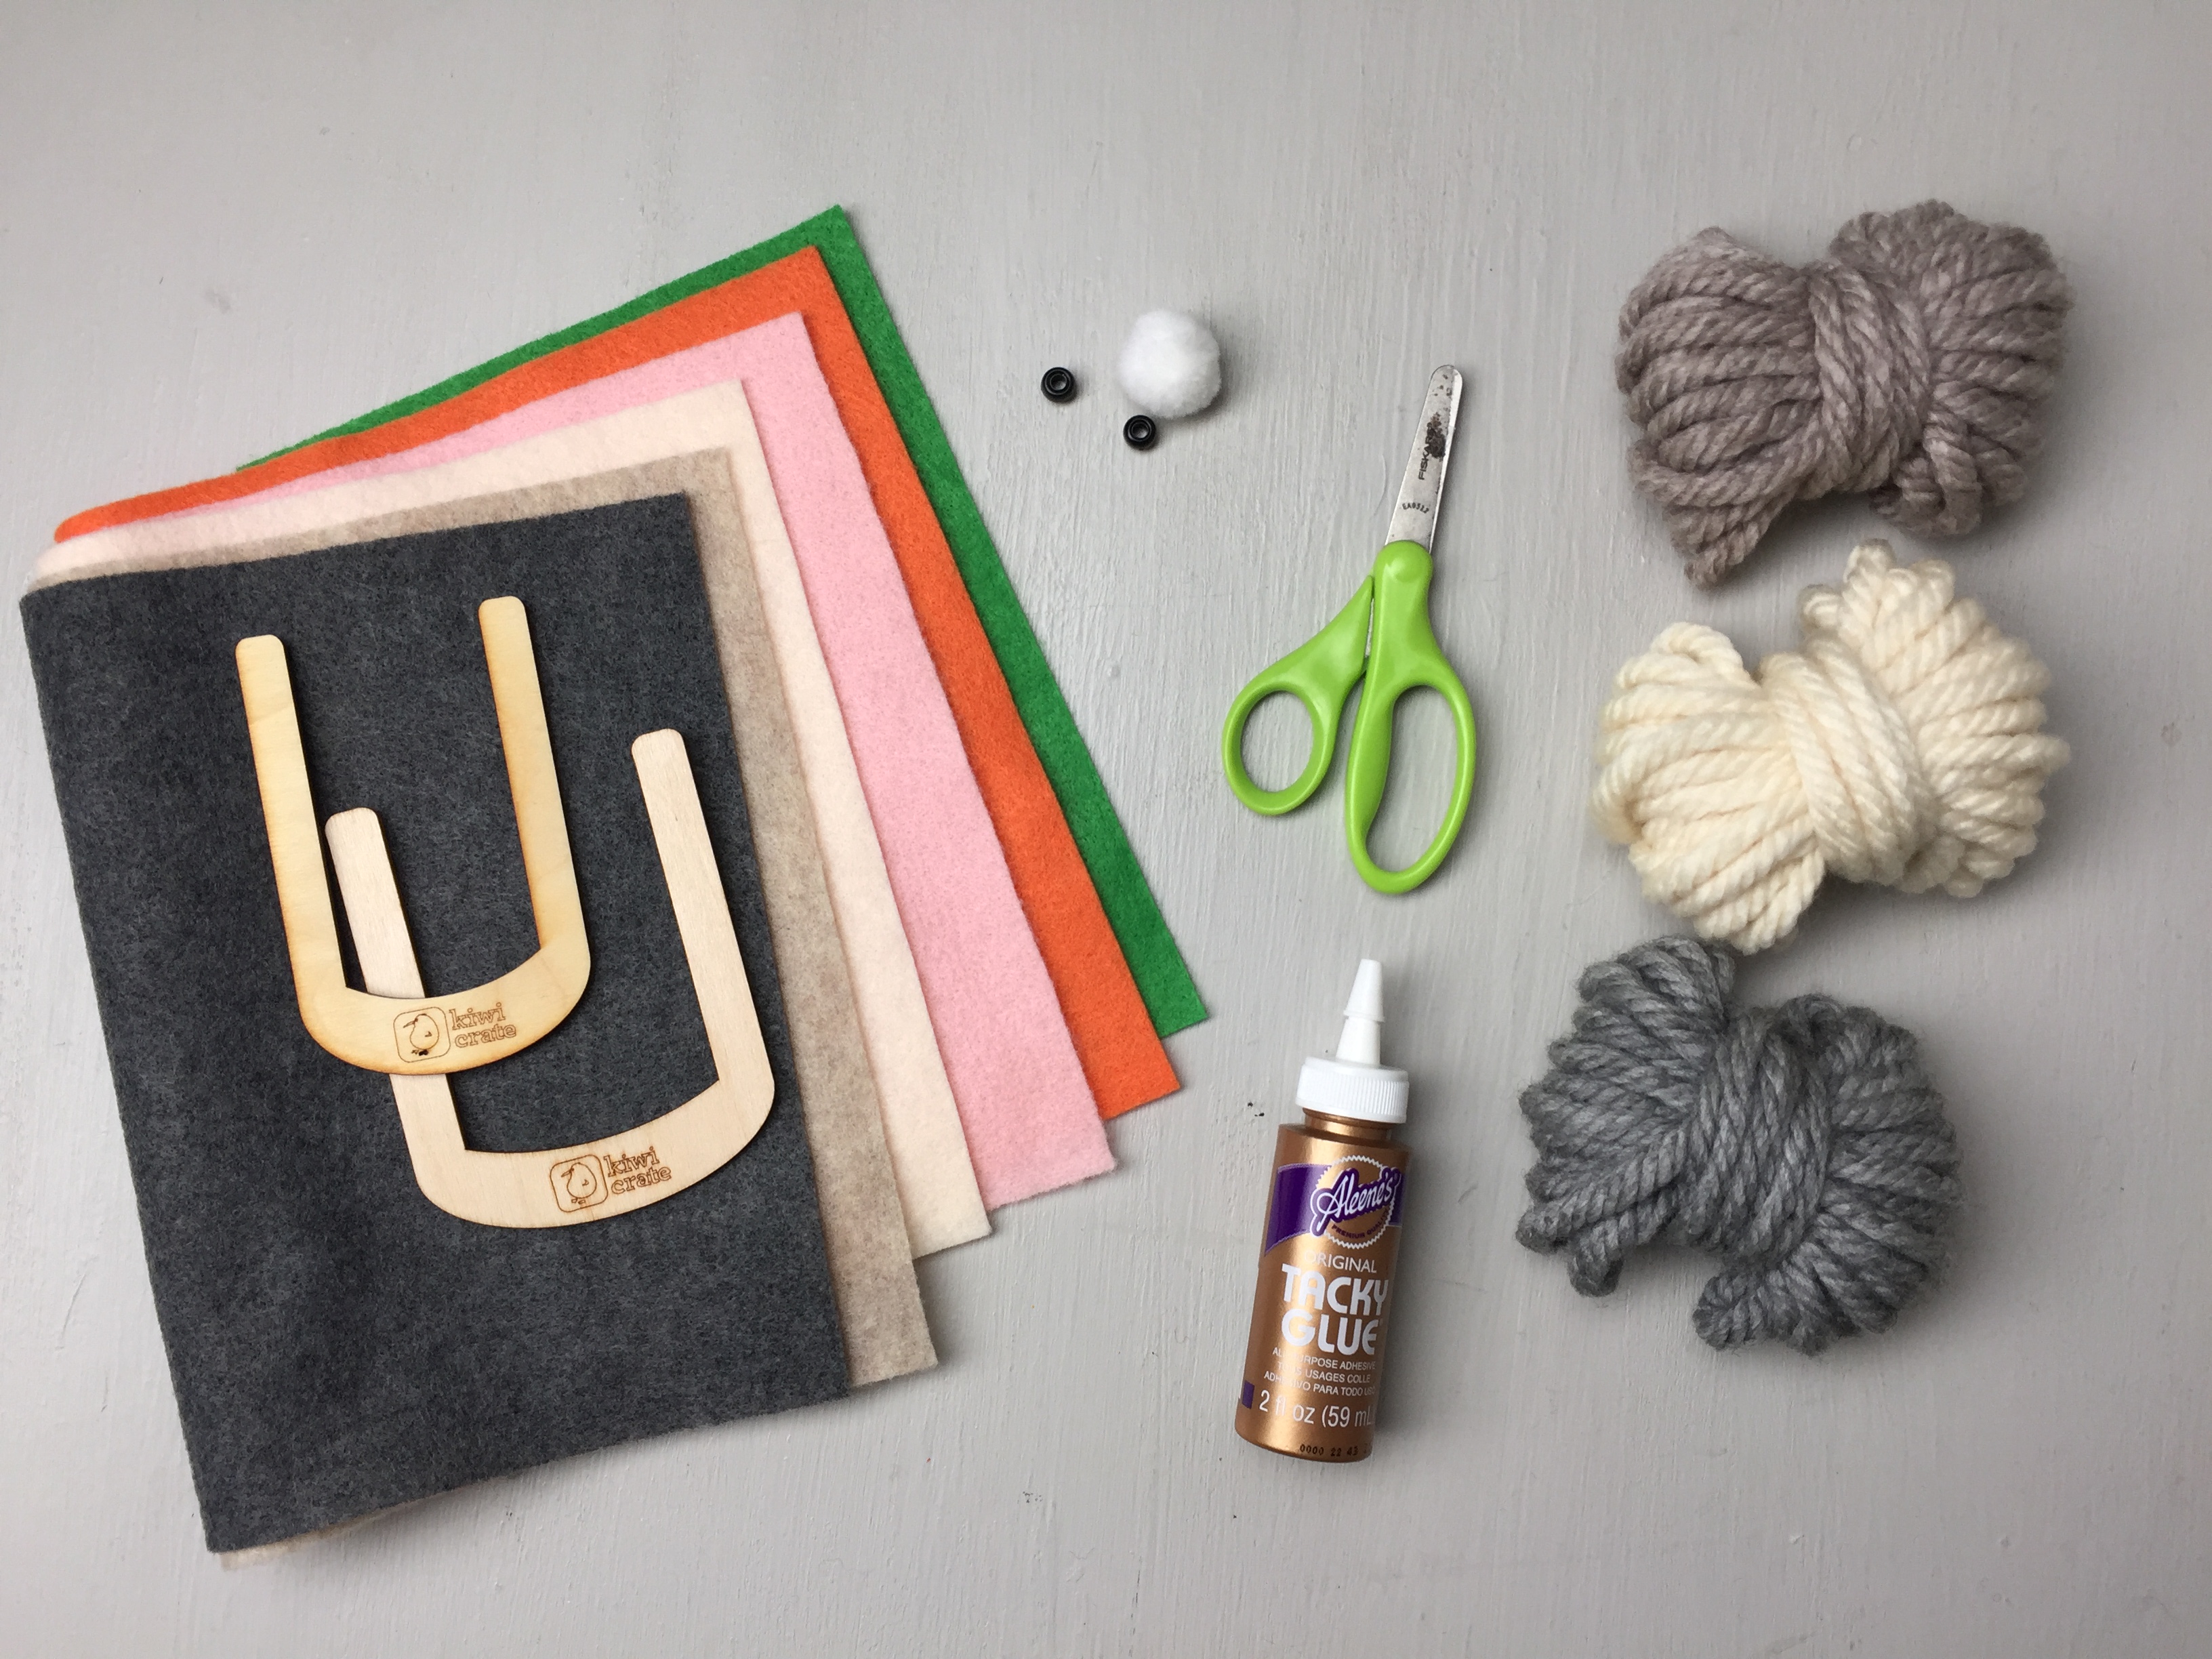
Gather the materials to make your DIY pom-pom bunnies!

Tip
If you don't have pom-pom winders, can create your own out of cardboard by cutting two U shapes from cardboard. We created a large one that was 4.5 inches wide and a small one that was 2 inches wide.
Step 2
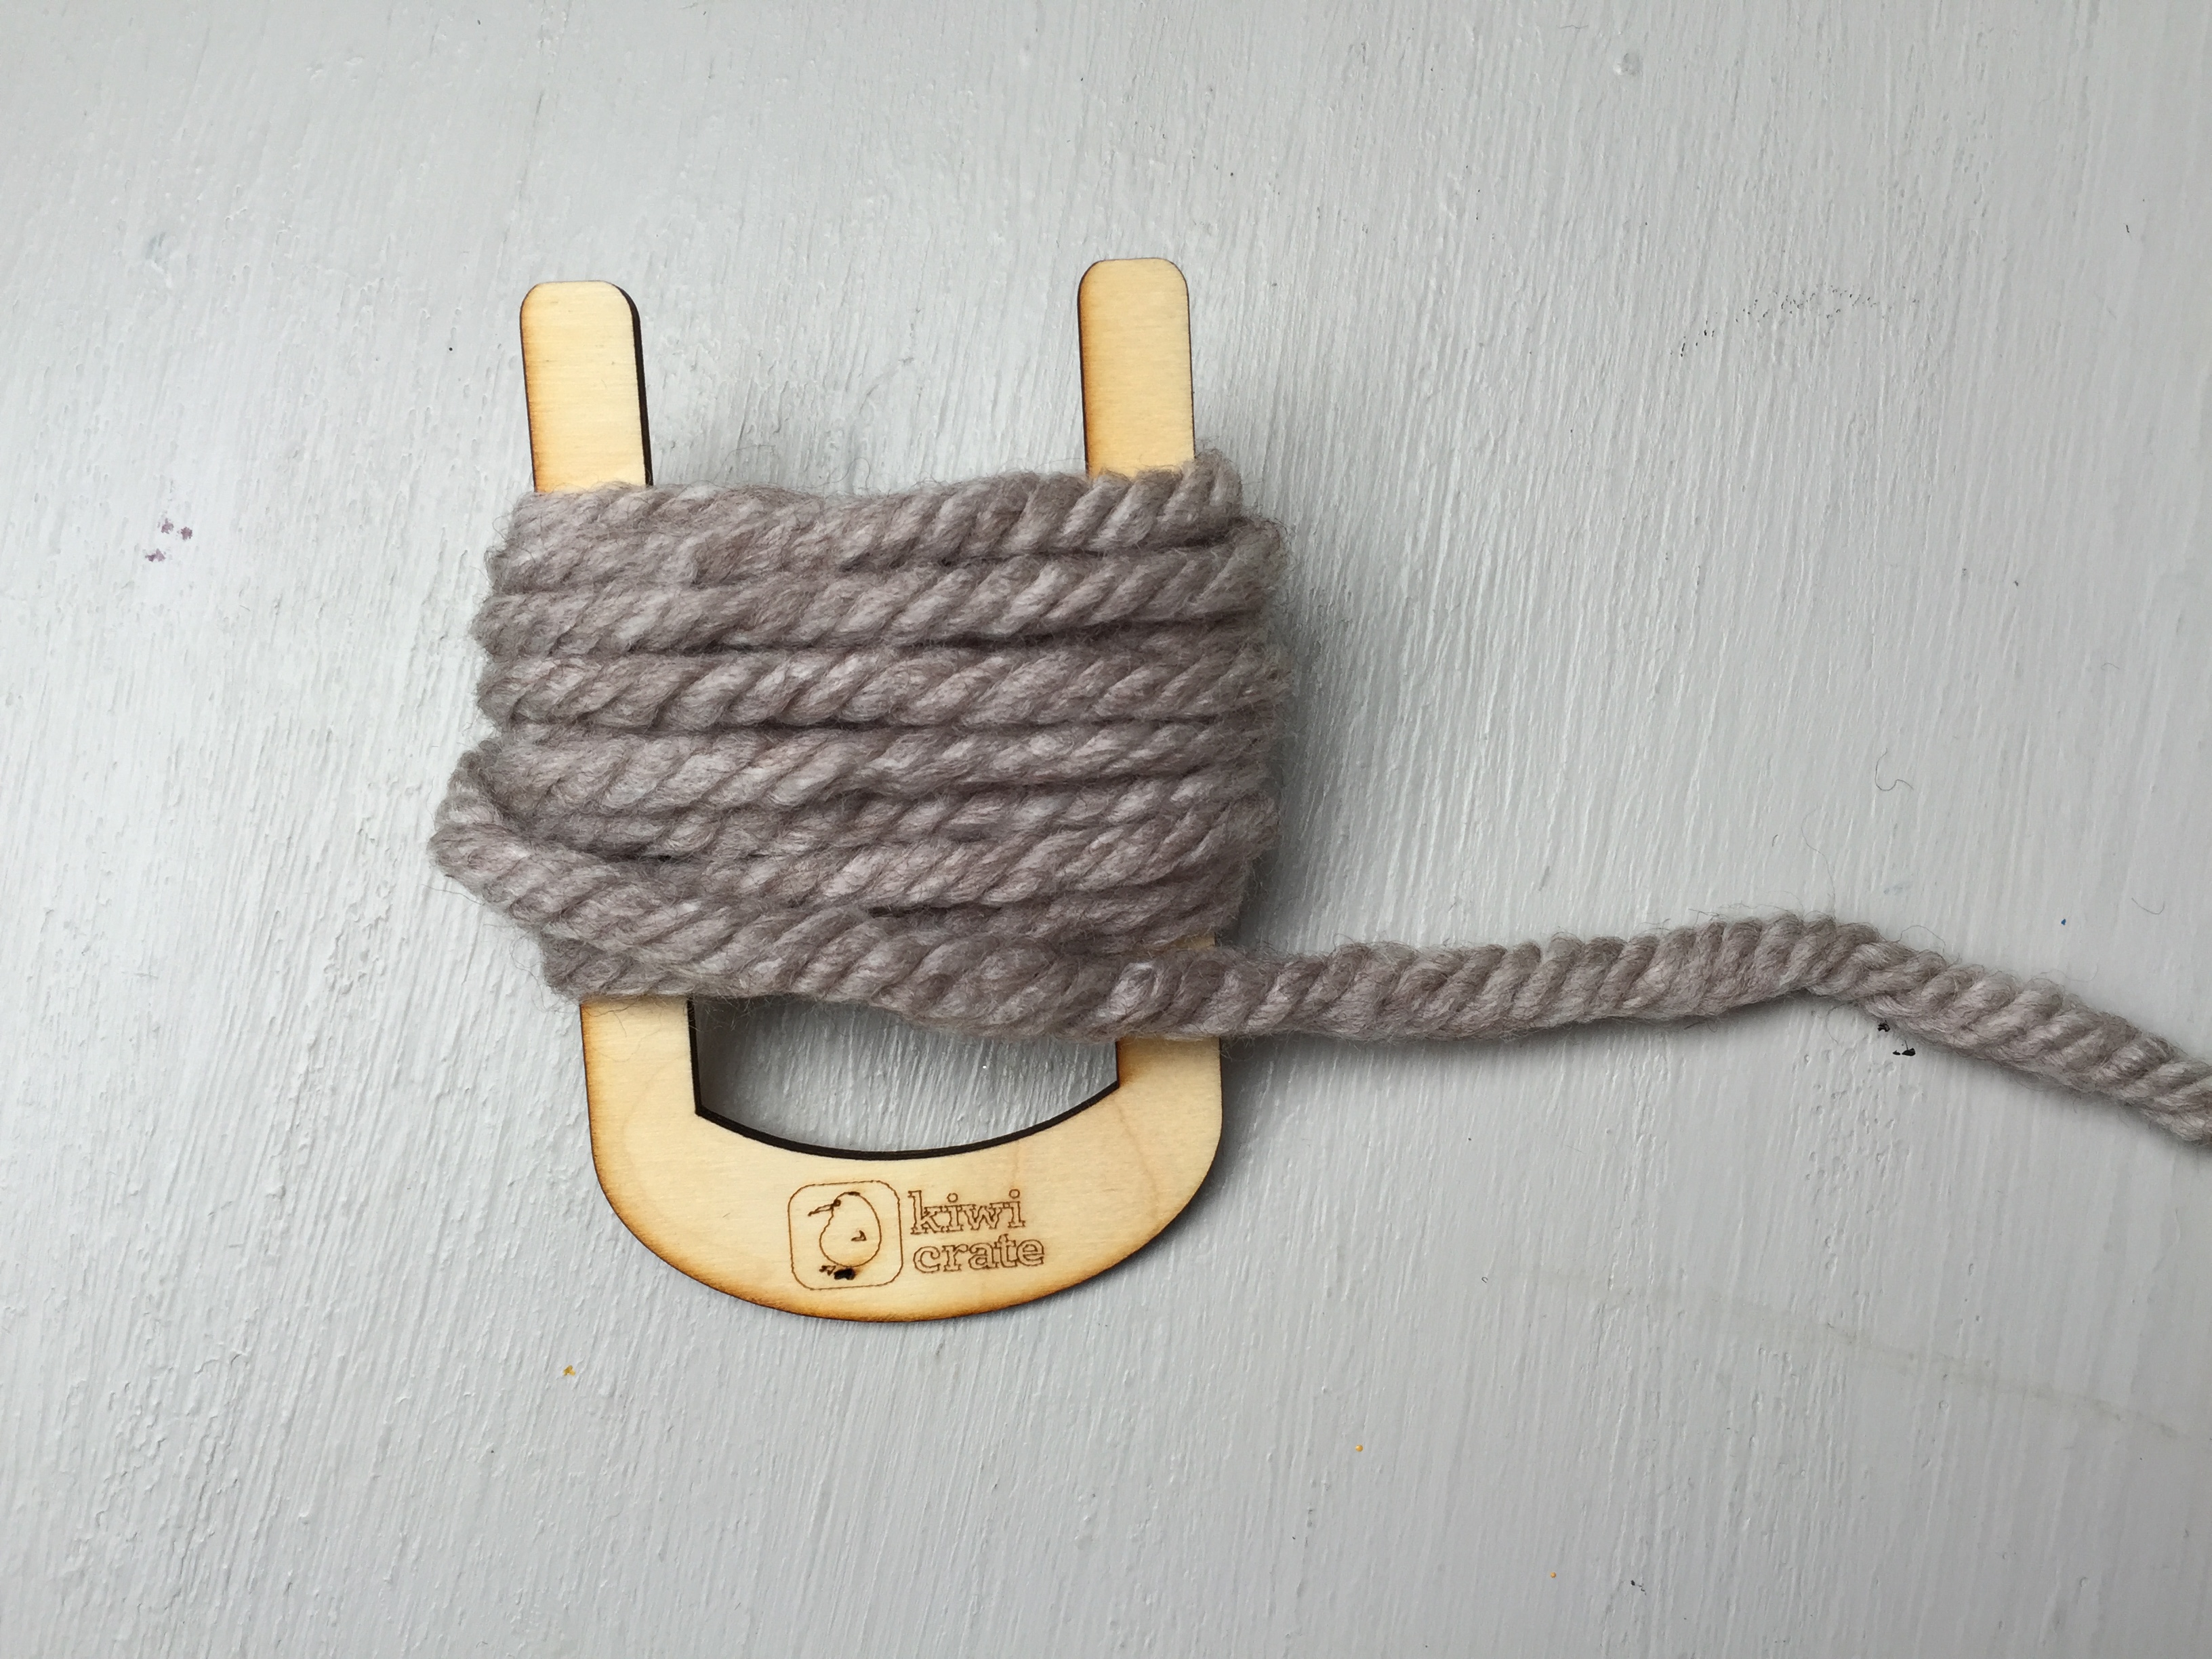
Start by creating a small pom-pom for the head and a large pom-pom for the body. Wrap yarn around the "arms" of your pom-pom maker and make sure not to wrap too tightly. The more yarn you use, the thicker and fluffier your bunny will be! For the small pom-pom, we wound the yarn about 15 times. For the large pom-pom, we wound the yarn about 40 times.
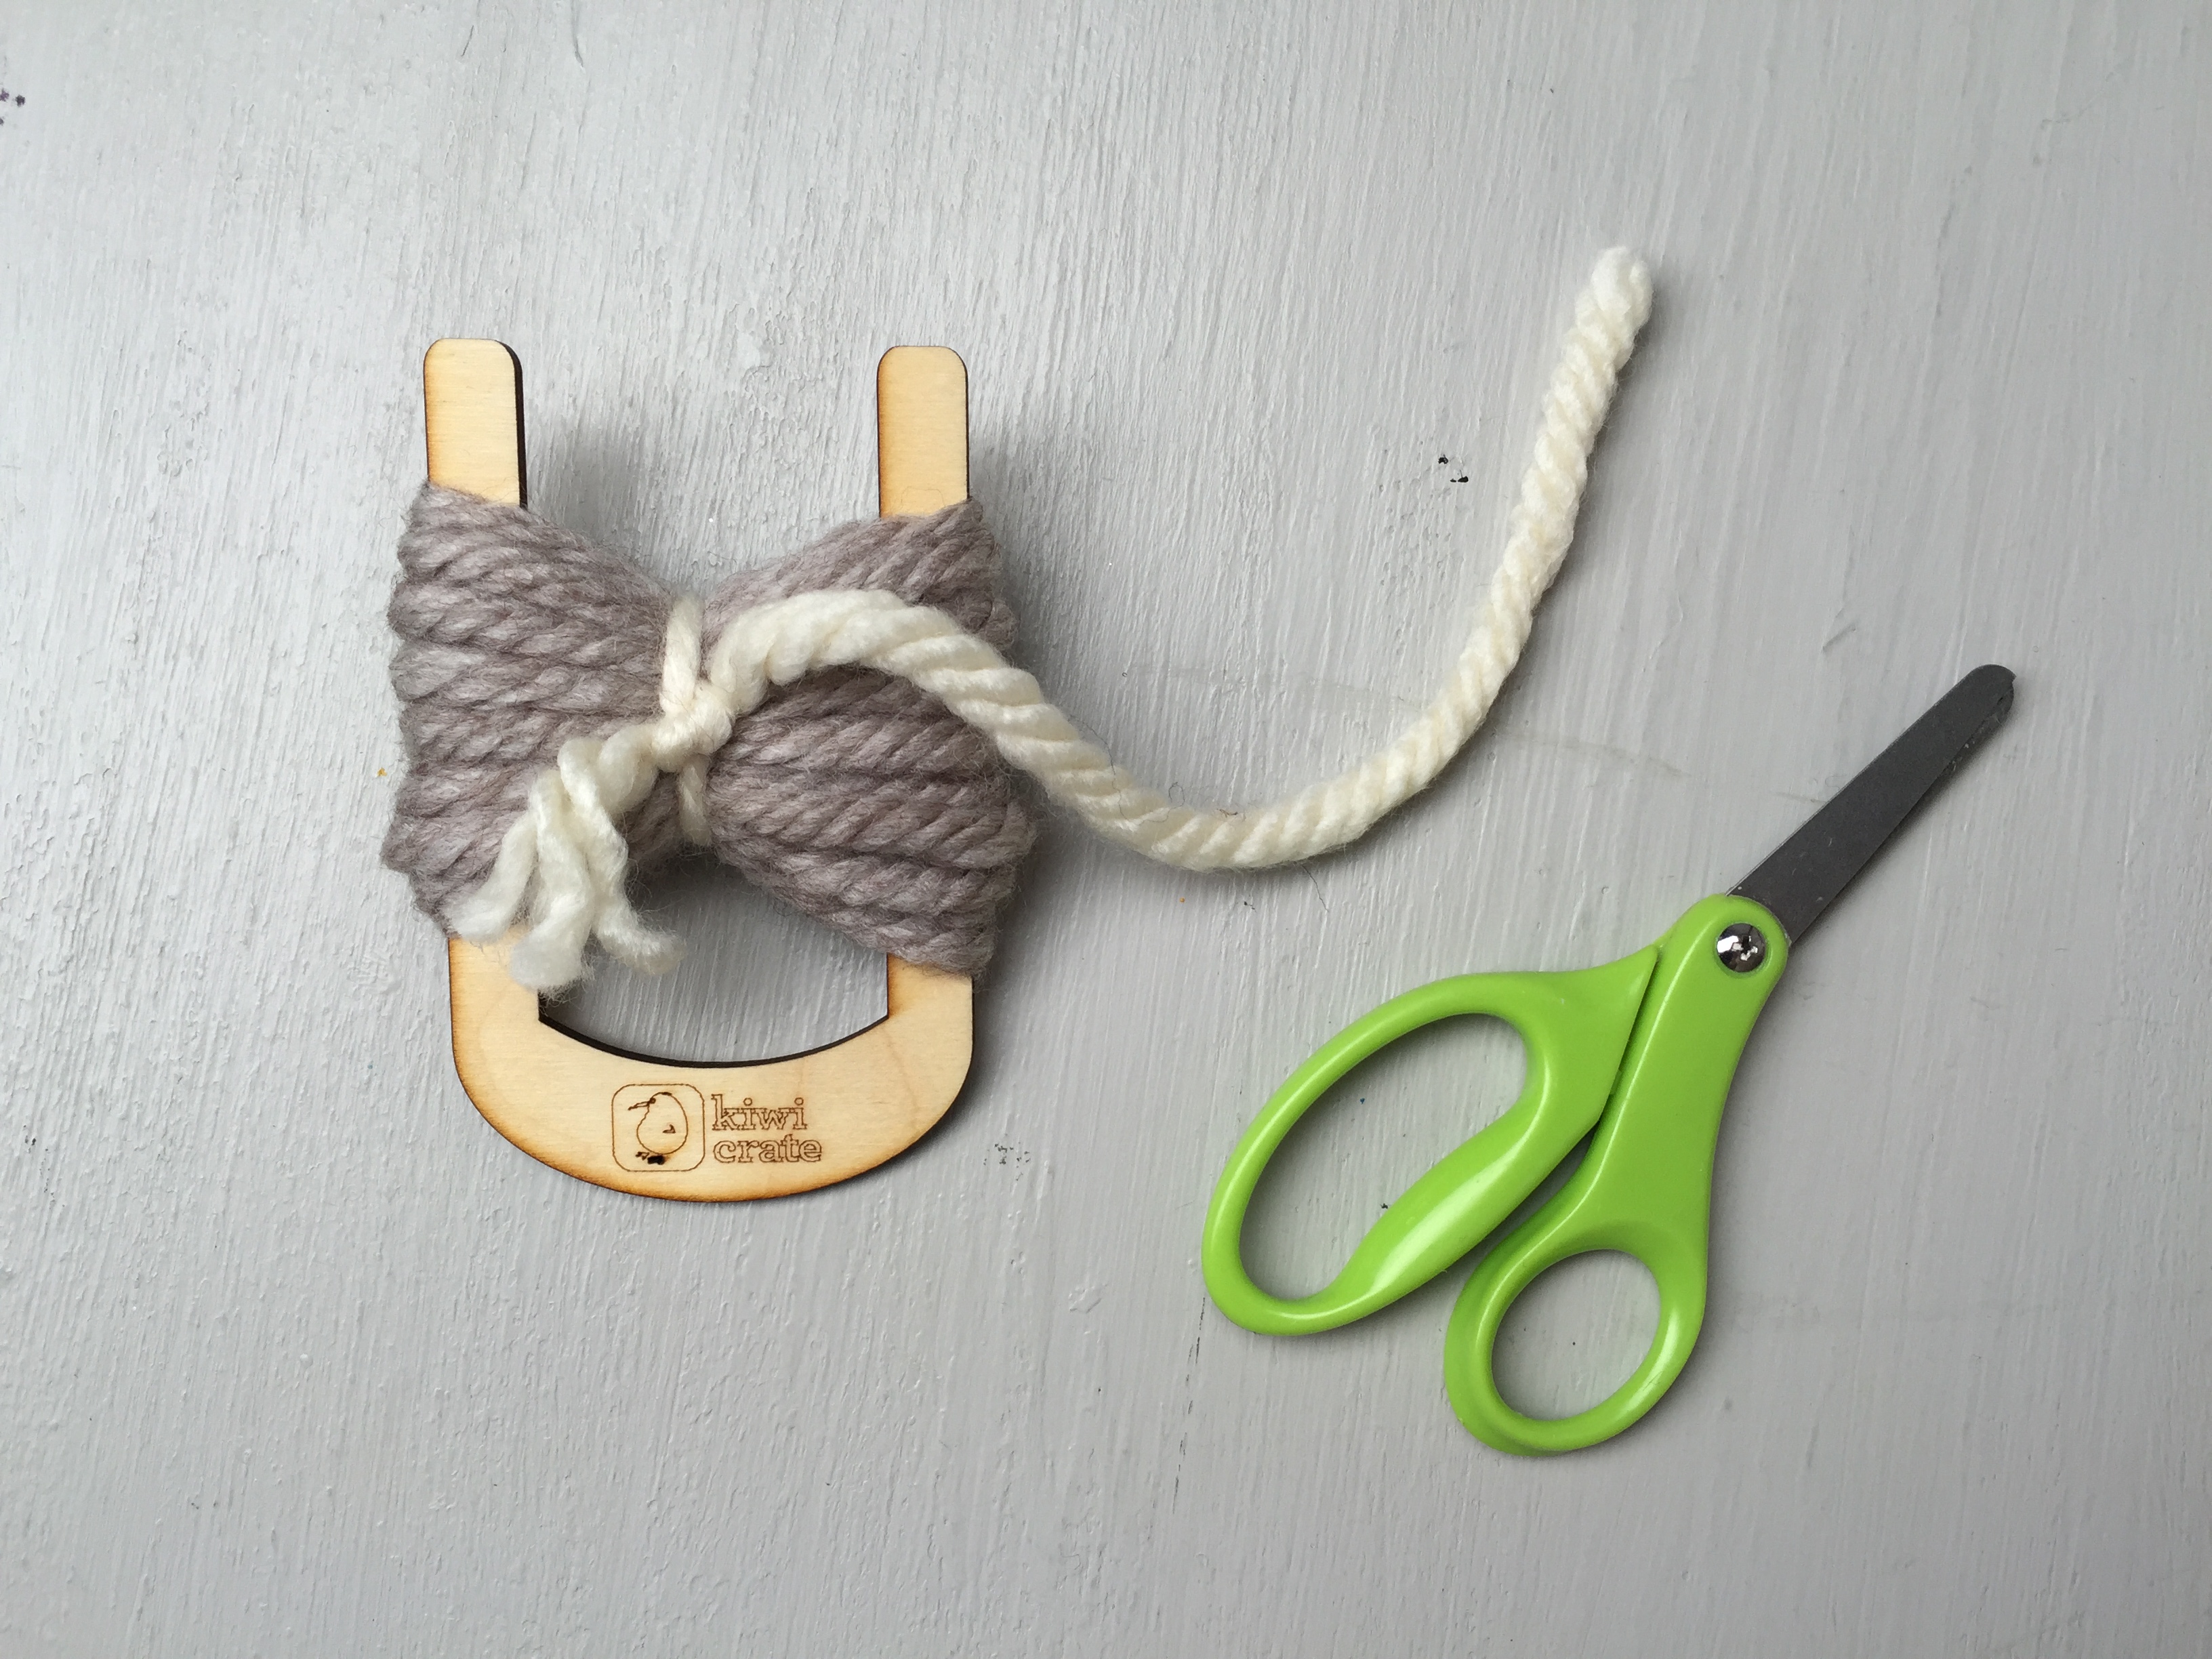
Step 3
Cut a 10-inch piece of yarn and tie it in the center. Tie the yarn so it leaves one long tail. Gently remove the yarn from the pom-pom winder. In this step, we used a contrasting yarn color to better illustrate what we did. Feel free to mix or match your yarn as you like.
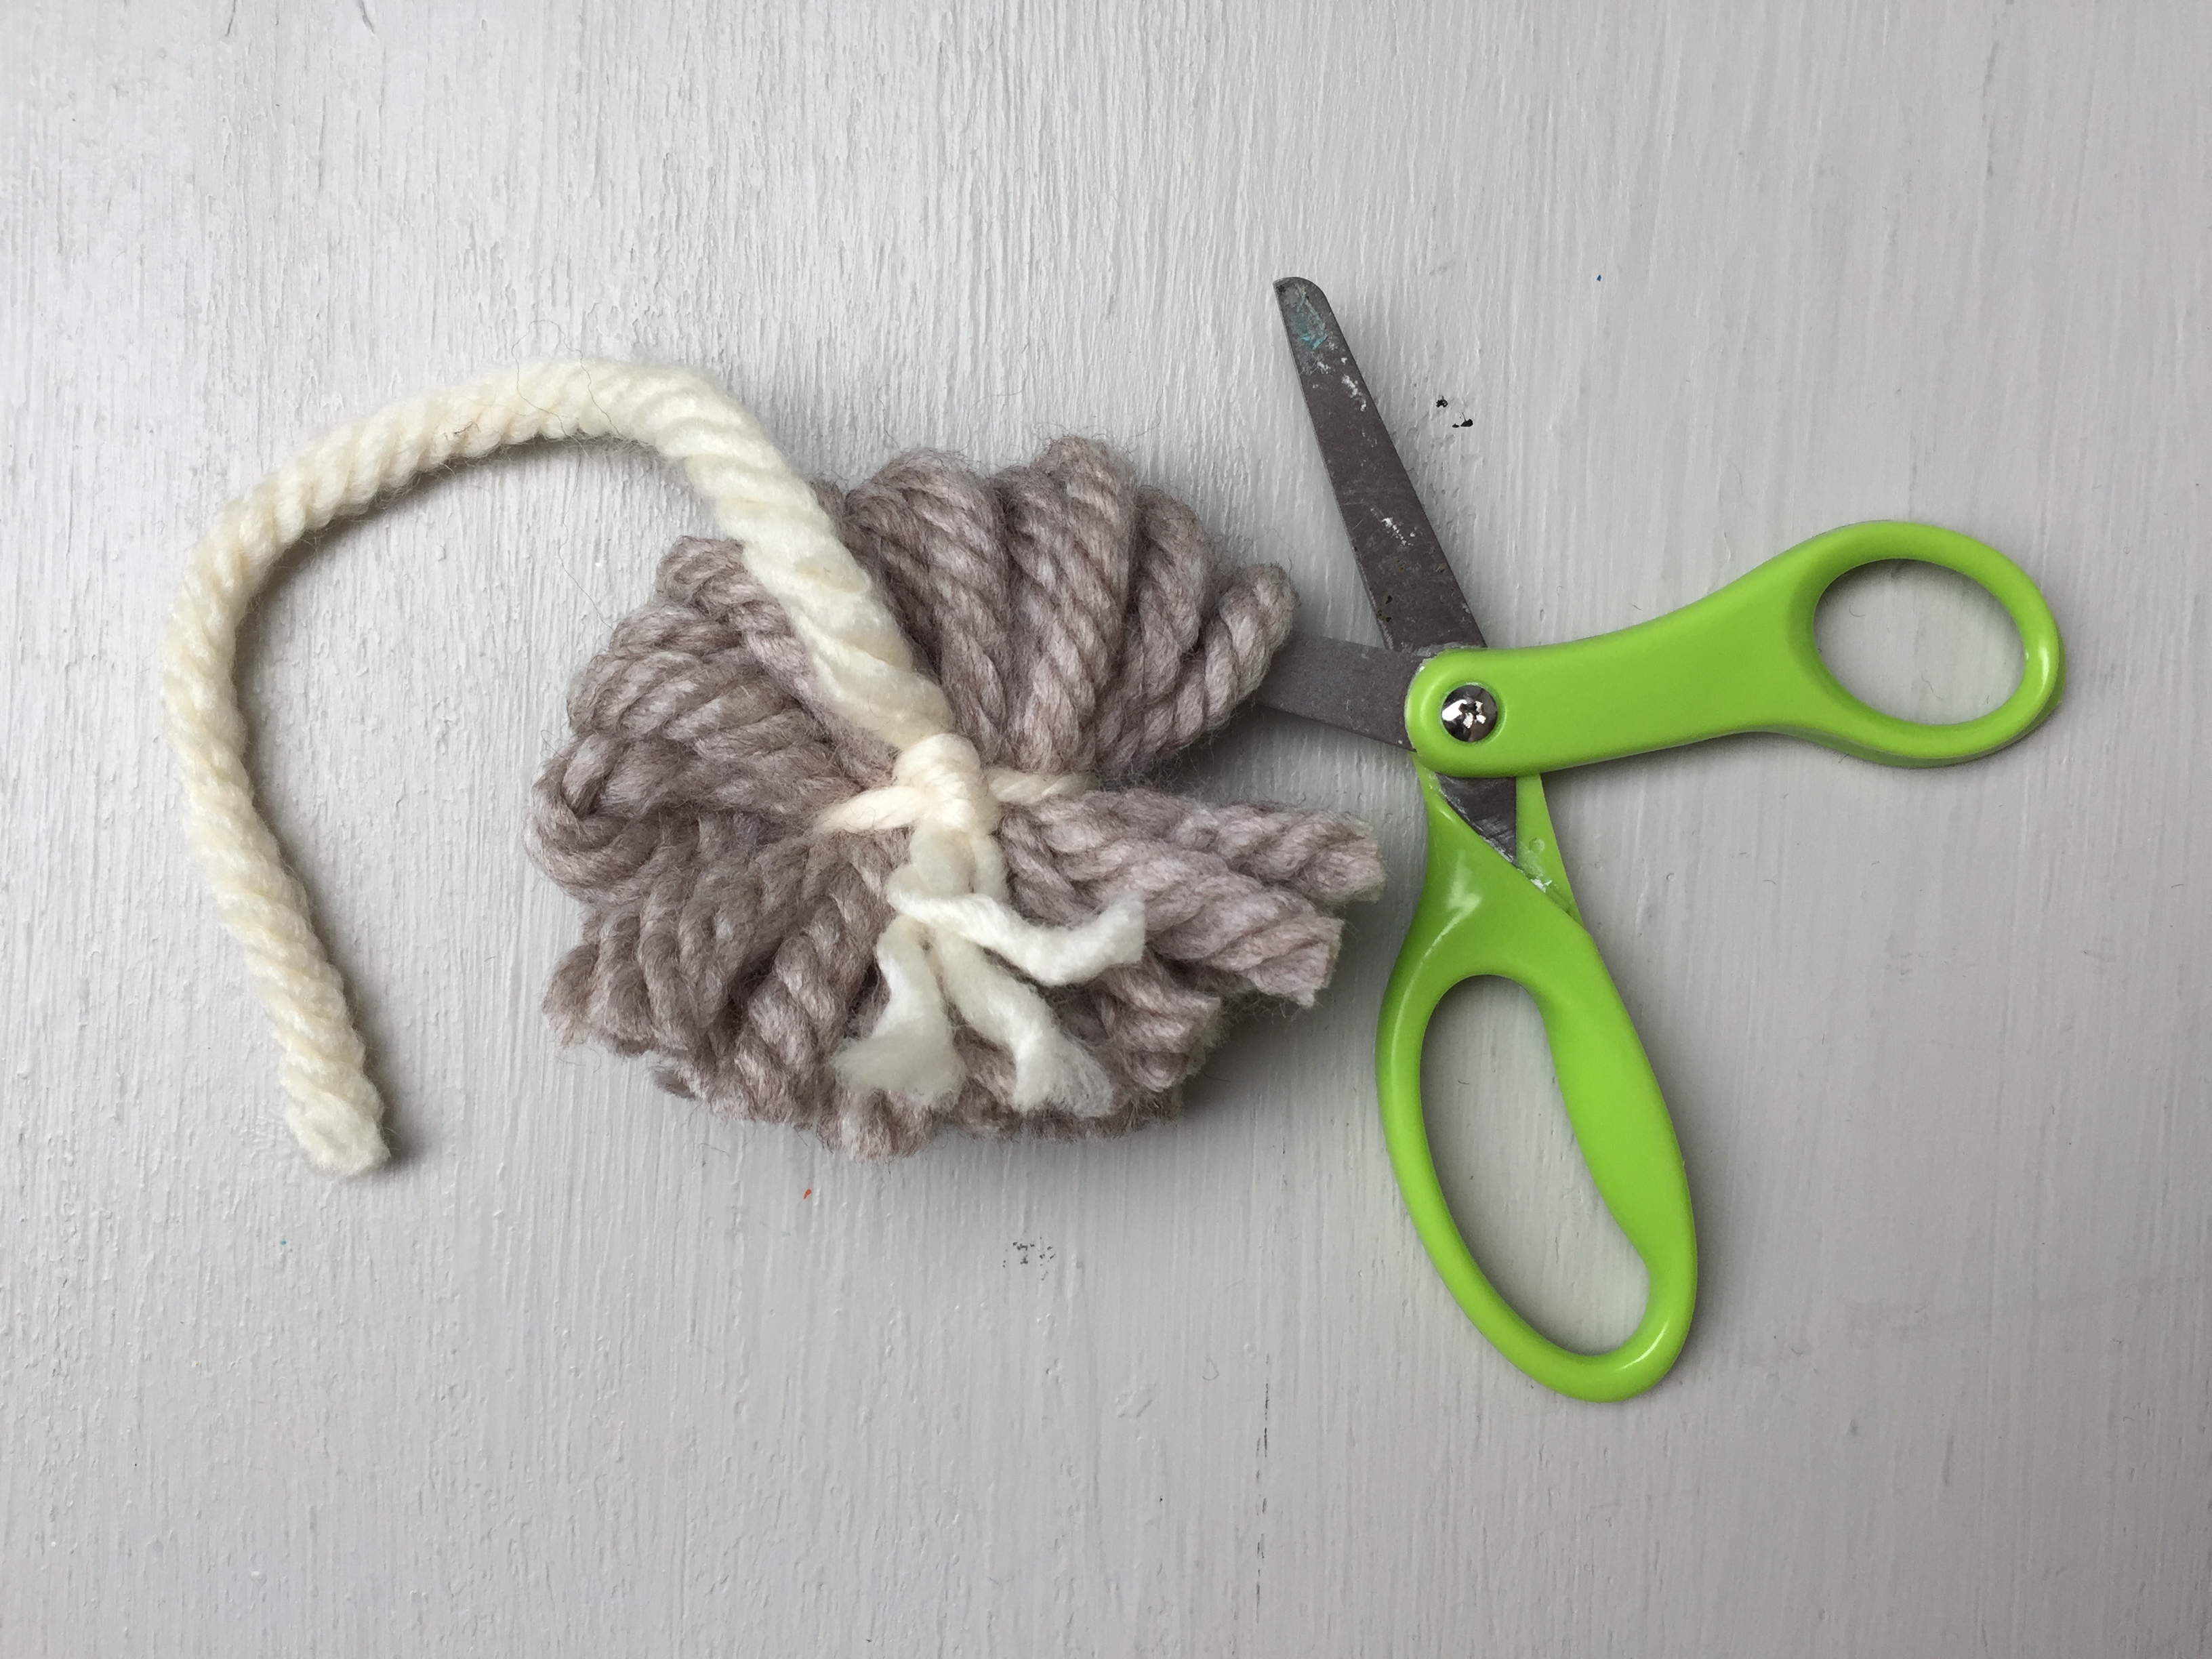
Step 4
Take scissors and cut the loops to create your pom-pom. We also trimmed the yarn to create a nice rounded pom-pom shape. Make sure not to cut the long tail on the pom-pom. Repeat steps 3-5 with the large pom-pom maker to create the bunny's body.
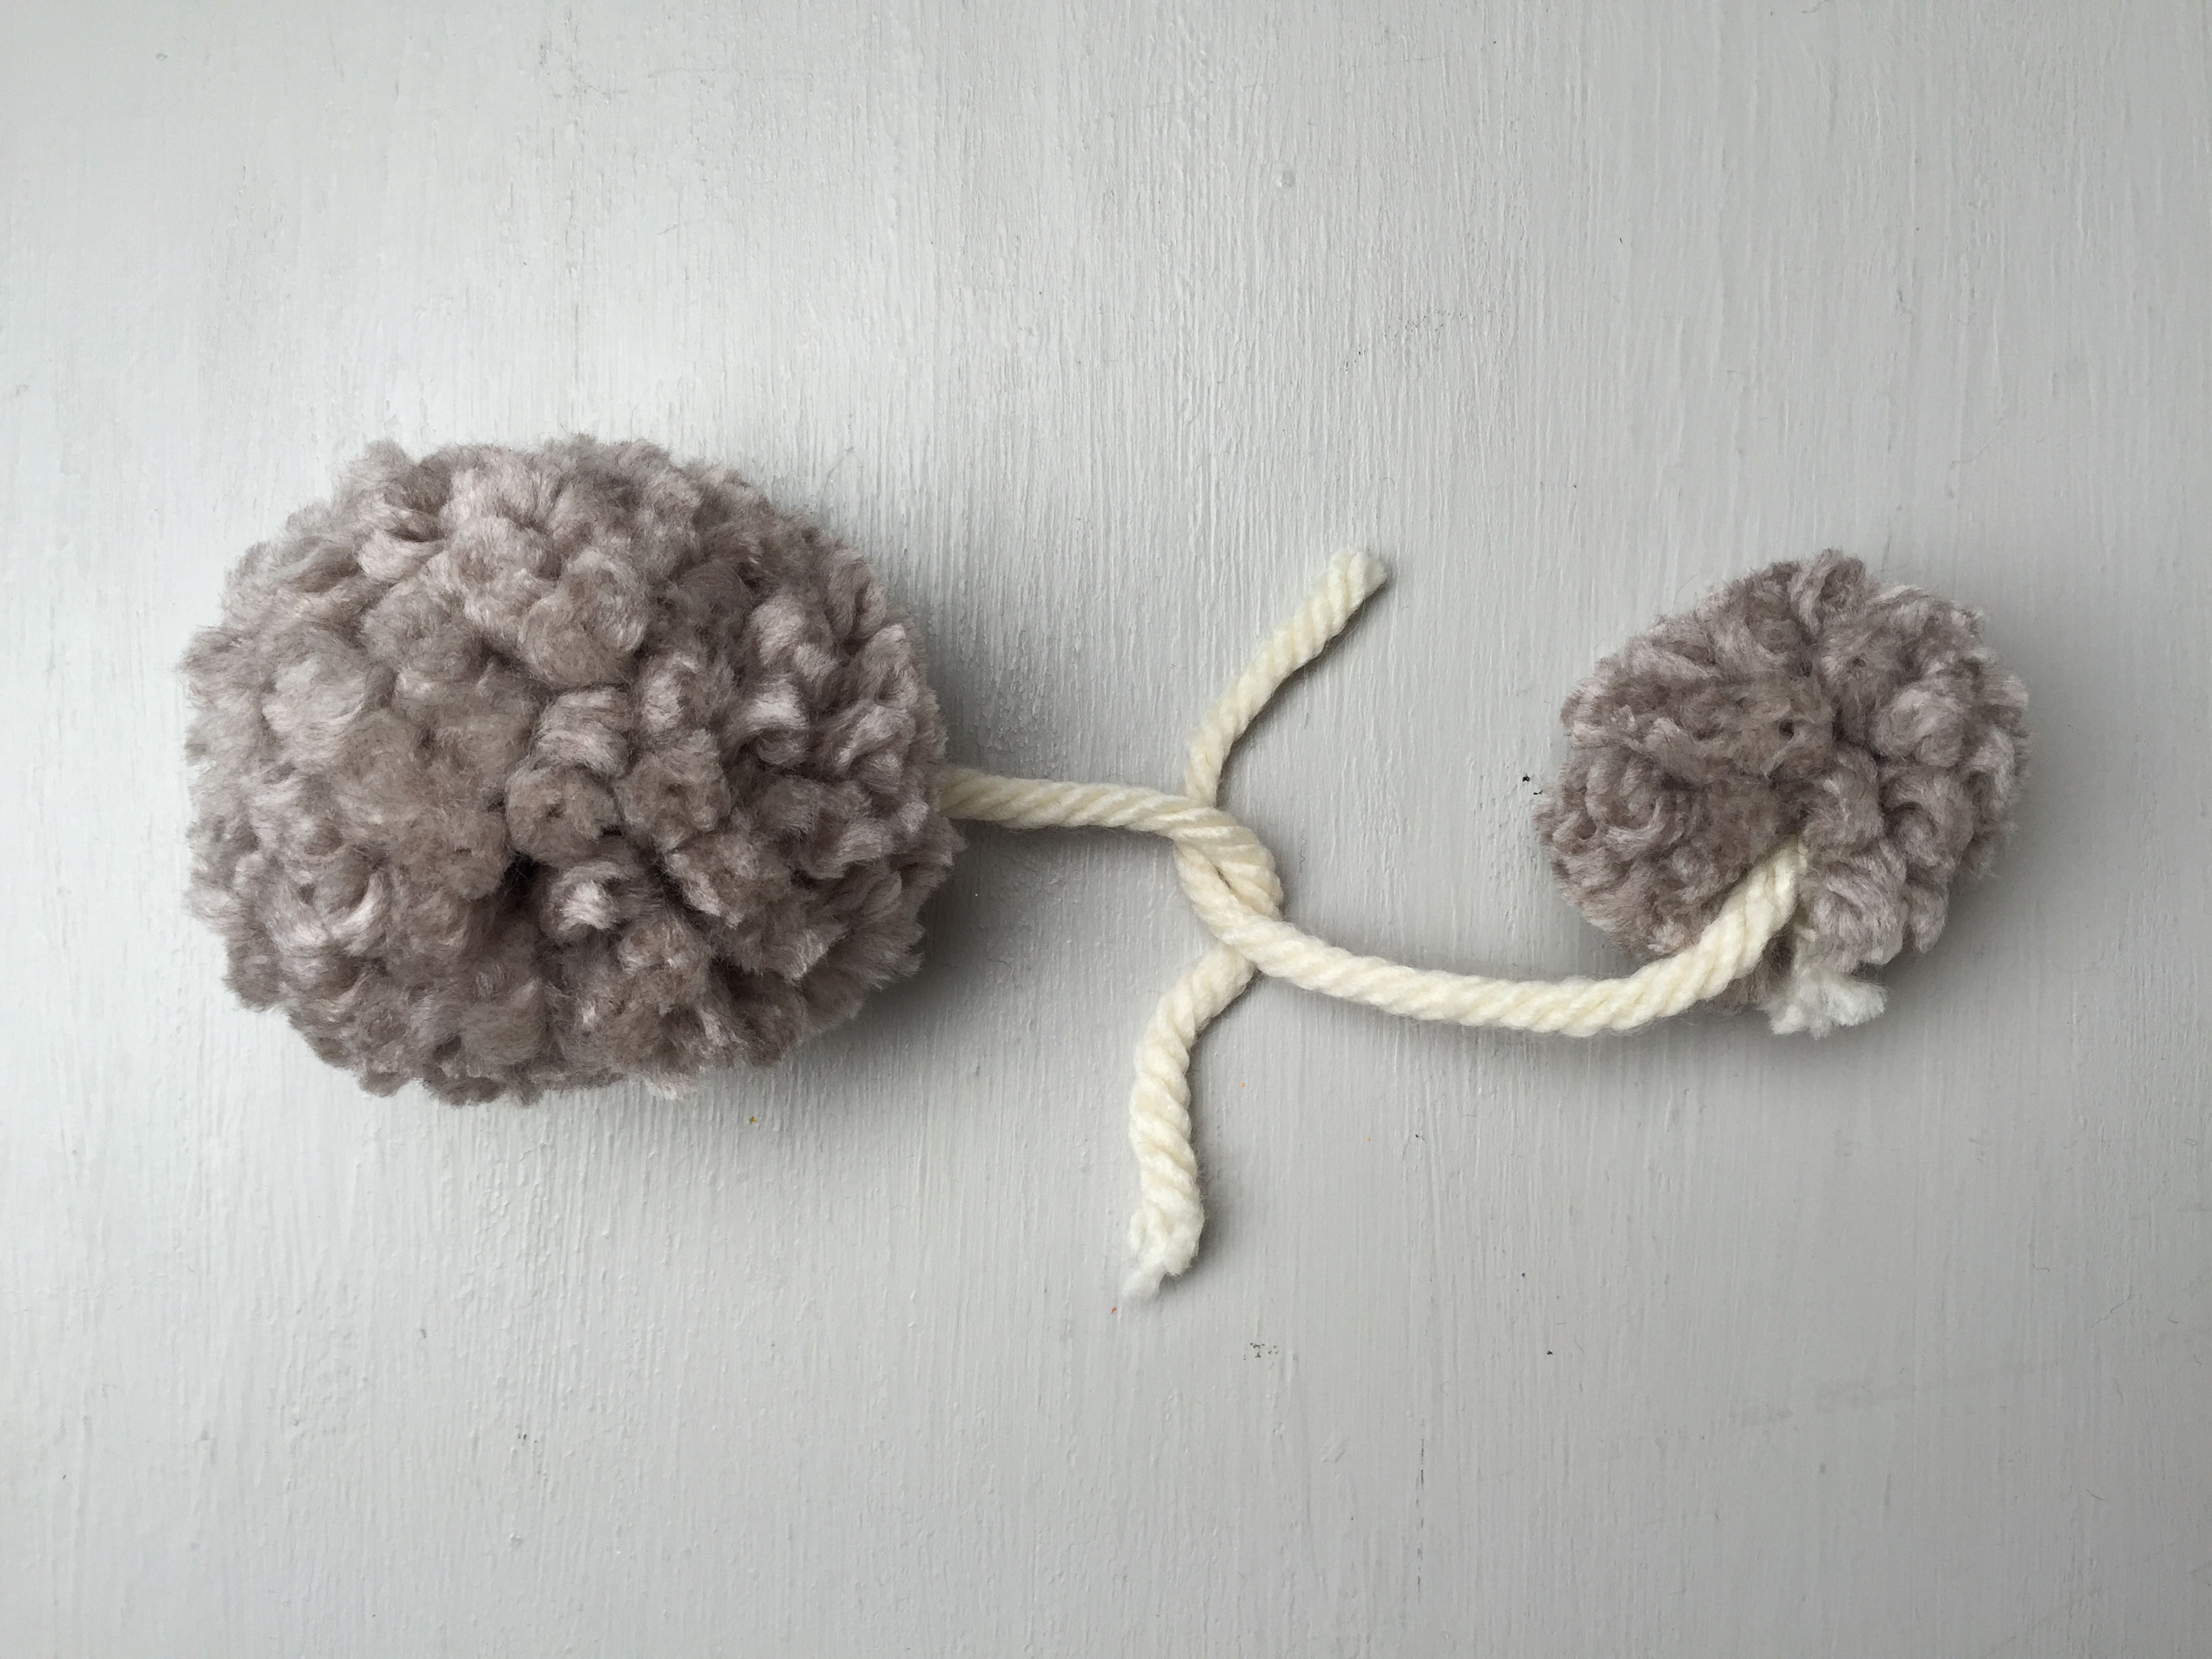
Step 5
Take the two pom-poms and tie the long tails together to create the bunny. Trim off any excess yarn.
Done!
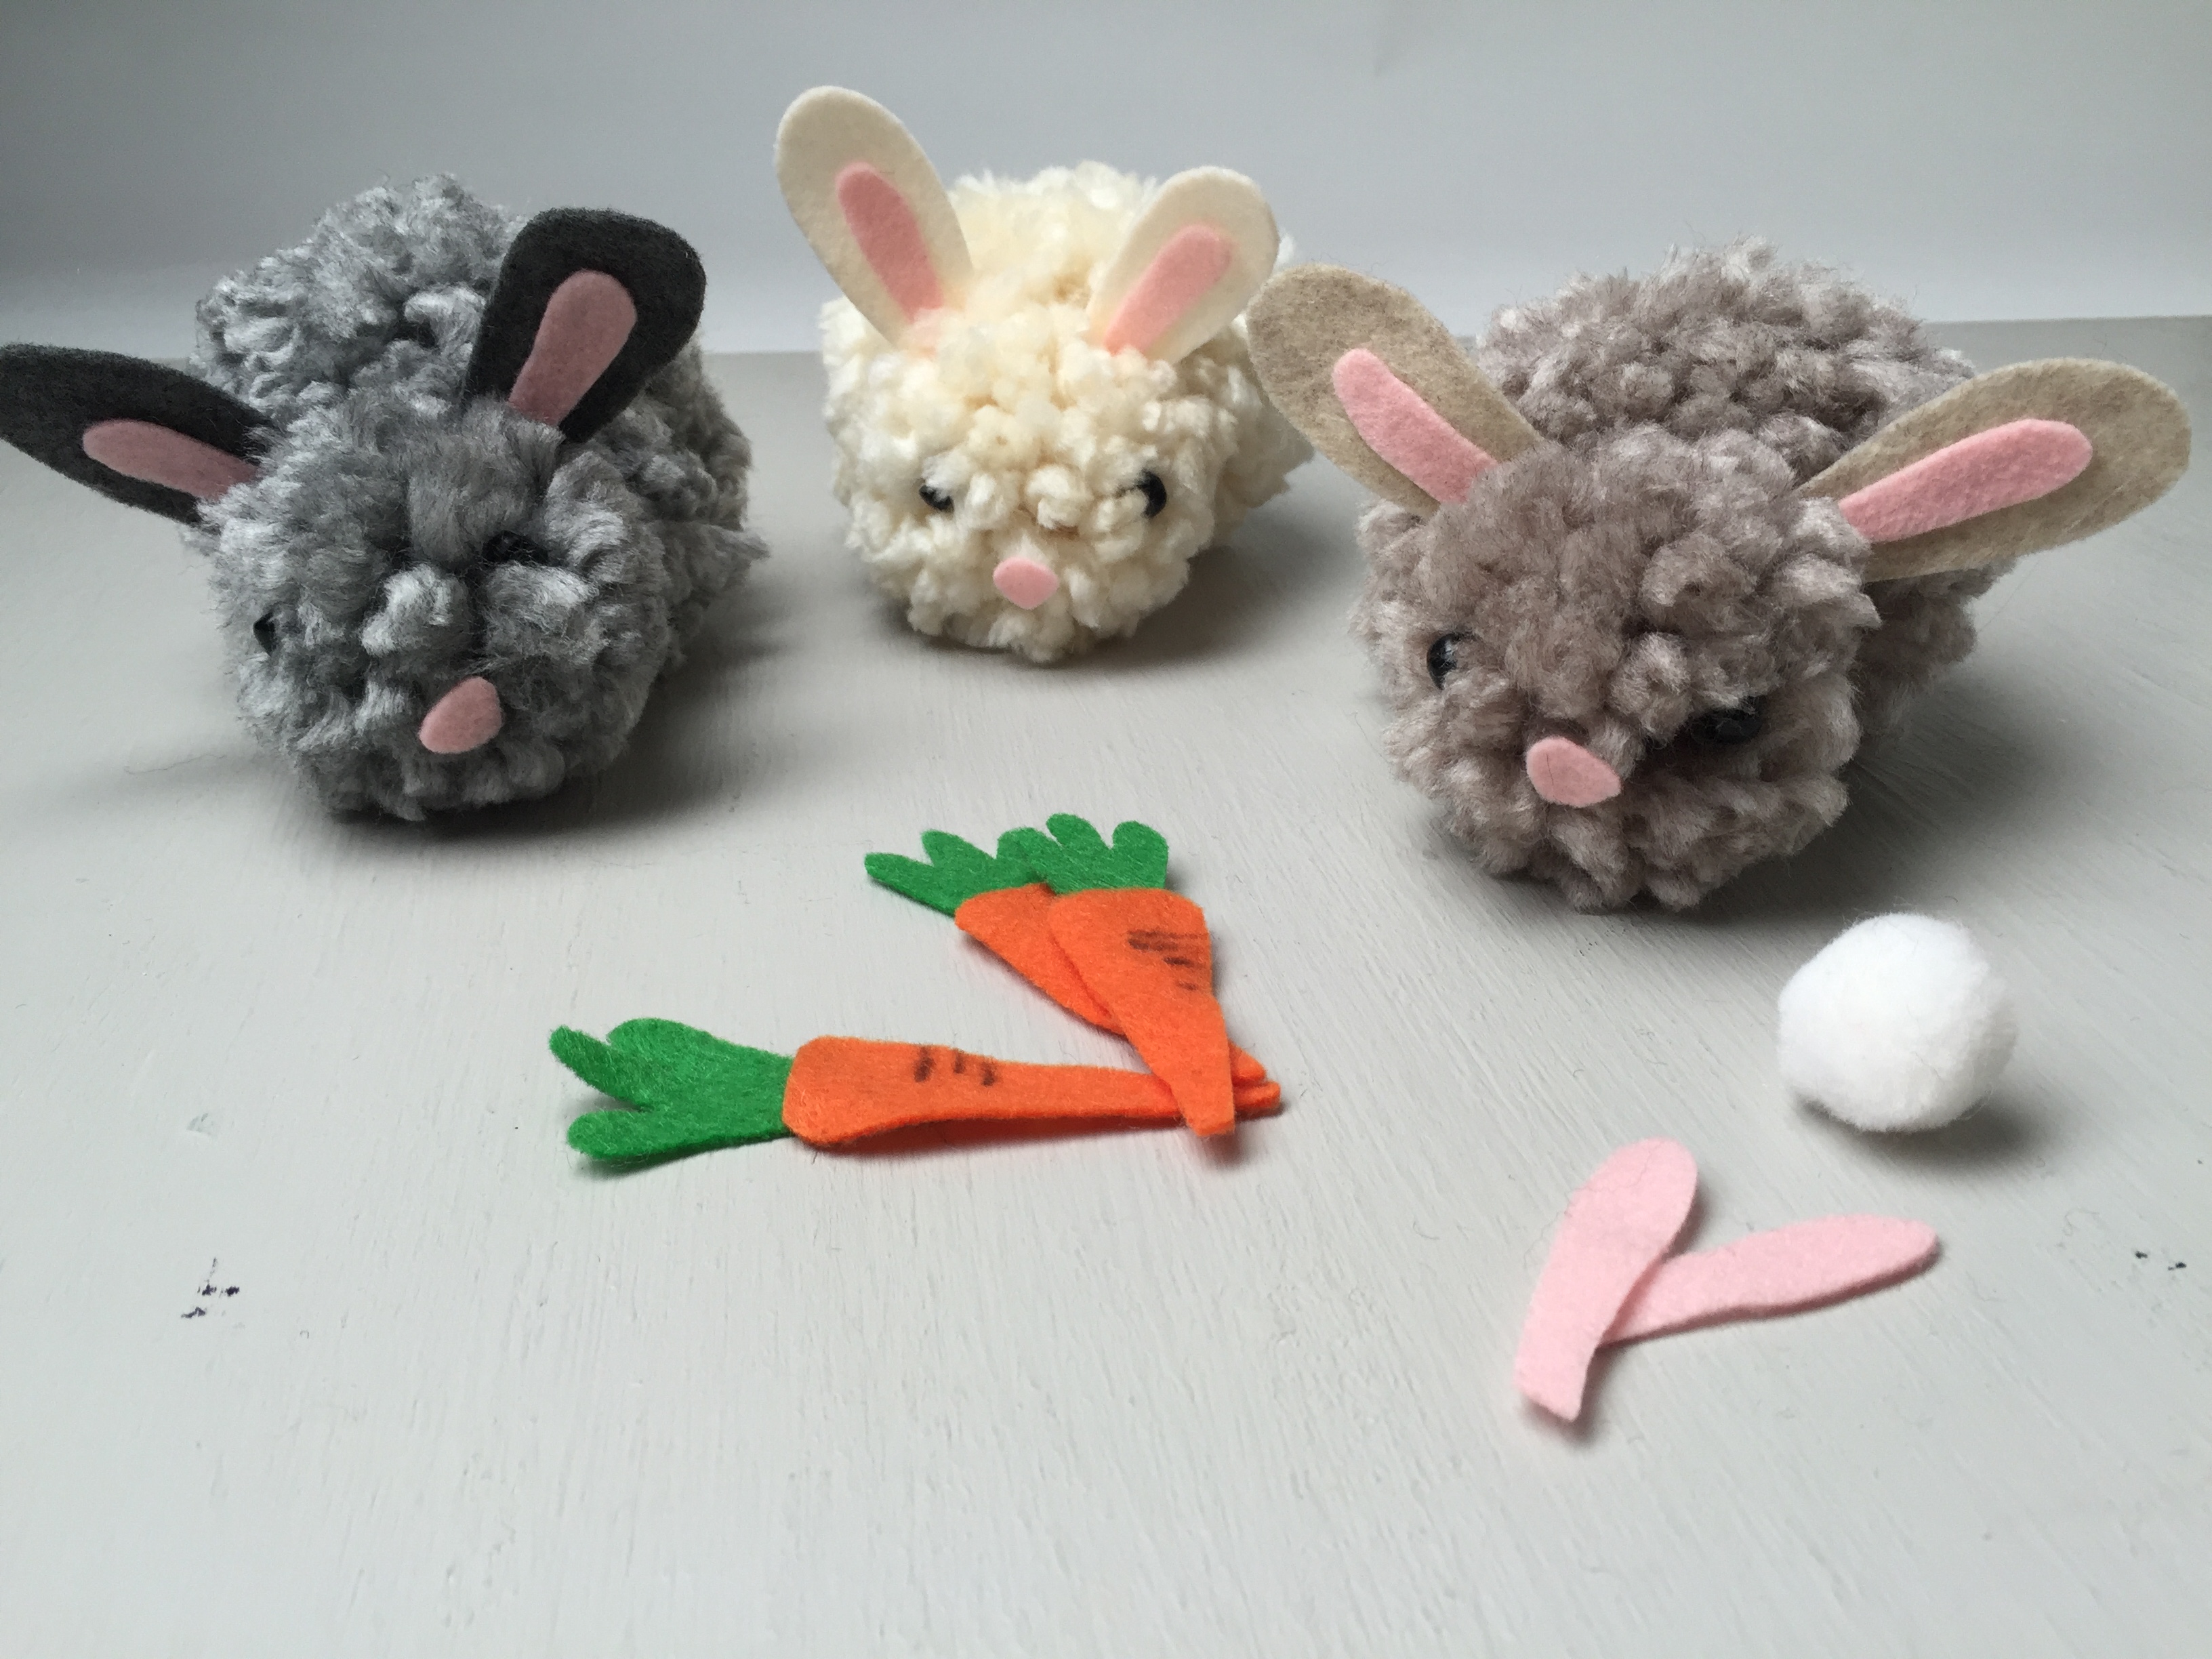
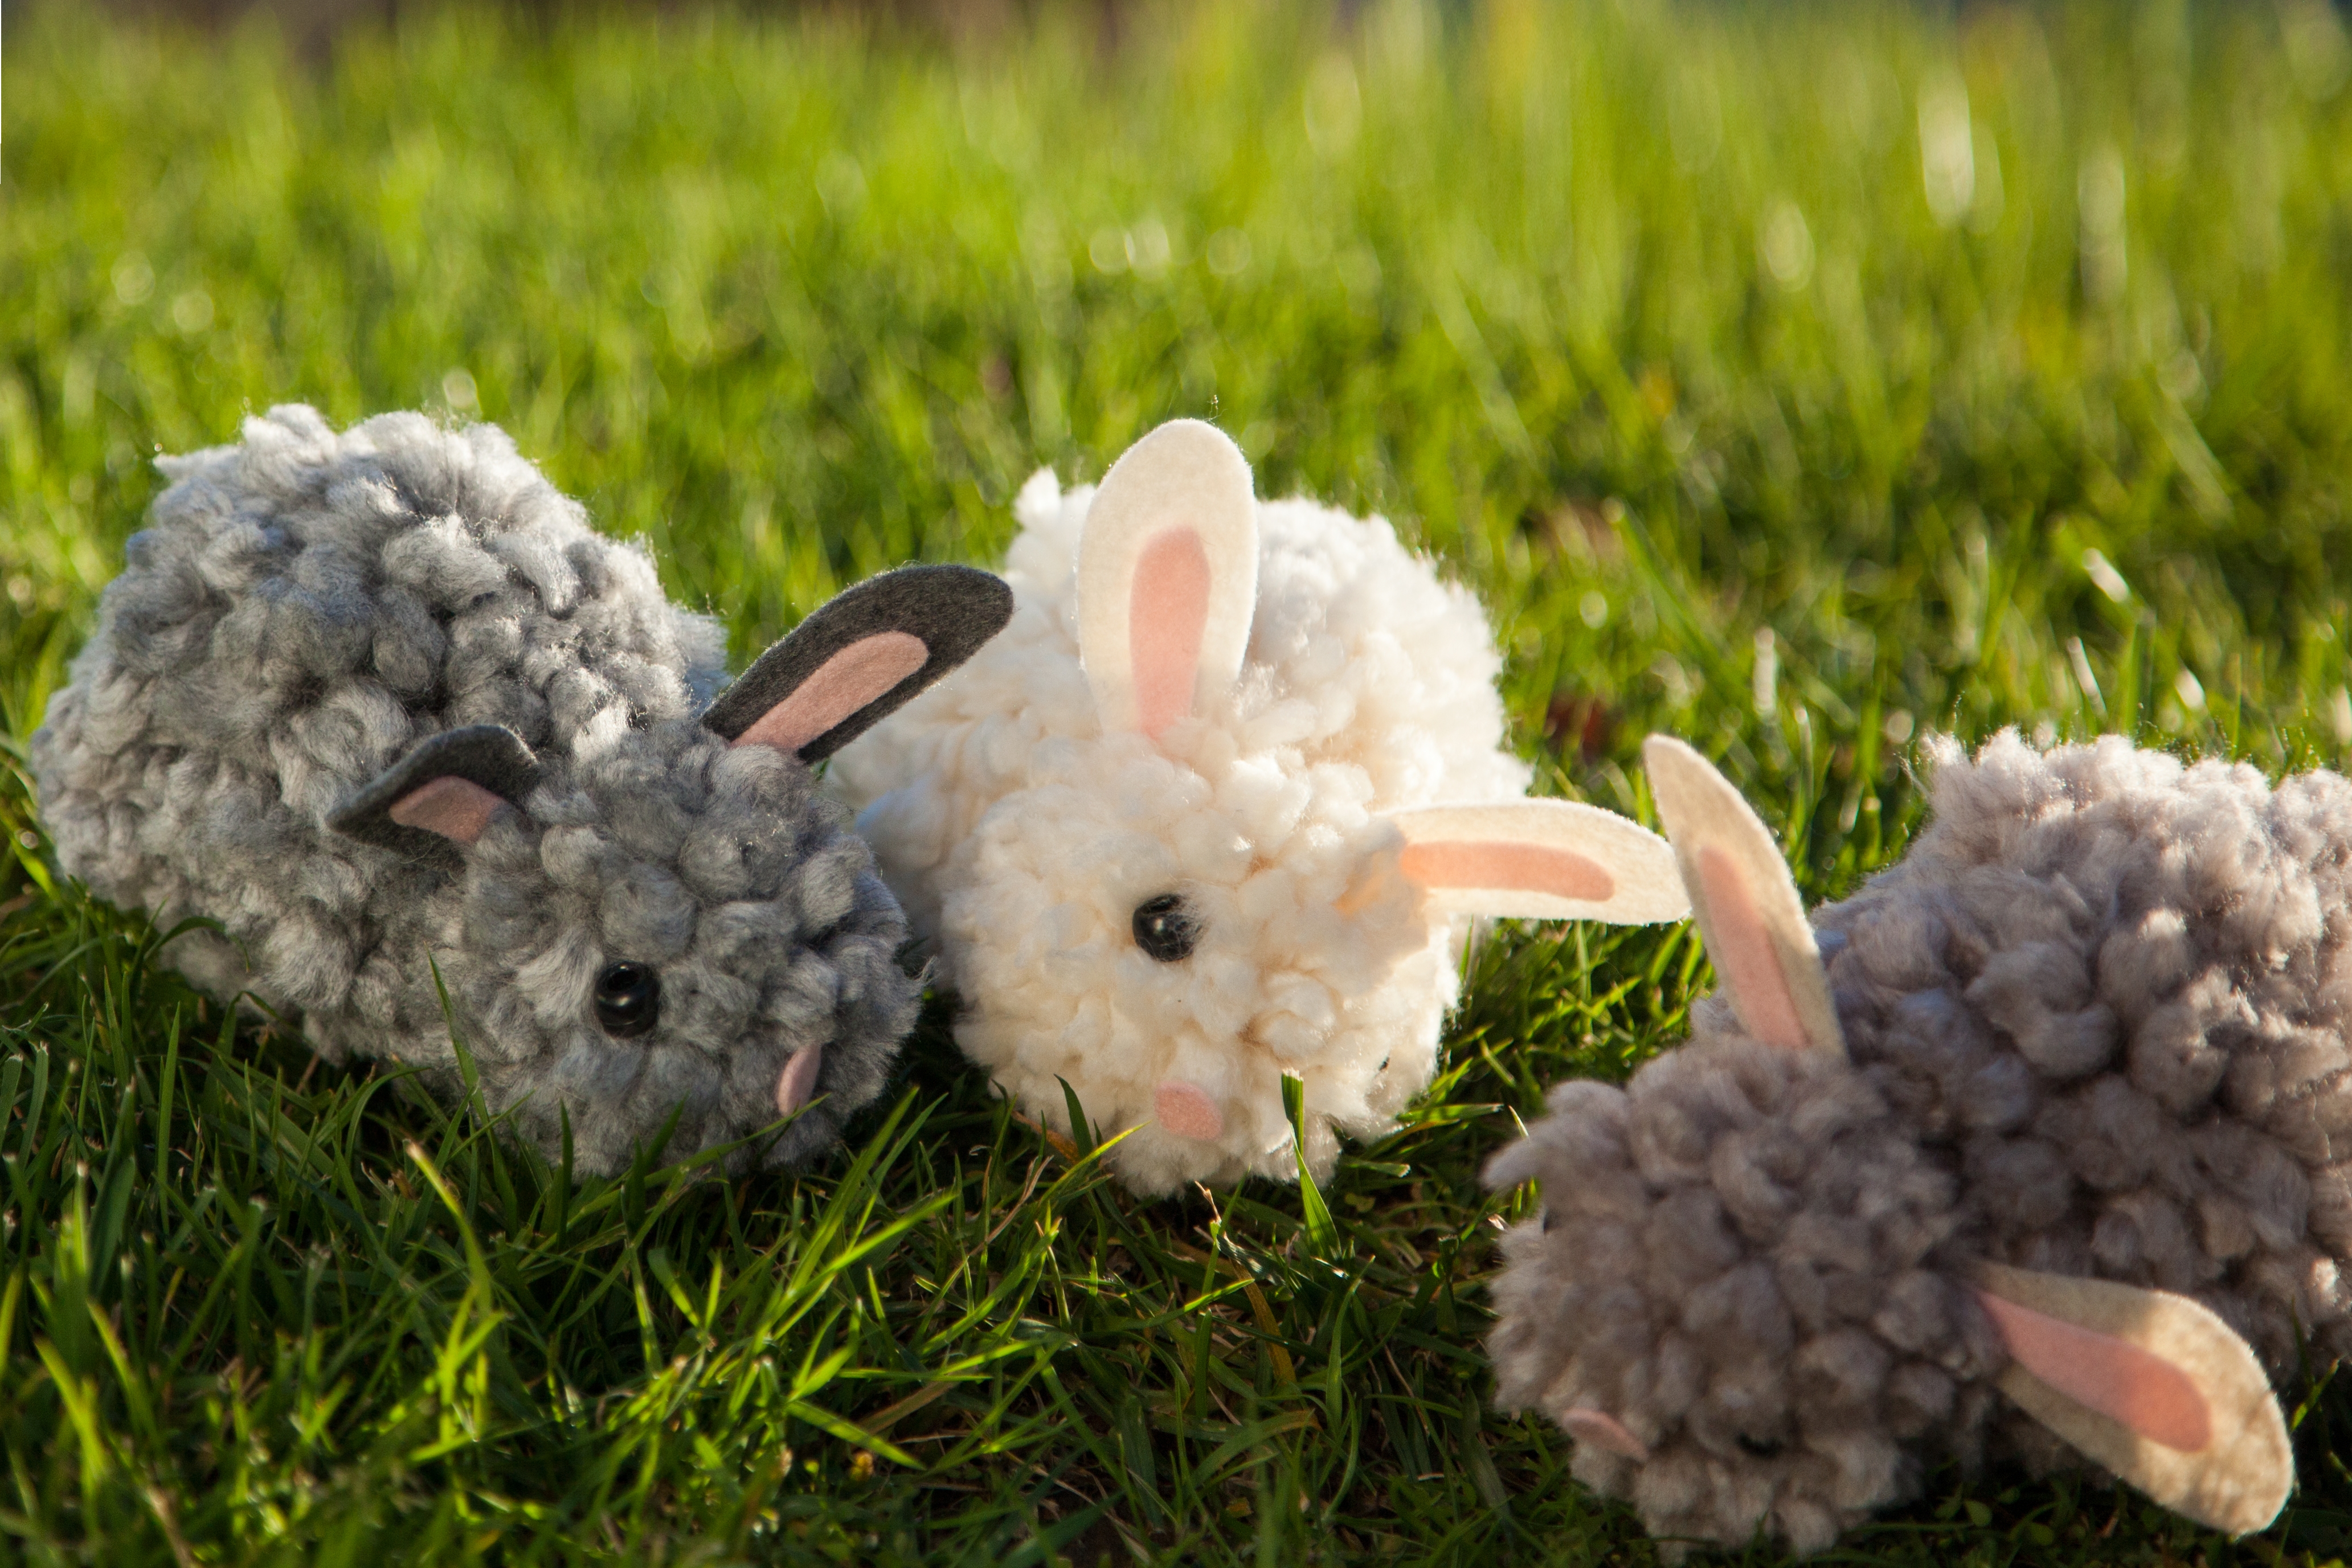
Decorate your bunny with felt and beads! We made eyes, a nose, and a tail, and glued them on the pom-poms. We even made felt carrots for our new friends! Create more pom-poms to make a fuzzy little bunny family.