Step-by-step tutorial
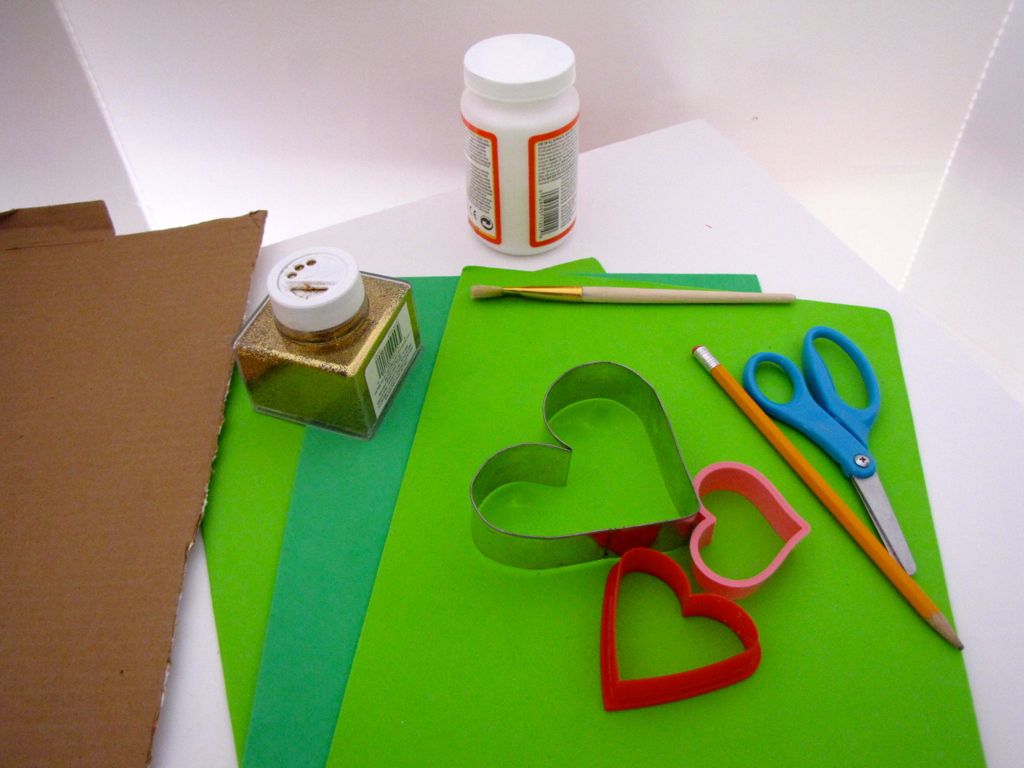
Step 1
First, we gathered our supplies. Choose the size of your heart-shaped cookie cutter according to the wreath size you want. We chose the medium-sized one.

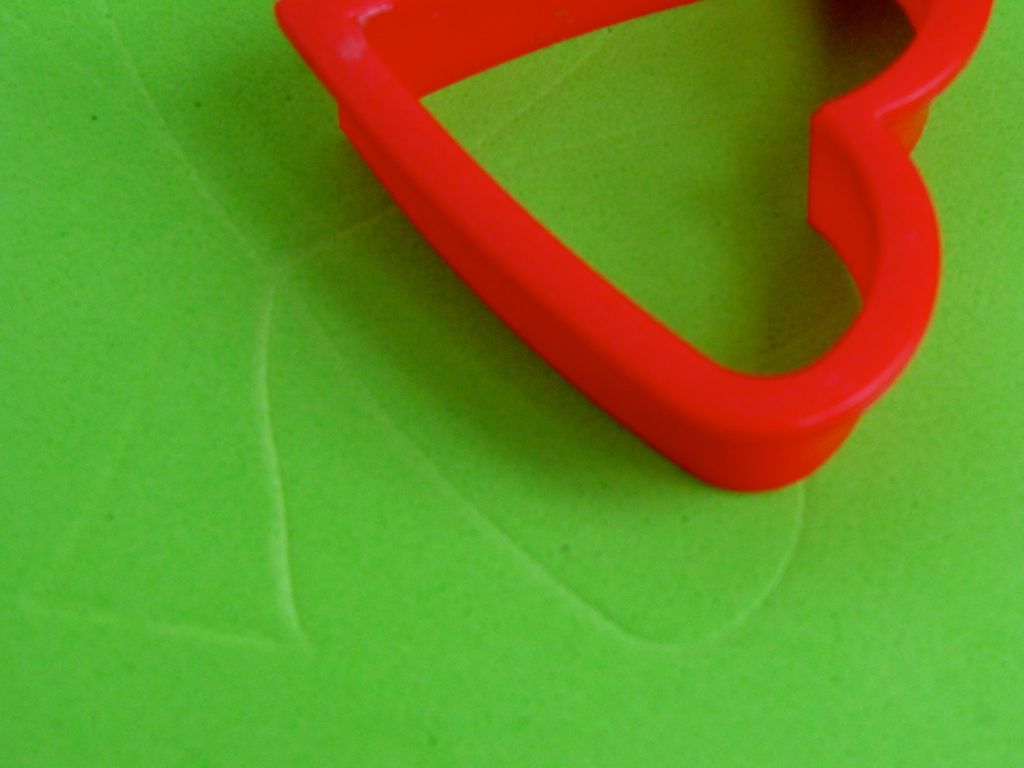
Step 2
Press the cookie cutter onto the foam to make the 3 leaves of the shamrock.
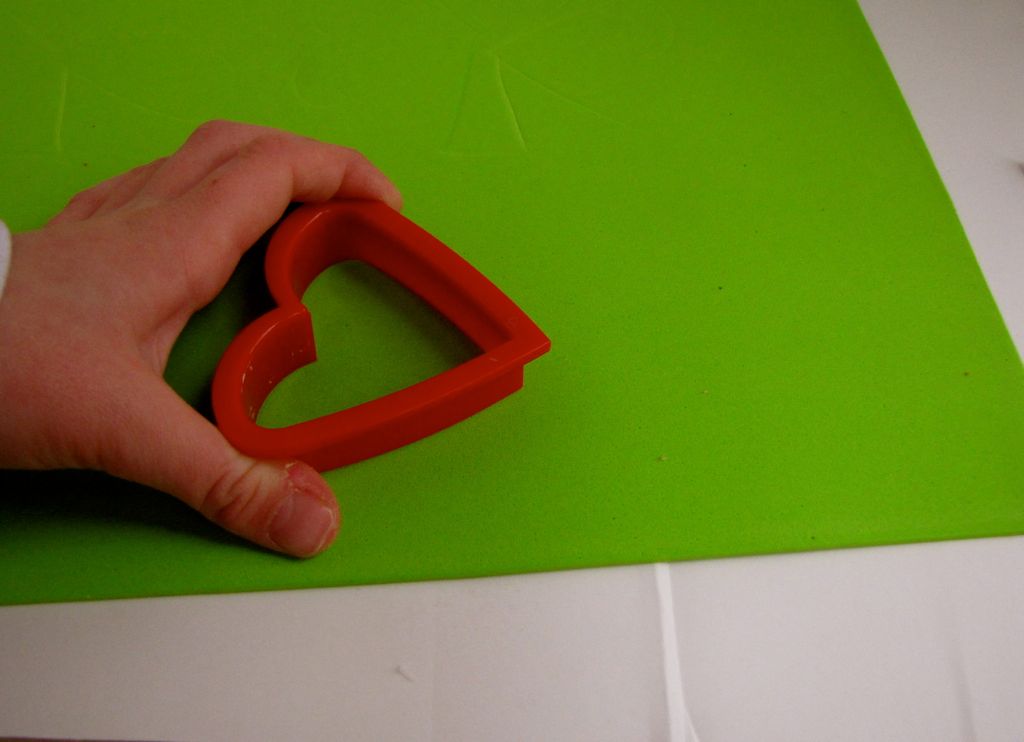
Step 3
Once I demonstrated this for my 4-year-old, he was able to do it himself, with a little help on the positioning.
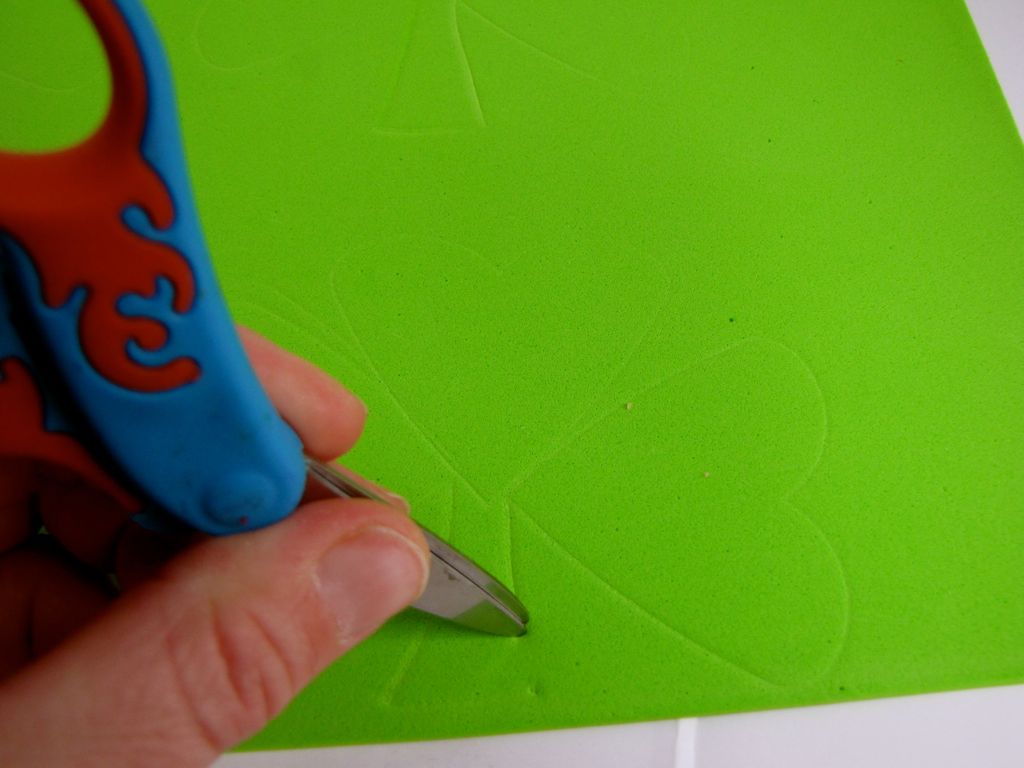
Step 4
Use scissors or a blunt object to sketch the stem of the shamrock onto the foam.
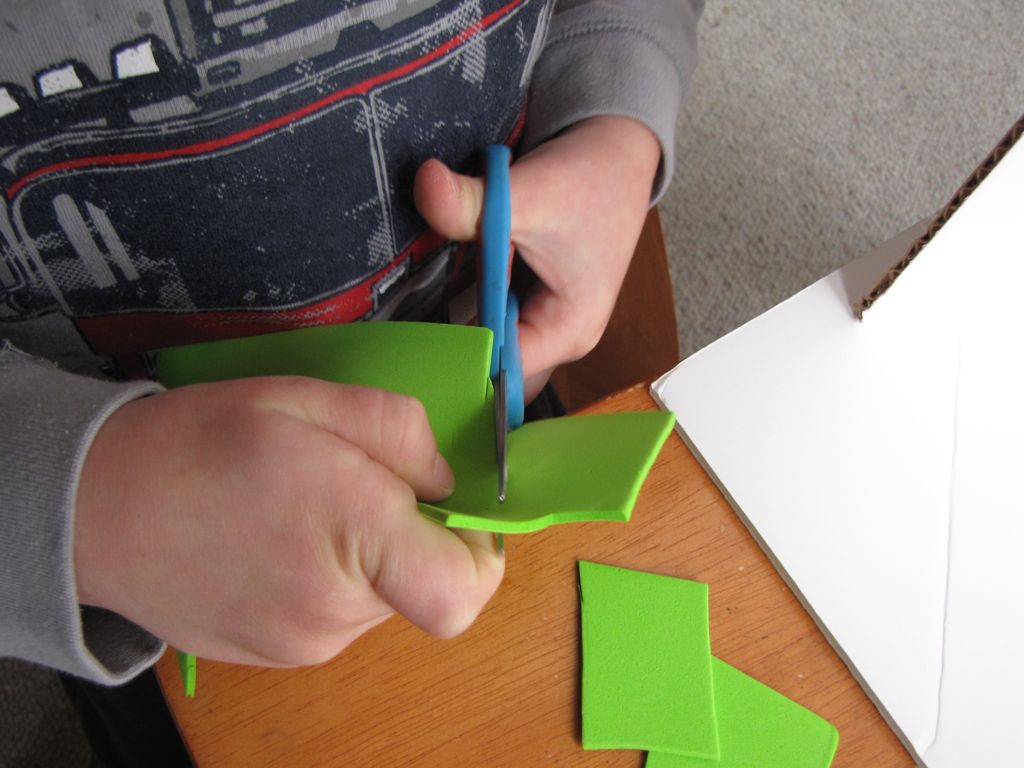
Step 5
Cut out the shamrocks.
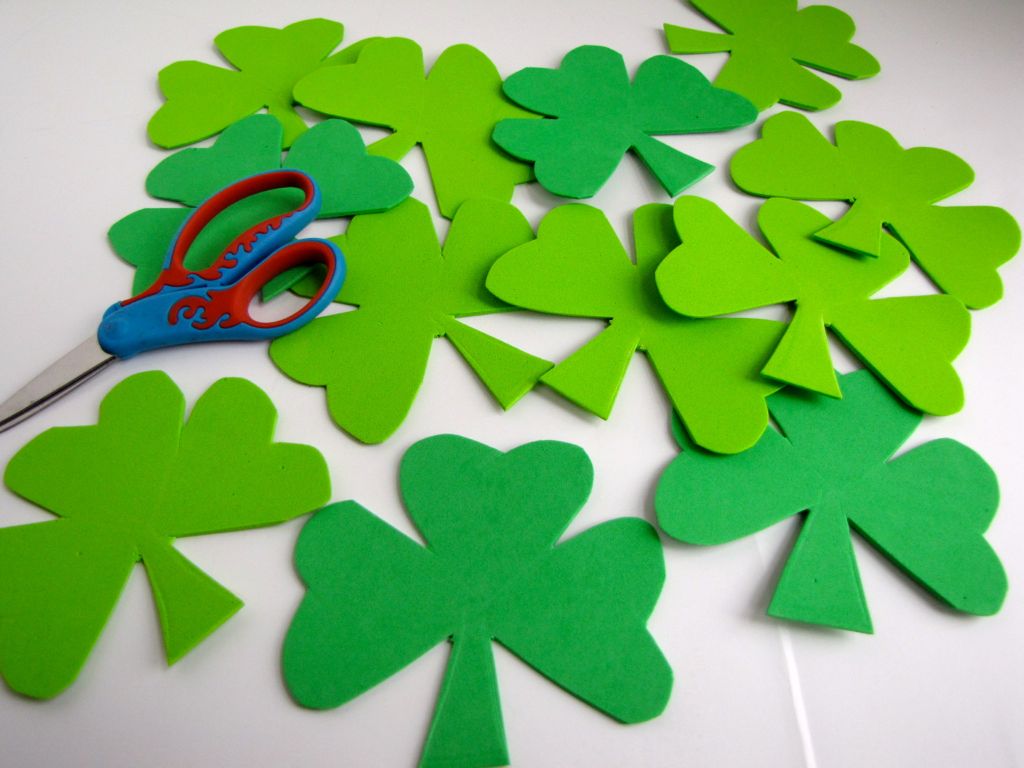
Step 6
If you have extra, it's okay, as they make pretty decorations all by themselves. We used 12 shamrocks on a 10-inch round wreath.
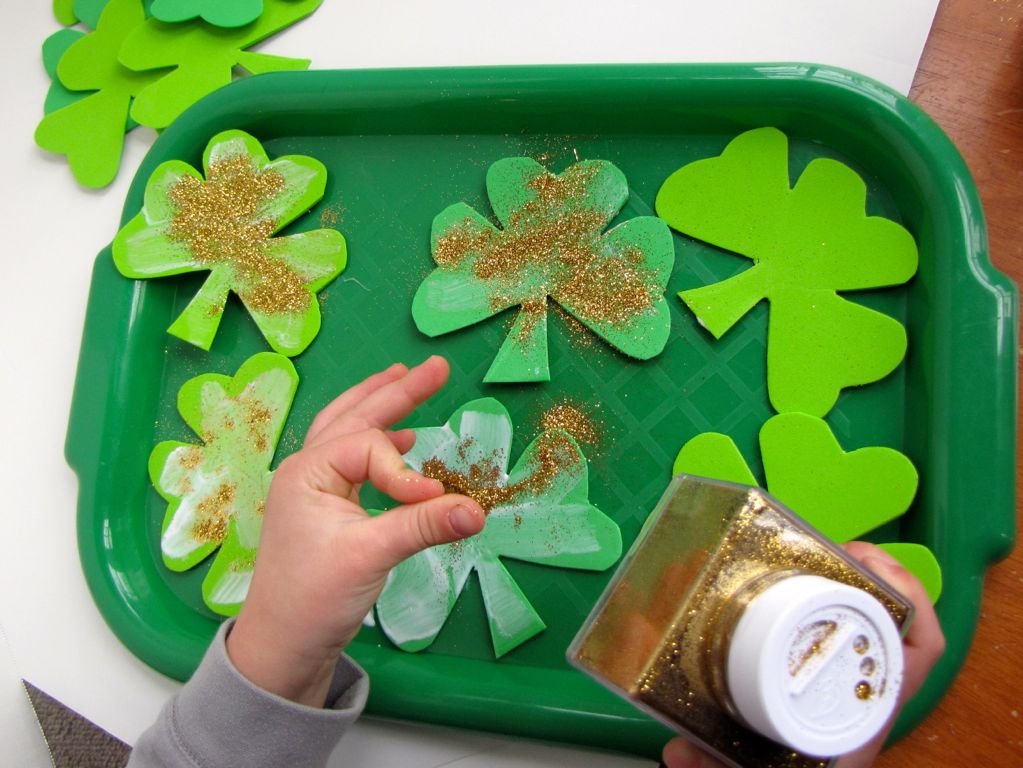
Step 7
Have your child paint each shamrock with liquid glue.

Step 8
Sprinkle liberally with gold glitter.
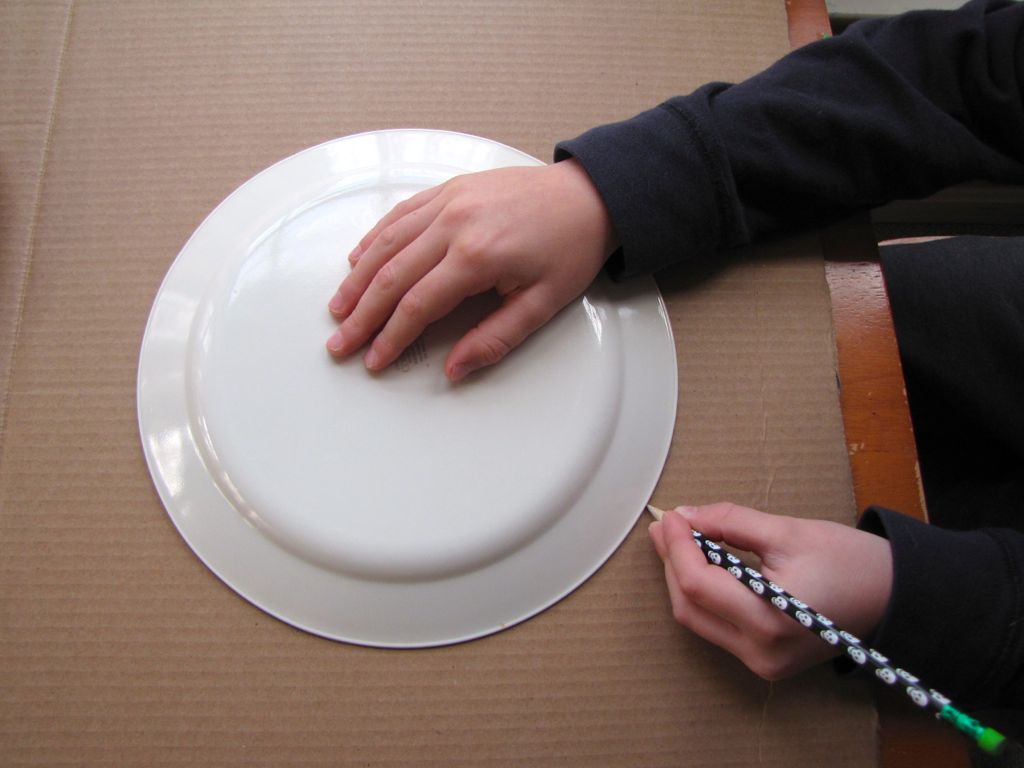
Step 9
My 8-year-old helped make the wreath round. He traced a large dinner plate on a piece of cardboard.
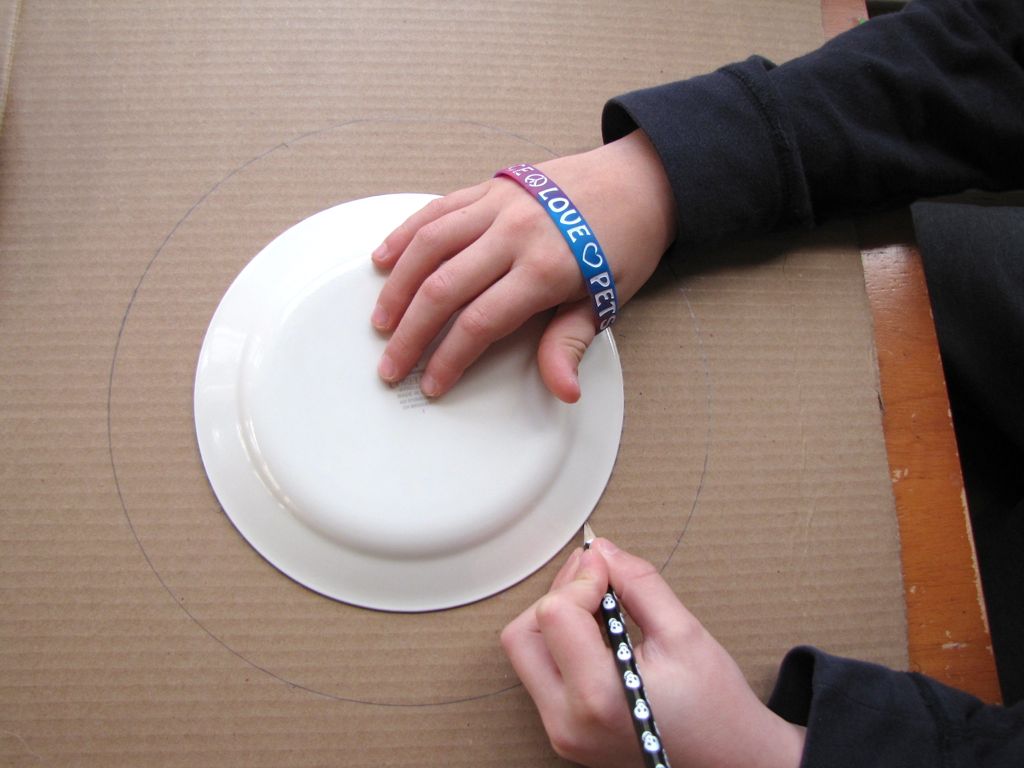
Step 10
He then traced a smaller plate into the center of the large circle.
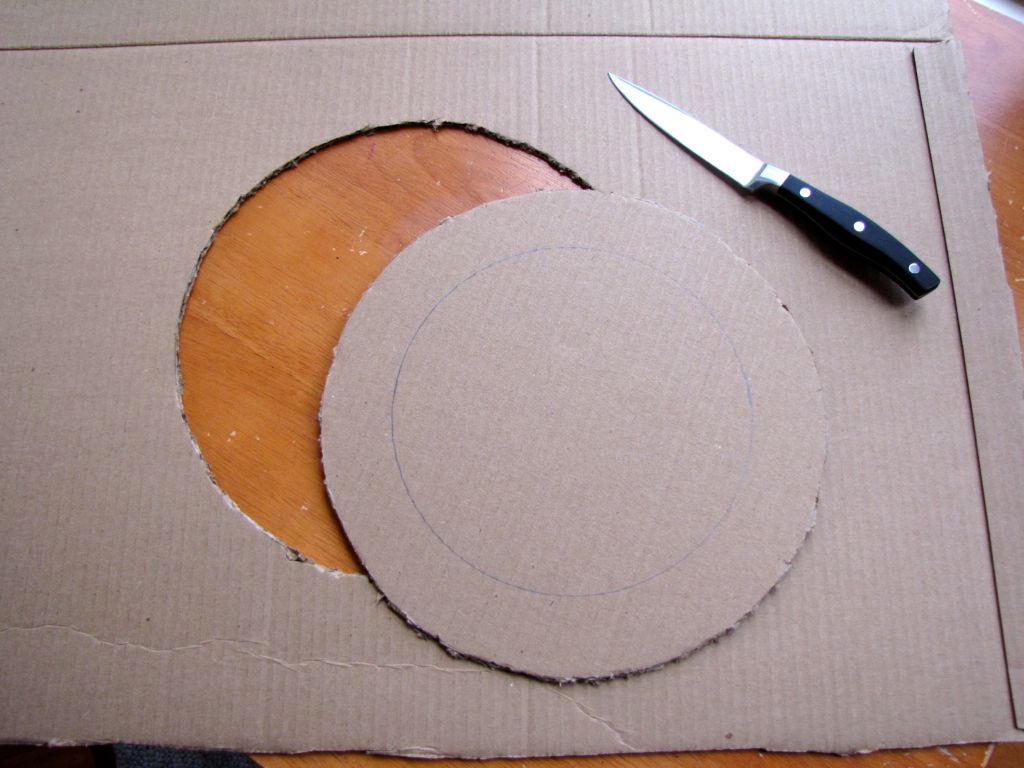
Step 11
This is a grownup step: I used a knife to cut out the circles.
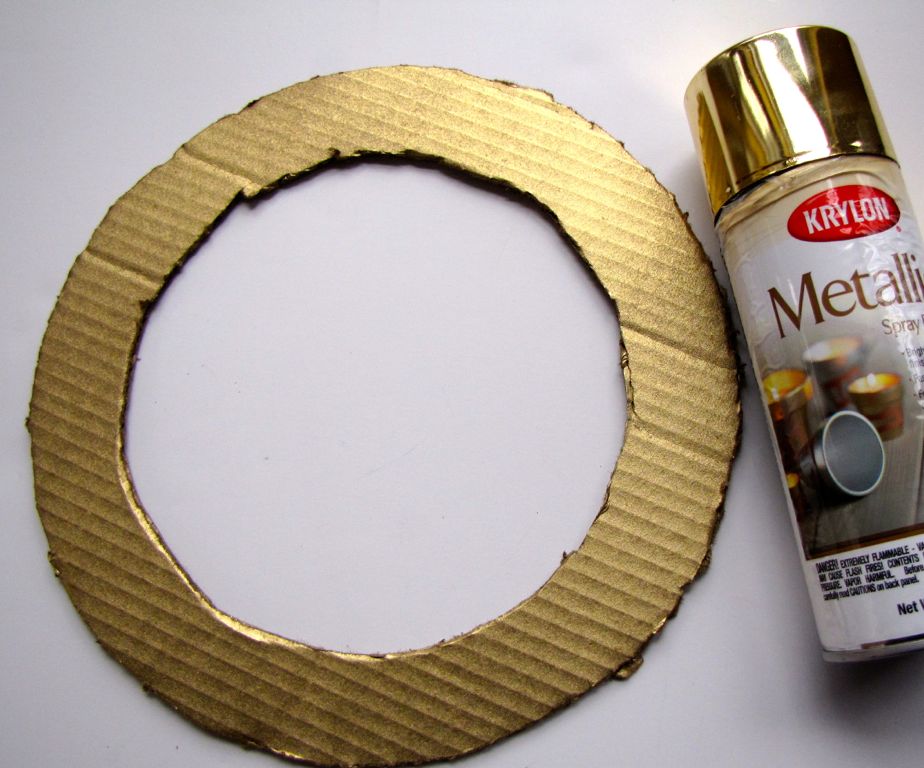
Step 12
This step is totally optional. I happened to have some leftover gold spray paint from another project, so I quickly sprayed our wreath circle while we were waiting for our shamrocks to dry. That way, if there is any cardboard peeking out between the shamrocks on your finished product, it will be gold. You could also have your child paint or color the circle with markers or crayons.
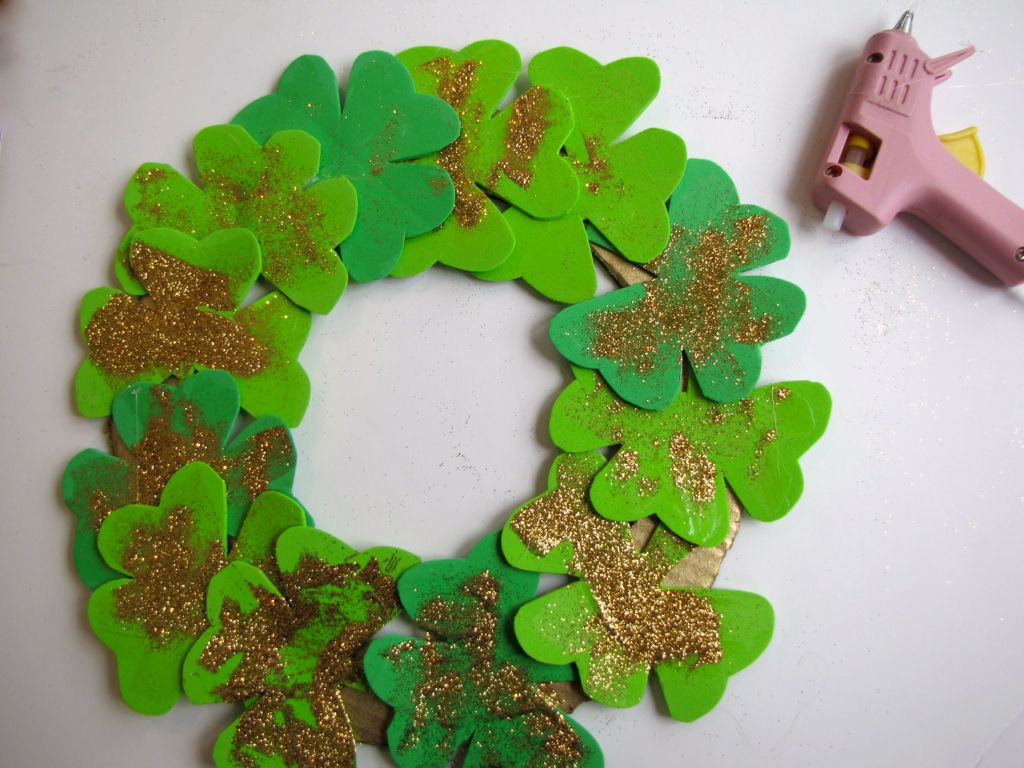
Step 13
When the glue and glitter on the shamrocks dried, we placed them in a pattern around the wreath circle.
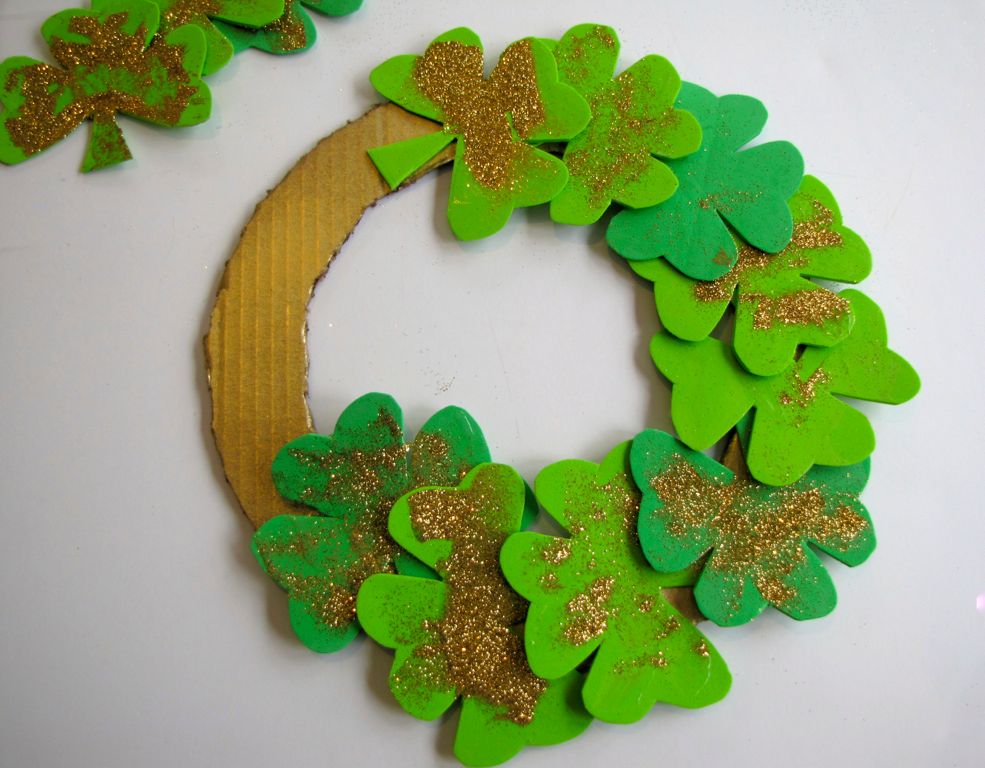
Step 14
We used a low-temp hot glue gun with lots of parental supervision to glue the shamrocks onto the wreath.
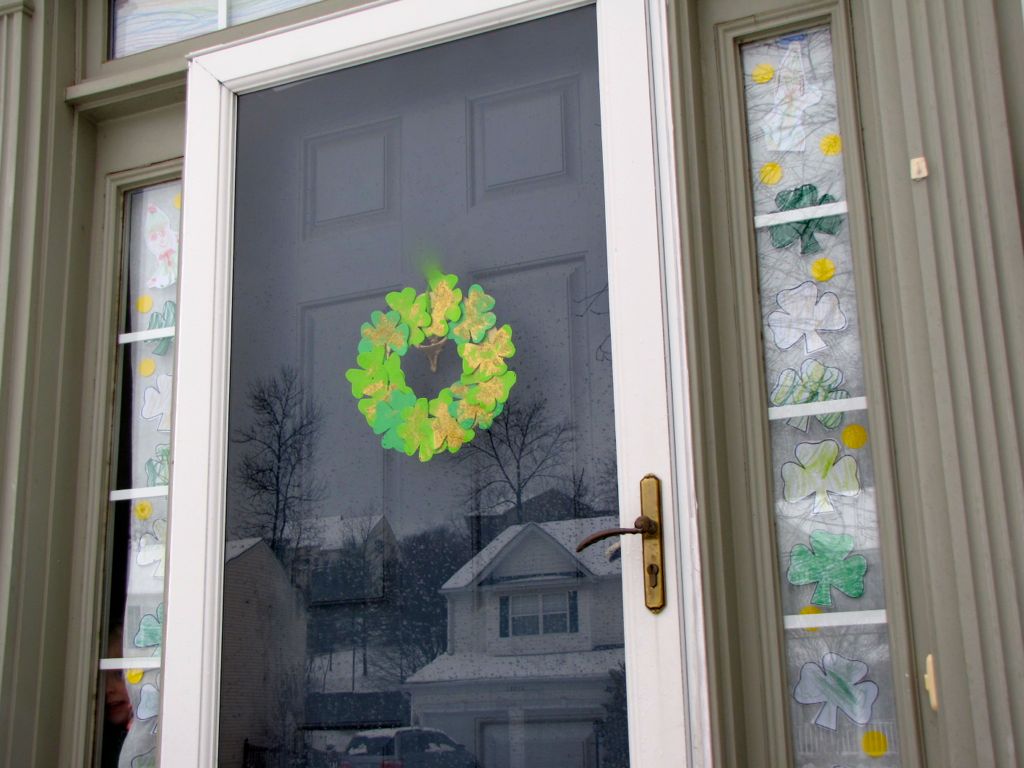
Done!
And now we have our wreath adorning our front door, along with some other festive decorations for St. Patrick's Day. Wishing you the luck o' the Irish!