Step-by-step tutorial
Step 1
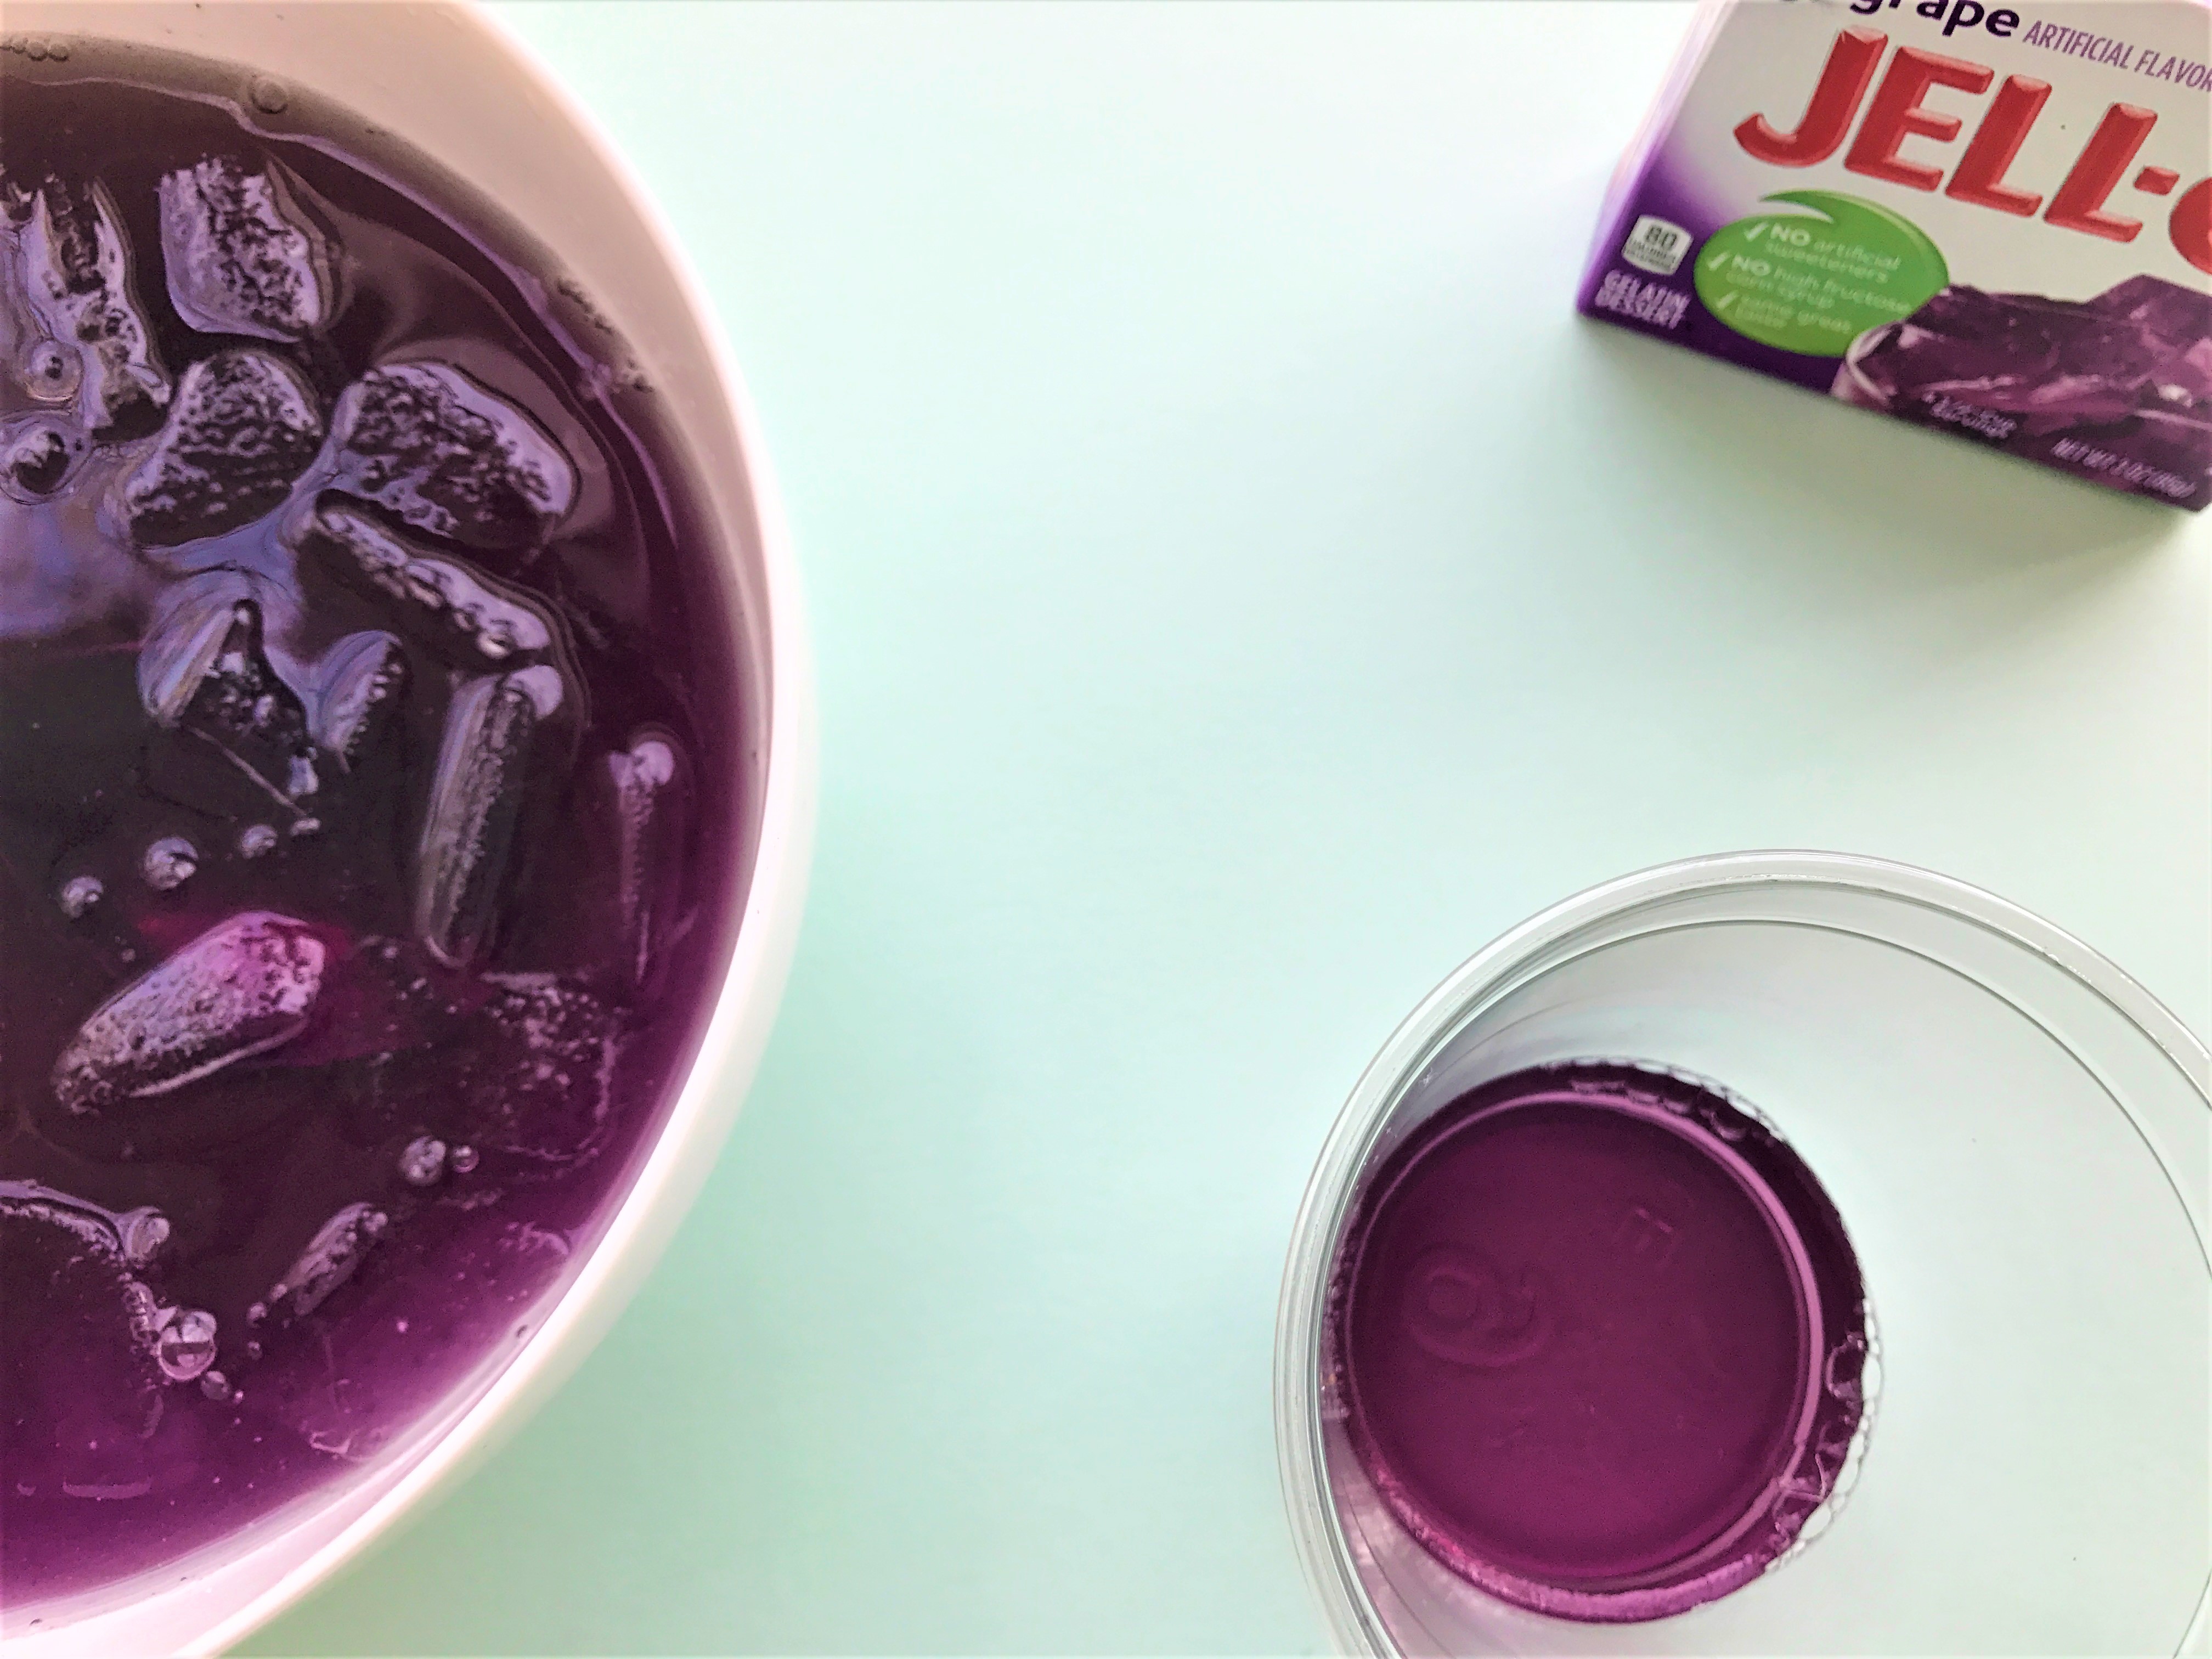
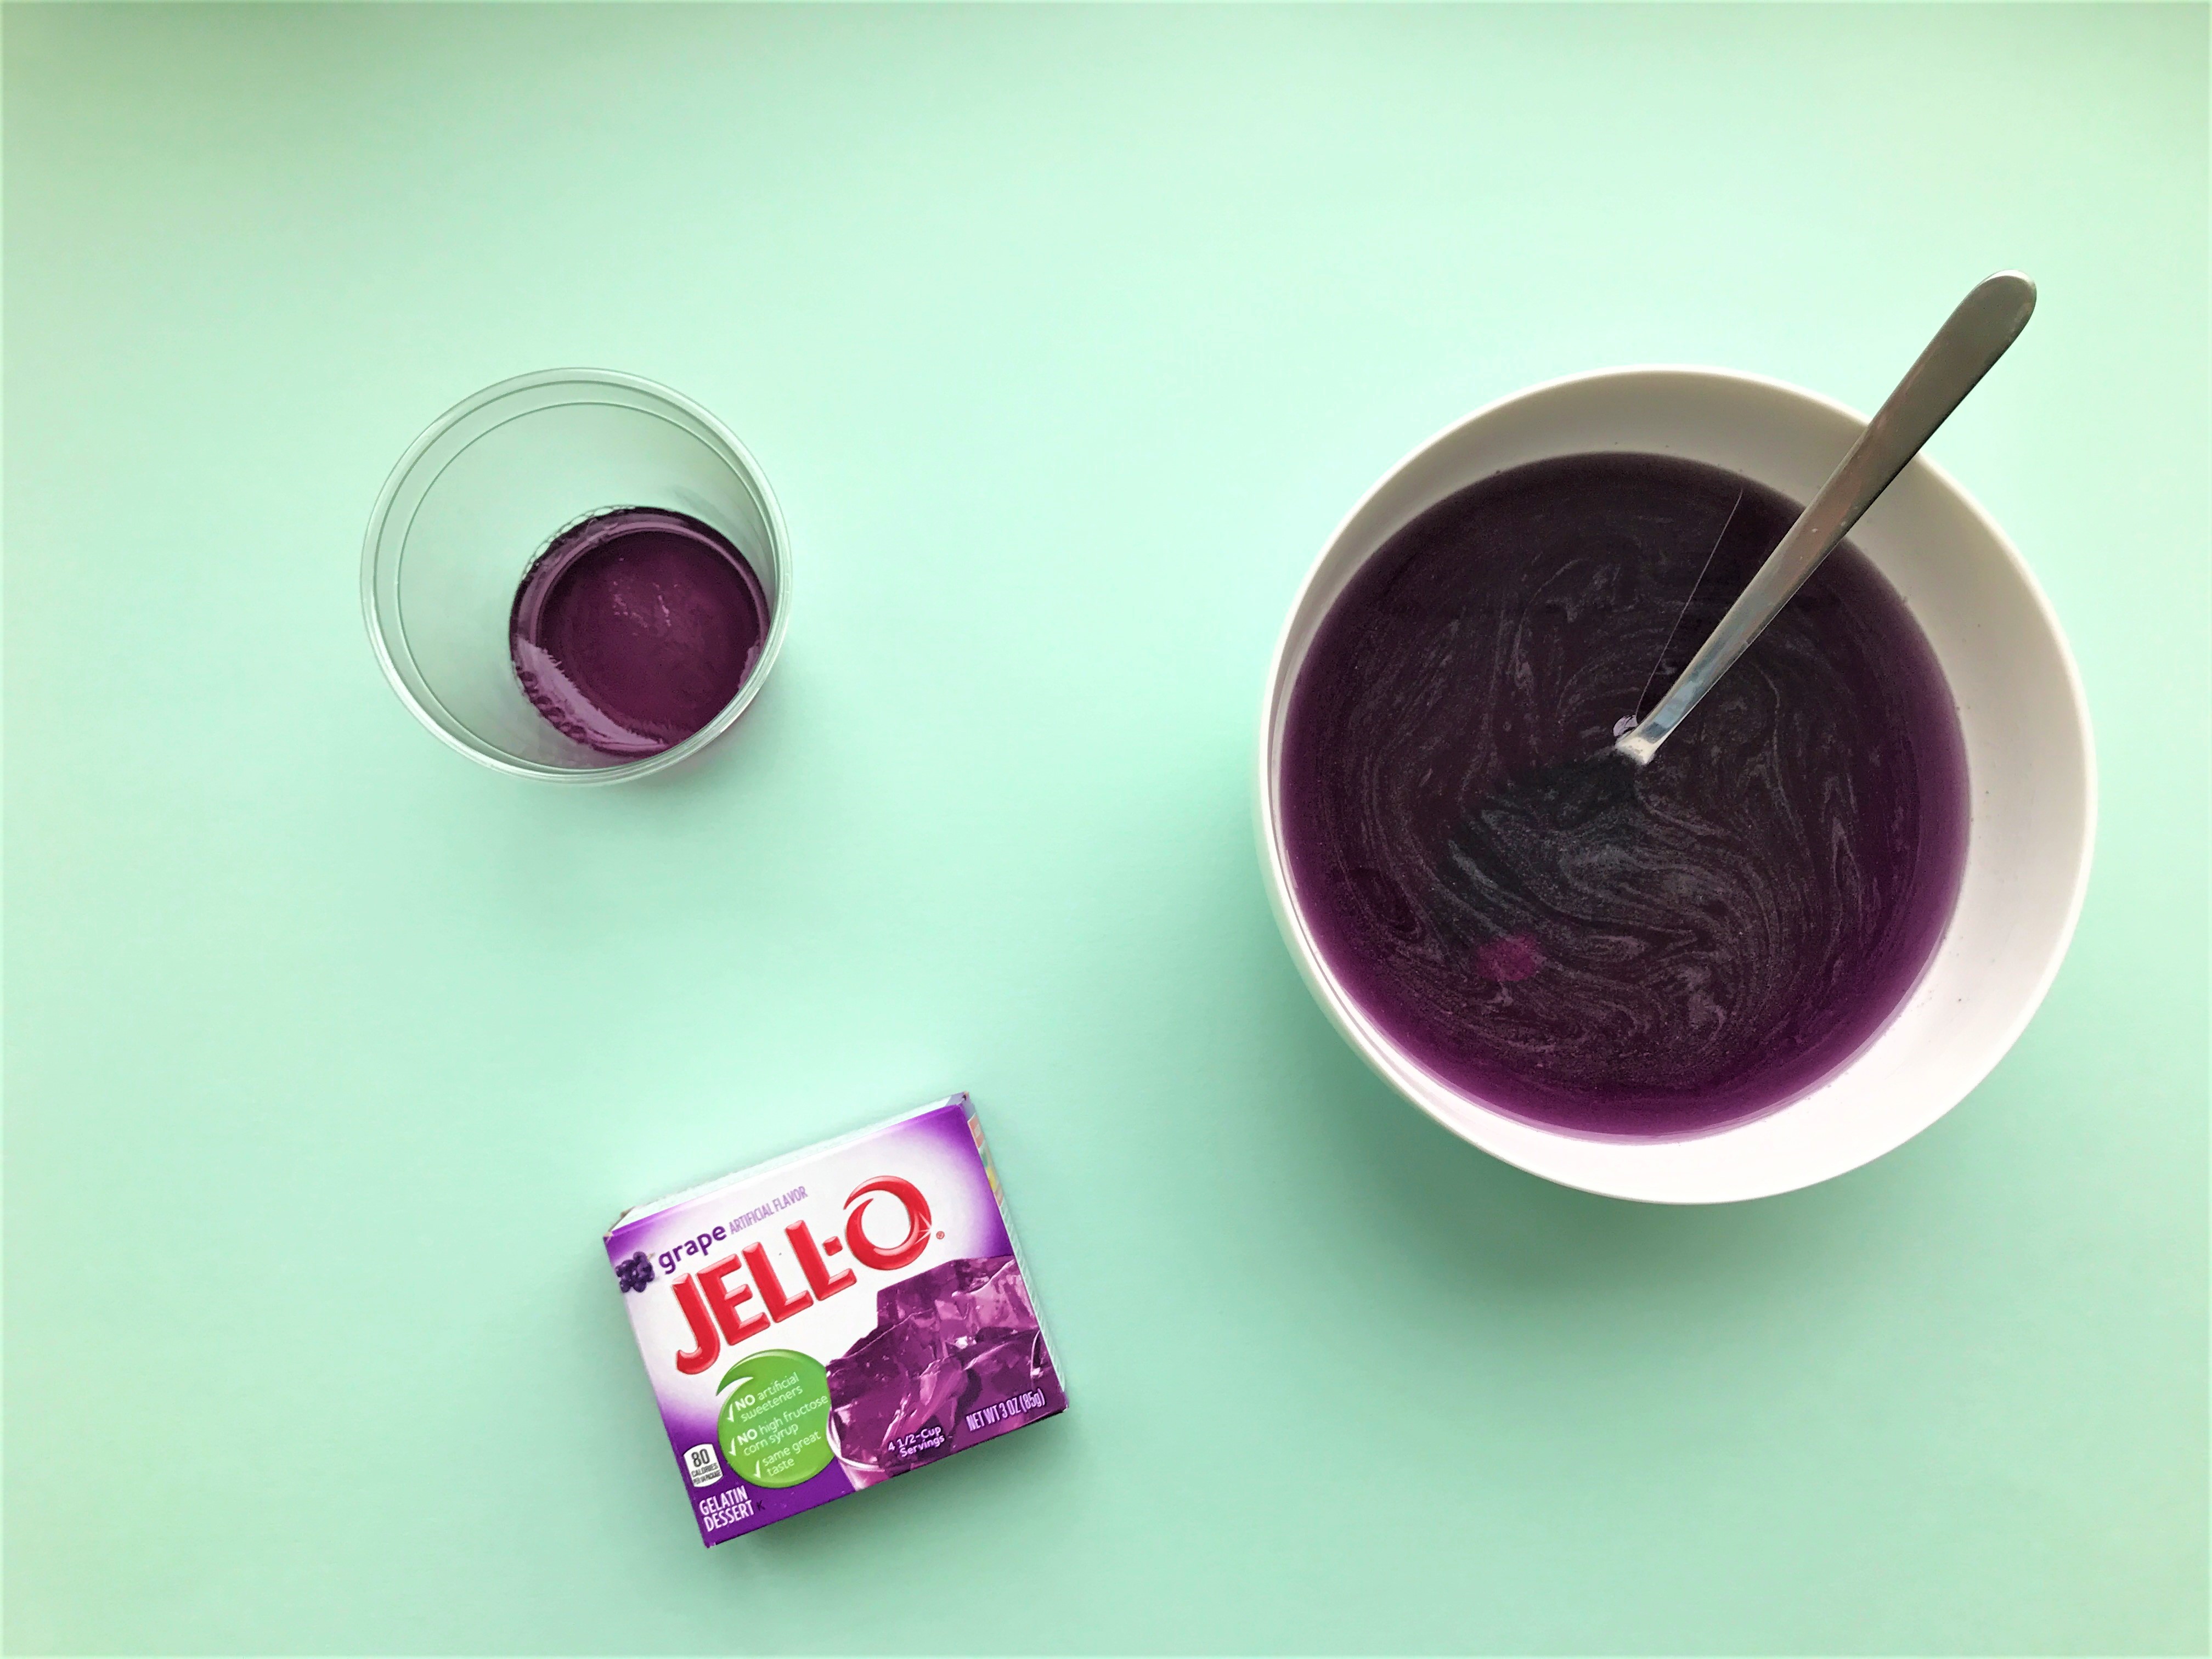
Select your base color of gelatin and mix it together, following the box instructions. We started with purple since we wanted our rainbow layers to have red on top and purple on the bottom.

Tip
Our instructions had a quick set option, using a mixture of ice and cold water, which we gladly took advantage of!
Step 2
Pour your mixture into your cups, leaving enough room for additional layers of color.
Tip
After some trial and error, we realized that any bubbles in your gelatin mixture will set and stick. To prevent this, you can skim off any bubbly foam before pouring the mixture into your cups.
Step 3
To speed things along, we stuck our cups into the freezer. It took about 15-25 minutes for it to set.
When the first layer sets, repeat steps 1 and 2 to add additional layers of colors.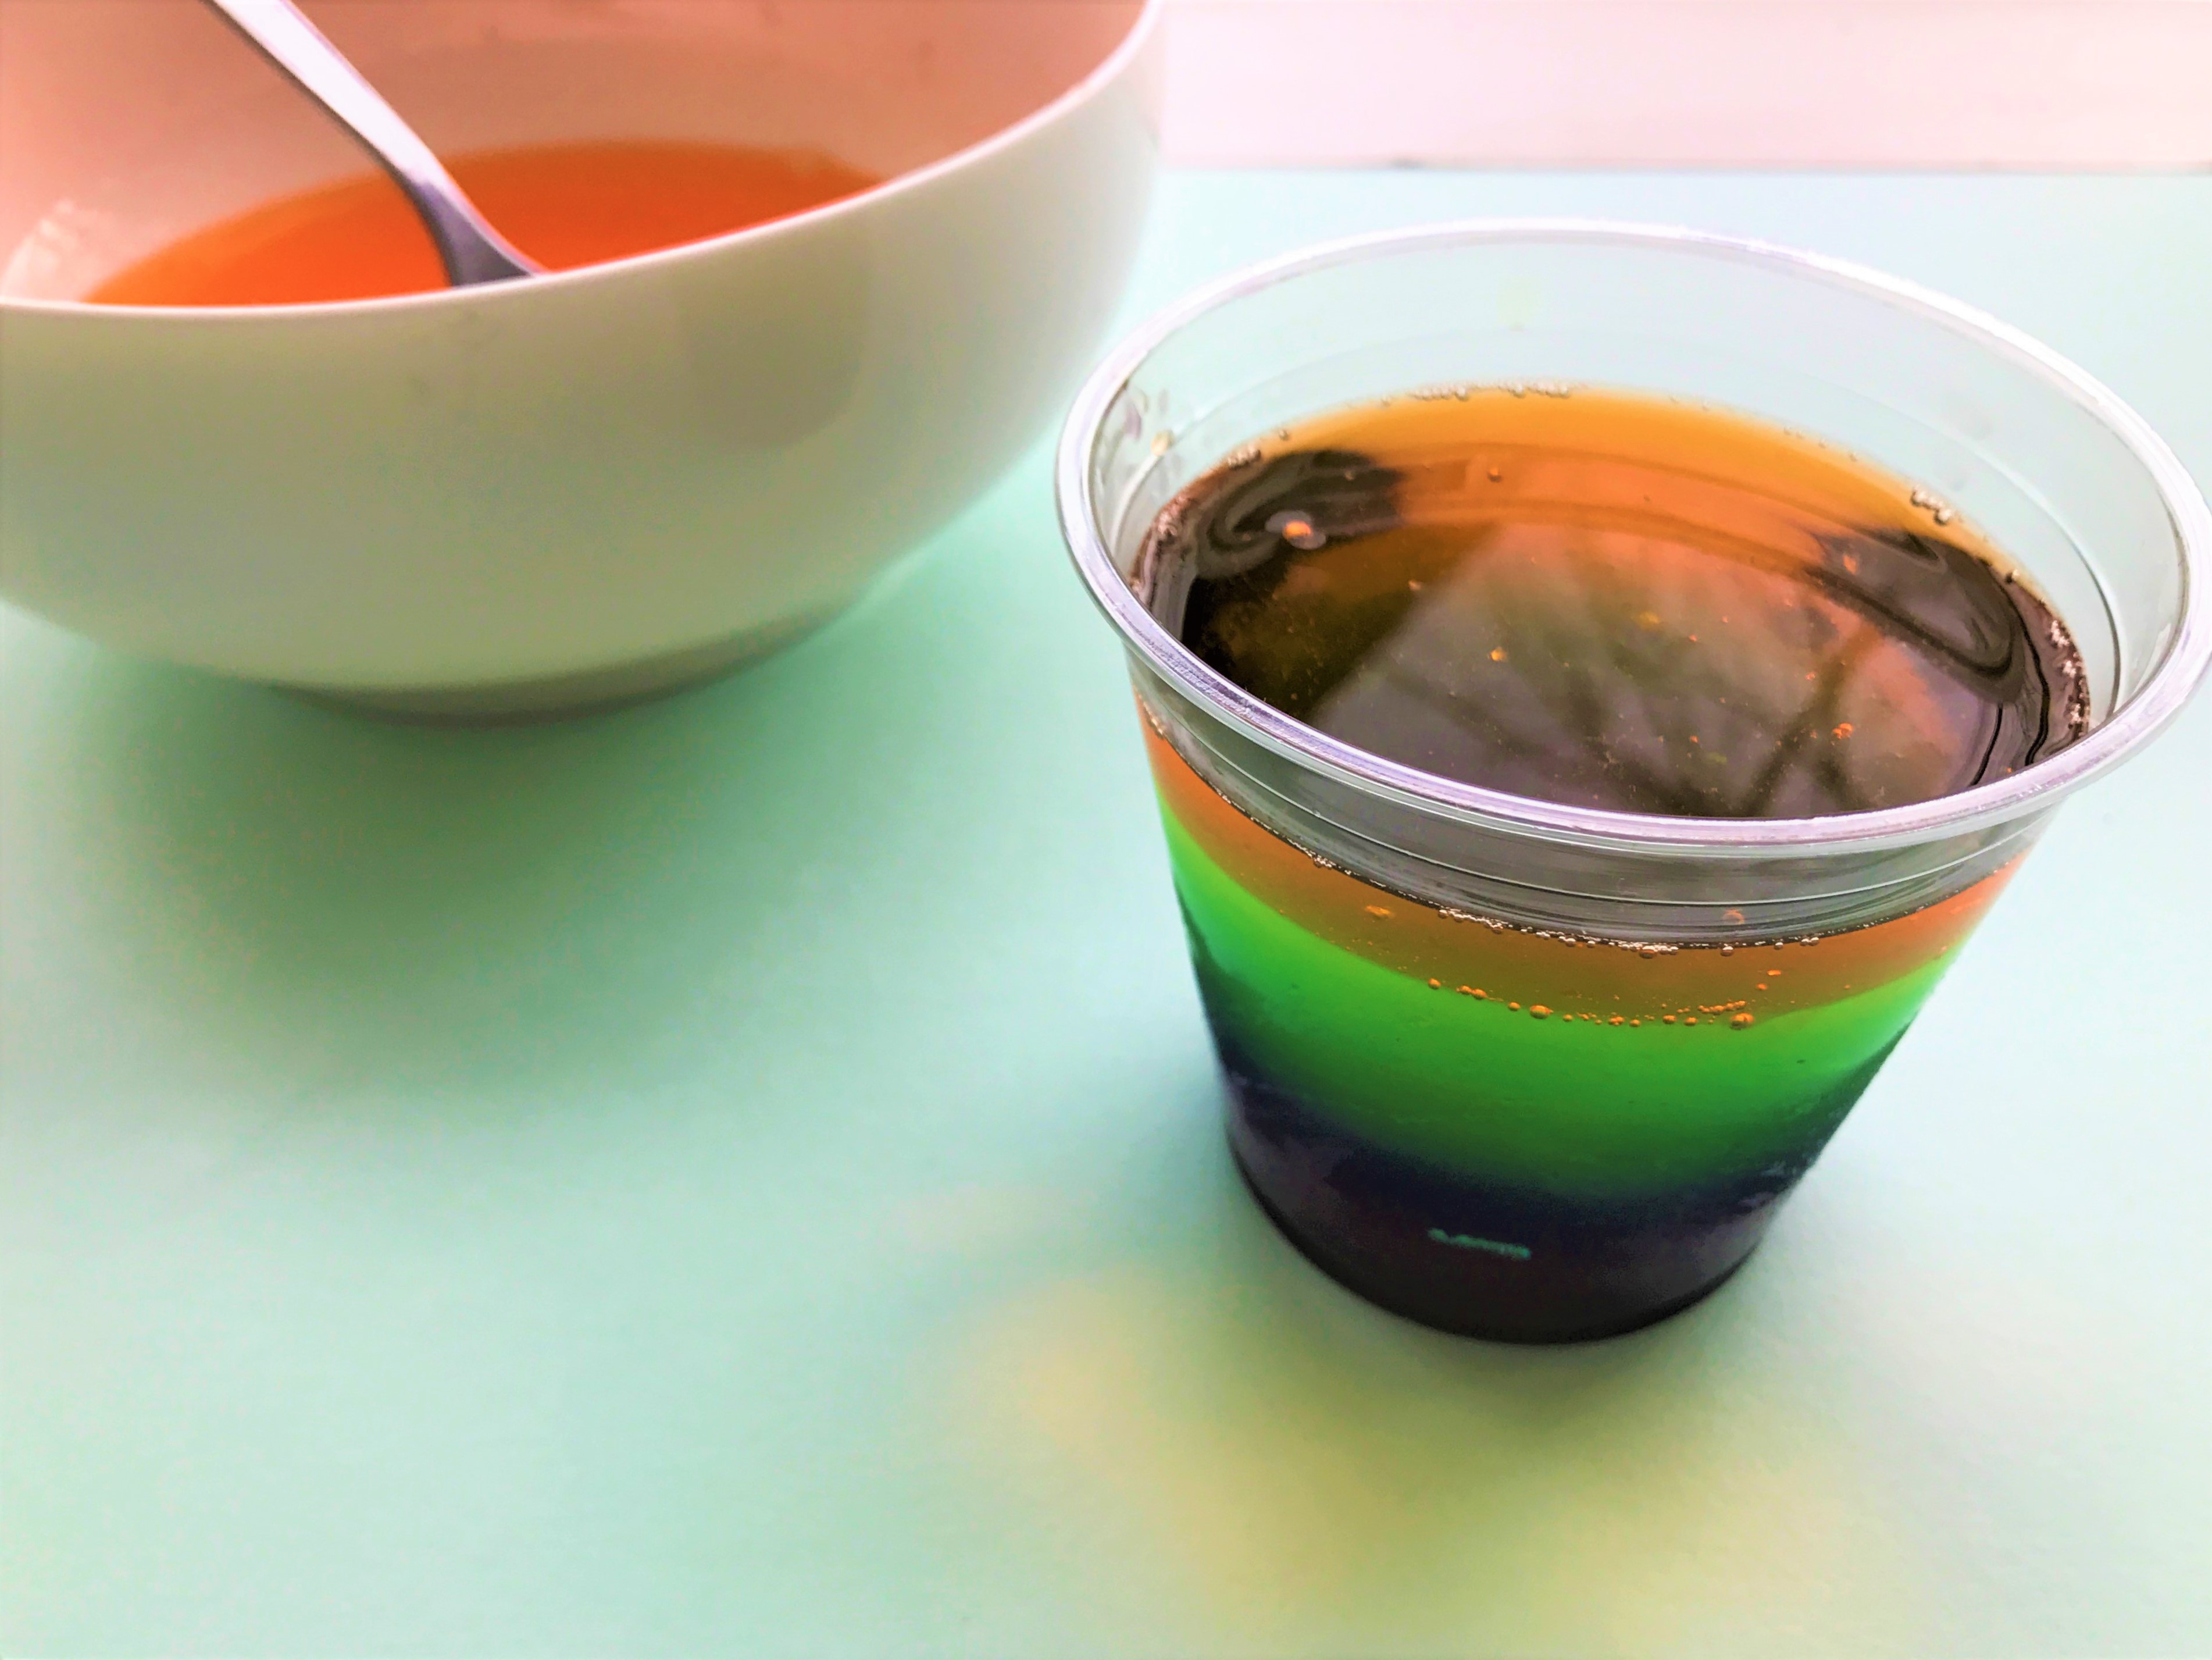
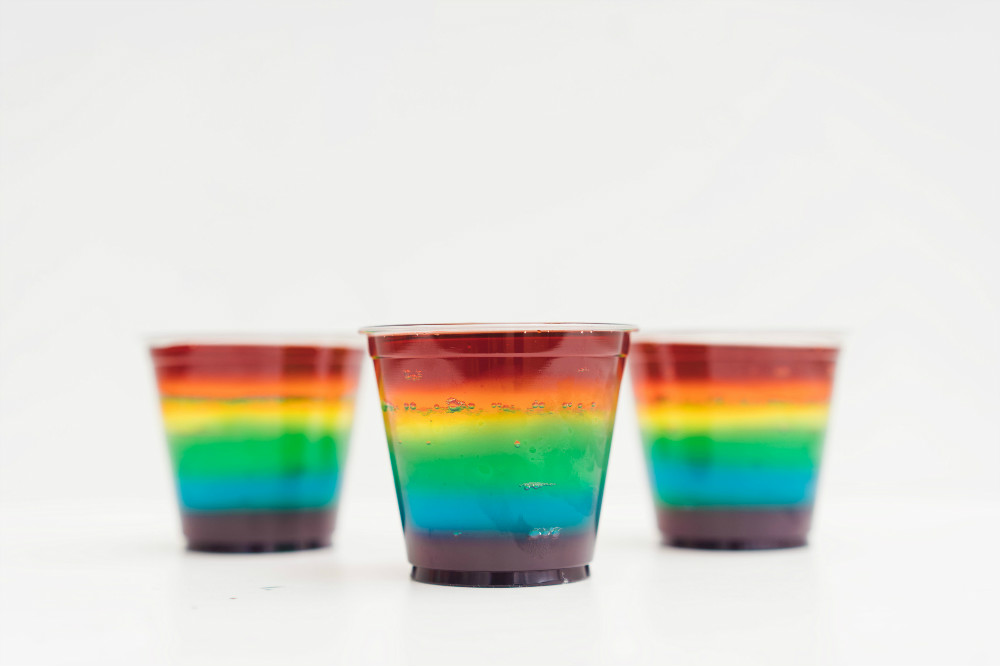
Done!
Once all of our layers were set, our rainbow cups were done! Even though they took a bit of time, the final results were well worth the effort. We can't wait to try out different molds and combination of flavors and colors.


