Step-by-step tutorial
Step 1
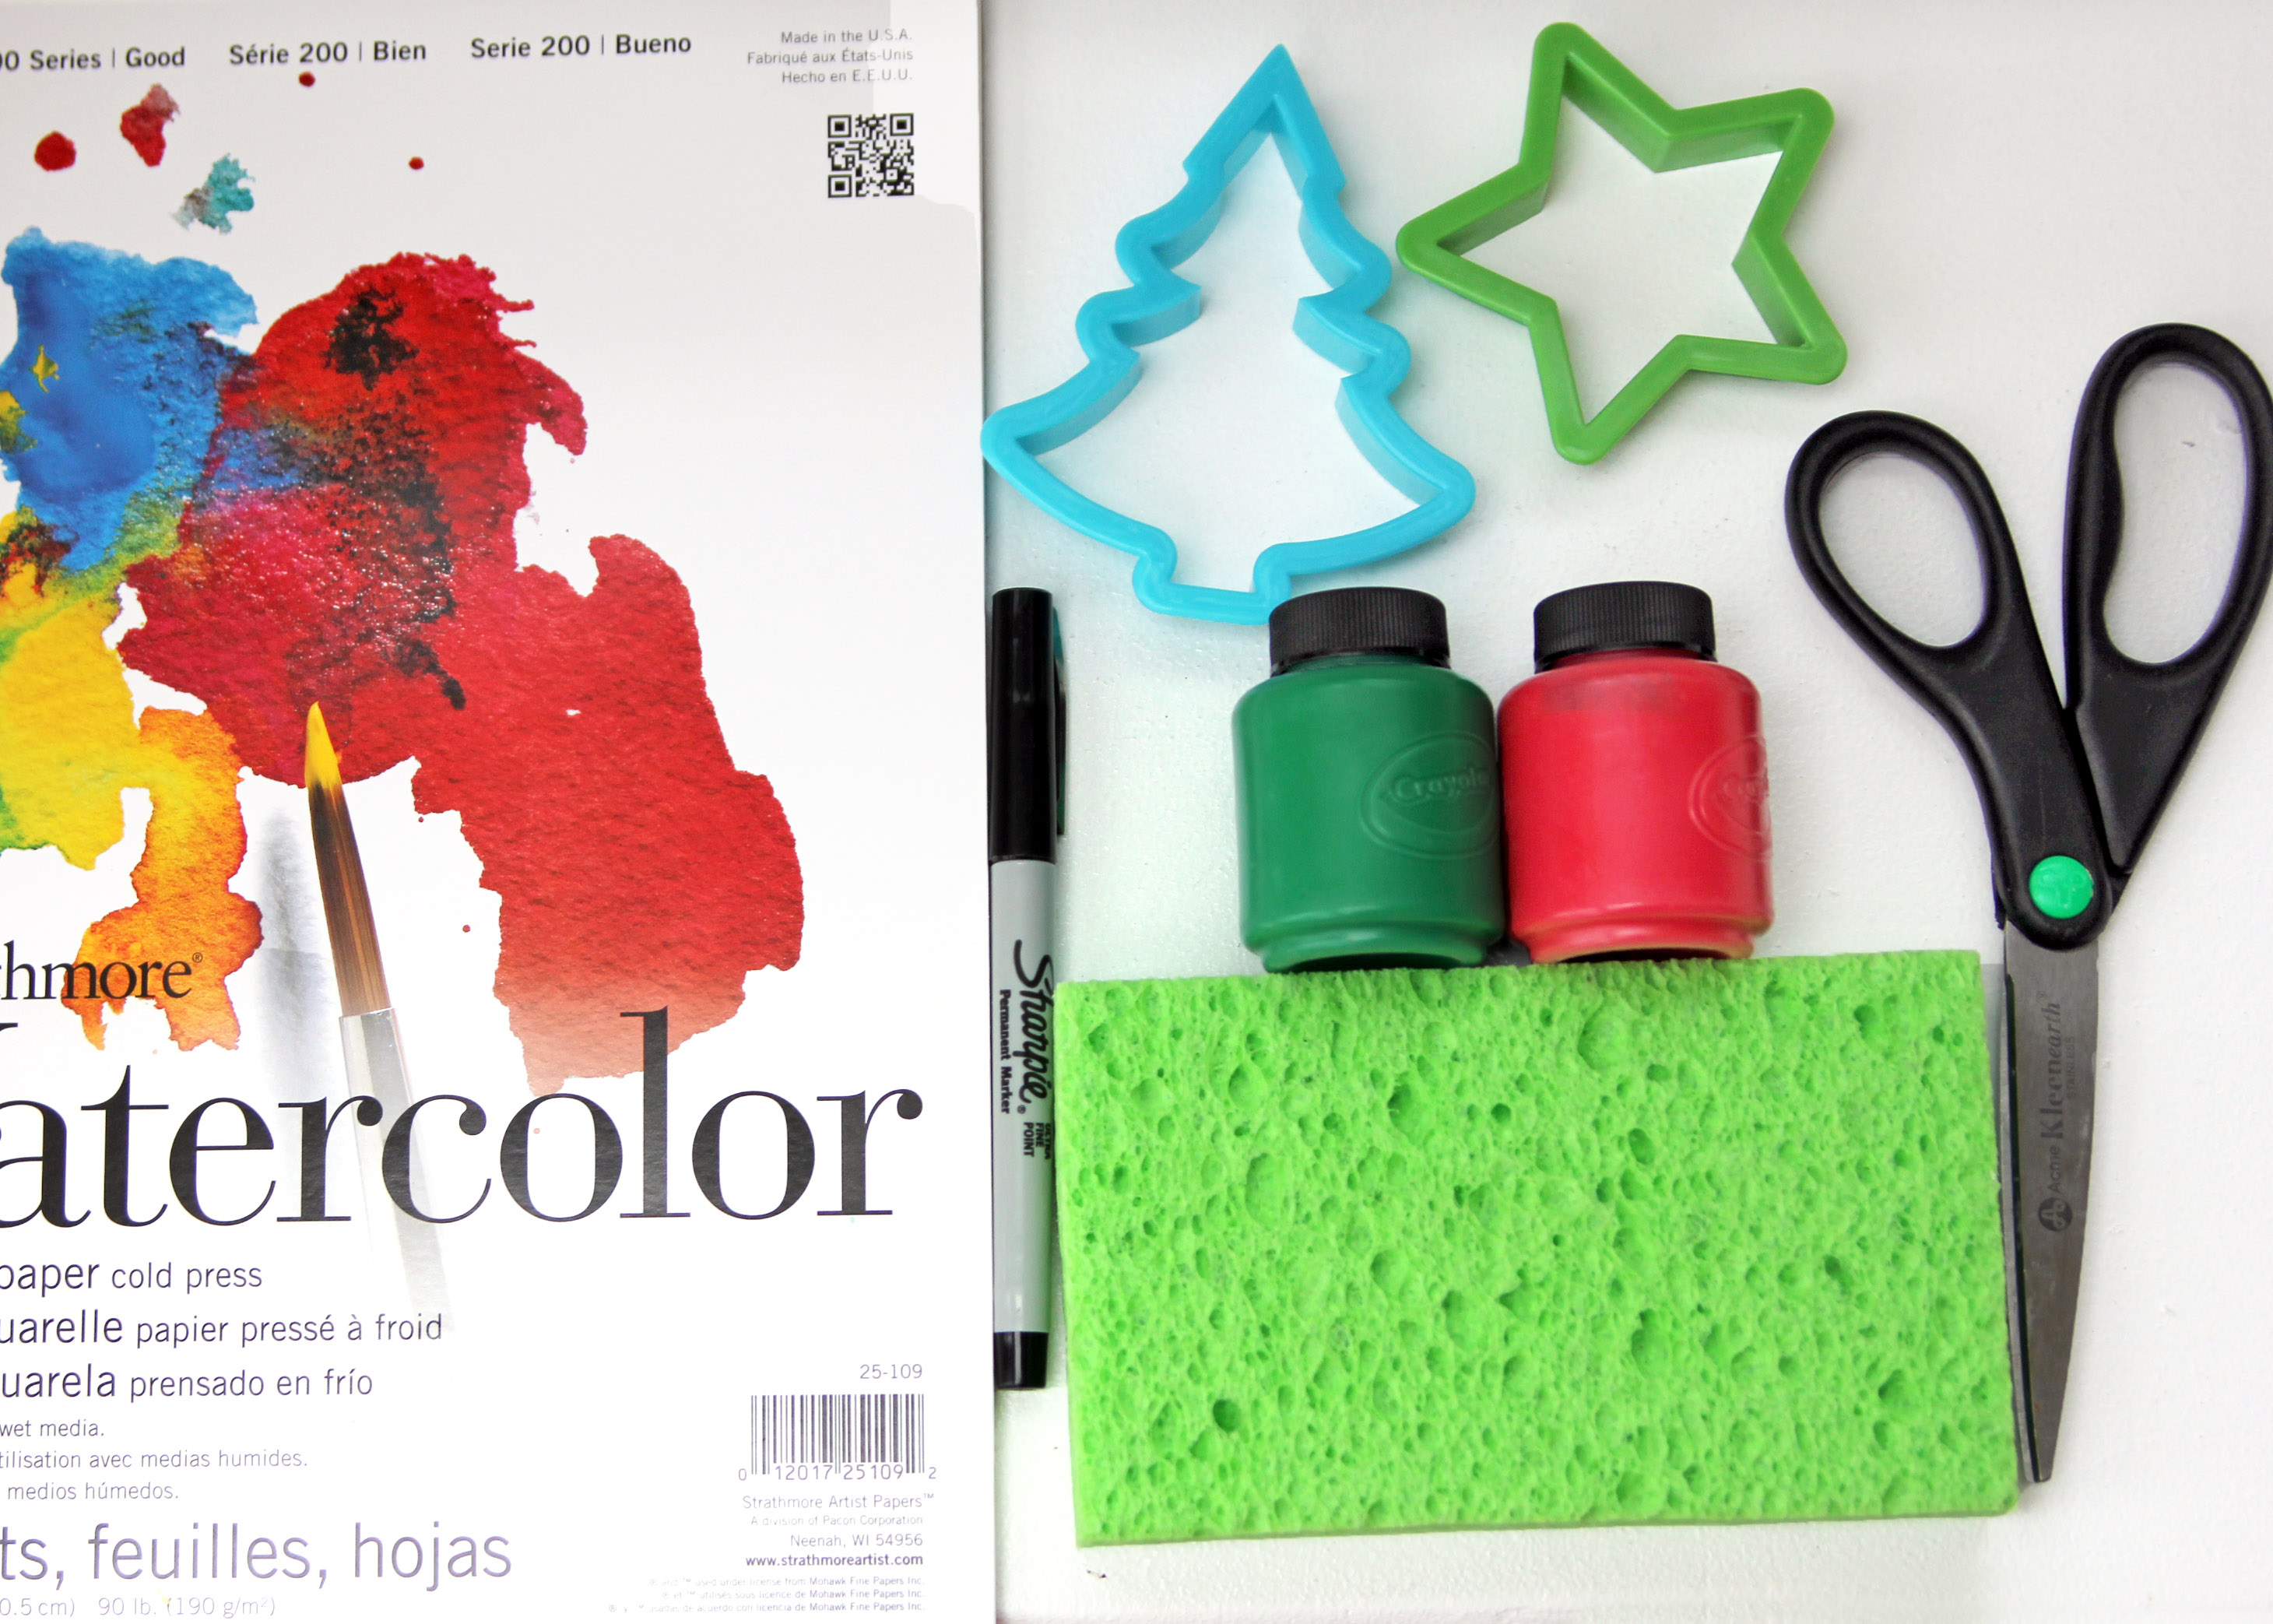
Gather the materials pictured, as well as a surface (like a paper plate) to pour paint onto. Using a smock is optional, but recommended.

Step 2
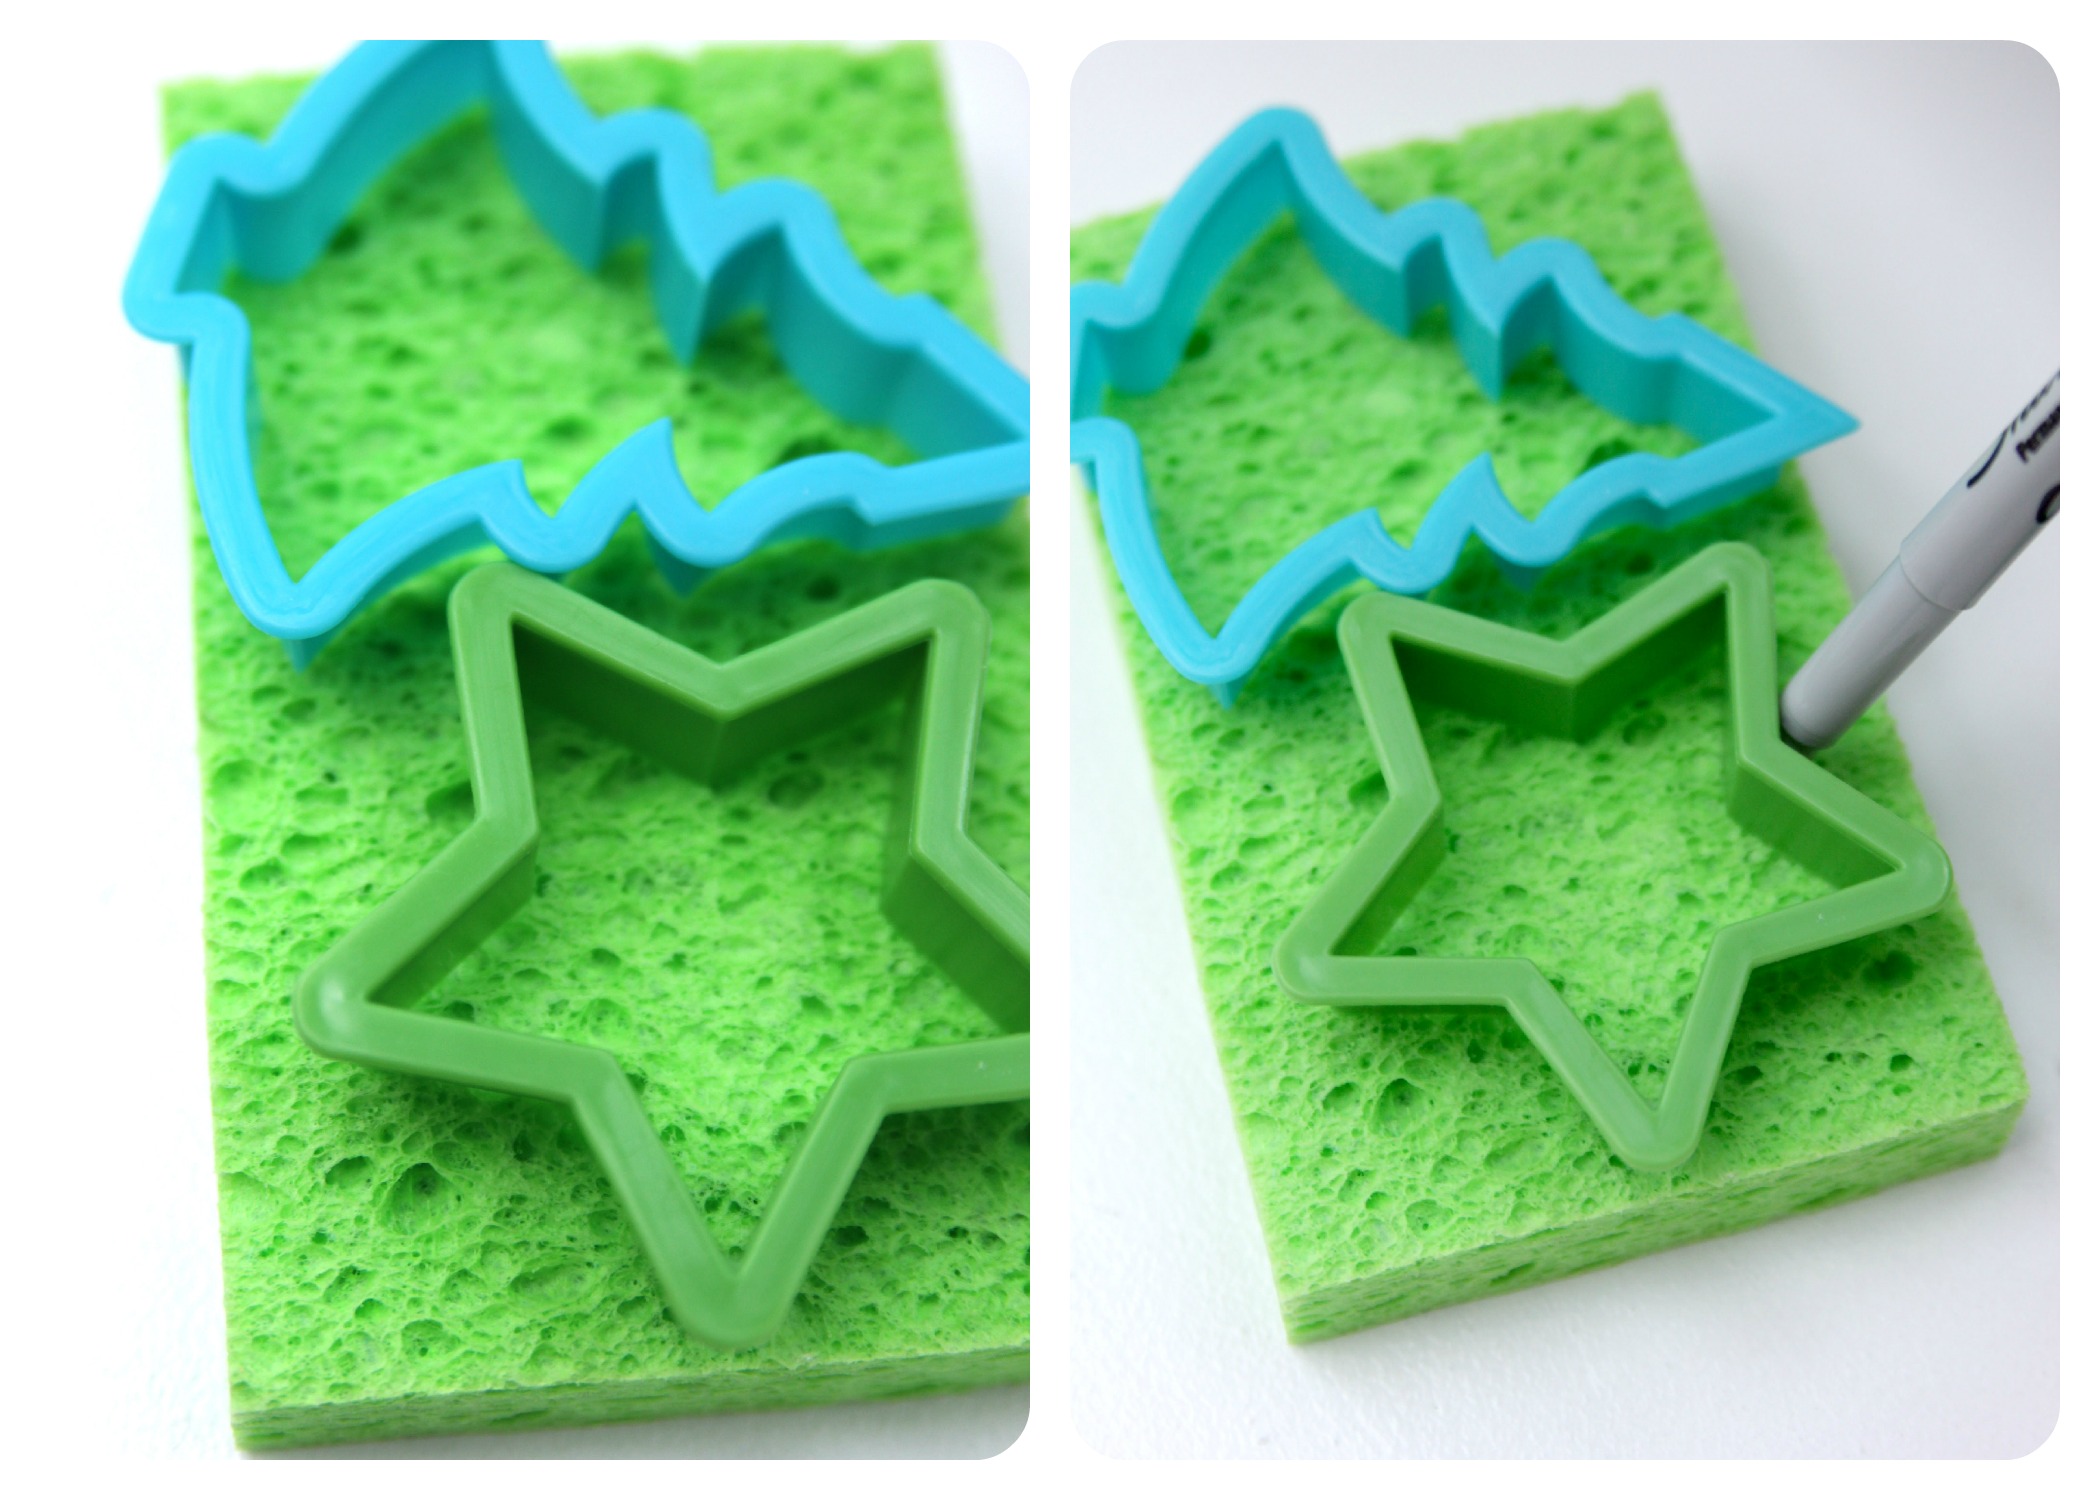
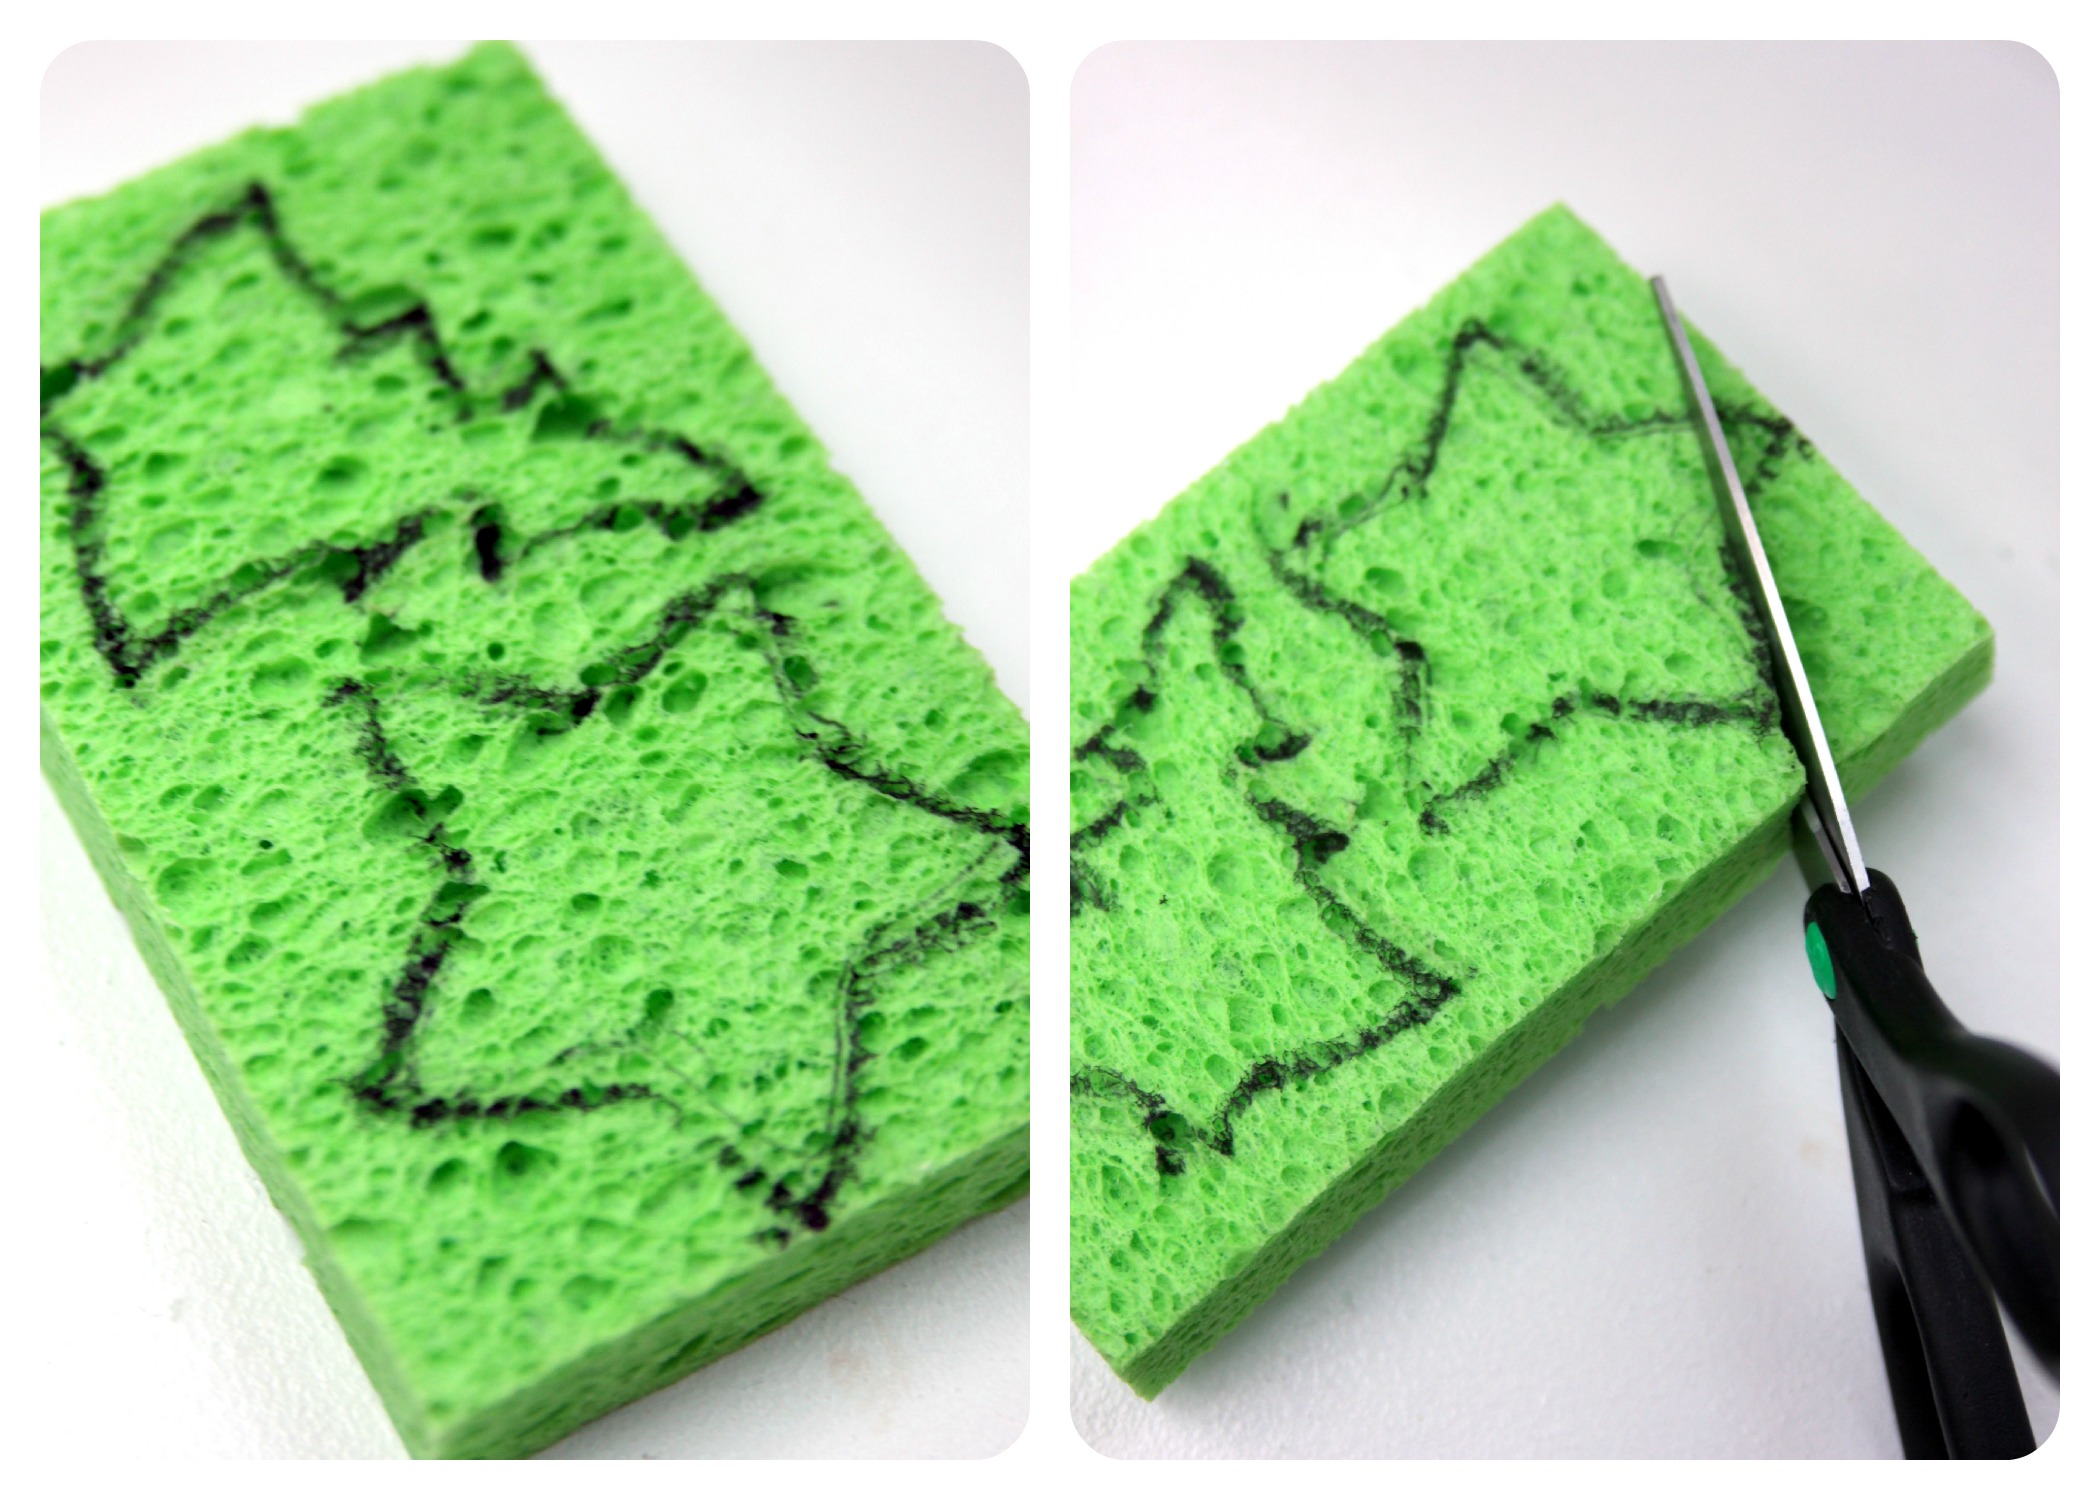
Start by placing your stencils on the sponge (utilizing current household items, we decided to use play-dough cutters as basic stencil shapes). V picked out a Christmas tree and a Christmas star for her stamping fun. Next, we traced the outer edges of the stencils, drawing the outline of each shape.
Step 3
Next, using the drawn outline as your guide, cut out shapes in the sponge. (V.'s not quite old enough for scissors yet--but of course this is a step that slightly older kids can do on their own.)
Step 4
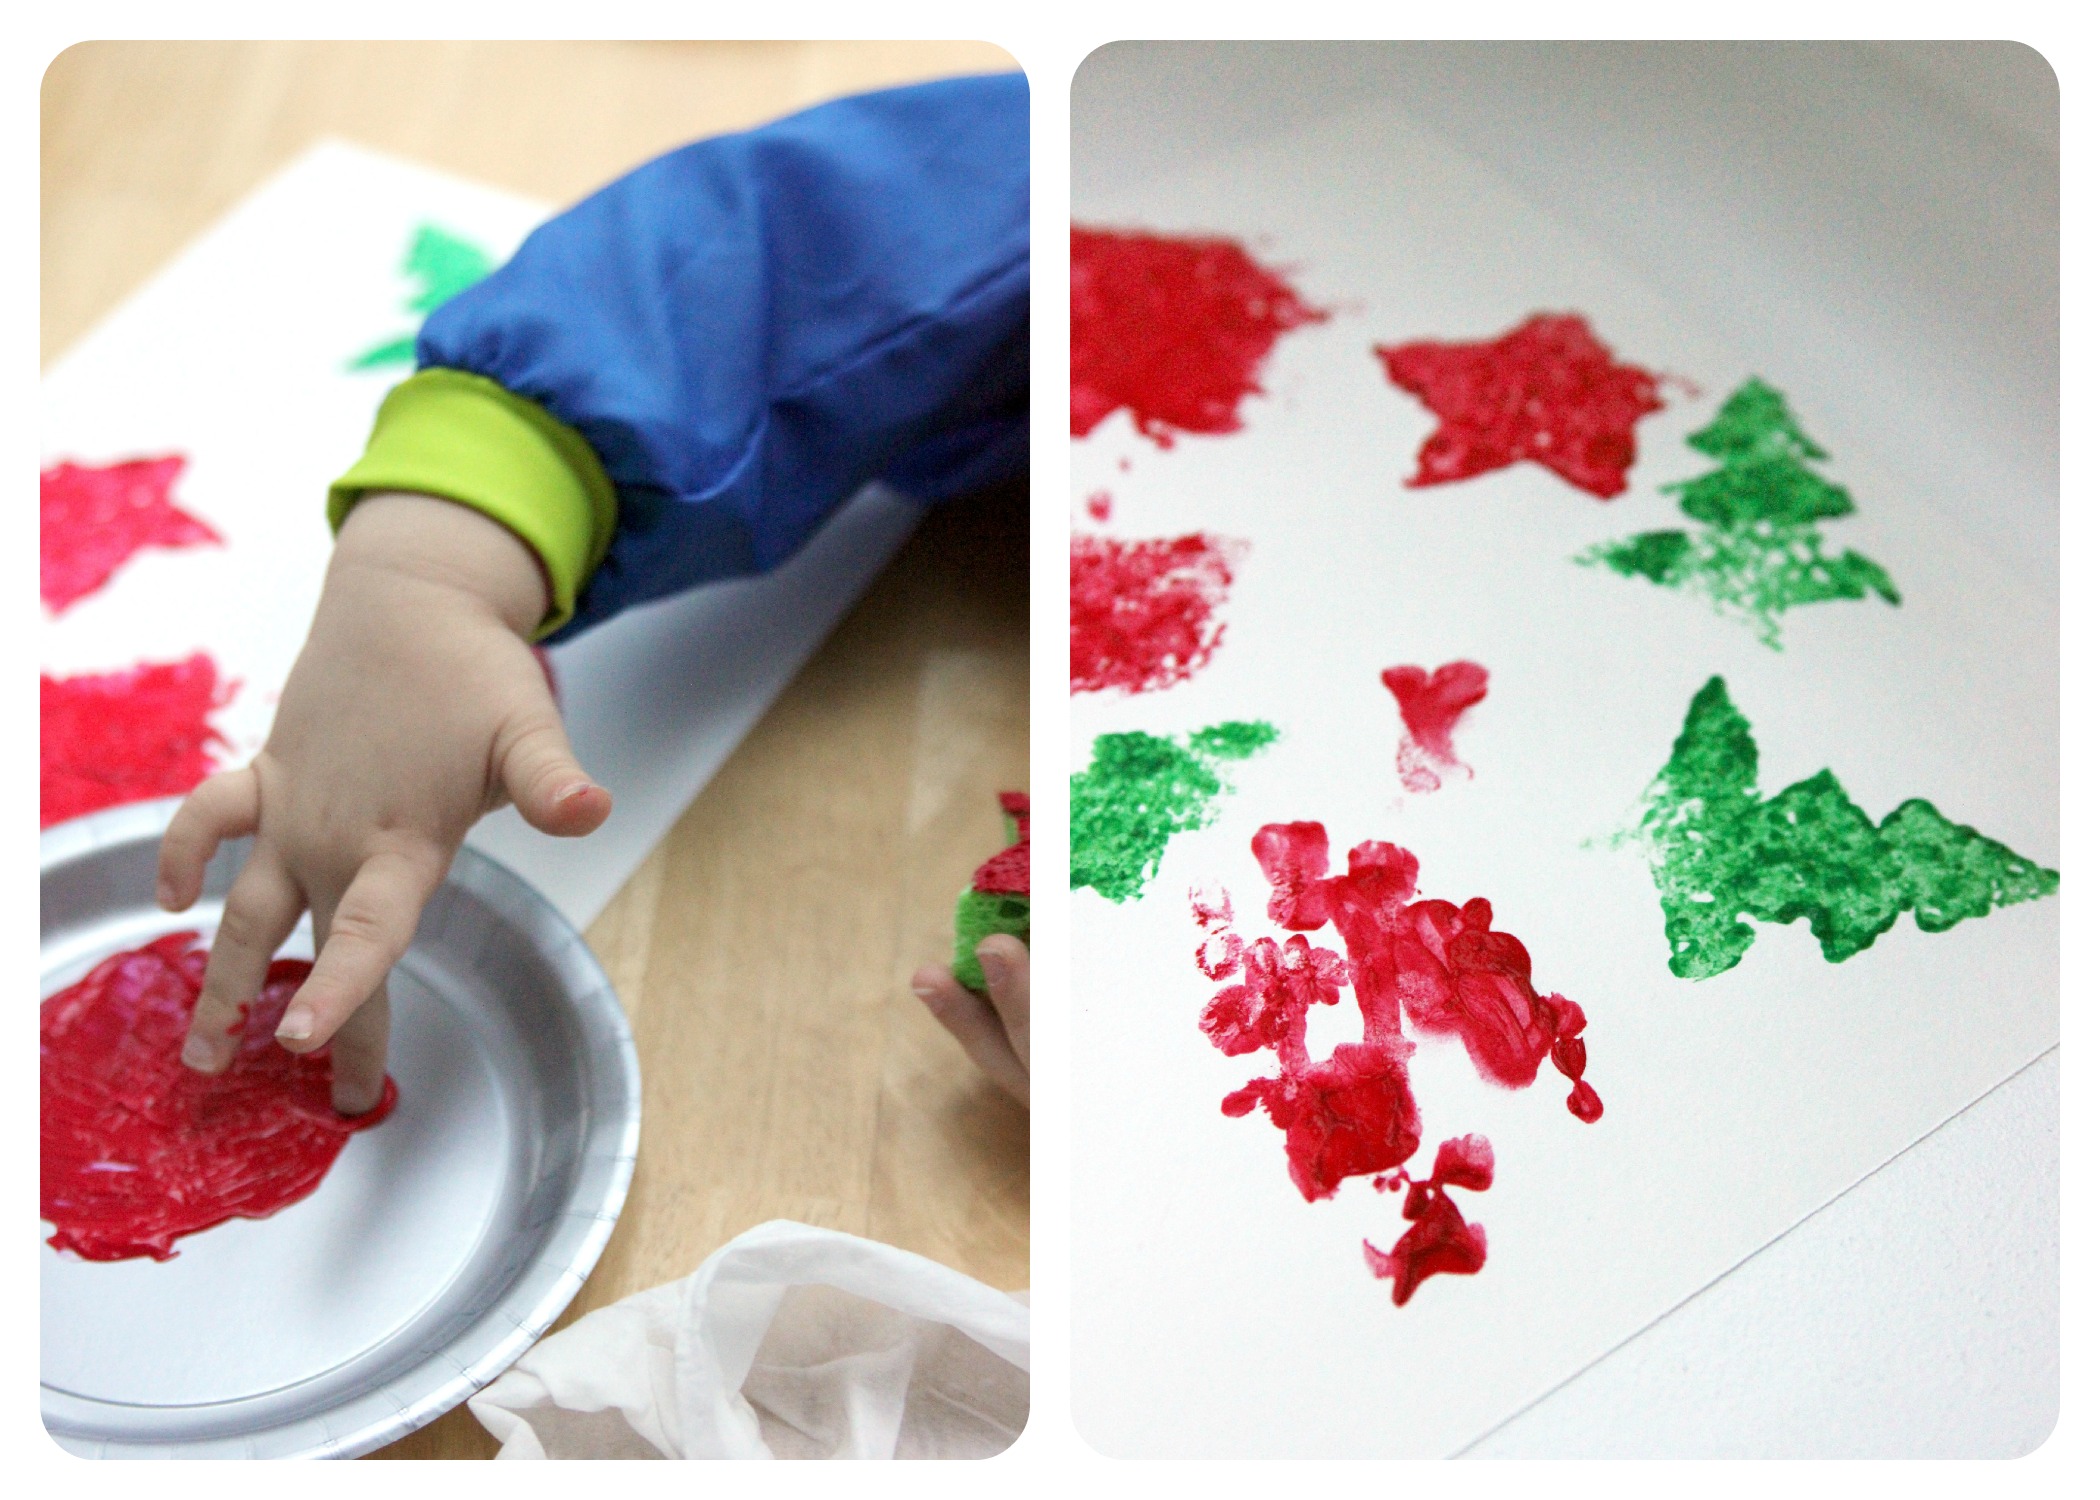
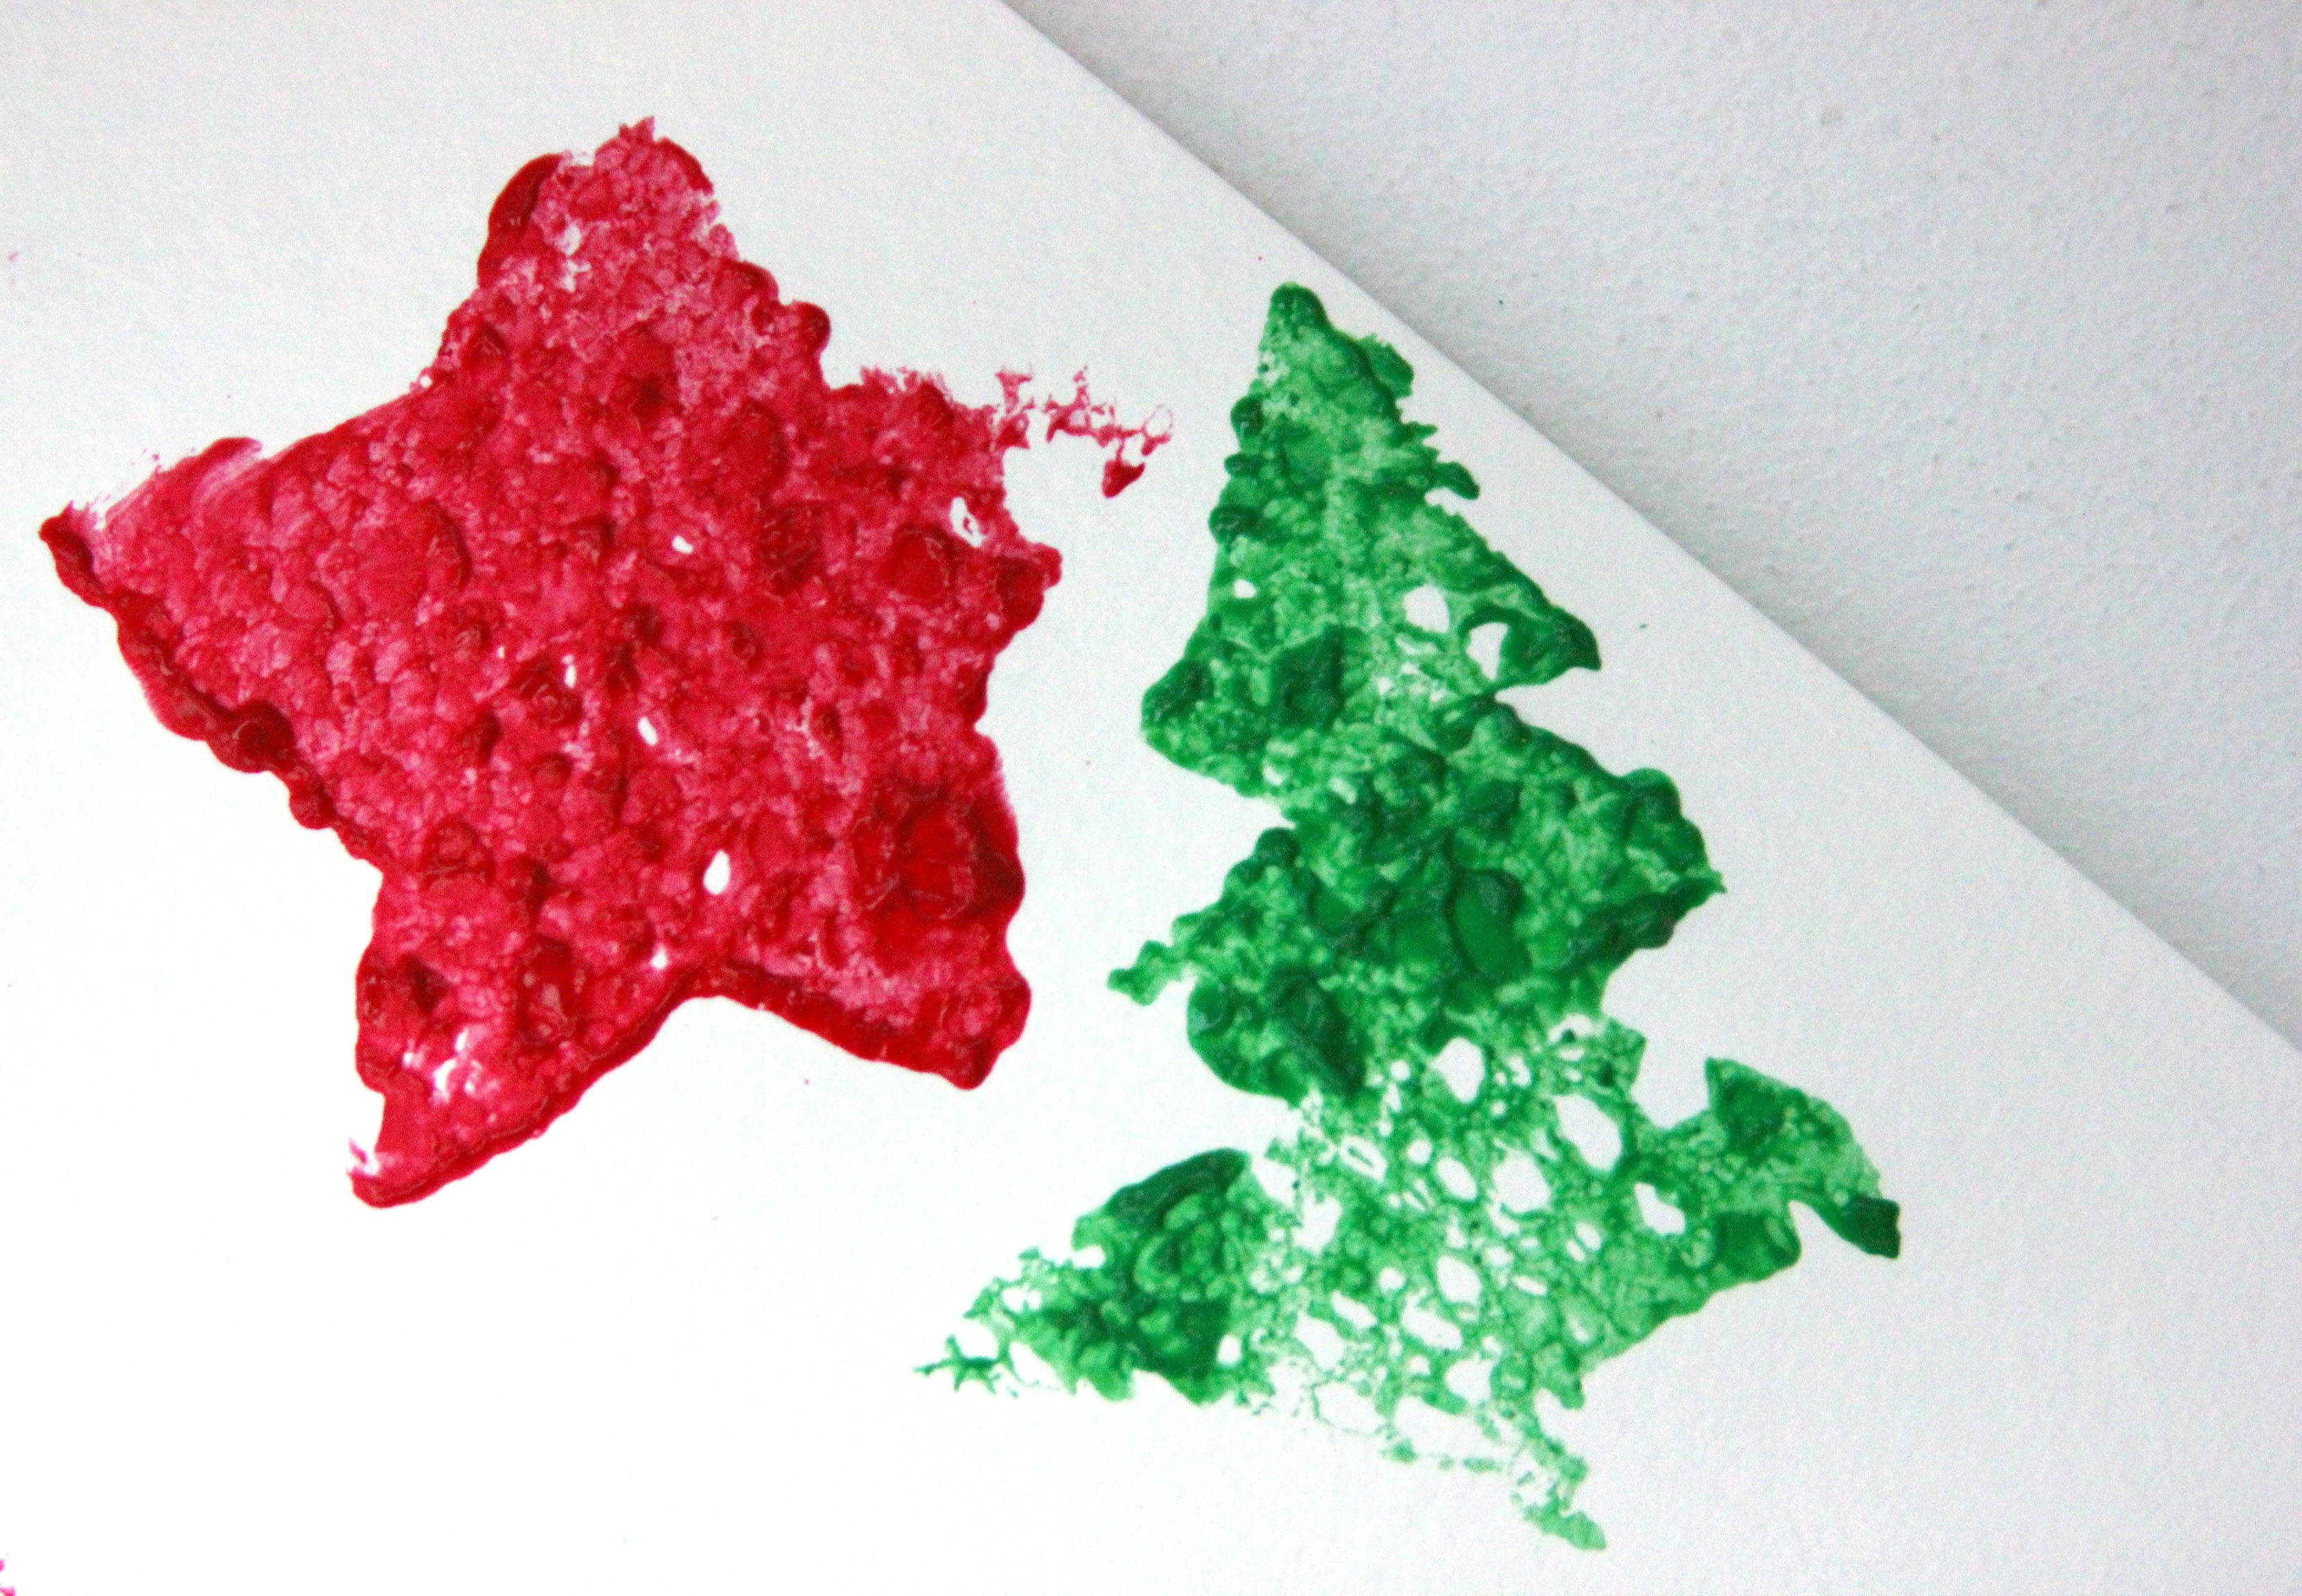
Lastly, with the sponge stamps cut out, we poured some paint onto a paper plate. V then dipped the sponges into the paint, smeared them around, and stamped away.
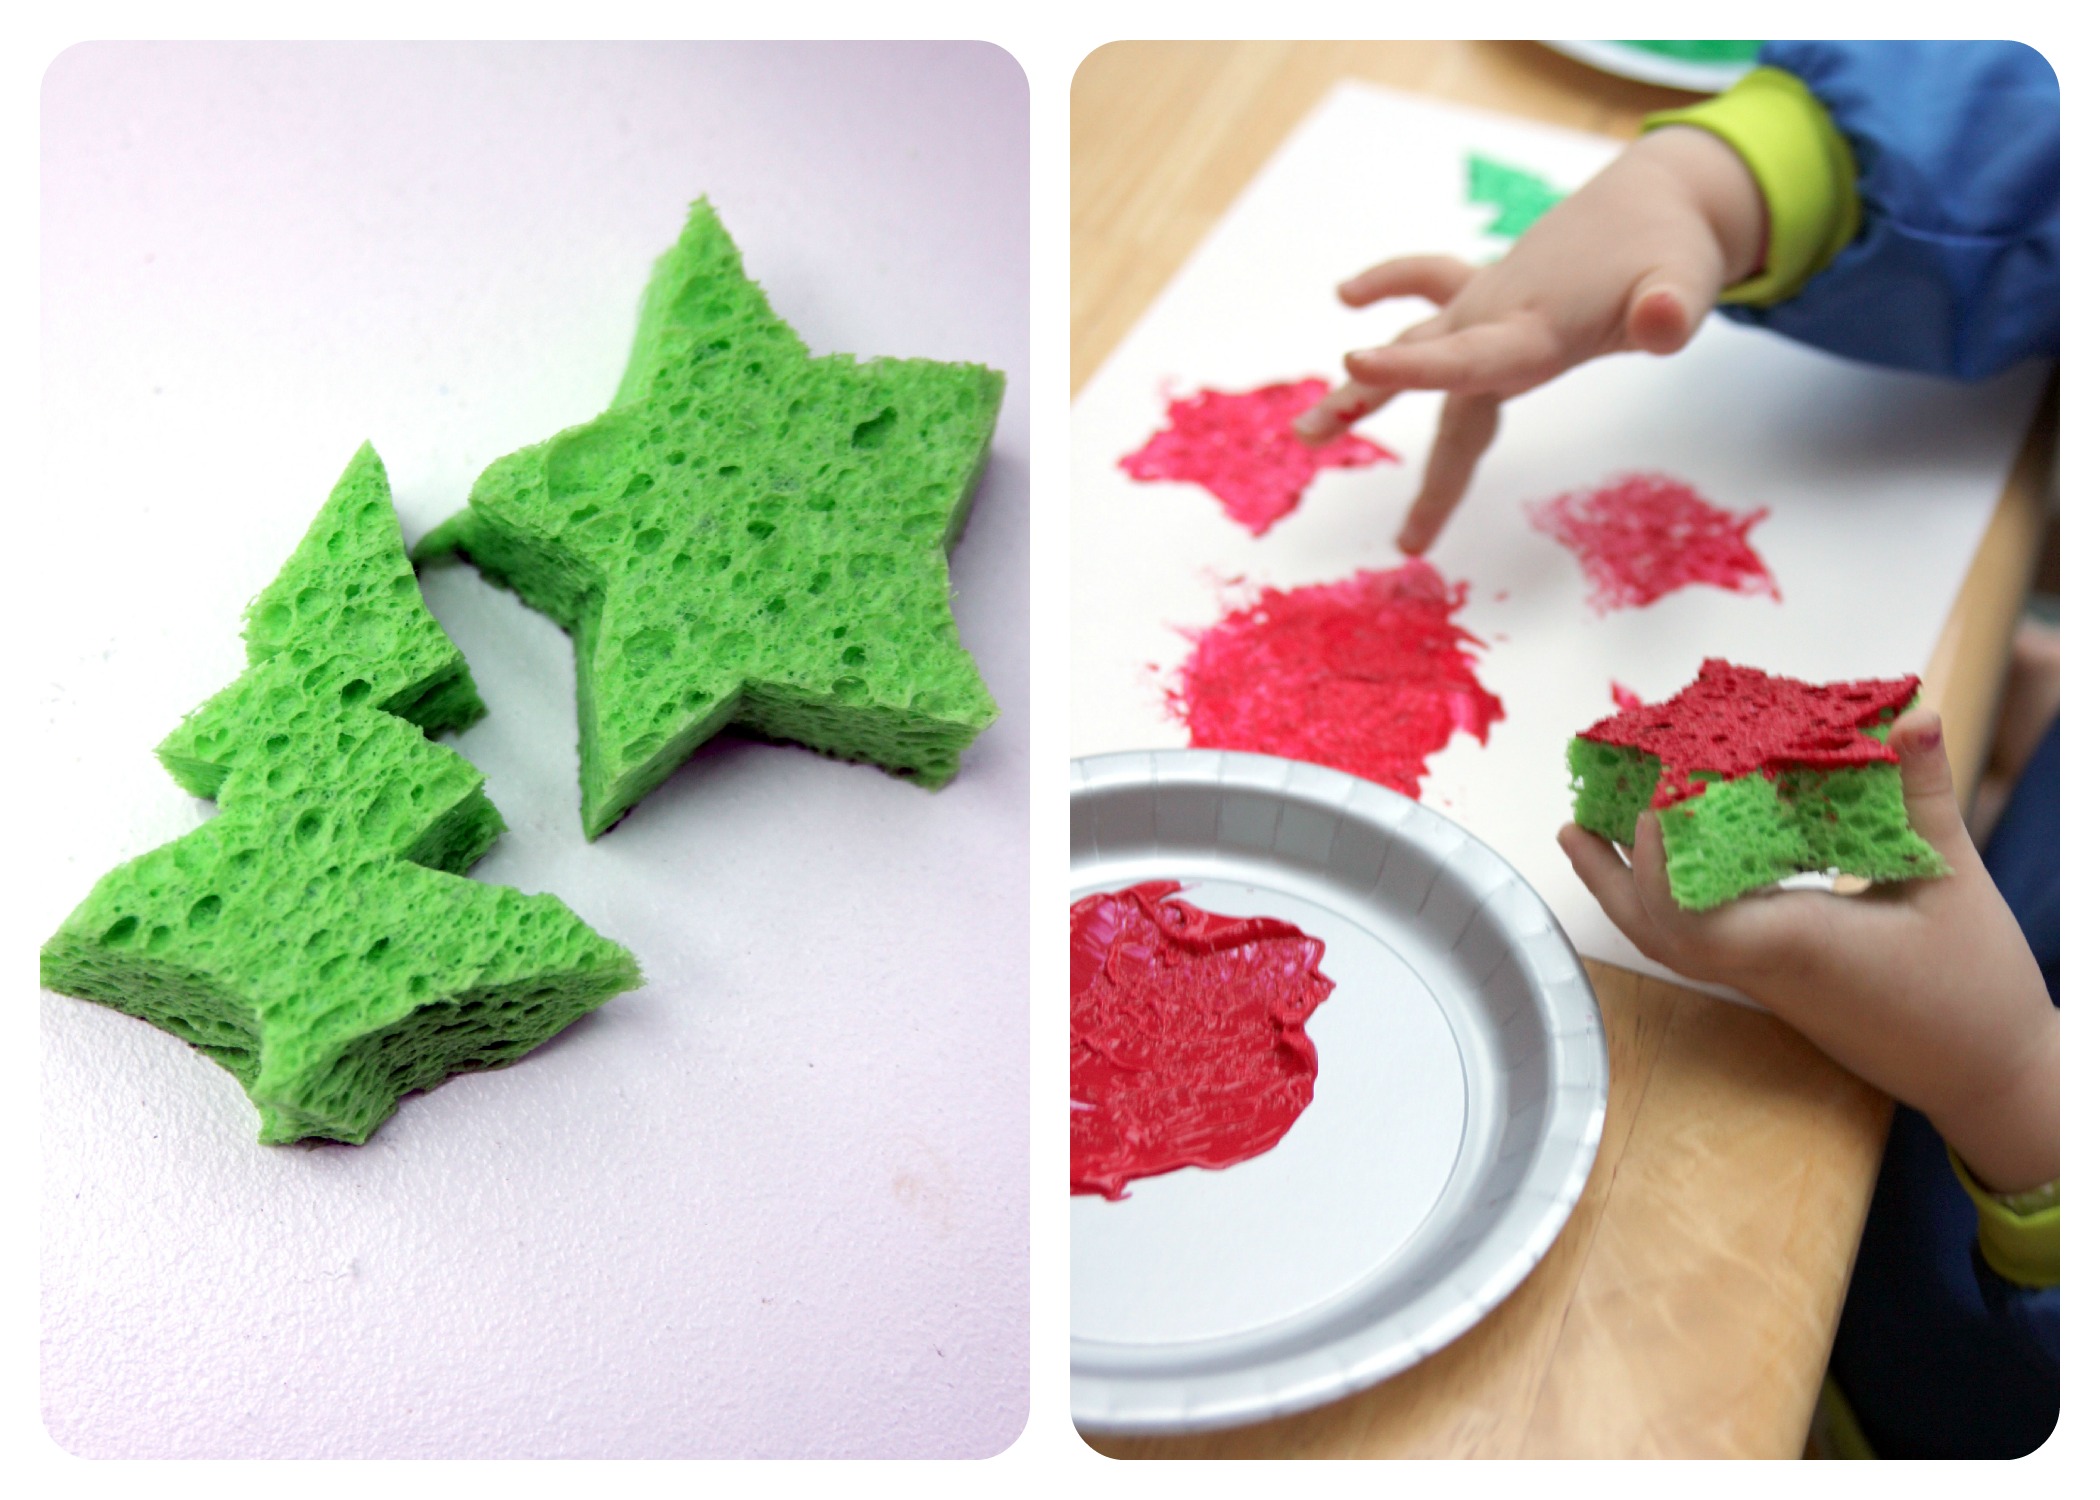
Done!
There might have been a little bit of finger painting involved too!