Step-by-step tutorial
Step 1
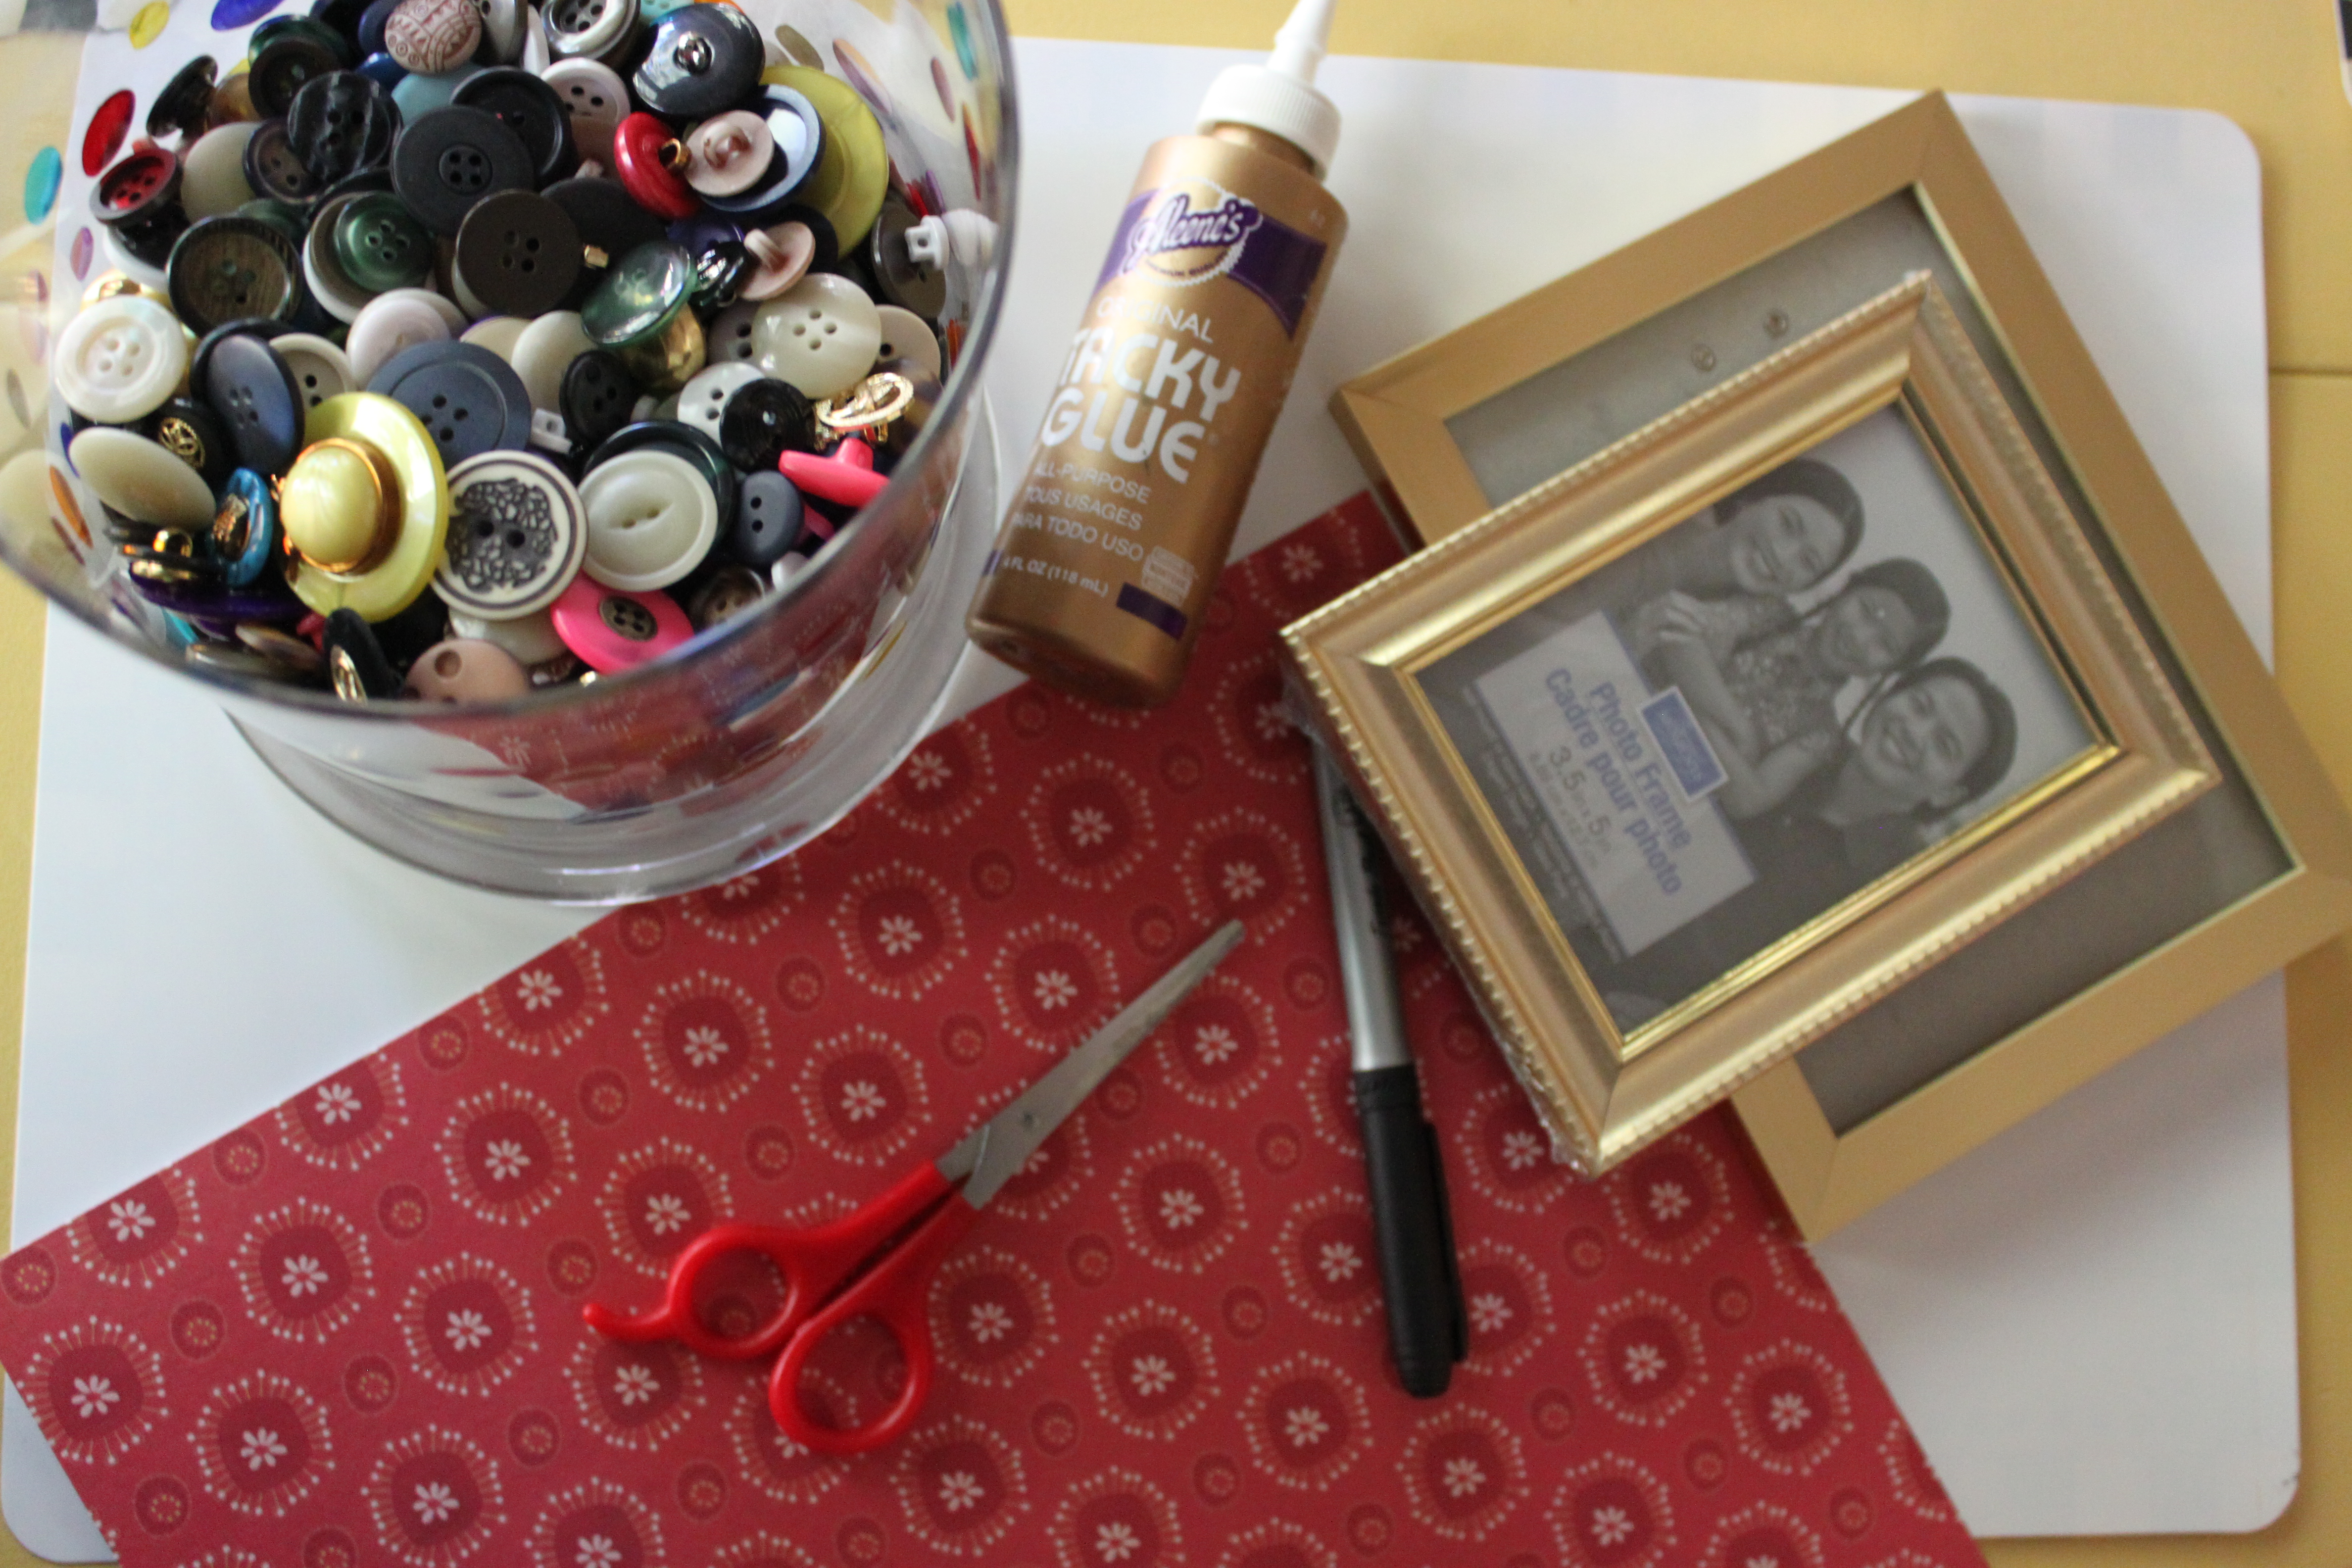
My children love going through our button jar. I have collected so many different buttons. They love to dig through and look for different colors, sizes, and textures. This was a fun way to prepare for this craft since we needed quite a few buttons.
Looking for a gift? Checkout KiwiCo's Christmas gifts here.

Step 2
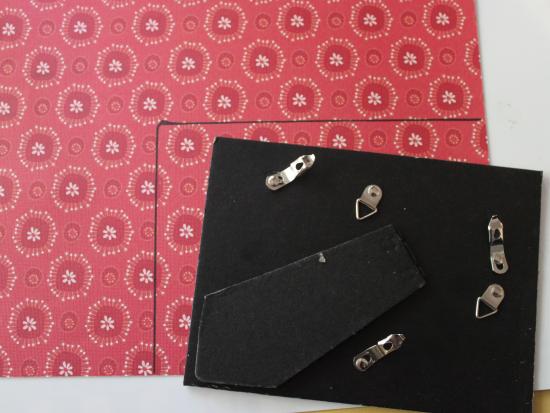
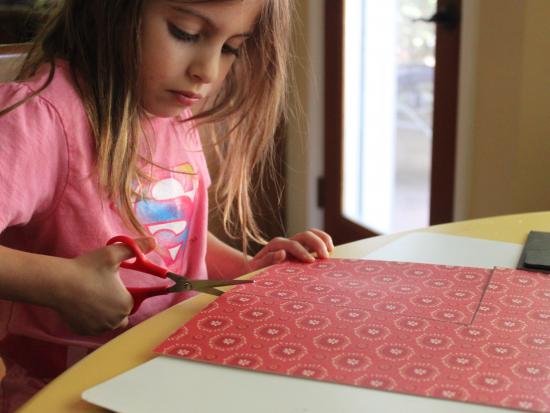
While the kids were sorting buttons, I traced the back of my picture frame onto a festive piece of paper.
Step 3
My daughter cut out the rectangle to be placed inside our frame as the backdrop for our button creation.
Step 4
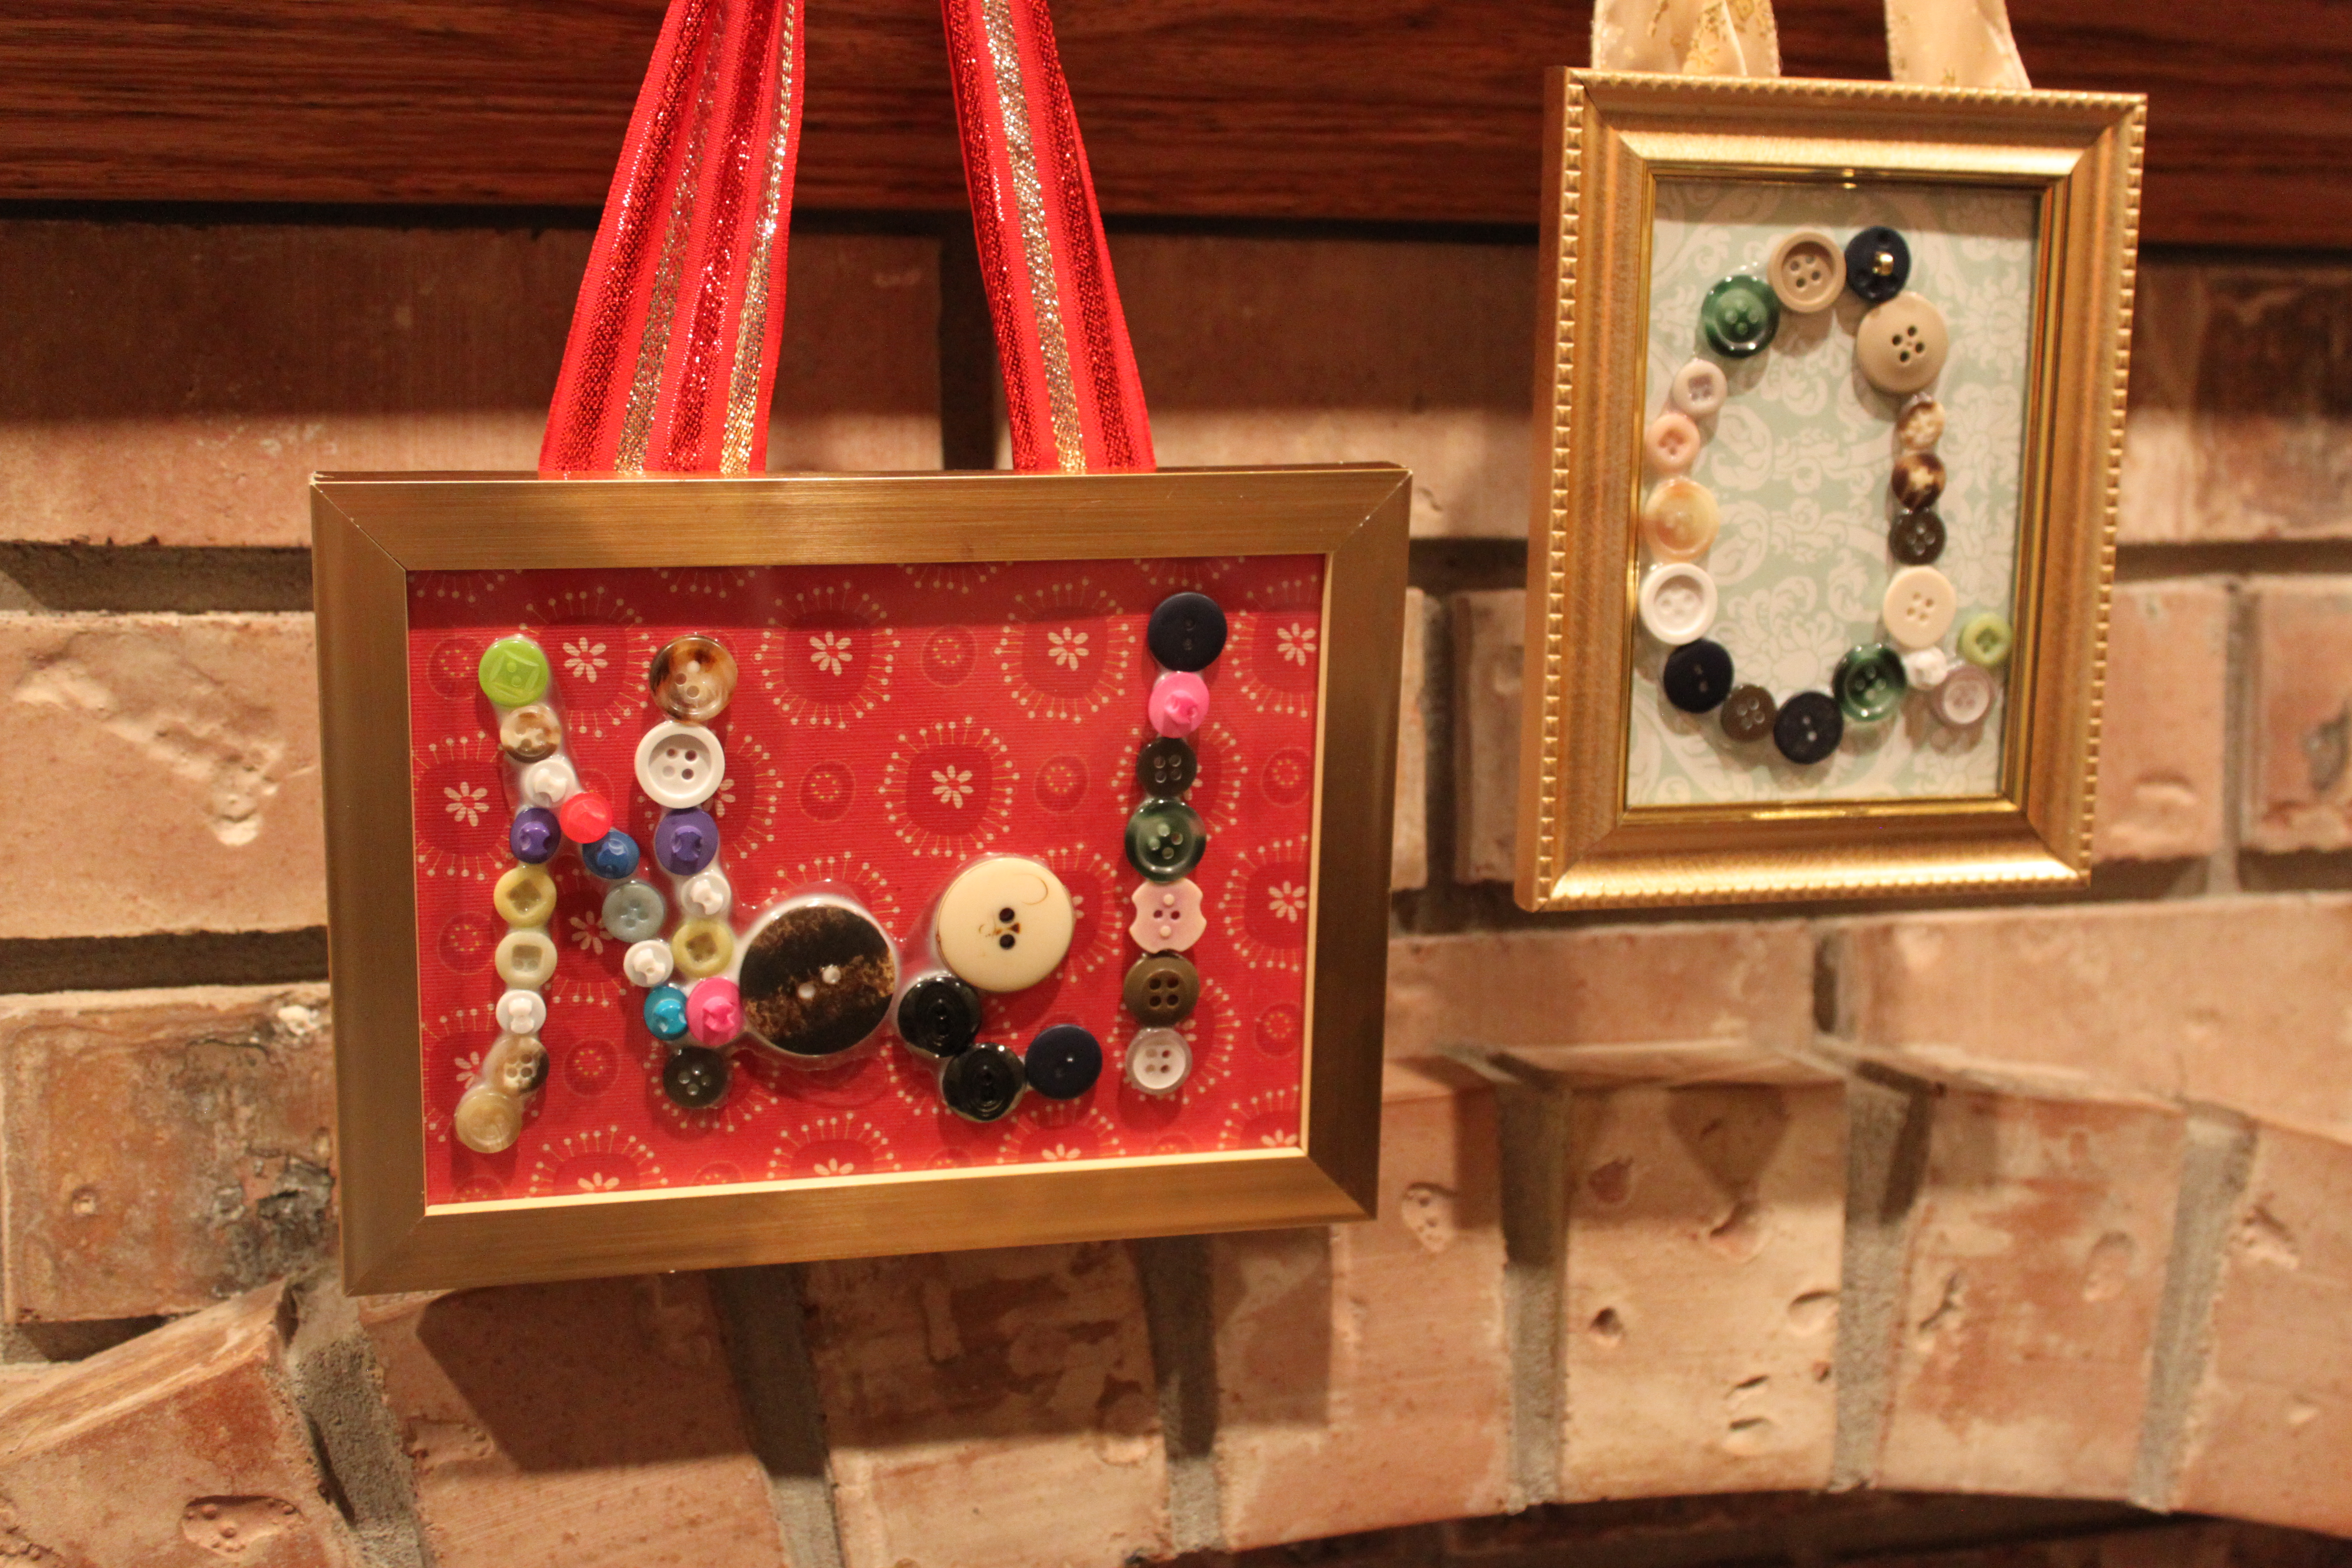
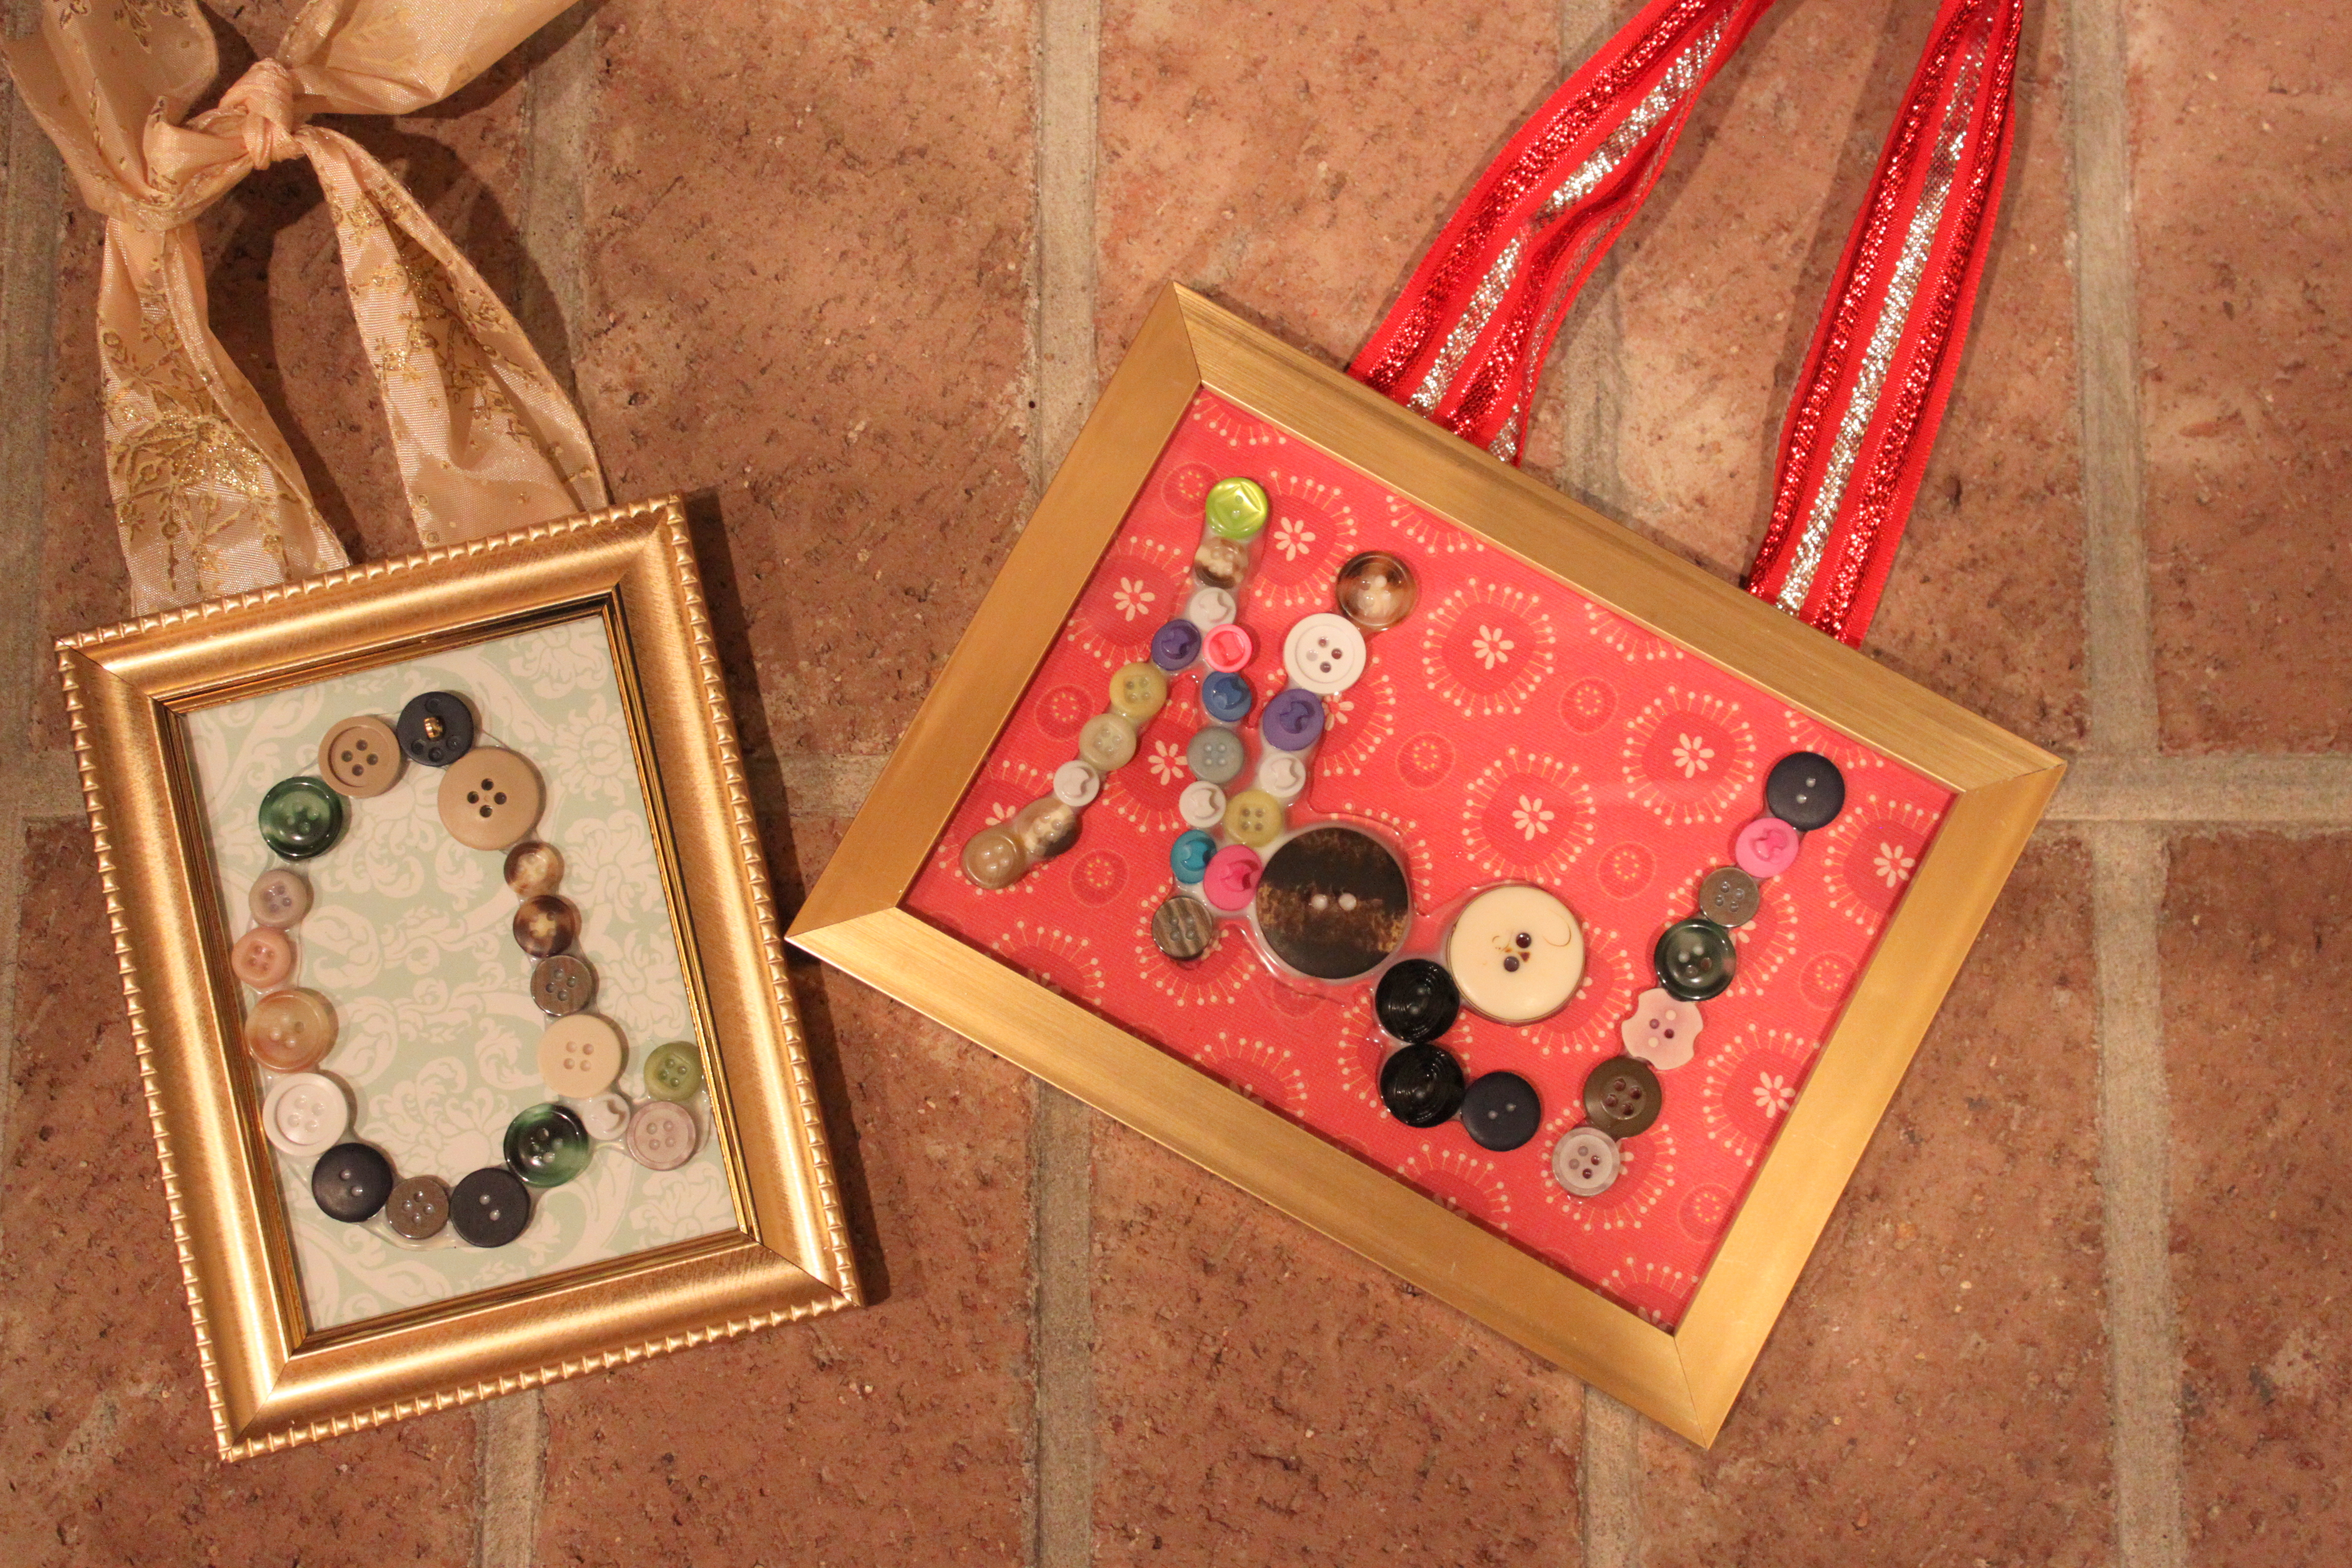
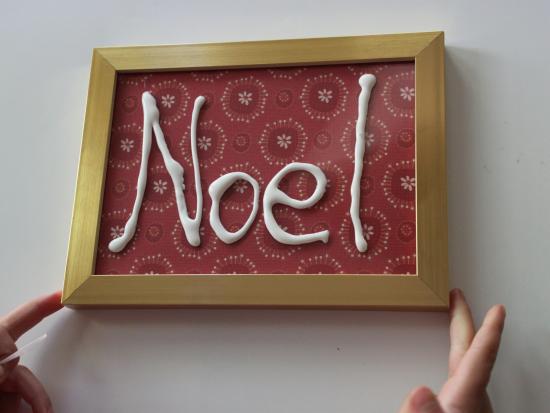
This was a great project to use old frames we had. I love when something old can get a new life, especially because it teaches my kids to reuse and create instead of throw away. I wrote the word "Noel" with glue right on the frame's glass (You could also have the kids make pictures with glue. A Christmas tree would be fun.)
Step 5
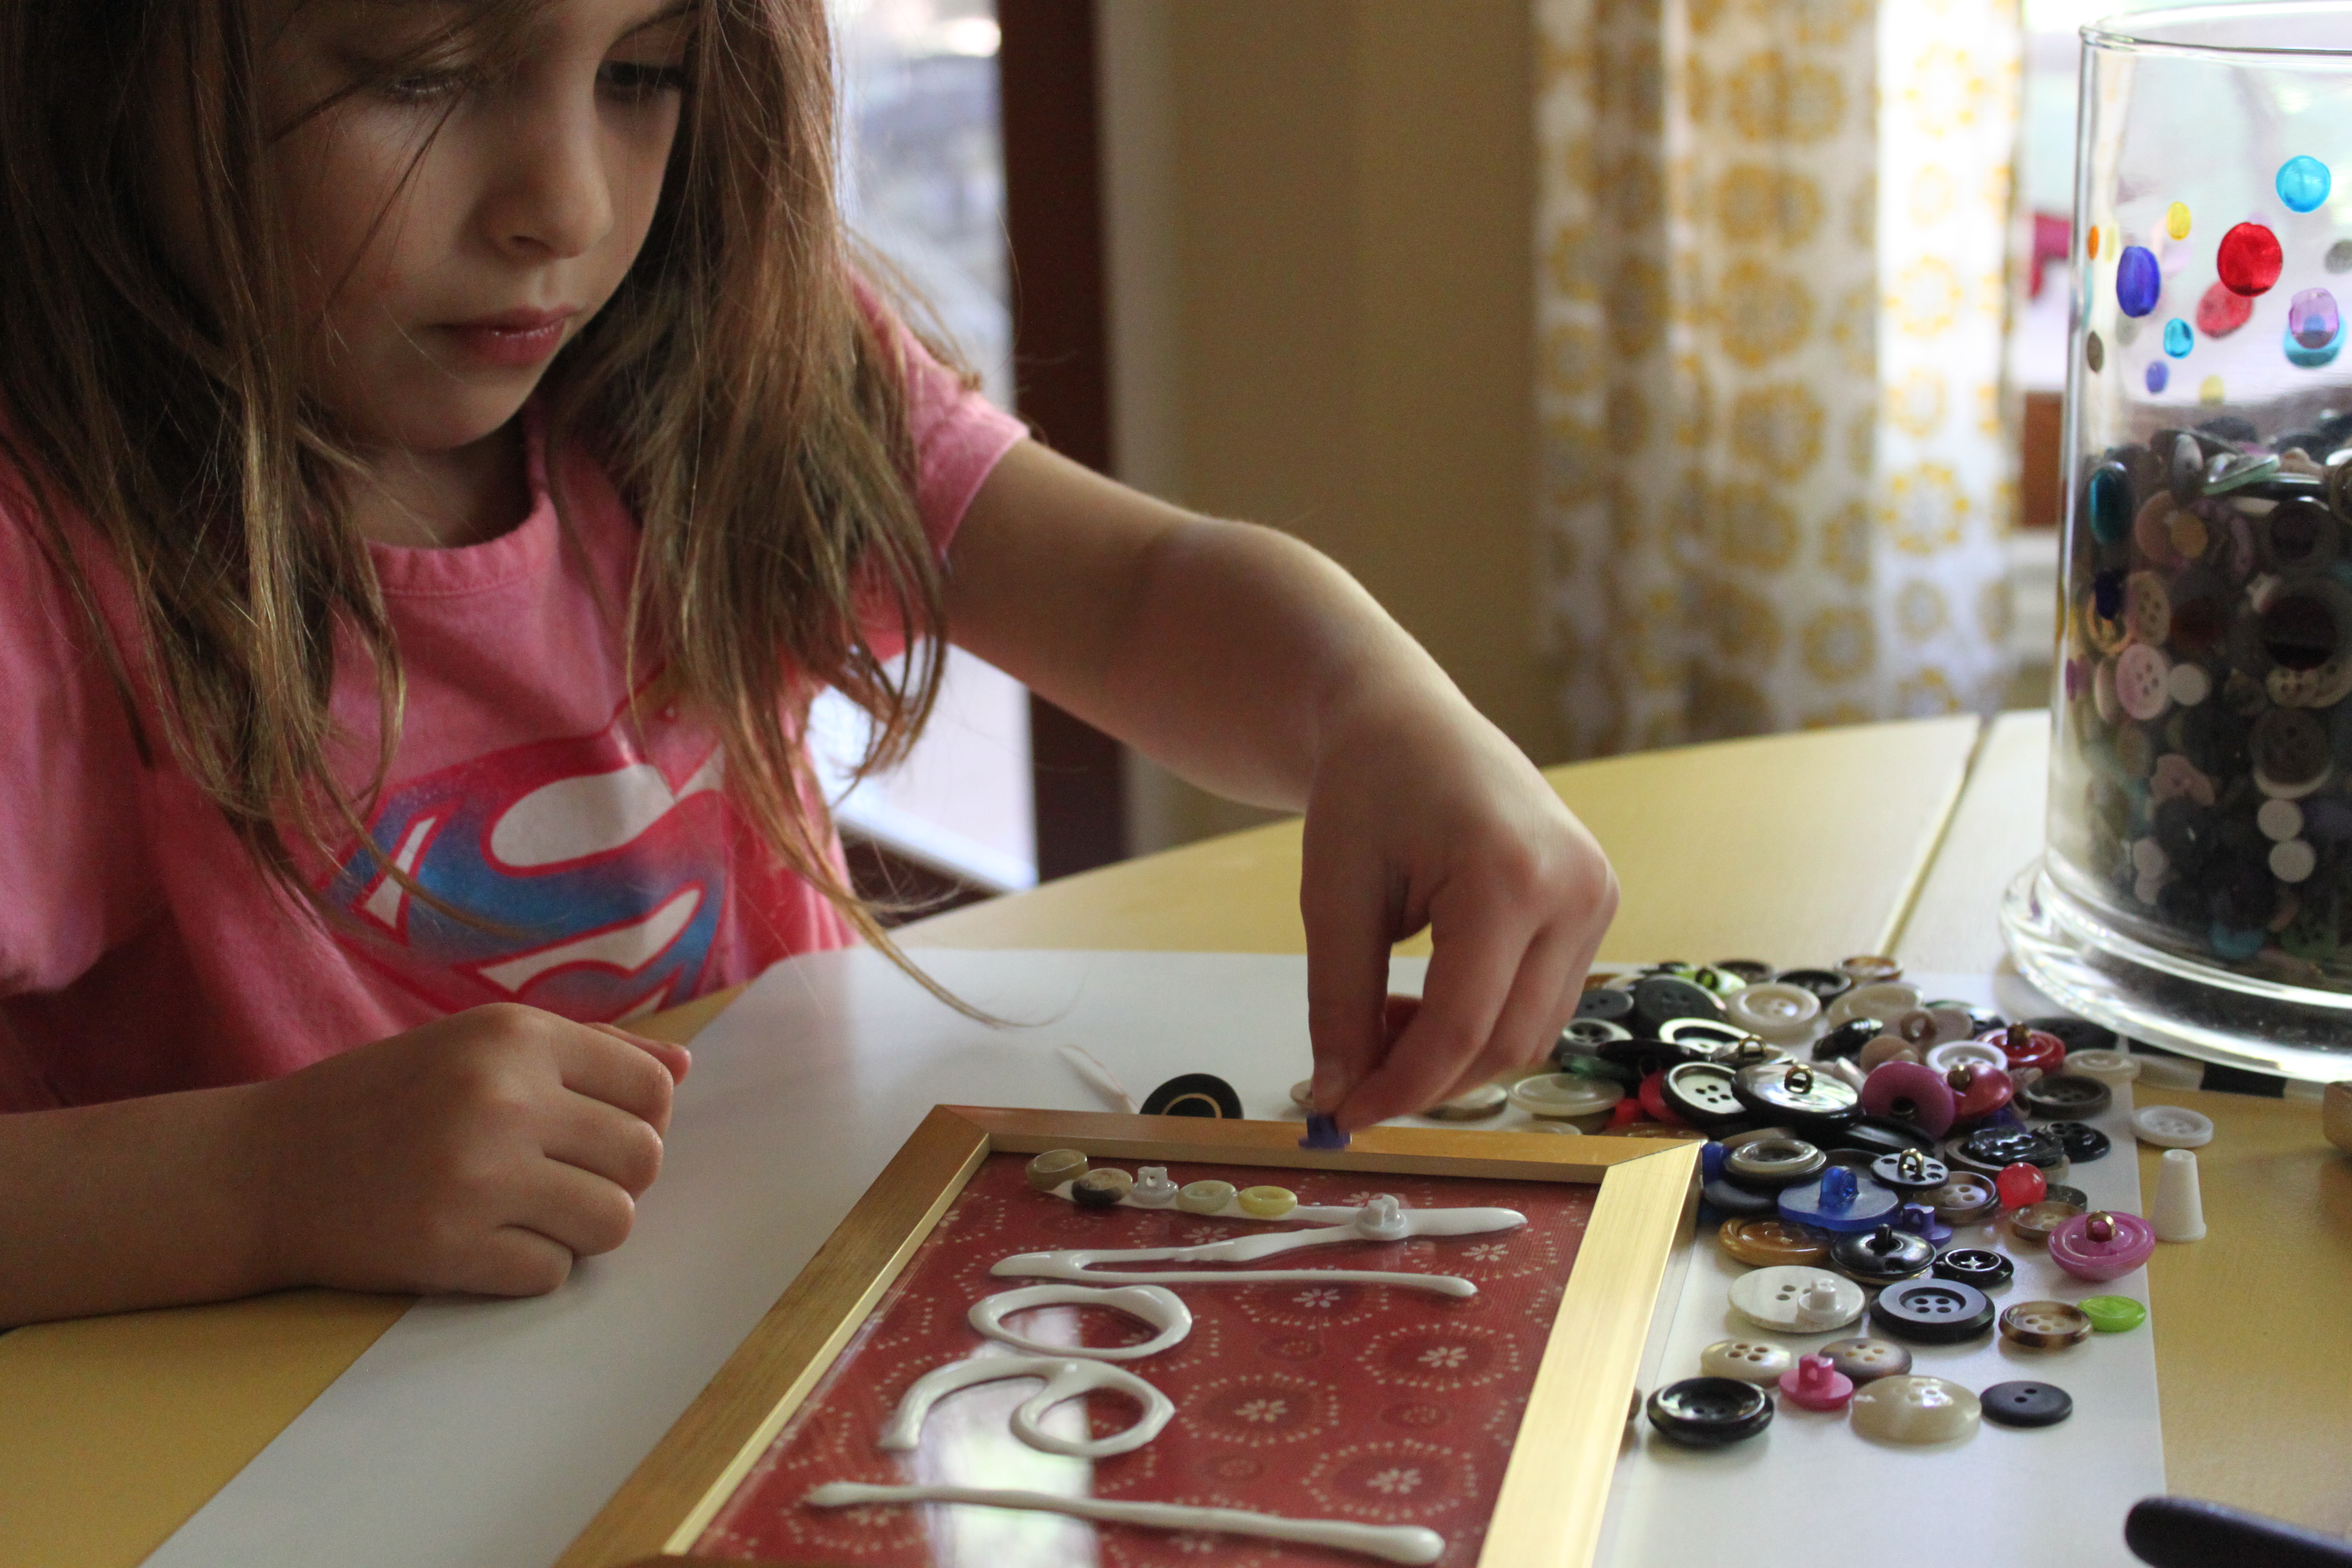
Emma got to work on adding the buttons. Each piece had a very special place on the frame. It was fun to see how she would choose which button went where.
Step 6
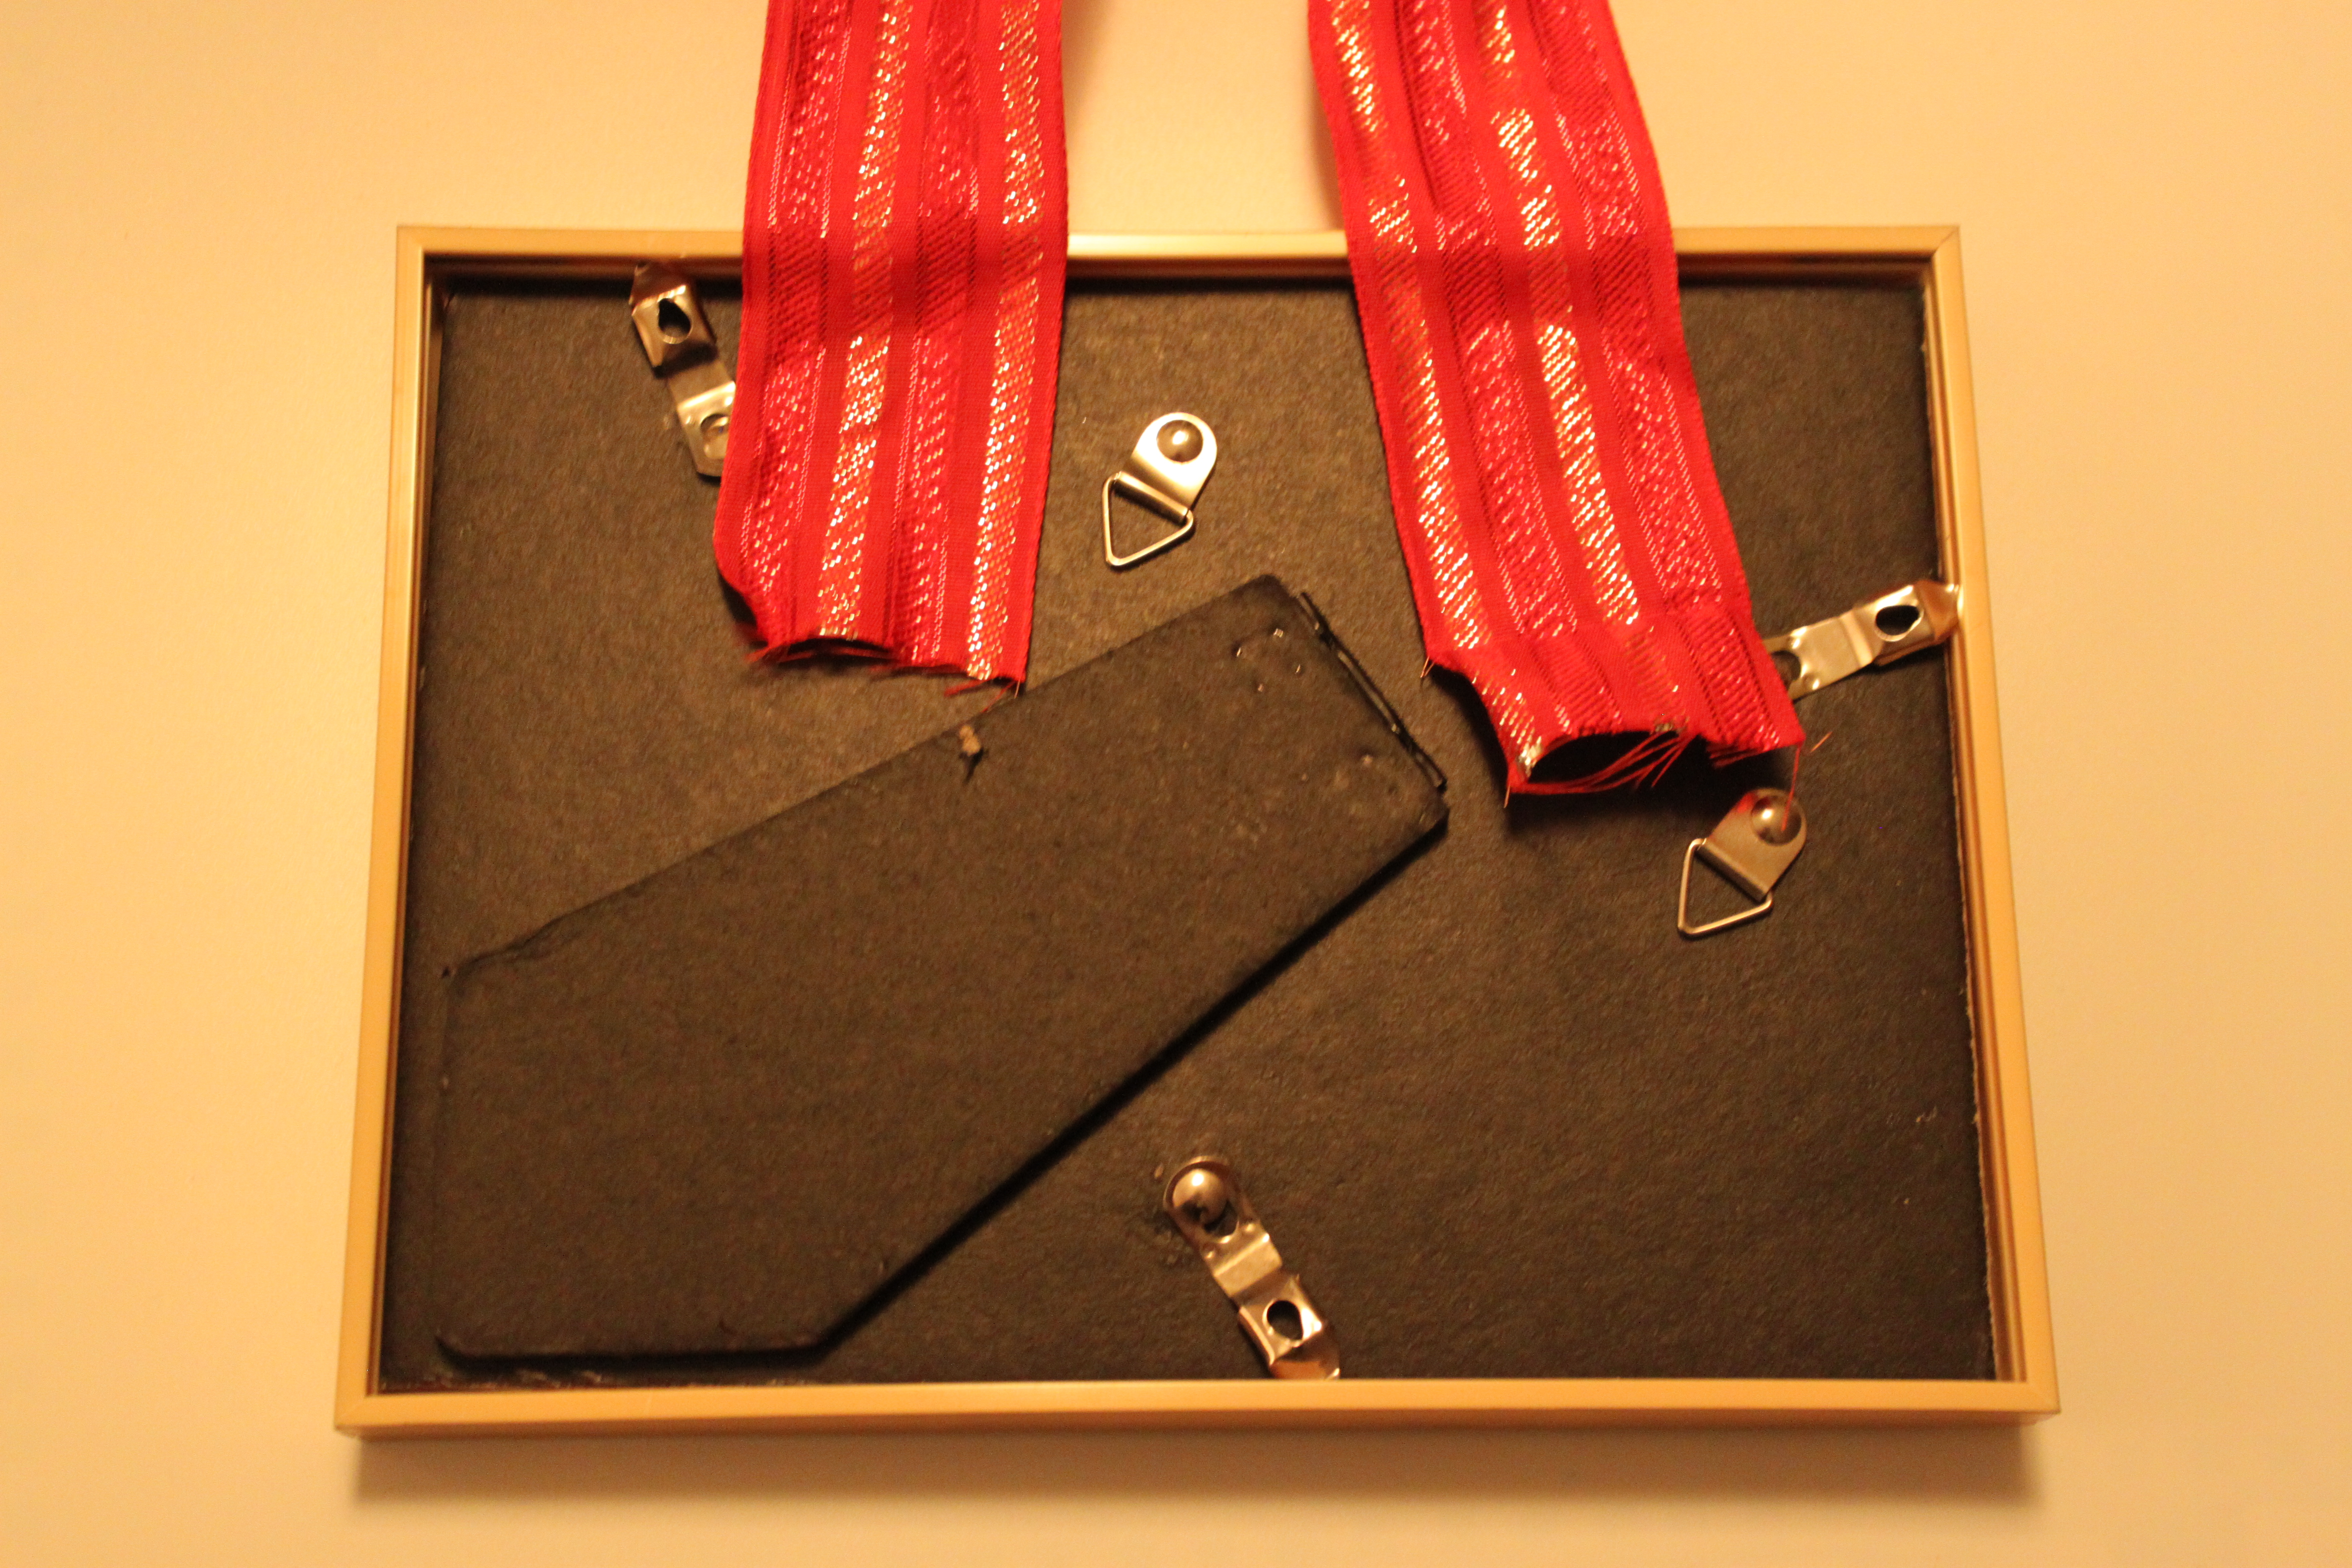
While our frame was drying I added some ribbon to the back using hot glue. I wanted to hang these over the fireplace, but you could also just stand them like traditional frames.
Done!
We made an "A" for our last name. That was Emma's idea and I loved it! Our holiday button art came out great and really added a fun festive feel to our home.