Step-by-step tutorial
Step 1
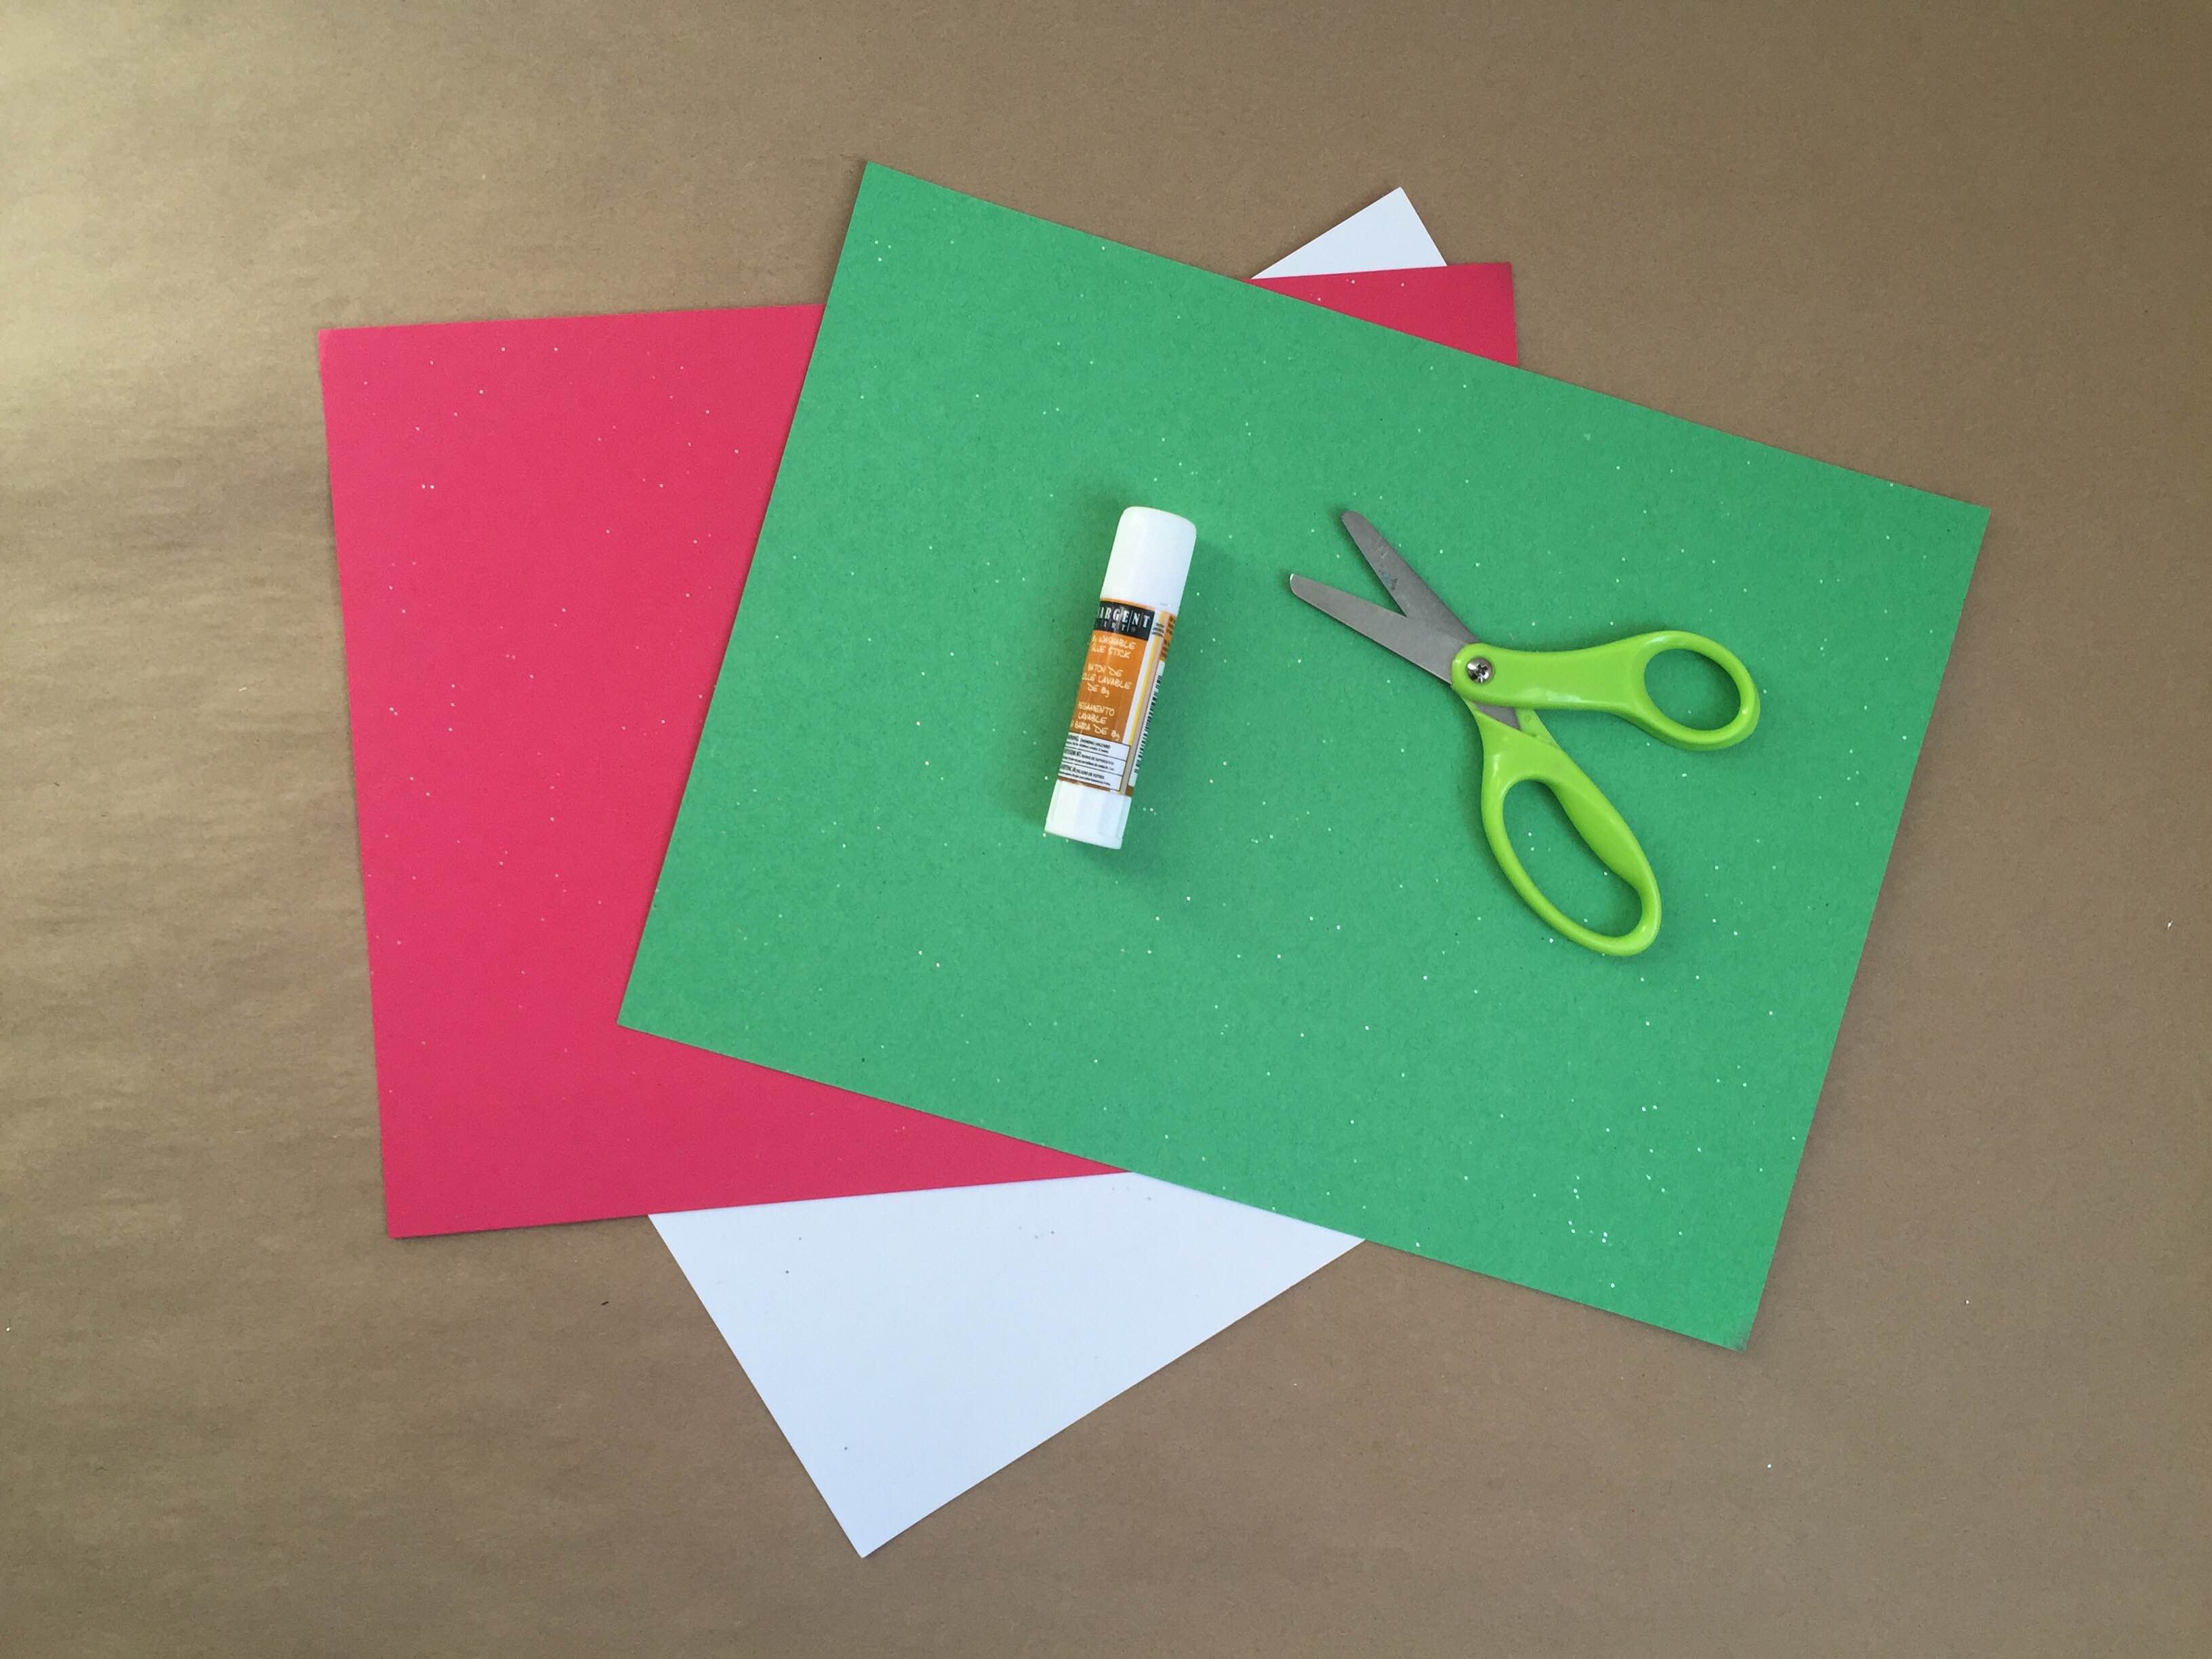
Gather your materials.

Step 2
Download these gift box templates and print them out onto a piece of cardstock.

Step 3
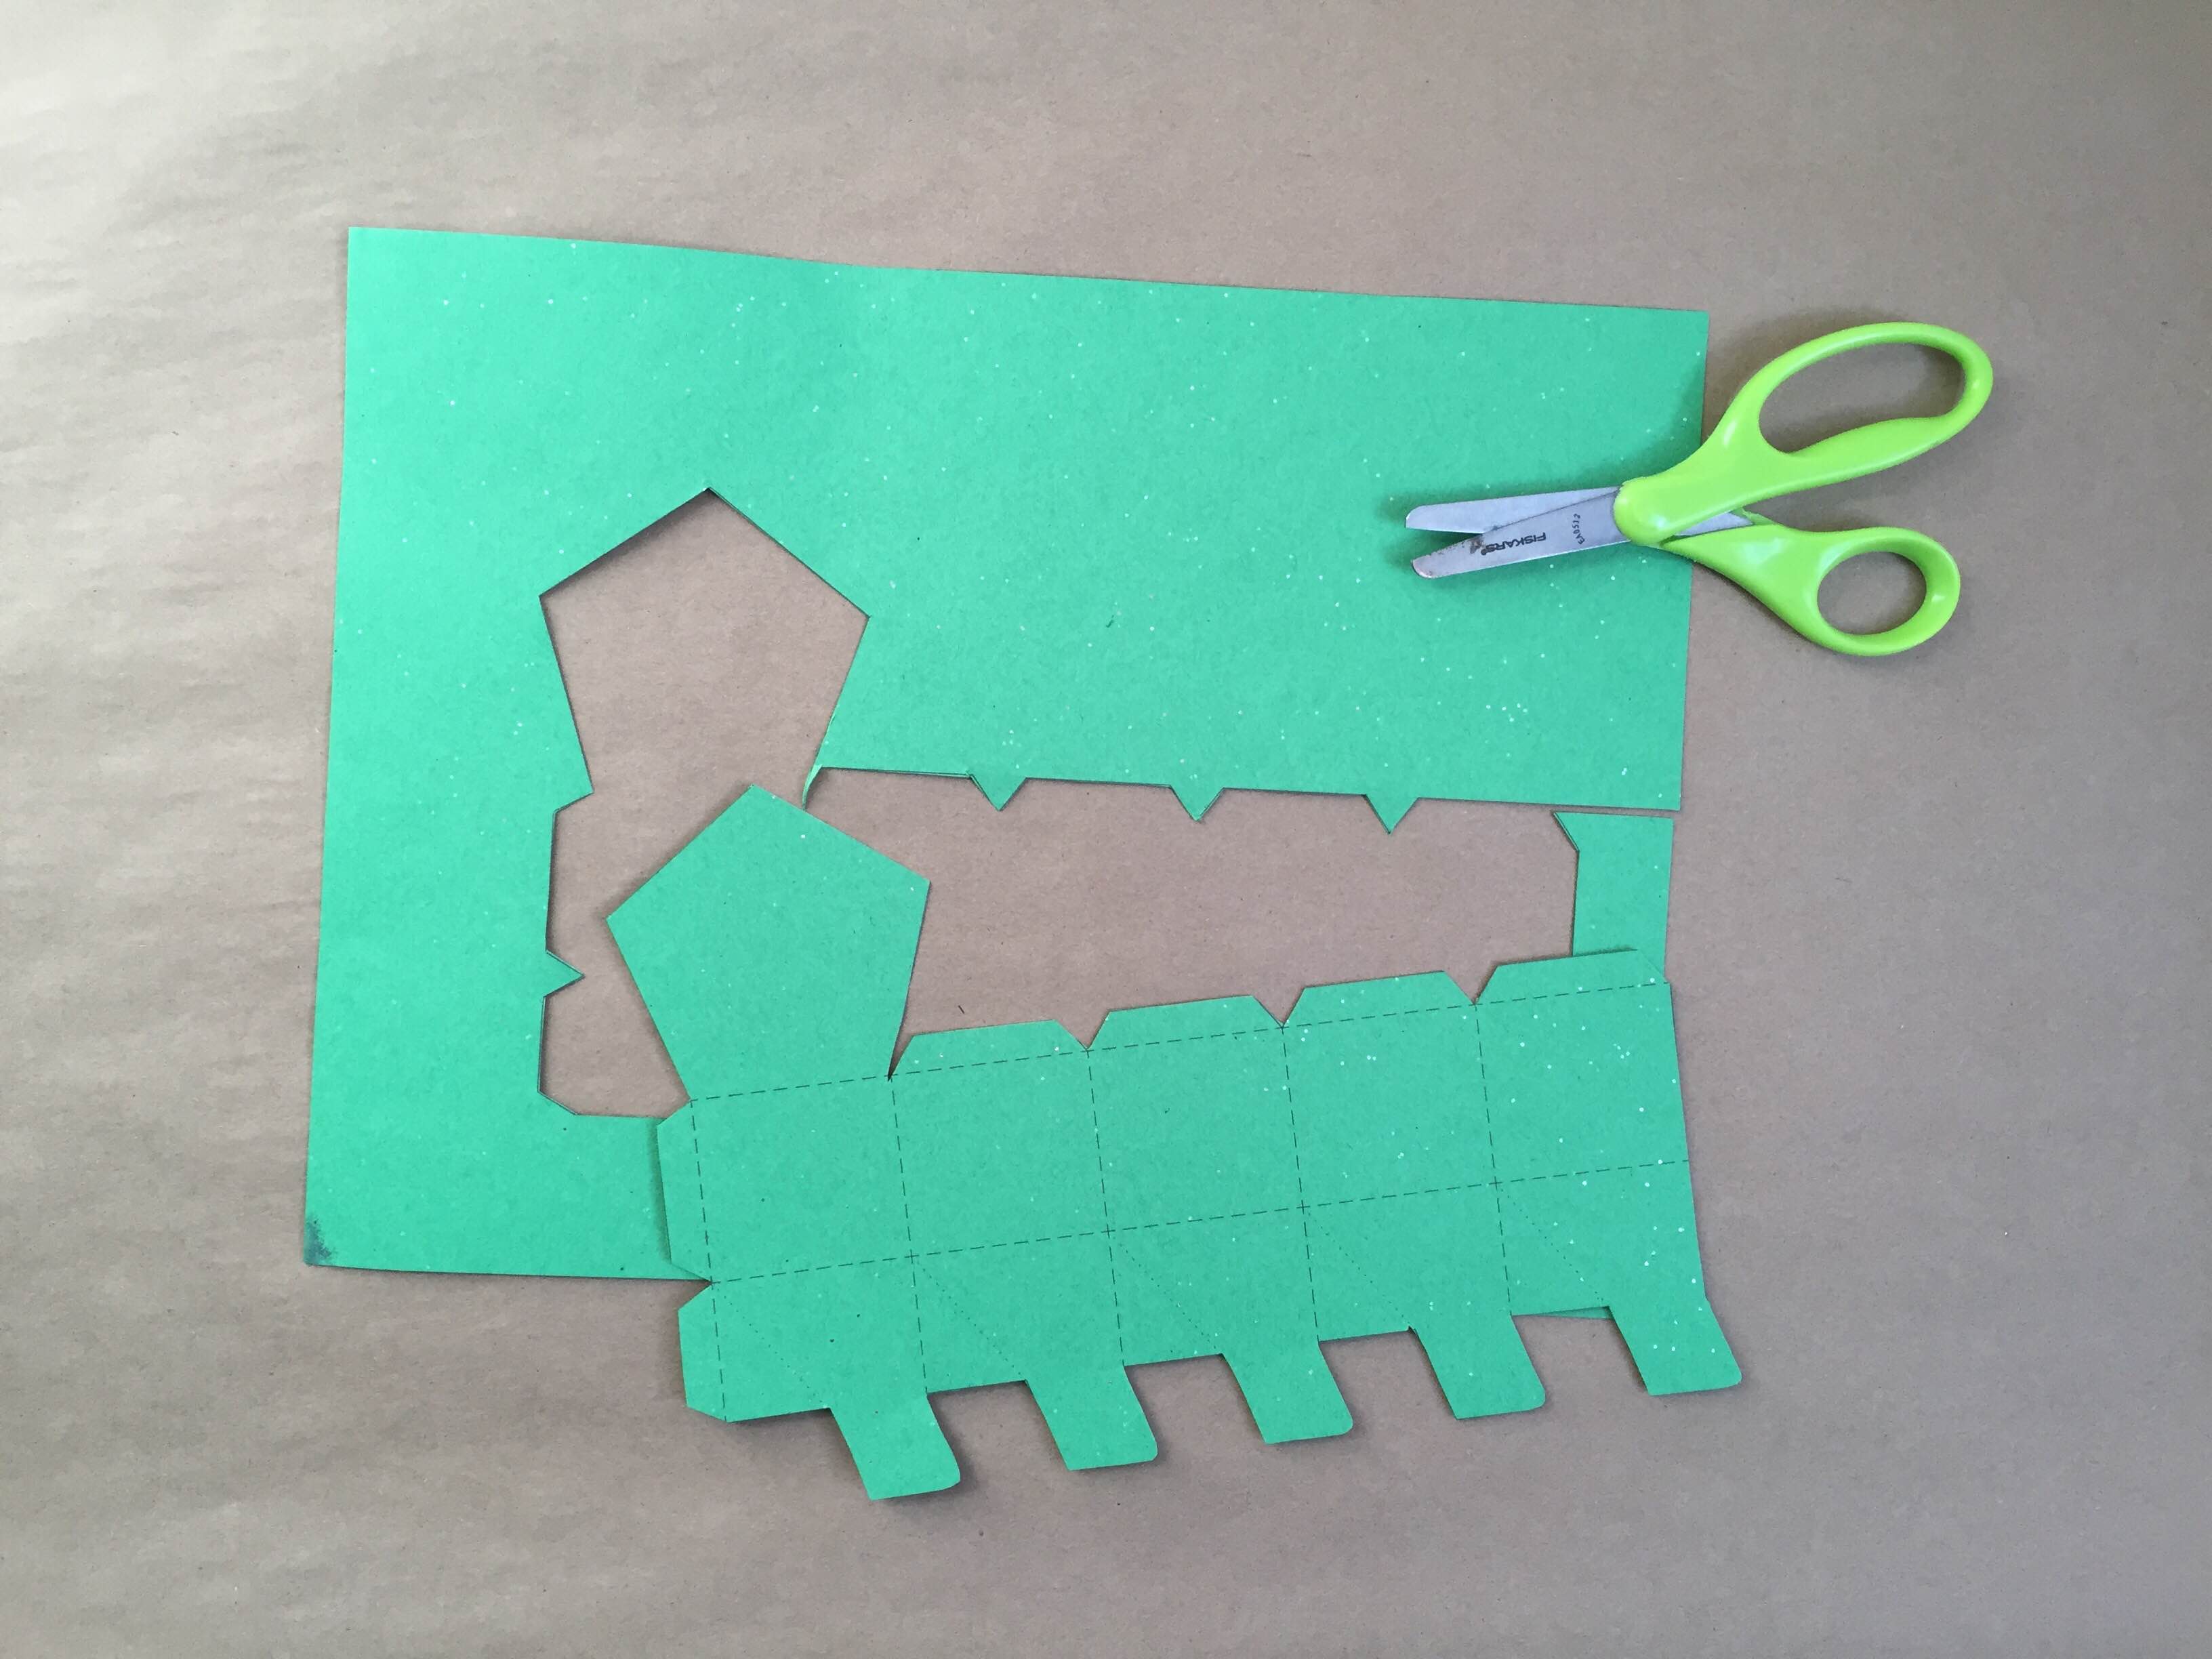
Cut out your box by carefully cutting along the solid outer lines.
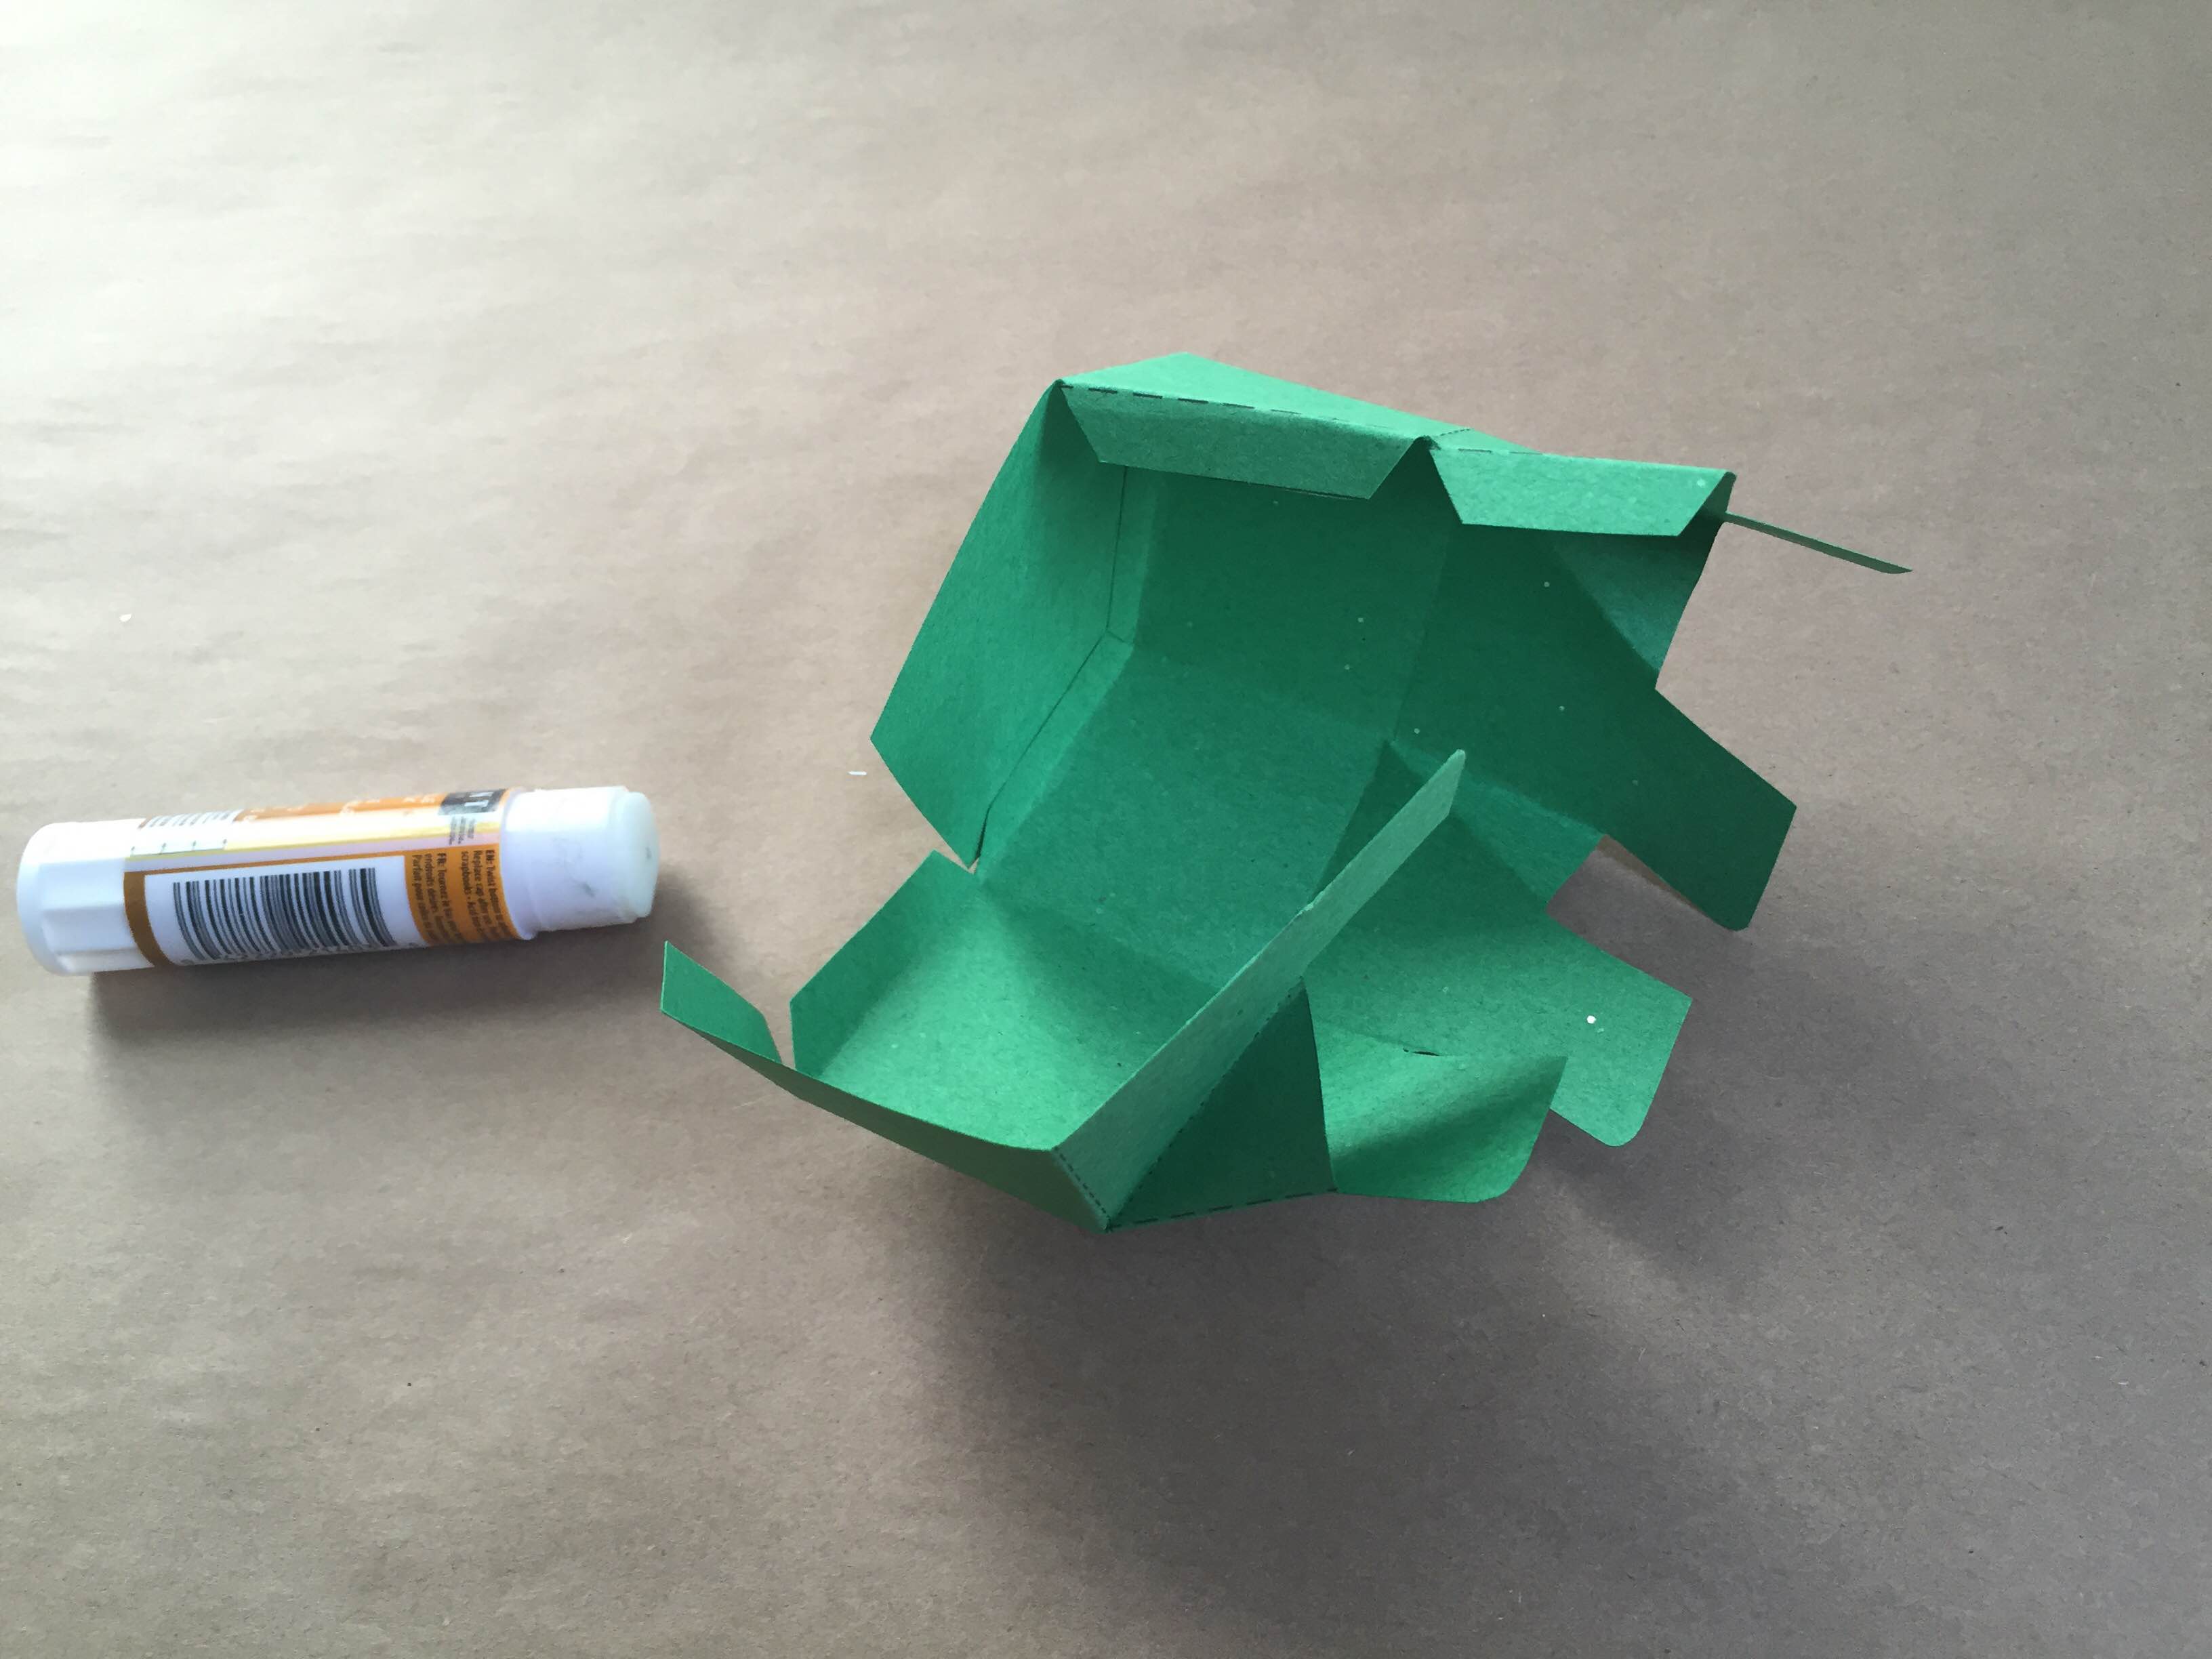
Step 4
Fold along the dotted lines. There are two different folds - the longer dashes are valley folds while the shorter ones are mountain folds. If you like, you can use a ruler and bone folder to score the dotted lines for precise, crisp corners.
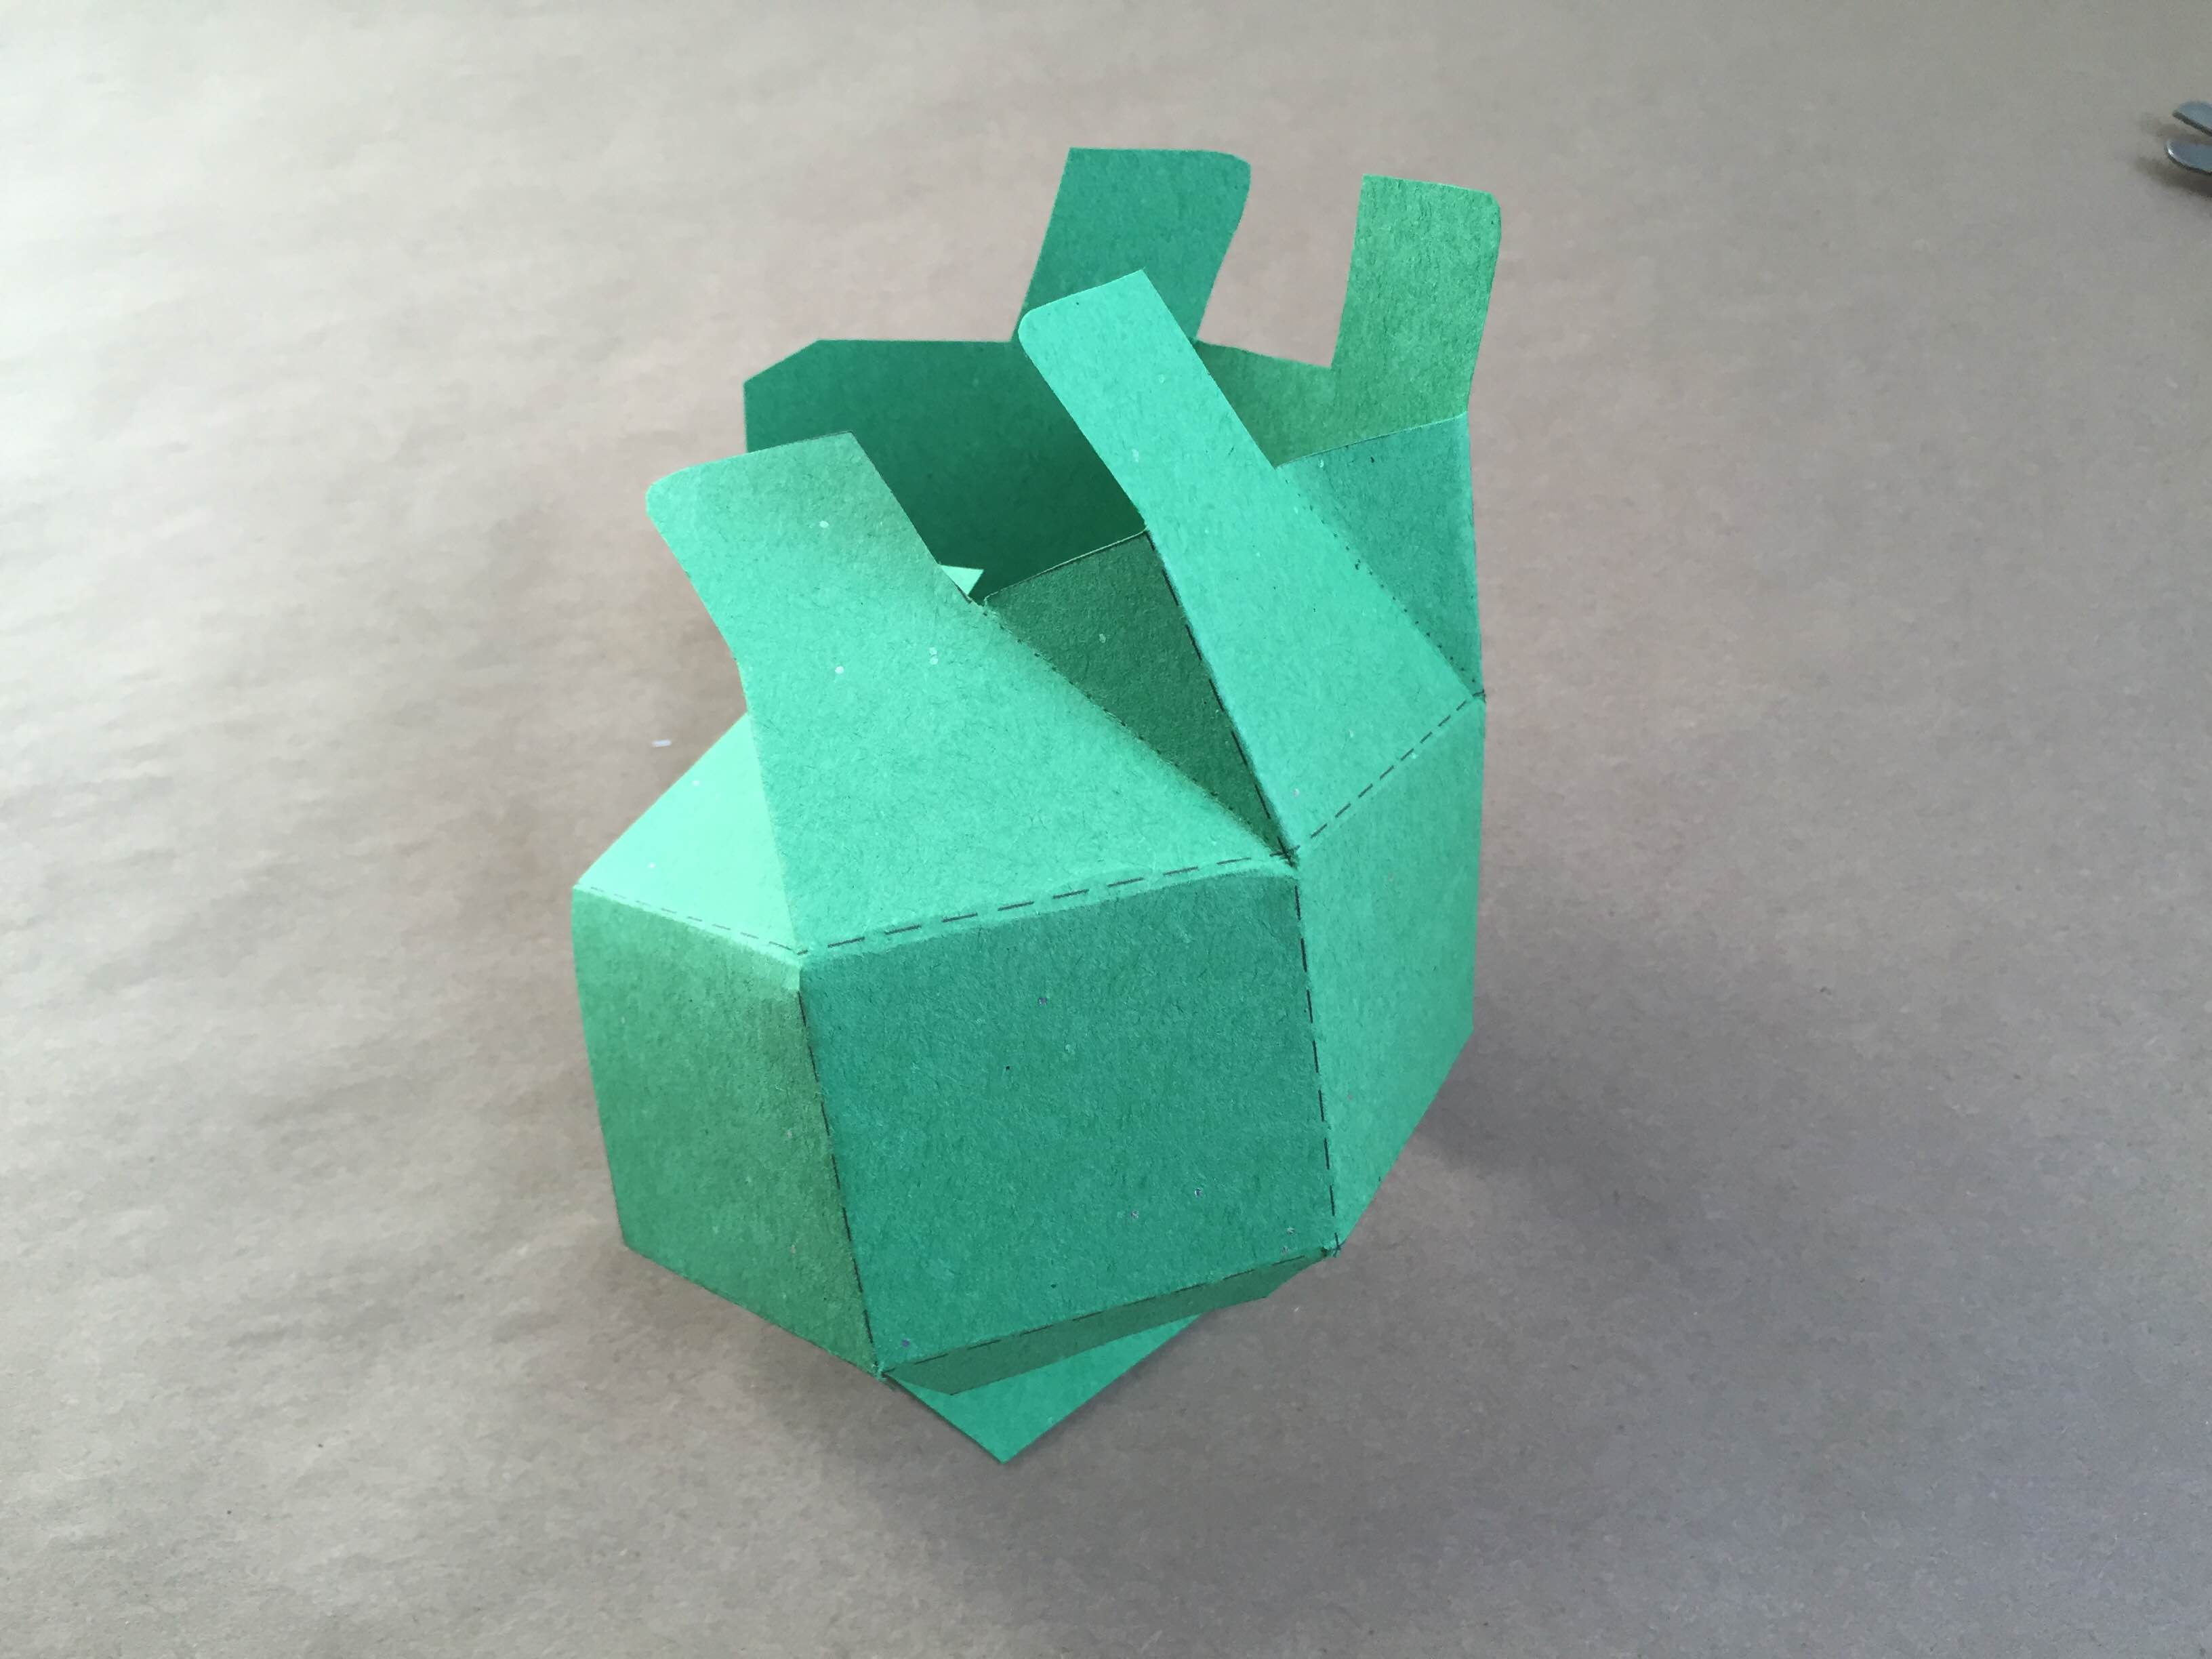
Step 5
Use a glue stick to secure the bottom tabs along the base of the box. Work around the base until the bottom is secure and all the tabs are glued down.
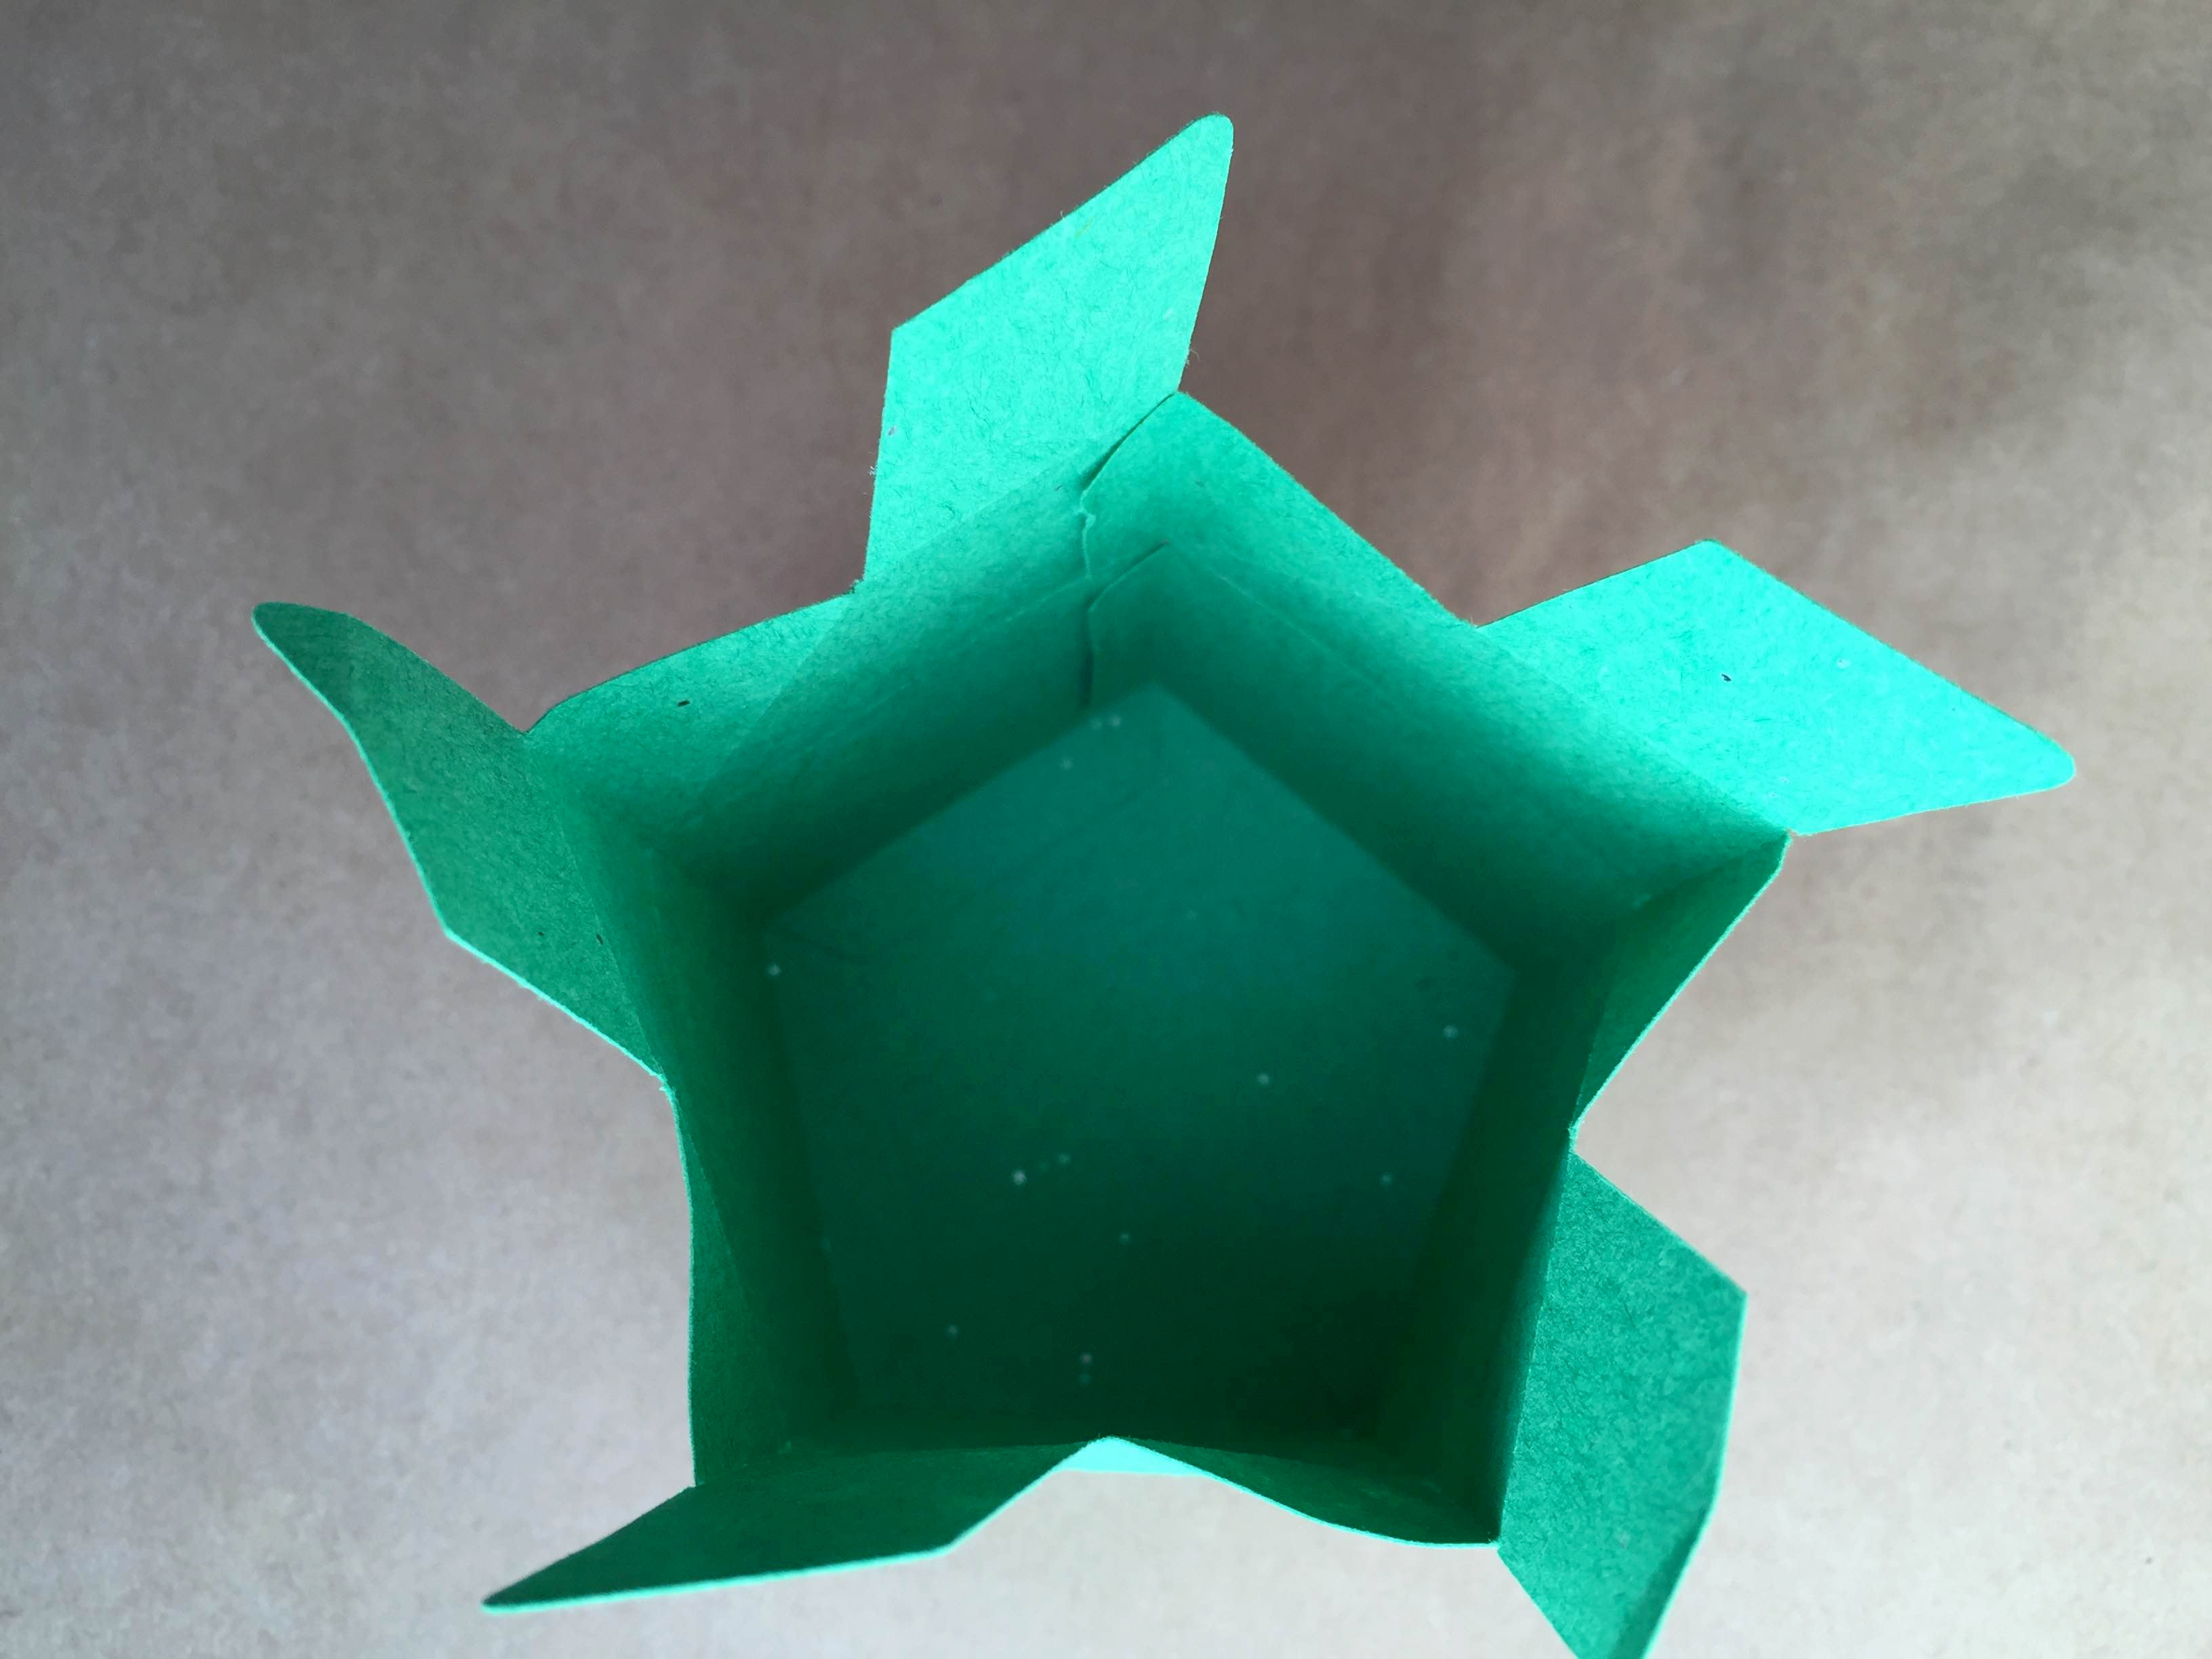
Step 6
Flip the box upright and glue the last two side tabs to secure the walls of the box.
Step 7
Working your way around the box, gently fold over the top flaps so they overlap with the previous one. Tuck in the last flap to close the box.

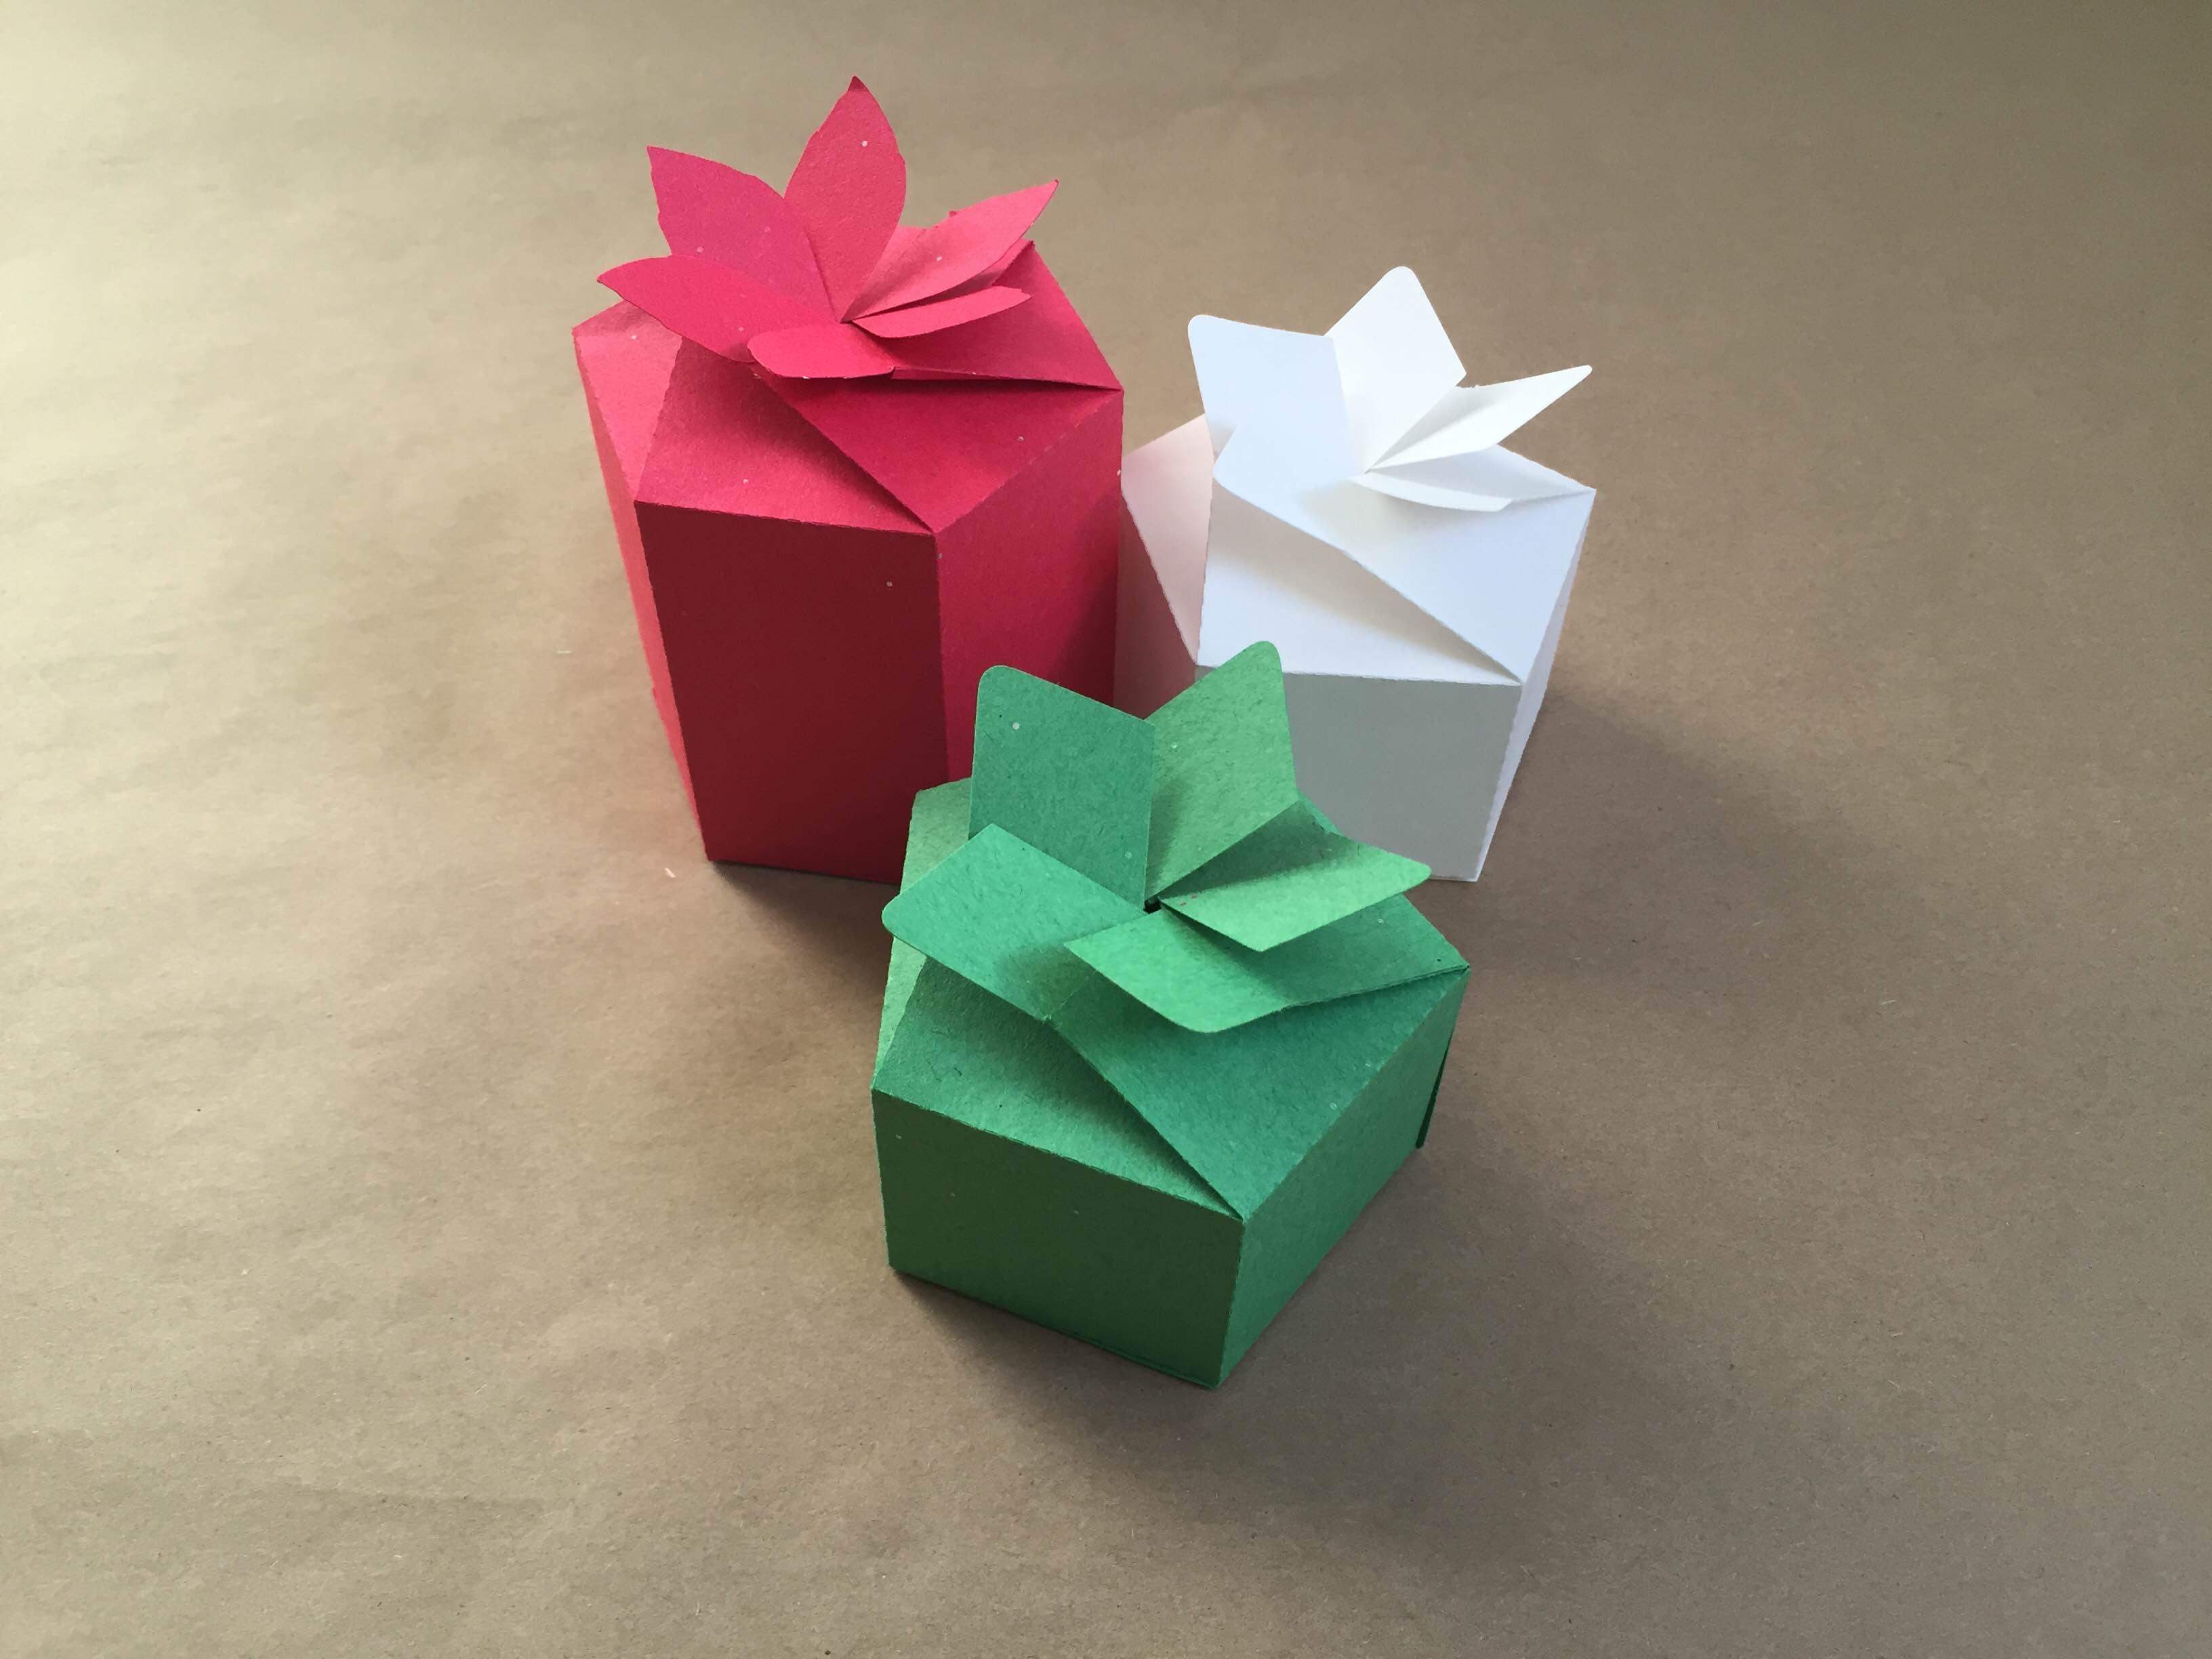
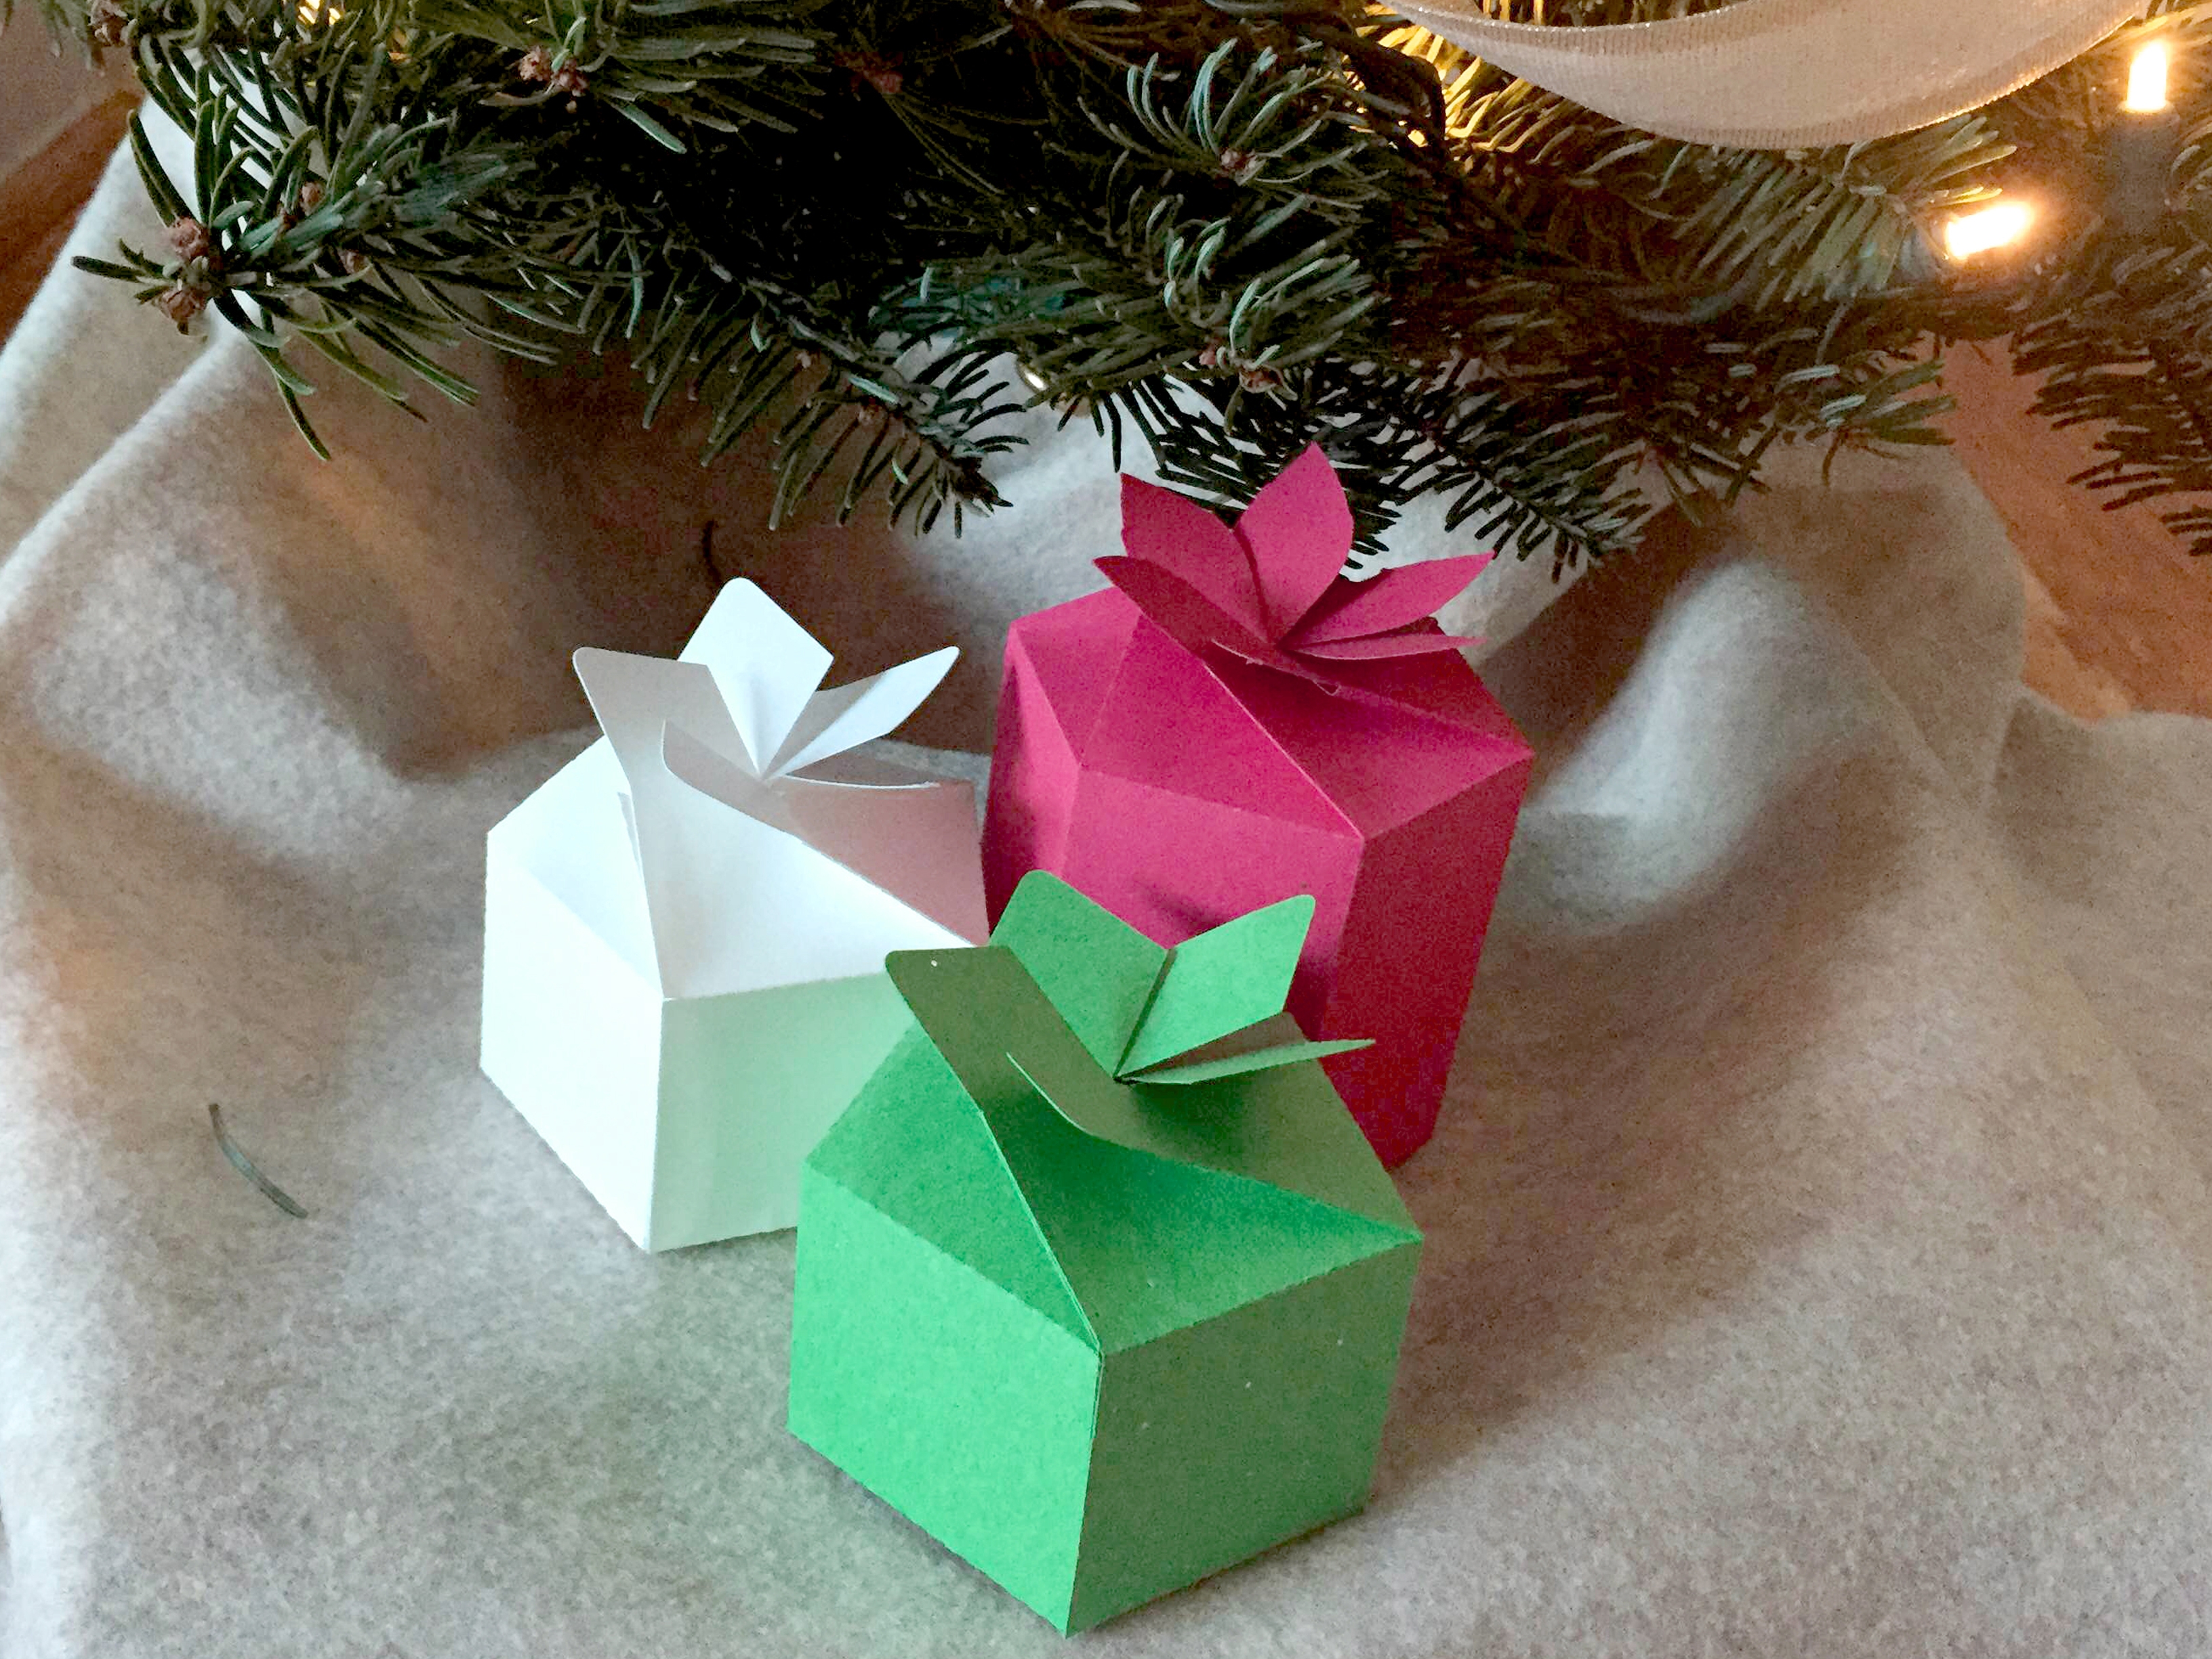
Done!
Your gift boxes are now ready! You can open them back up to fill them with goodies for the holiday season.