Step-by-step tutorial
Step 1
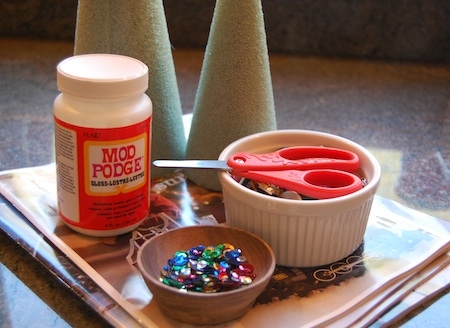
First, I gathered all of our materials.
Looking for a gift? Checkout KiwiCo's Christmas gifts here.

Step 2
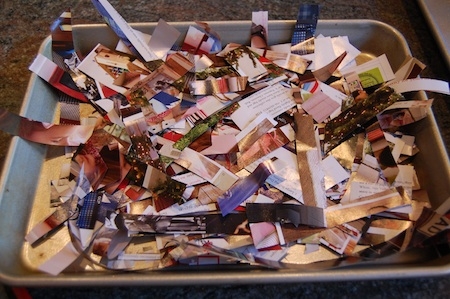
Next, my daughter and I went to town cutting up catalogs and magazines. I cut most of the scraps, but she had a grand time with her scissor work.

Step 3
We ended up with a nice tray of assorted-size scraps.
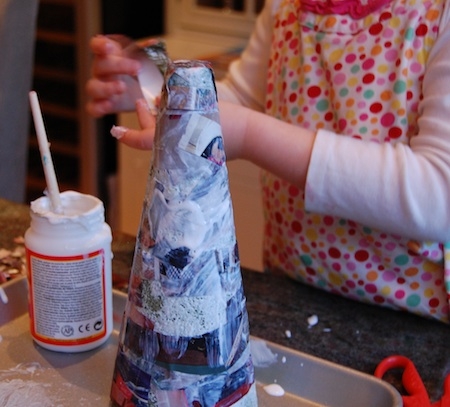
Step 4
And then the real fun began. I have to admit that we had SO MUCH FUN covering our cones (yes, I had to get in on the action too.)
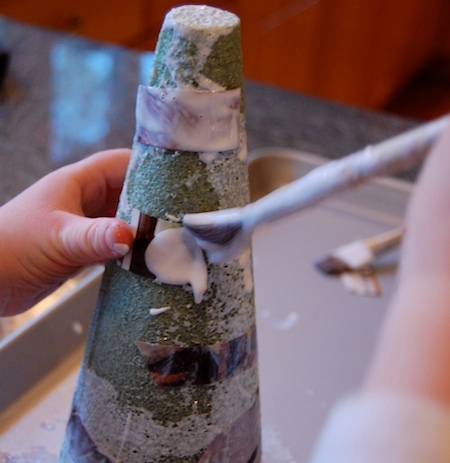
Step 5
She needed a little help getting all the foam covered, but she did a remarkable job managing a tricky (sticky) material.
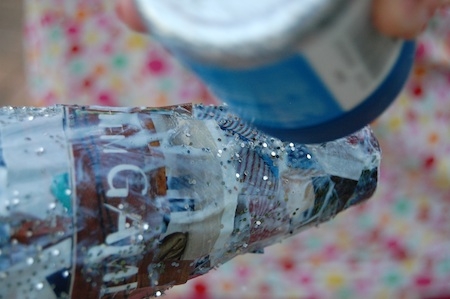
Step 6
She was disappointed when I told her we'd have to wait for the glue to dry before we could add the buttons. But then I realized--why stop here, since we already have a nice, sticky surface? When I asked if she thought we should add some glitter, her eyes lit right up. We took her cone outside (yep, even somewhat crafty moms hate glitter on the kitchen floor), and she sprinkled away.
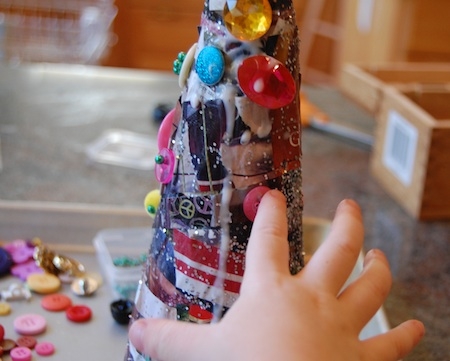
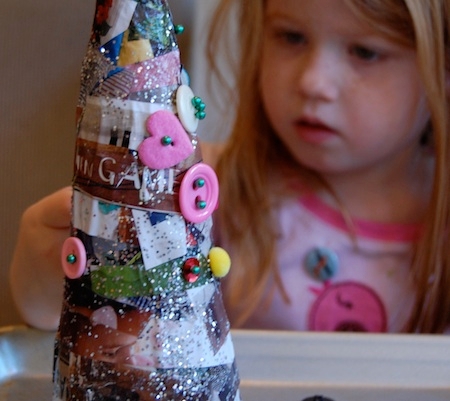
Done!
It didn't take long for the Mod-Podge to dry, and she began sticking on the buttons and other sparkly things she found for ornaments. We used pins to firmly secure the buttons and add additional embellishment.