Step-by-step tutorial
Step 1
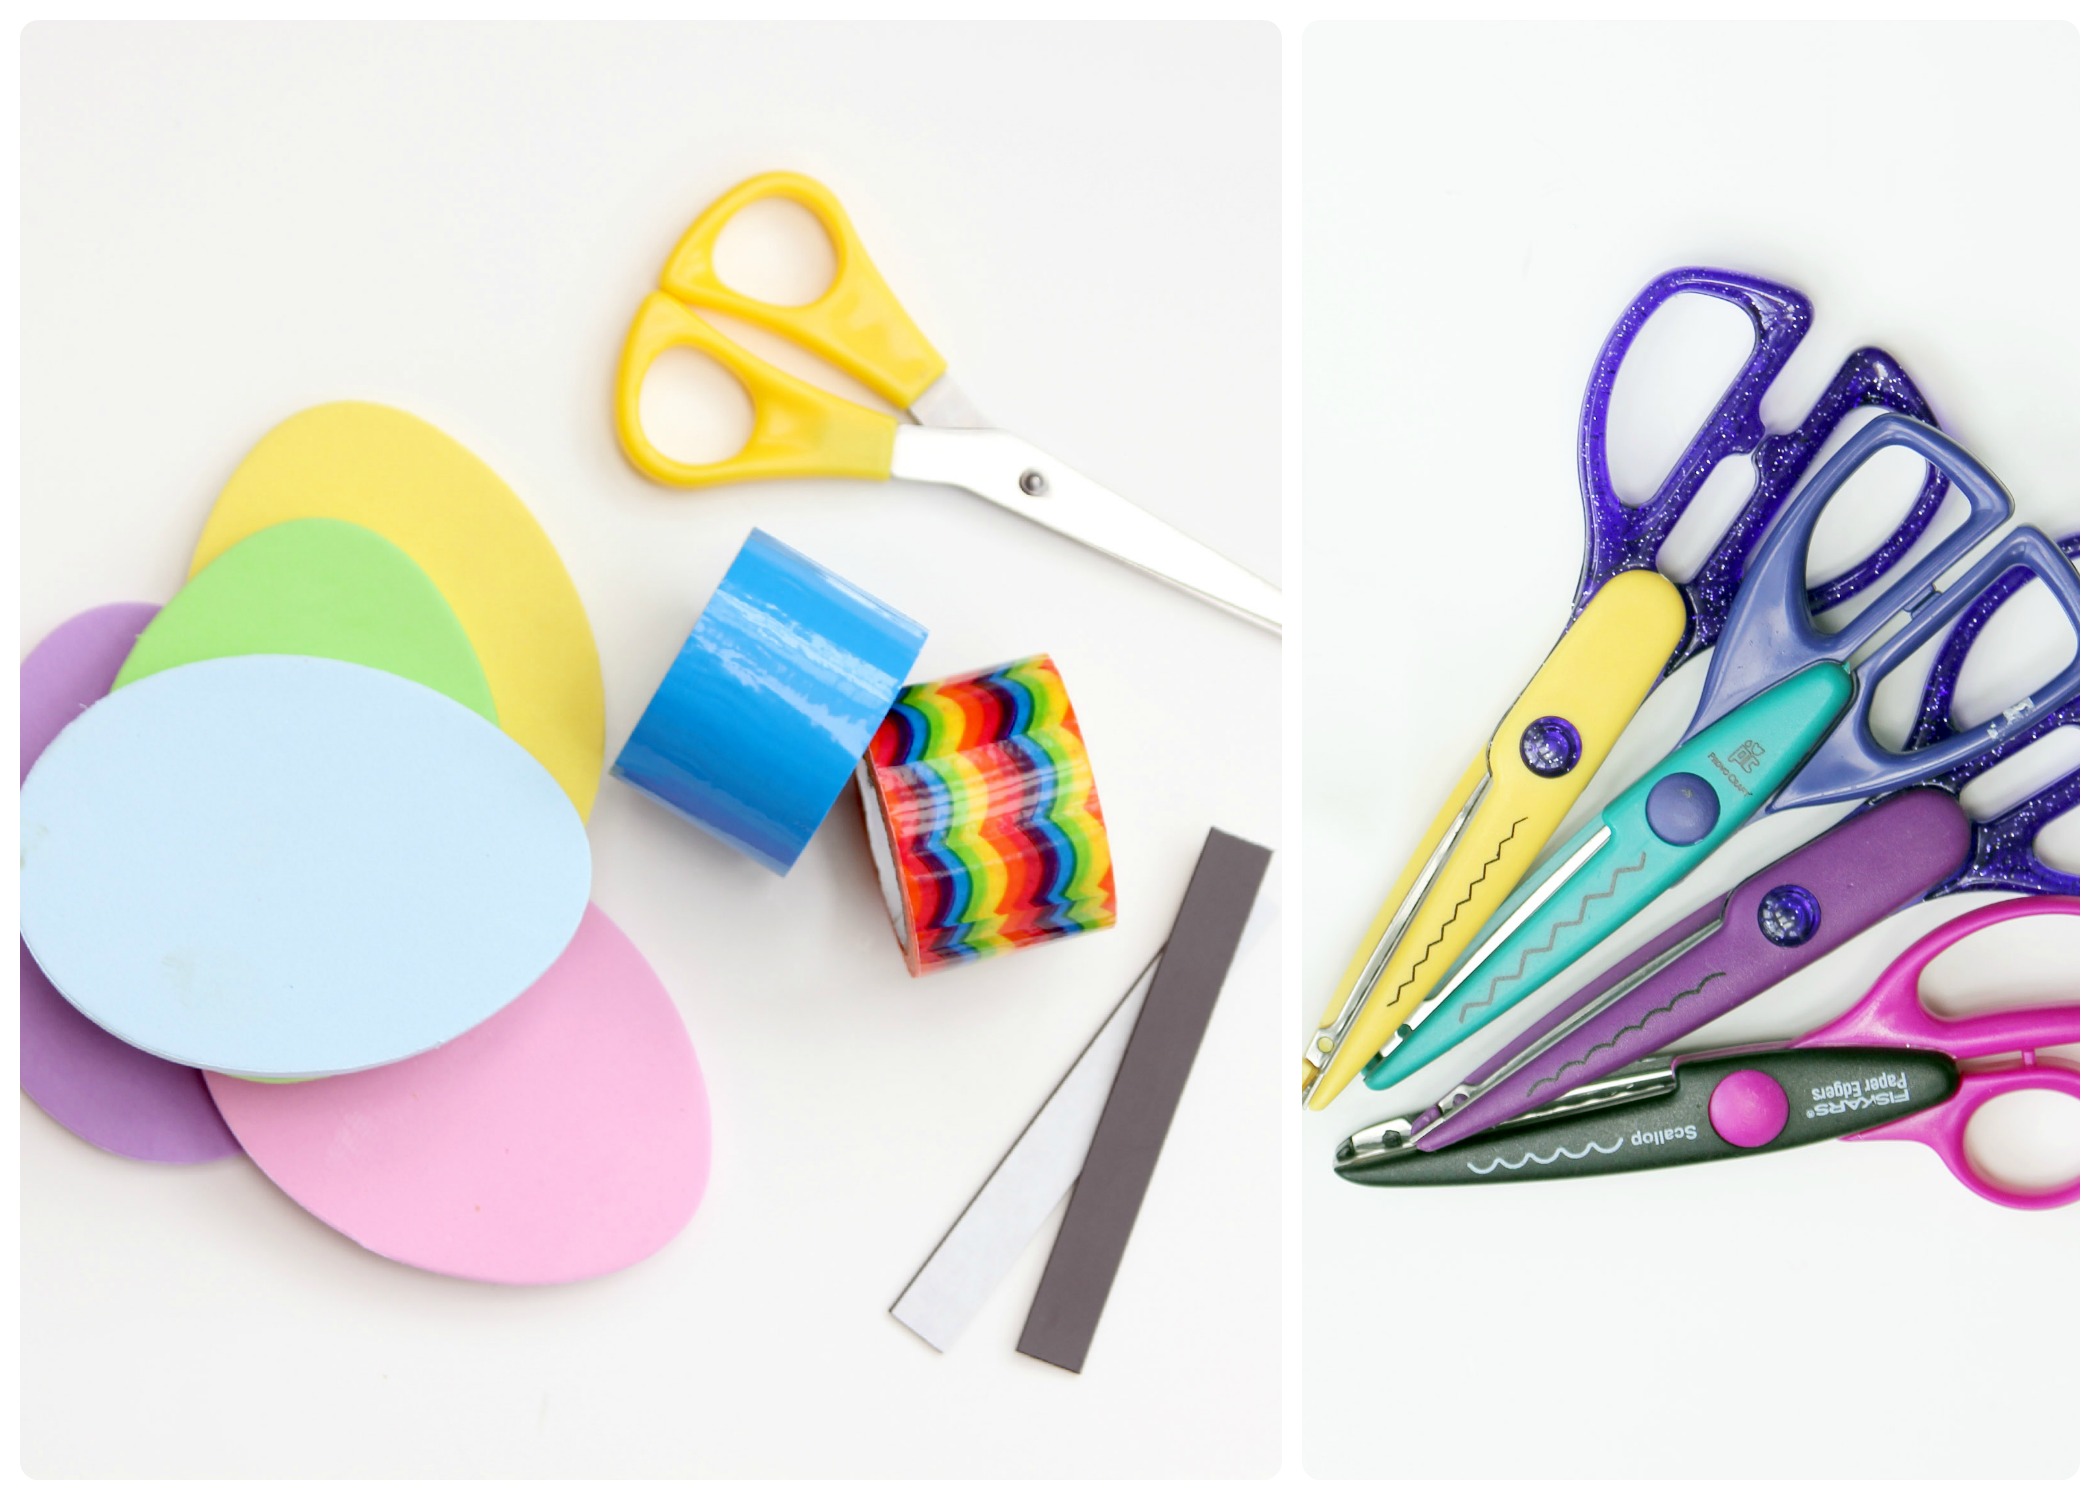
Start by gathering all the supplies listed above.

Step 2
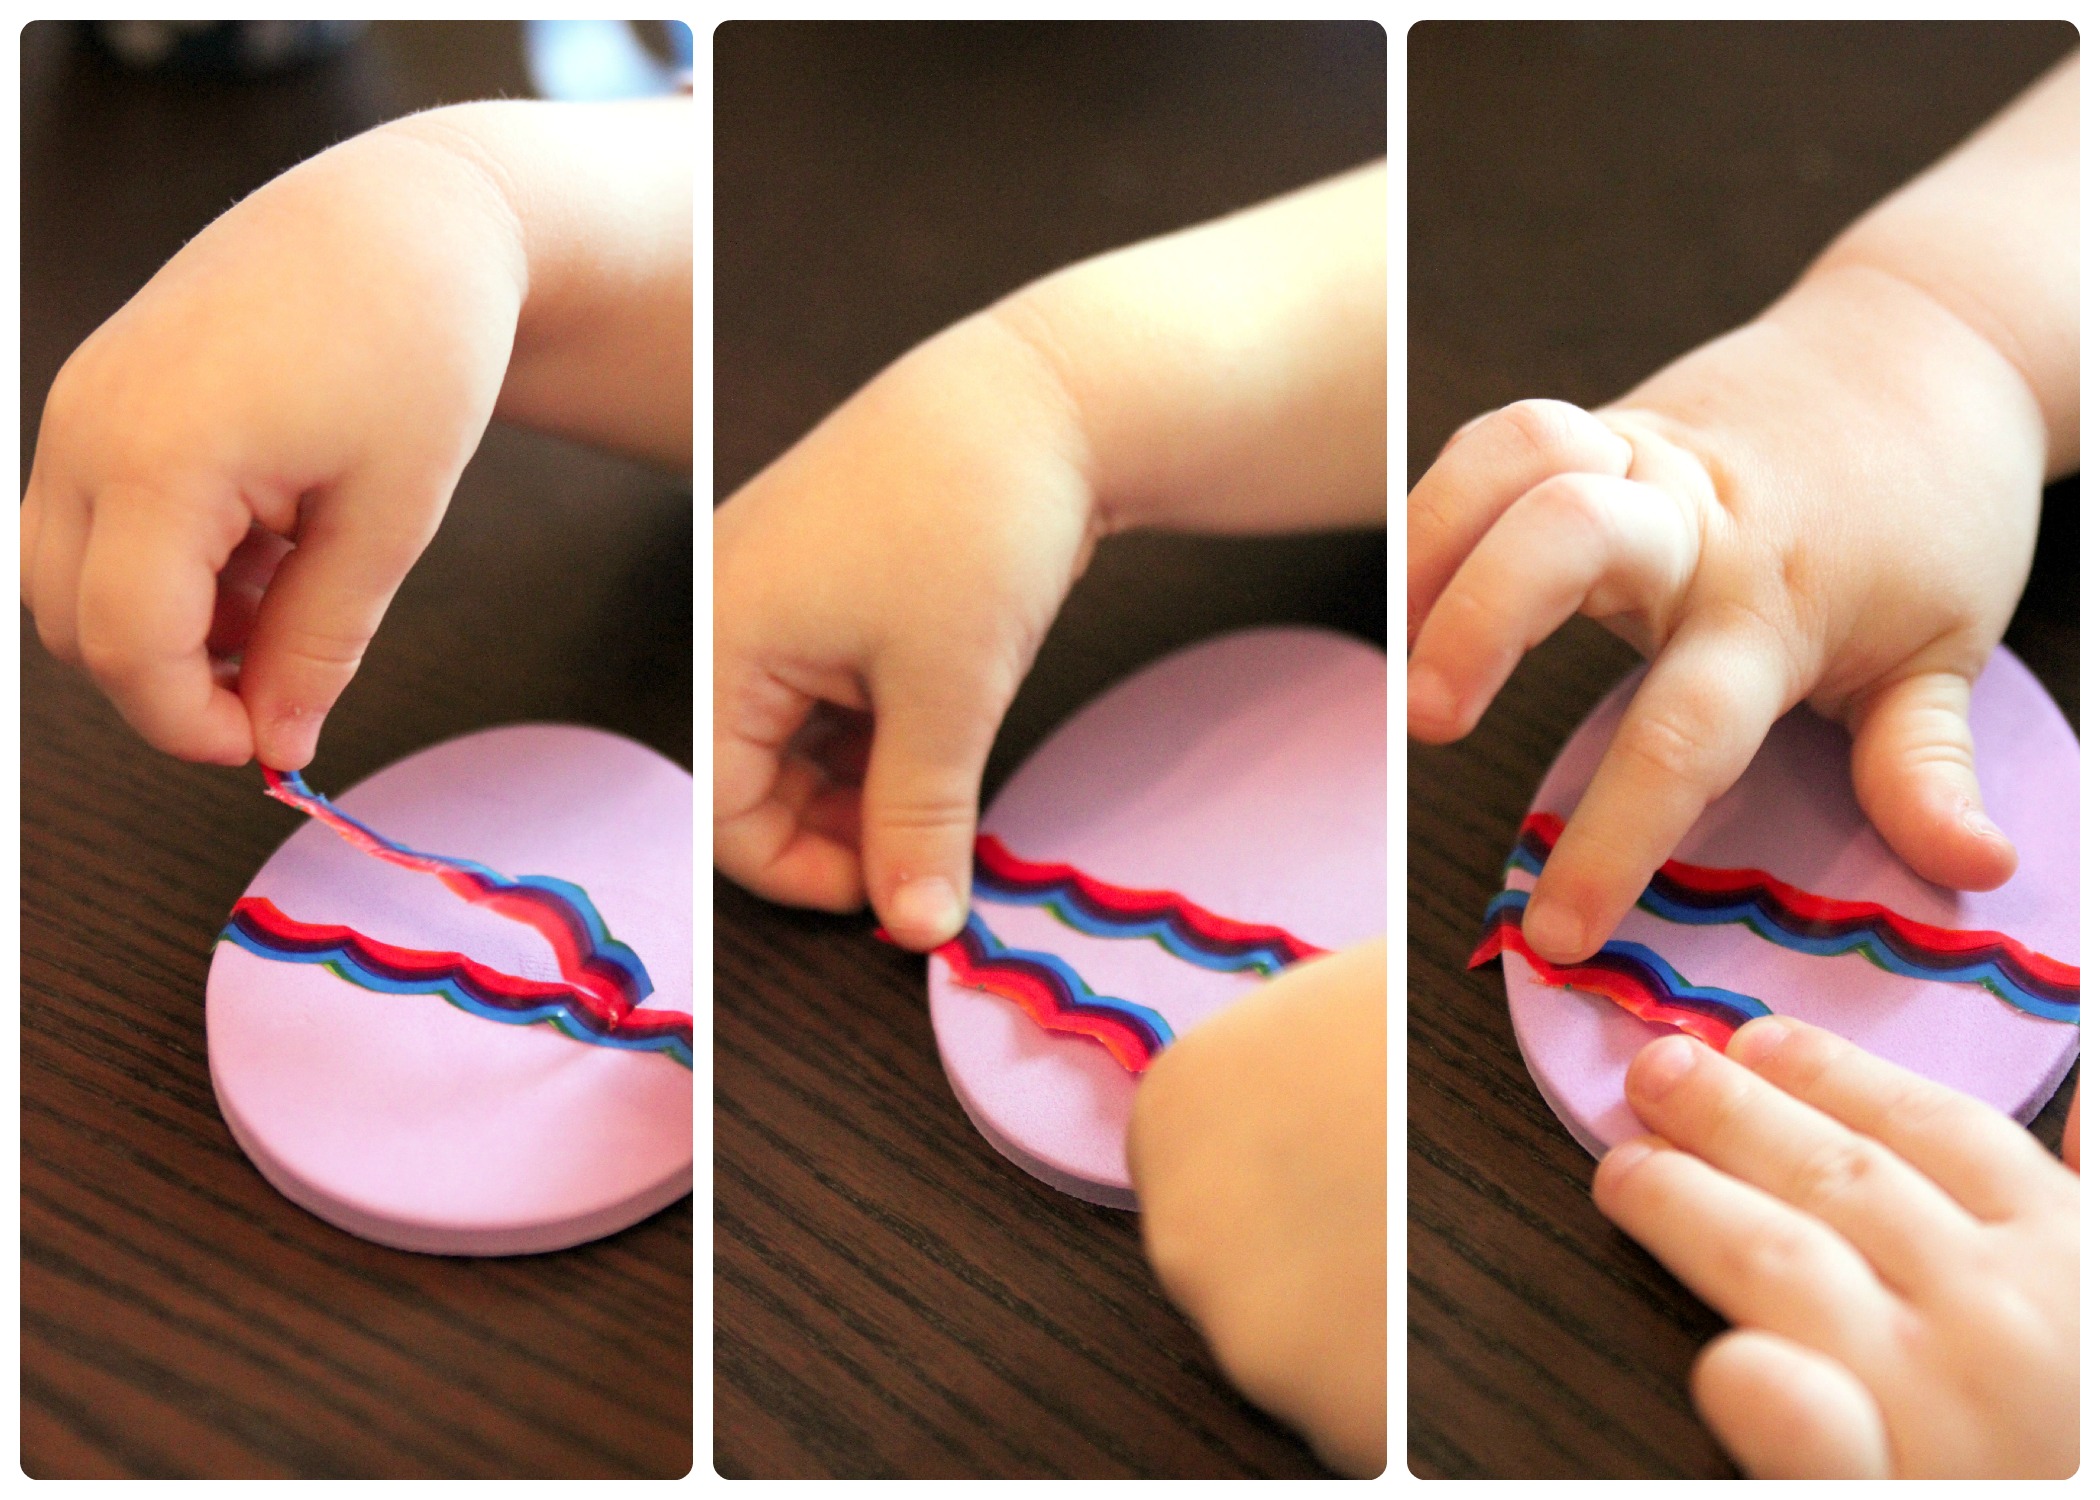
First, remove the backing from the magnetic strips. Place one on the the back of each foam egg. Like stickers, this is a great fine motor skill. To prepare for the next step we then cut off strips of duct tape to use for the egg decorating. Some were plain strips of tape. For other strips. we experimented with the decorative-edge scissors to get different looks.

Step 3
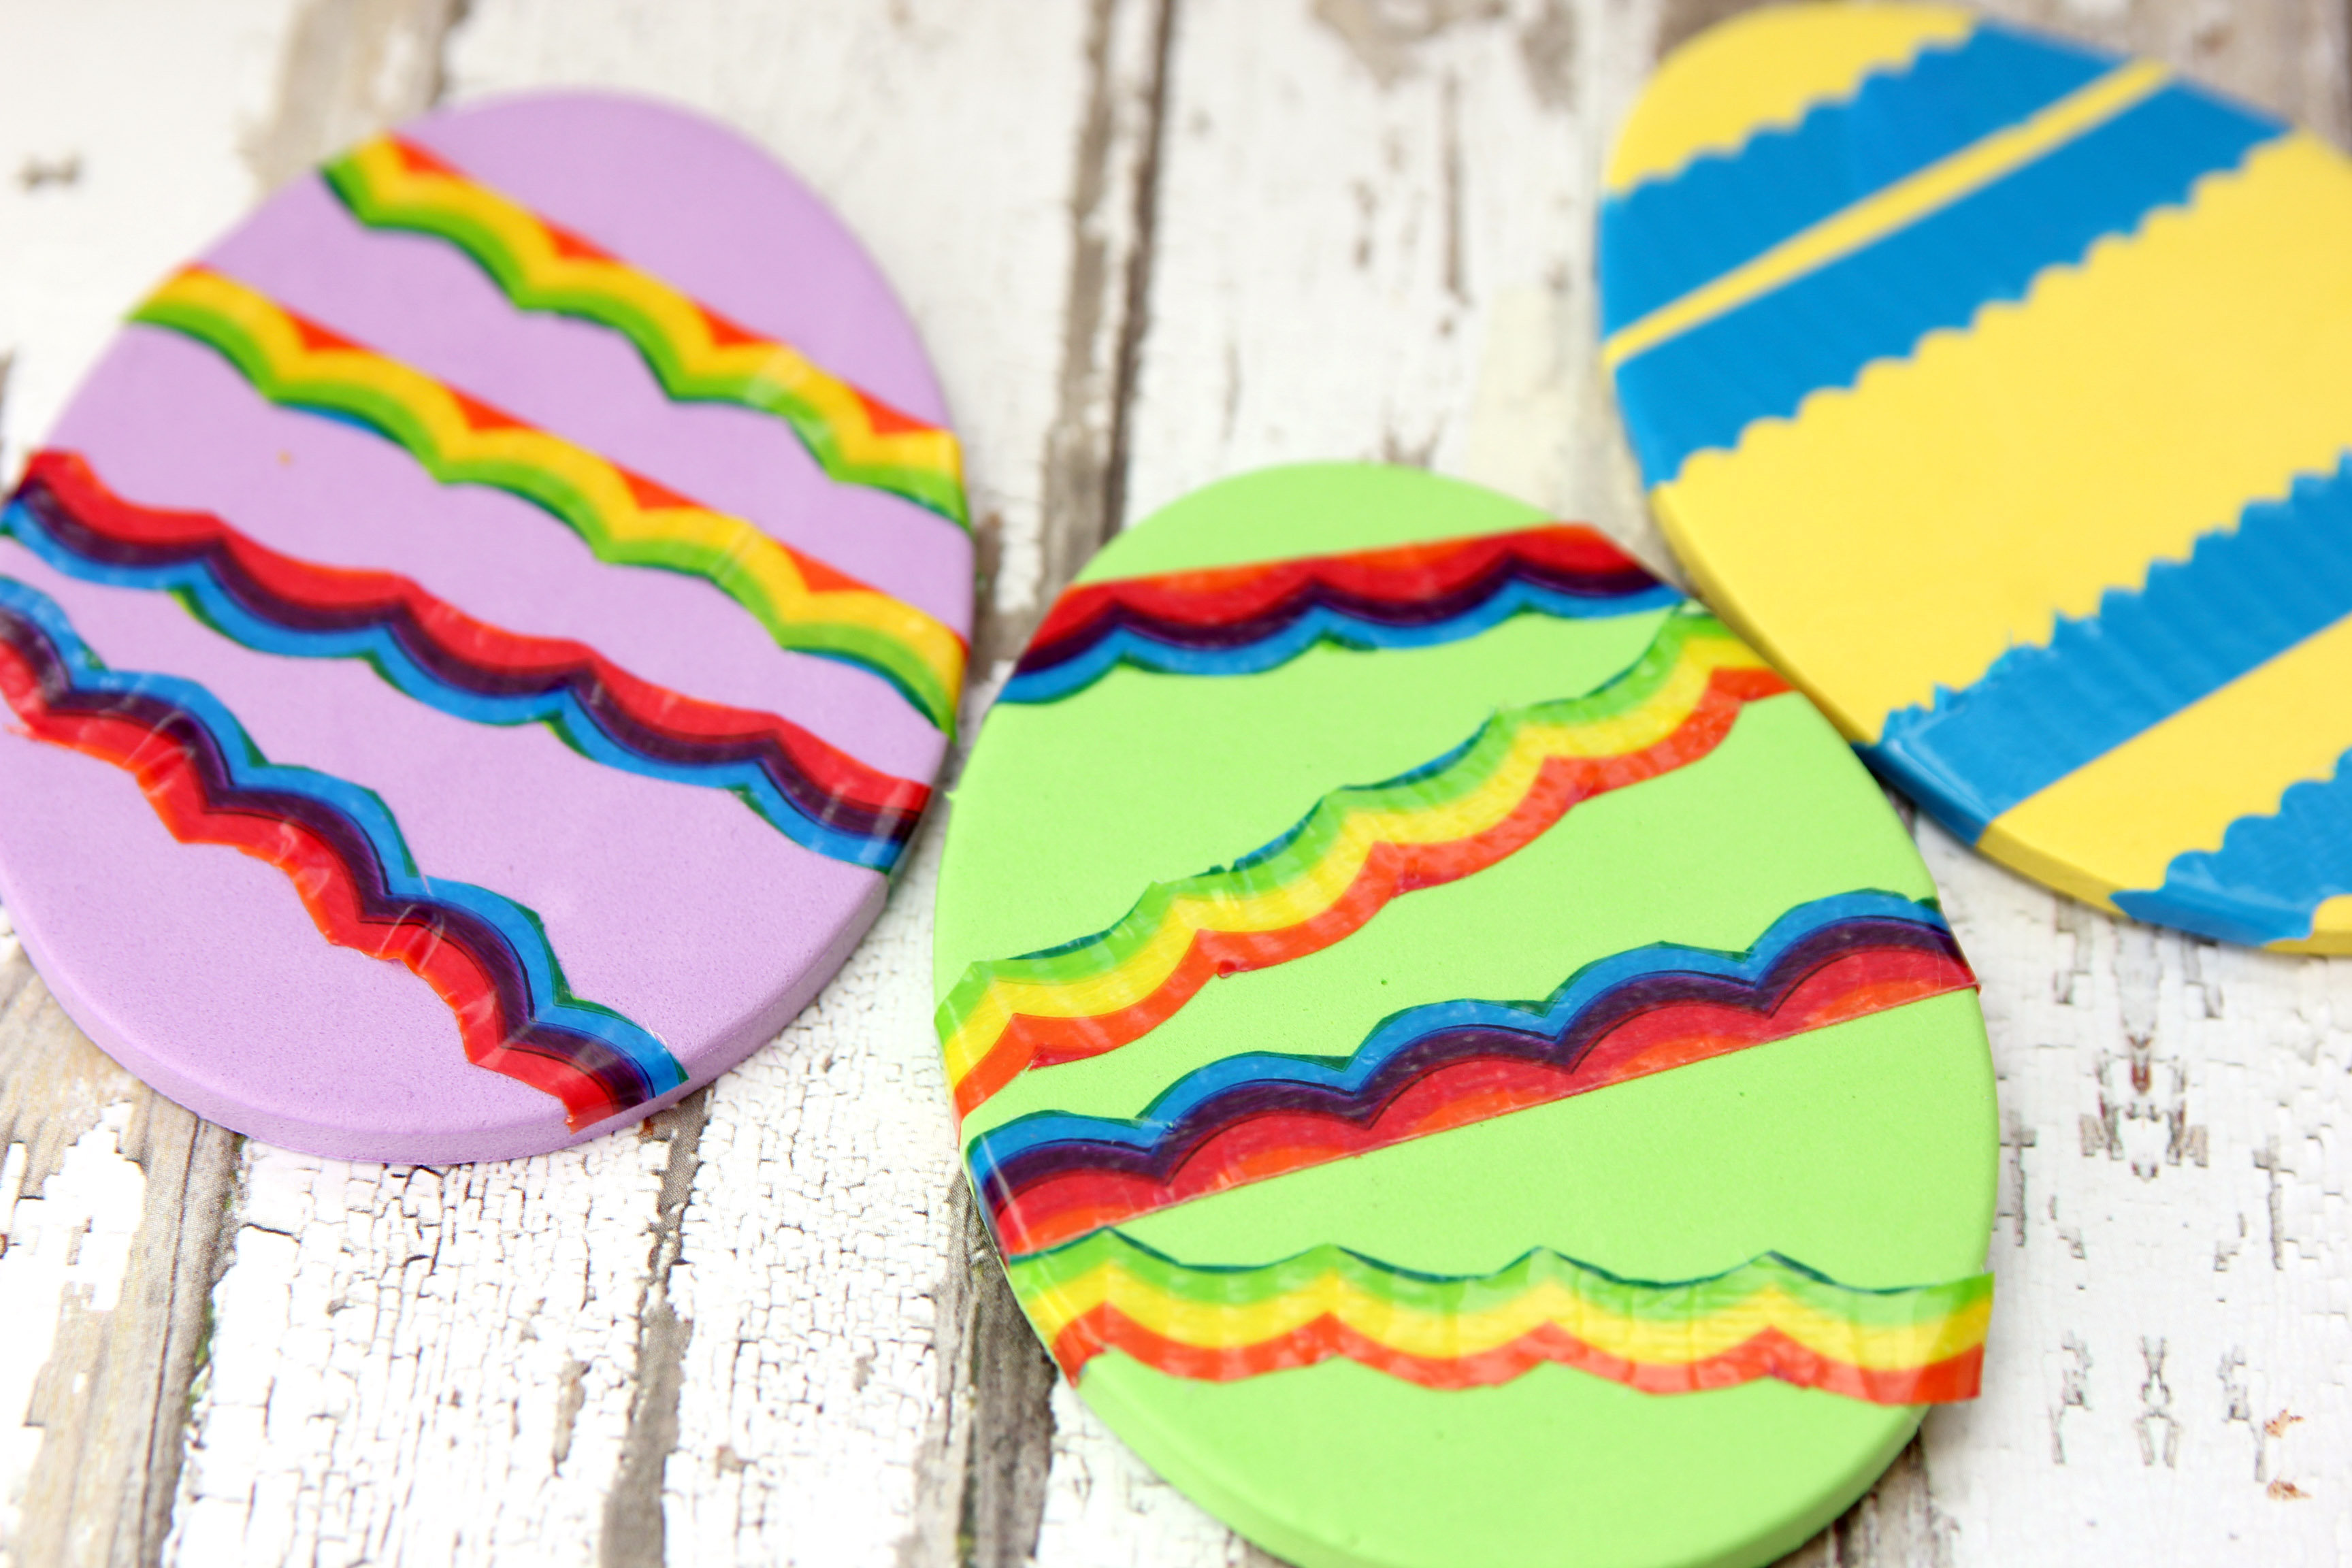
Now on to the fun stuff! Using your pre-cut strips of duct tape, it's time to decorate your eggs. V loves to craft with all things sticky! This was a fun project, and by far one of V's favorites so far.
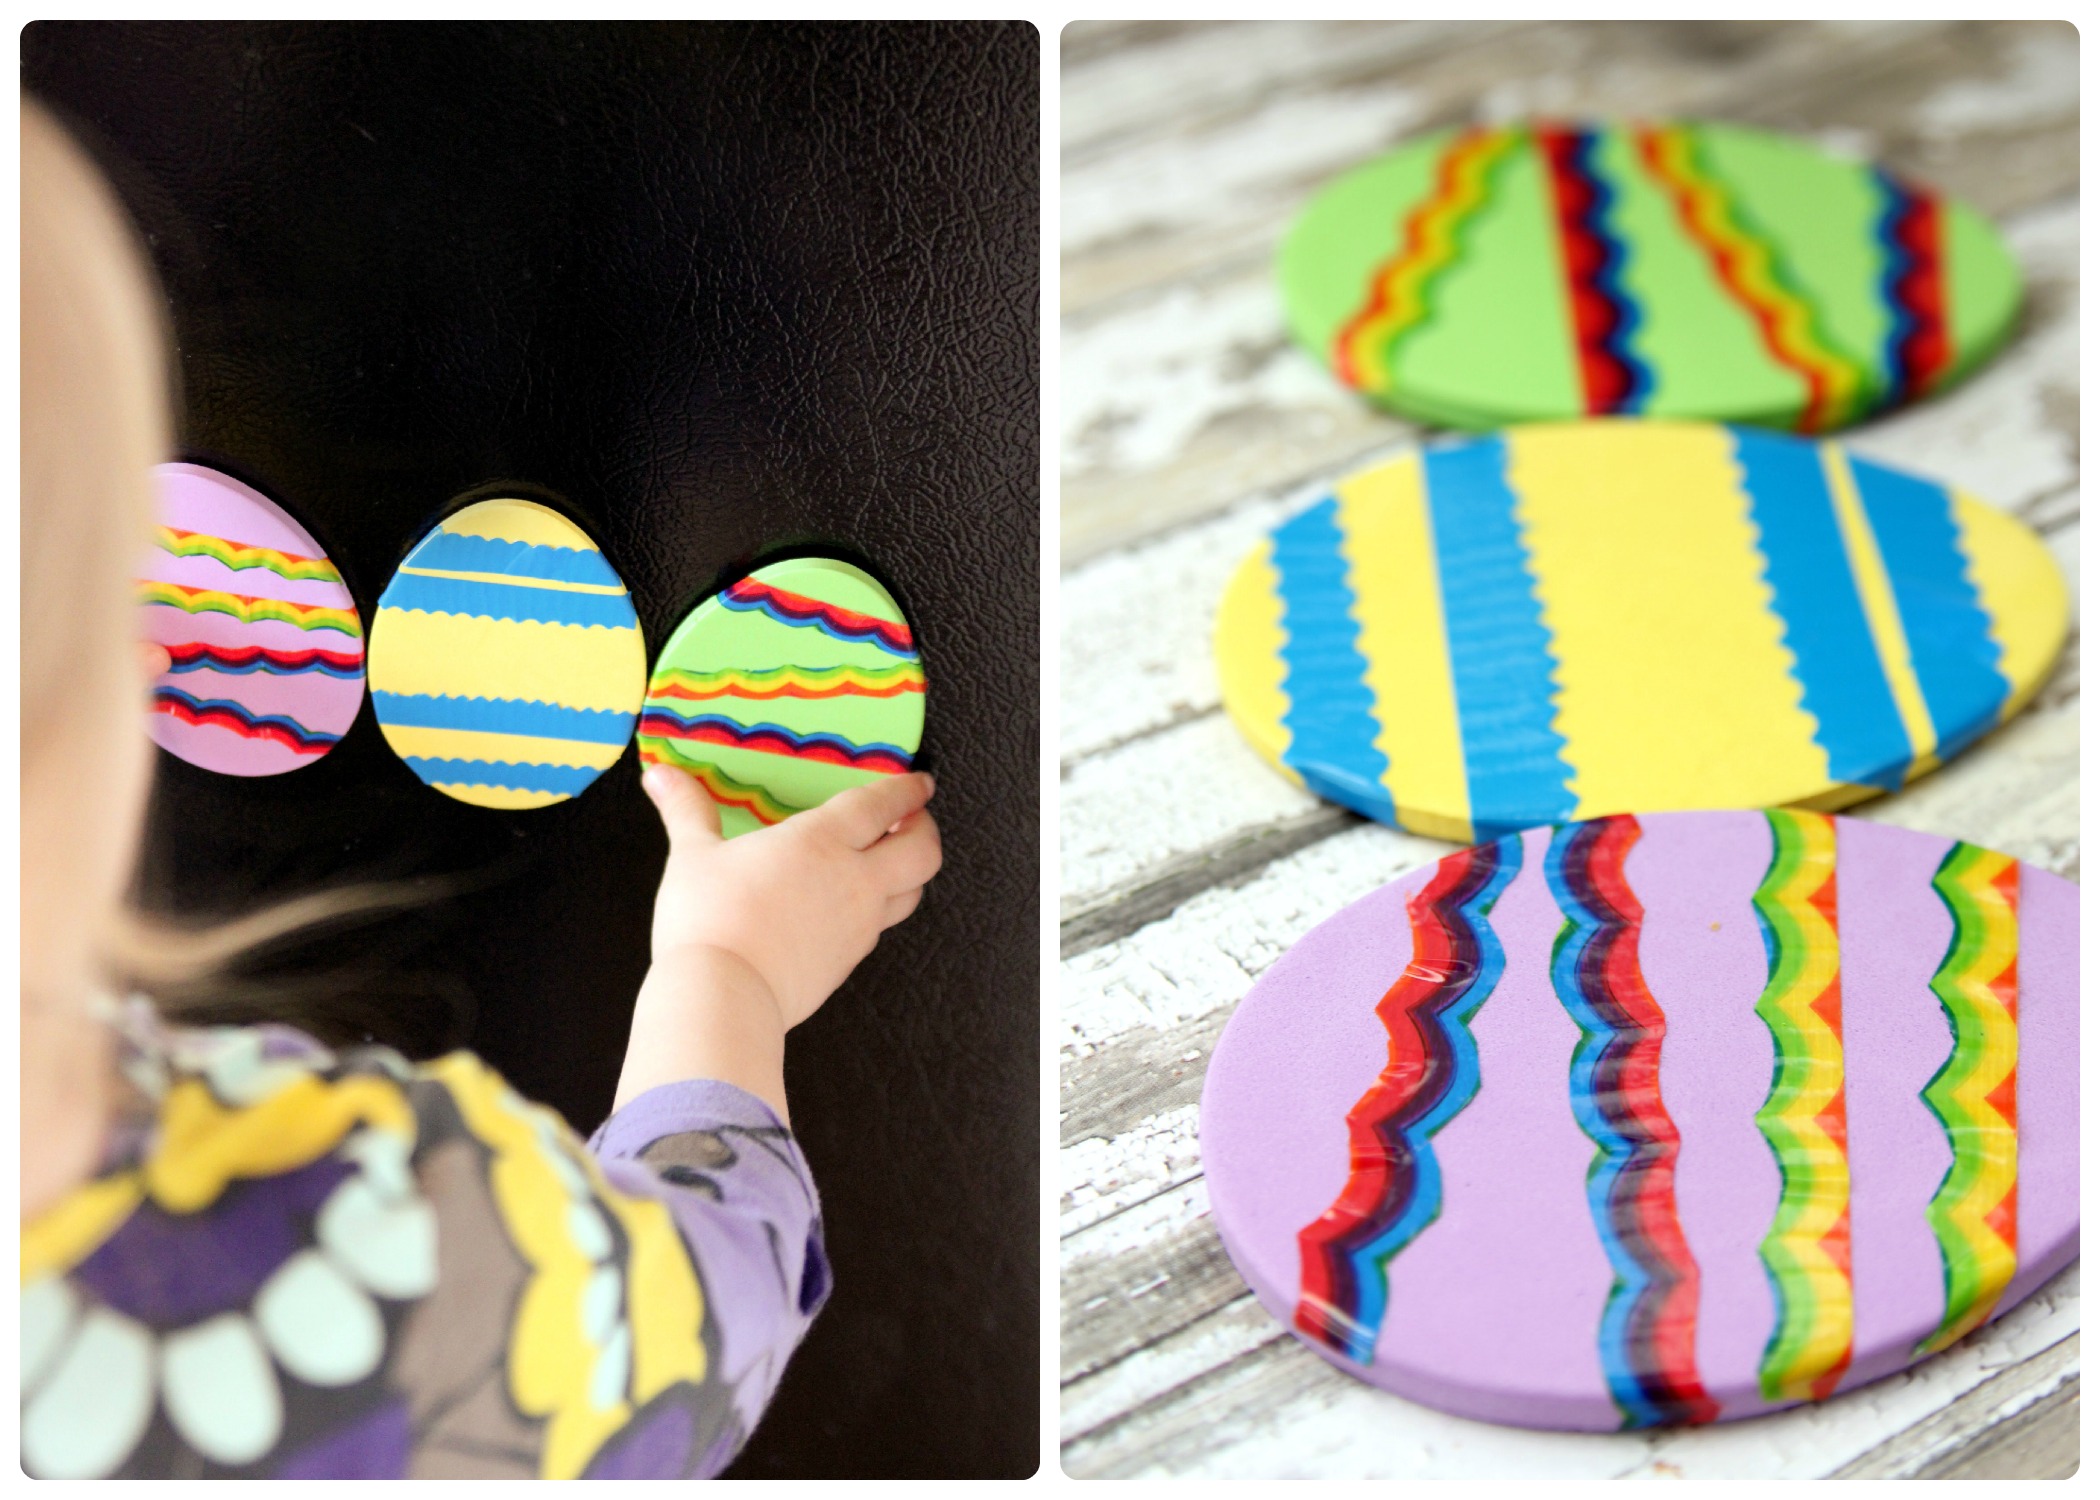
Final result!
Once finished, use them to decorate any magnetic surface. Ours were added to our refrigerator to celebrate the upcoming Easter holiday.