Step-by-step tutorial
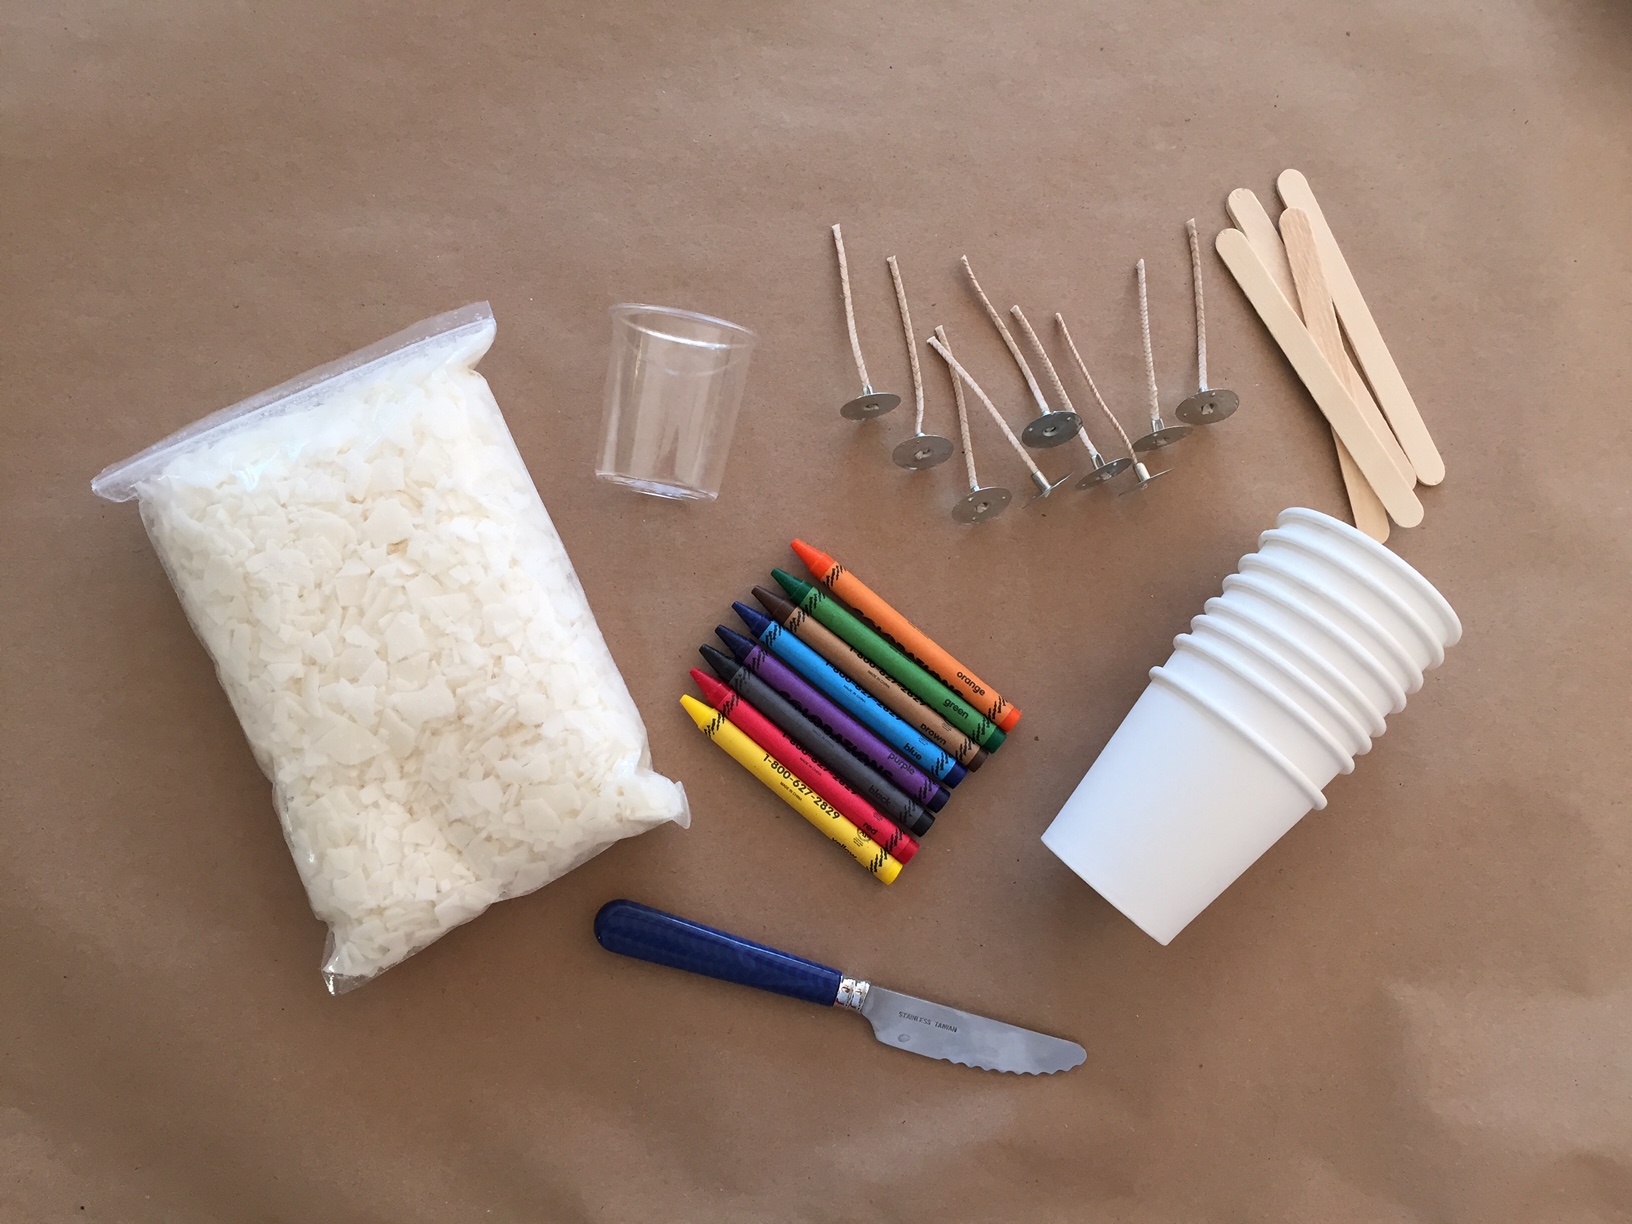
Step 1
Gather your materials!


Step 2
To start, we thought about what color candles we wanted to make. Based on that, we cut up the crayons that corresponded to those colors. Be careful chopping up the crayons. Scissors also worked.
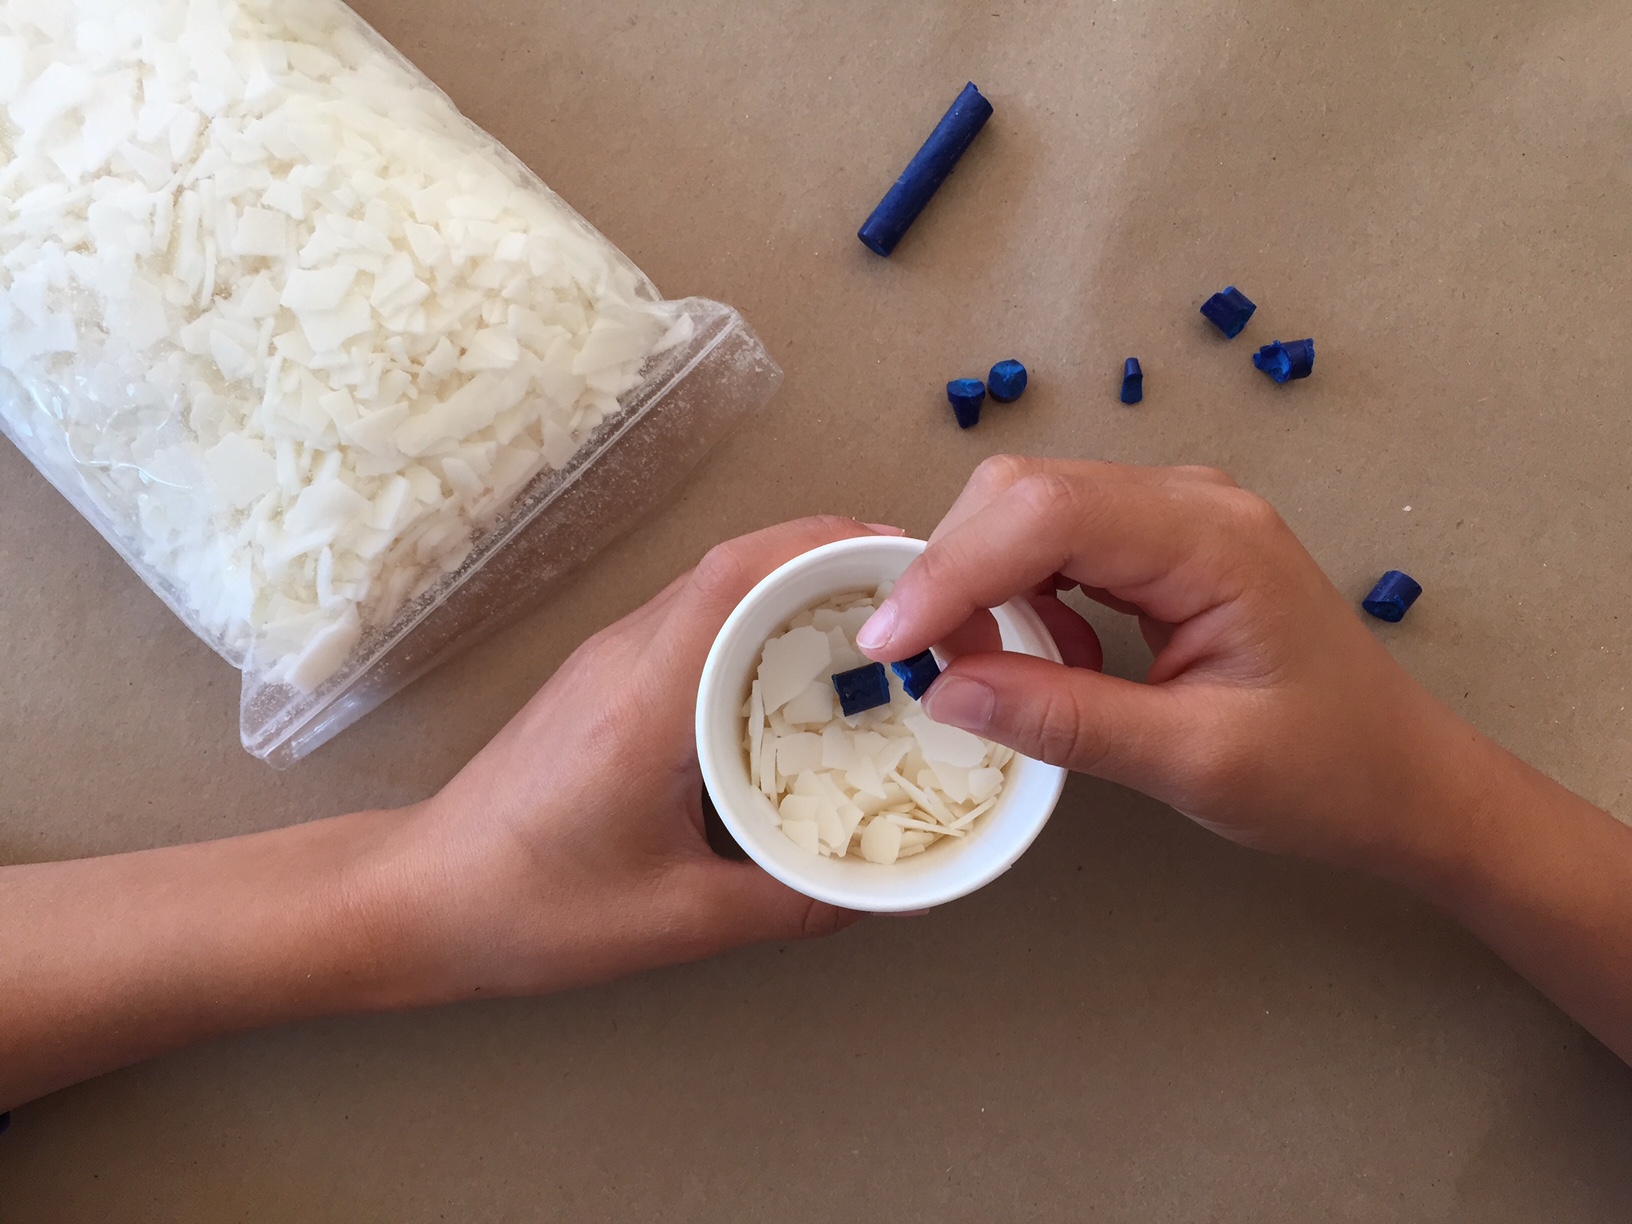
Step 3
Then, we filled a paper cup about halfway with the candle wax flakes. For color, we added a few pieces of crayon. For a darker, more saturated color, add more crayon. Surprisingly, we found that a little bit of crayon can add a decent punch of color.
Step 4
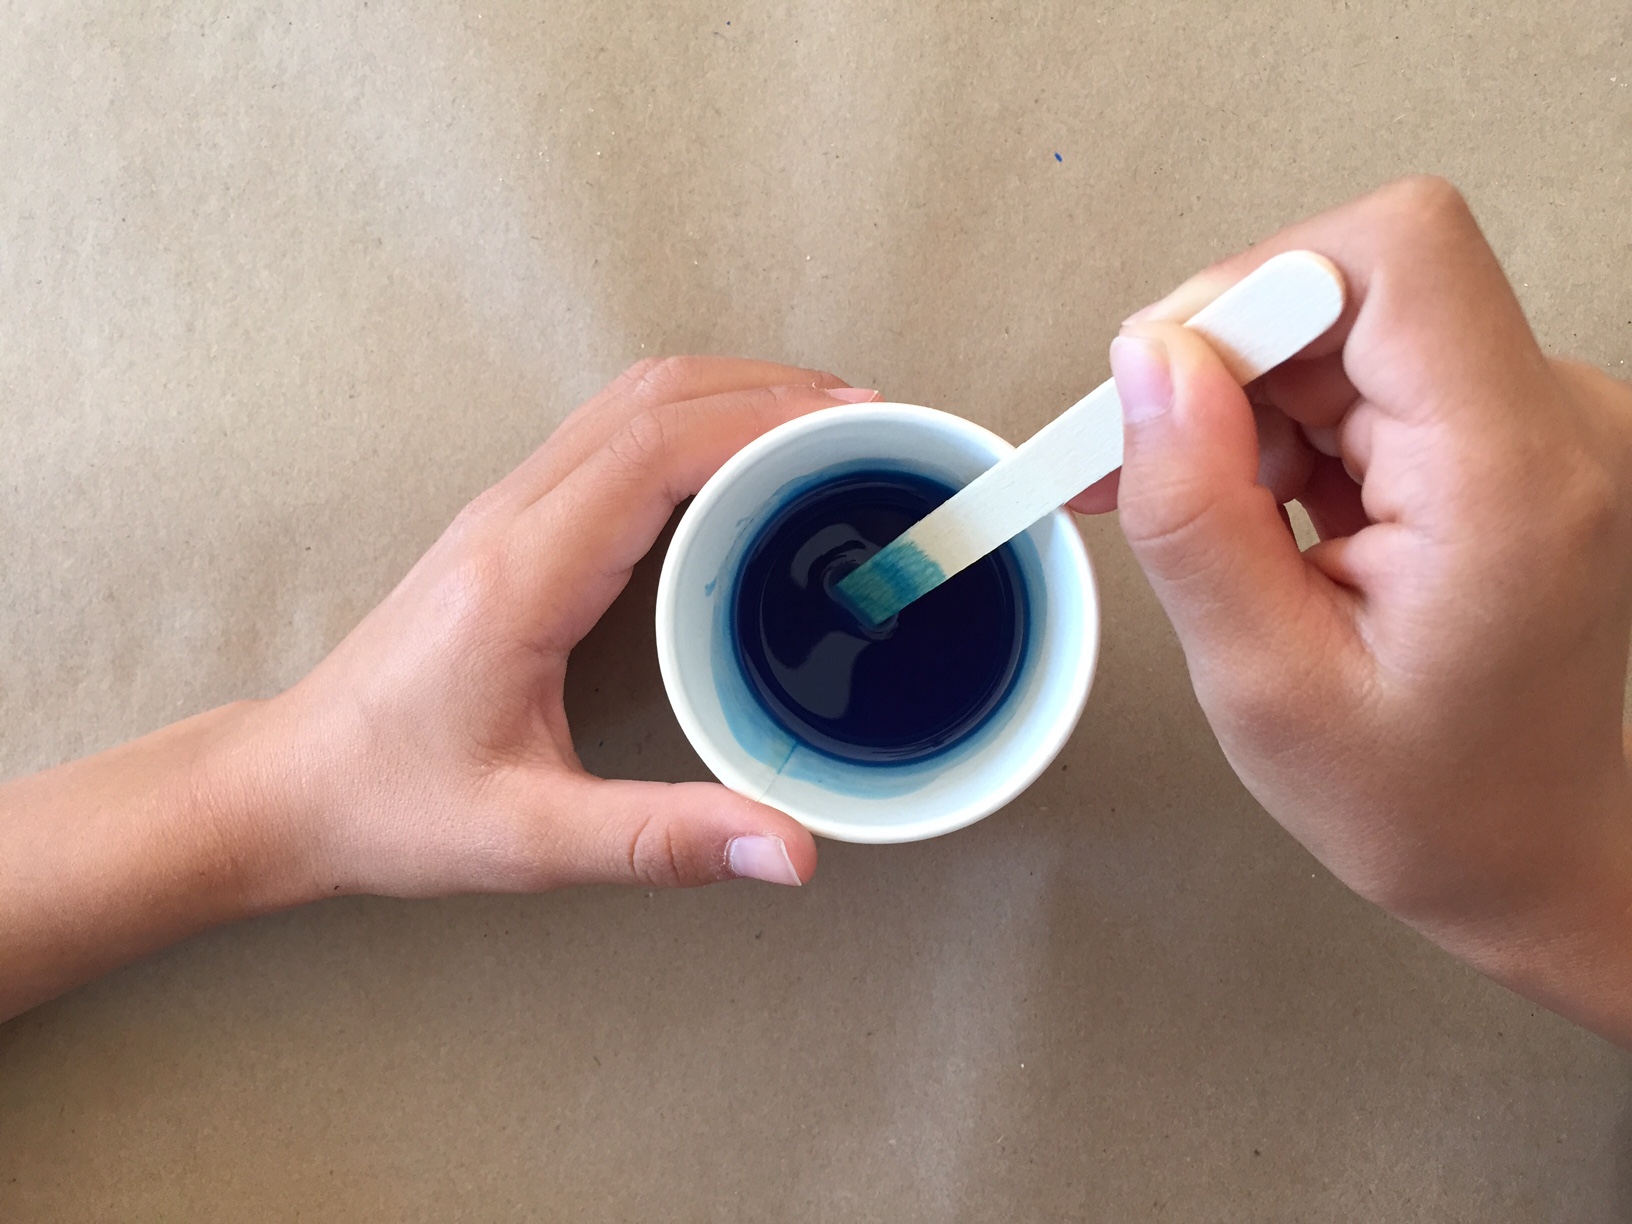
Then, we stuck our cup in the microwave for 45 seconds or so. If the wax wasn't melted, we would put it back in for 30 seconds at a time. Once it was melted, we gave it a little stir to make sure the color was distributed.
Step 5
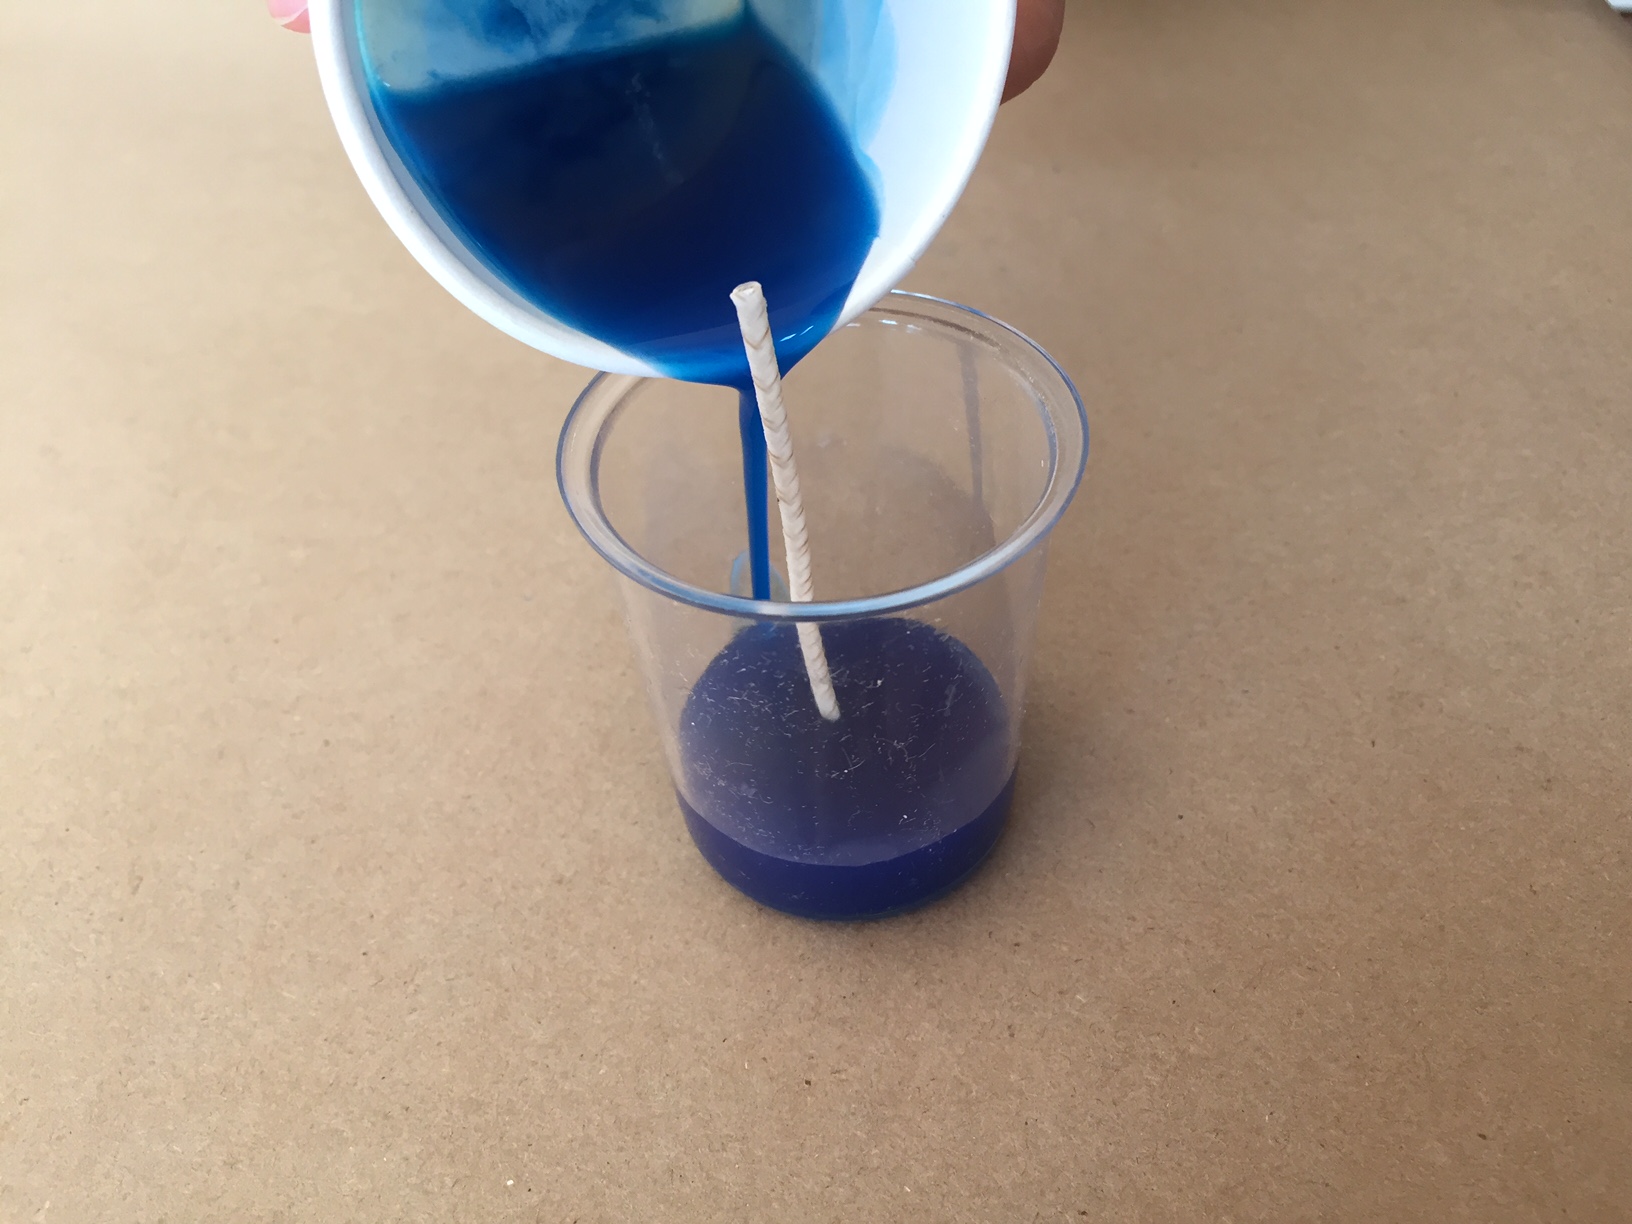
Place the wick in the plastic cup, which is the mold for your candle. Then, carefully pour the melted candle wax. You can decide how thick or thin you want that layer to be.
Step 6
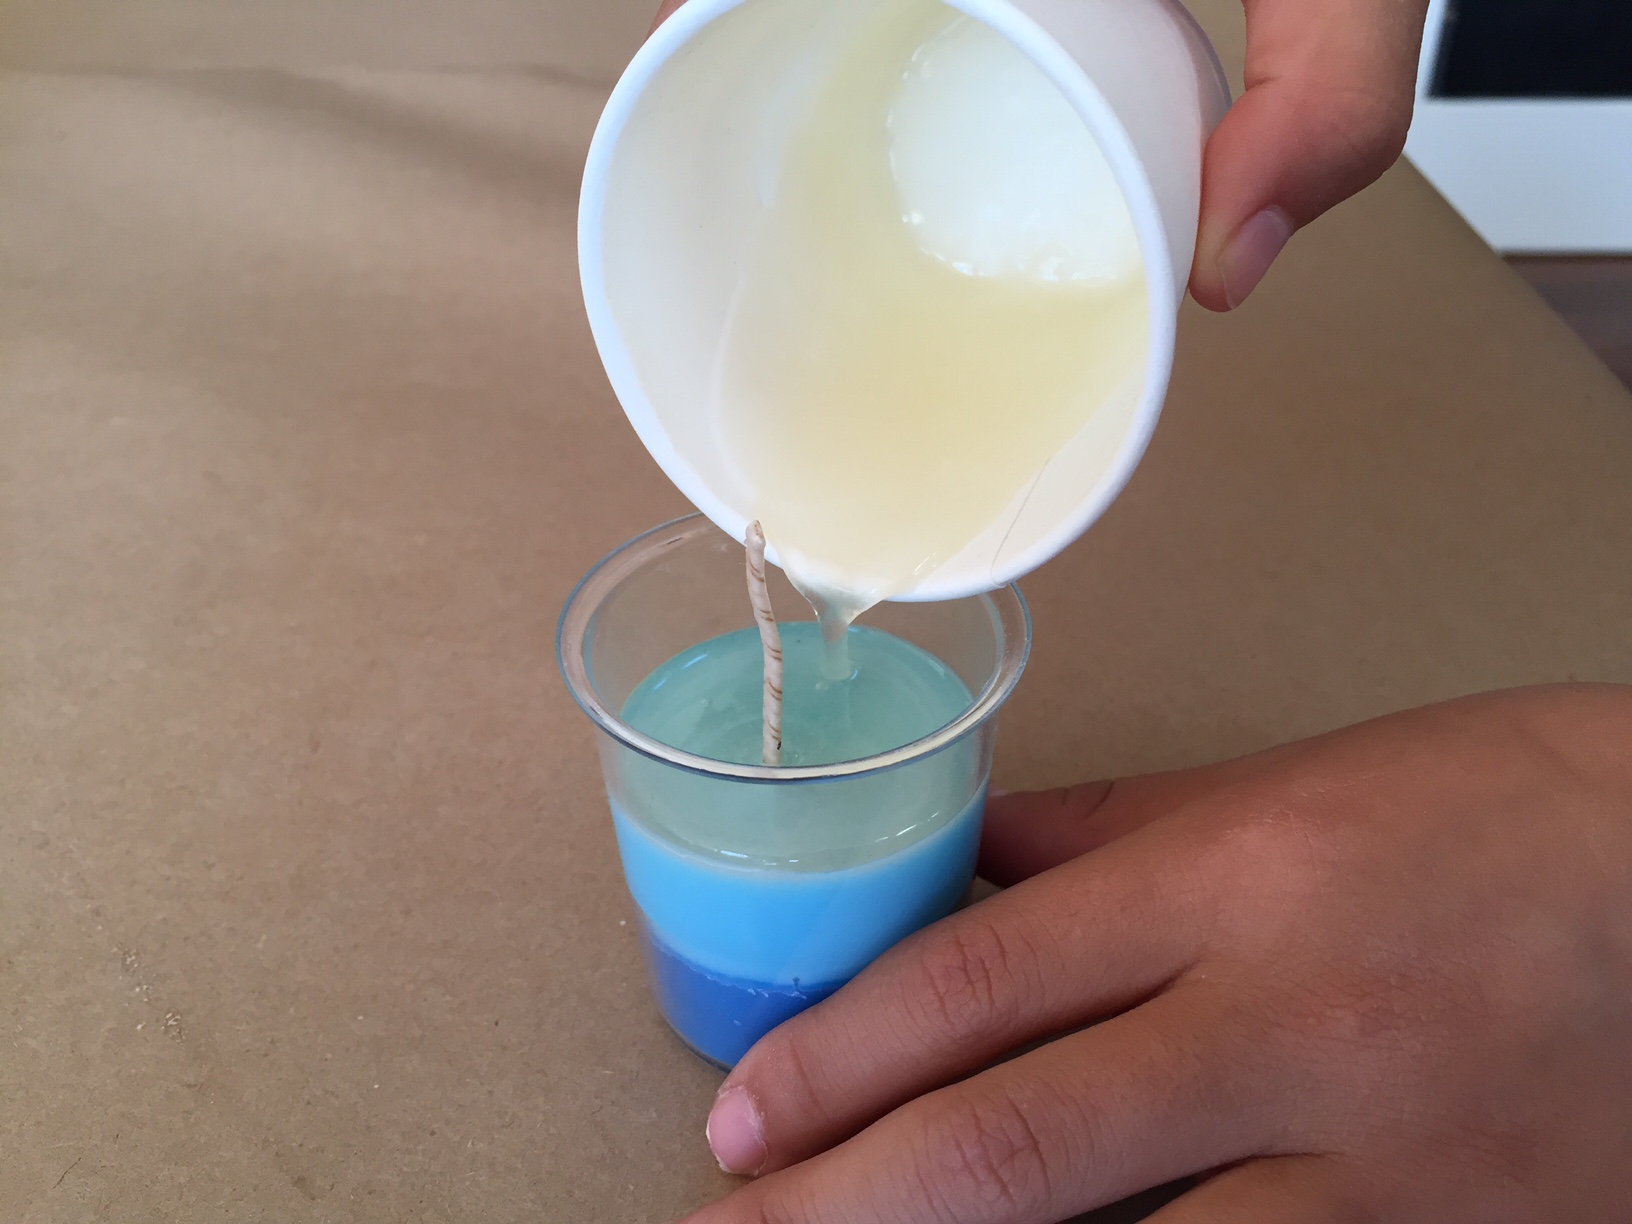
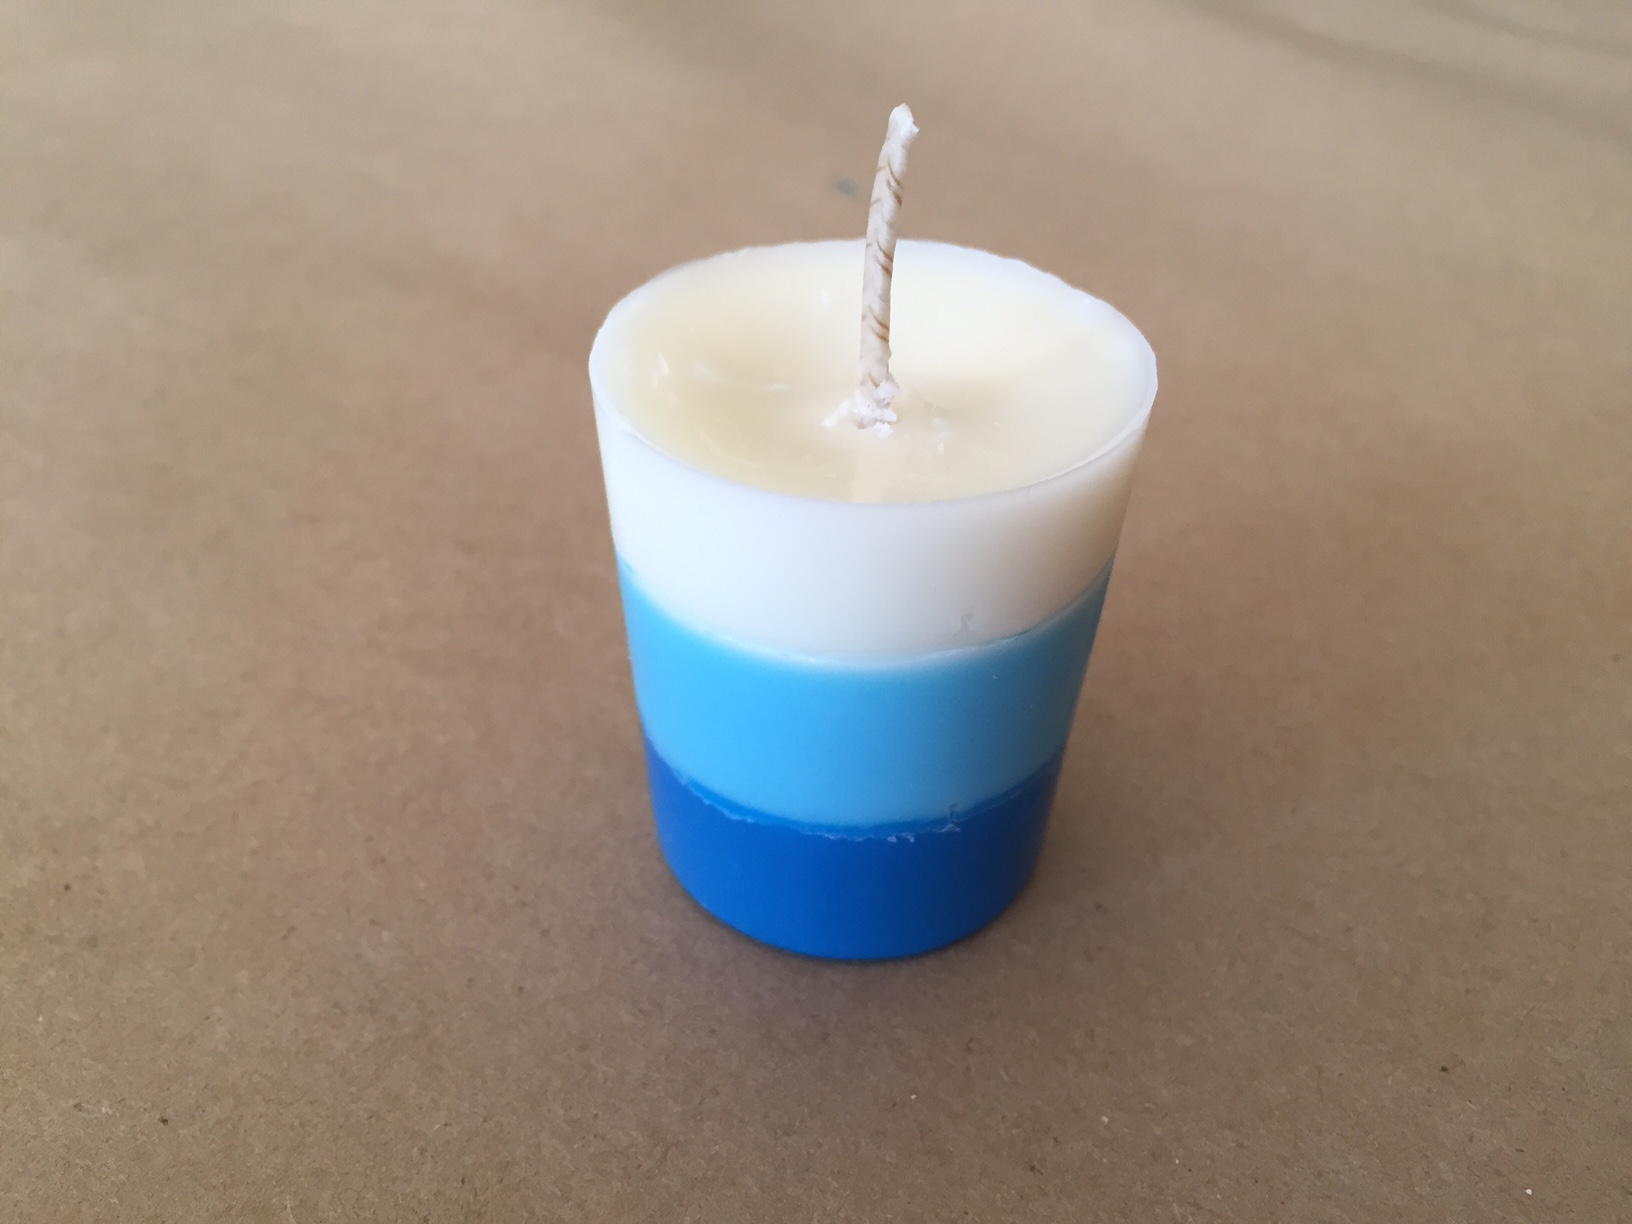
Before you add a new color to your candle, make sure that the color underneath it is cooled and hardened! We decided to make a tri-colored candle. For each new color, we followed the steps to melt and pour.
Step 7
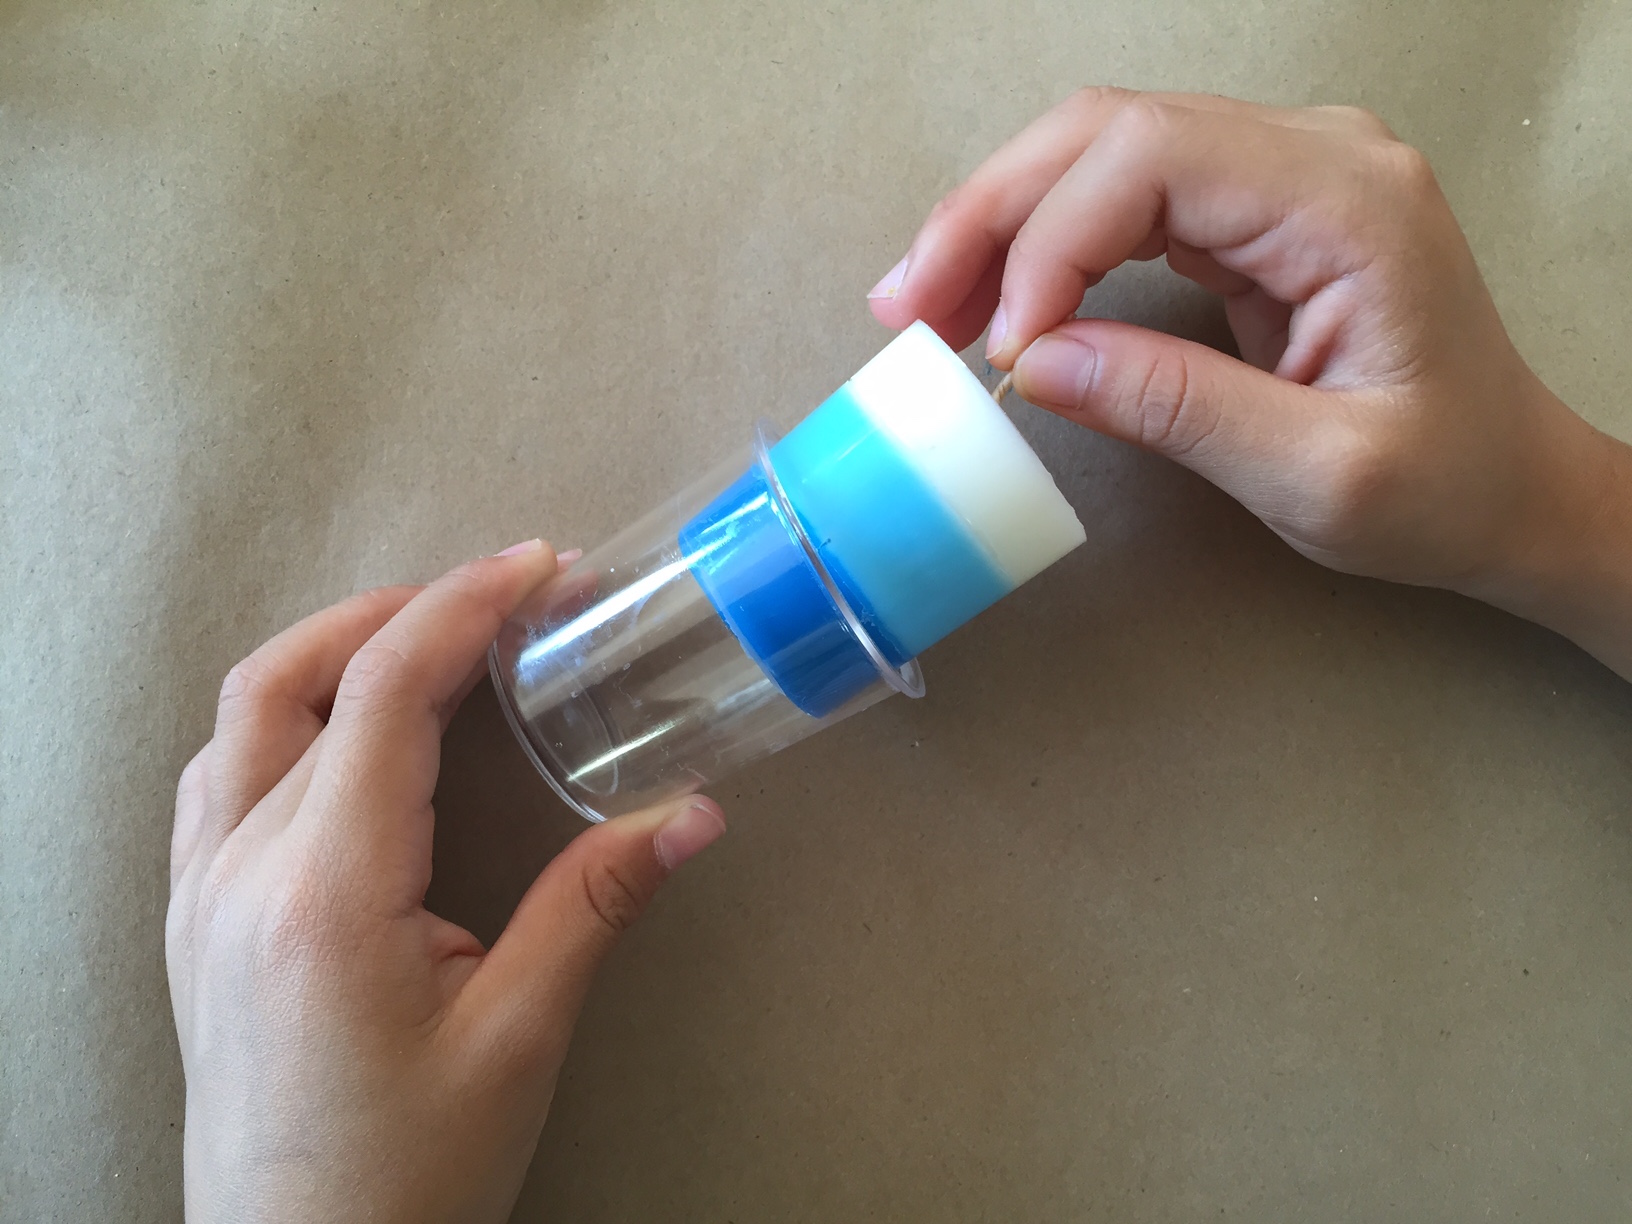
Once the candle was completely hard, we jiggled and pulled it out.
Step 8
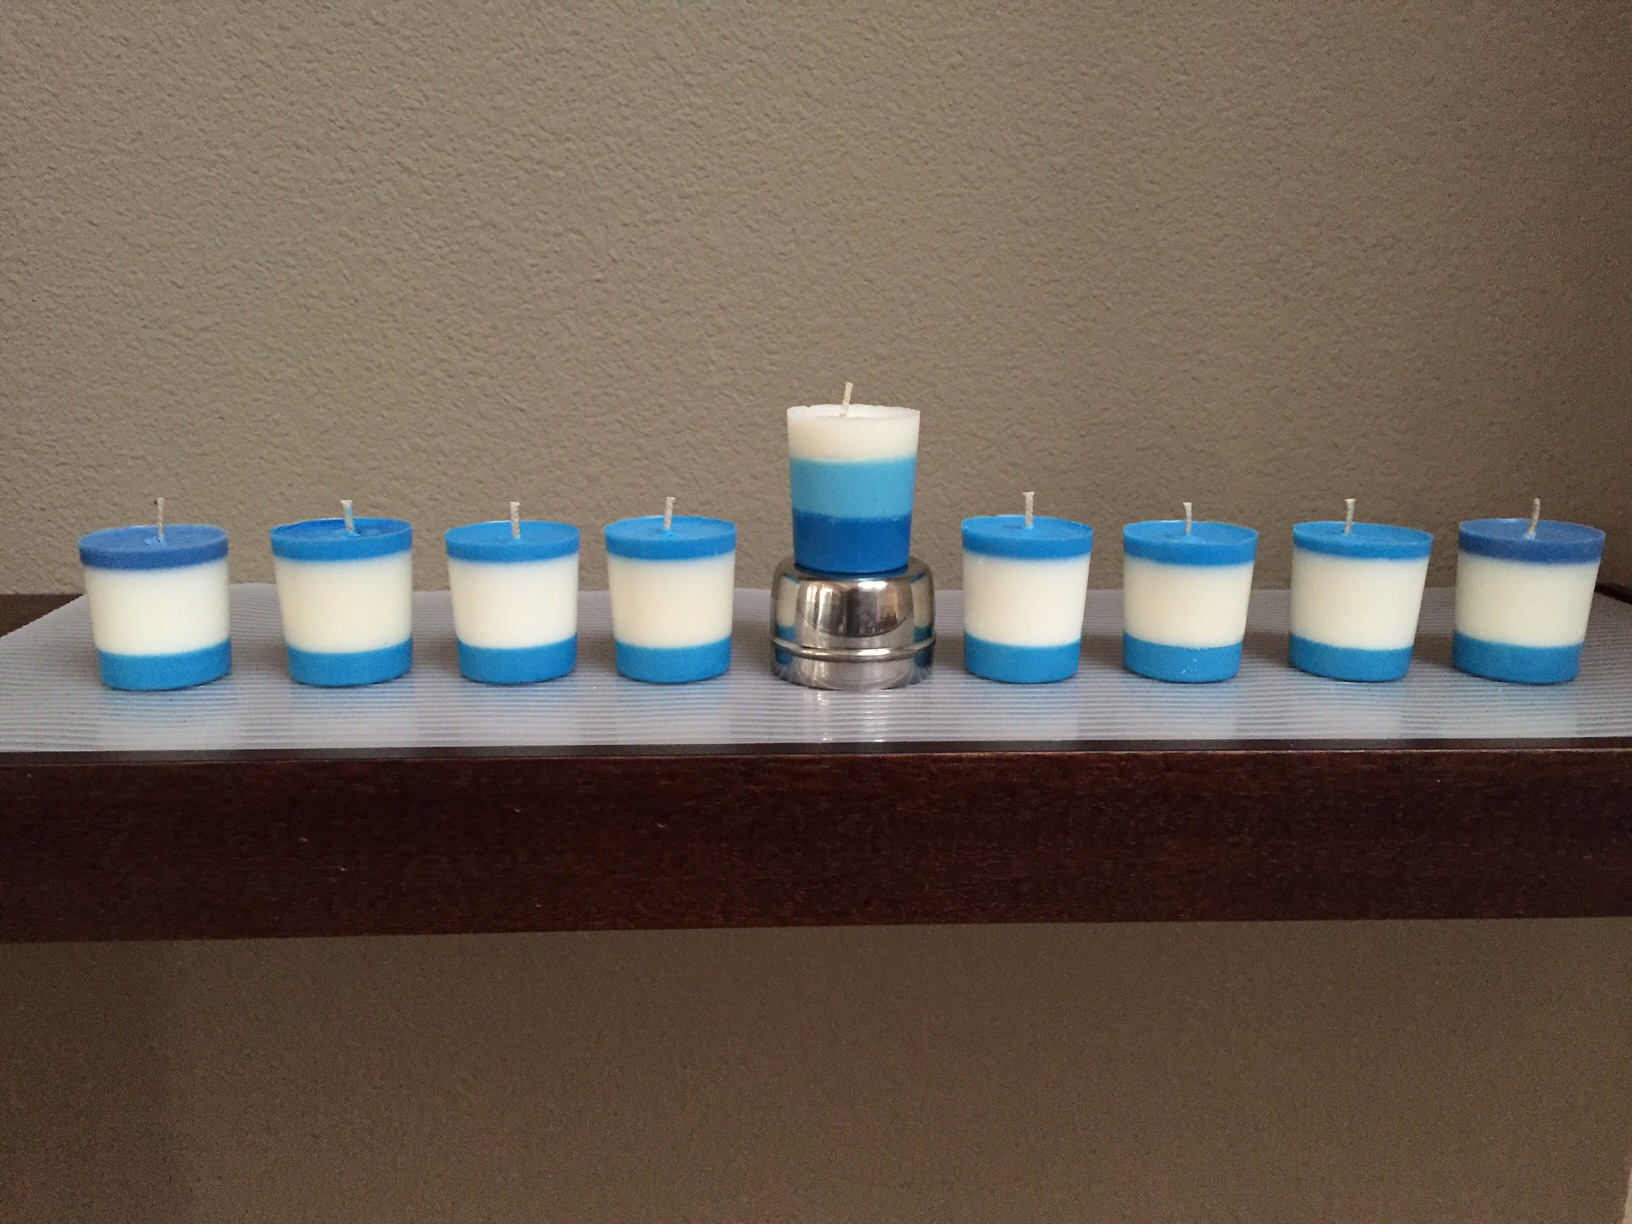
And there we have our new candle of our own design. My kids were pretty proud of theirs.
Done!
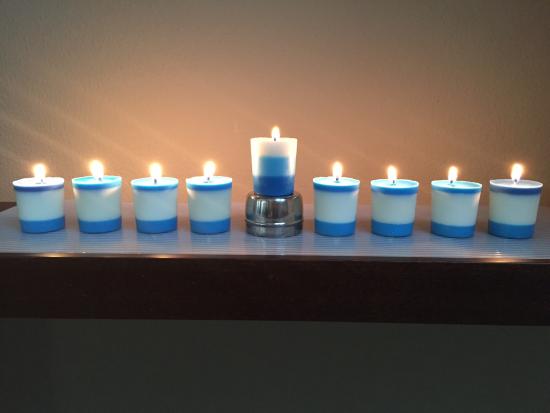
We made 8 more to create an entire set of candles for our special DIY Hanukkah menorah.