Step-by-step tutorial
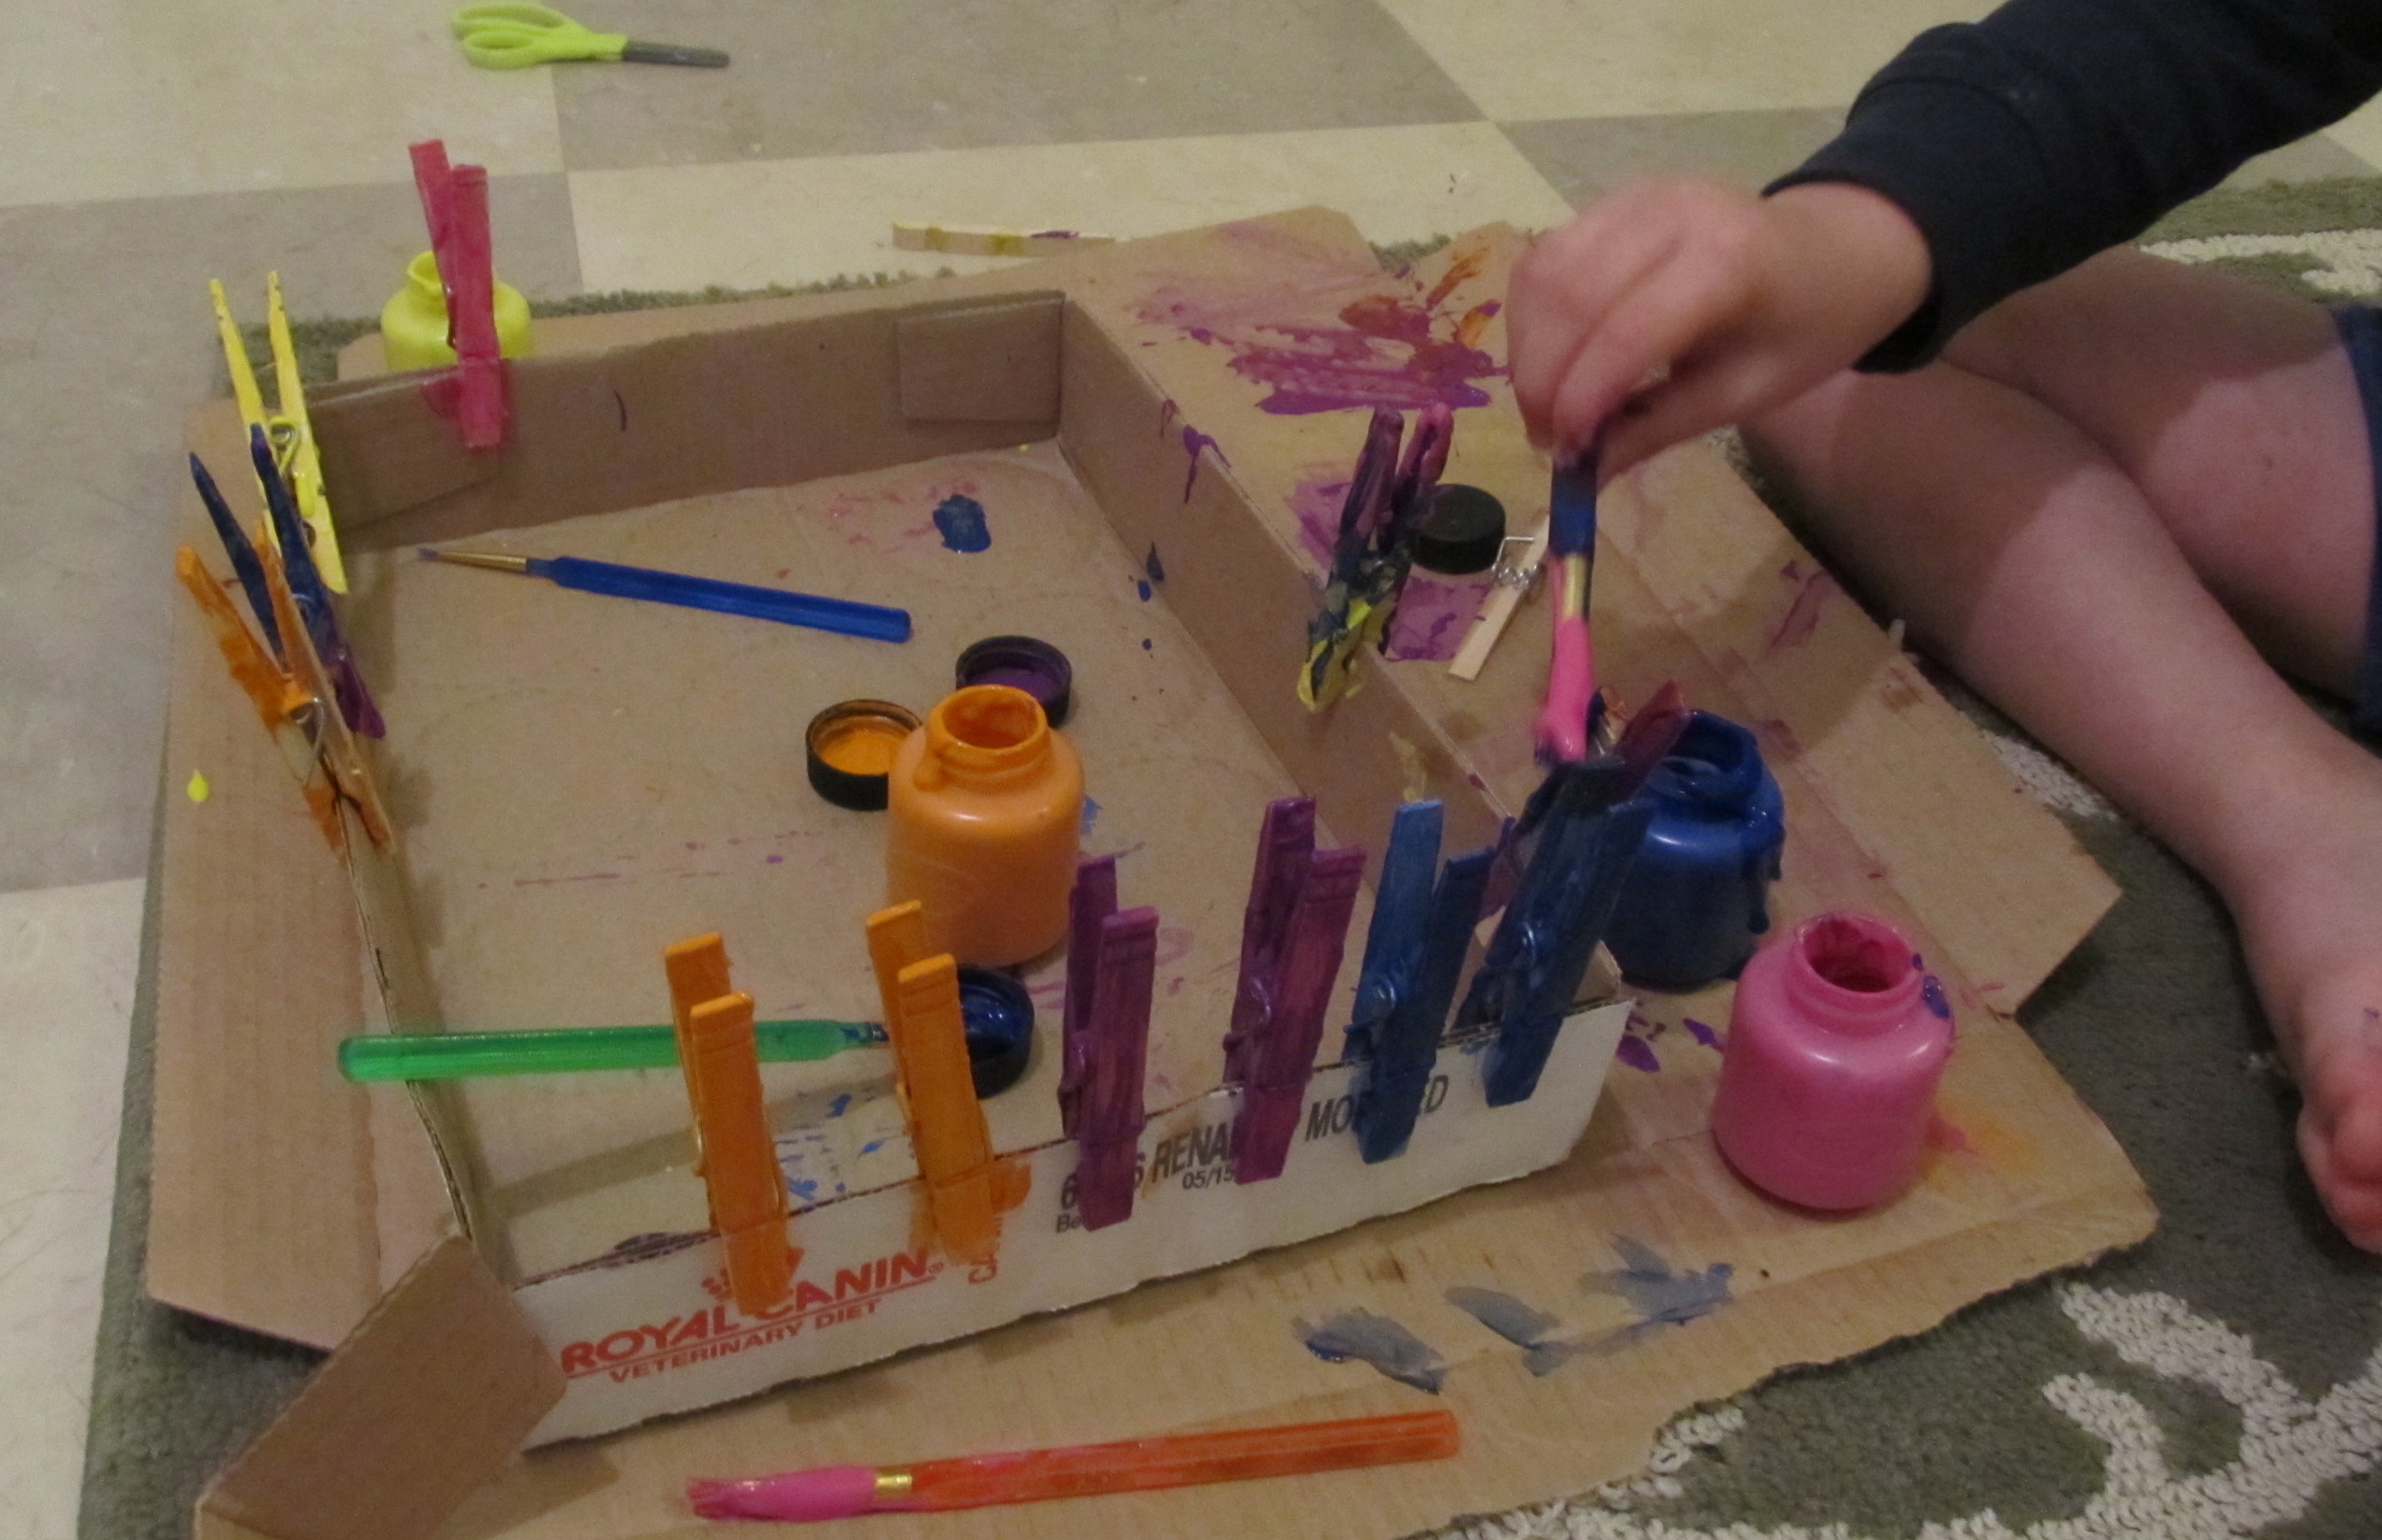
Step 1
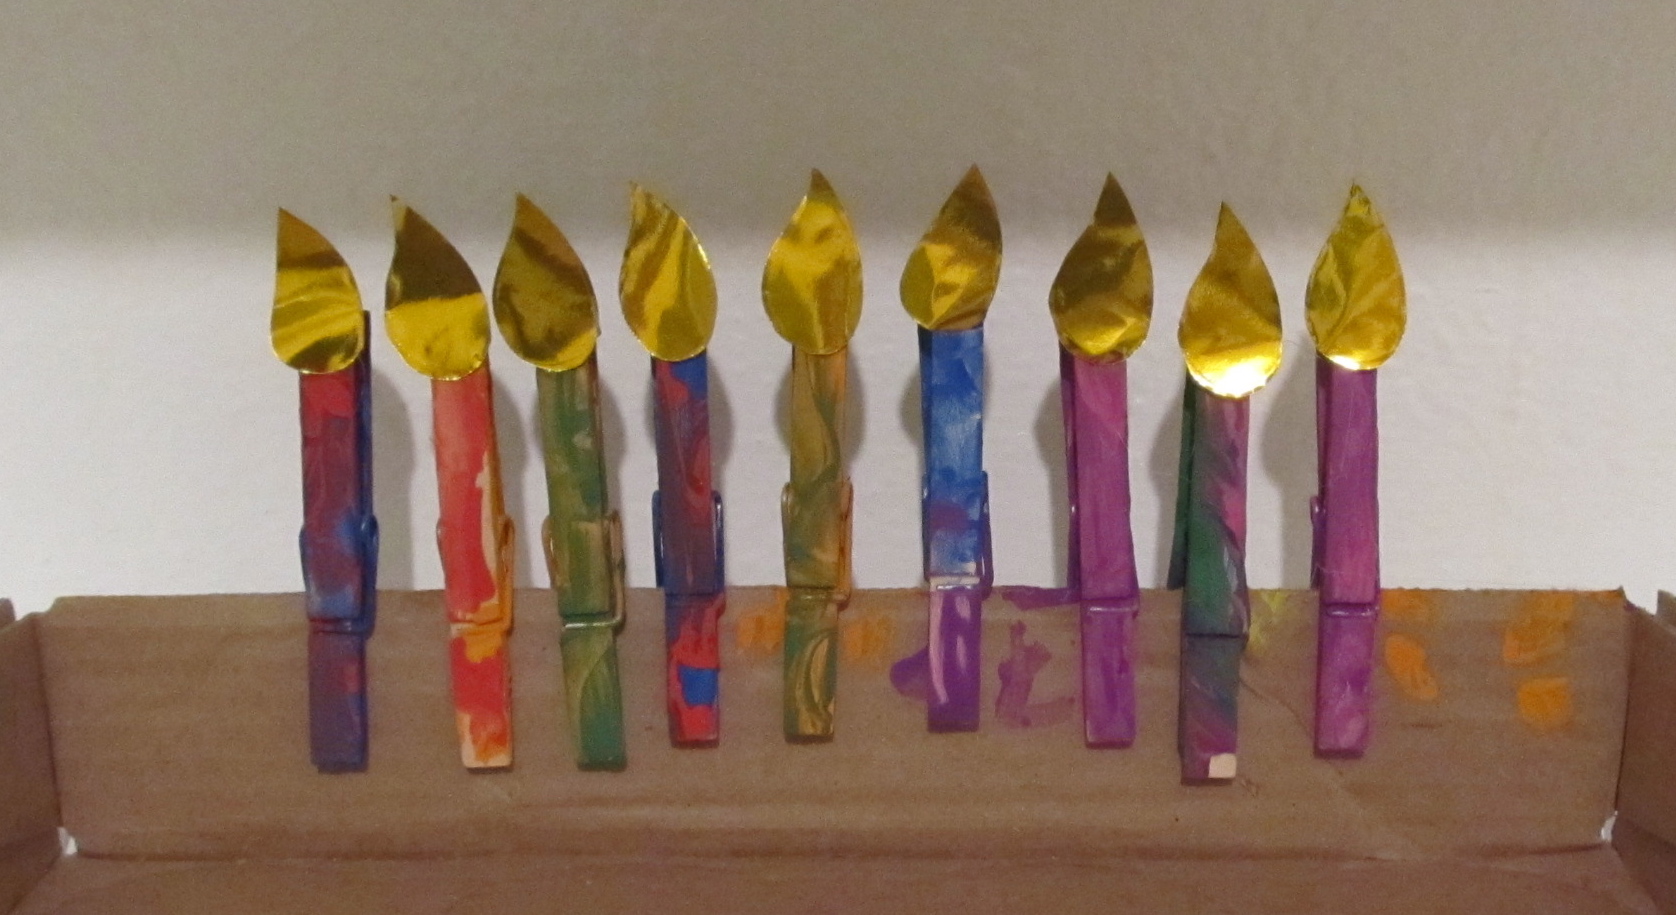
If desired, attach the clothespins to a cardboard box for easy painting and less mess. Give your child paint and paintbrushes and have him paint both the front and the back of the clothespins. Mixing colors is encouraged! Allow to dry.

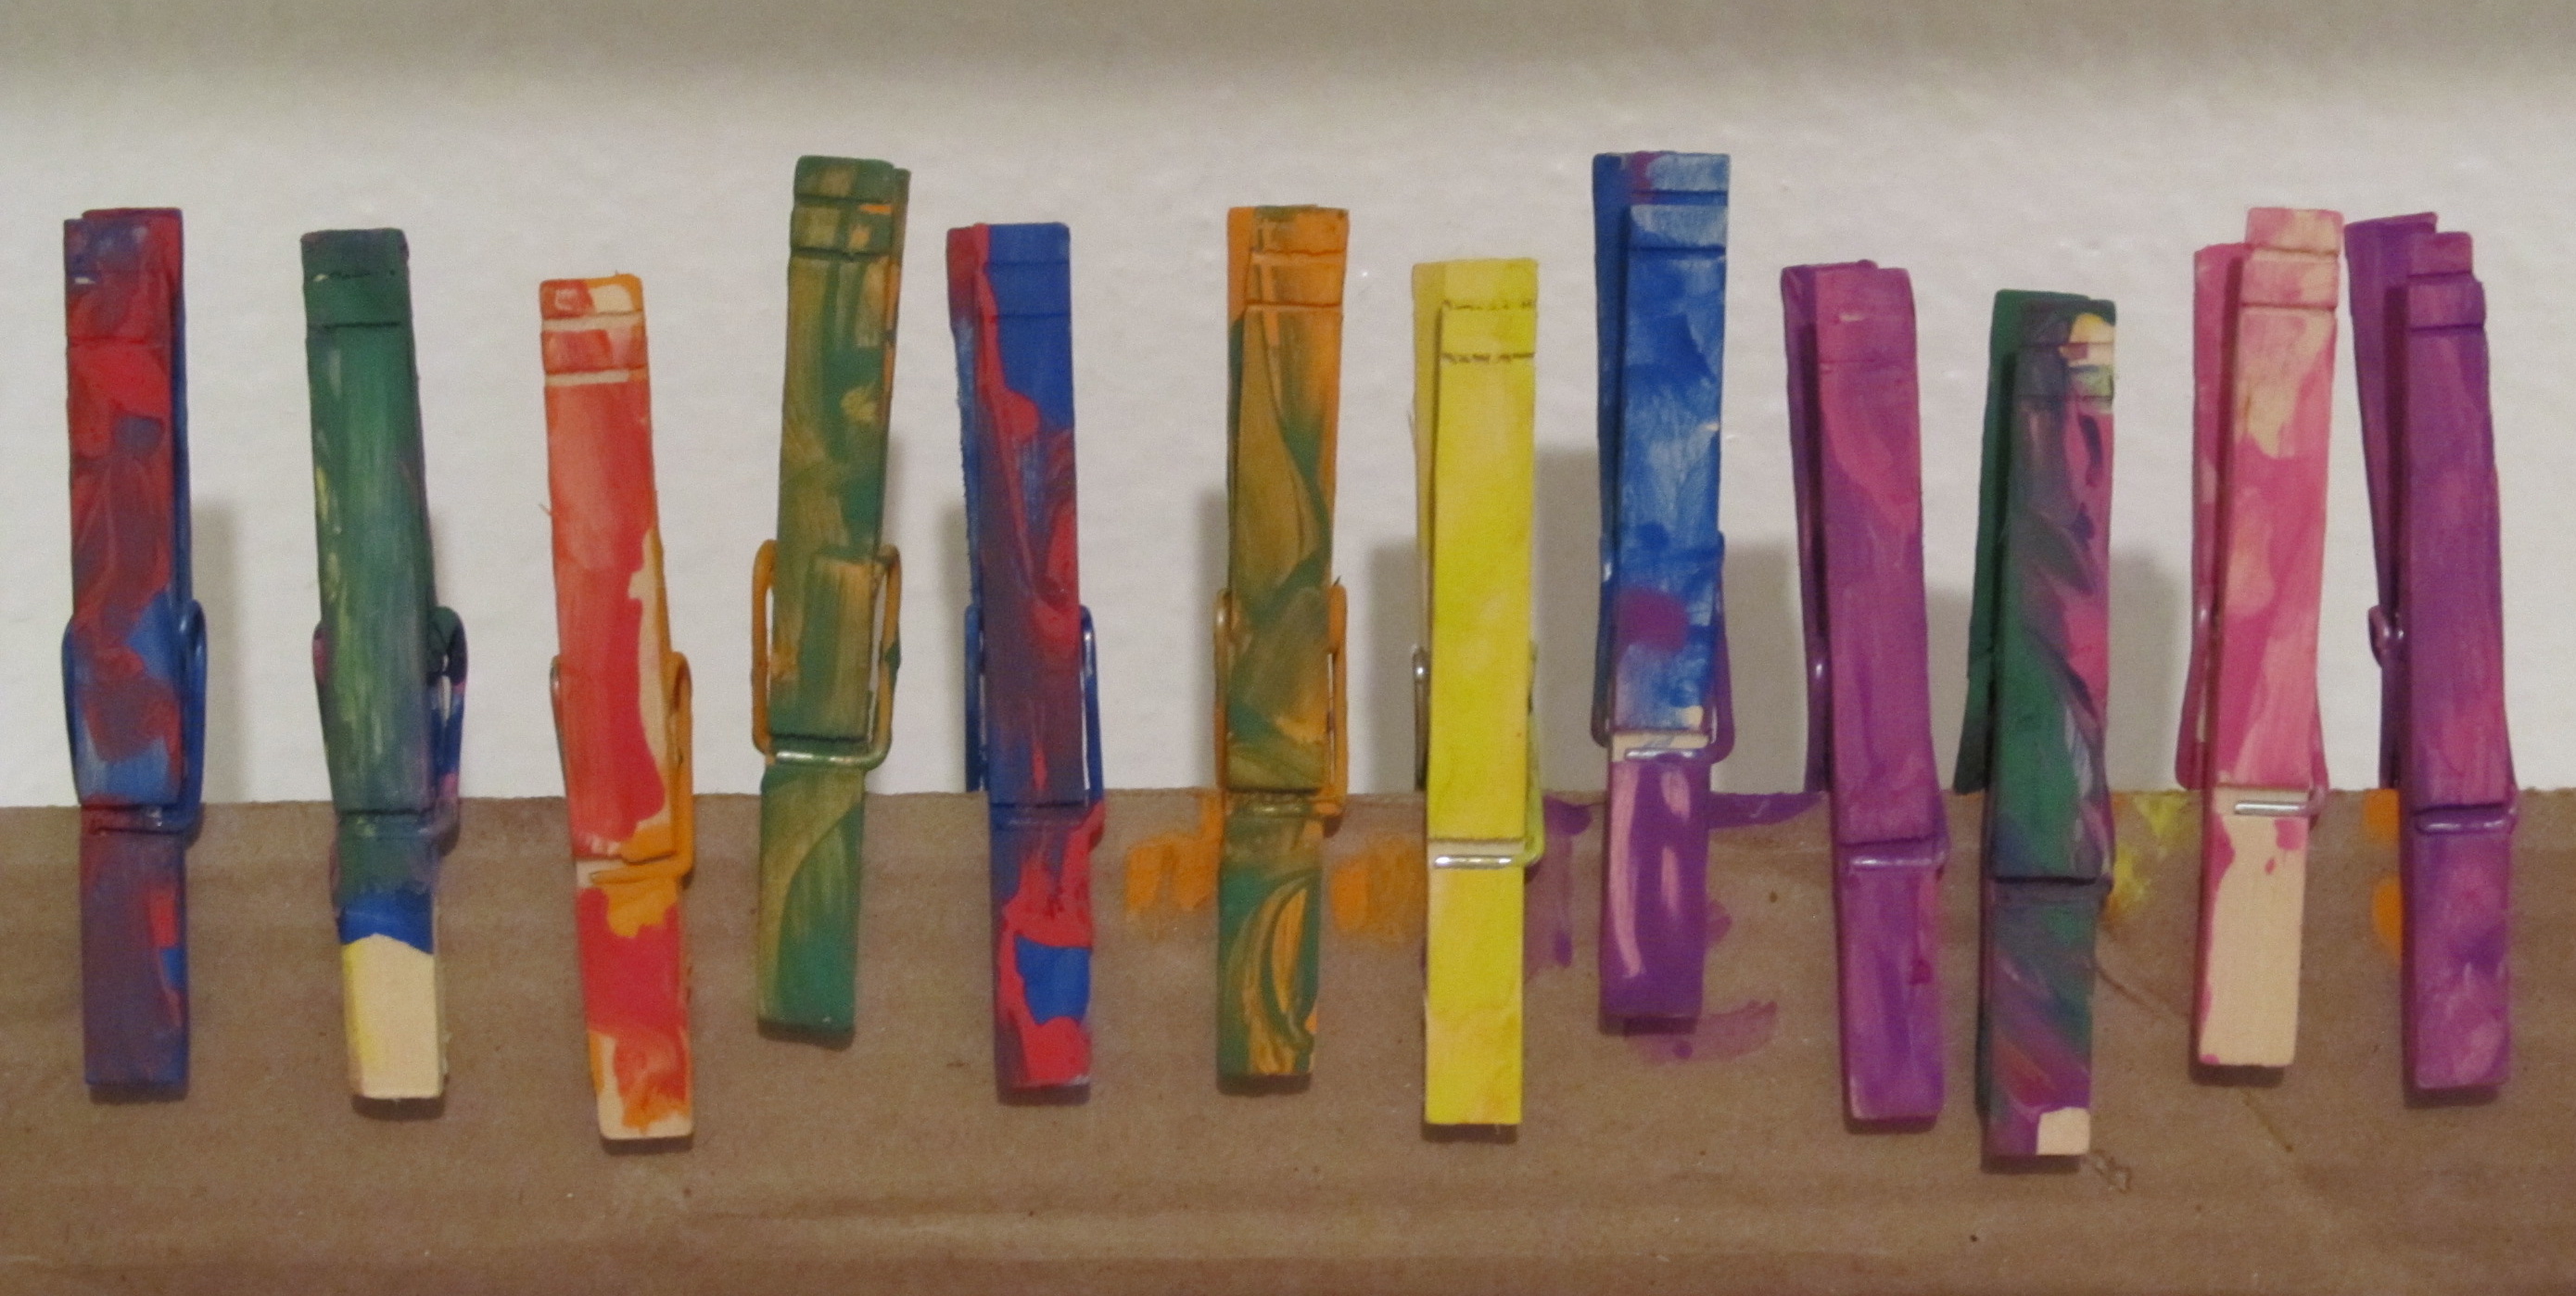
Step 2
Mixing the paints give the clothespin candles a handmade, waxy look.
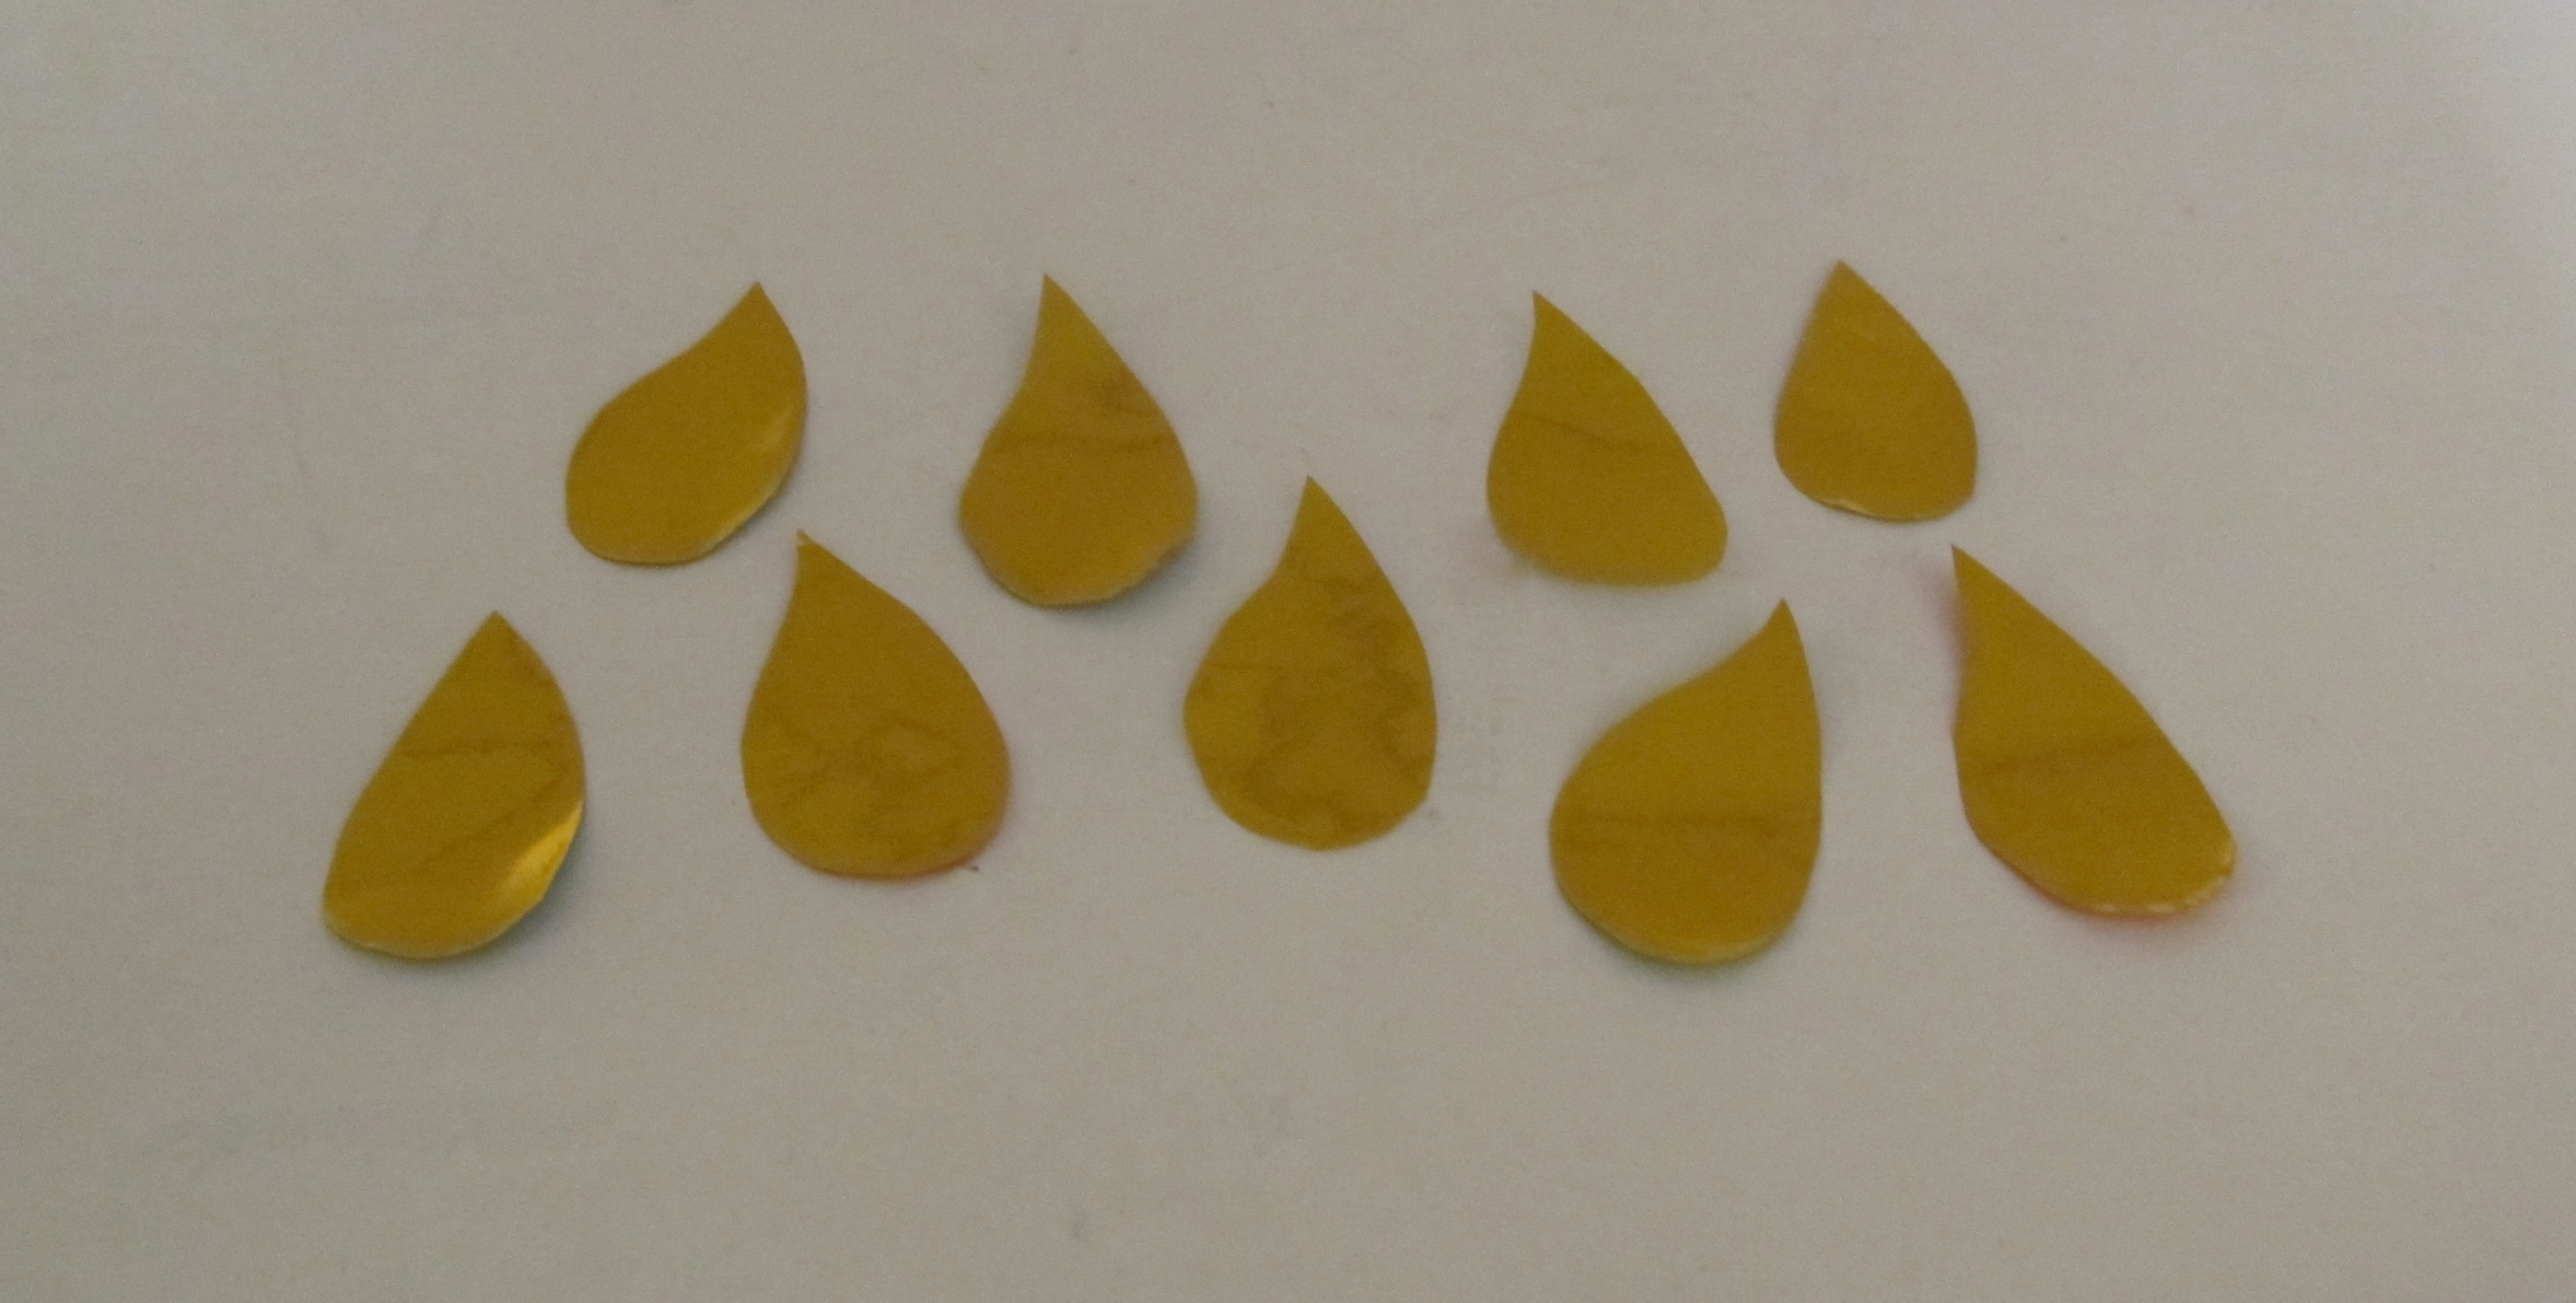
Step 3
Cut the gold foil into pieces that look like flames.
Step 4
Once the paint is dry, attach the flames to the clothespins with hot glue.
Step 5
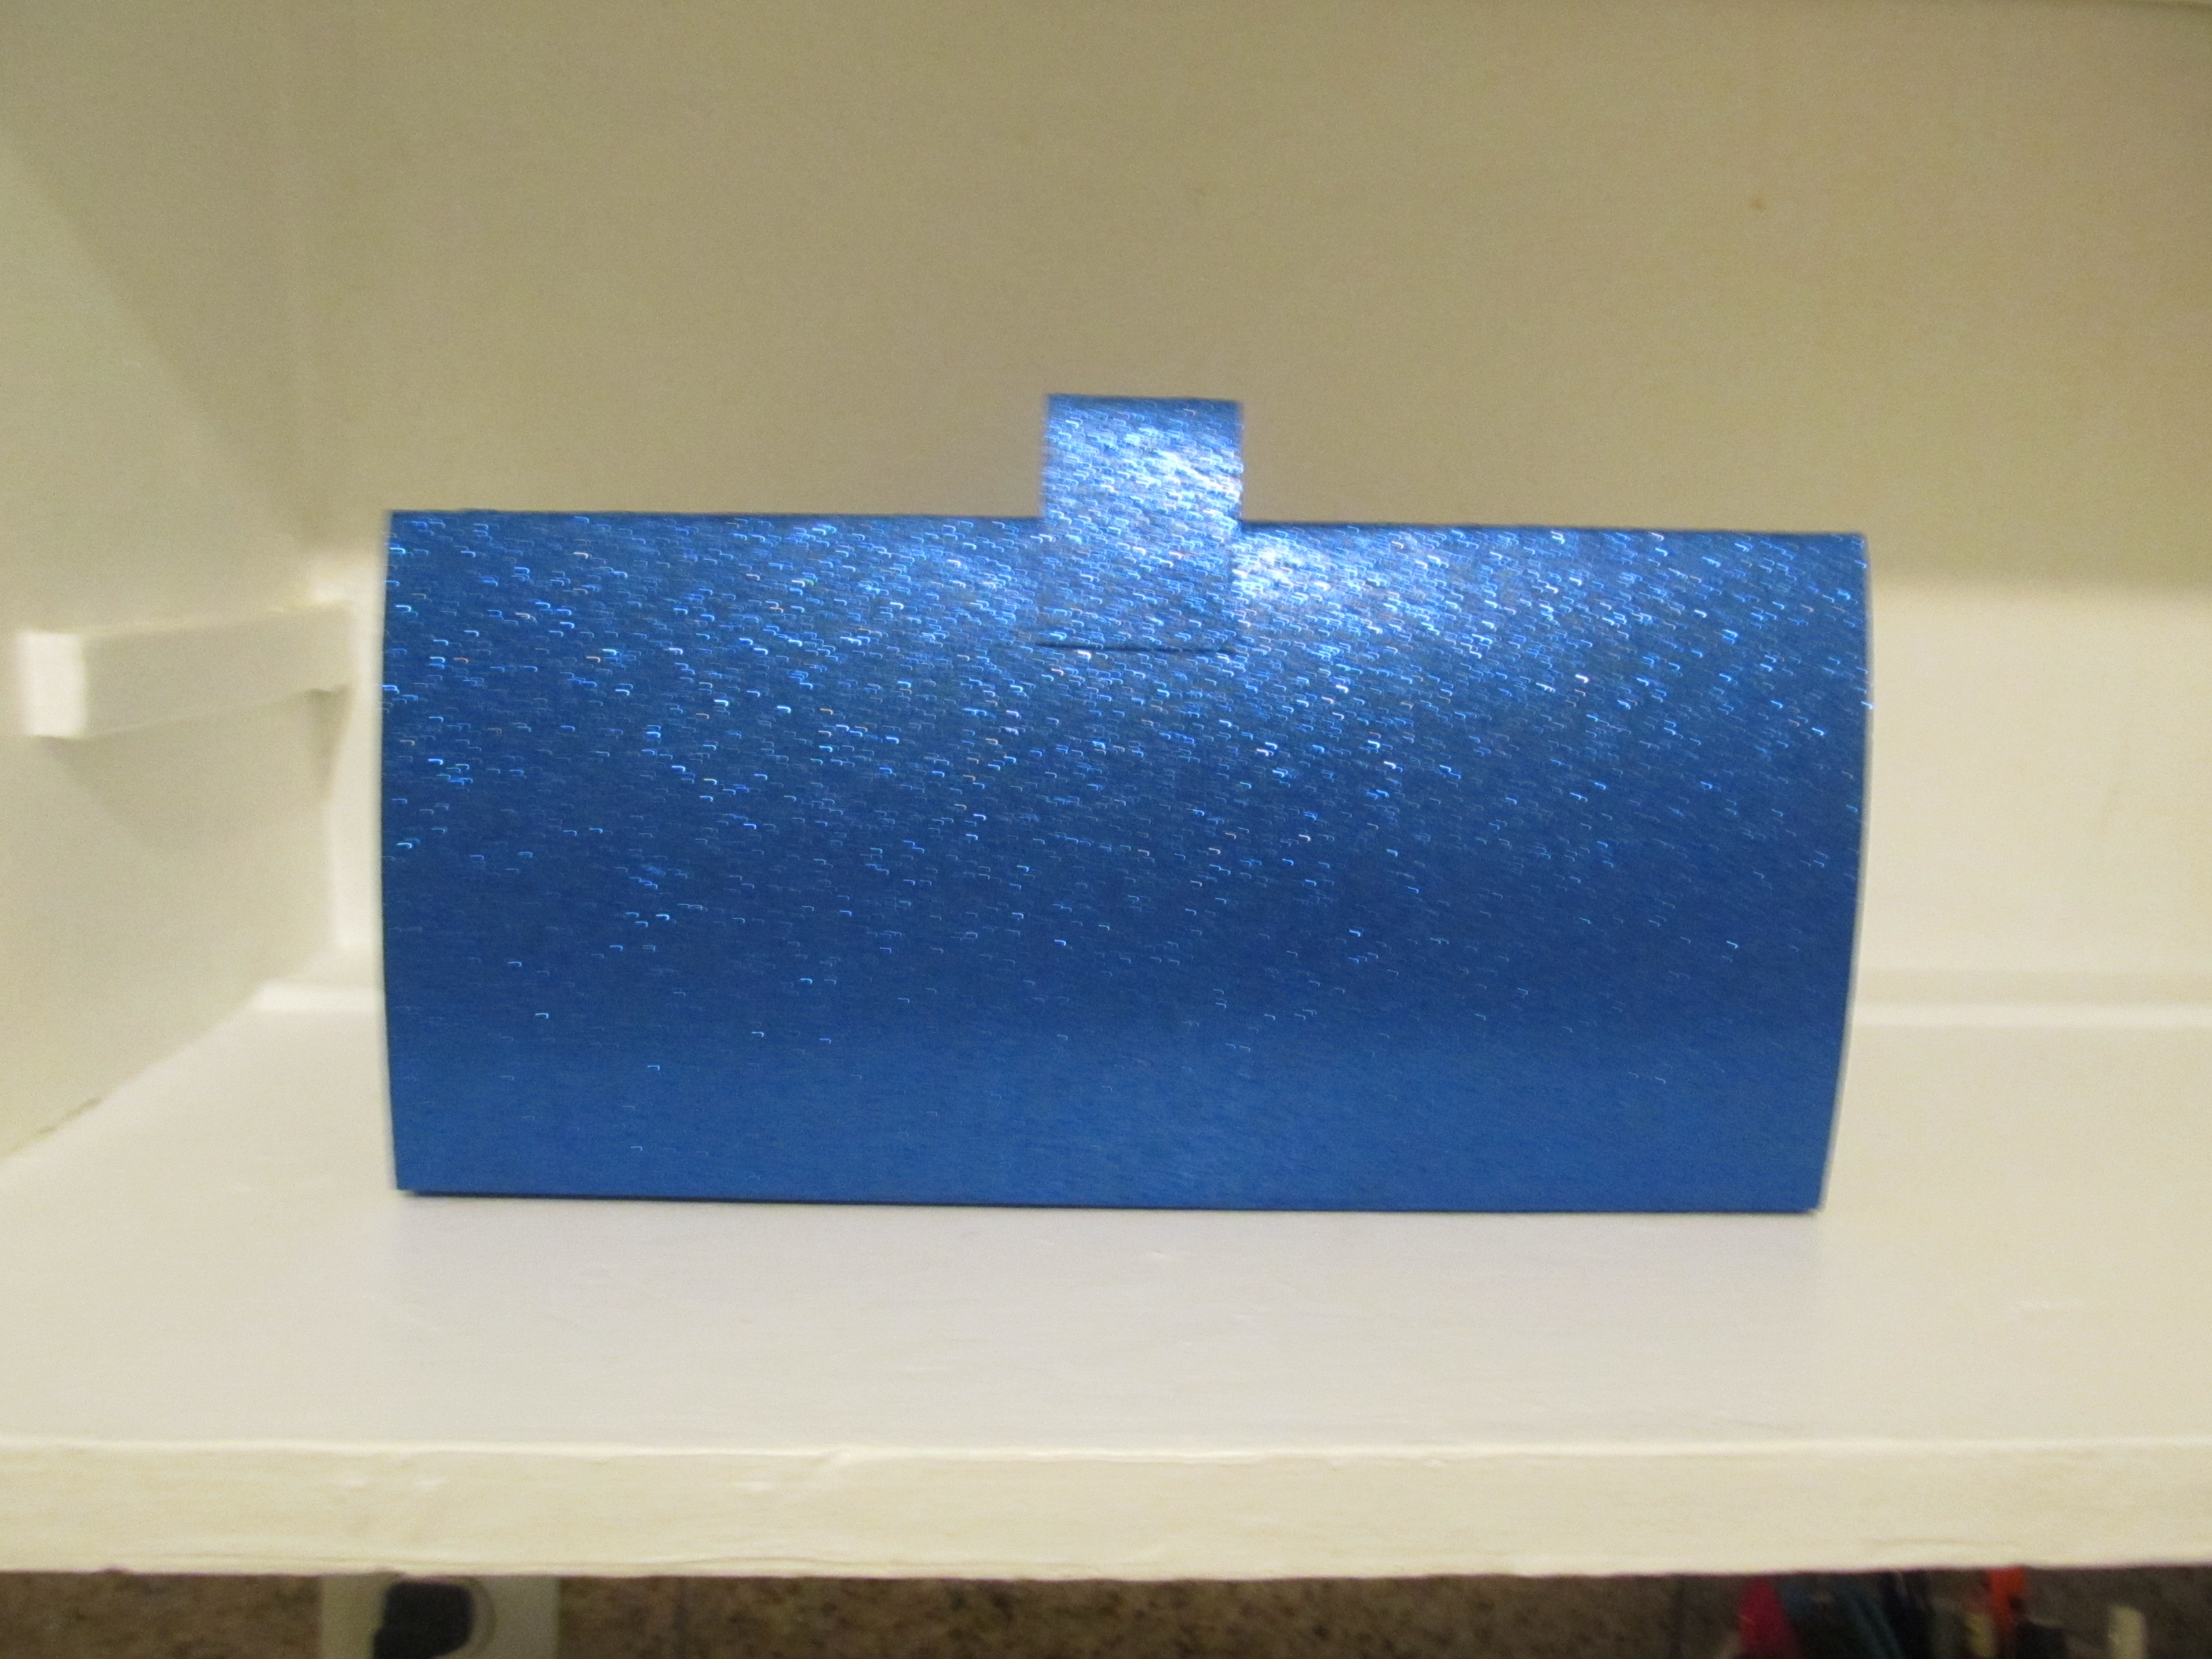
To create the menorah itself, take a piece of craft paper (we used blue, glittery paper from the craft store) and fold in half.
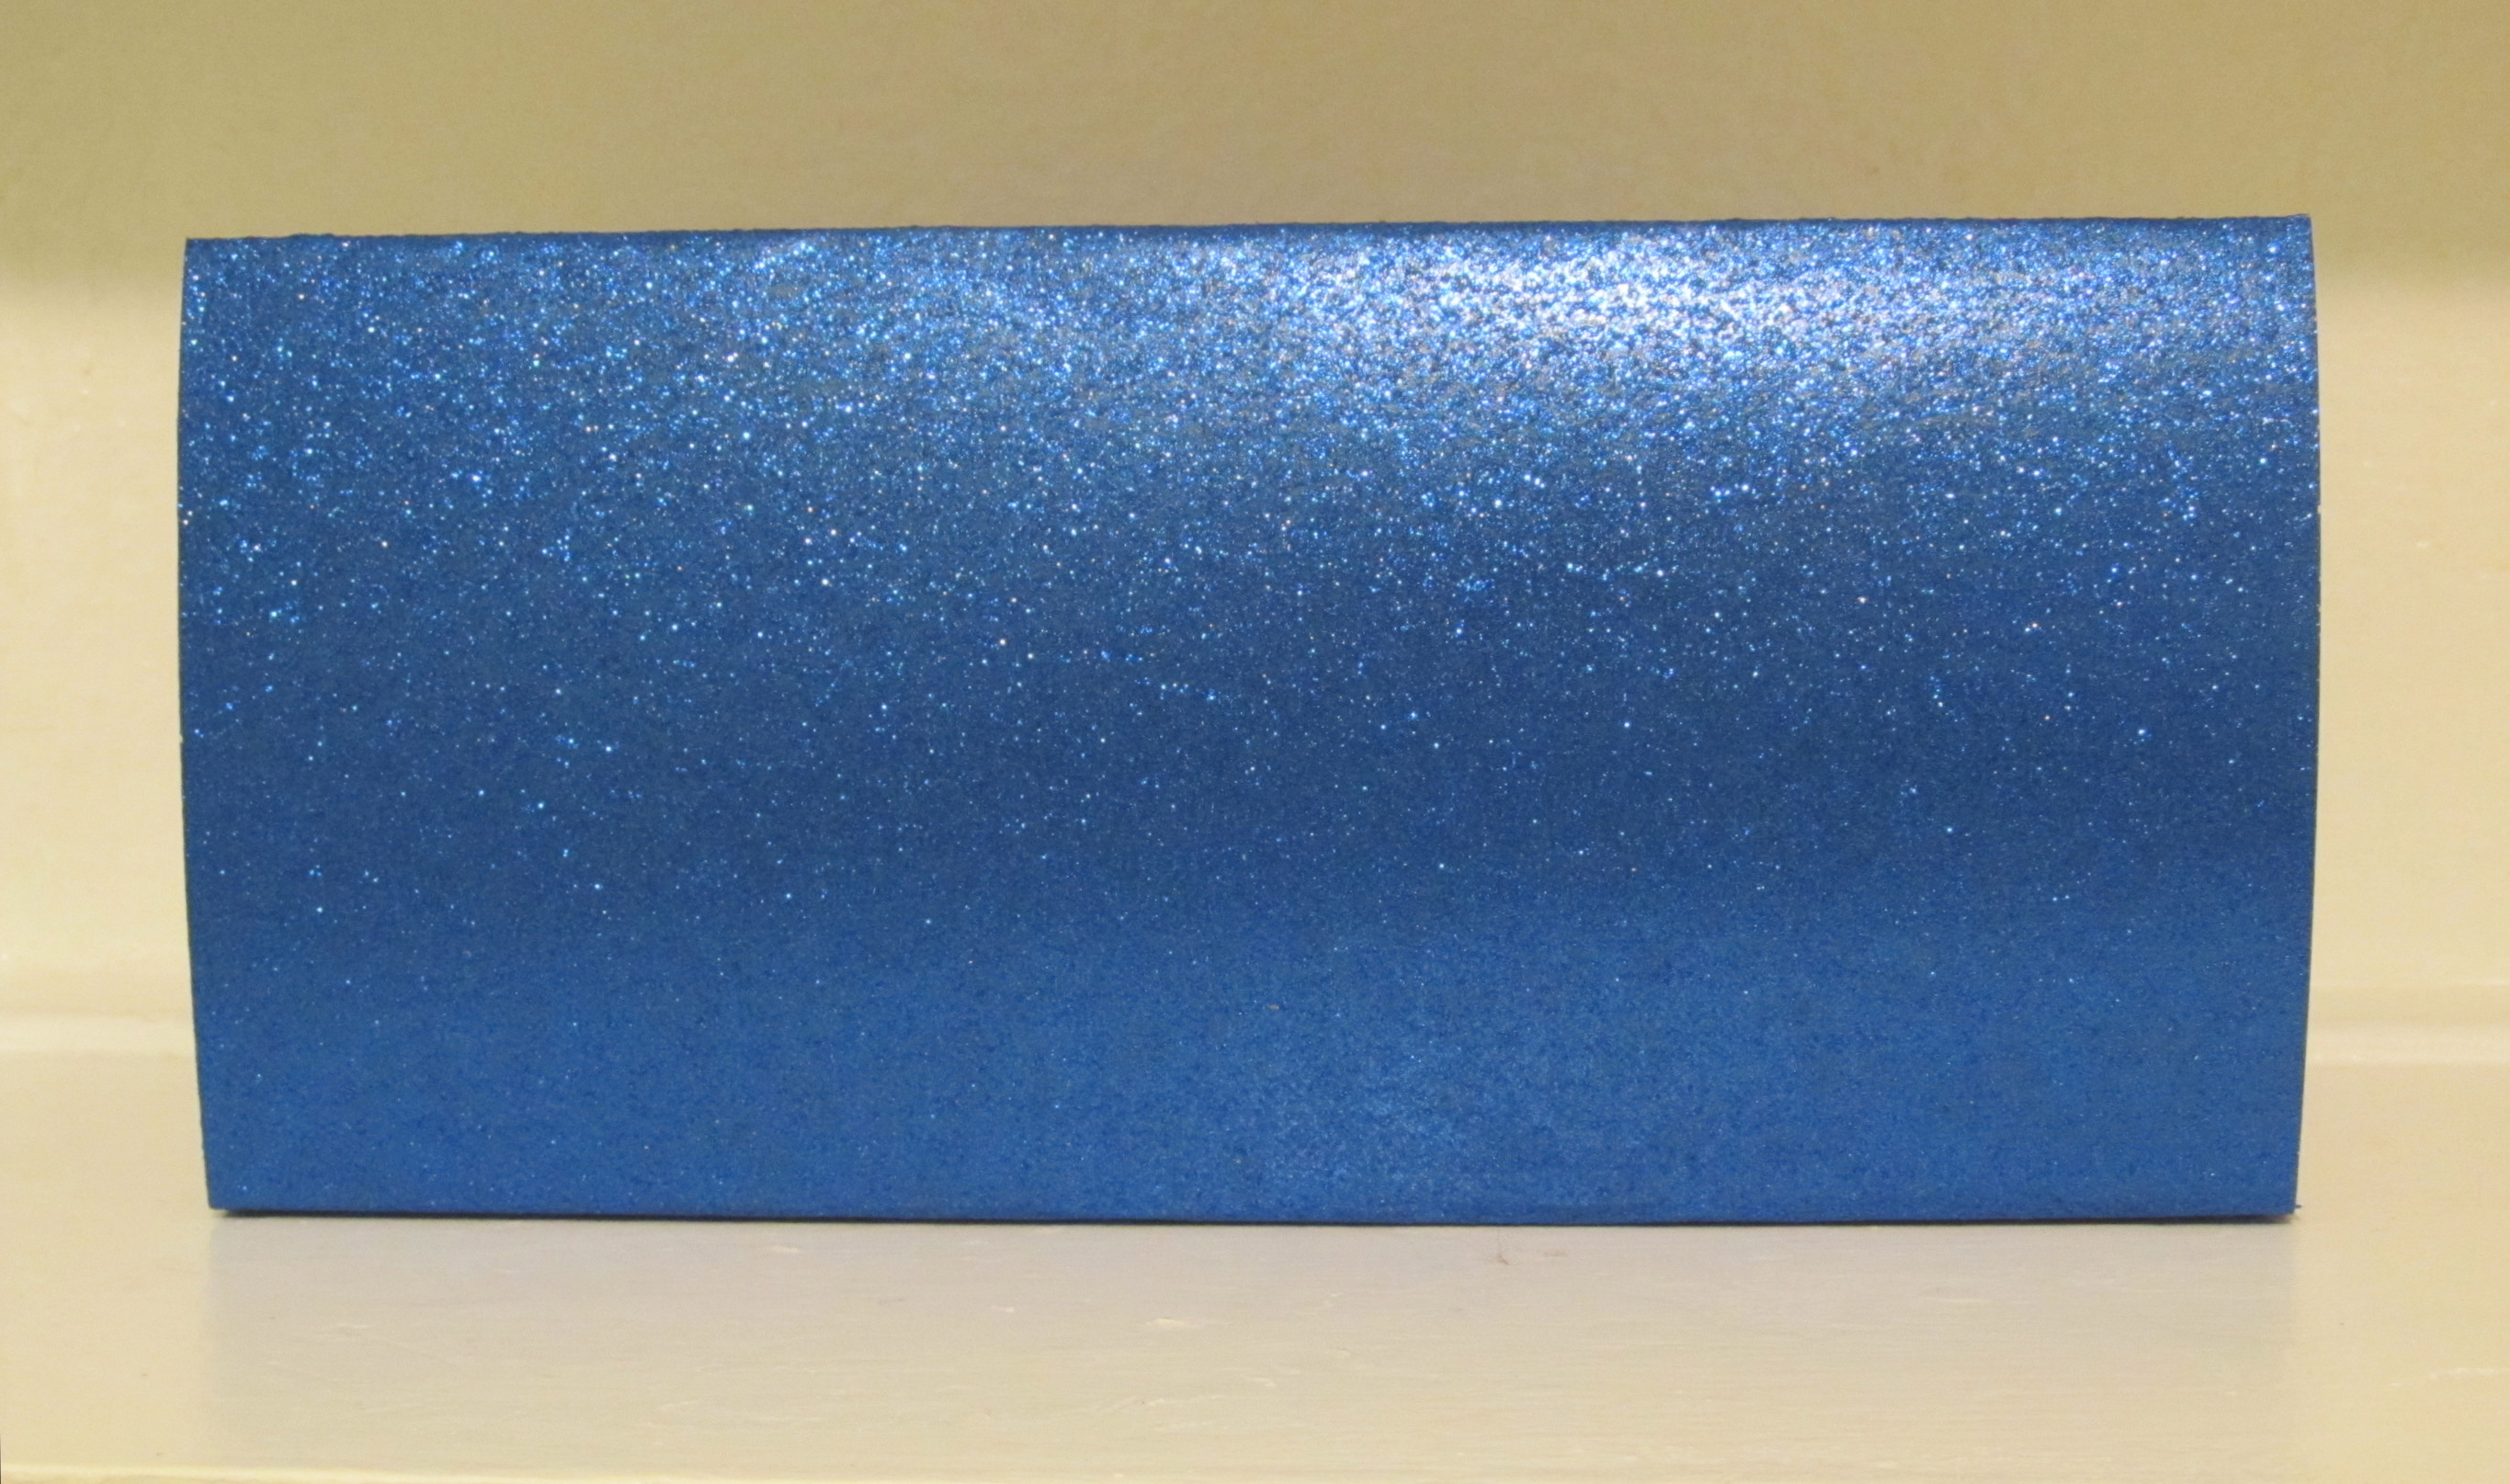
Step 6
Create two, smaller, equal sized folds at the bottom of the folded paper and glue the folds together. This creates a flat bottom so the paper can stand on its own.
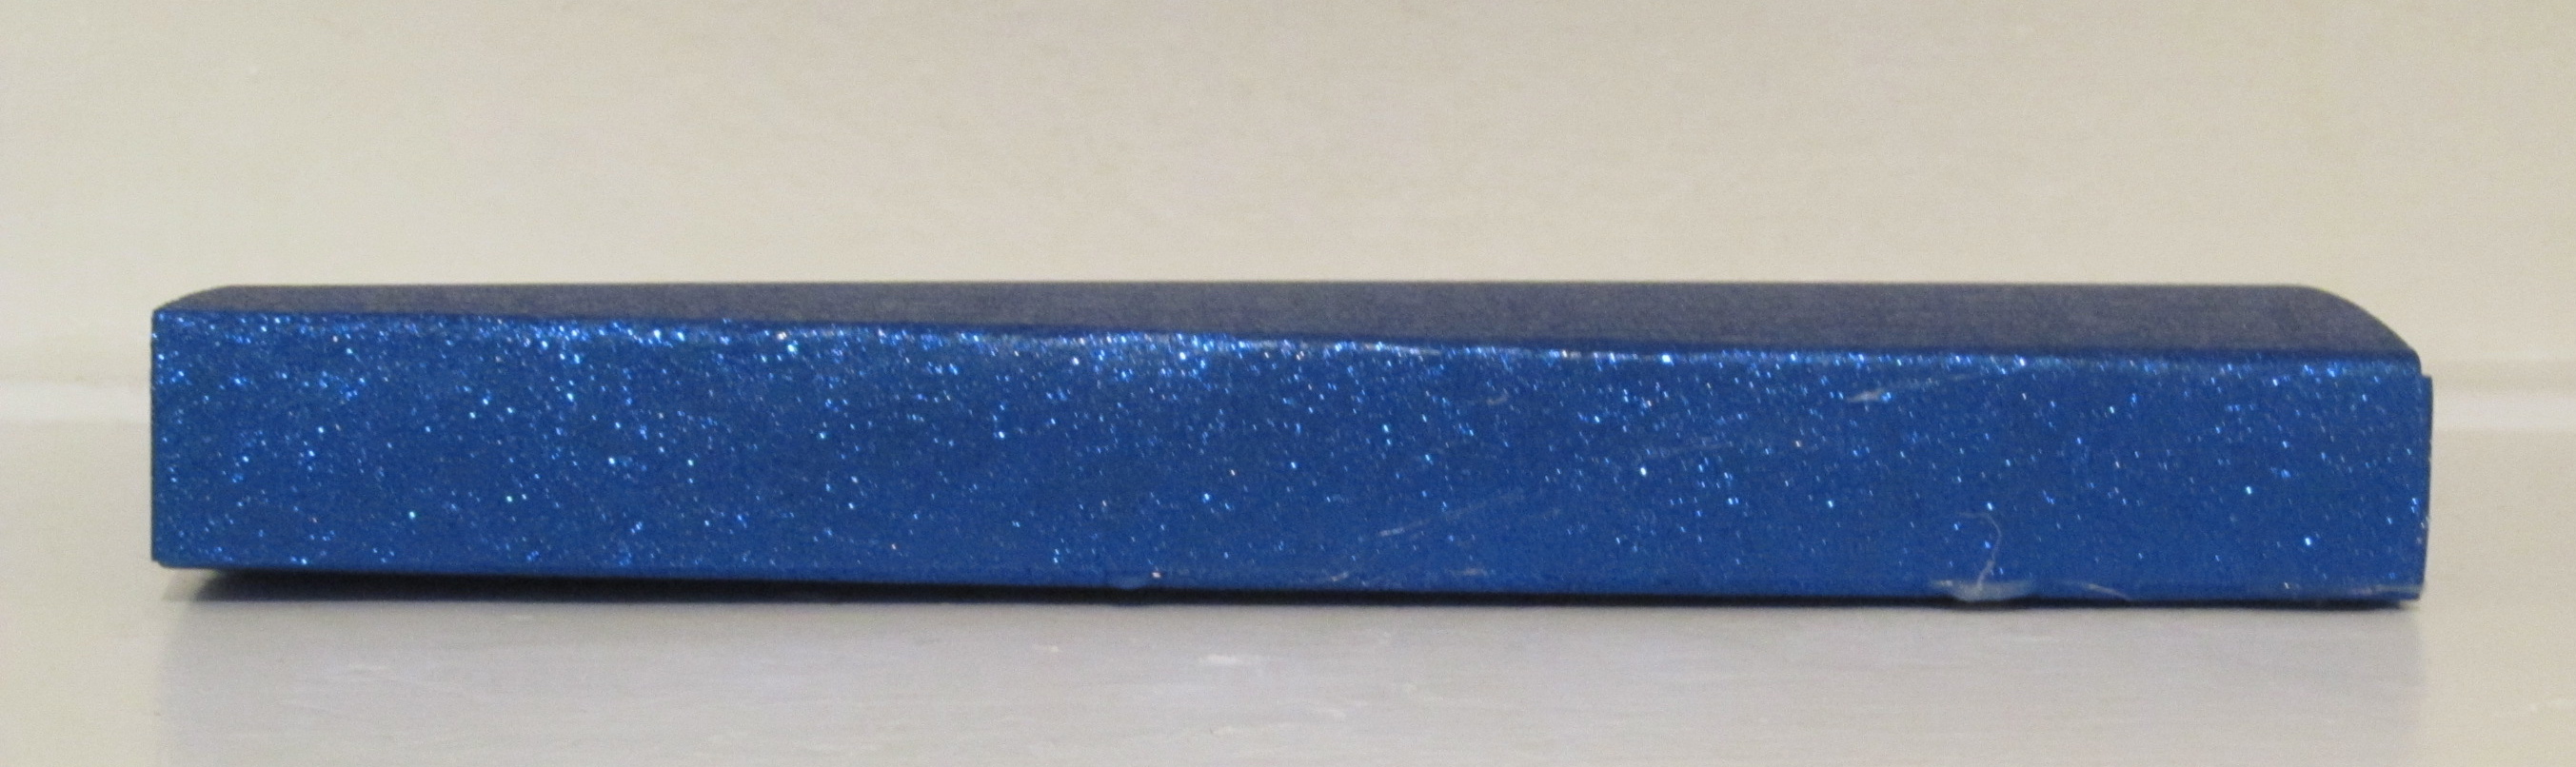
Step 7
Cut a smaller piece of the same paper and fold it in half.
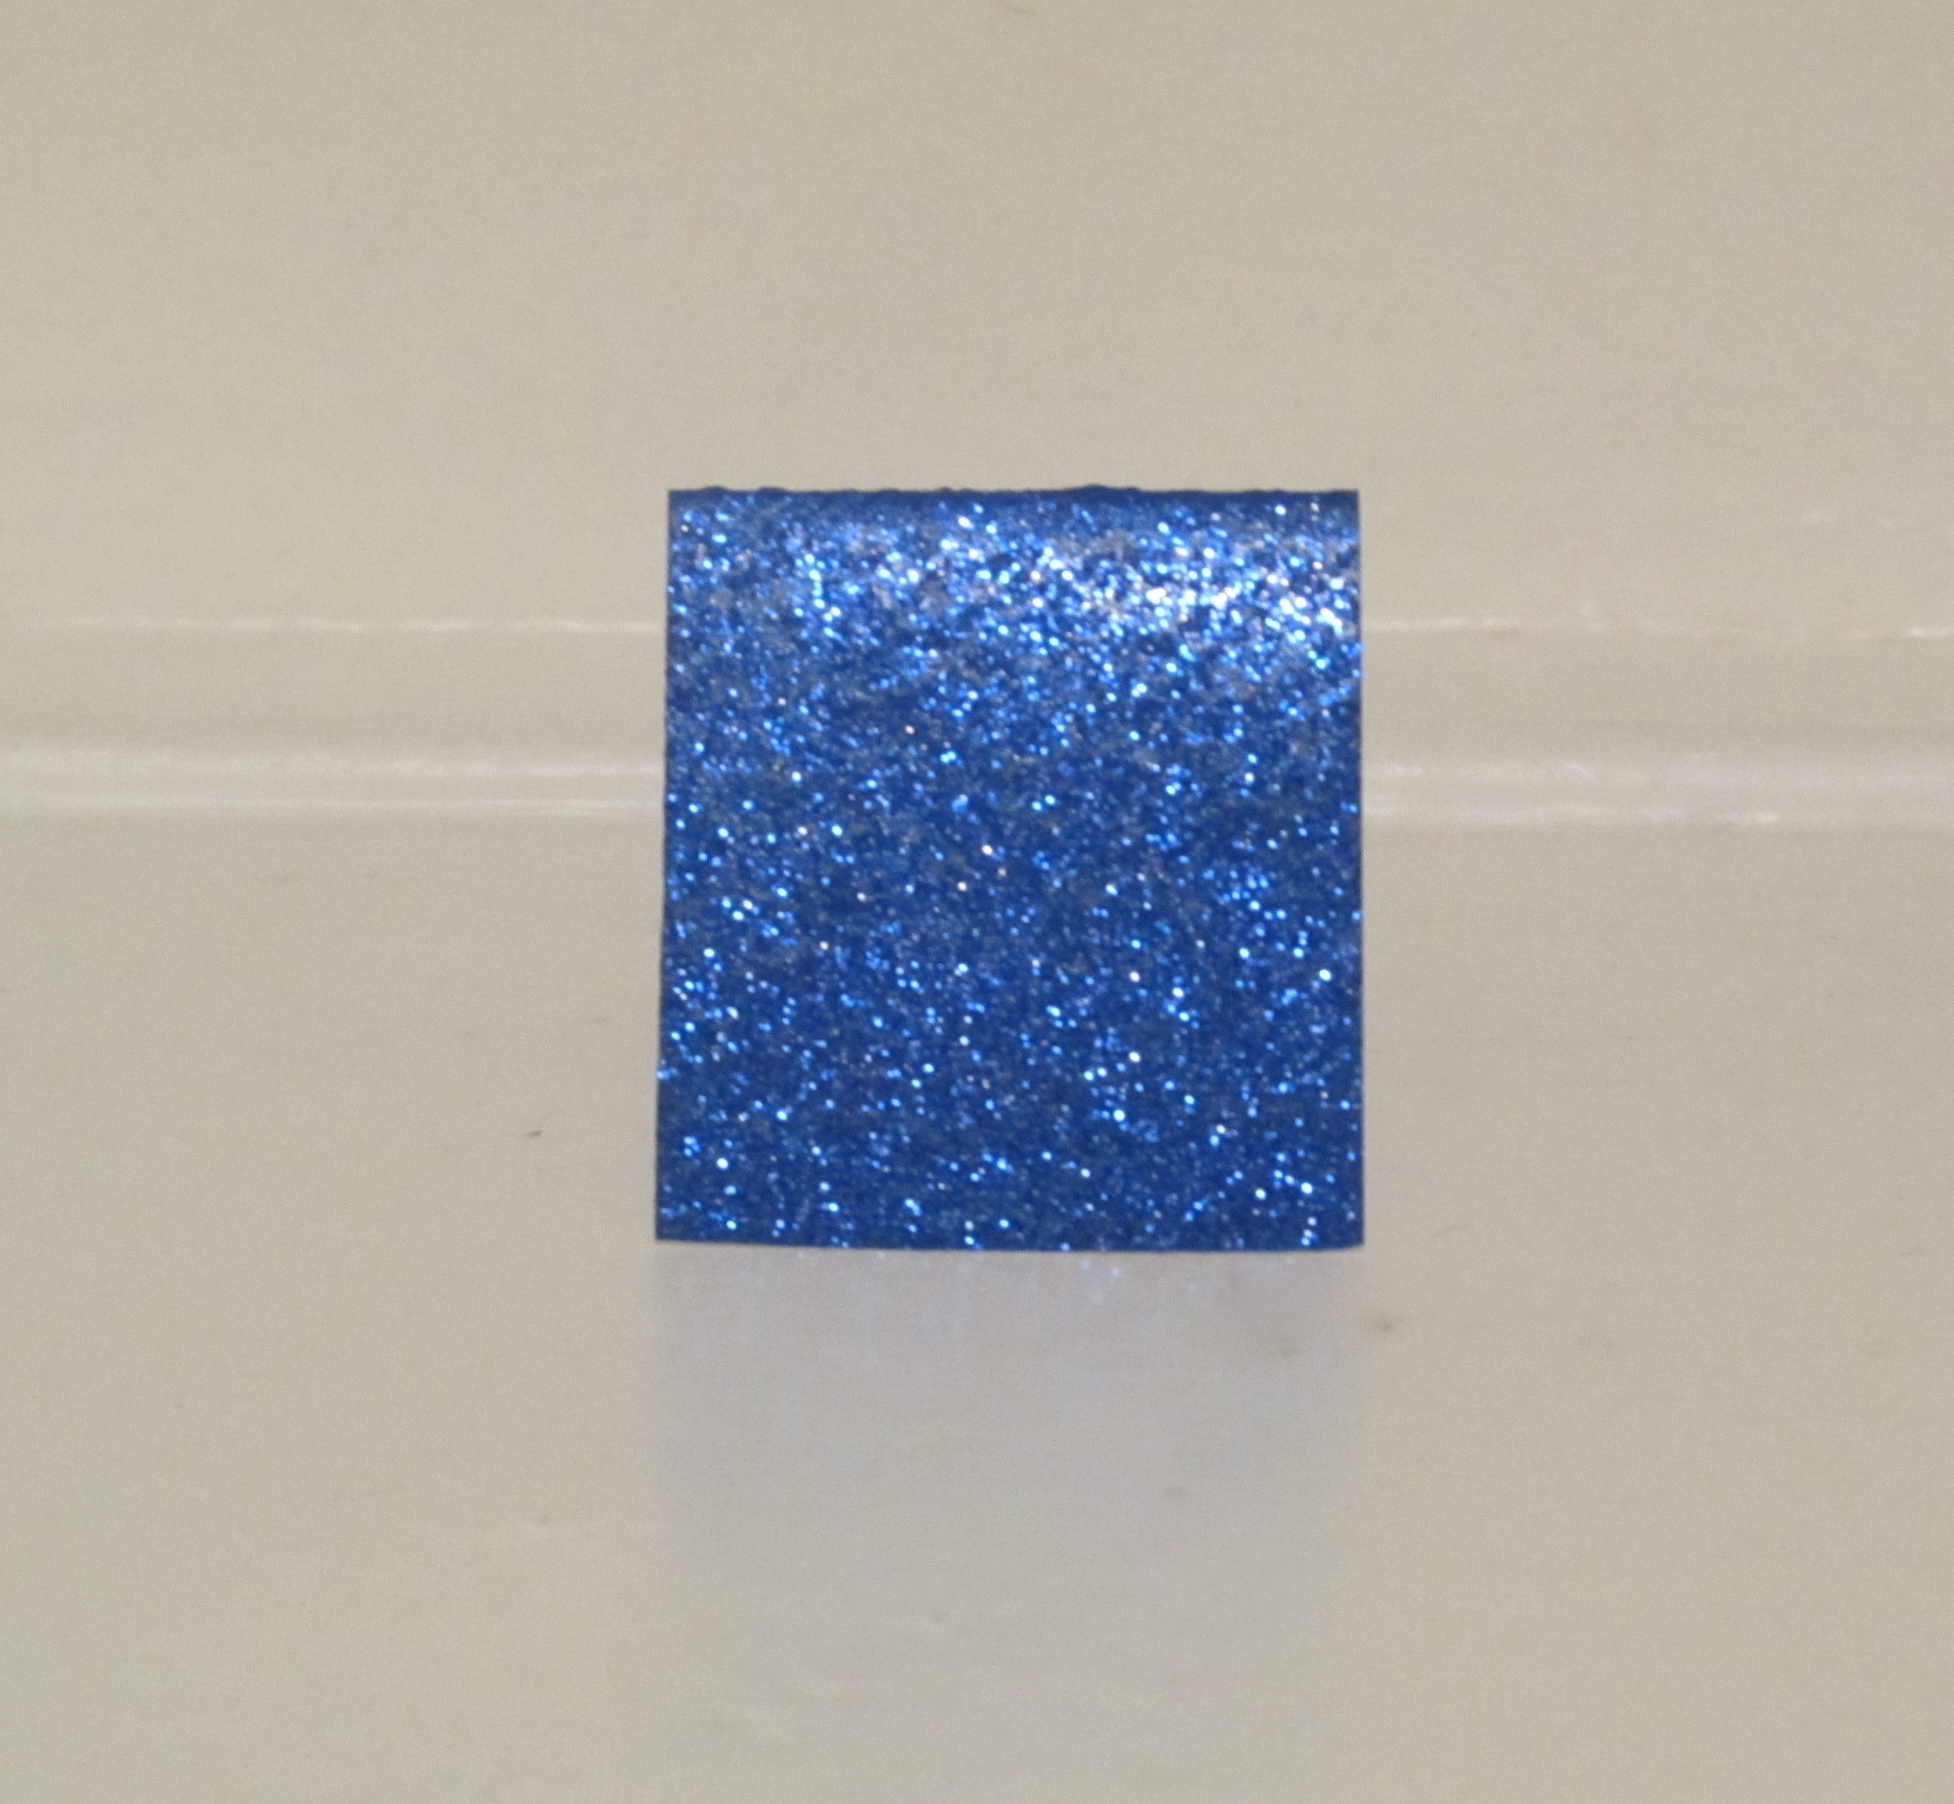
Step 8
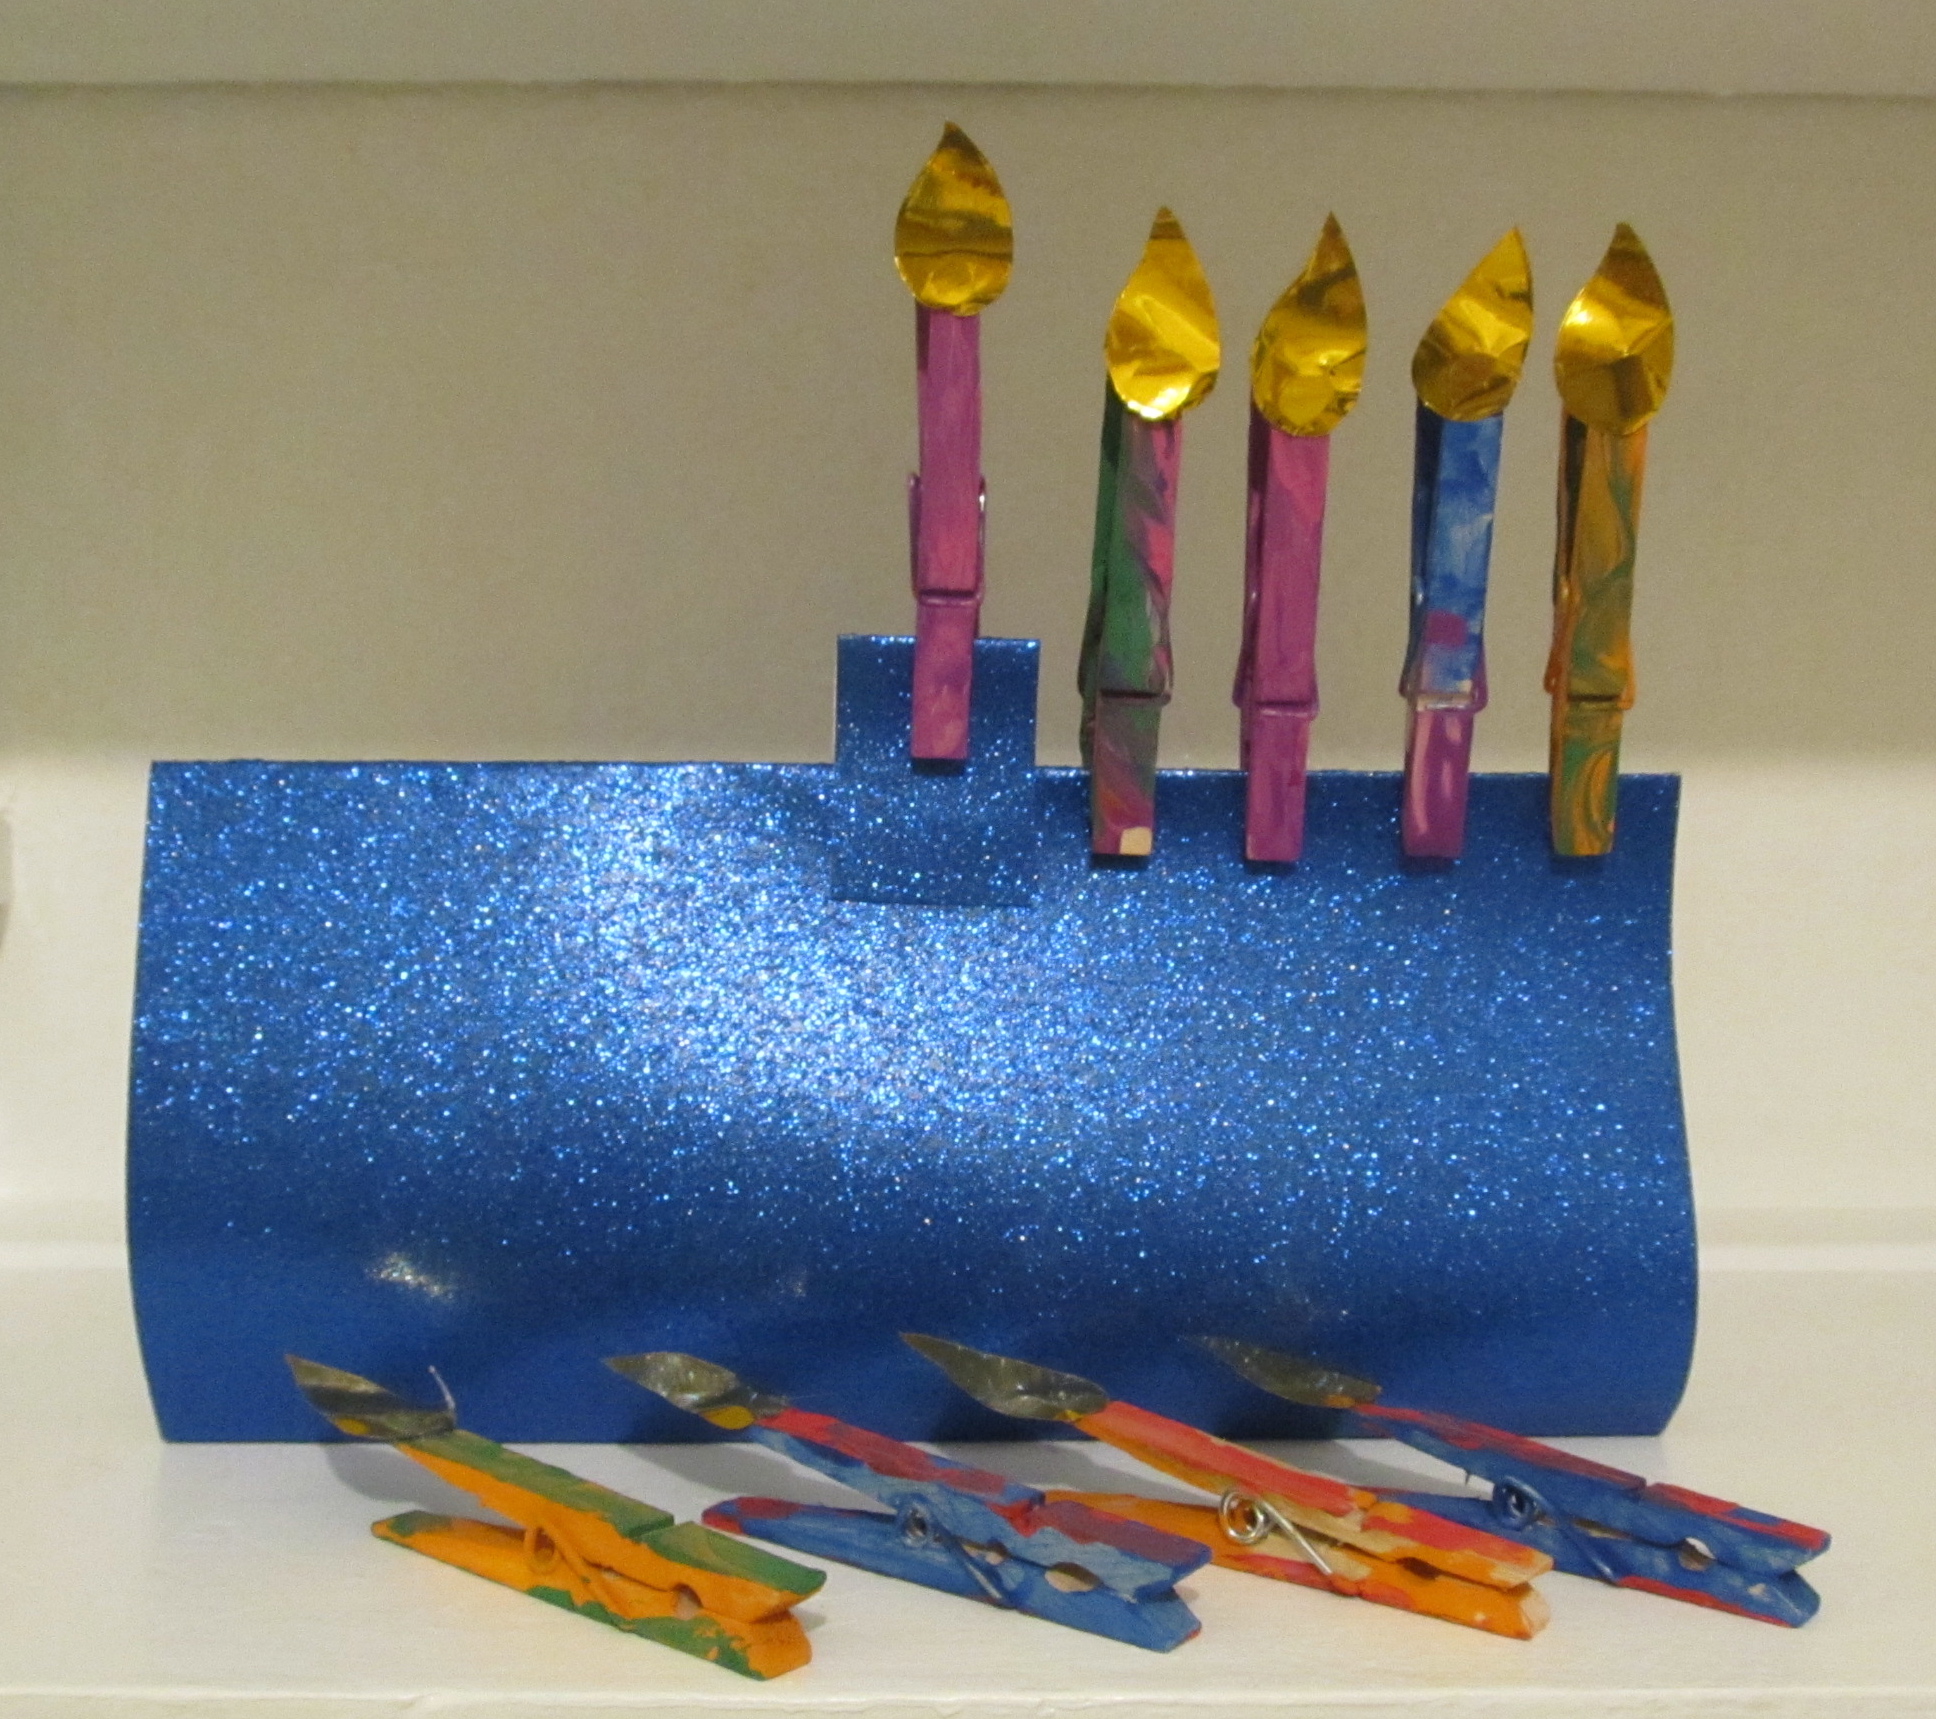
Hot-glue the smaller folded piece of paper to the larger piece. This now forms the menorah. The piece in the middle is for the shamash candle or the helper candle, which should always be higher than the other candles on the menorah.
Step 9
Clip the clothespin candles to the paper to complete the menorah.
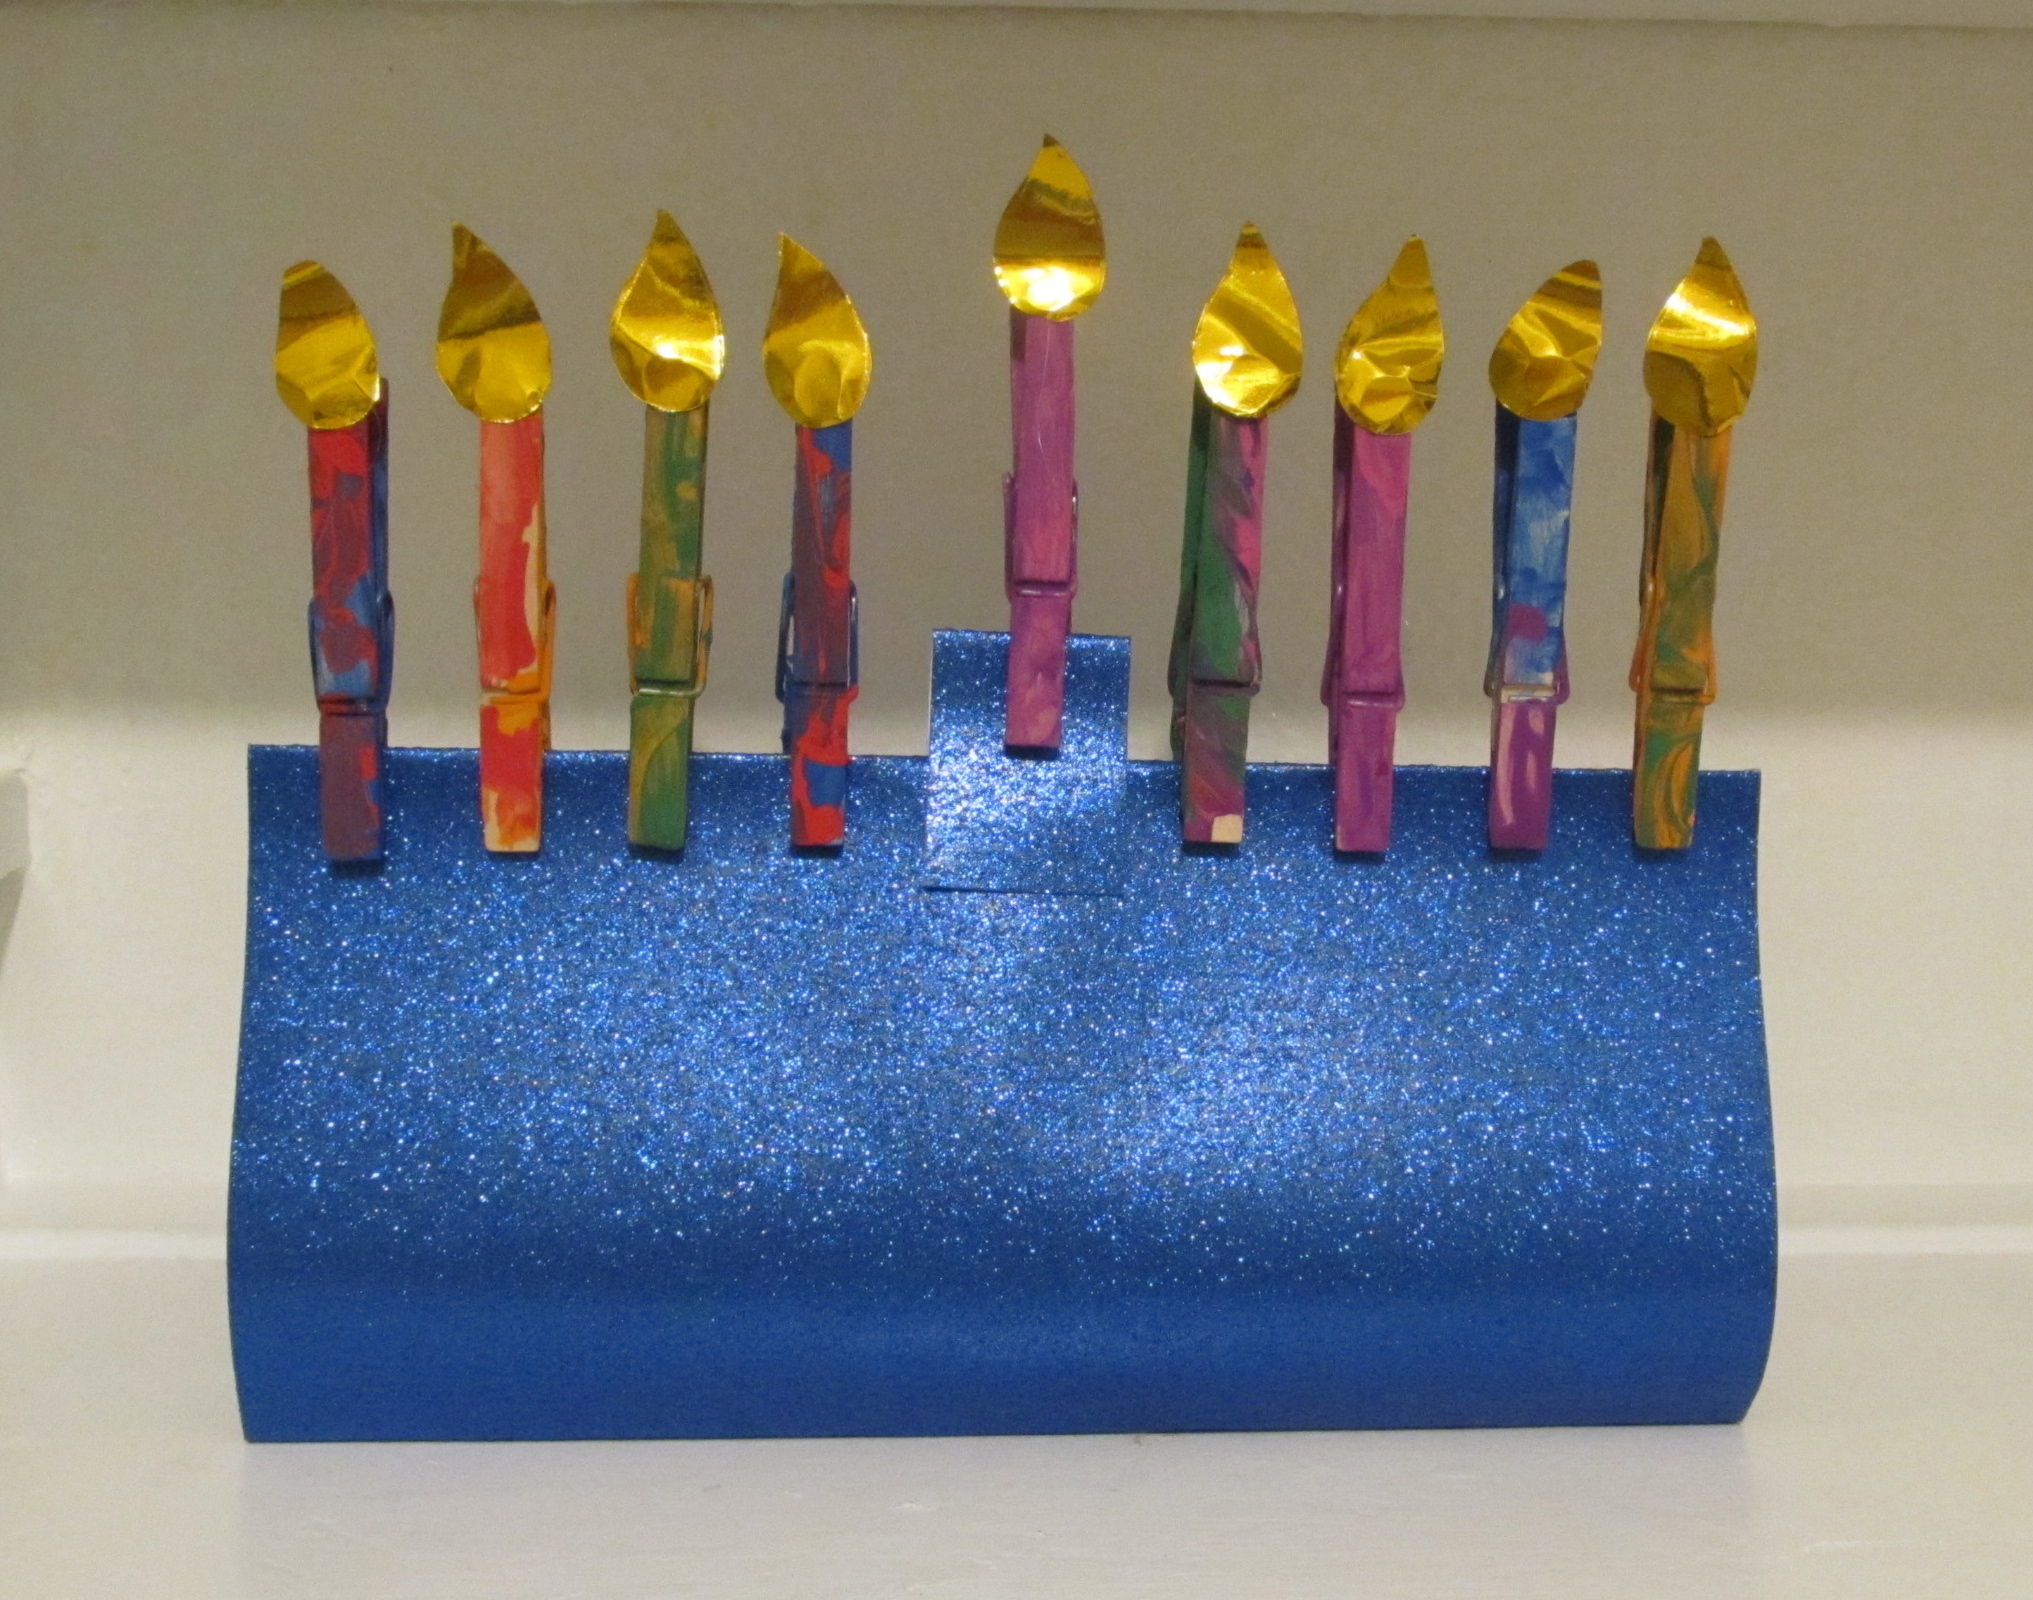
Done!
Now that the menorah is done, you can "light" the the candles each night of Hanukkah by clipping on the appropriate number of clips.