Step-by-step tutorial
Step 1
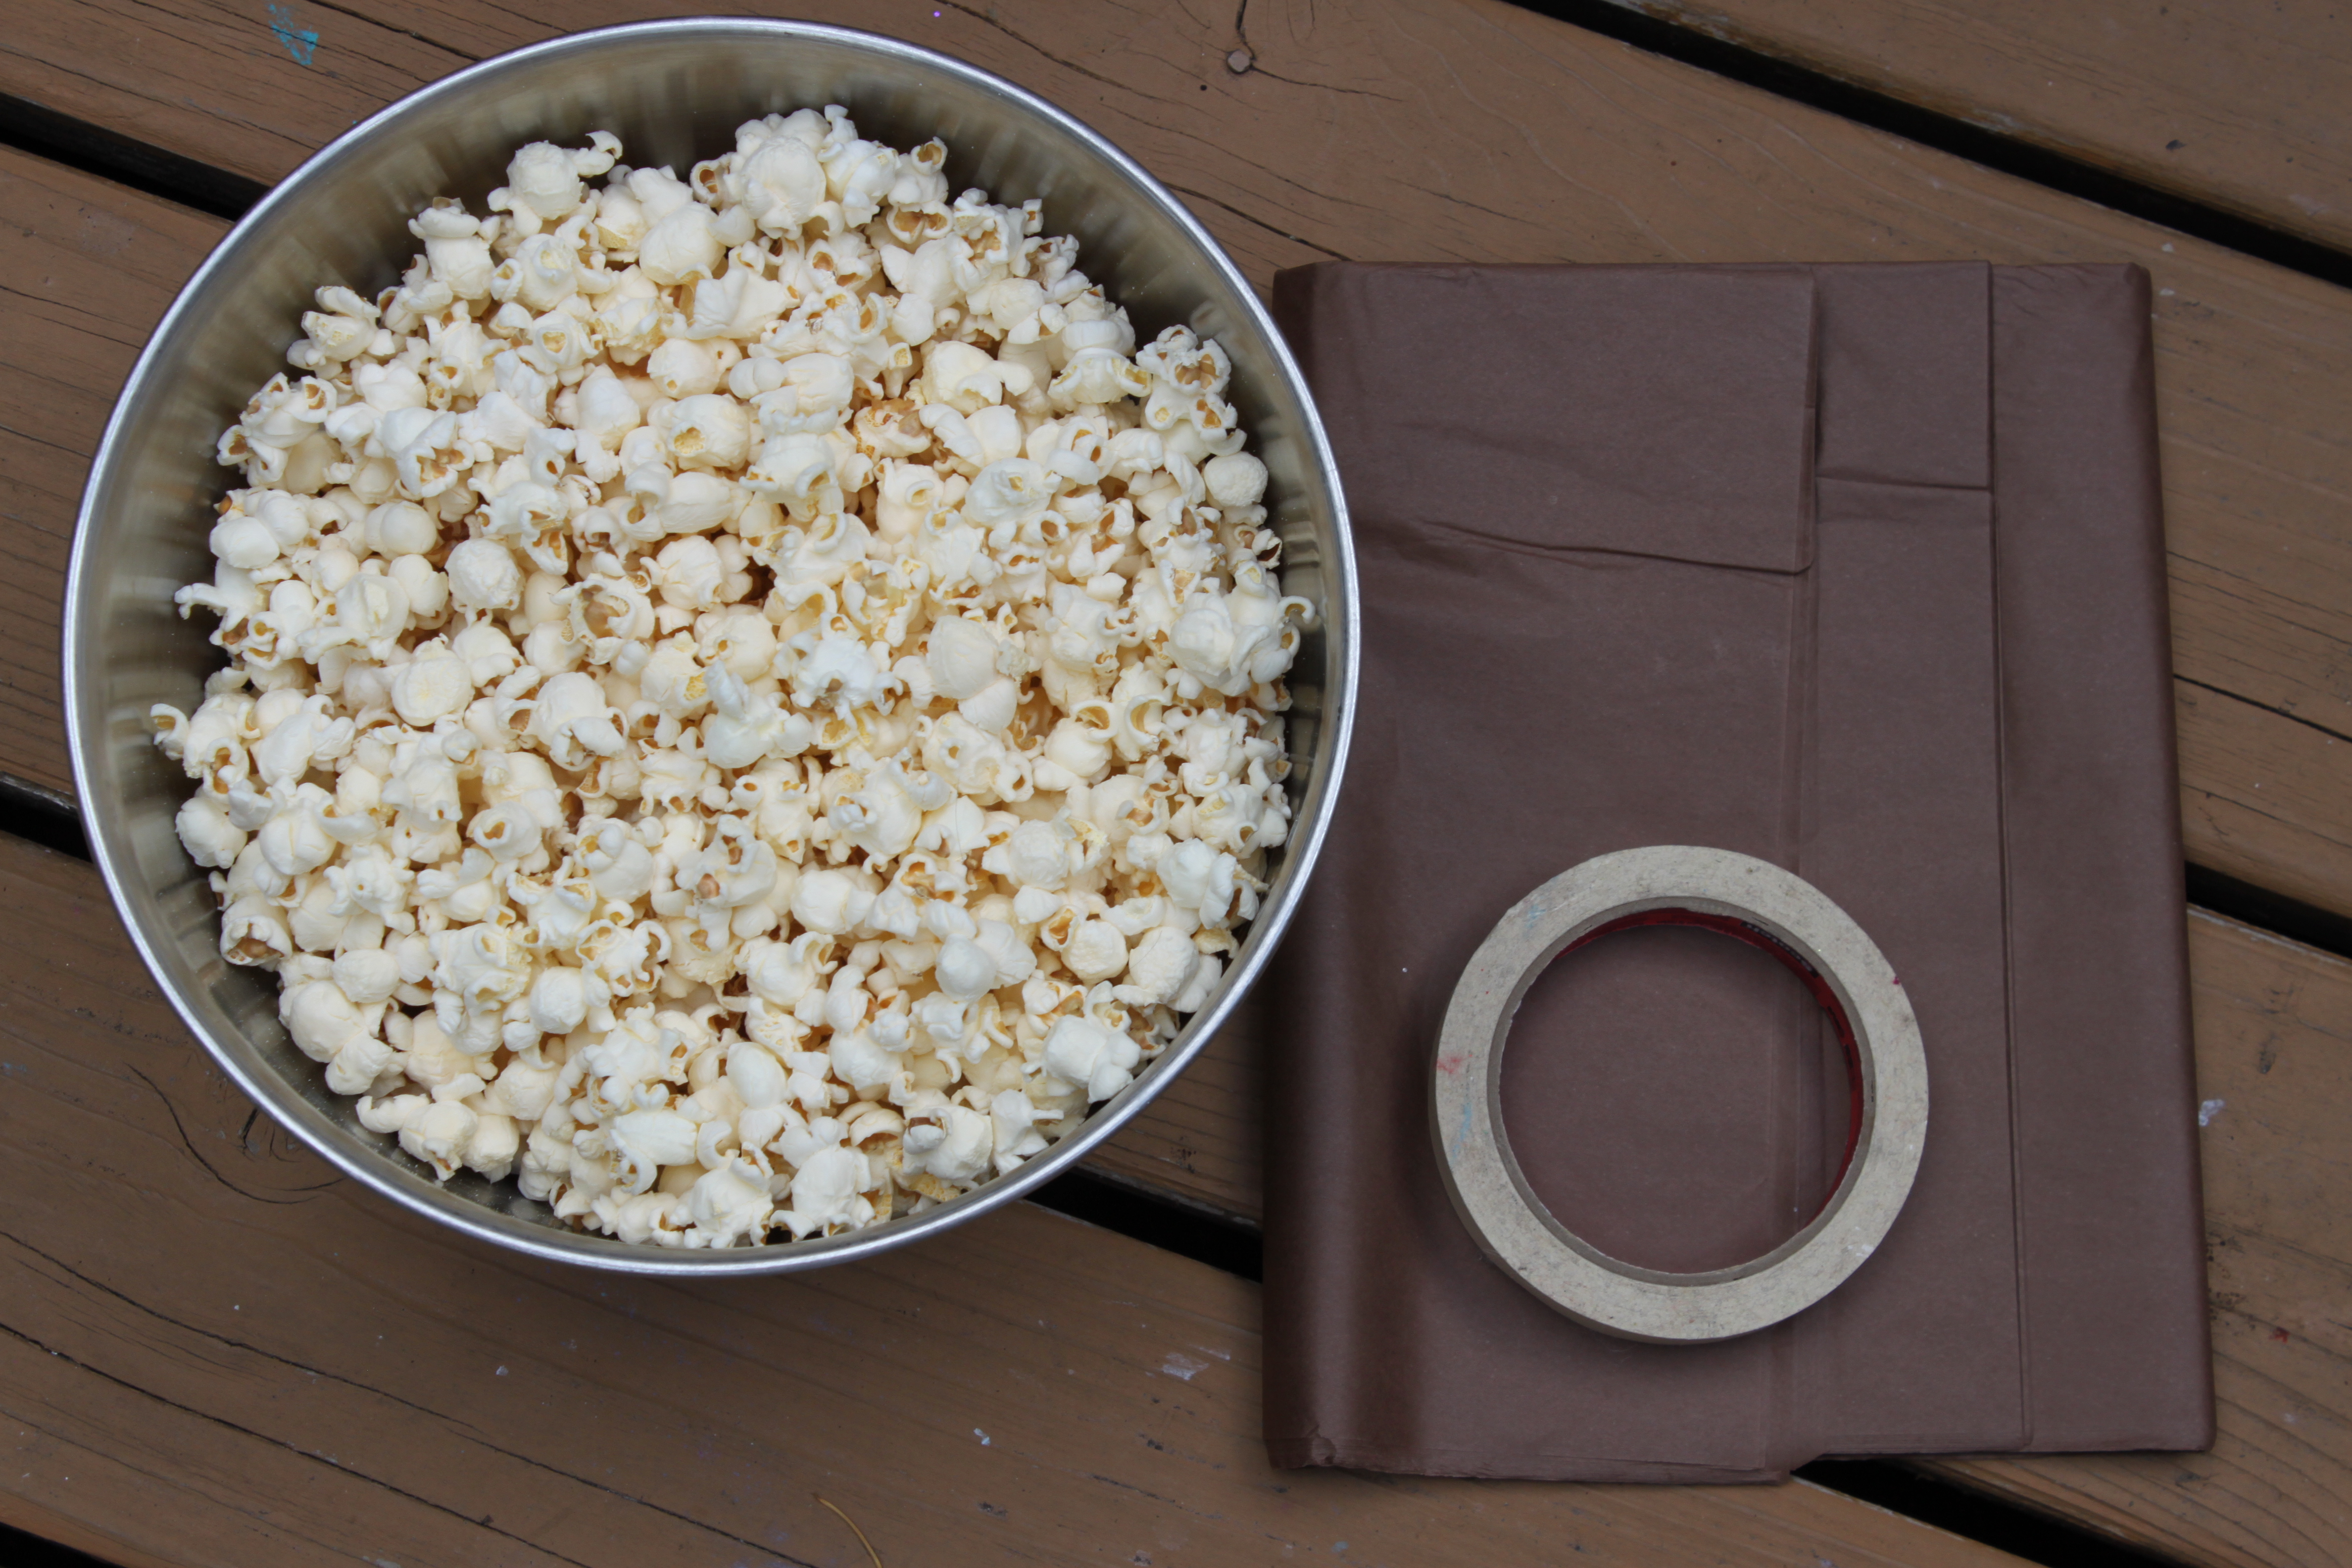
Air-popped popcorn is a must for this project--otherwise, the tissue paper gets very greasy and not so pretty.

Step 2
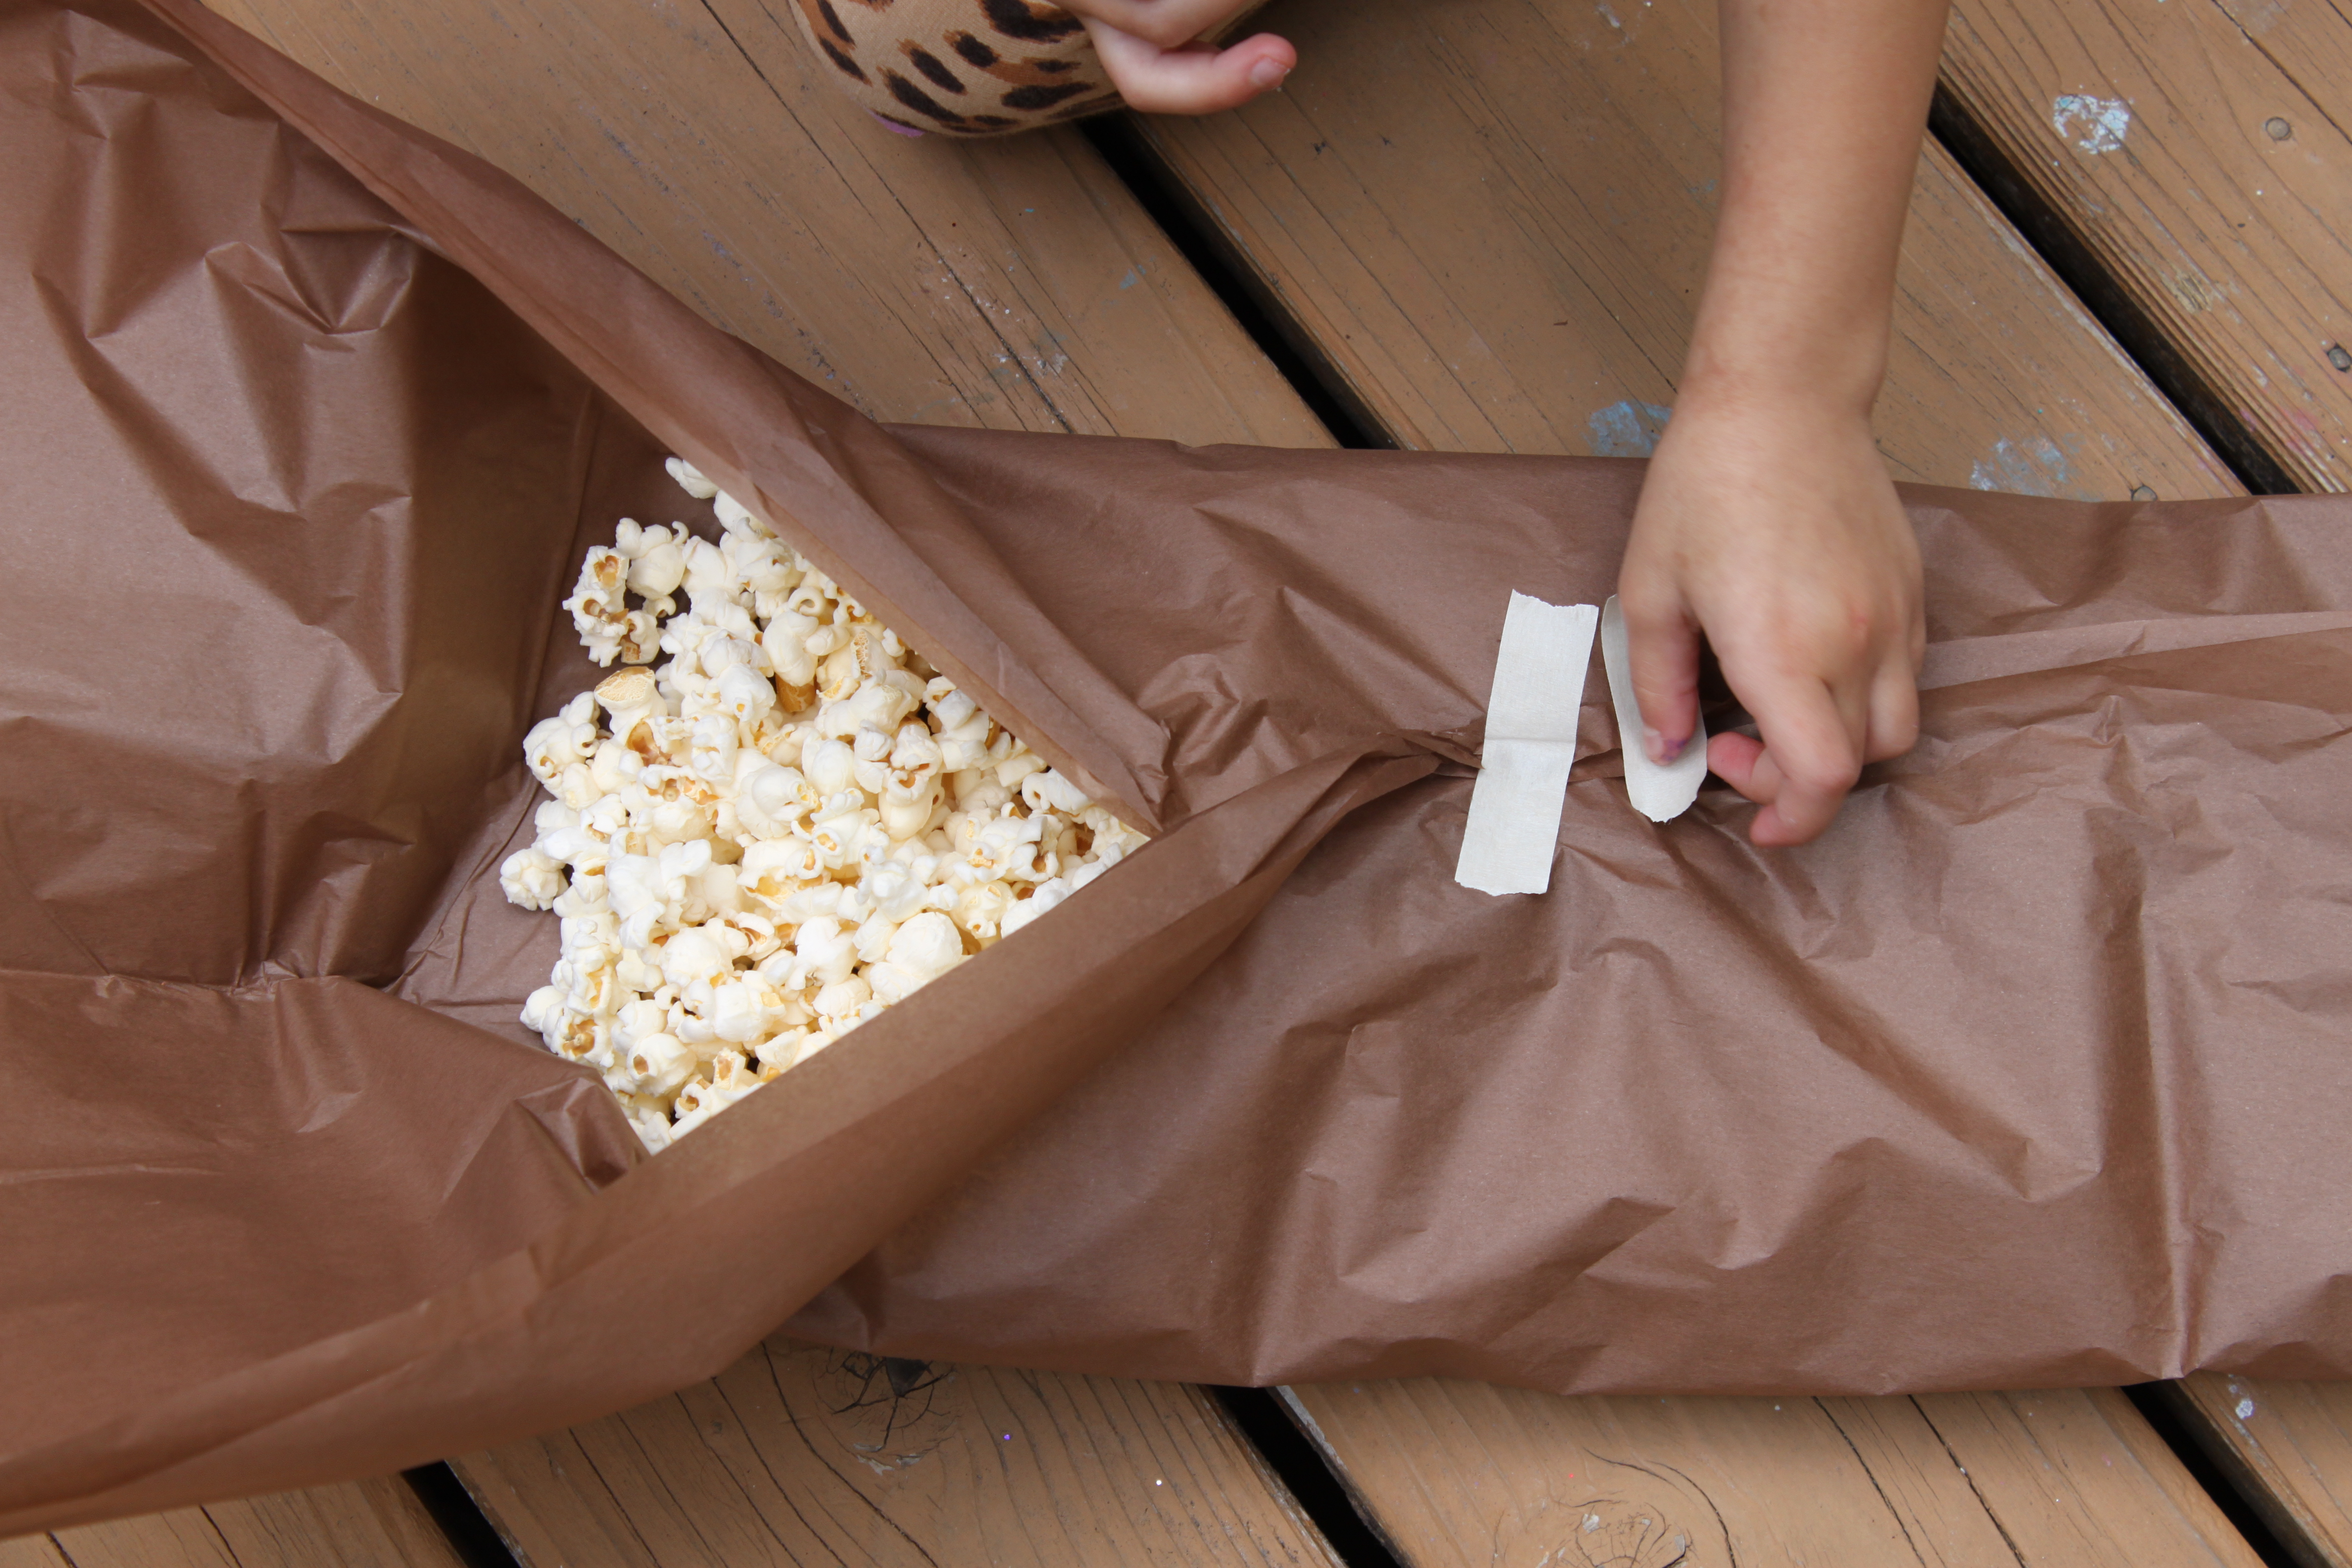
Lay two sheets of the tissue paper down on a flat surface and put most of the popcorn in the center, about 6-7 cups. My children enjoy doing this with little scoops.
Step 3
Next, fold the sides and ends in to make a rectangle shape for the body. I held the folds while the kids placed the tape.
Step 4
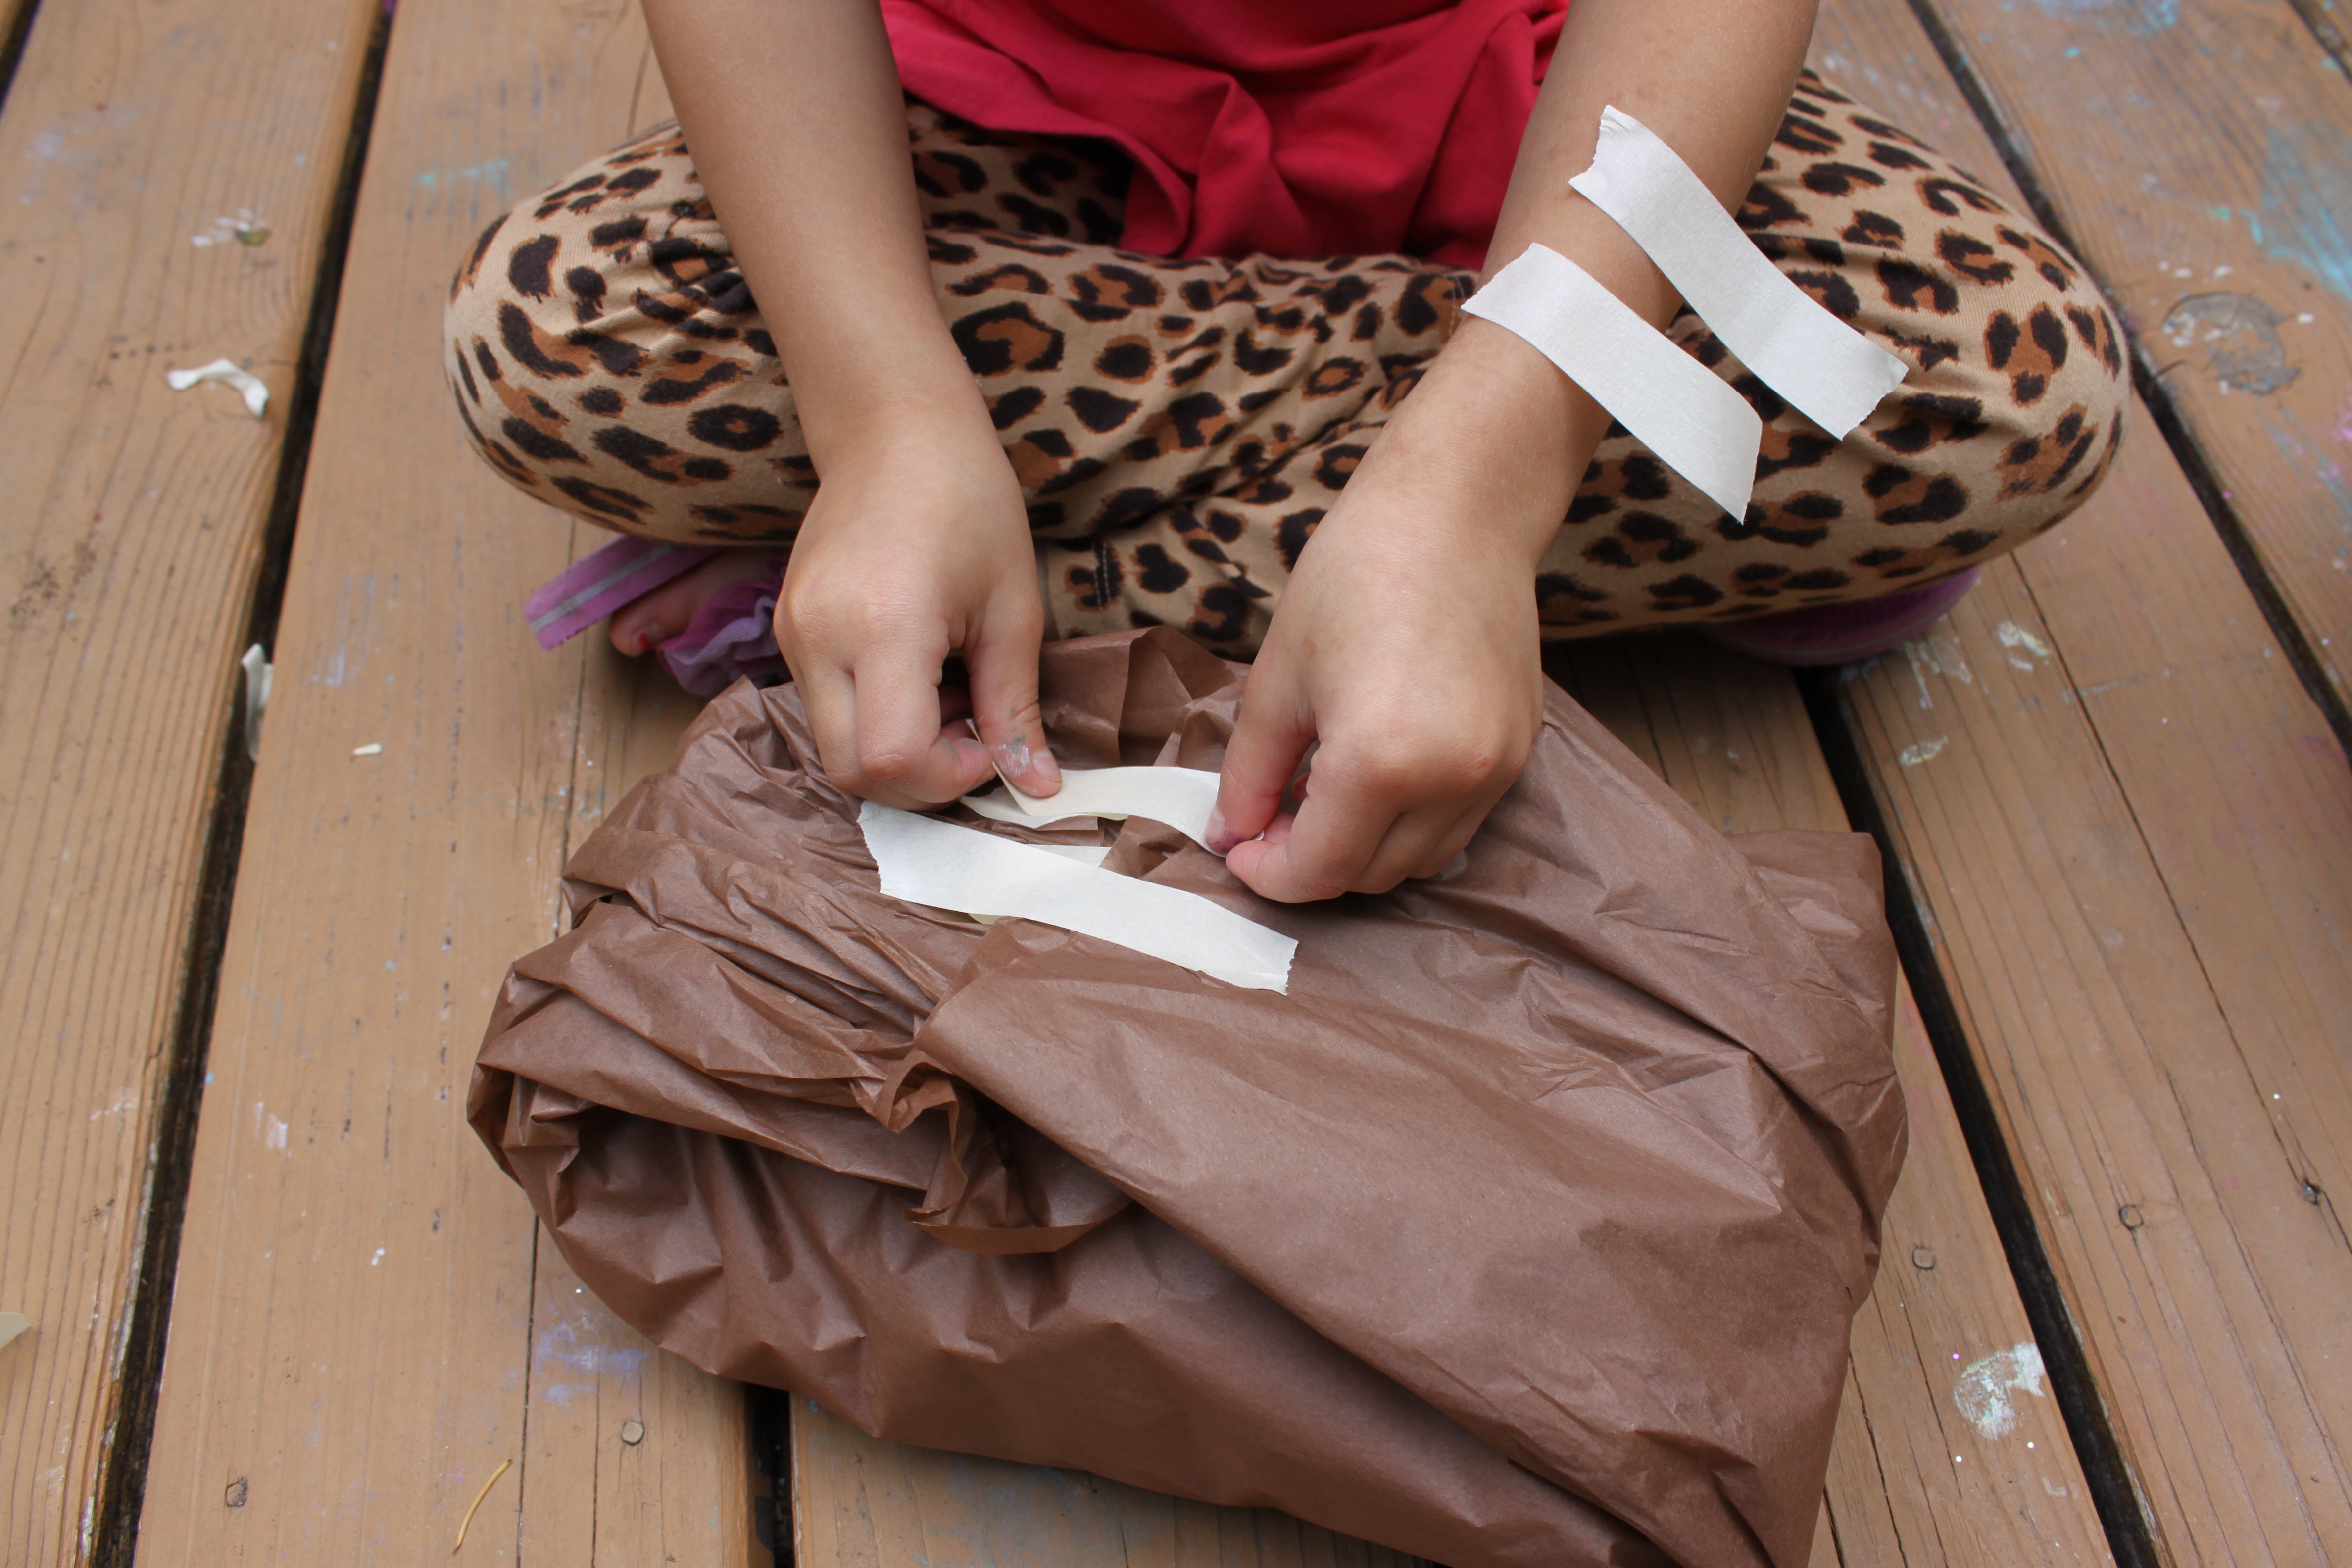
A little tip I have for tape use with little ones: place pre-cut tape pieces along their arm before they start taping. This alleviates a lot of tape-tearing frustration for them.
Step 5
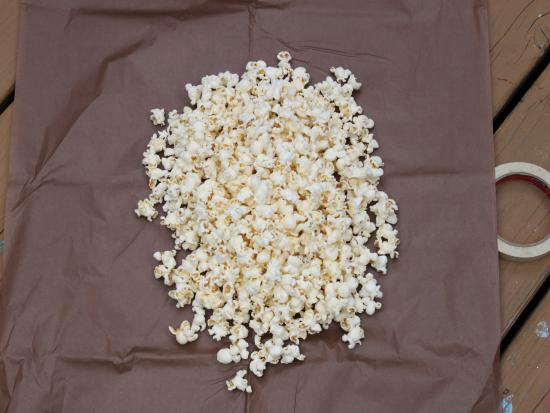
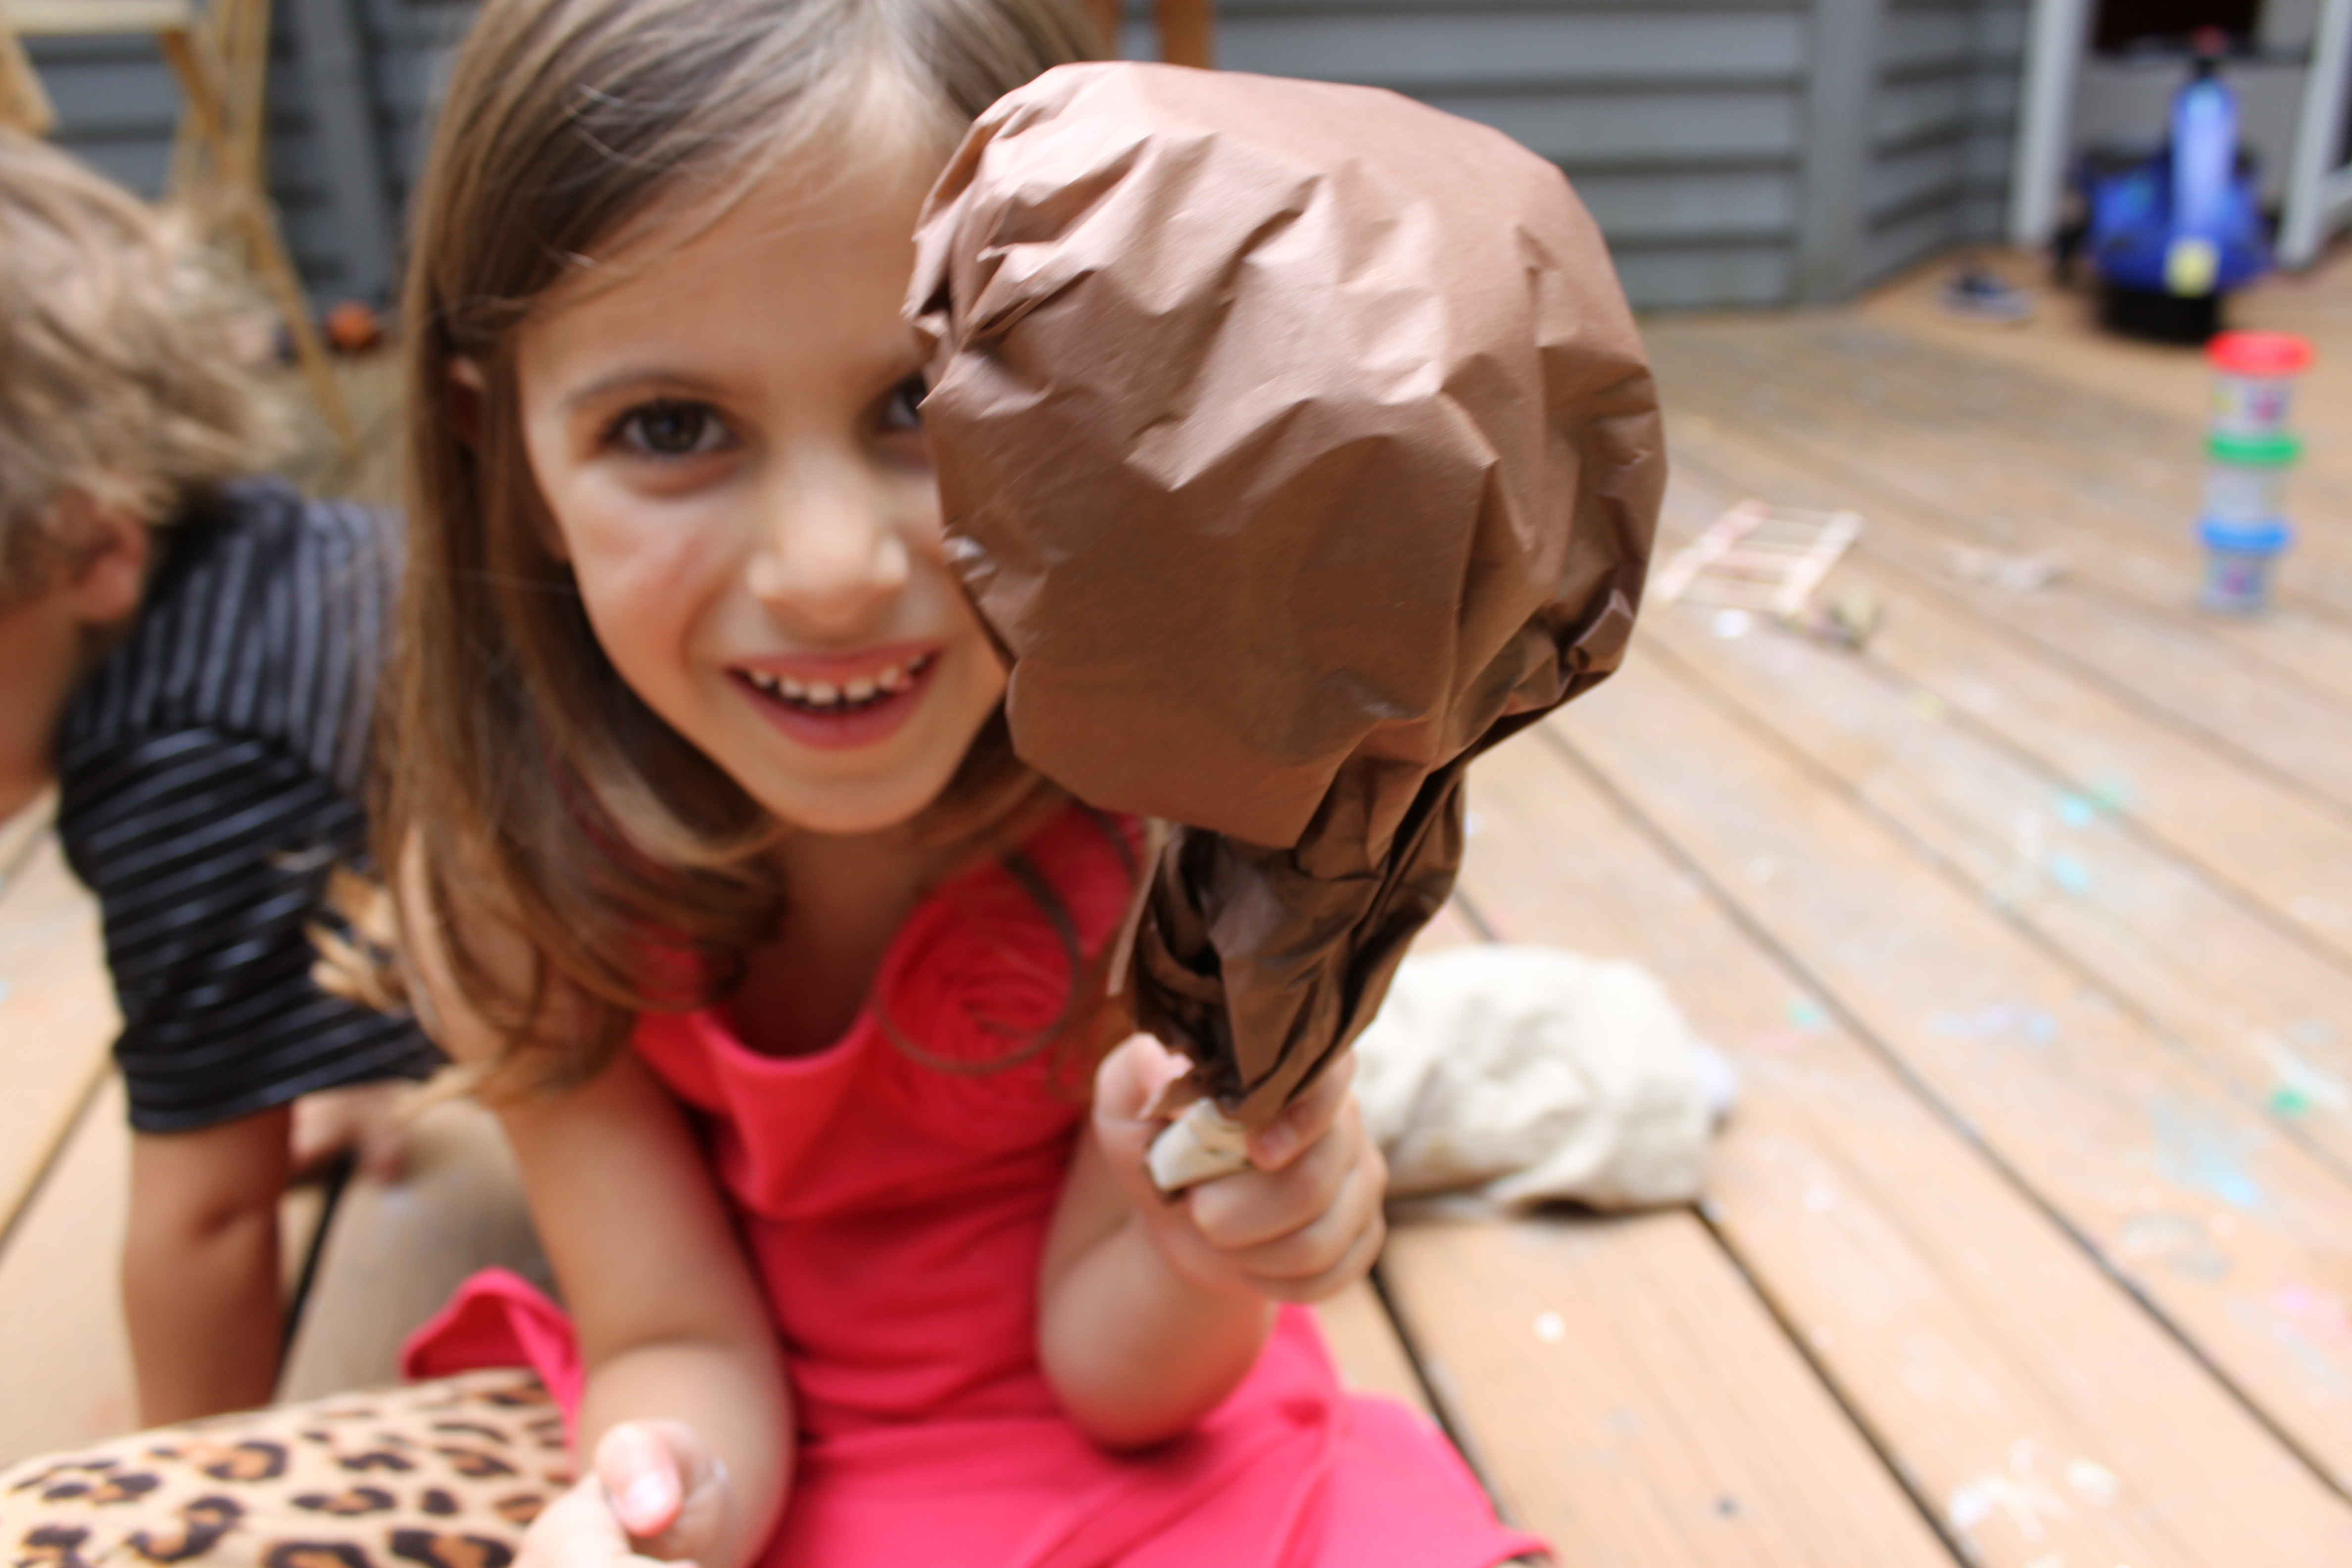
For the great big turkey legs, cut your last two sheets of tissue in half and divide the remaining popcorn between the two sheets.

Step 6
Roll the tissue together to look like a lollipop. Place some tape on the back of the turkey leg as well as along the bottom of the leg. Emma thought running around the yard with a turkey leg was pretty funny.
Step 7
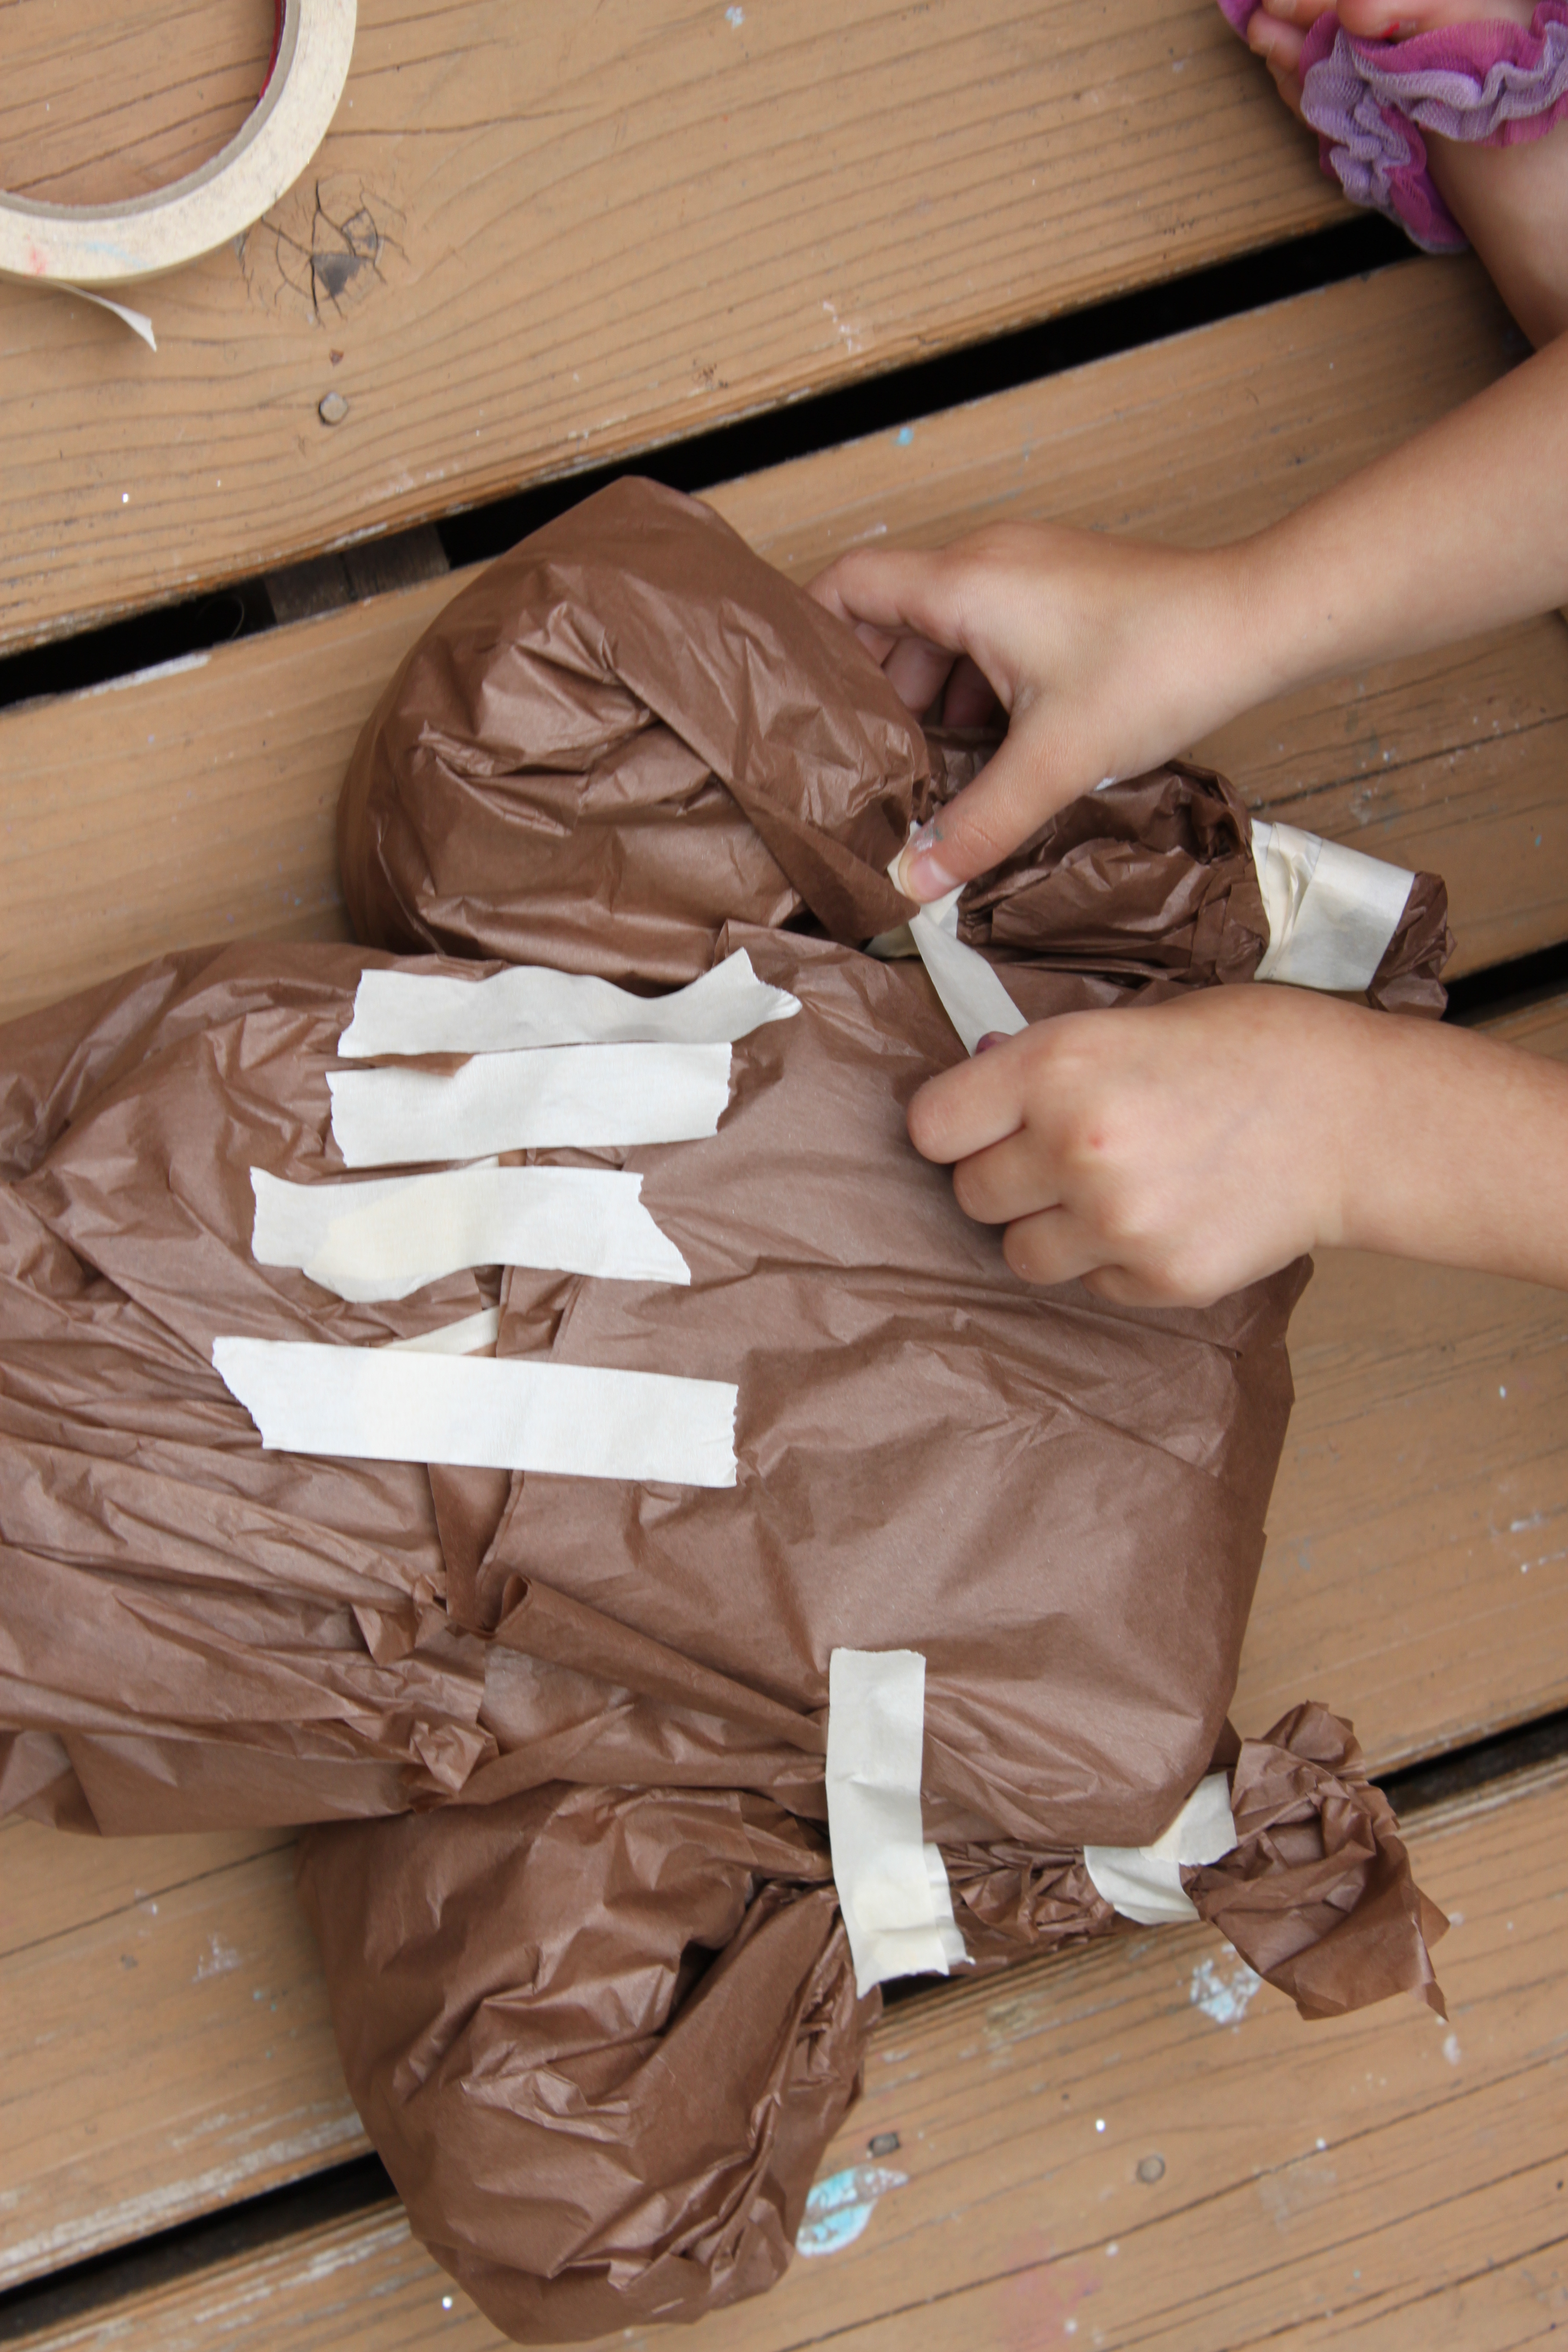
Connect the legs to the body with tape on the bottom side of the turkey that will not show.
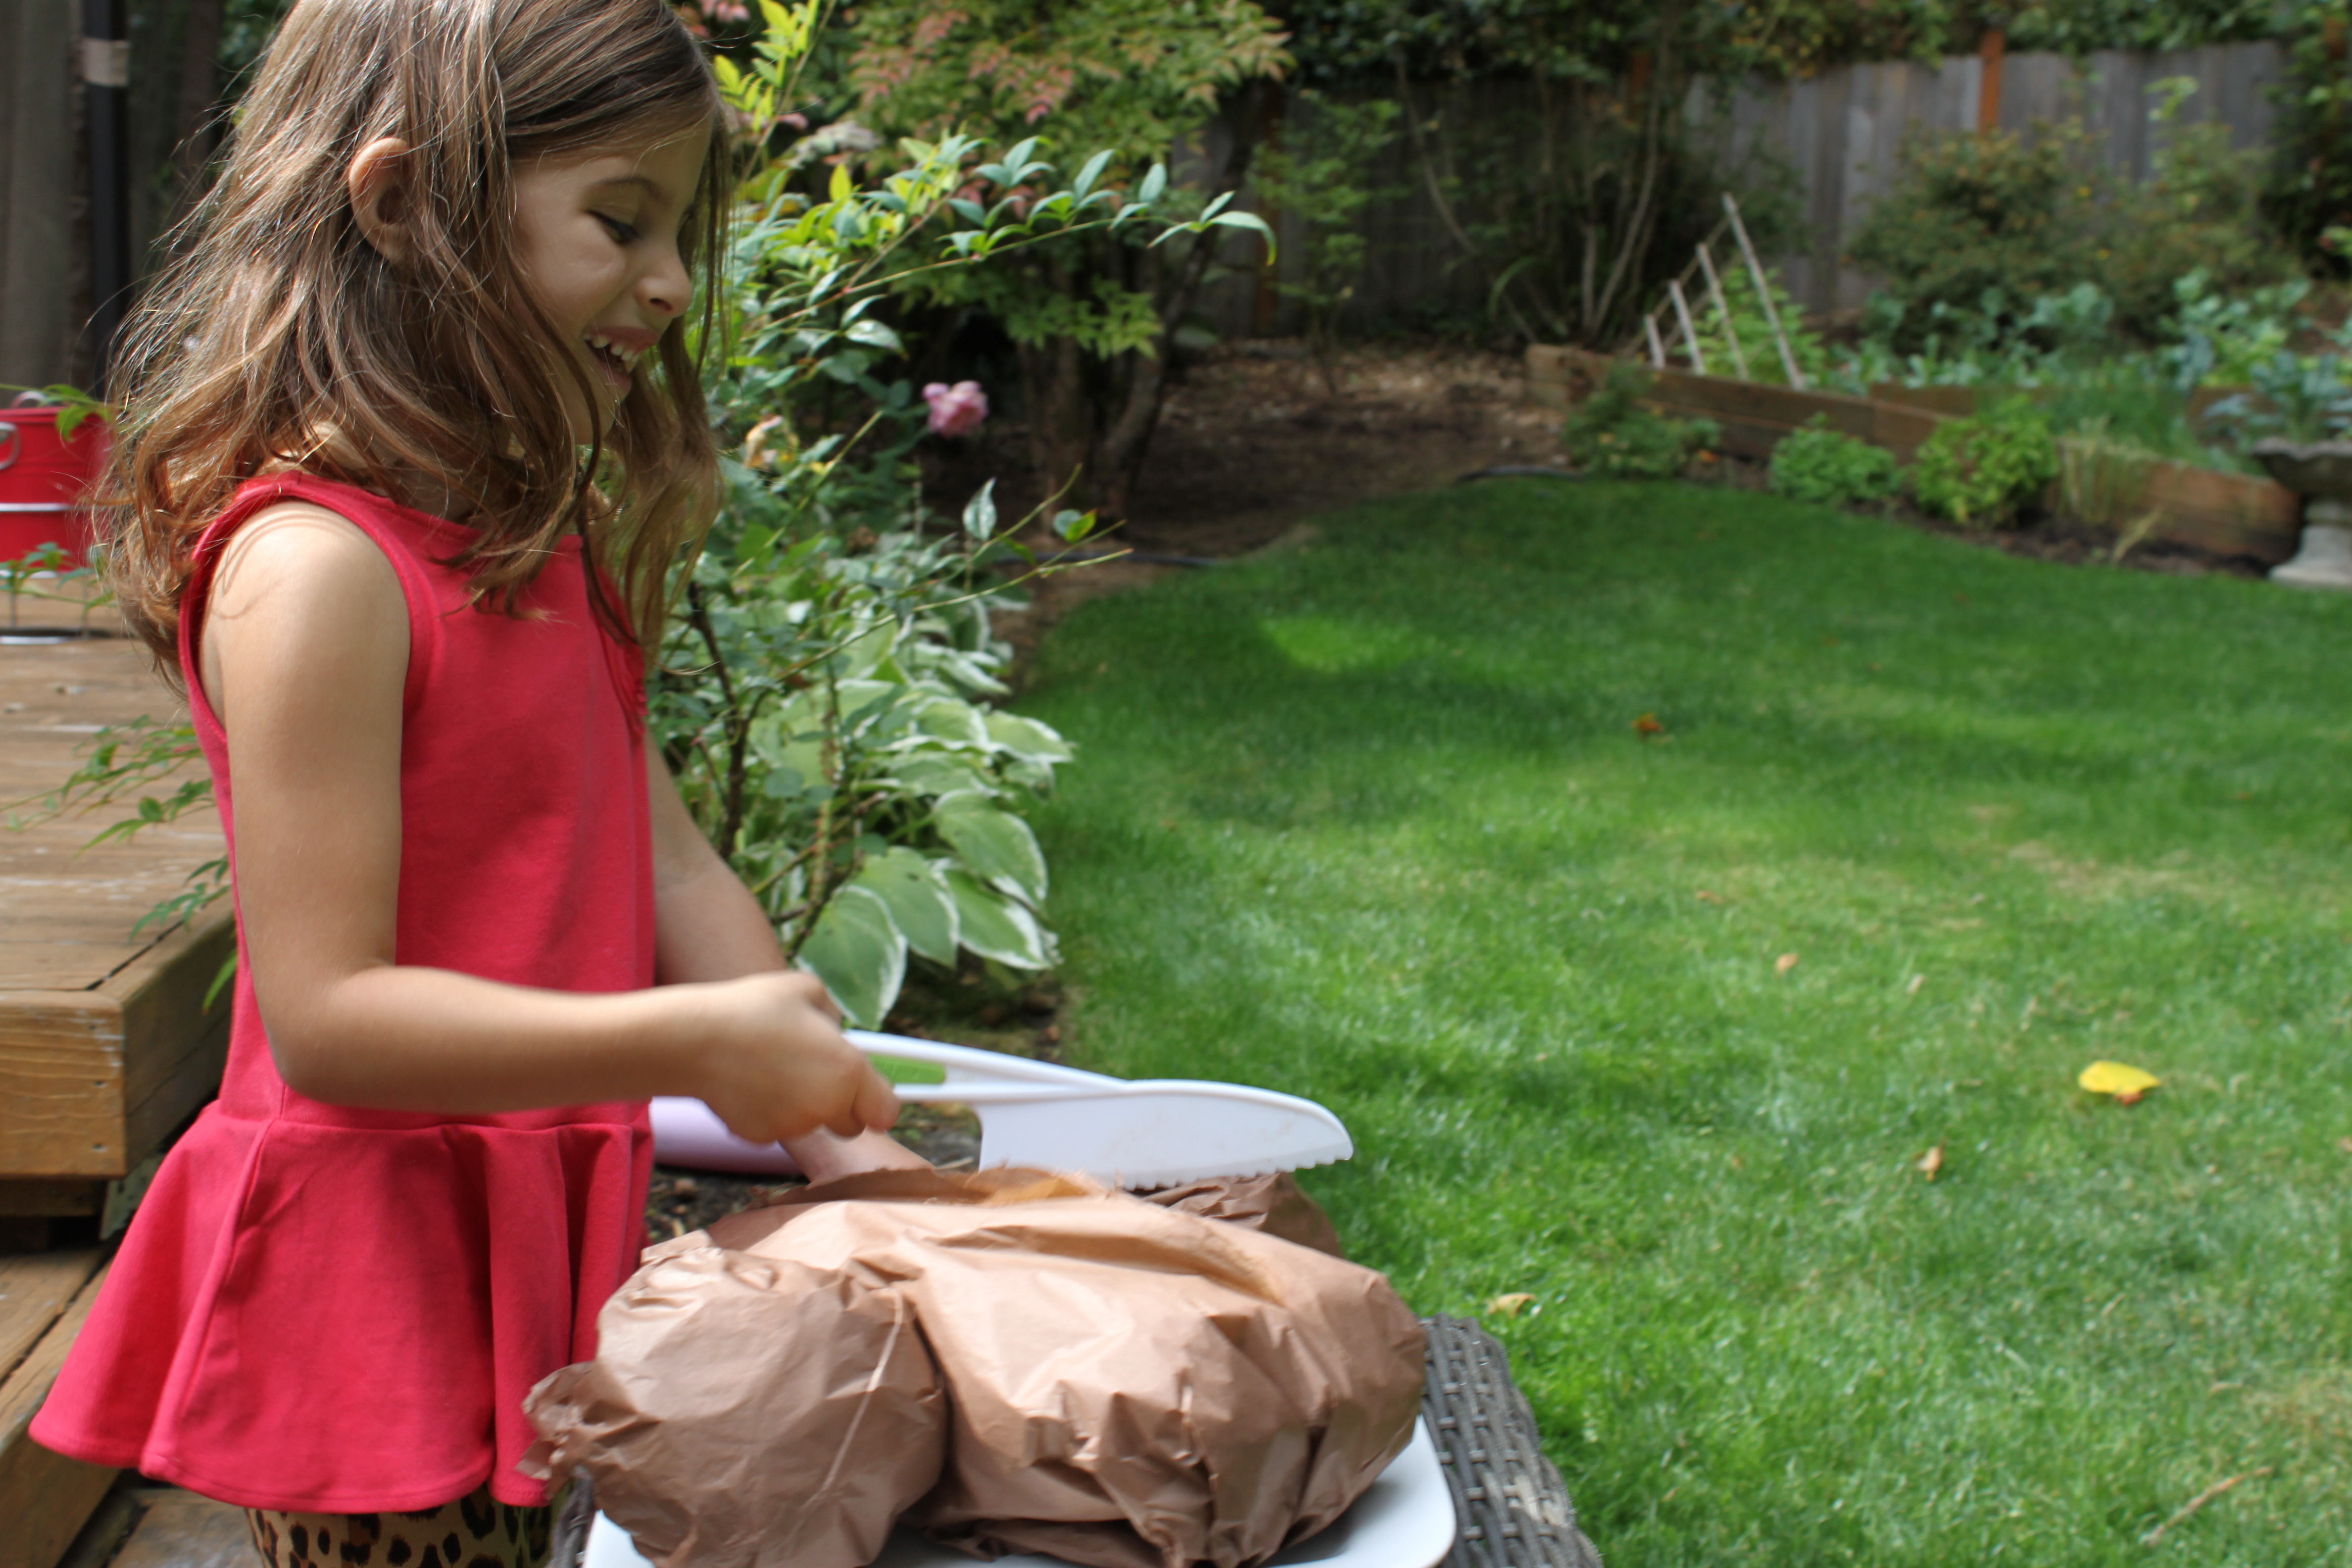
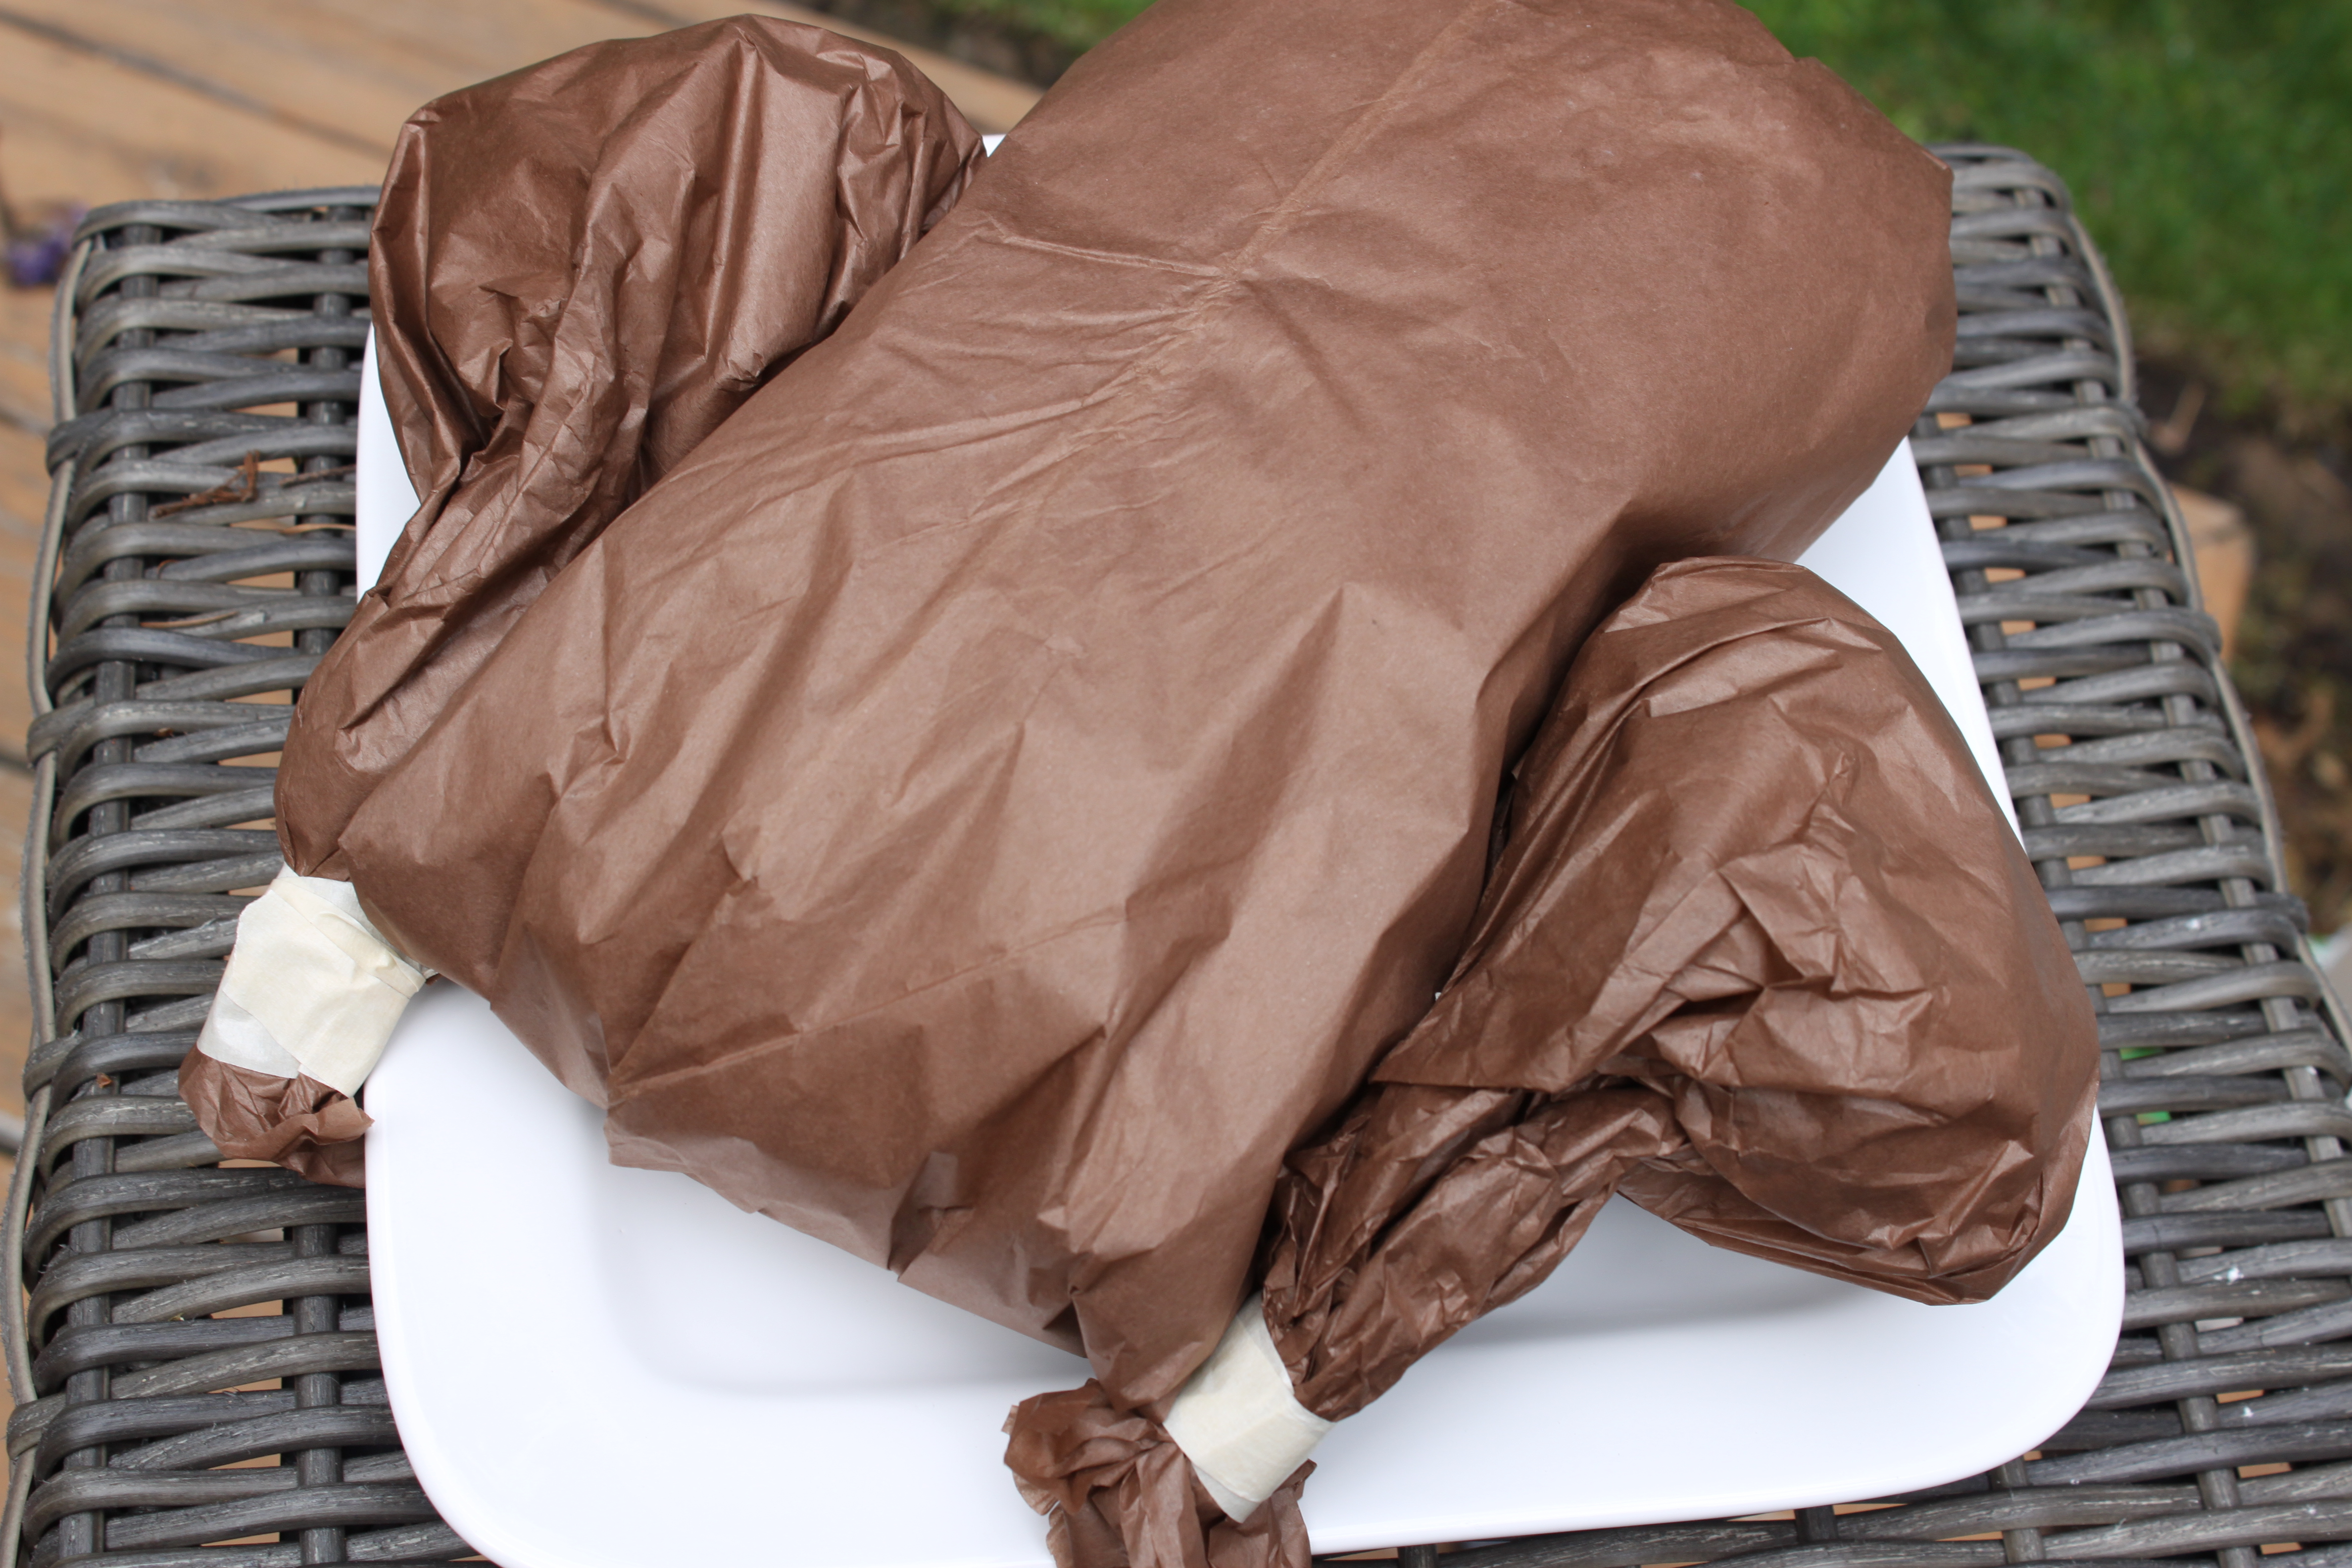
Done!
Once everything is in place, you can flip your turkey over and place on a serving tray for an authentic effect. We used a kid's knife for the carving, but the tissue is so easy to cut through that a plastic or butter knife will work too. This has become such a fun Thanksgiving tradition that the kids definitely look forward to. Last year, the whole family gathered around as Emma carved her turkey. It was a very proud moment for her!