Step-by-step tutorial
Step 1
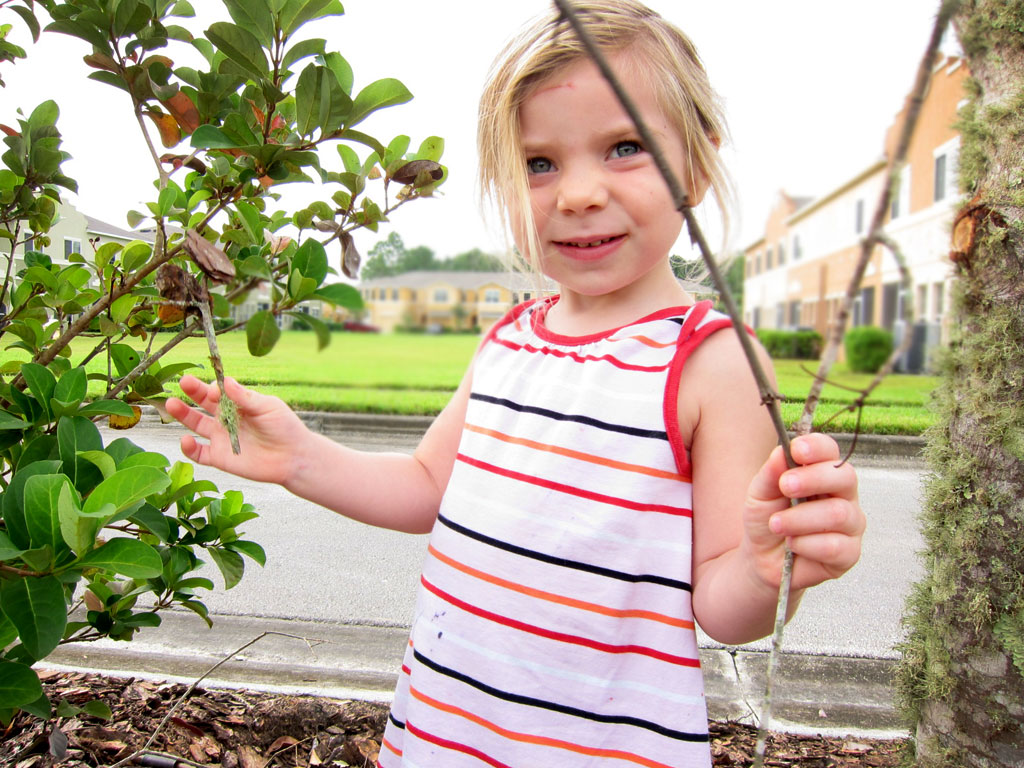
Go outside and collect some pretty sticks. We looked for ones that had interesting texture and color, which required some serious exploring. This is my favorite part of any craft: going outside and finding ways to turn nature into beautiful art projects.

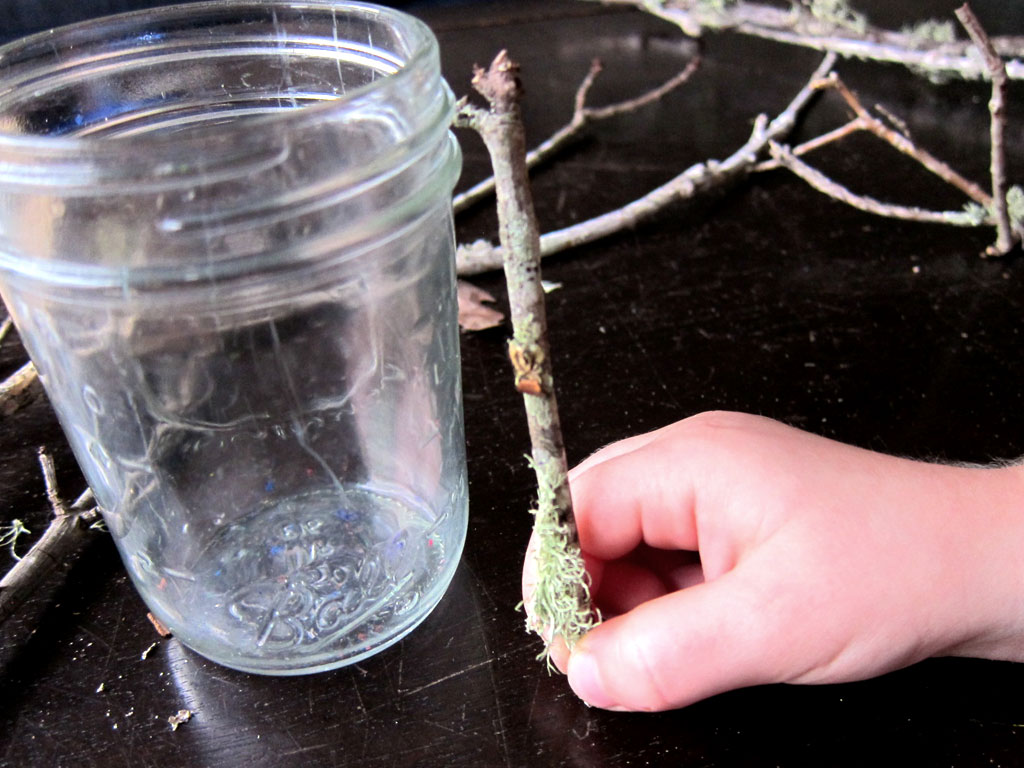
Step 2
Hold a stick up to the glass jar and break it so that the stick is about the same length as the cup. (You can also leave in some long sticks if you'd like.)
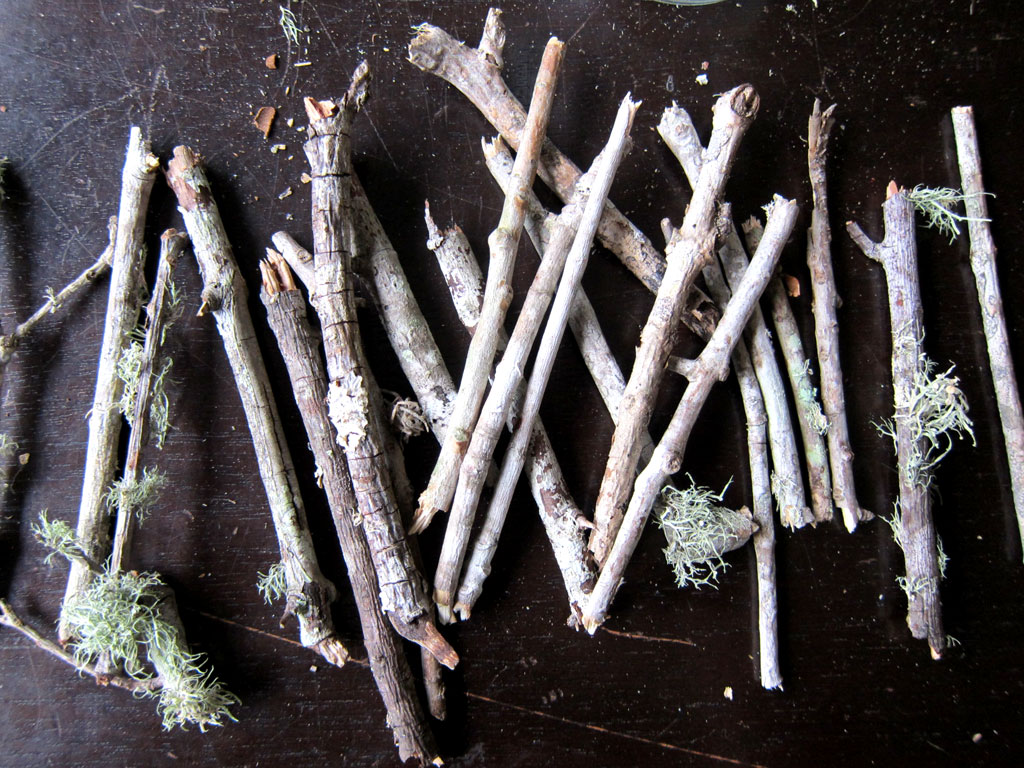
Step 3
Break all the sticks so they are about the same length. This was a great activity for our three-year-old. It taught her about sizes and comparing objects.
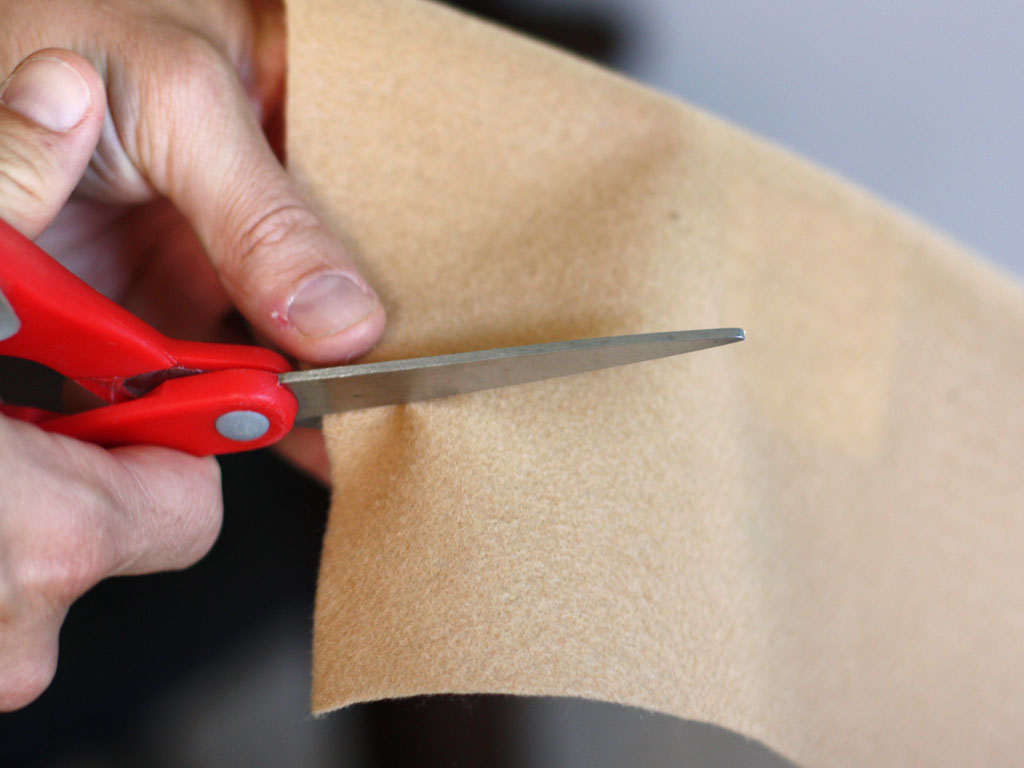
Step 4
Once all the sticks are about the same length, cut a piece of felt long enough to wrap around the entire jar. (Younger kids may want some grownup assistance with this step.)
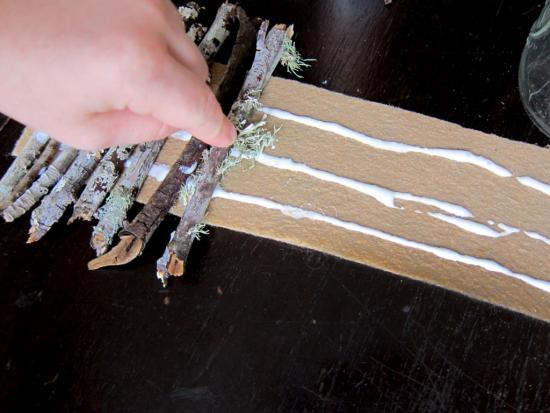
Step 5
Once all the sticks are the same length, put glue on the piece of felt and lay the sticks on the glue side by side.
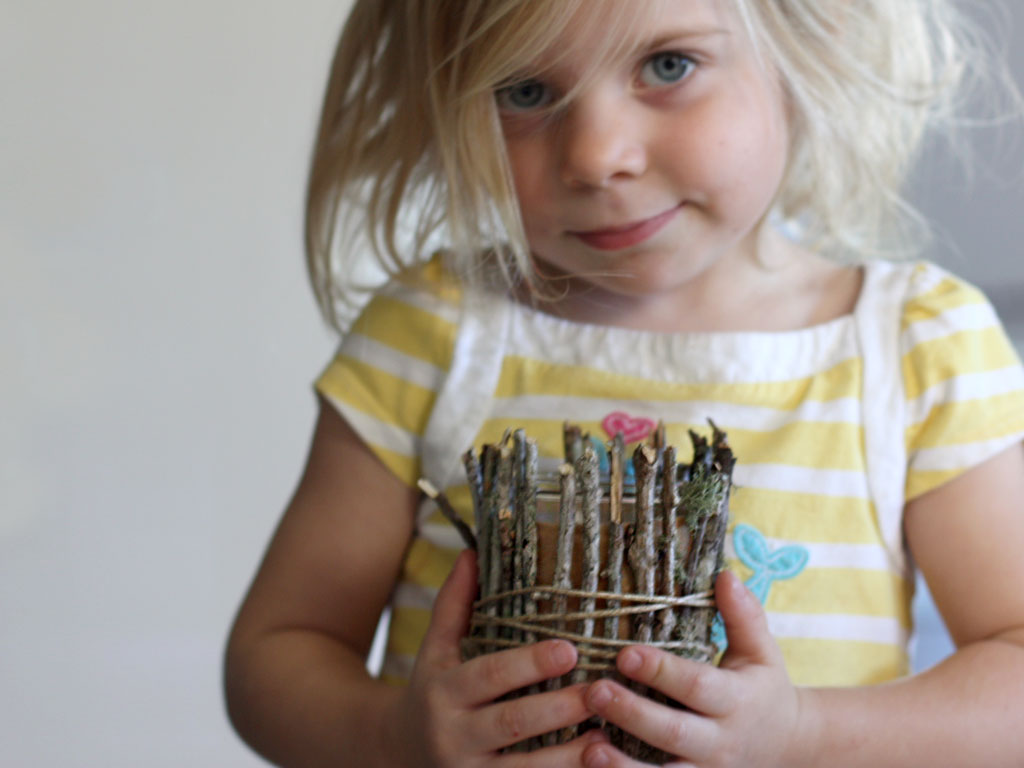
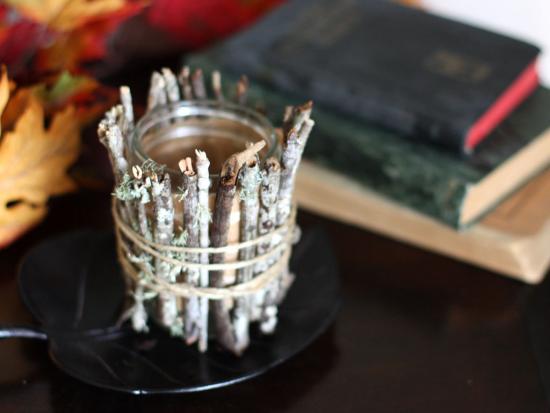
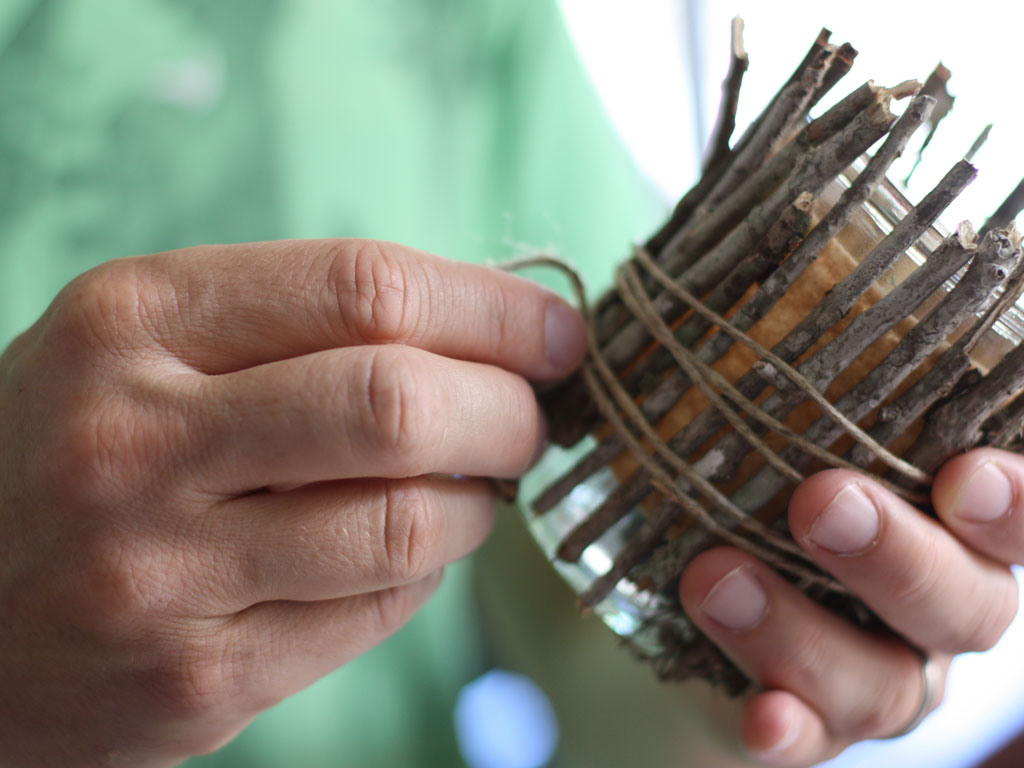
Step 6
Once the glue dries, wrap the felt around the cup and use a long piece of string to secure the sticks. We used twine and it worked wonderfully.
Done!
You can use the jar to hold many things on the Thanksgiving table. It could be for a candle, river rocks, notes of thankfulness, jam, etc.--whatever reflects your family and would go well with your table!