Step-by-step tutorial
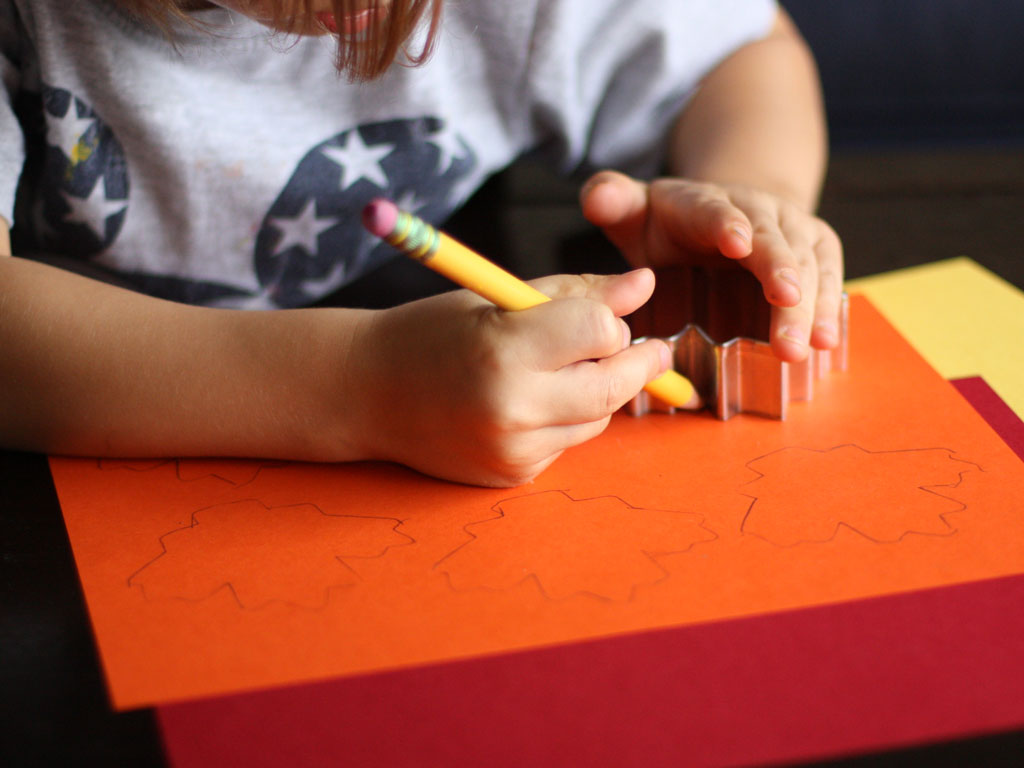
Step 1
My son used the leaf-shaped cookie cutter as a stencil and traced as many leaves onto the construction paper as could fit.

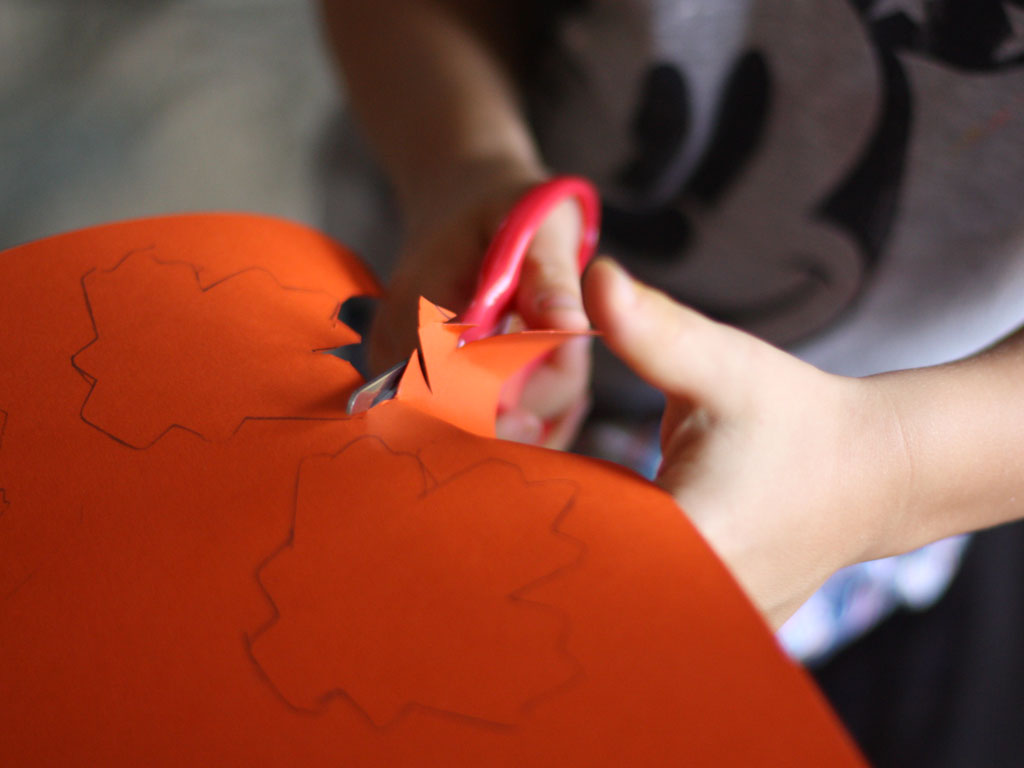
Step 2
Then he cut out the shapes.
Step 3
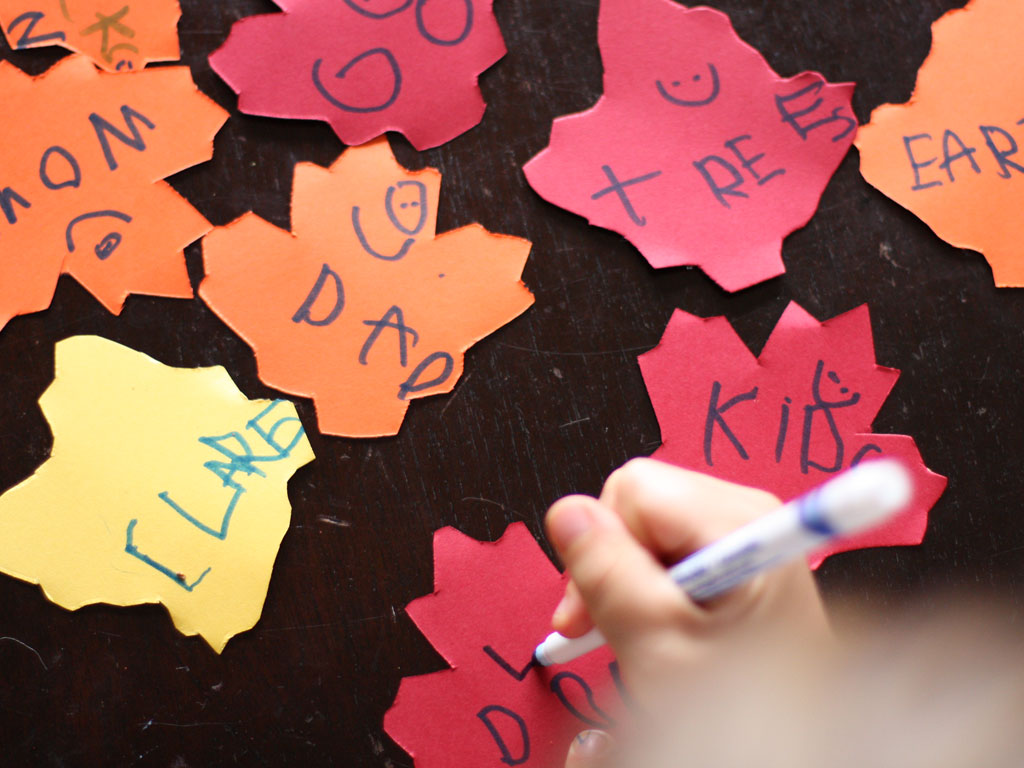
I talked to my kids about what it means to be thankful and told them a few things that I was thankful for. Then I asked them what they were thankful for. Let me tell you: It was a great feeling to hear "Mom" and "Dad" top their list! We wrote down each thing that we were thankful for. (If your kids are too young to write, you could ask them to draw a picture of what they're thankful for, then you can jot down the word beside it.)
Step 4
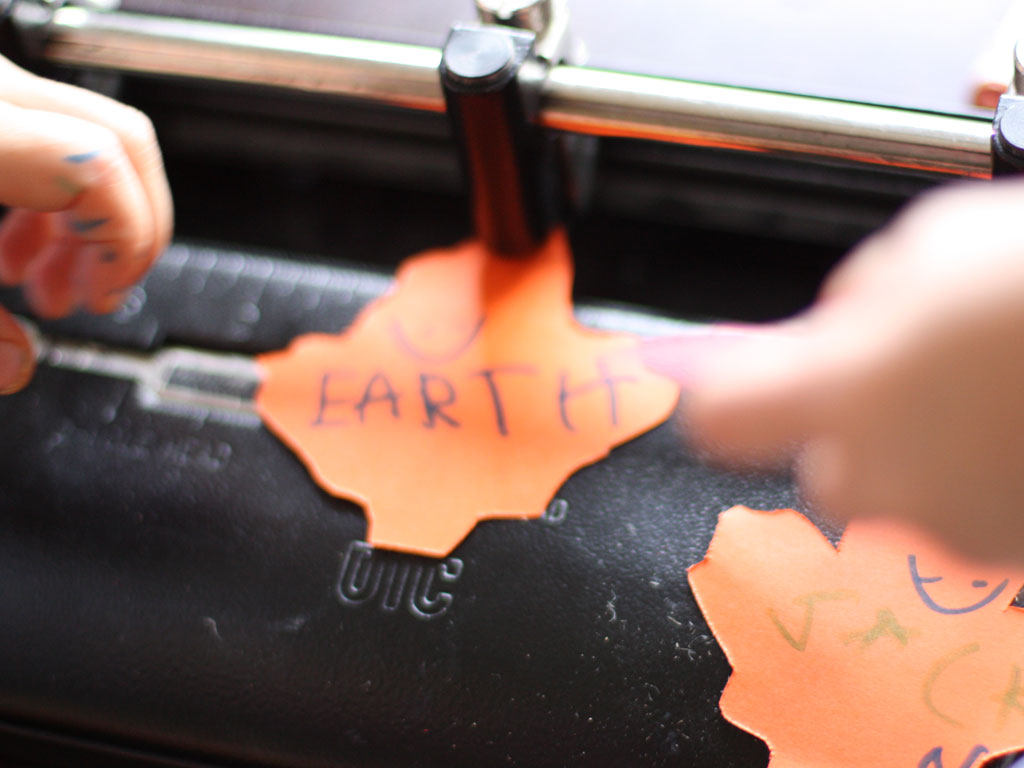
We hole punched the top of each leaf. This might of been the highlight for the kids--they love using our vintage hole puncher (circa 1982).
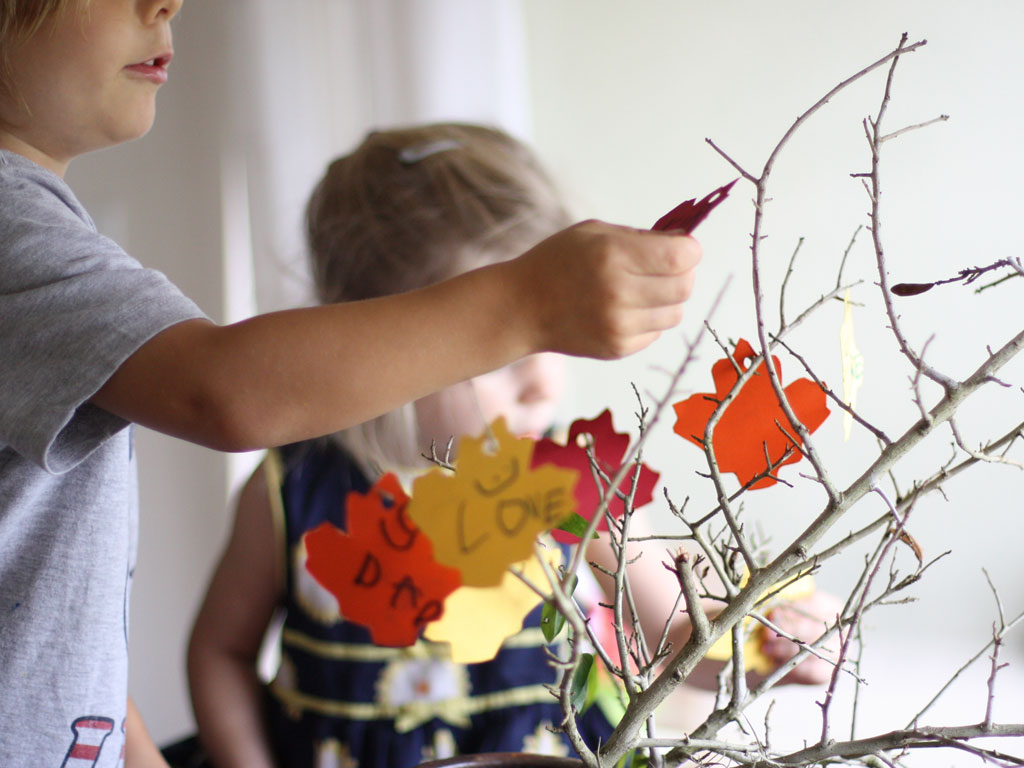
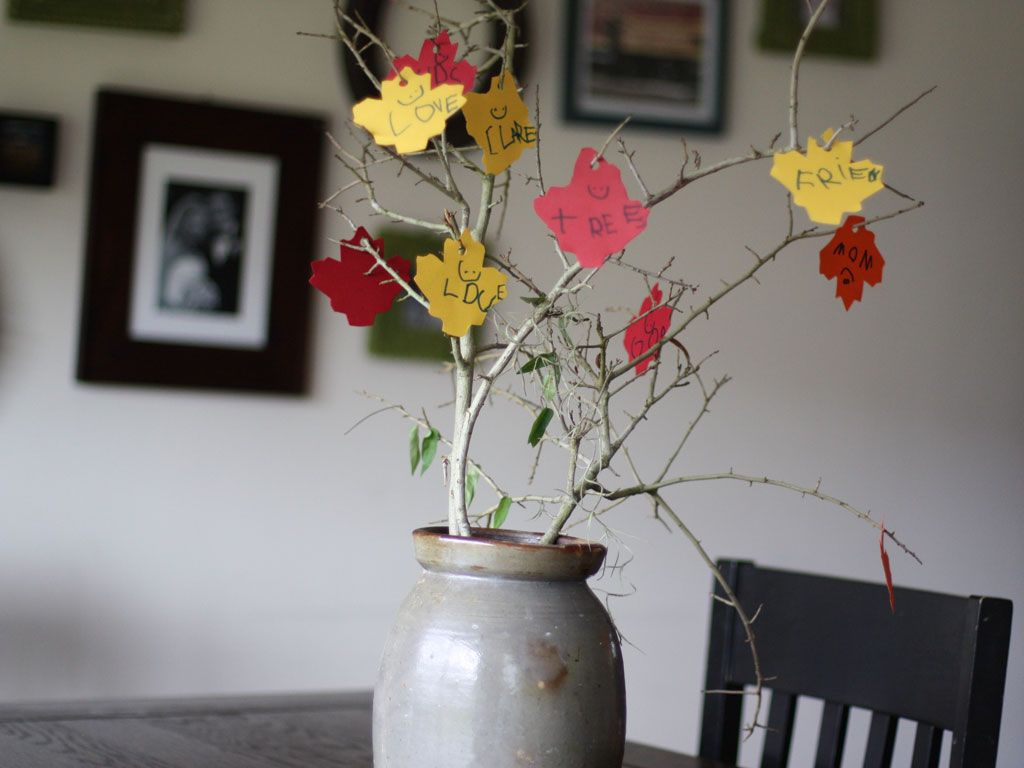
Final result!
My kids then hung the thankfulness leaves on the tree. We will be using this as part of our Thanksgiving centerpiece to reinforce what that day is about (and remind myself to be more vocal about the things that I am thankful for).