Step-by-step tutorial
Step 1
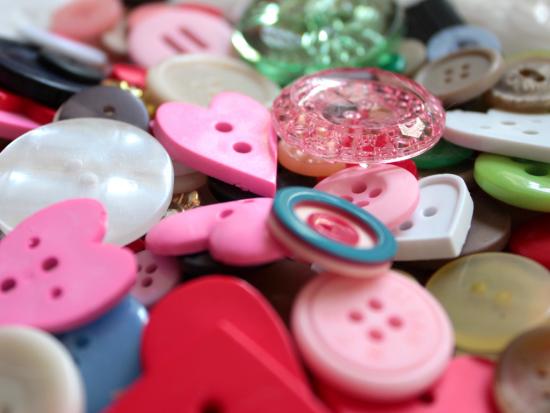
Buttons, buttons, buttons...some of Madeleine's favorite things! Even better if they are heart-shaped, pink, or have flowers on them!

Step 2
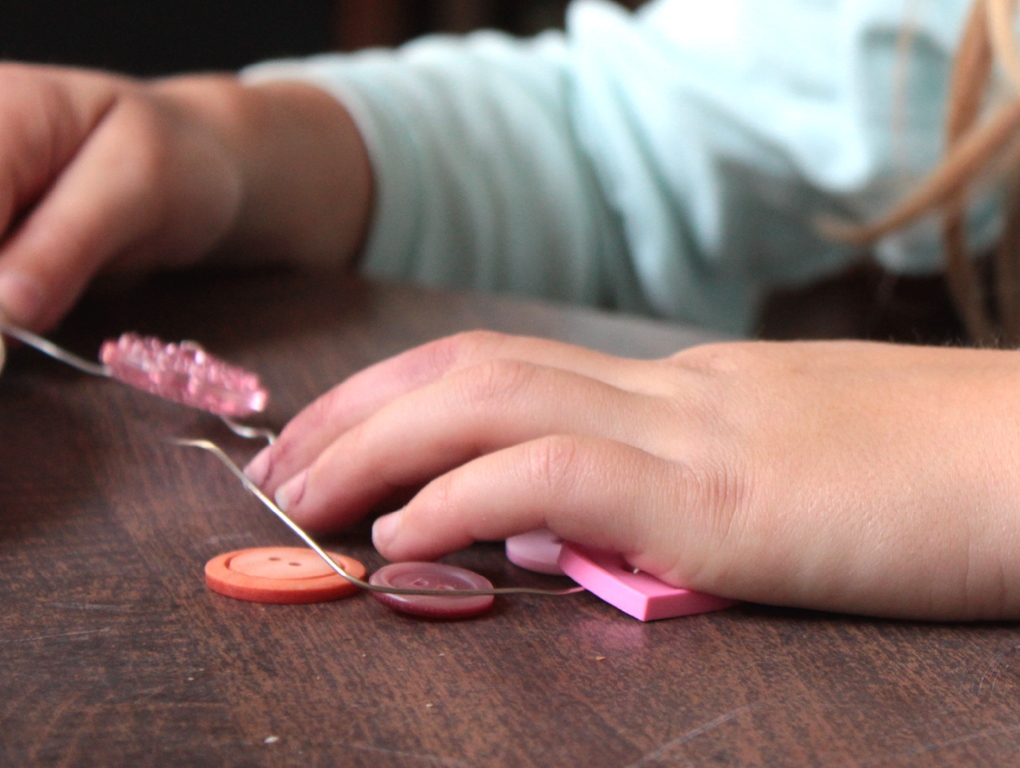
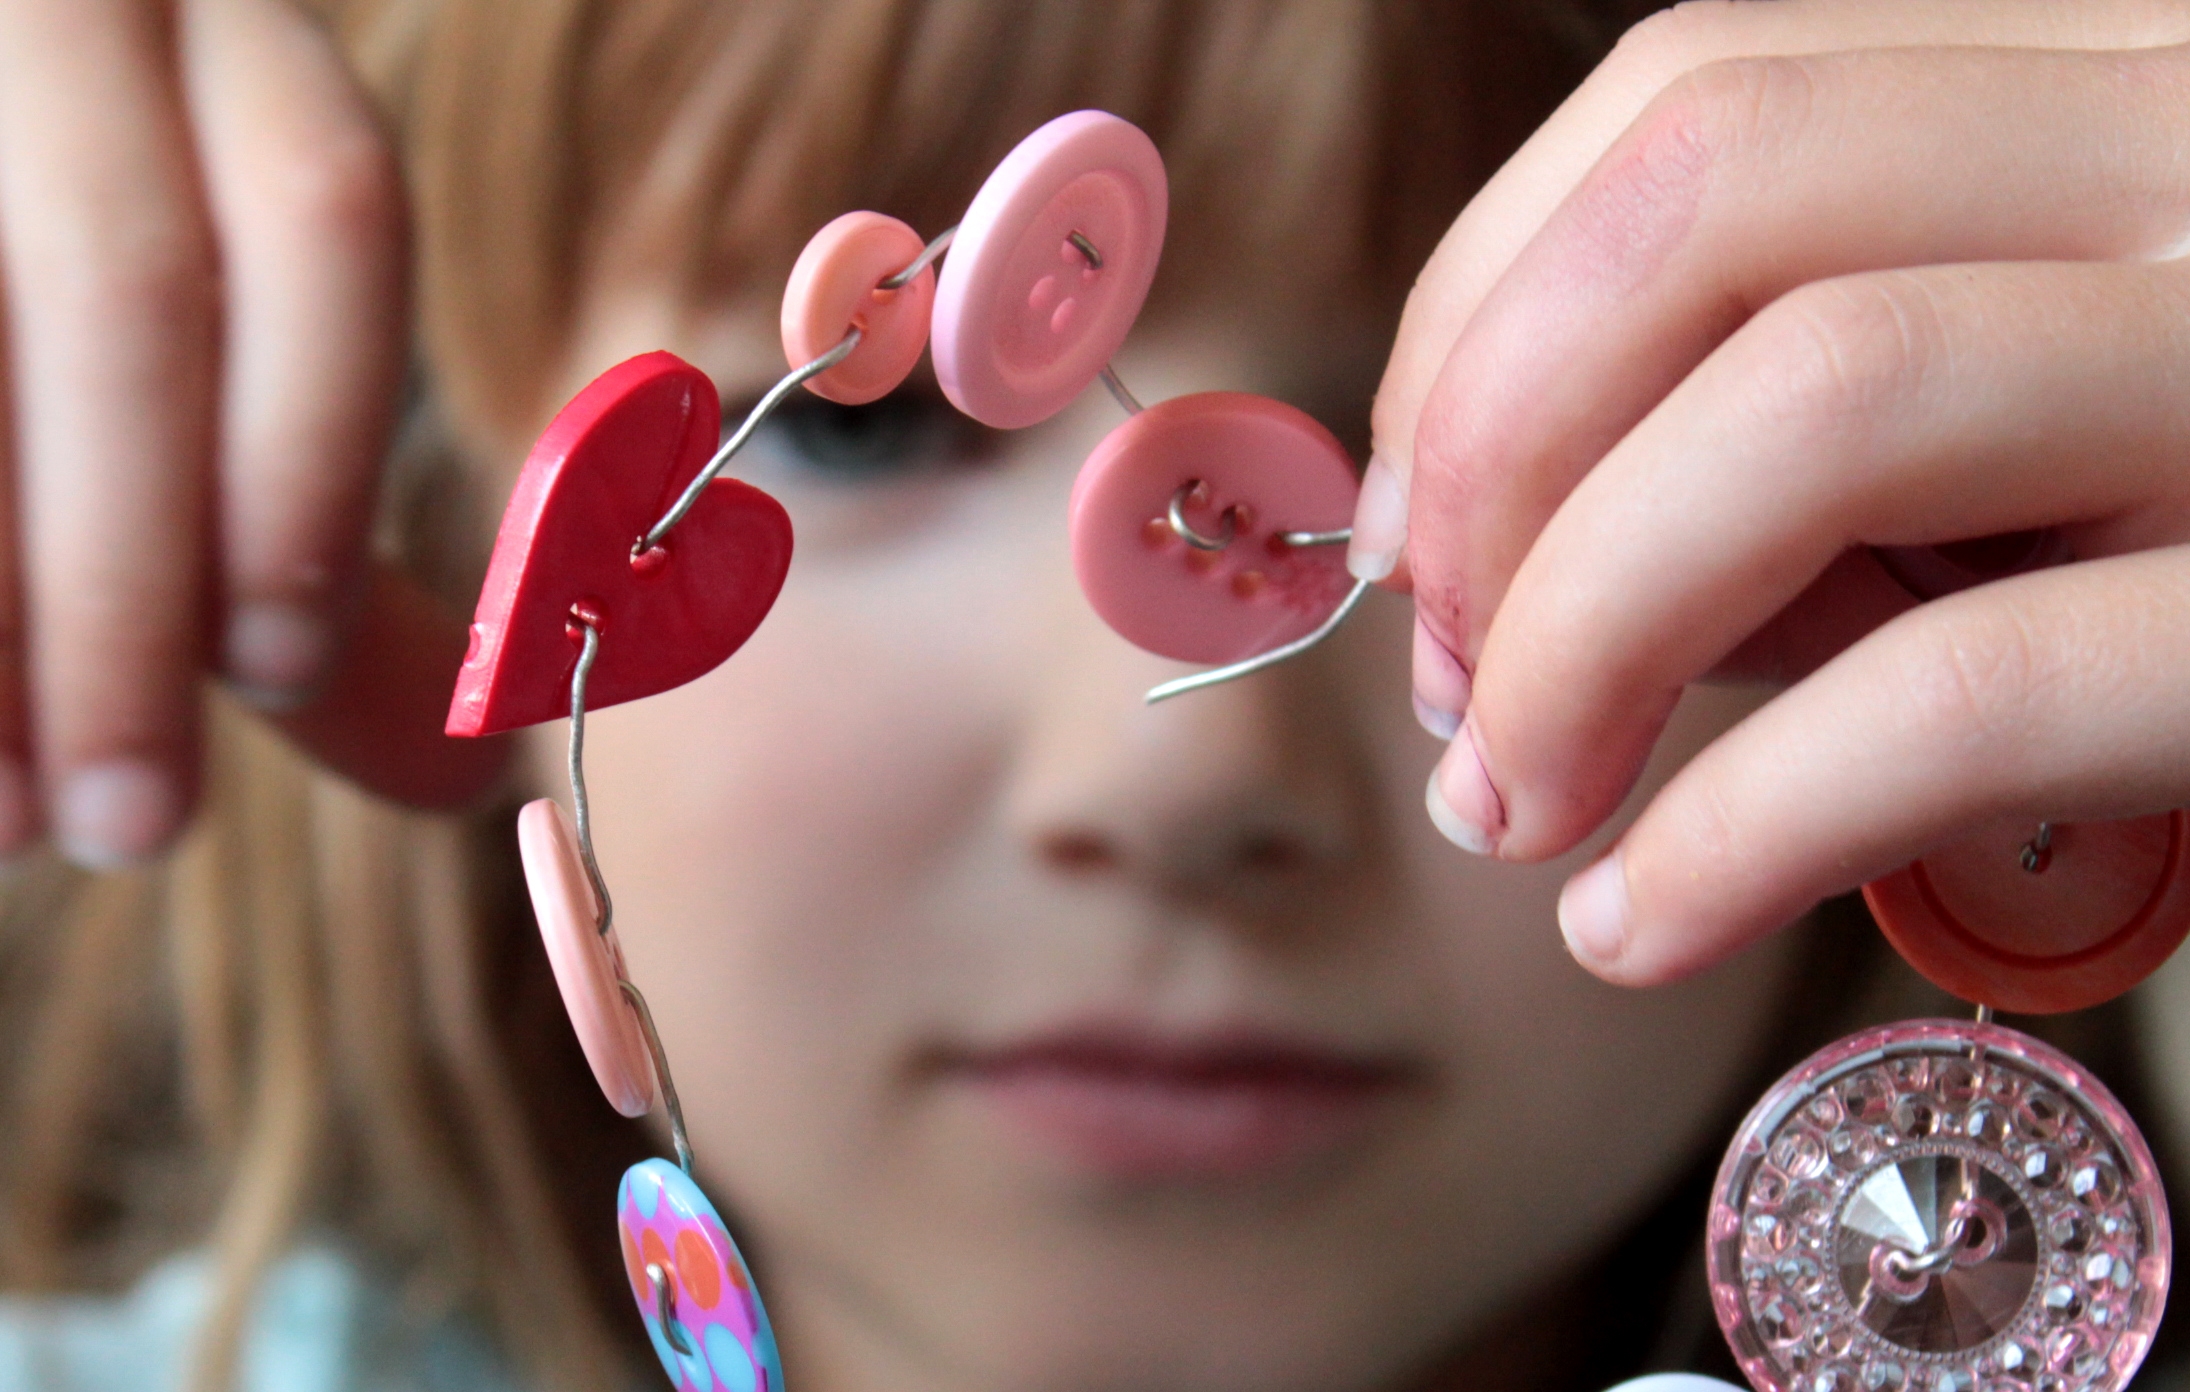
Here's the most important part: the wire. You'll want something sturdy but flexible enough to bend easily around buttonholes. Lighter (more flexible) is more important than stronger because you can always double it up over the 'hump' of the heart if you need to. (That will be a mama's job.) Ready? I just held up the wire and asked, "About this big?" and she let me know. I made the bottom, the V, and Maddie took over from there.
Step 3
Usually, Madeleine and I are both working on the same project, but this one was hers, alone. She did have me sitting next to her at the kitchen table, however, so she chatted non-stop to me while she worked. "Oooh, this one, next!" and "Oh, this is perfect!" and "Is this done, yet? No? Good!... I have a few more I want to add..." and "I've learned to hold it here, in place, while I put the wire through it the rest of the way..."
Step 4
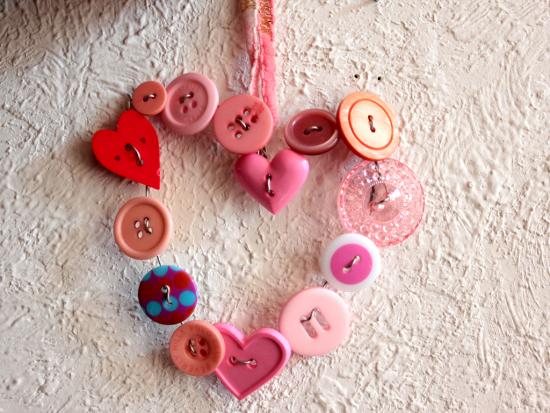
Before too long, she was done. I twisted the ends together, tucking where necessary (to prevent pokes from the wire), and made a loop for stringing ribbon.

Step 5
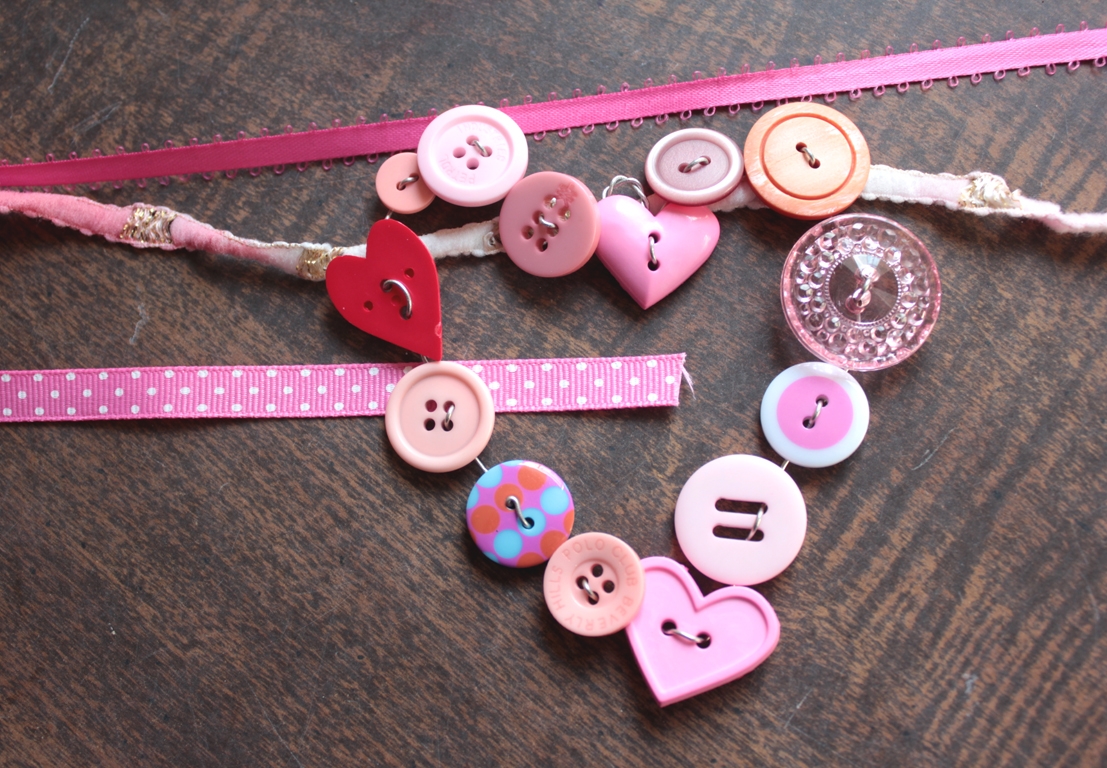
Maddie chose the perfect ribbon and tied it onto her button heart.
Step 6
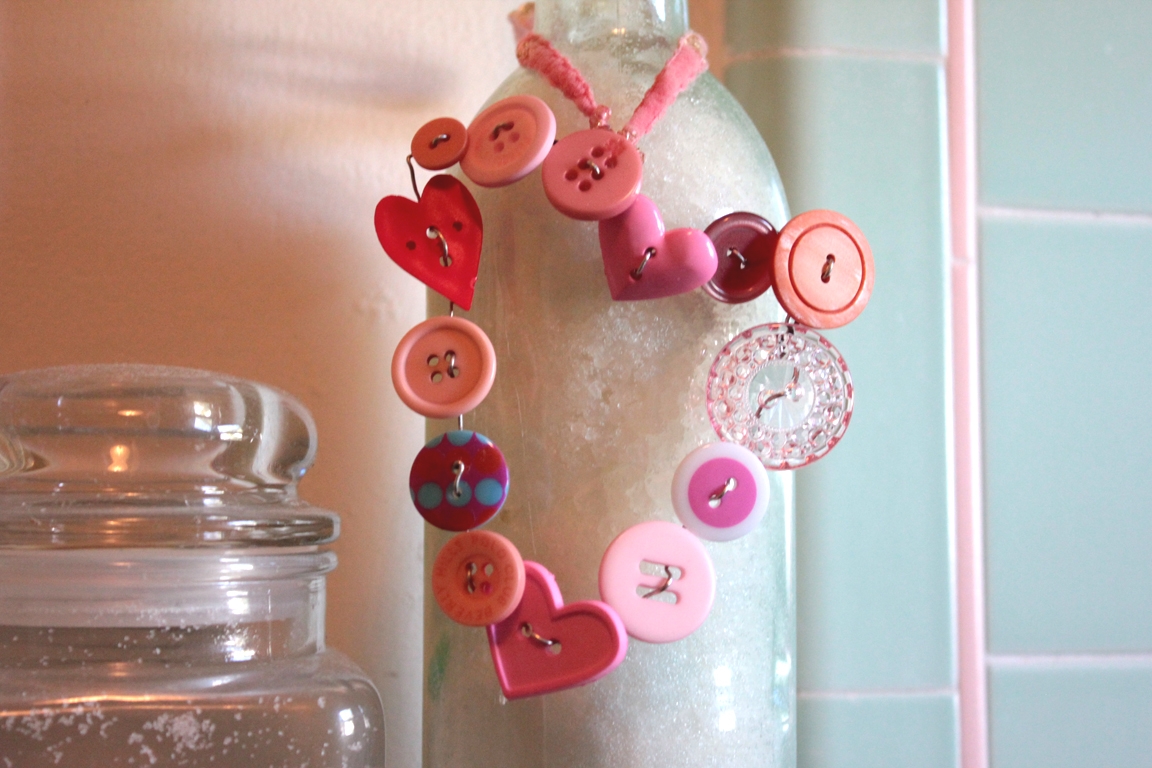
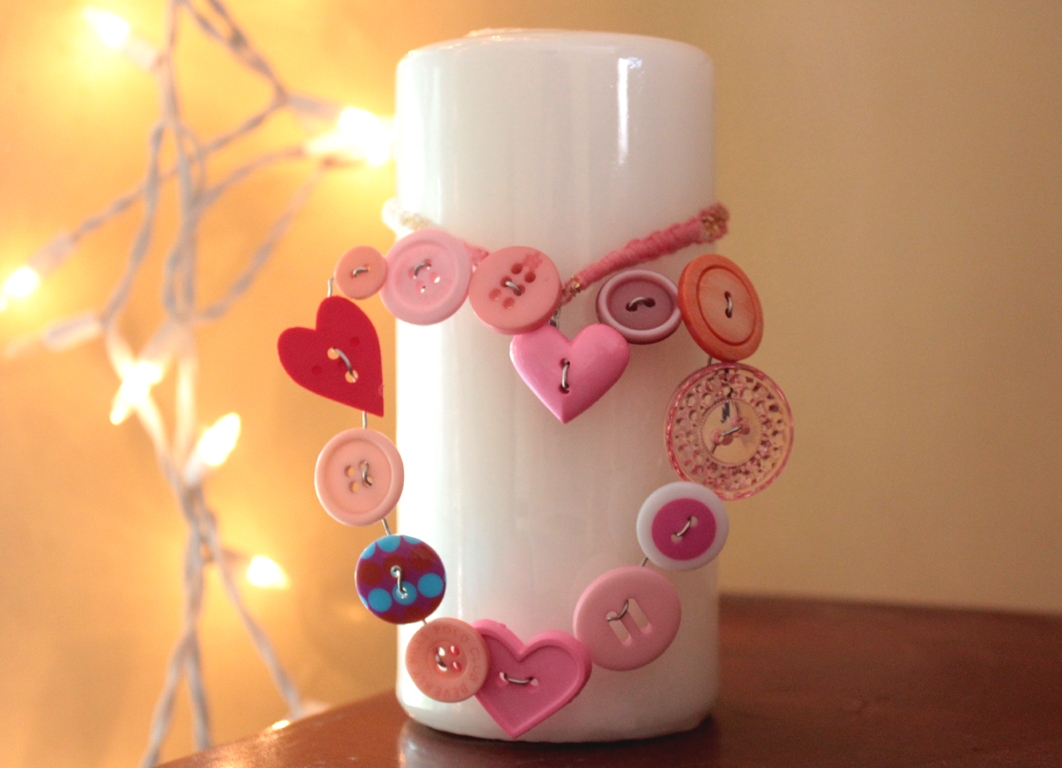
It's all finished and ready for a valentine, but we just wanted to pass on a couple of gift ideas to you... If it's made a little smaller, it would be darling hanging around a pretty candle...
Done!
Or how about around a bottle with some homemade bath salts? A little extra something for a special valentine!