Step-by-step tutorial
Step 1
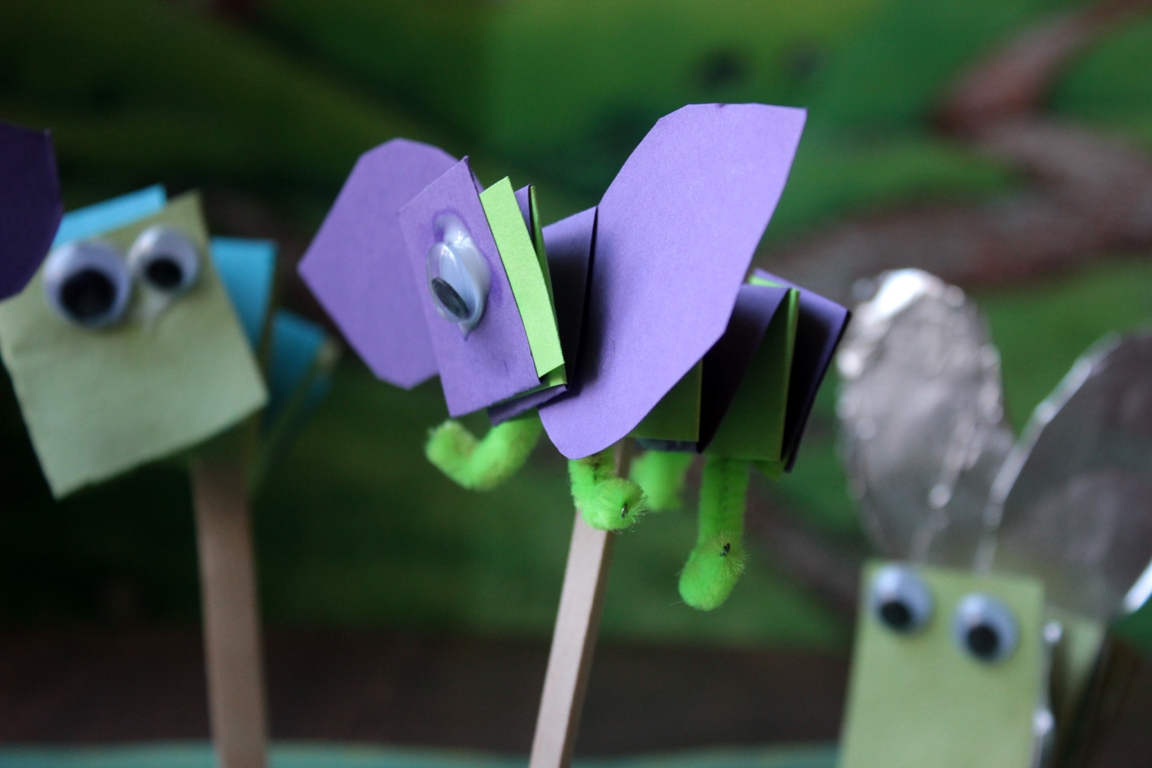
My children love "any way you can imagine it" projects, and this is certainly one of those! I love seeing their individual styles come out in their creativity.

Step 2
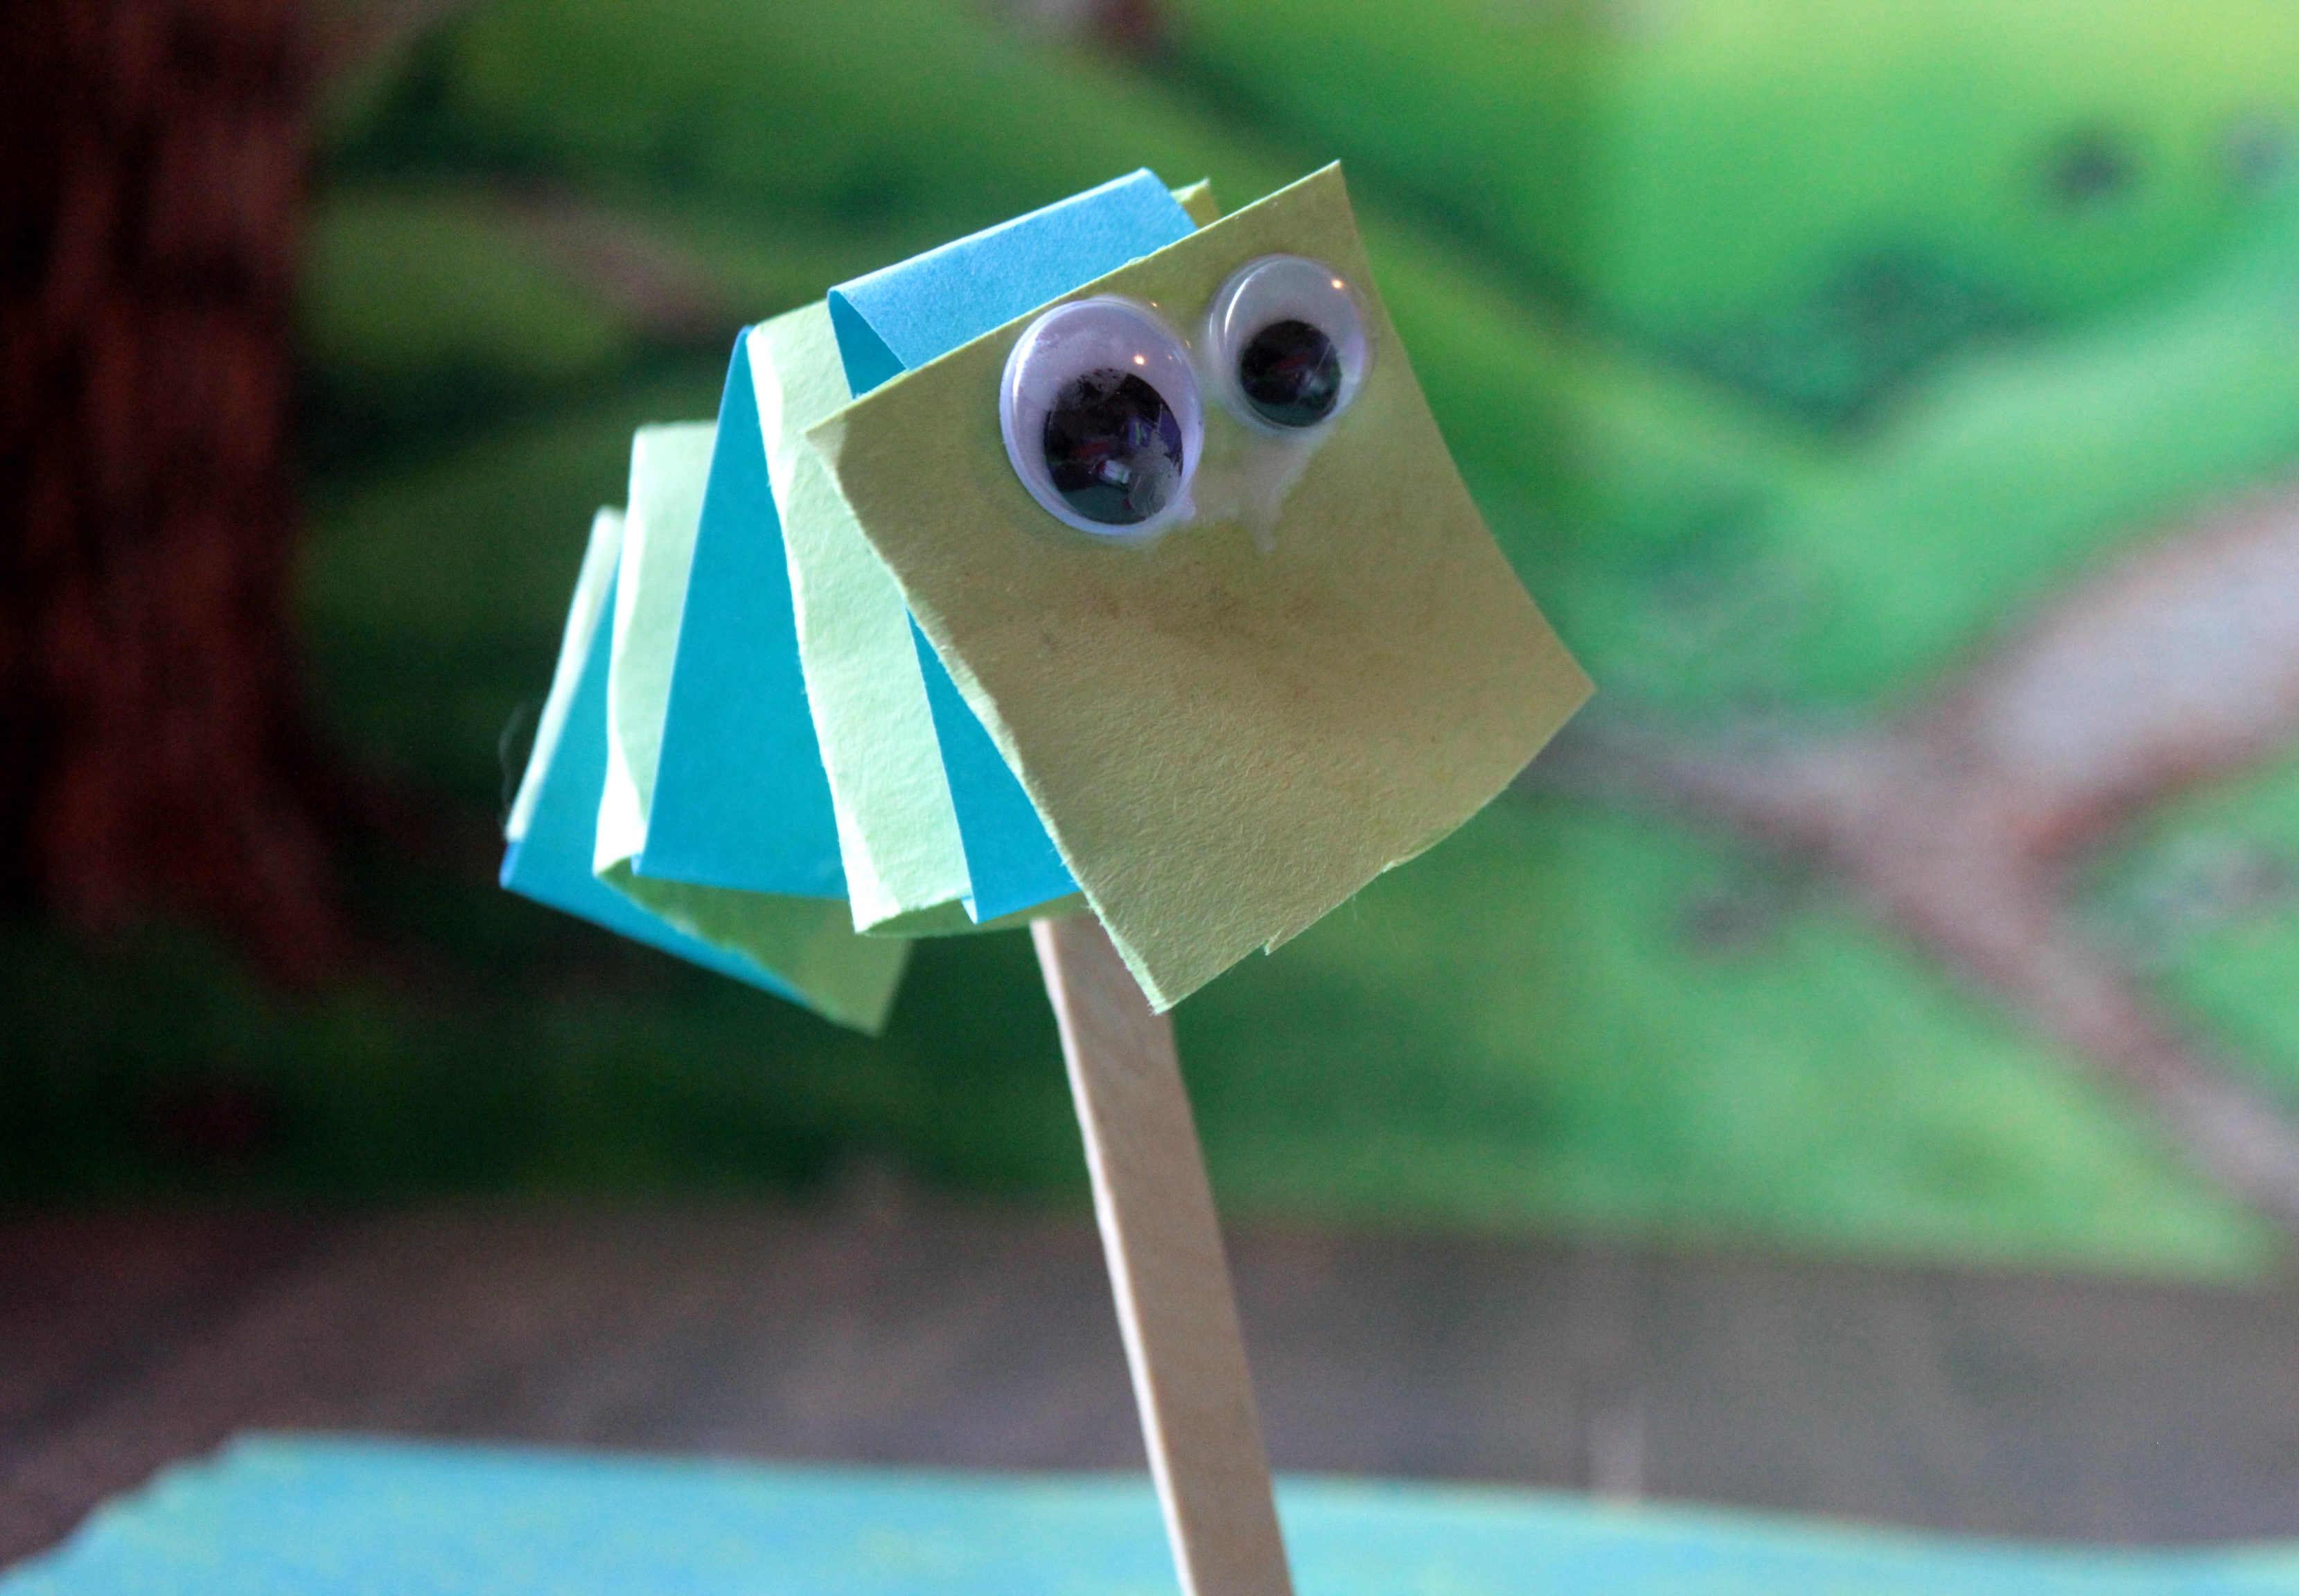
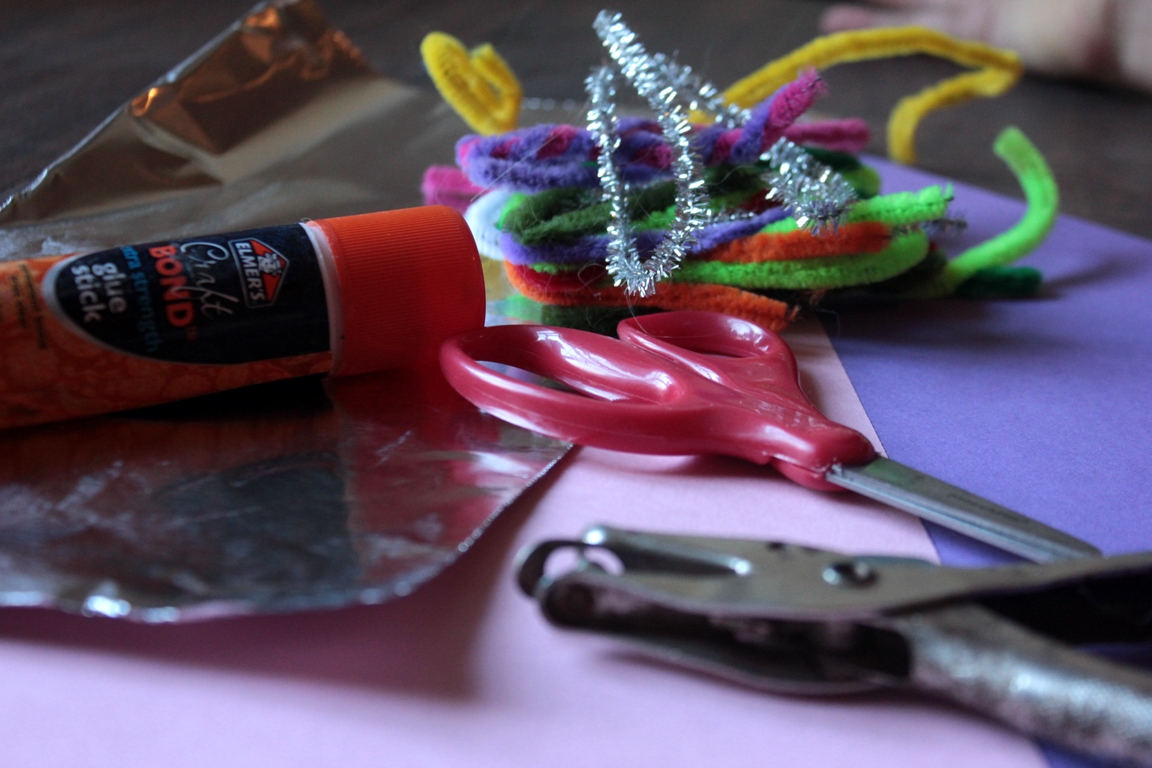
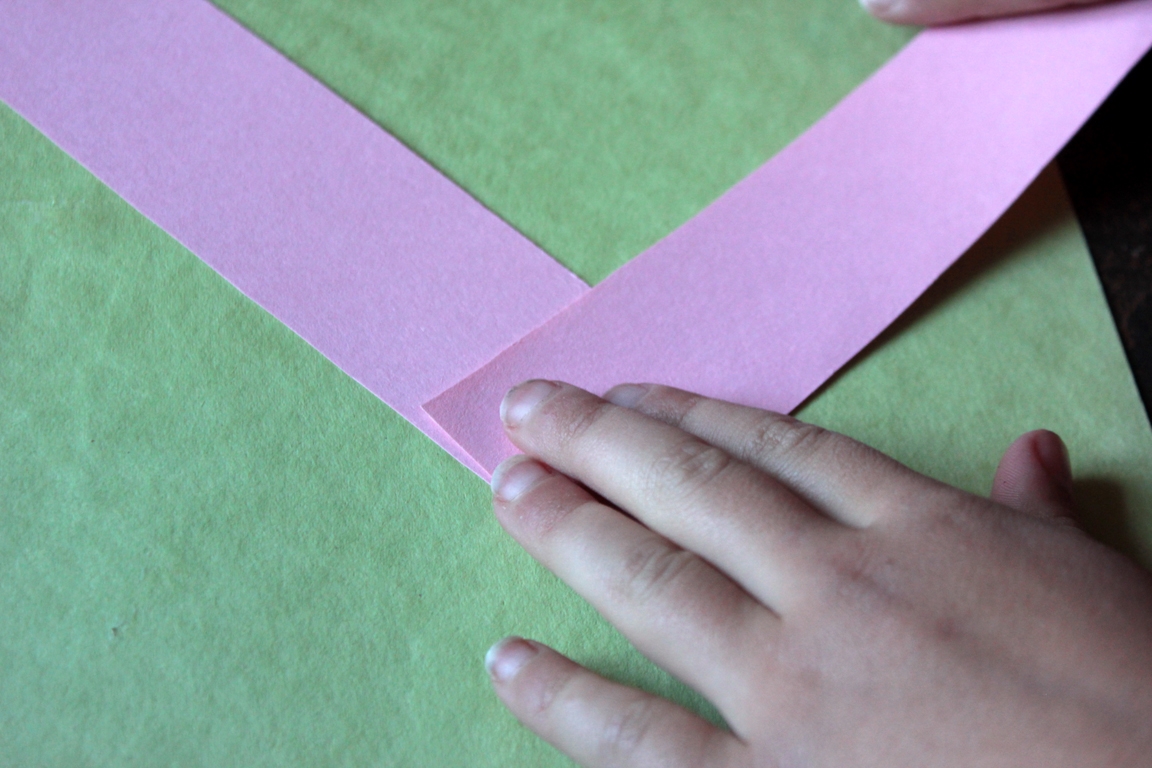
The first thing we had to do was cut strips of paper. We've used all kinds of paper for these bugs; fancy paper, paper we've painted, printed paper--whatever seems like a good idea at the time. When we had chosen our colors (same or different), we just angled one across the top of the other and glued them together at this starting point.
Step 3
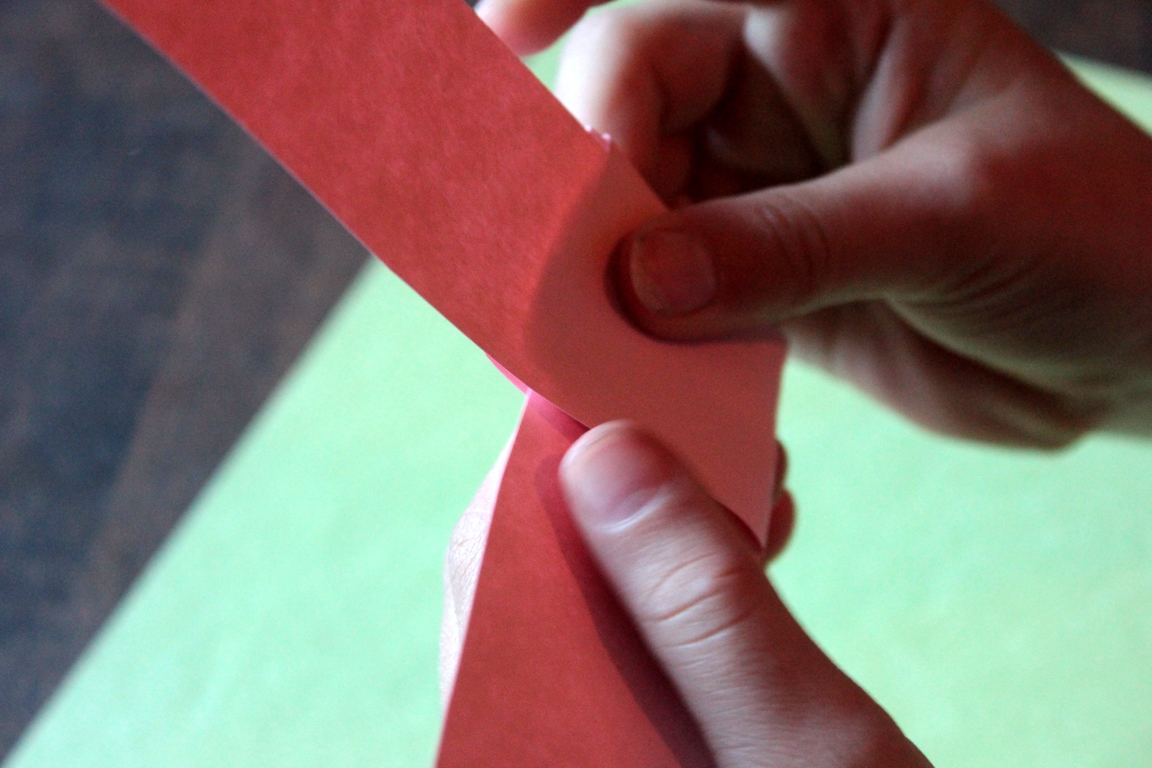
Madeleine has been playing with this fold a lot the last few days-- it's one of her favorite parts of these cute little dudes! To construct, we just simply took the bottom piece, and brought it forward, folding it over the top piece.
Step 4
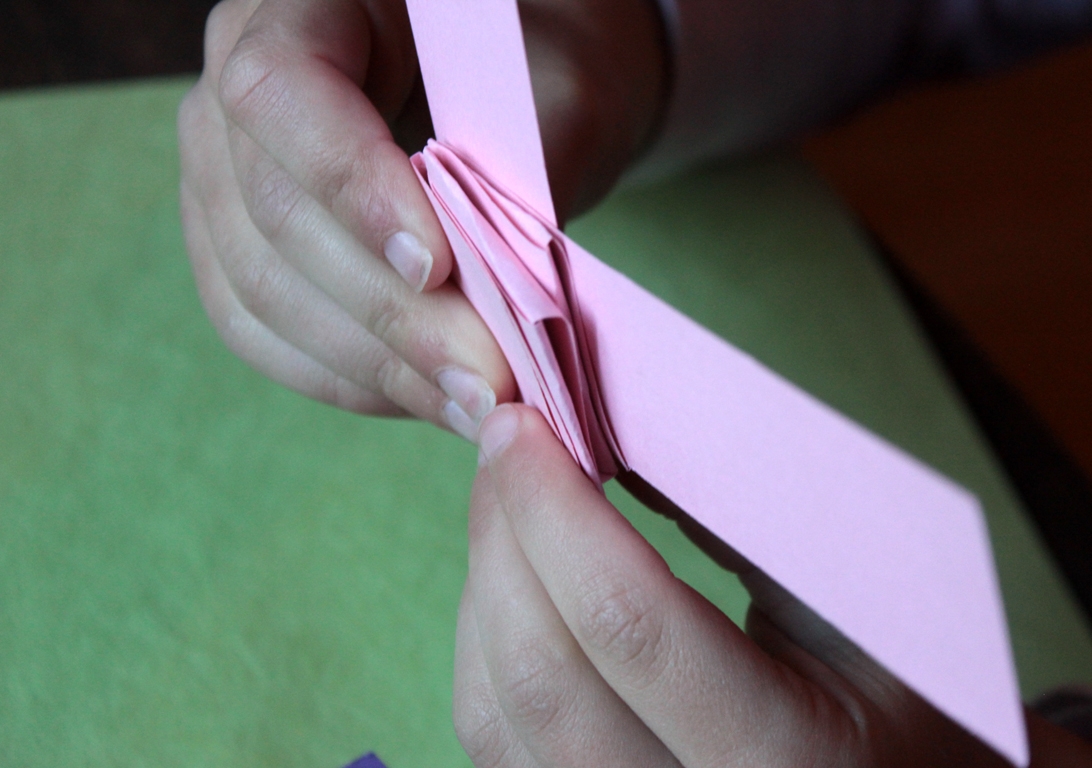
Now we had a new bottom piece and folded that one over the top of the other one. We just kept folding, until we had worked our way to the end of the paper strips.
Step 5
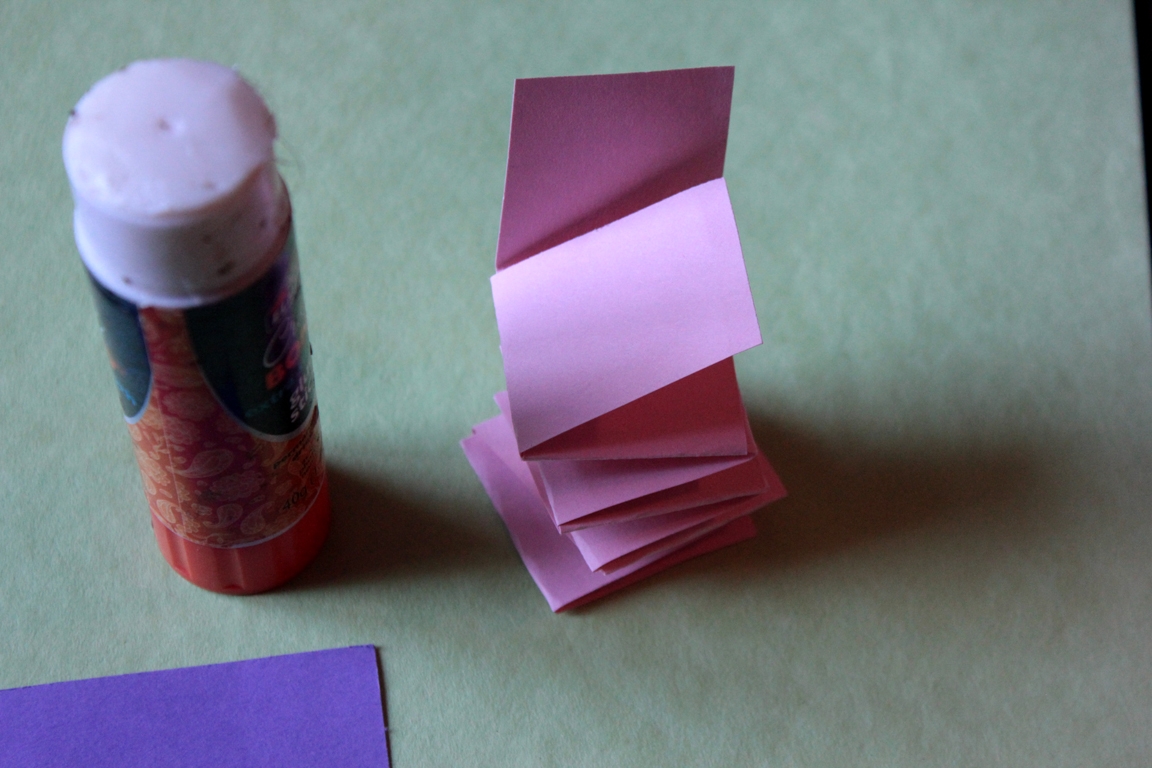
When it was done, we glued the last tab down to the one underneath it. If you would like an extra long one--say, for a caterpillar--just start two new strips, and add them on to your first set.
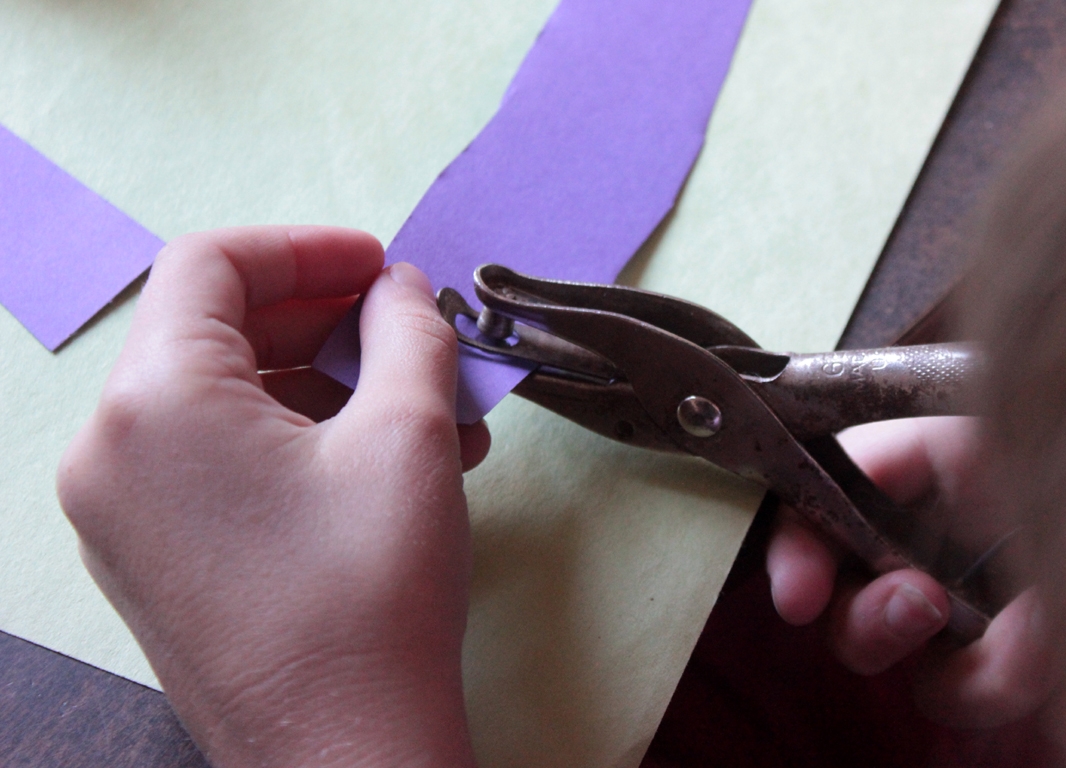
Step 6
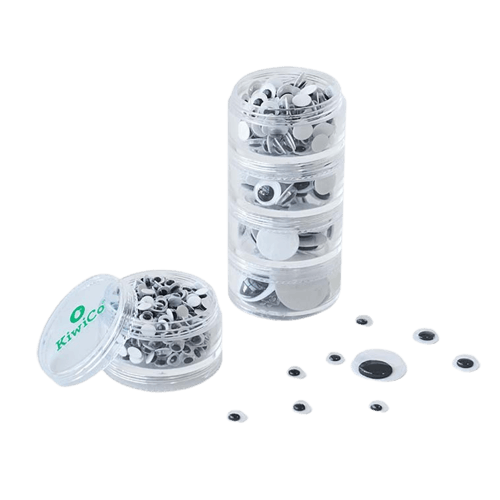
Her first bug was a pink ladybug with purple spots...so in comes the hole punch!
Step 7
We made some wings out of foil (foil glued over cut-out wings)... some with spots...
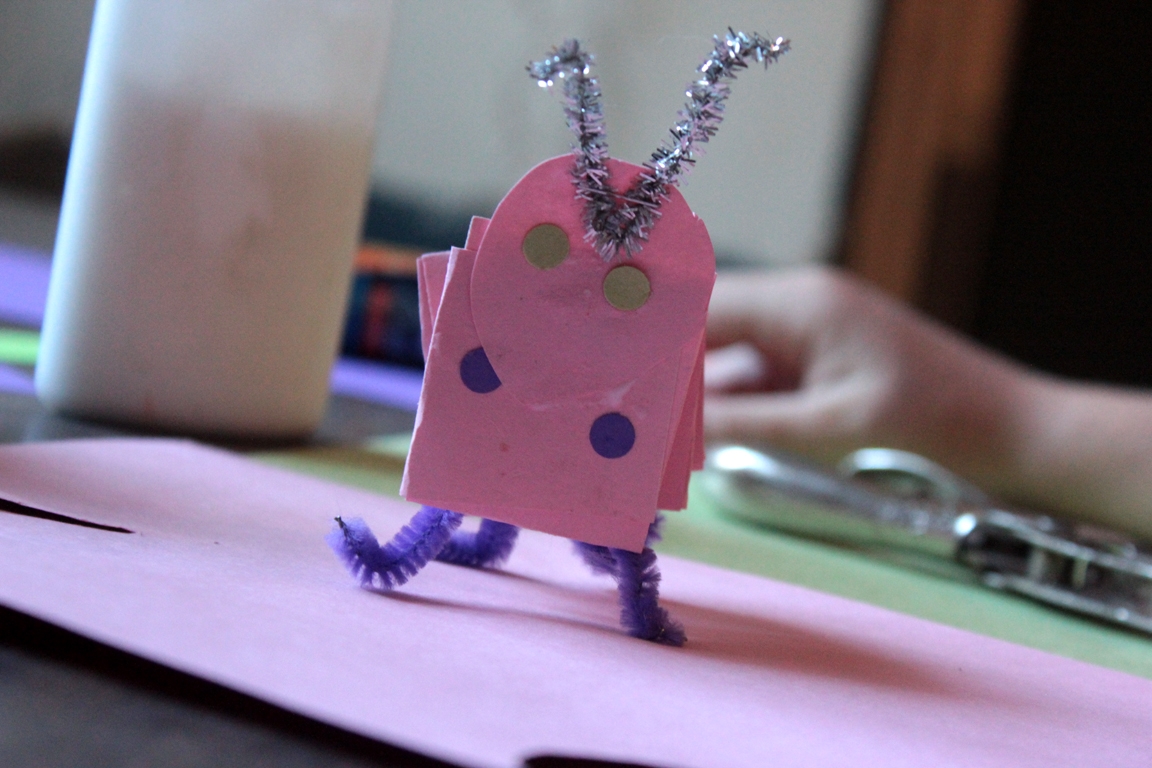
Done!
We just kept playing and decorating as we chose. Some made it onto popsicle sticks for buzzing and flying play, and some moseyed along on the ground. But all of them have loads of personality and are super cute!