Step-by-step tutorial
Step 1
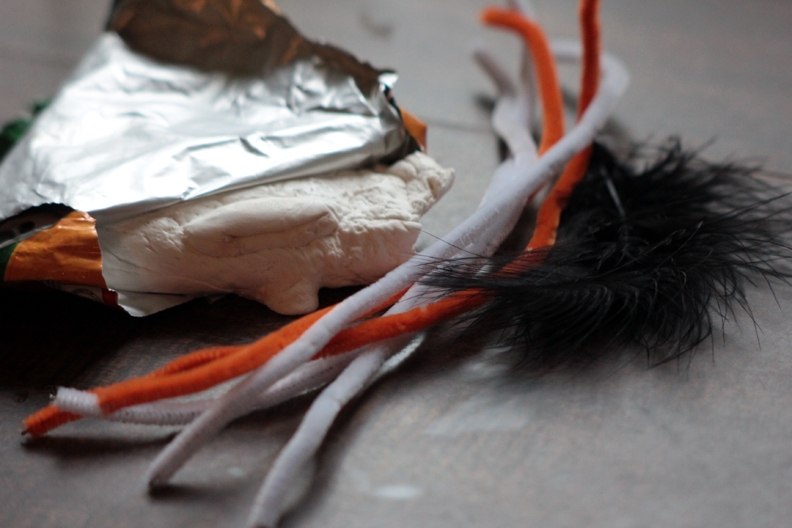
I wasn't sure if regular (natural) clay was going to work for this, so I played with it before I sat down to create with Maddie. It worked alright, but we had some Model Magic (very light clay), so we ended up using that.

Step 2
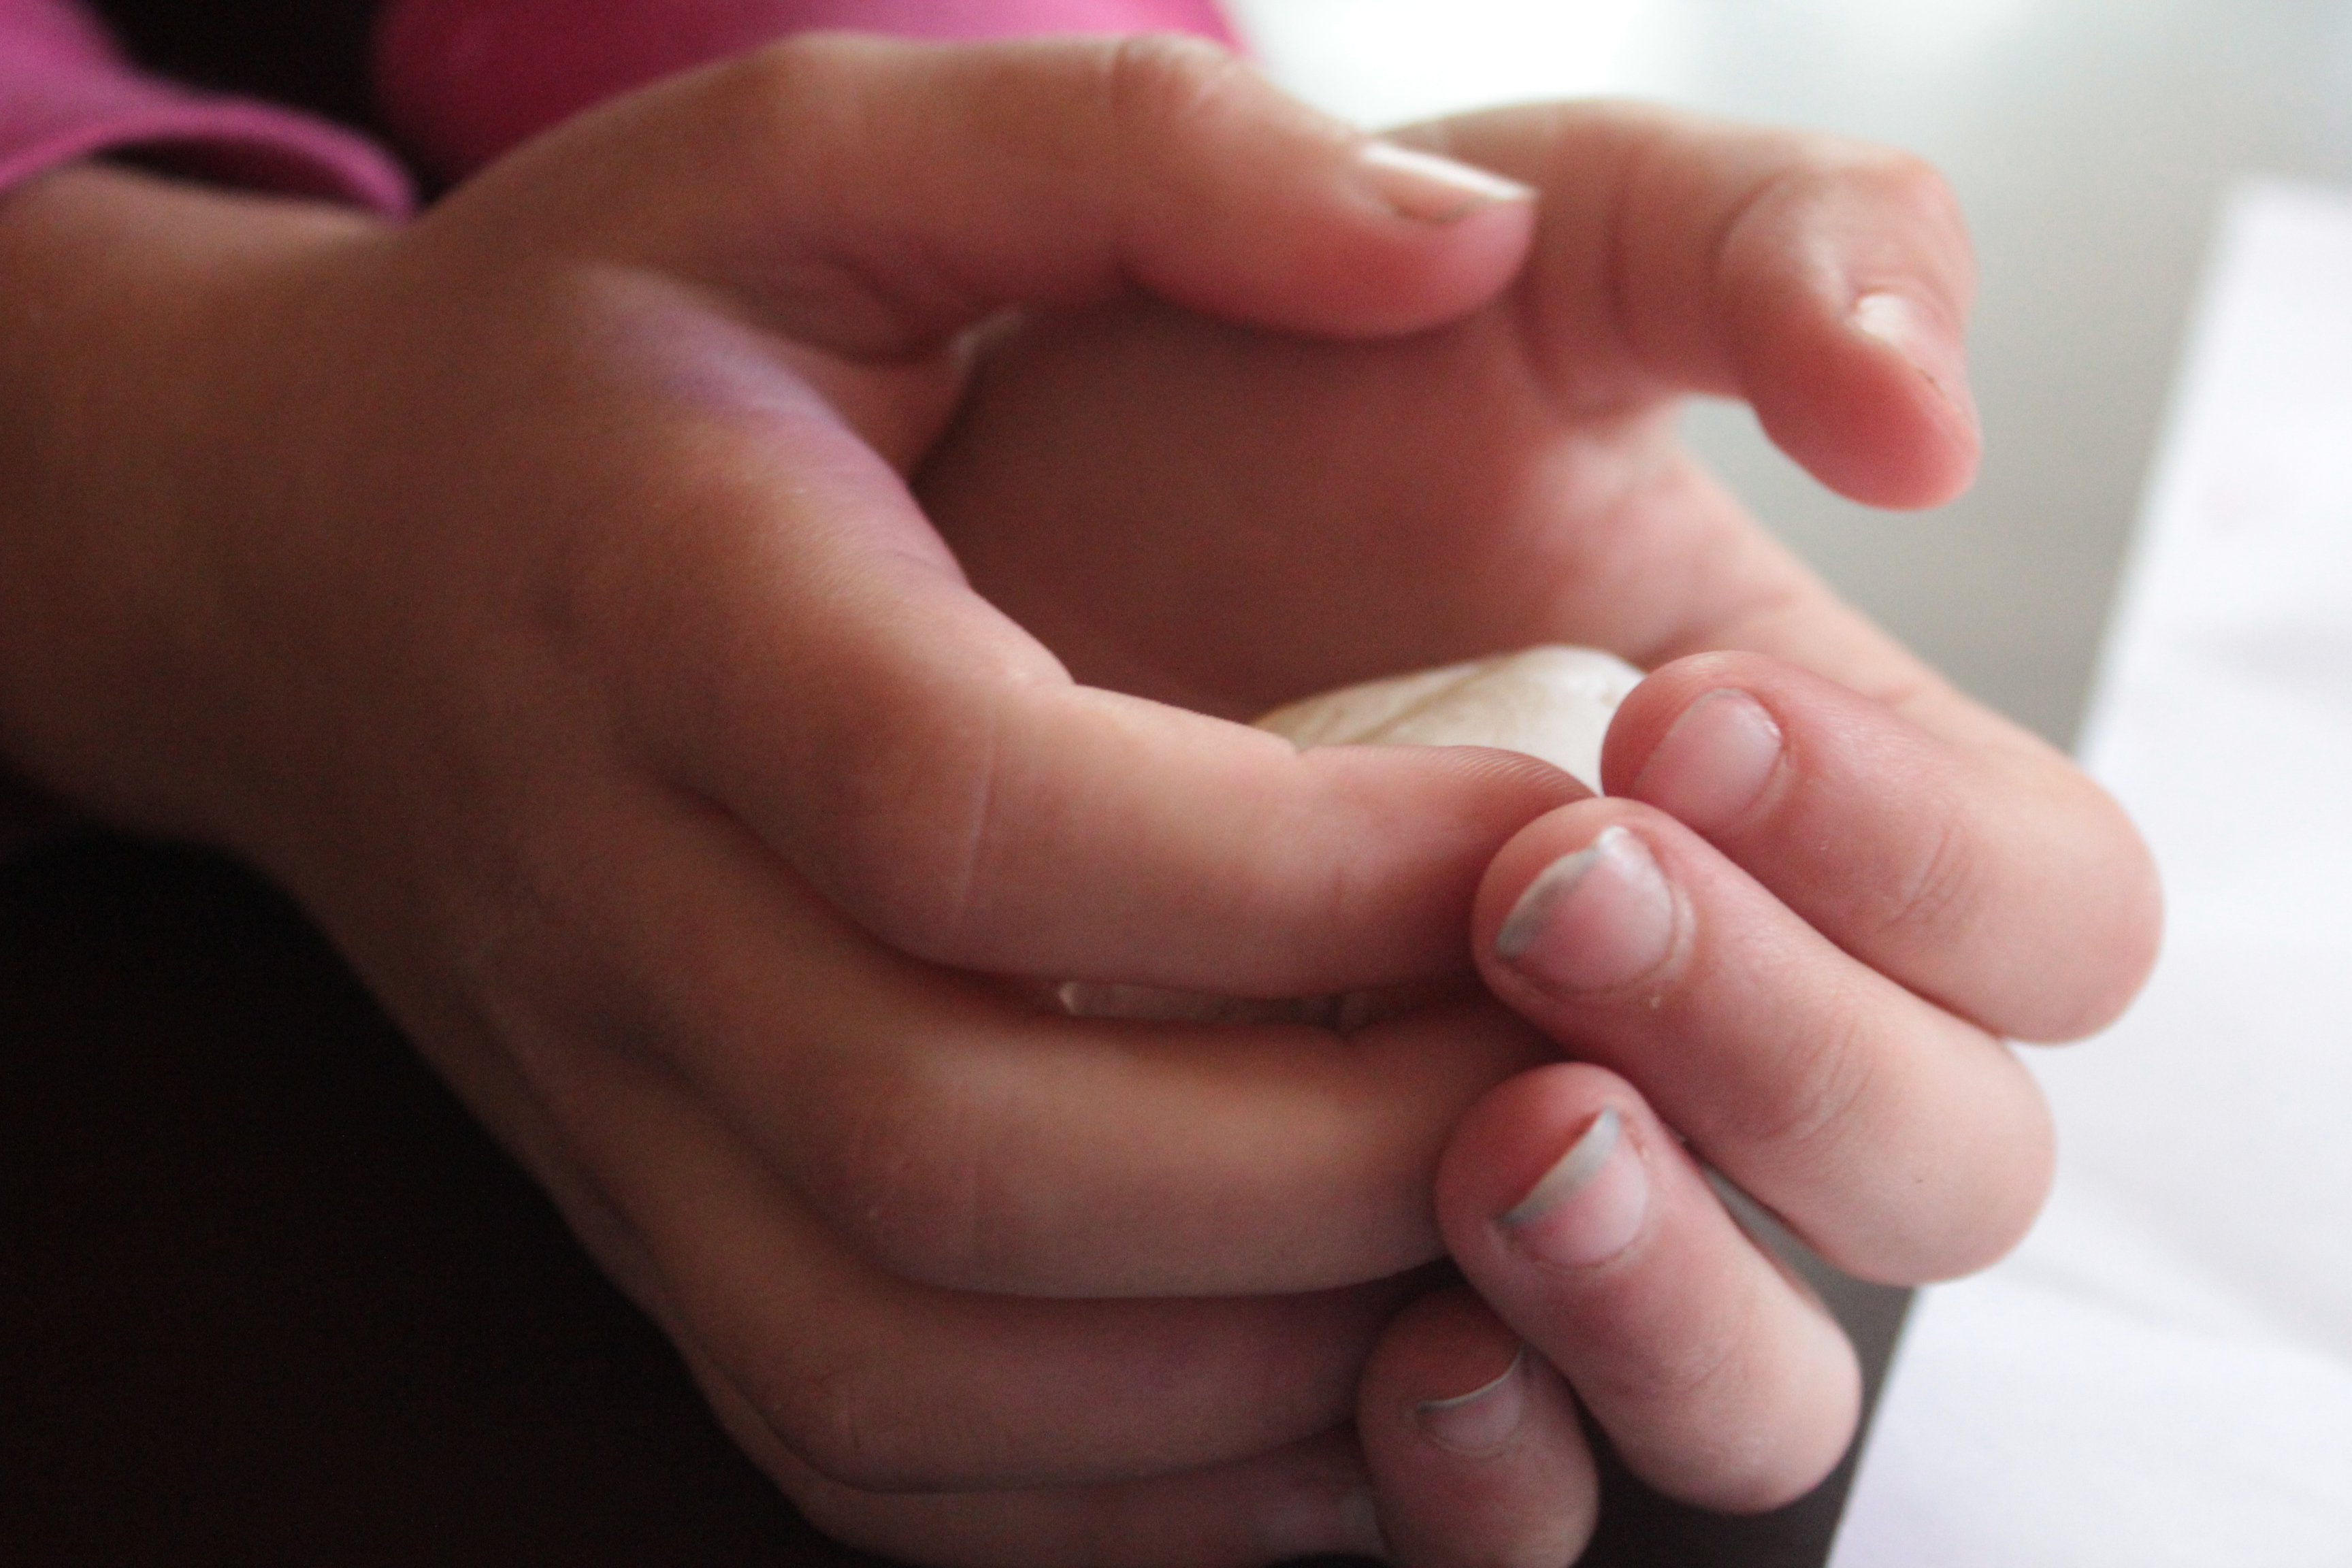
She started out by shaping a golf-ball-size of clay. She loved how sticky the clay was. I loved that the clay didn't dry out in three seconds. Hooray!
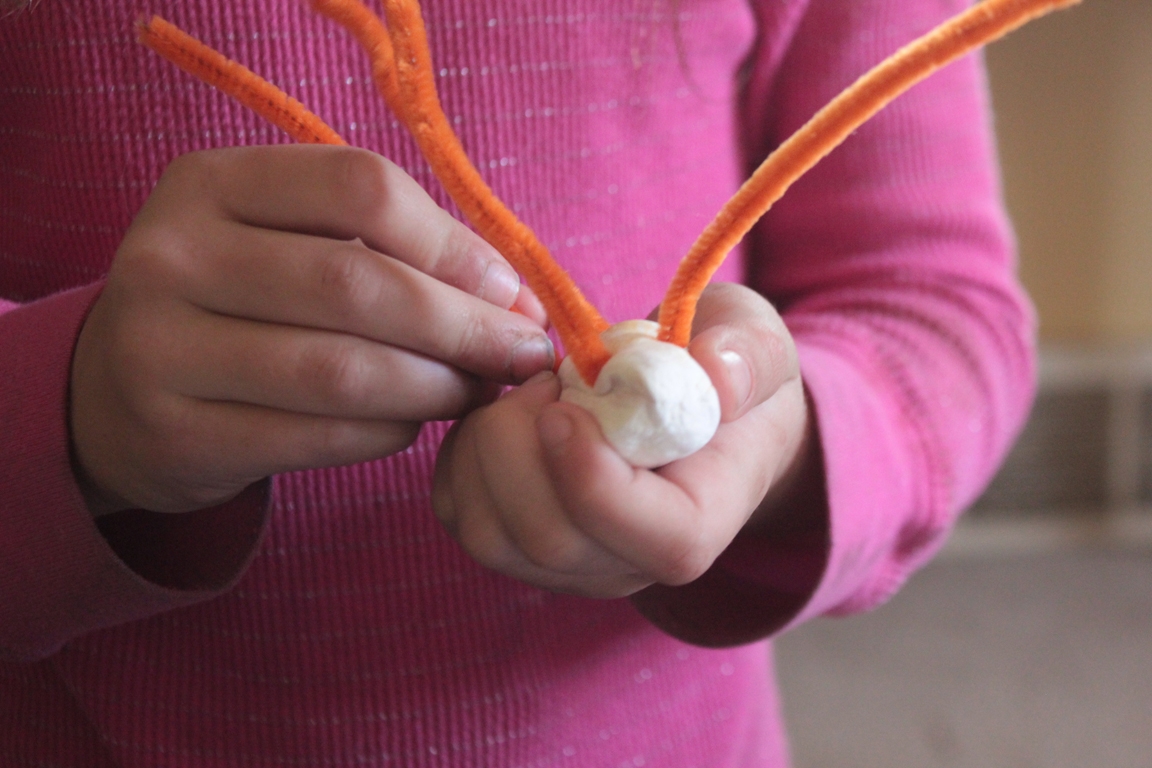
Step 3
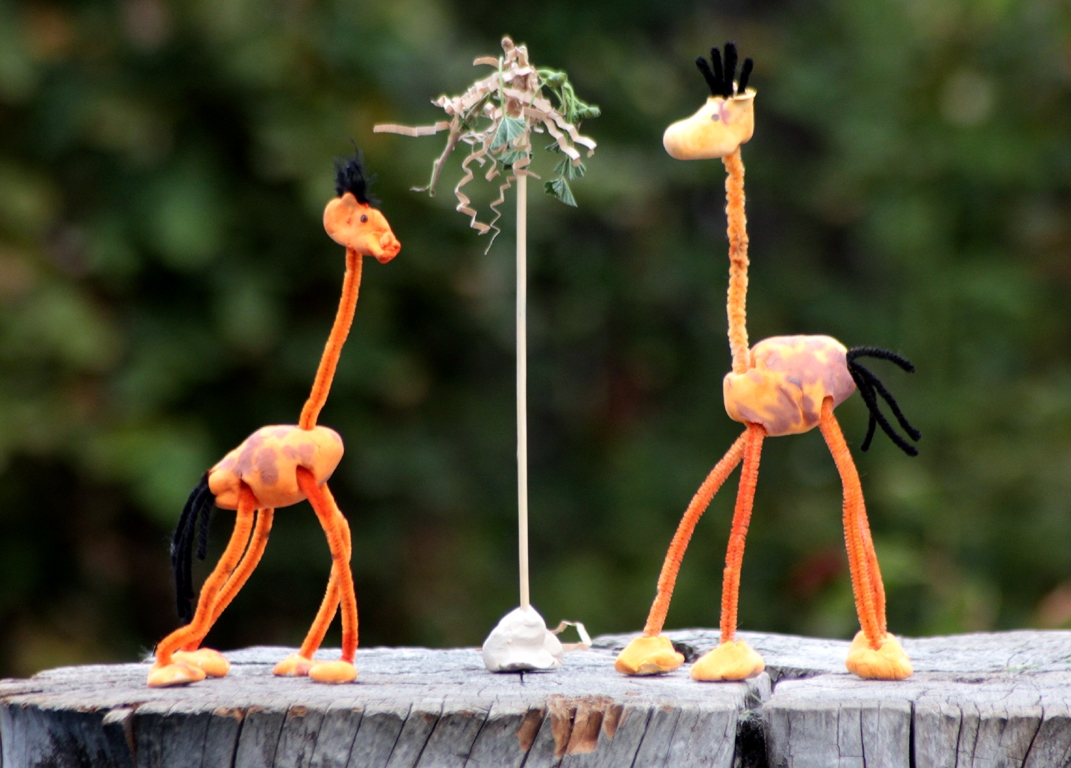
On the giraffe that I made with the heavier clay, I twisted two pipe cleaners together to form one, to make a sturdier neck. Maddie only used one pipe cleaner for the neck, and it worked fine for her. She poked four legs into the underside, and then made four marble-sized balls for the feet. She poked her legs into the feet, stabilizing the body.
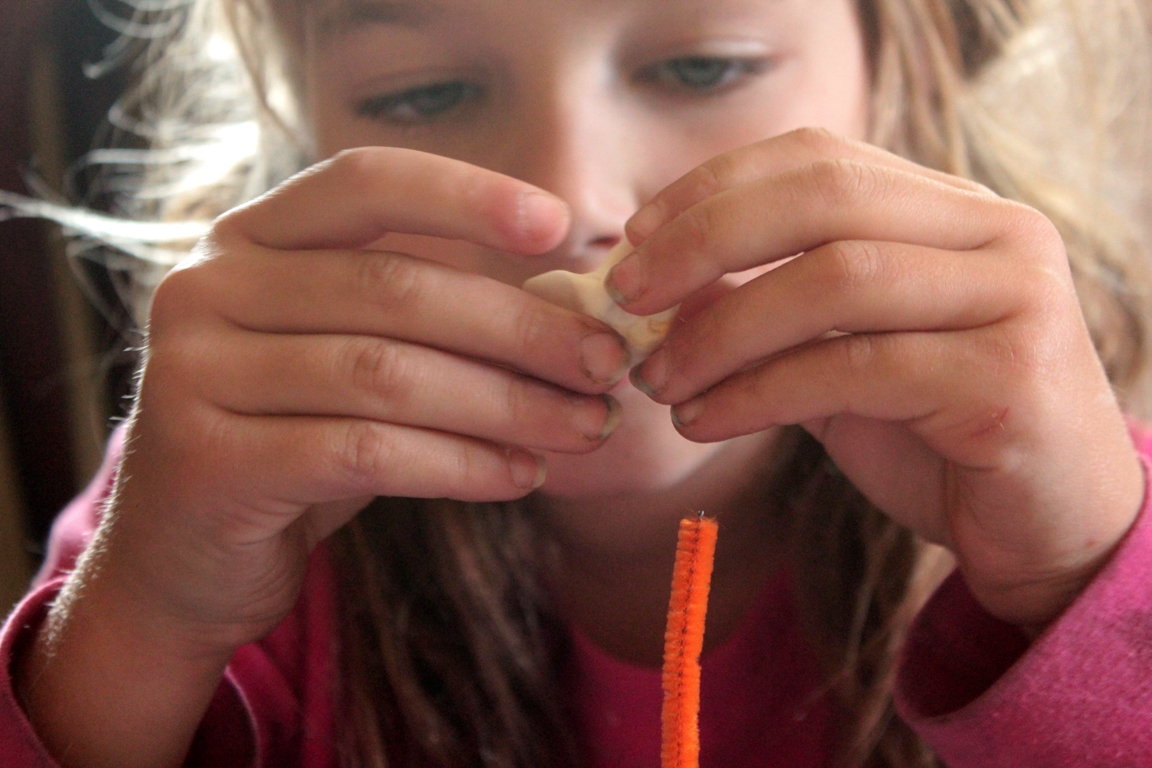
Step 4
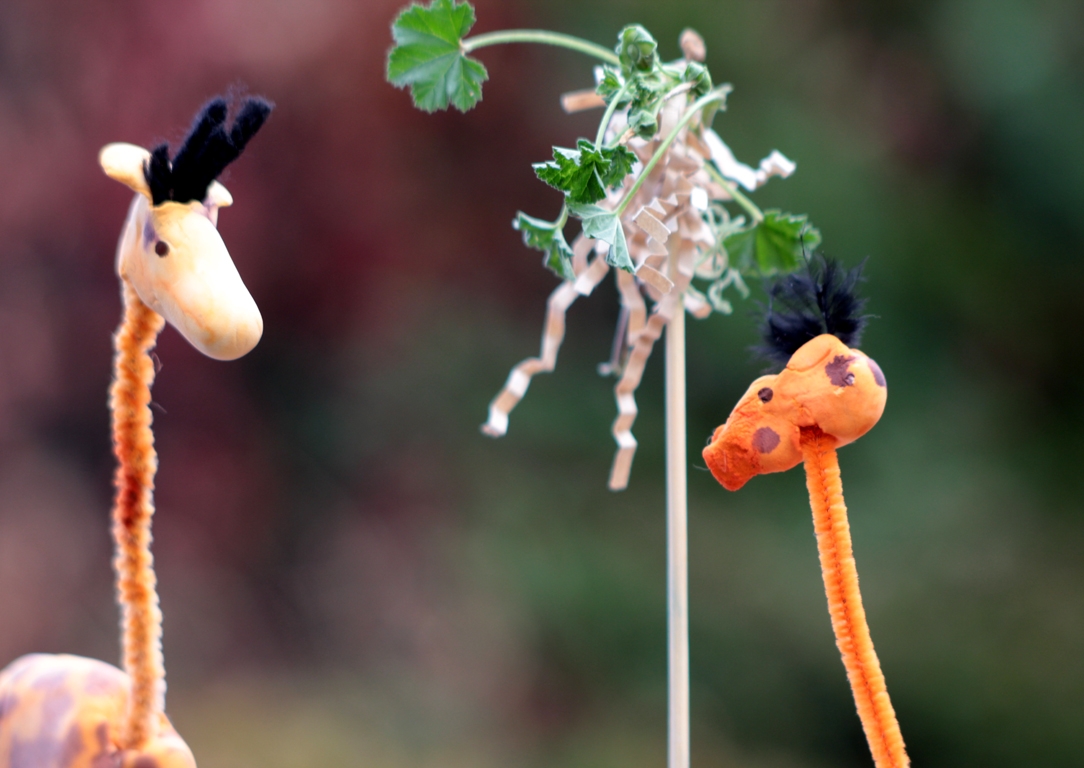
We stood our giraffes upright and placed the neck. Next came the head! We shaped ears, and I added yarn for the mane. (If you're using a bit of feather, then wait for the clay to dry a bit and then poke in the feather.) We put our heads on right away, but you may want to wait for the clay to dry for a while so that there won't be as much 'give' and sagging (misshaping) of the clay.
Step 5
Time to paint! We both fancied orange....
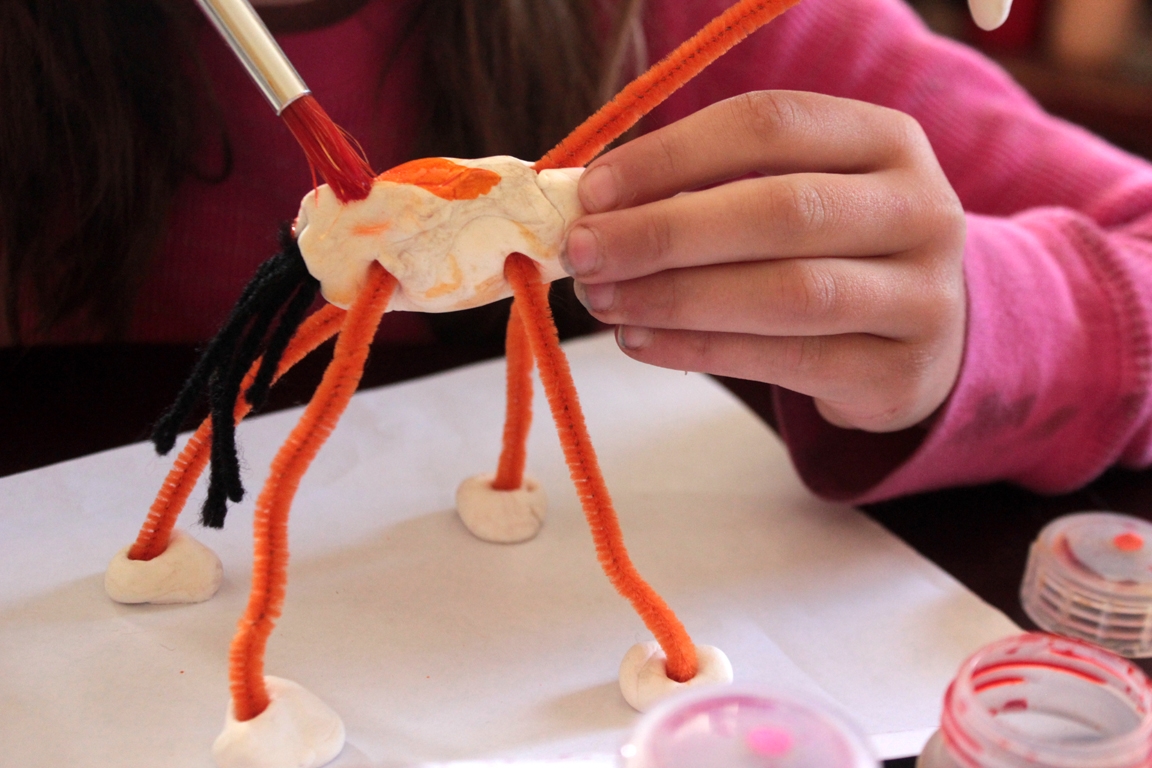
Step 6
...with brown spots. We just dotted on a bit of brown, and let it spread into odd shapes for the pattern. (Watercolors are definitely the way to go for this!)
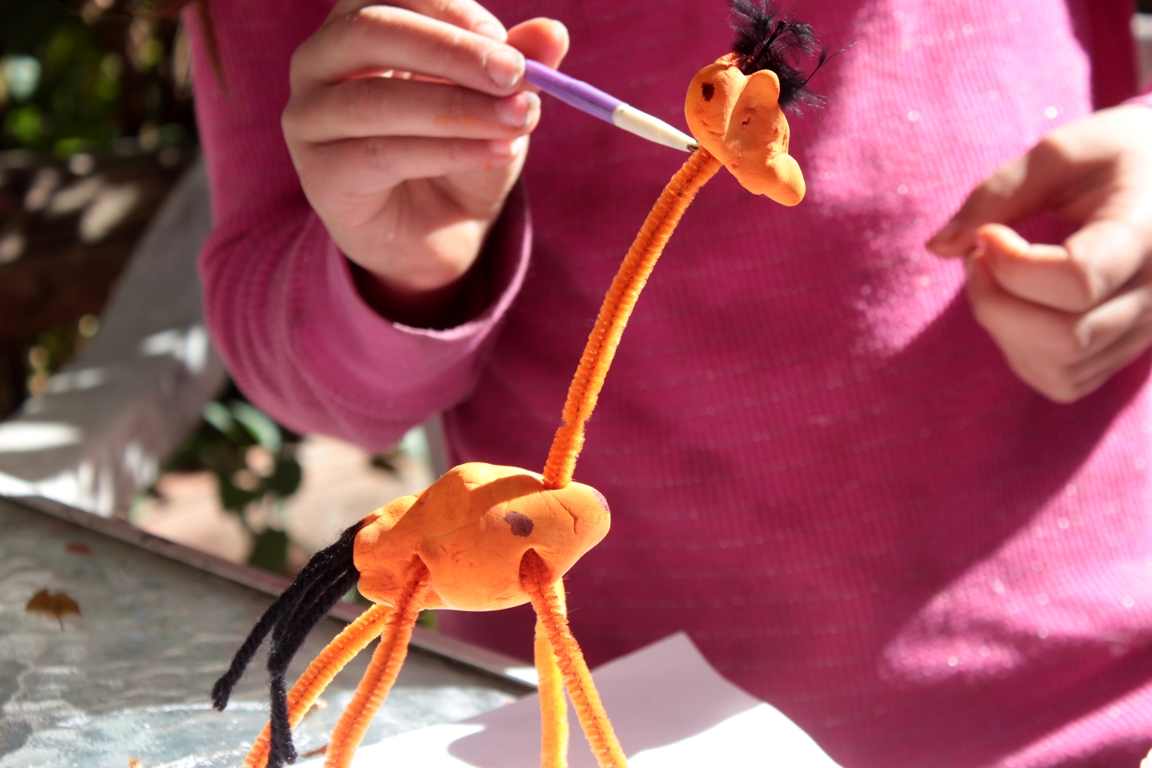
Done!
We added final details and touches--tail and mane, and dots for eyes. They're so adorable. We love them so. And Madeleine loves her new playmates!