Step-by-step tutorial
Step 1
One of my kids' favorite ways to create is to paint. And we paint pretty often, so we're always interested in new techniques and mediums. Combine that with fish, and it will surely be something we'll love!

Step 2
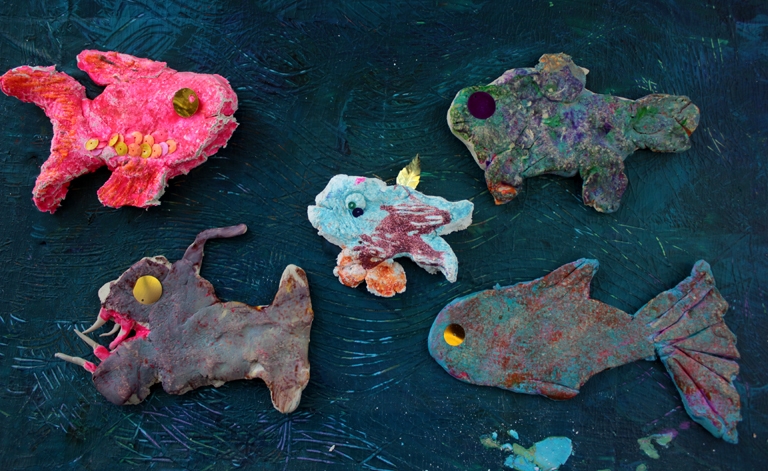
Our fish will be displayed on a background we made--we just cut a piece of cardboard, squirted on paints, and painted the cardboard with combs, making texture and ocean waves. We sculpted our fish--an angler fish, a puffer fish, and a gold fish.
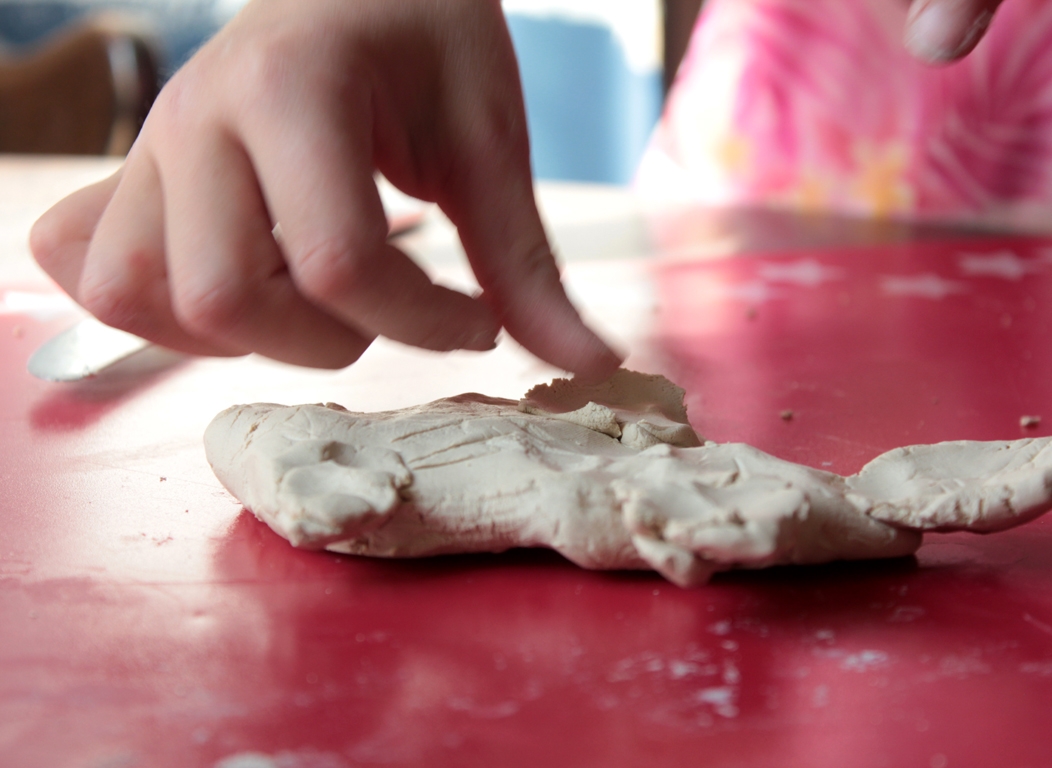
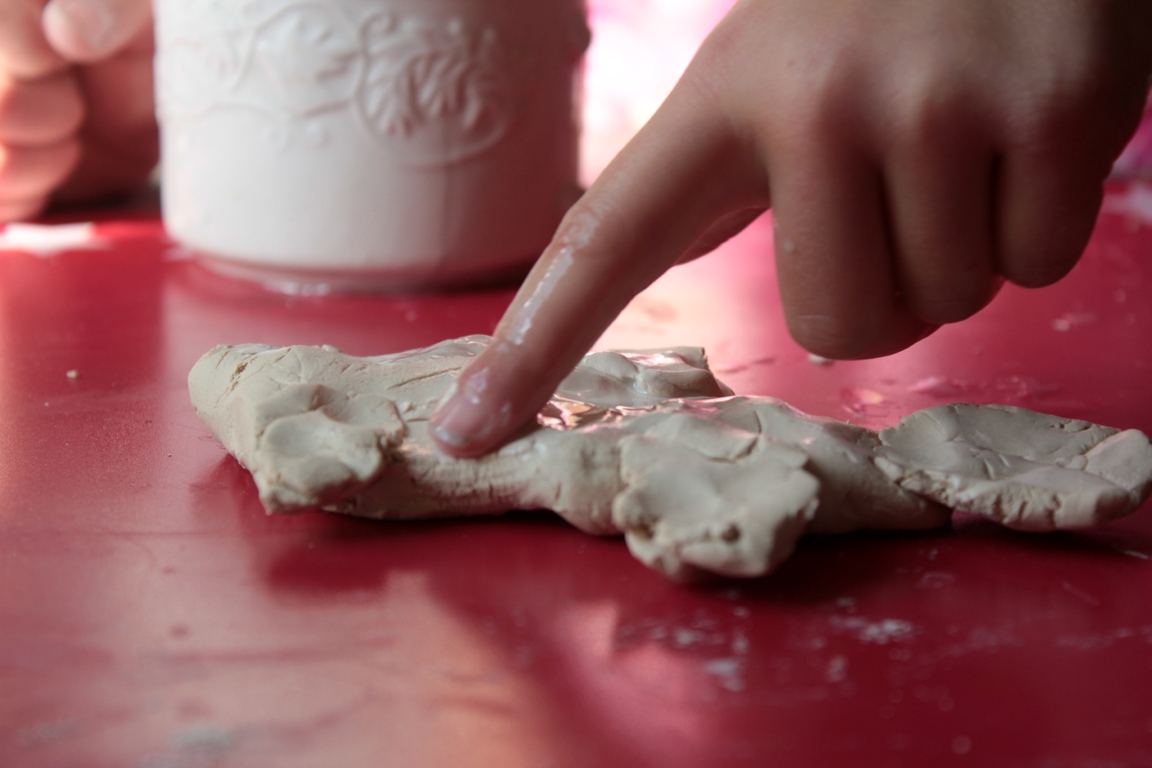
Step 3
Natural clay is easy to work with... if you need to smooth it, just rub spots with a wet finger. Maddie thinks popping your finger in your mouth does a fine job, but I find a tiny bowl of water more effective!
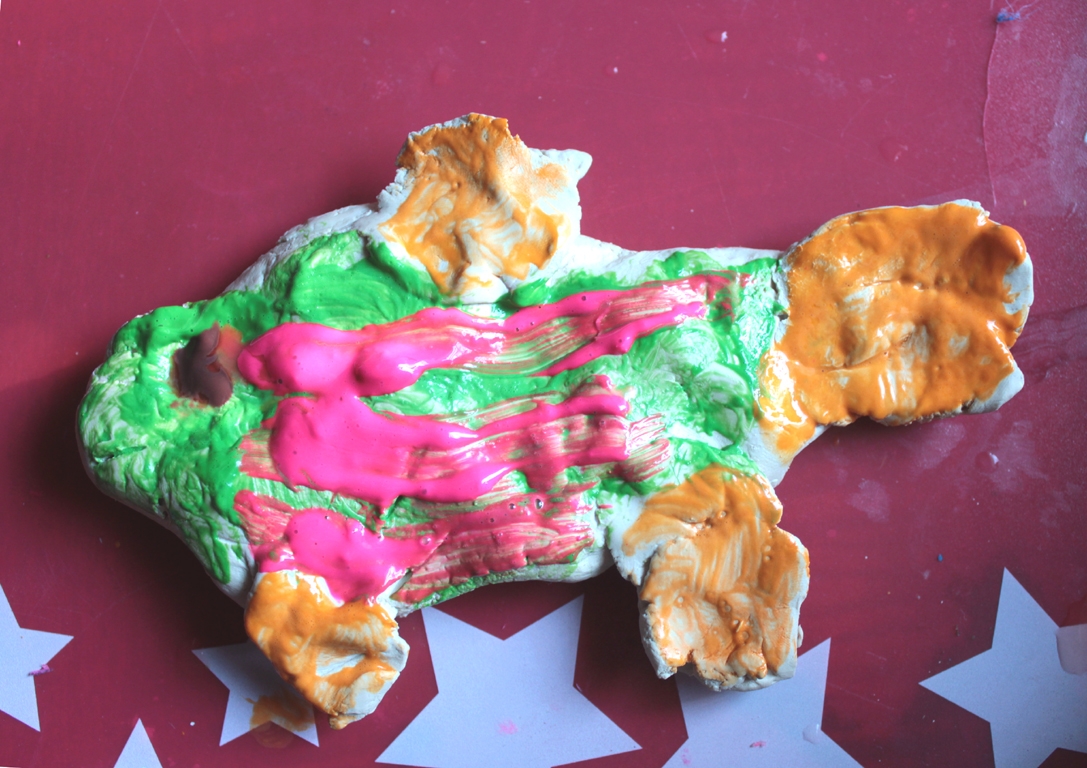
Step 4
We let our fish dry for just a few minutes, then started painting.
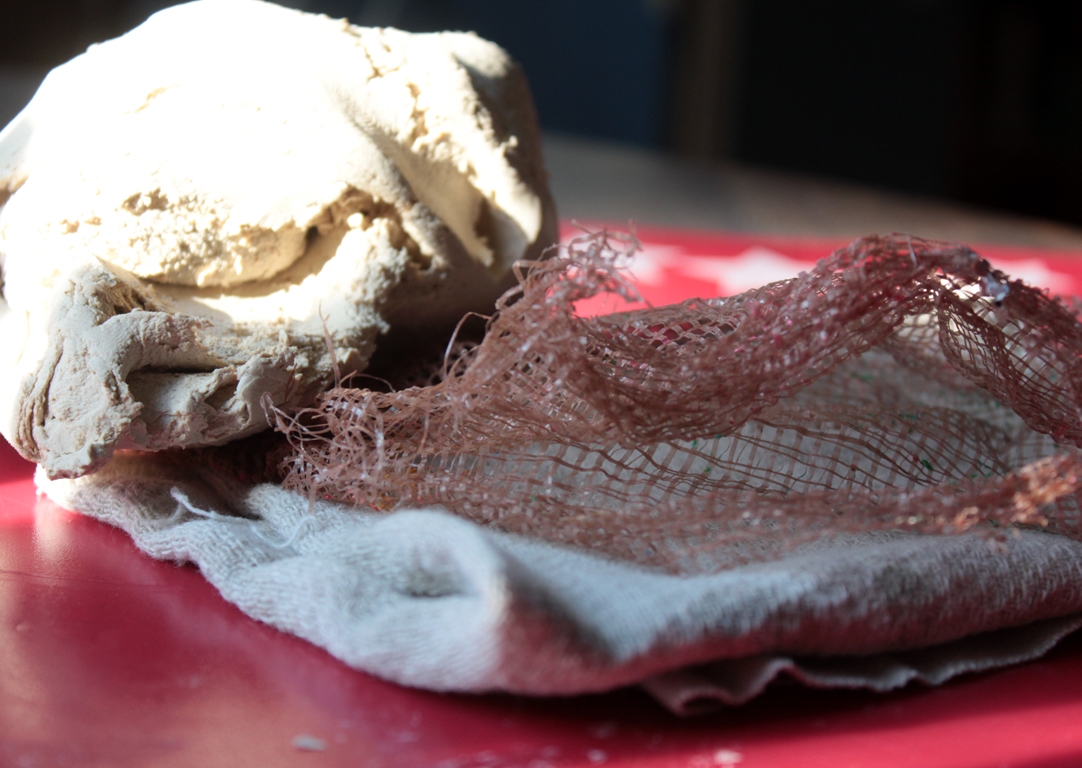
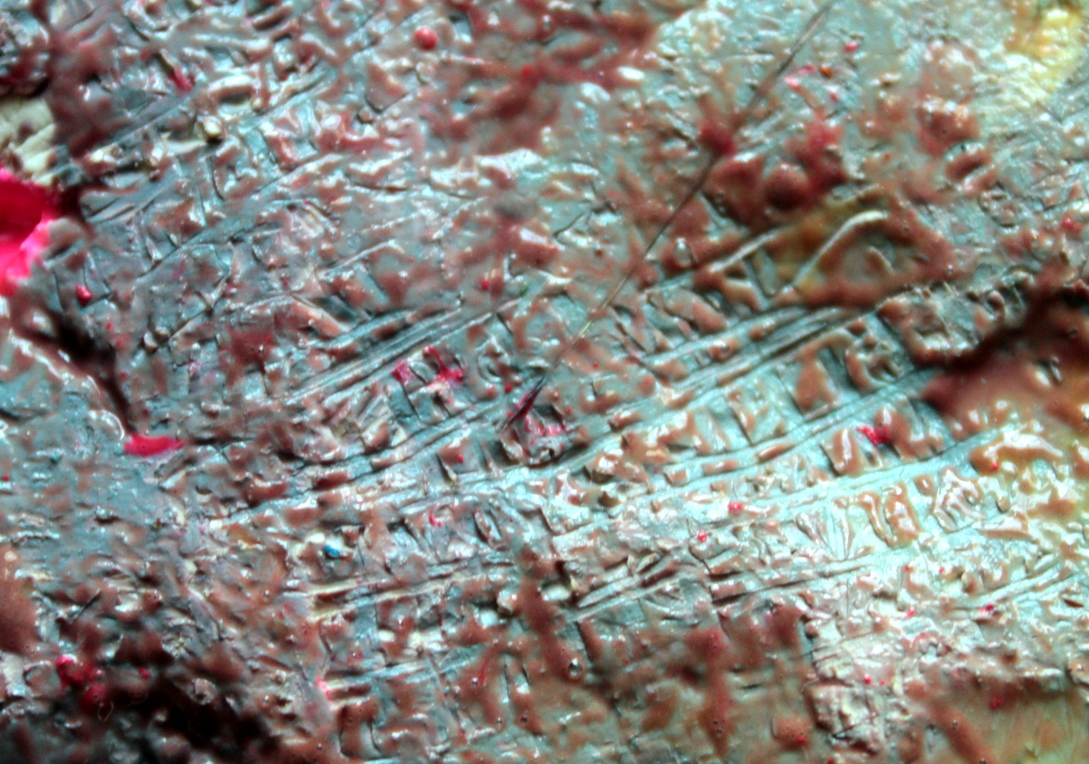
Step 5
Here comes the very best part! You can let your paint dry for a while, if you want your design to come through. Or, if you're impatient and excited like us, then grab your mesh and put a rag in it. You can either pat your wet paint, or put a small amount of new color on your mesh-covered rag, and start lightly blotting. If the mesh is coarse, it will make a really great fish scale pattern on your fish!
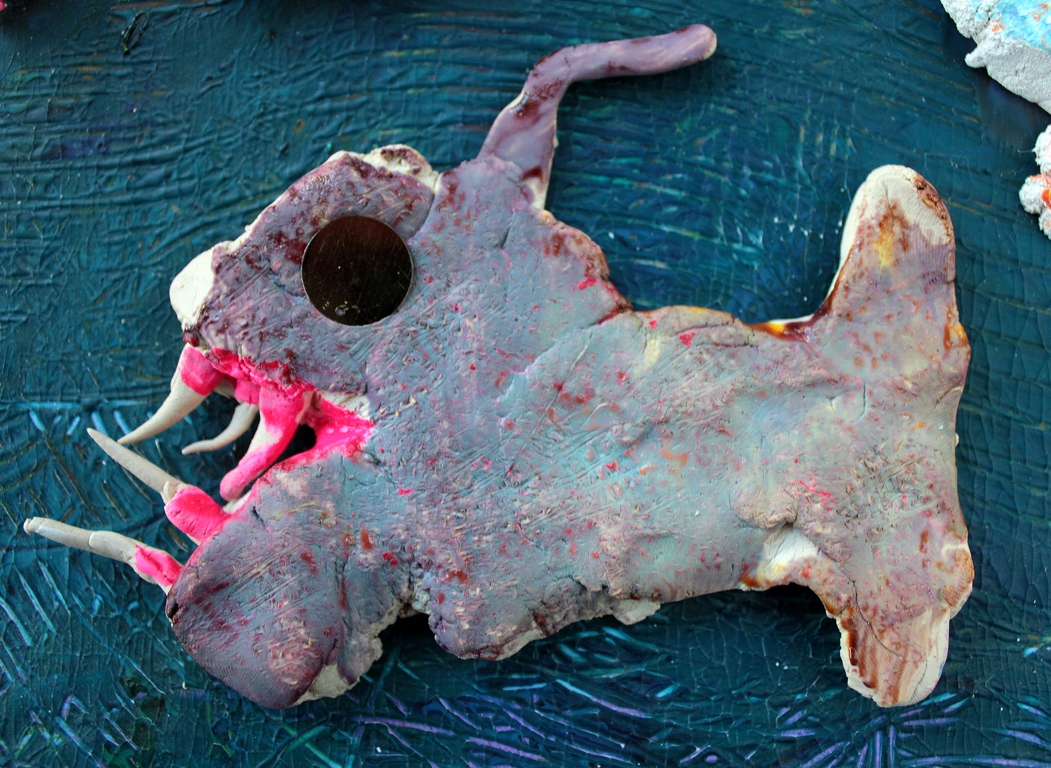
Step 6
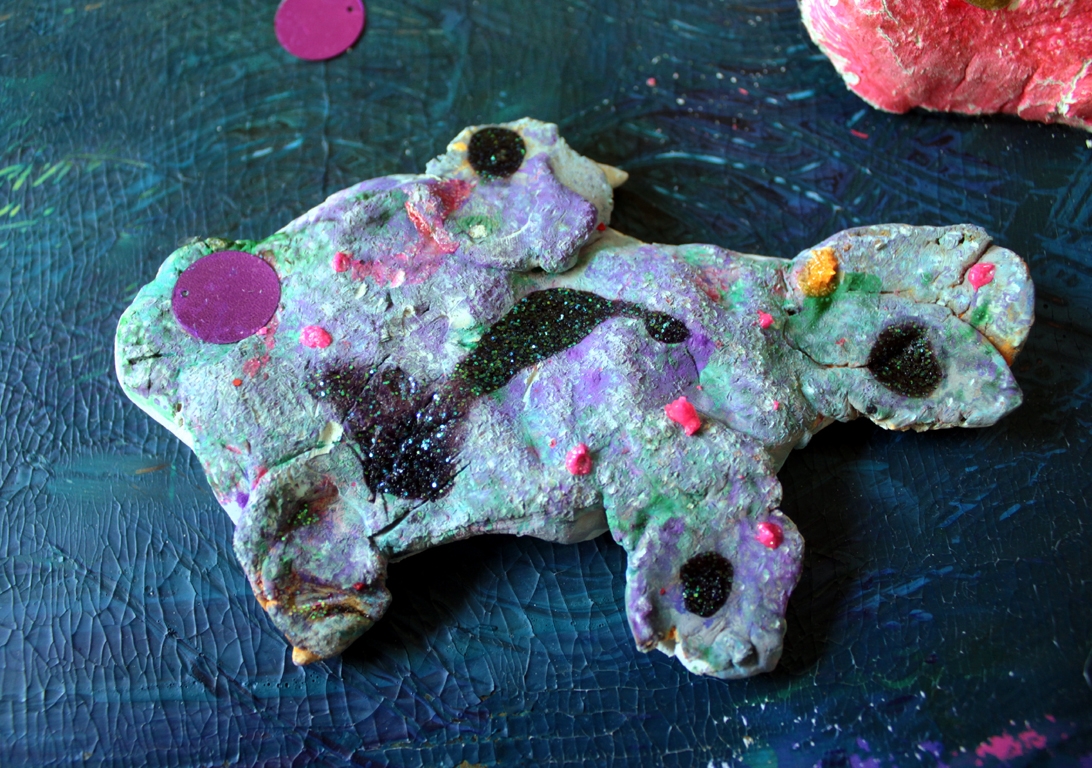
Some kids (like my son, the creator of the dreaded angler fish) may choose to to leave their creations looking fierce and undecorated...
Done!
...and some (like my daughter, who's a glitter-and-sparkles sort of gal) may want a few sequins and sparkles to liven things up. Happy fishing!