Step-by-step tutorial
Step 1
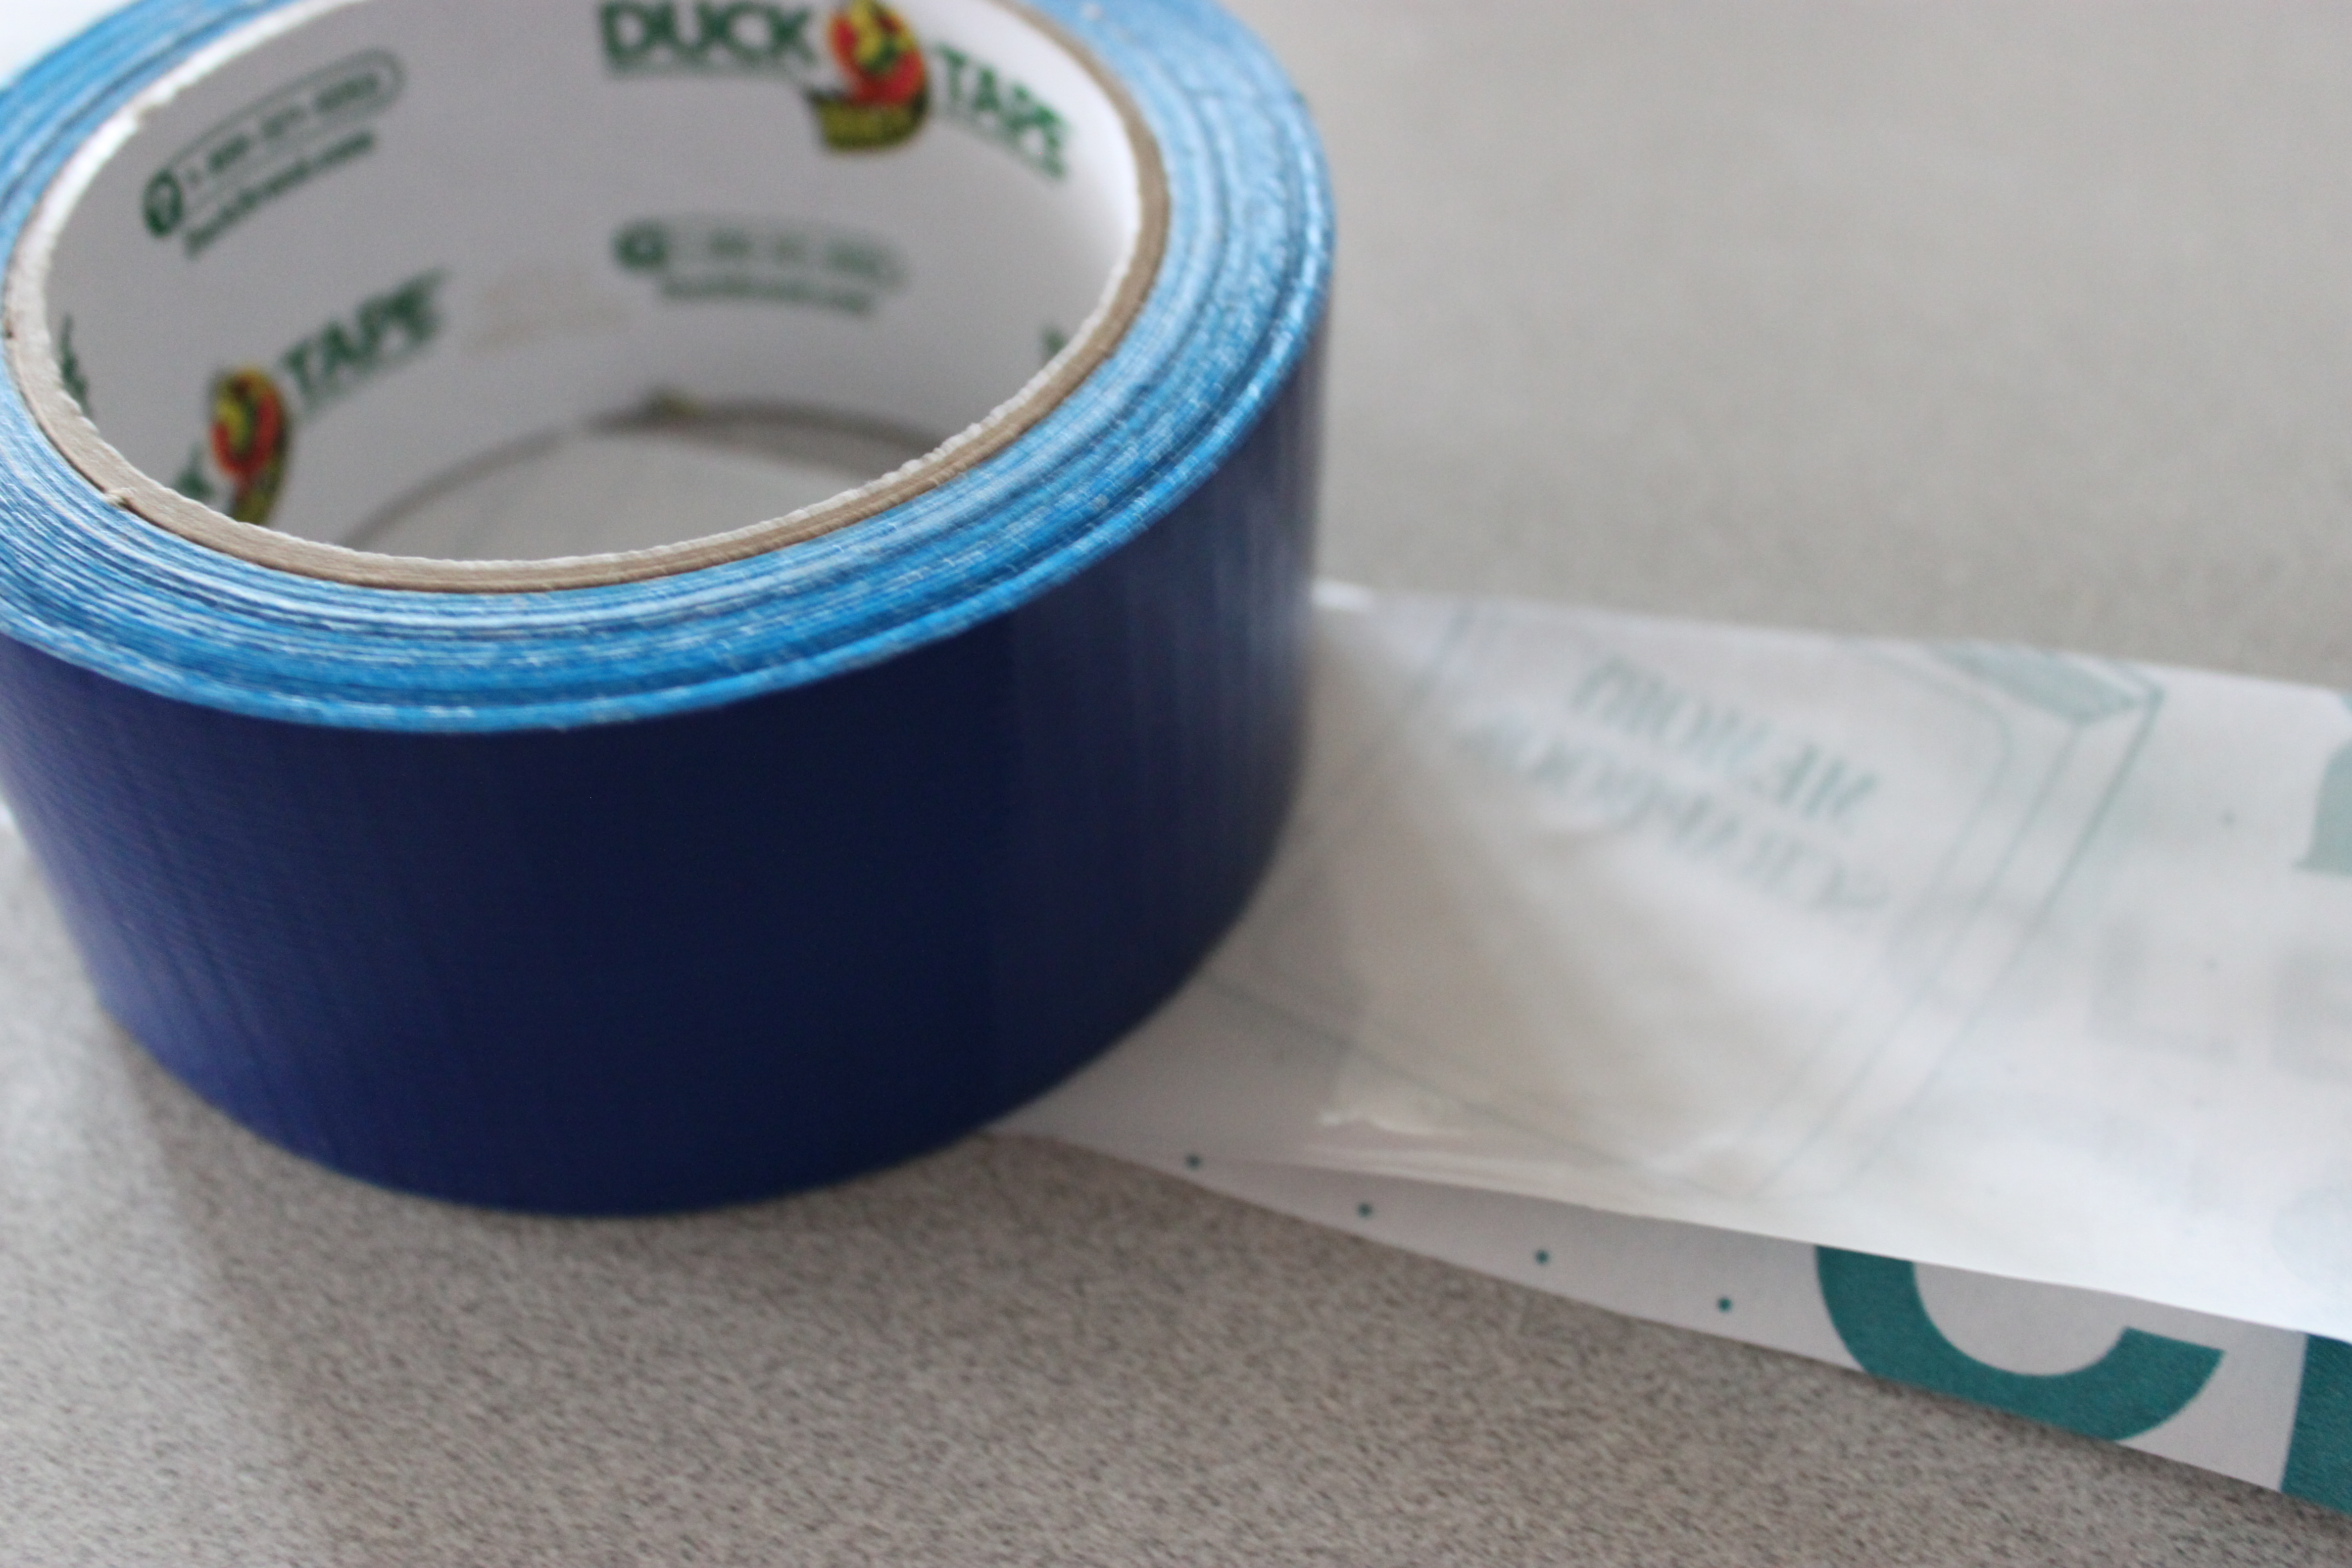
Measure the width of your duct tape. Mine was a little bit over 2 1/2 inches, so I cut a strip of contact paper that was about 3 inches wide. Once you have those two things, you're ready to go.

Step 2
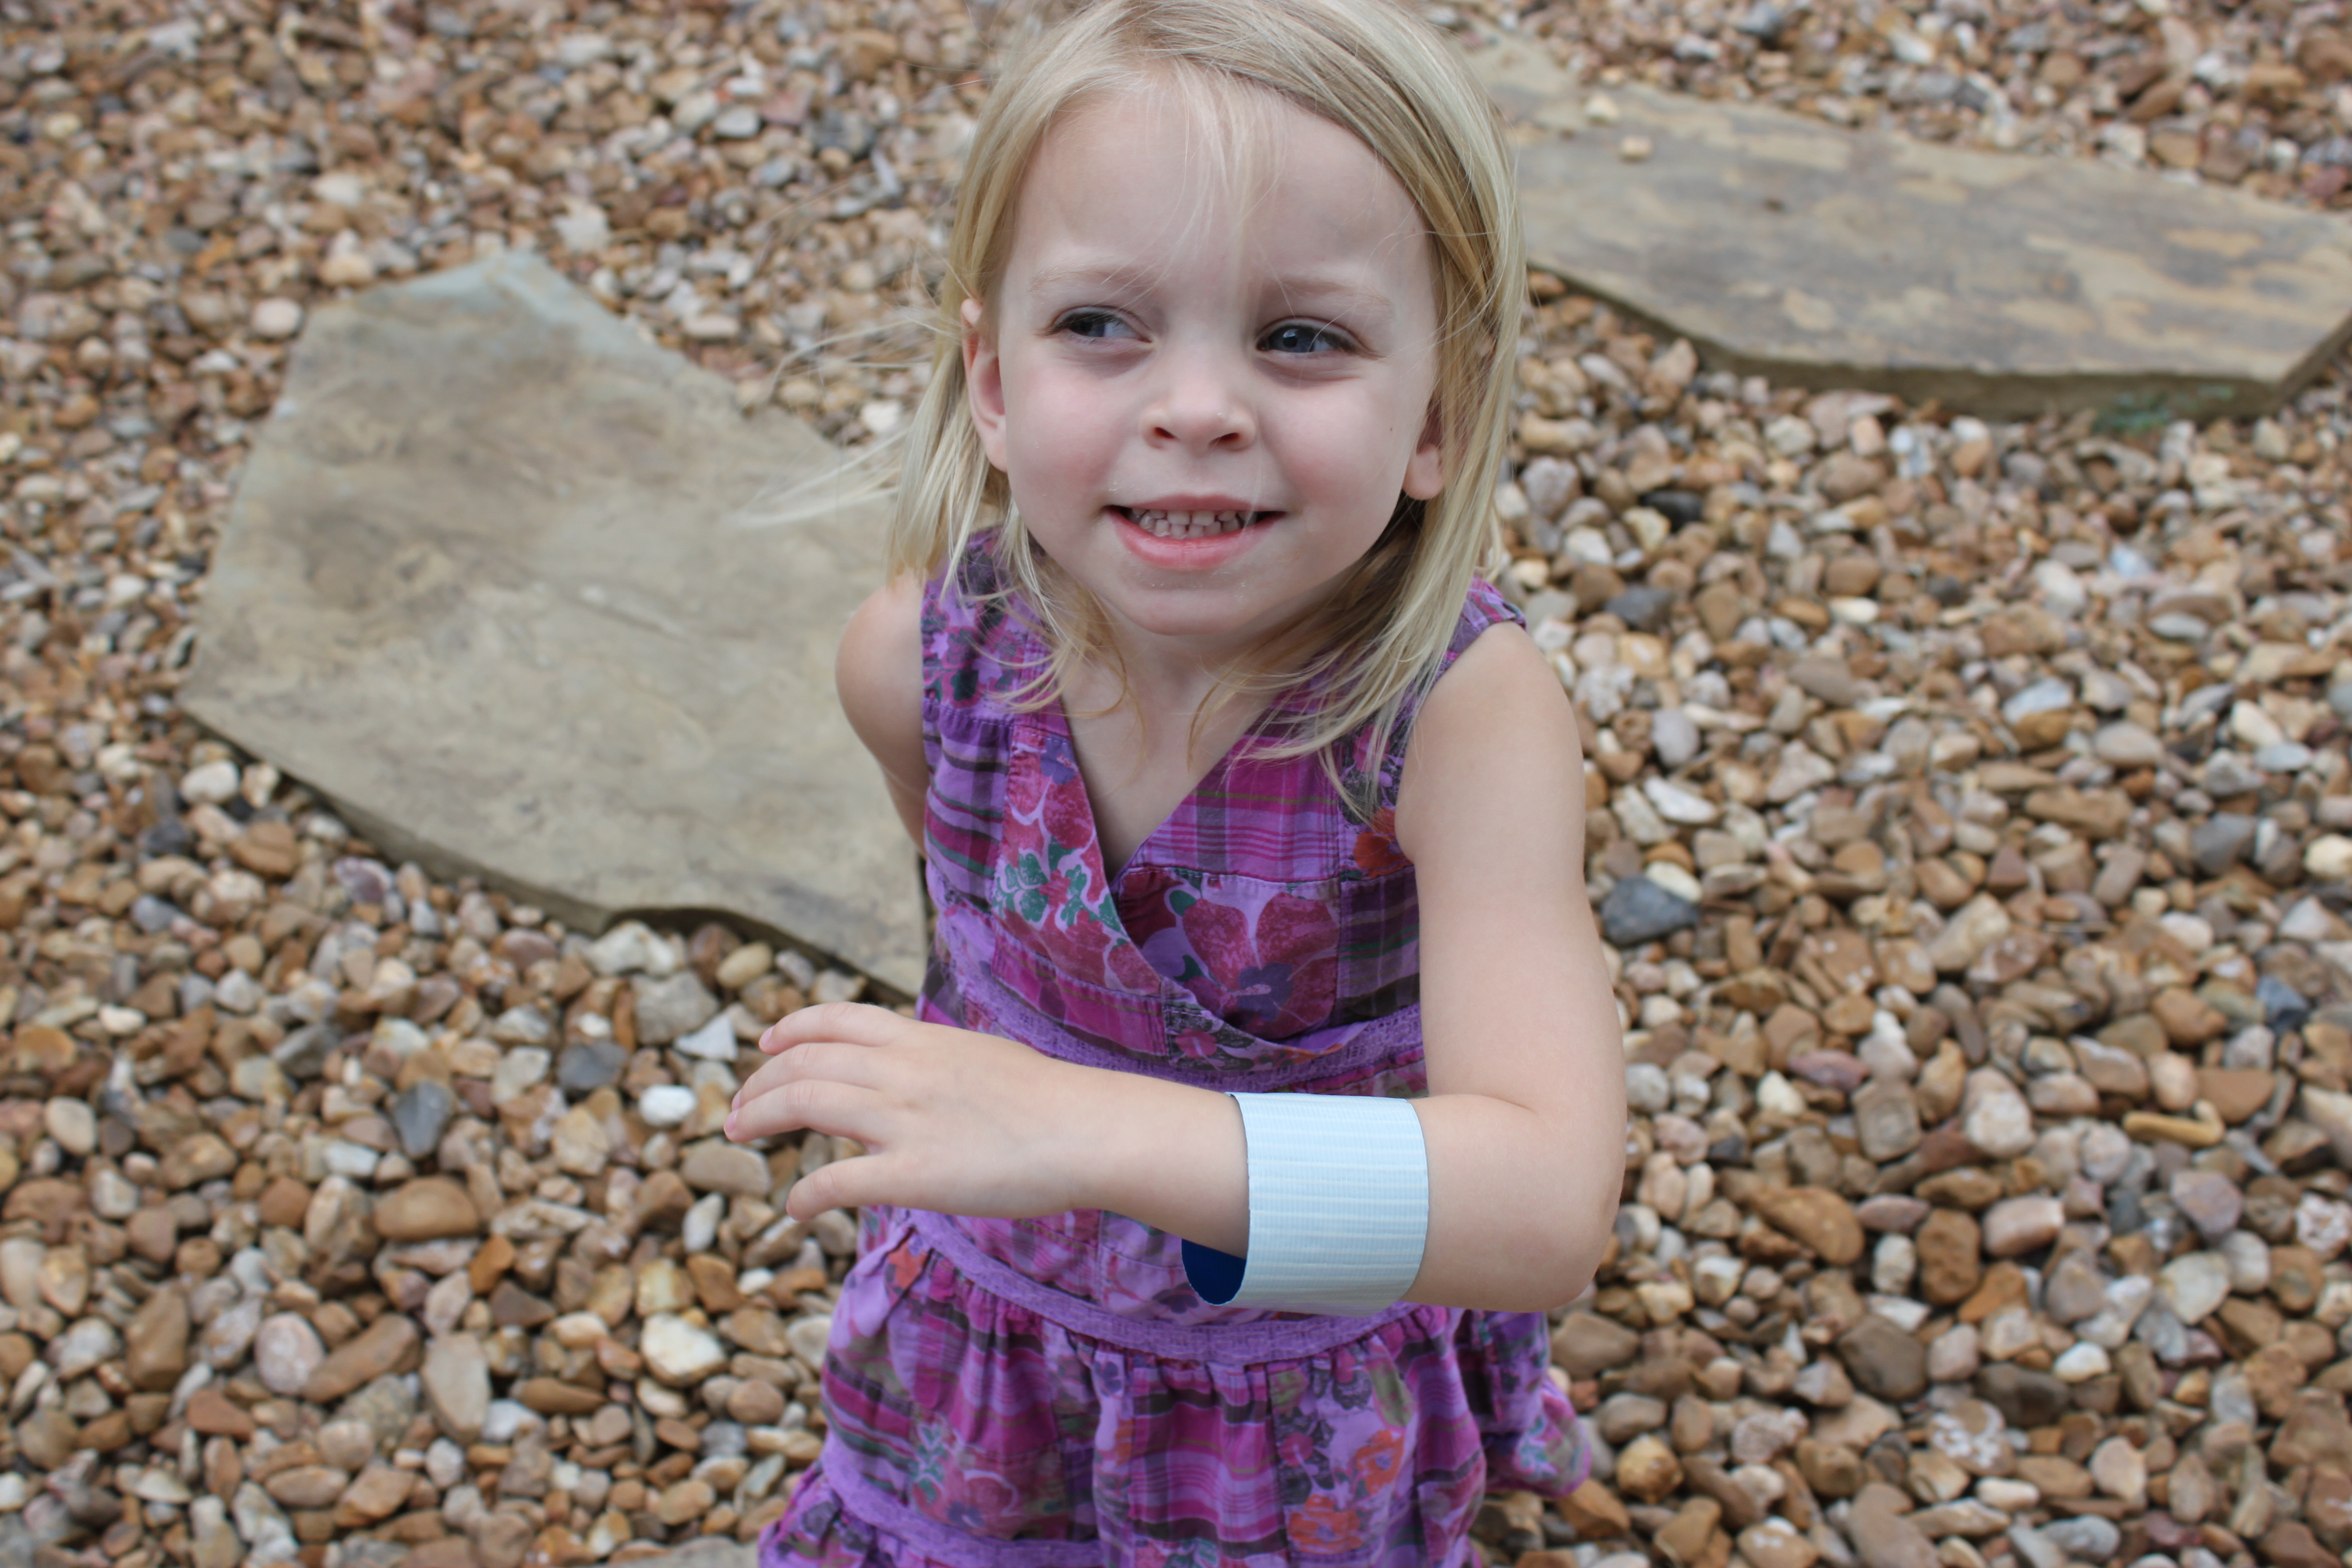
Wrap a strip of duct tape, sticky side up, around your child's wrist. When you overlap the ends, it will stay on. I made the bracelet a little bit loose so it would be easy to slip on and off.
Step 3
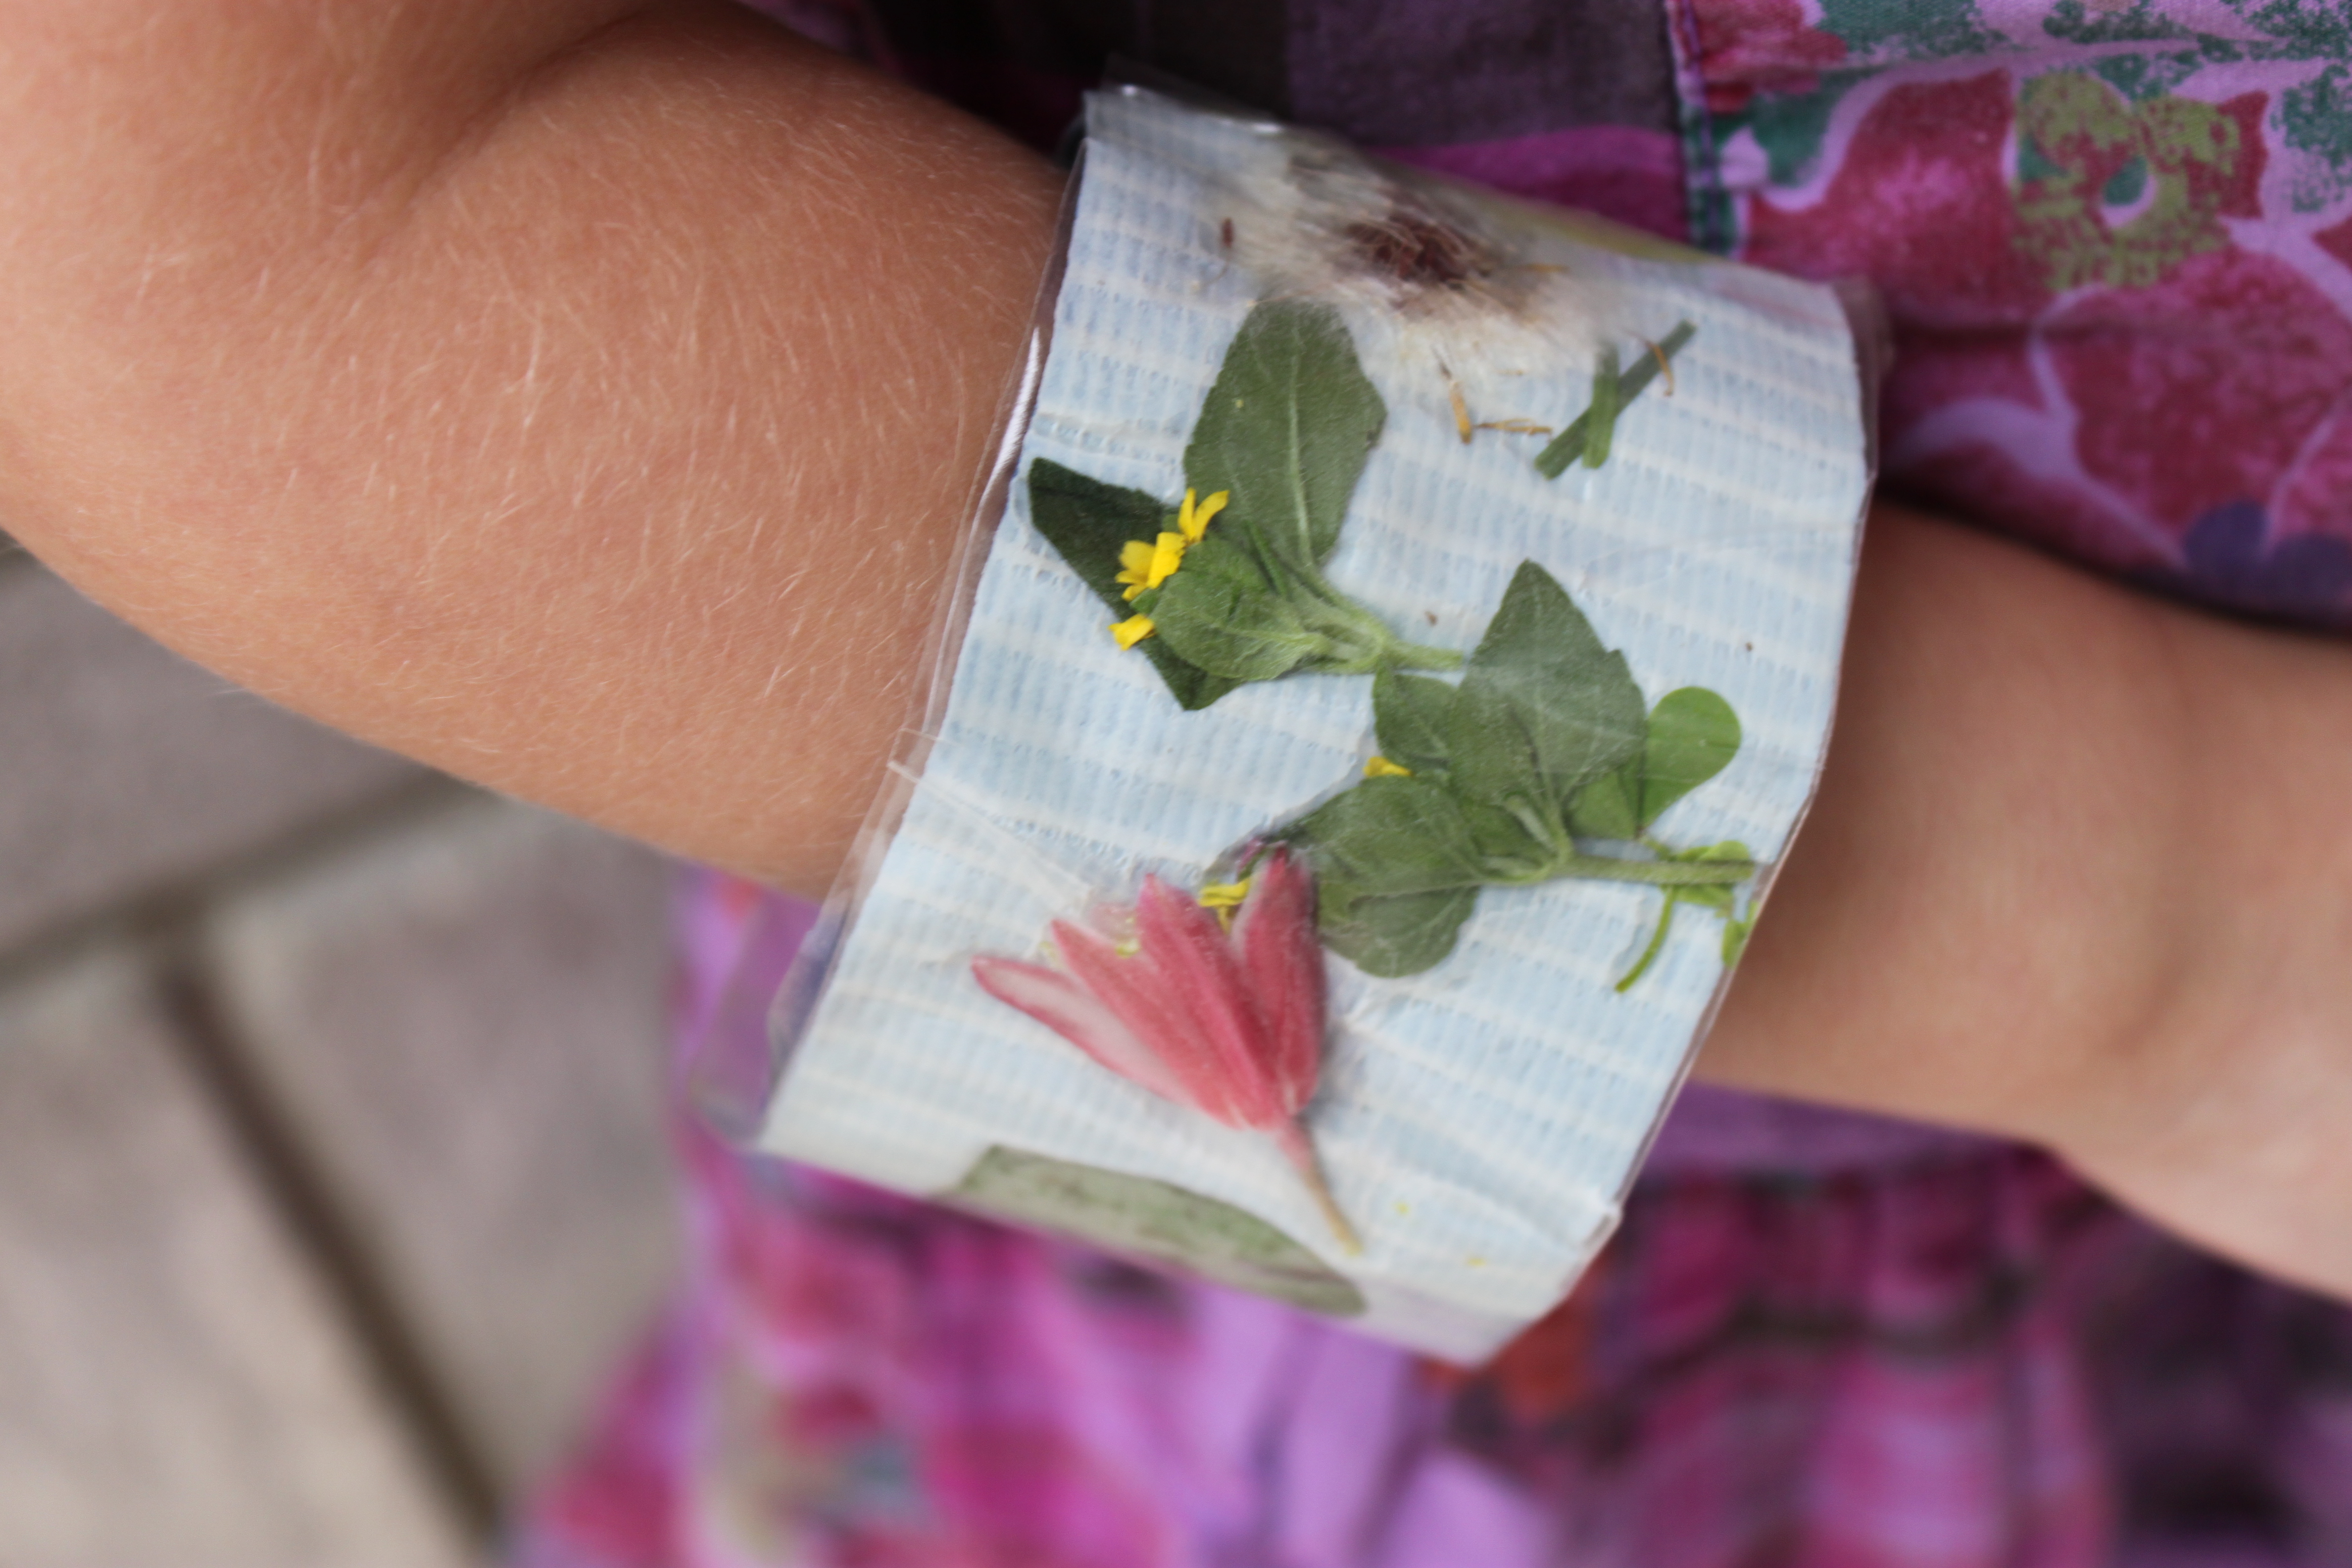
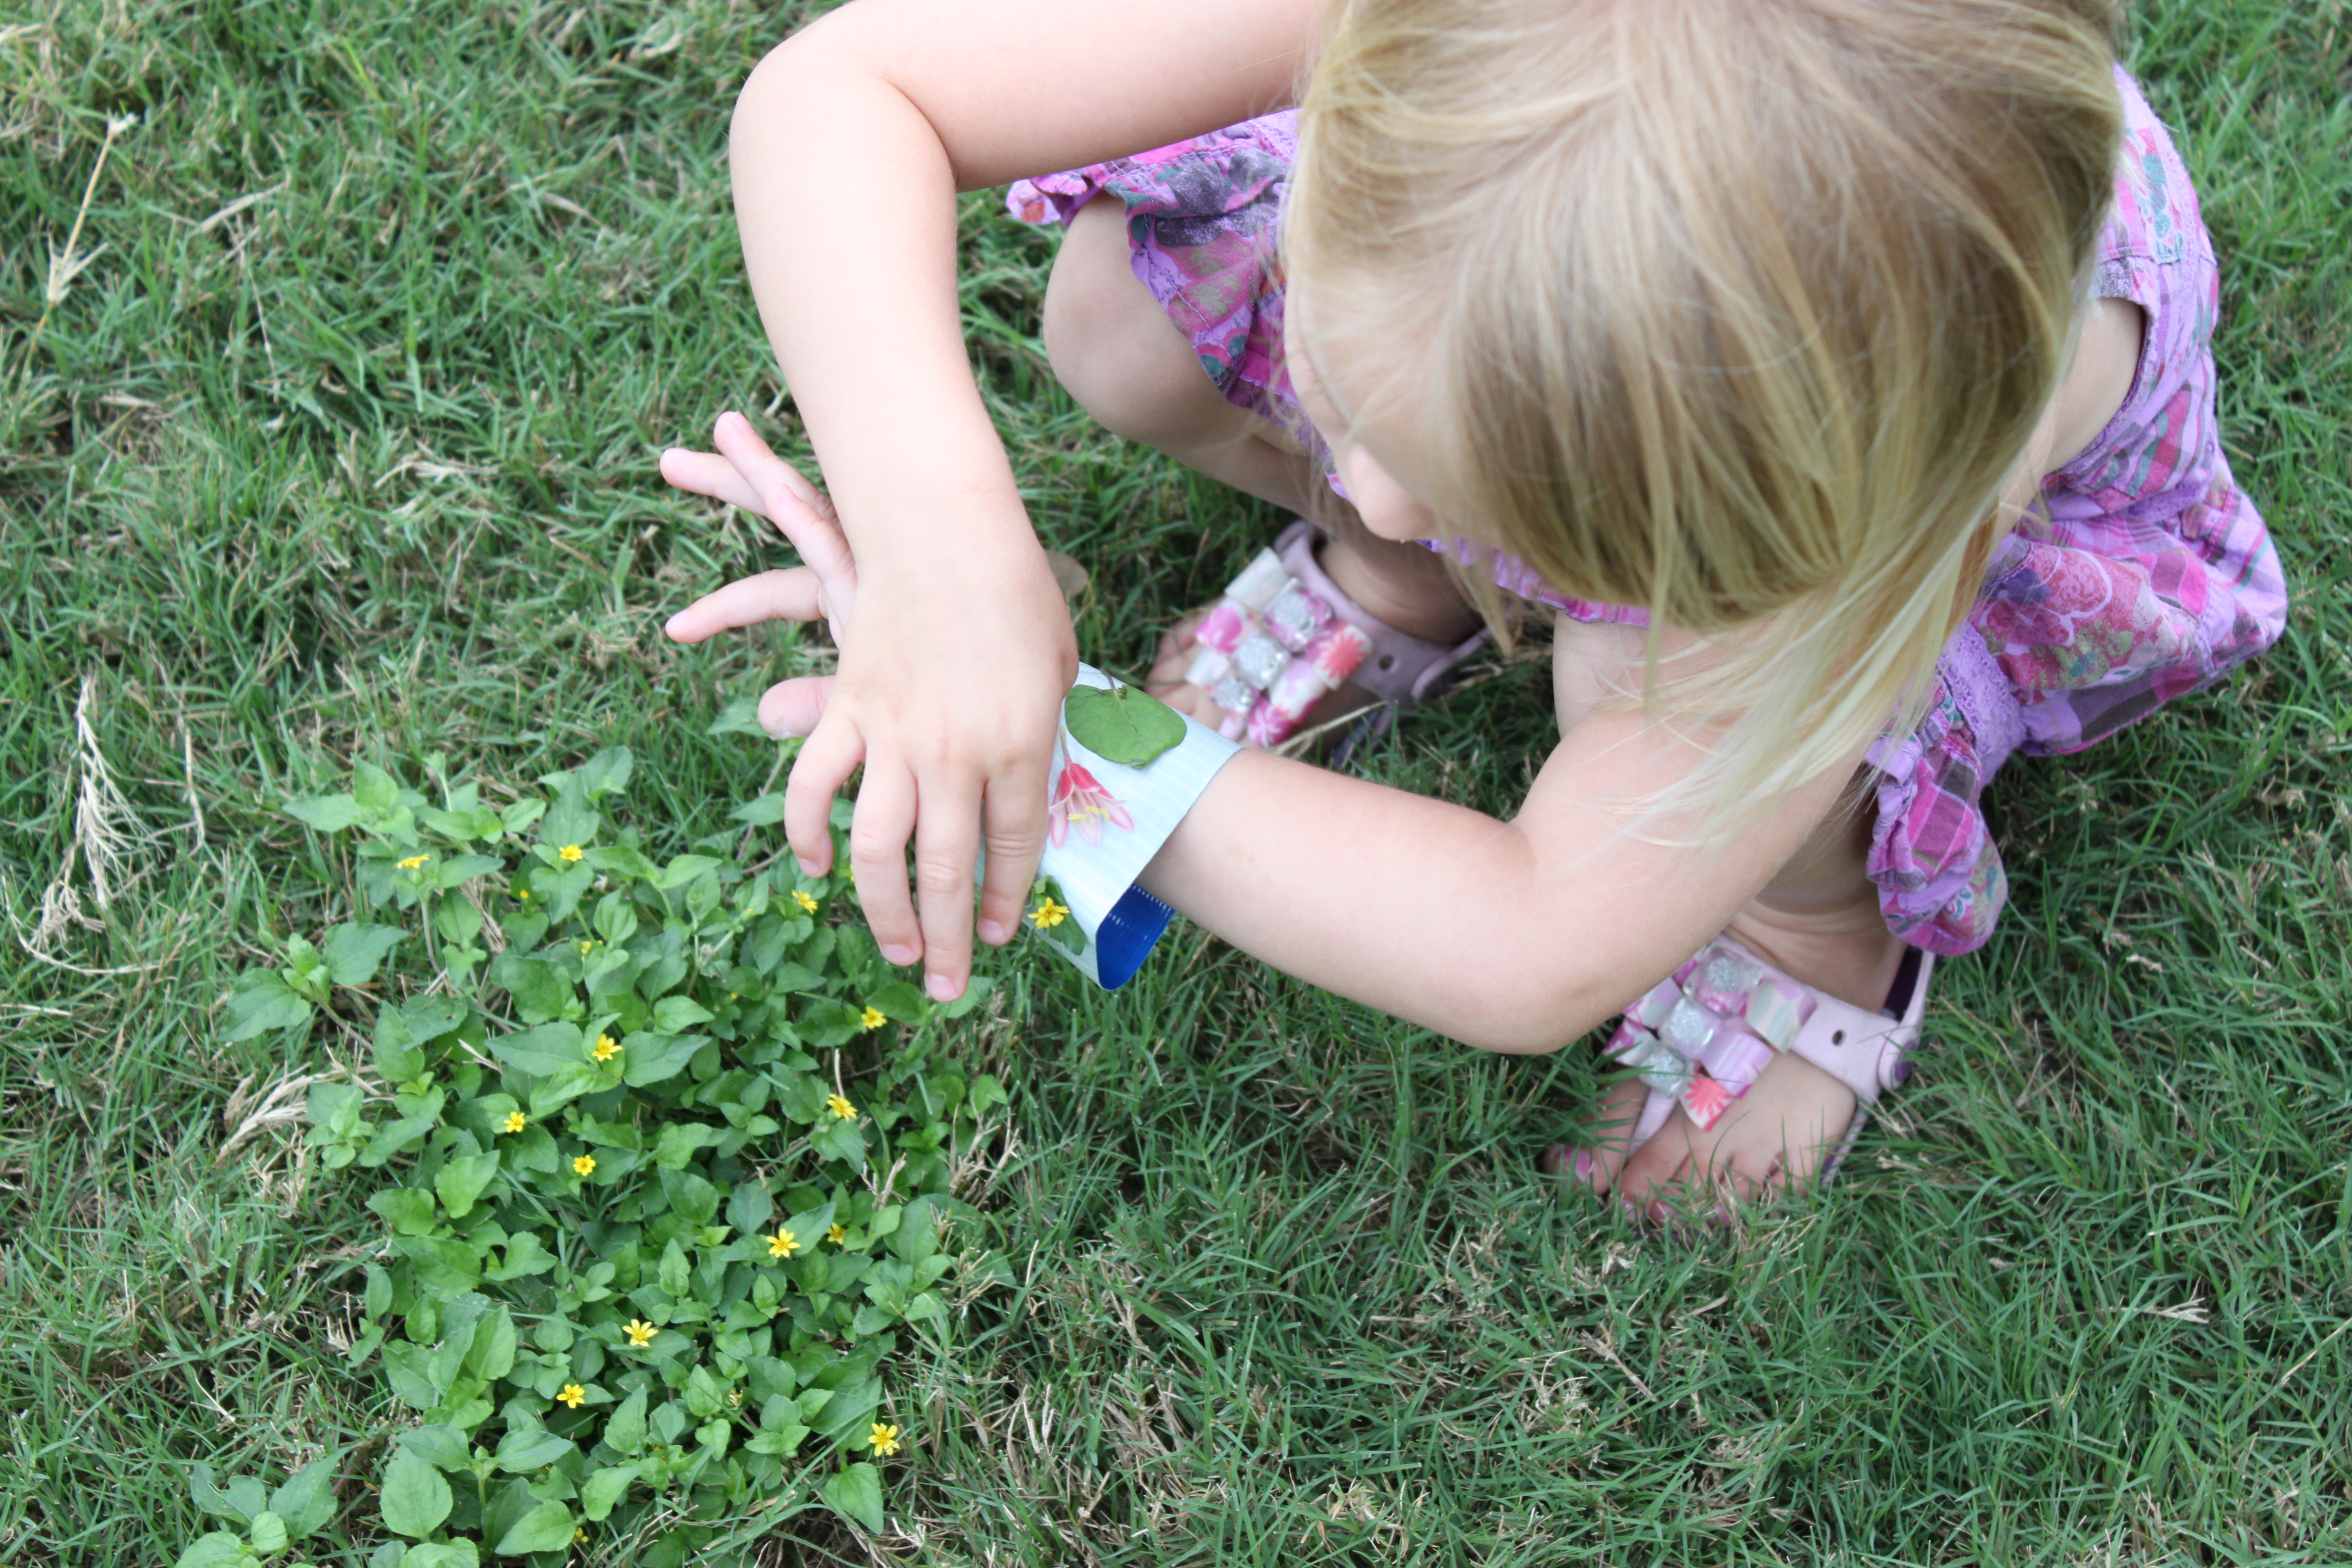
As you walk and hunt together, pick up things that interest you or that you think are pretty and stick them on to your bracelet. This is the perfect time to talk about colors, shapes, and textures. (I know these are weeds! I just don't have the heart to tell her that the little yellow flowers she always picks for me are a weed.)
Step 4
When your bracelet is full, take it off, and push the items firmly onto the tape so they are as flat as possible. Lay the contact paper (sticky side down) on the bracelet all the way around and press to stick it to the tape and around the objects.
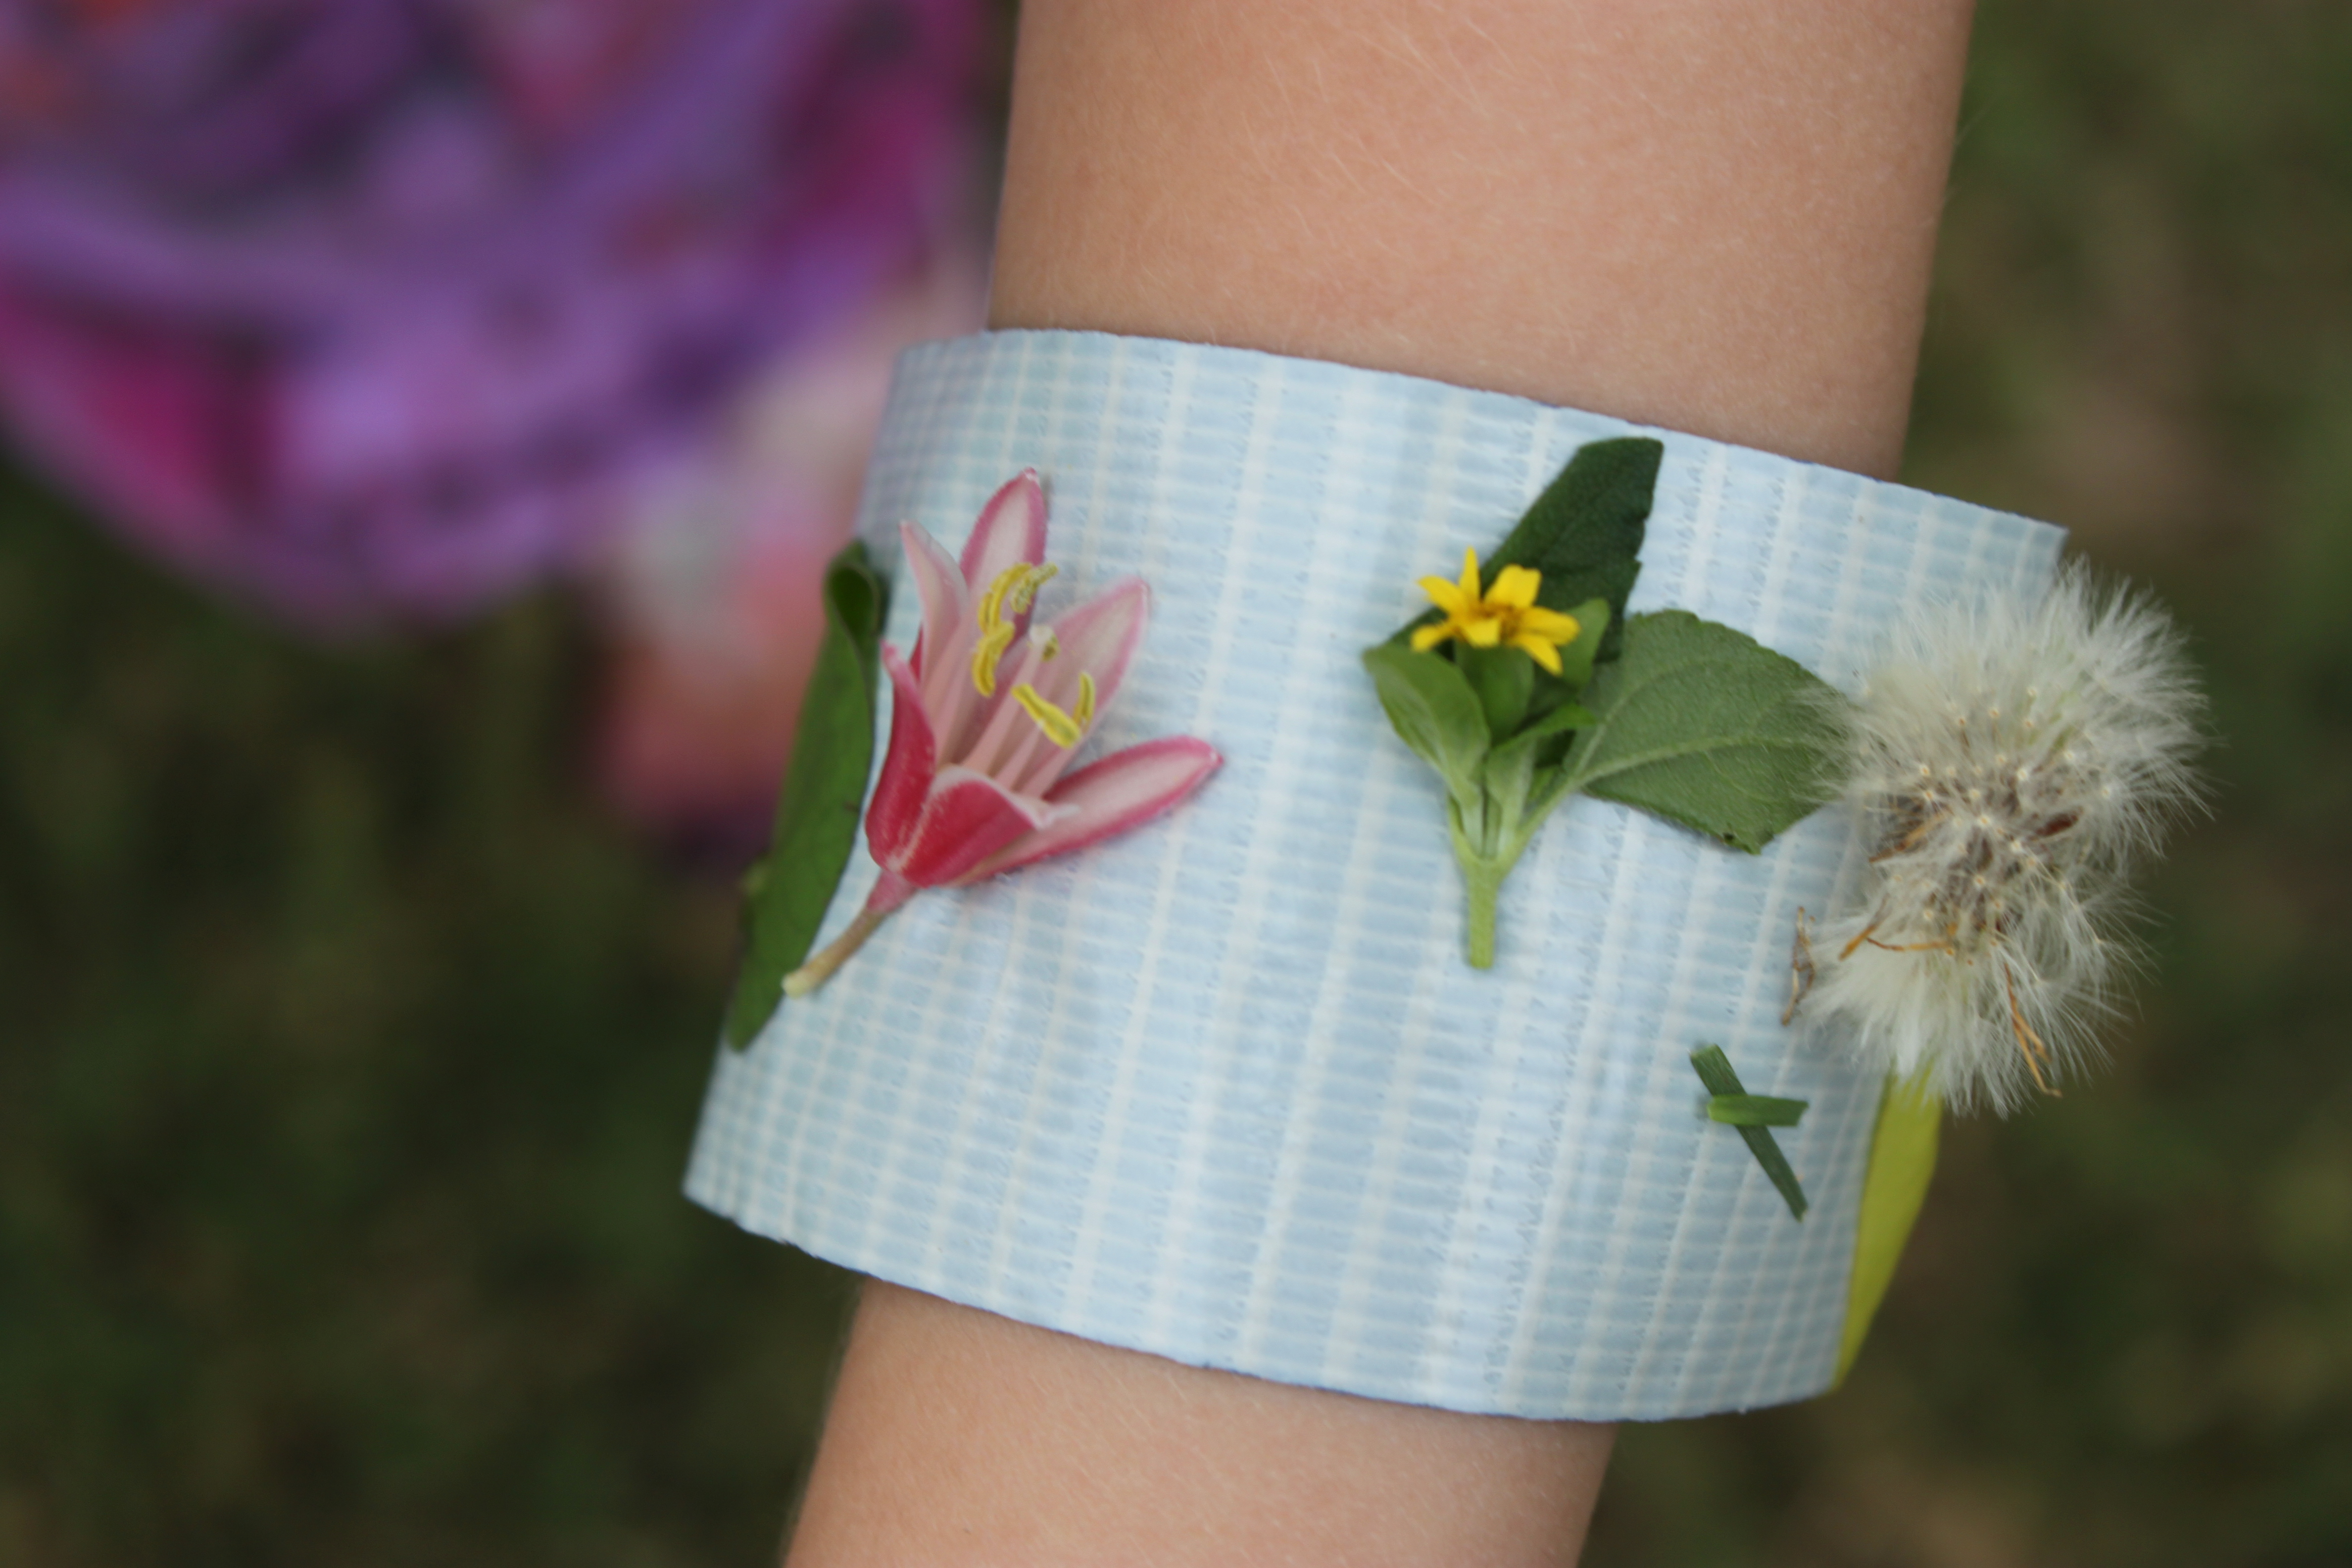
Done!
There should be an extra, small edge of contact paper on both sides of the bracelet. Fold it down underneath the bracelet to seal it. I cut a slit in the edge of the contact paper every inch or two so it would fold under neatly. If it doesn't seem sealed in enough or you want a decorative finish, add a strip of colored tape on each edge of the bracelet.