Step-by-step tutorial
Step 1
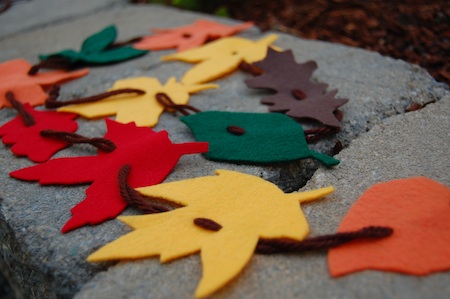
I invited my daughter to draw pictures of leaves on the felt and then cut them out. She had a difficult time producing leaves that were a) easy to cut out or b) big enough to use in making the garland. Also, I found the (cheap) felt I bought was difficult to cut with kid scissors, so sharp, grown-up scissors were required. In the end, I hijacked this part of the project and cut most of the pieces.

Step 2
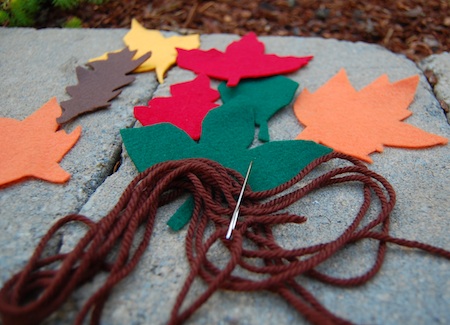
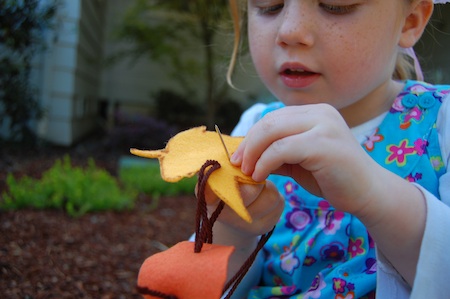
Once the leaves are cut, use a tapestry needle to thread the leaves onto a piece of yarn that is knotted at one end. I prefer tapestry needles because the points are sharp enough to penetrate the felt but safe for small people to use.
Step 3
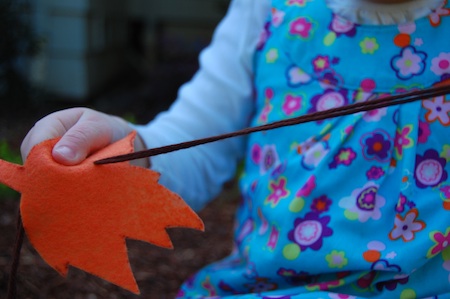
I love watching the concentration on my daughter's face!
Step 4
There are certainly lots of ways you could sew the leaves together, depending on your or your kids' sewing skills and patience. We just chose to do a simple over and understitch on each leaf (you can tell I'm not a seamstress since that's probably not even a proper term for that stitch!).
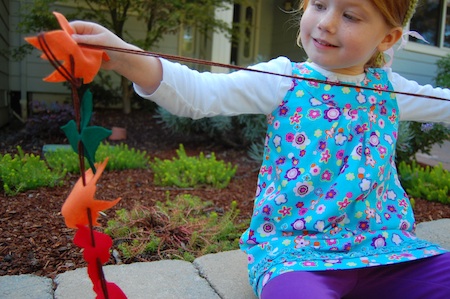
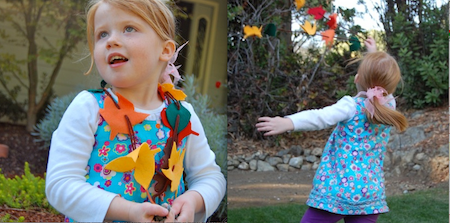
Final result!
The garland did have a tendency to get a little tangled, so I stayed close by to gently straighten things out, if necessary. After your little one is finished sewing, you may want to smooth the leaves out.