Step-by-step tutorial
Step 1
You can easily use plain paper for this project; just use something sturdy.

Step 2
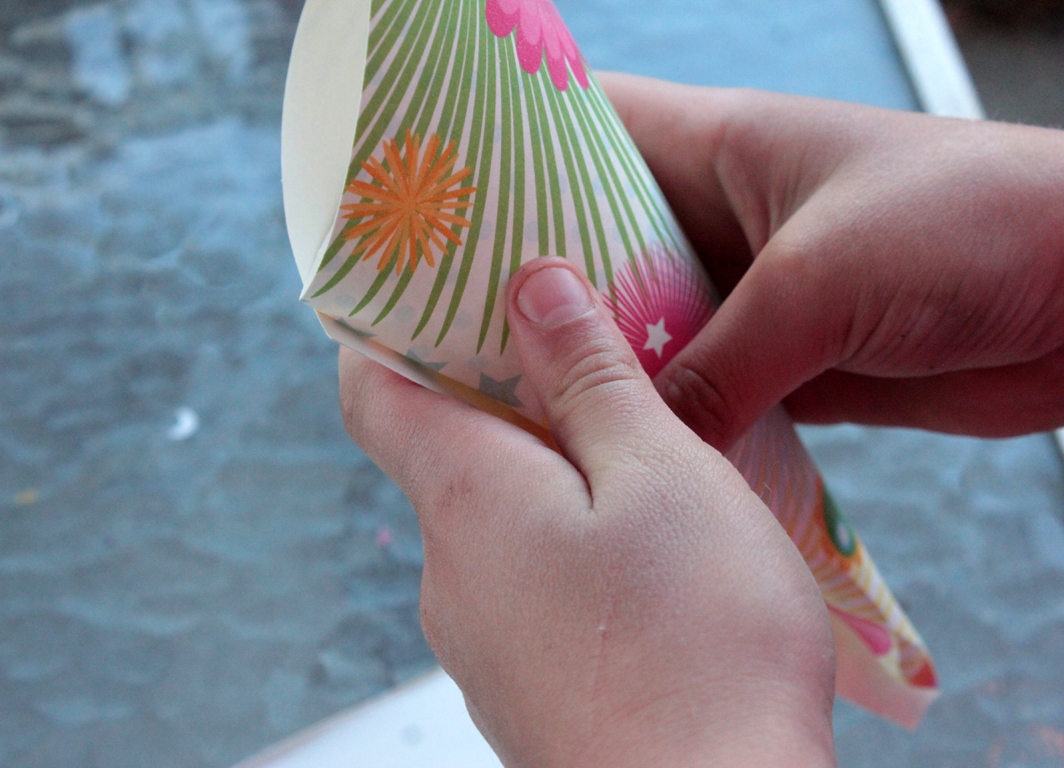
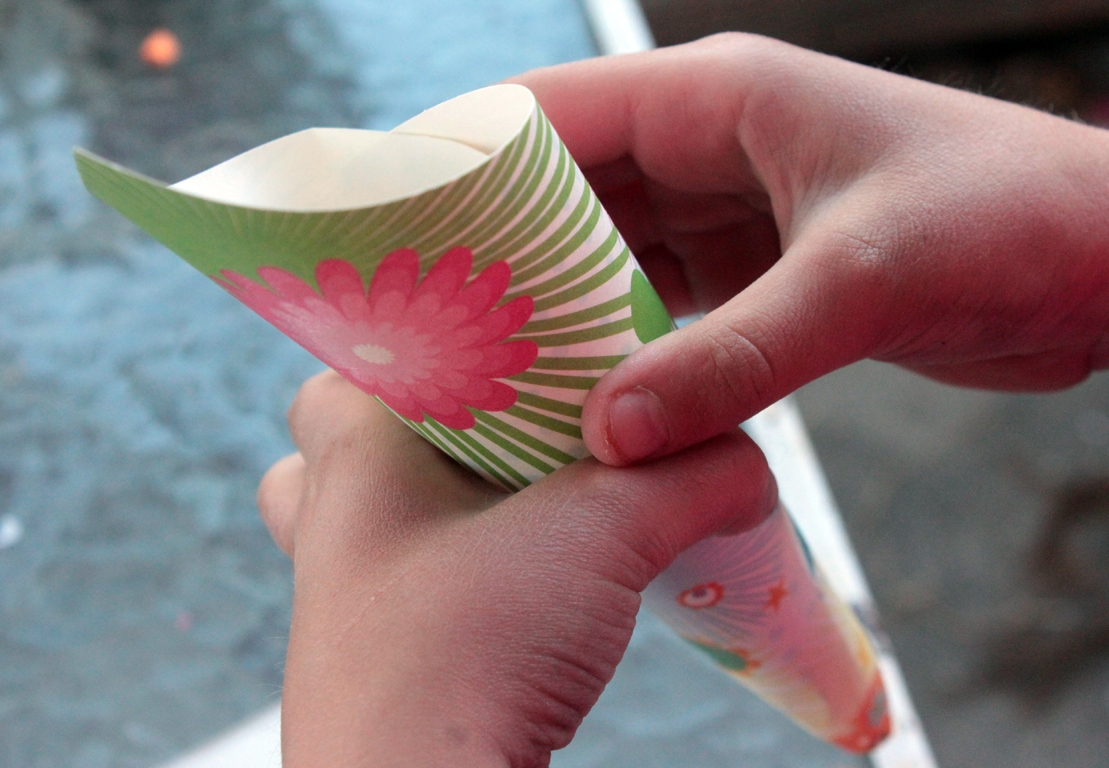
First, we made the tussie mussies. "So let me guess... I just shape this like I'm making a party hat?" asked Maddie. Yup! Just make a cone...
Step 3
...then glue it into place. You can either hold it, or, like us, use a clothespin to hold it while we made more!
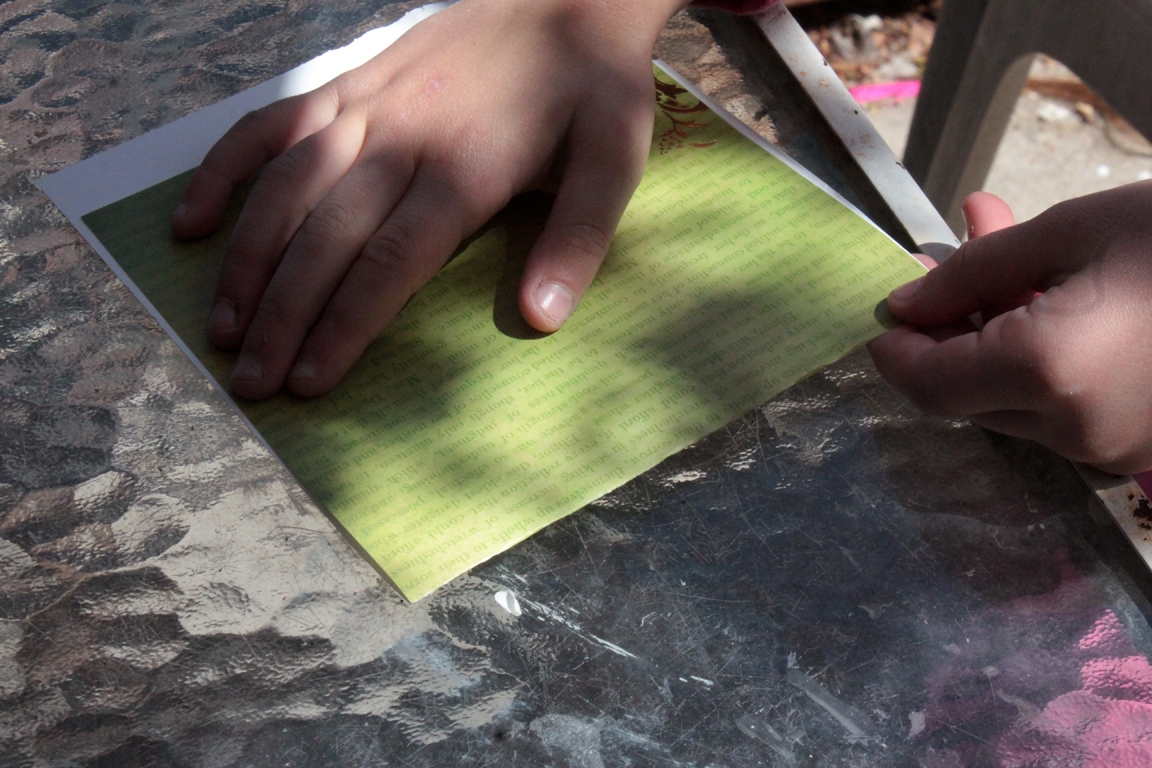
Step 4
We also made boxes. Maddie chose her paper (we cut a 12"x12" sheet in half), then we folded it to about 3/4 inch from the edge, to allow for a tab for gluing. The tab was folded in.
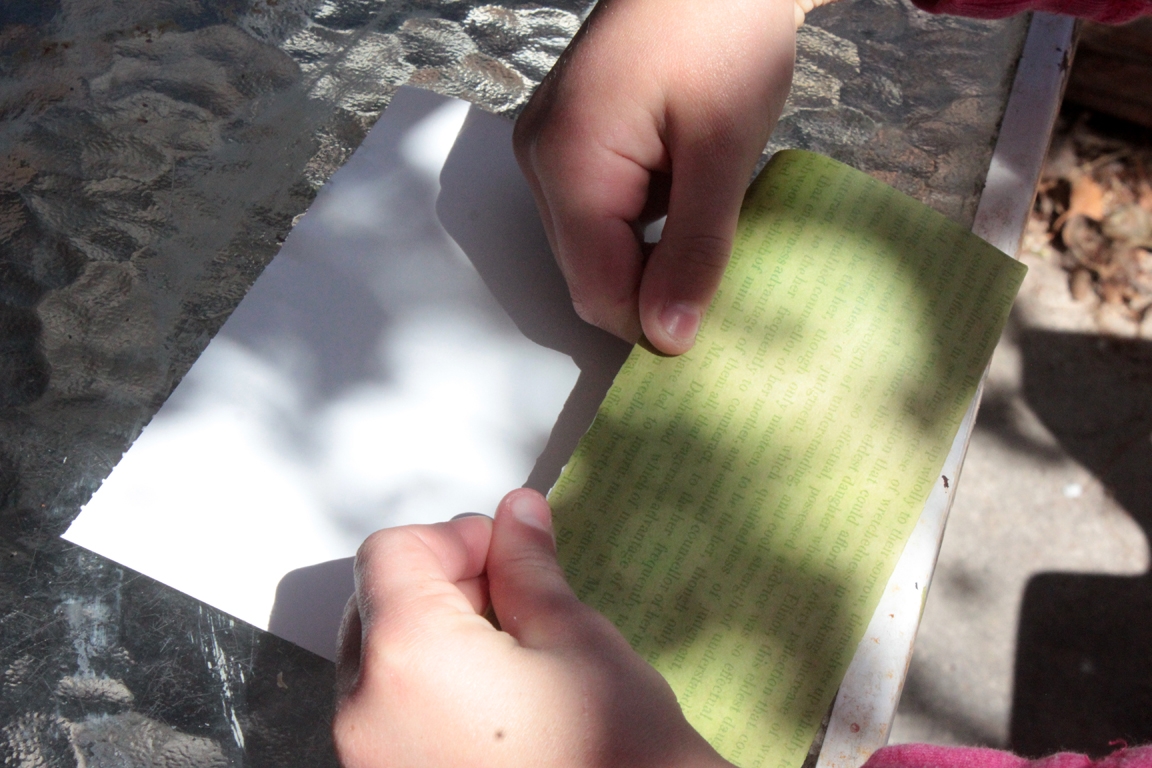
Step 5
Next, she folded both sides into the centerfold, so it would be square.
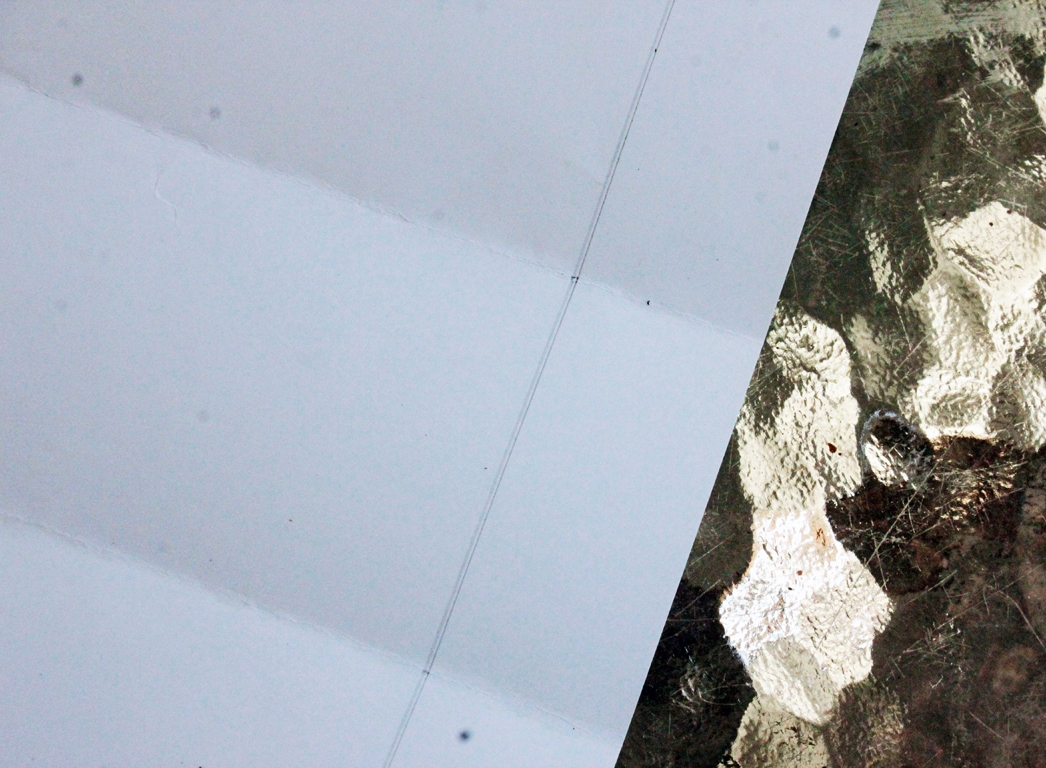
Step 6
She opened the folded paper up. To mark where the bottom of the box should be, and how much she should cut for folding tabs, we drew a line with a ruler across the bottom edge of the paper.
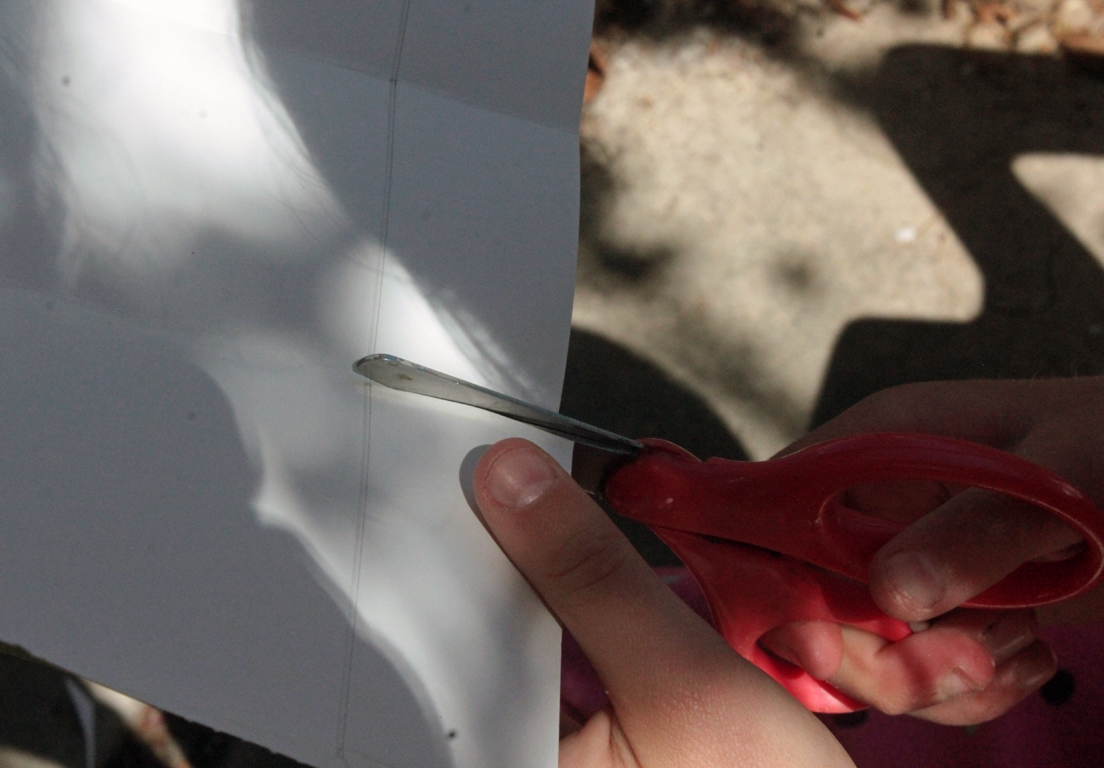
Step 7
To cut the tabs, she just snipped up to the line, and then folded them in.
Step 8
She placed glue on the tabs--first the one on the side of the box, then the bottom...

Step 9
...set the box right-side-up, and pushed the tabs down firmly.

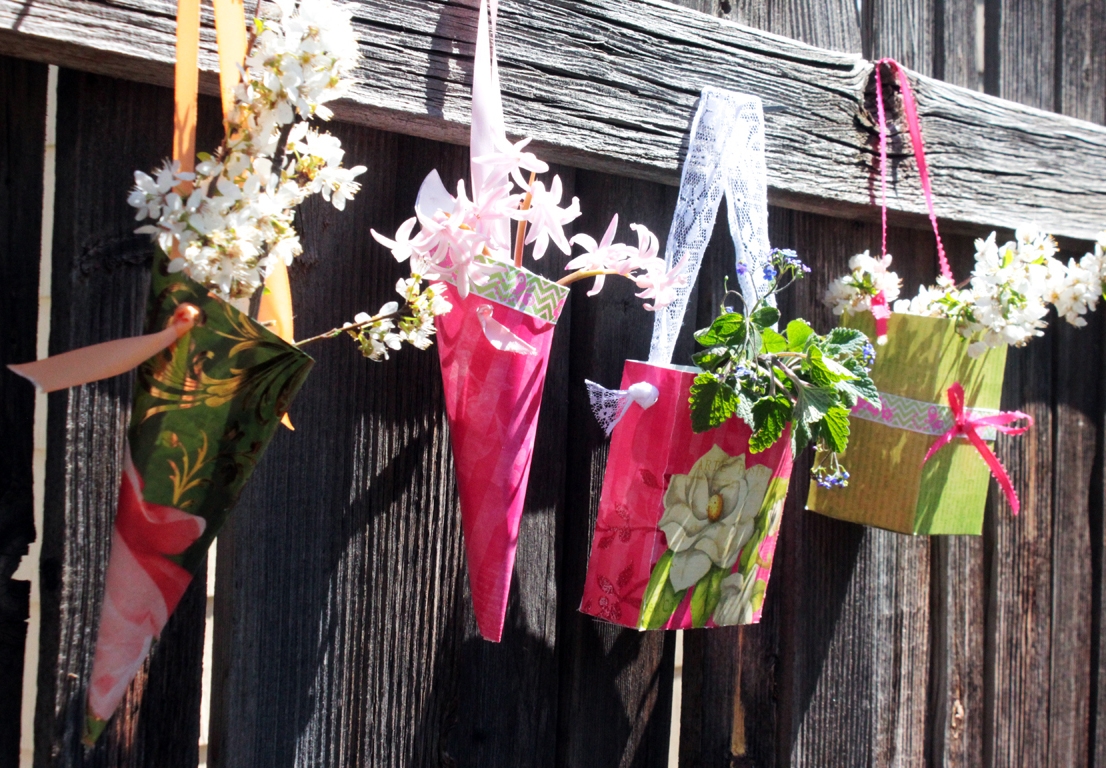
Final result!
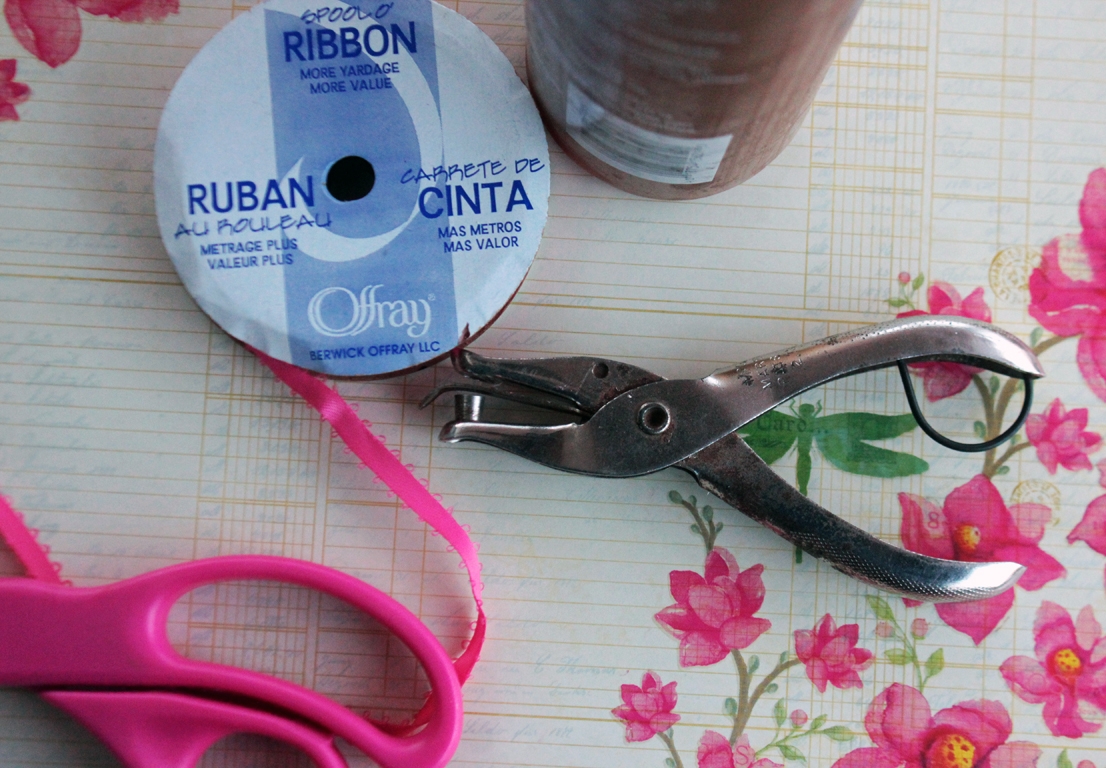
When they were dry and firm, we punched holes in the sides of the baskets and strung the ribbon. We have quite a collection!