Step-by-step tutorial
Step 1
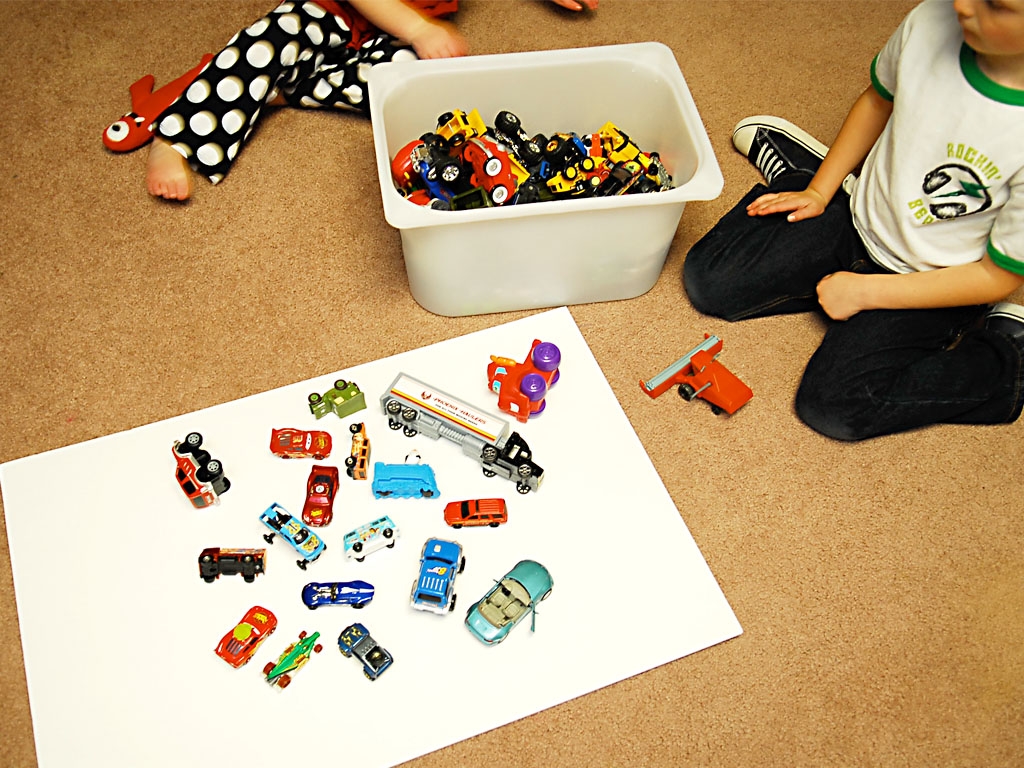
To start you will gather up your objects. We used an array of toys, buttons and stickers, but any group of small objects would work great. We also used white poster board as the background.

Step 2
My 5 year old loved setting up the objects for each "scene", when he had them just the way he wanted them I snapped a picture. For best outcome find a well lit area to take the pictures.
Step 3
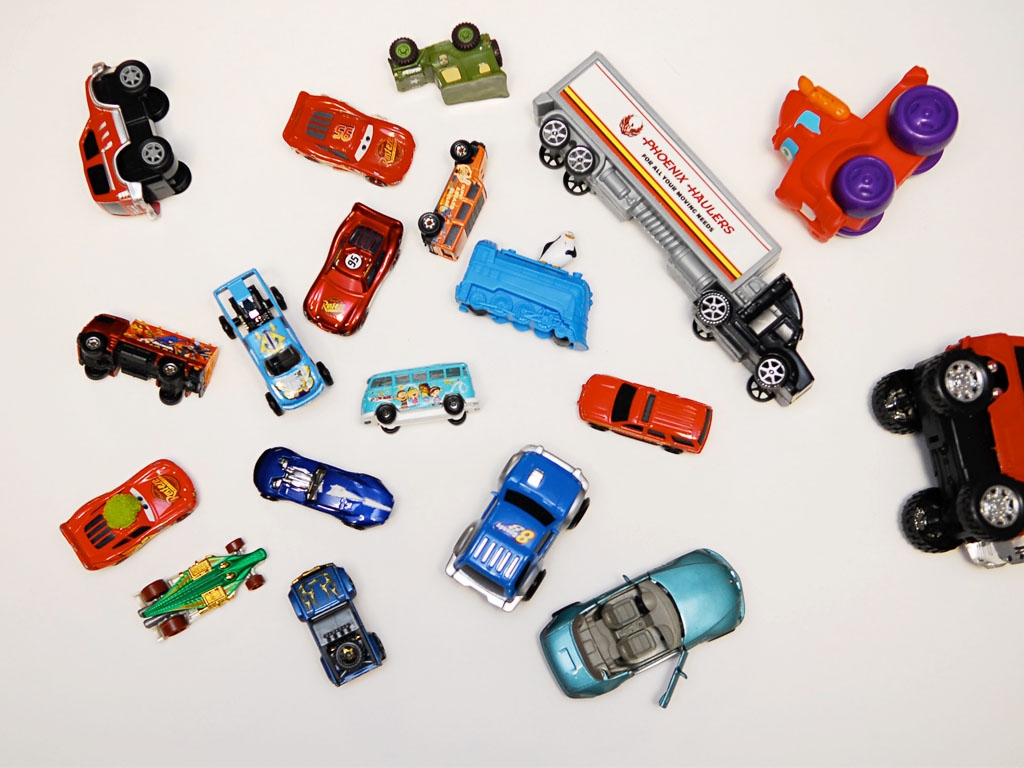
Then we took some pictures of just the objects to be used as the item to find for my daughter who can't read yet.
Step 4
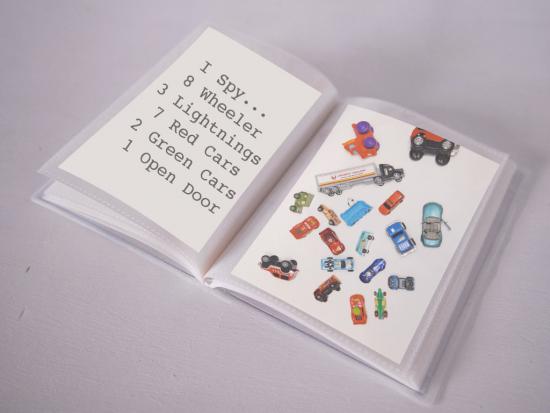
Next we uploaded the pictures to the computer and using a photo editing software (lots of free options can be found online) we created photo size pictures of the I spy pages. For my 5 year old who can read we also printed off a list of things to find in each picture. We added the printed pictures to the empty photo book.
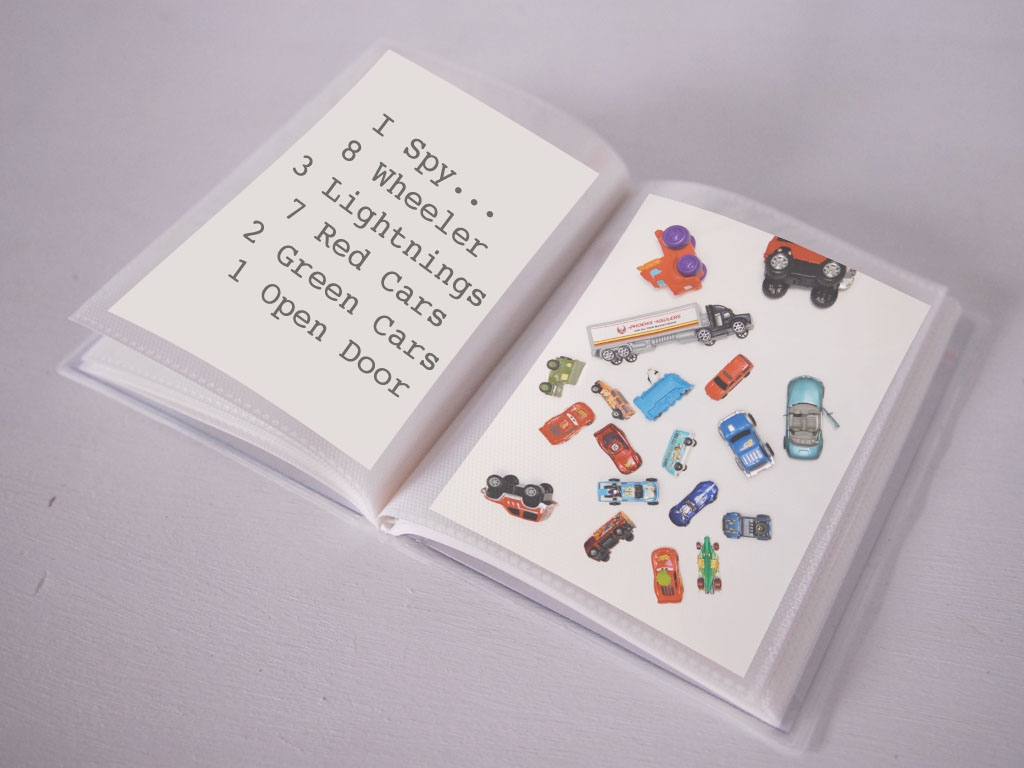
Done!
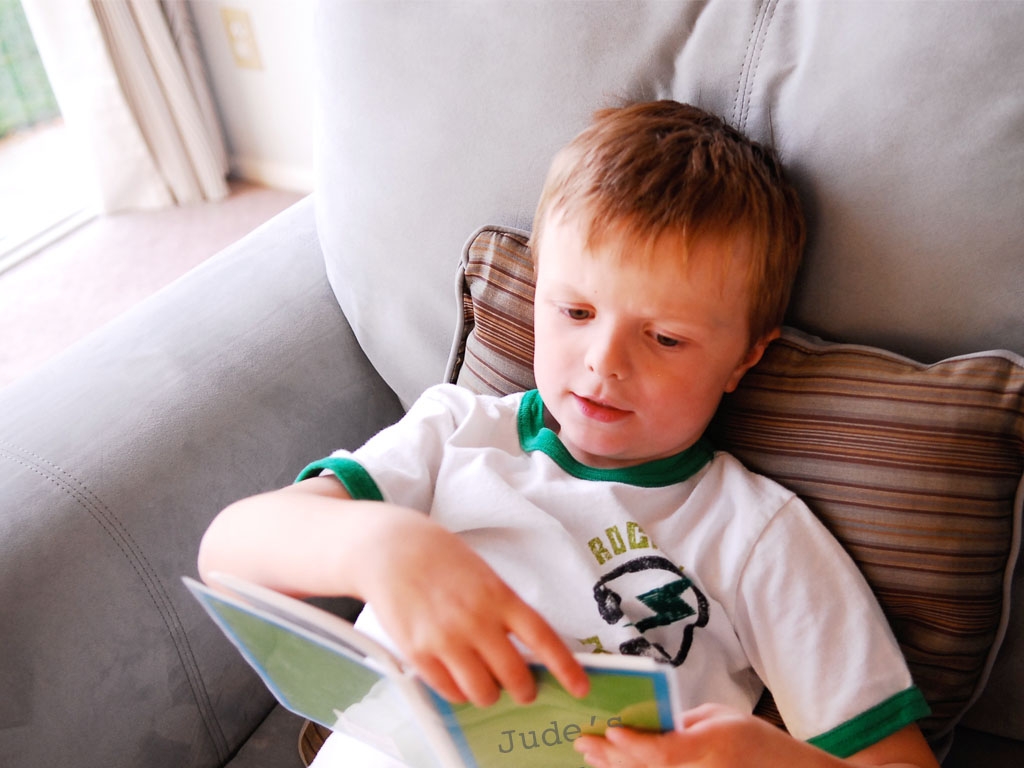
Then my son had his very own I spy book. Great to keep little minds busy on long car rides. He had so much fun setting up all the pictures he is already dreaming up his next photo shoot.