Step-by-step tutorial
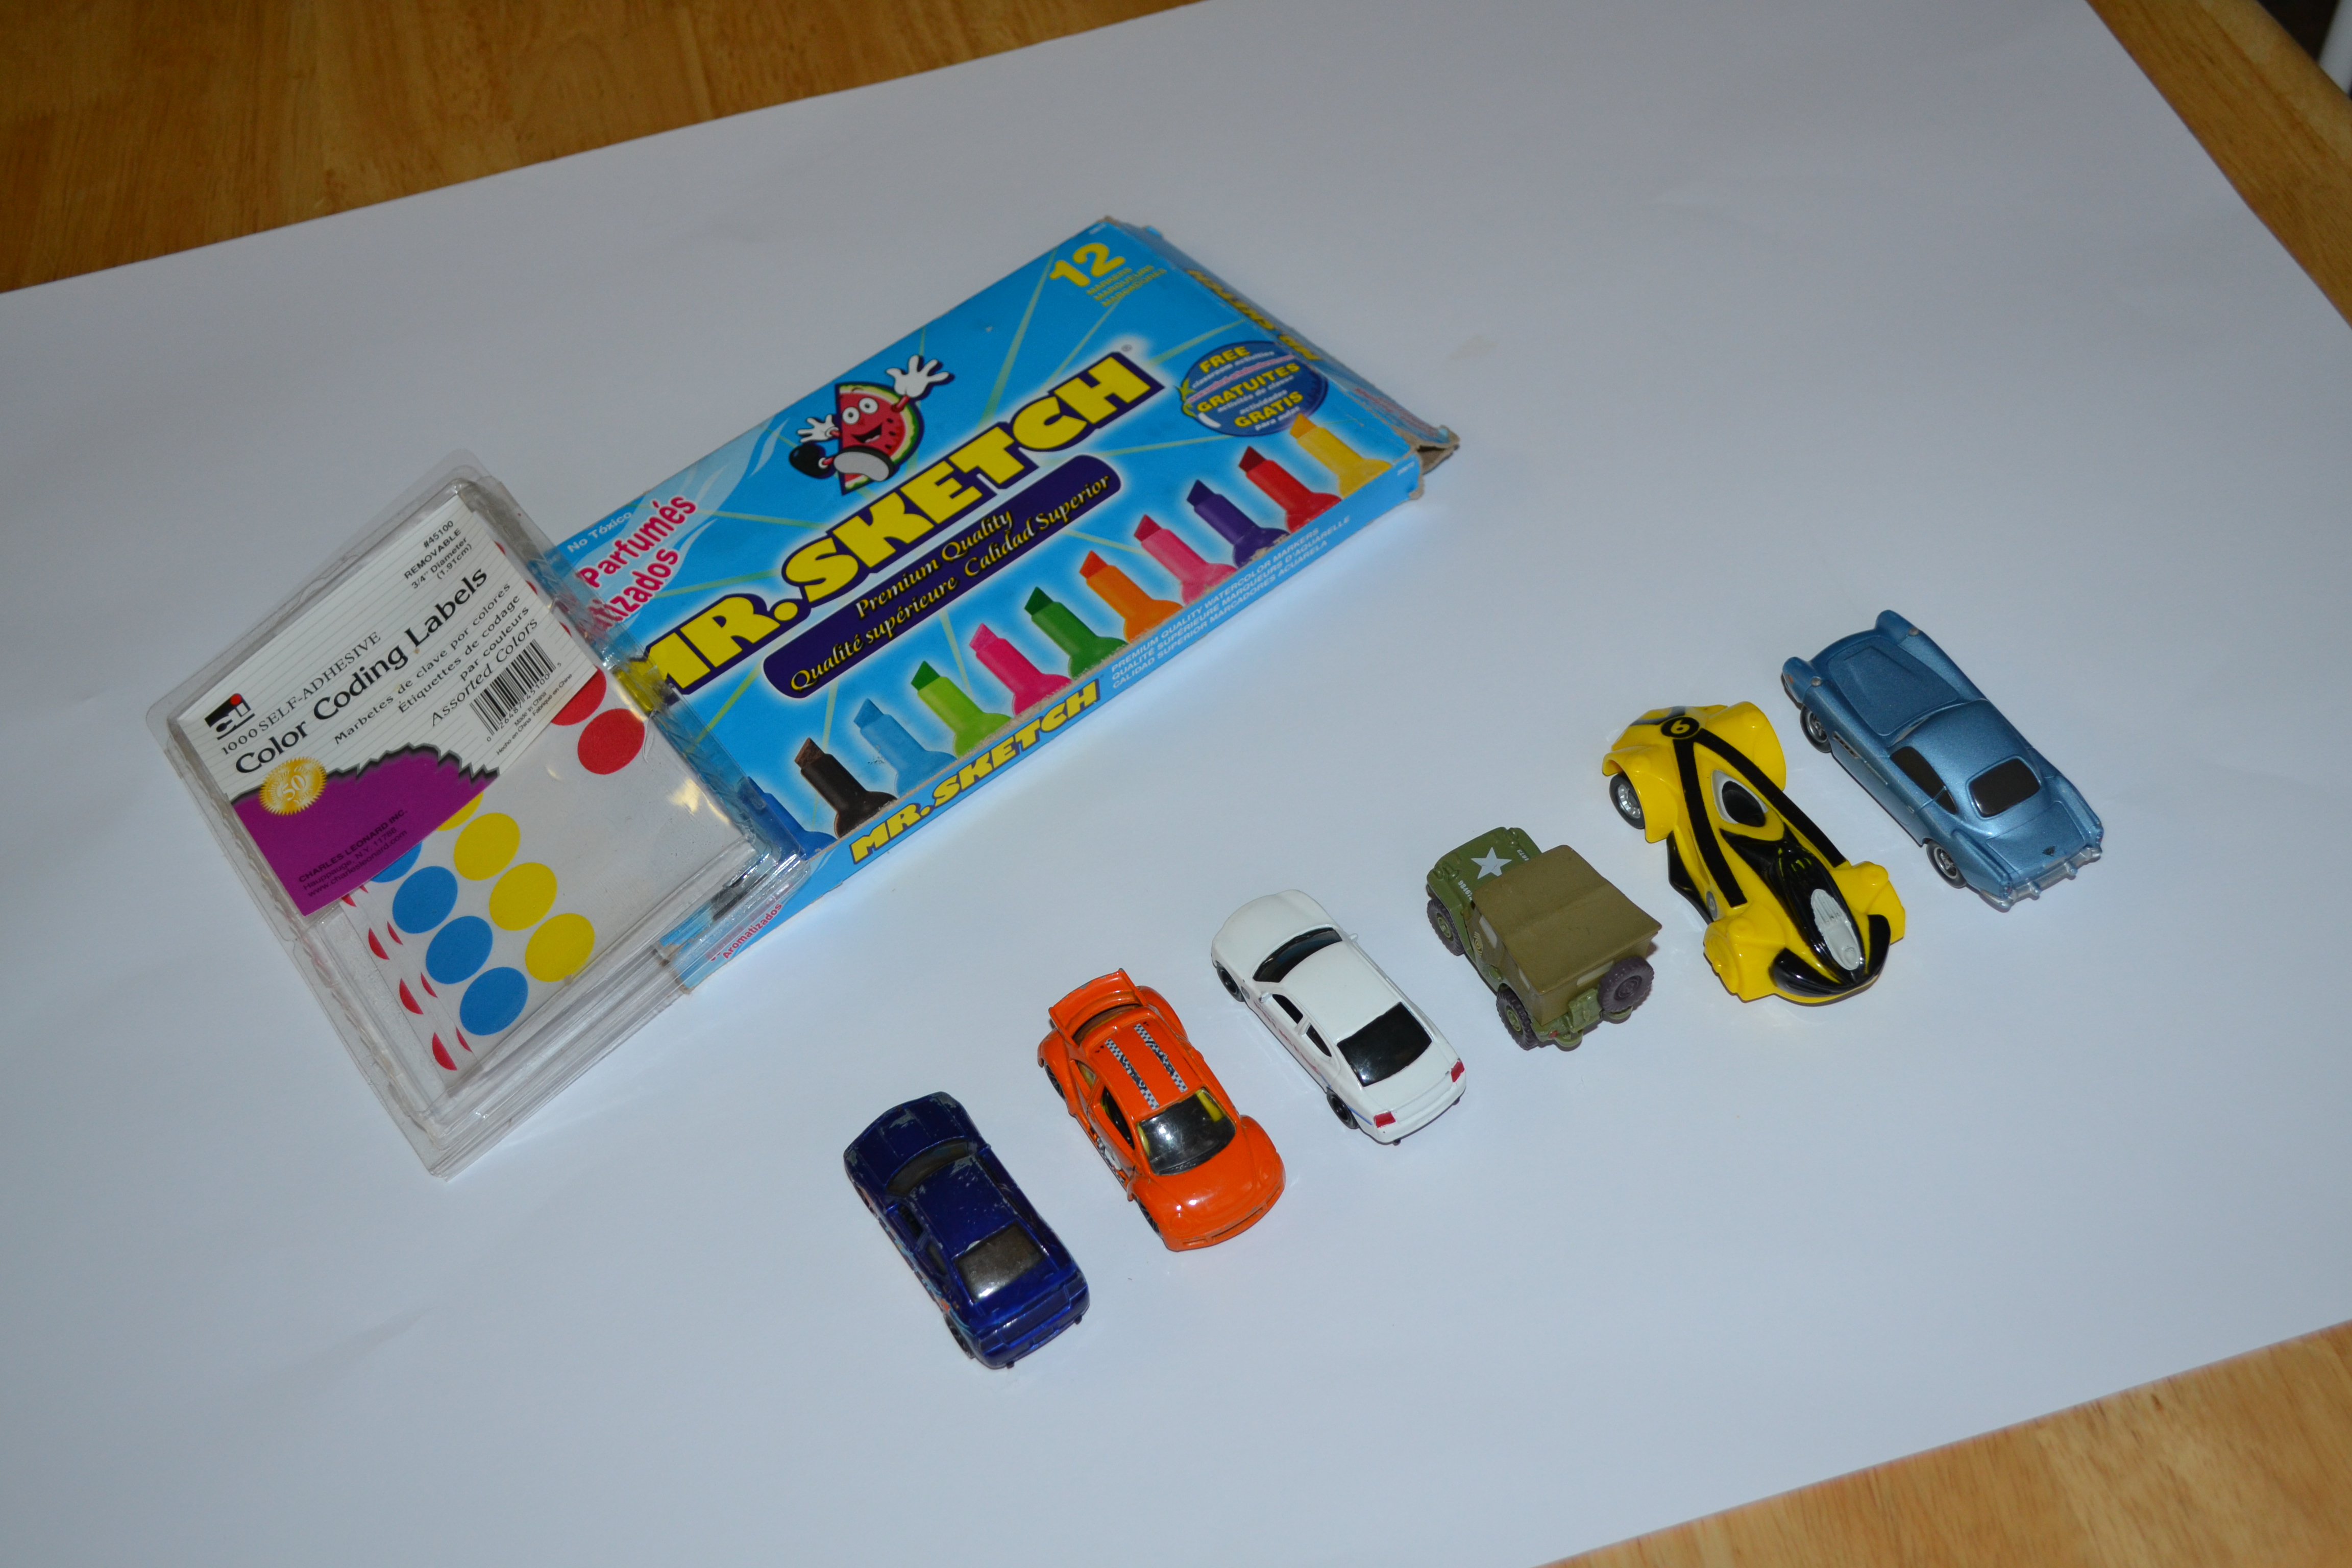
Step 1
Gather all materials. Half of the fun for this activity was having my older boys go around the house gathering all of their toy cars. They had so much fun finding the hidden ones and counting them to make sure we had enough.

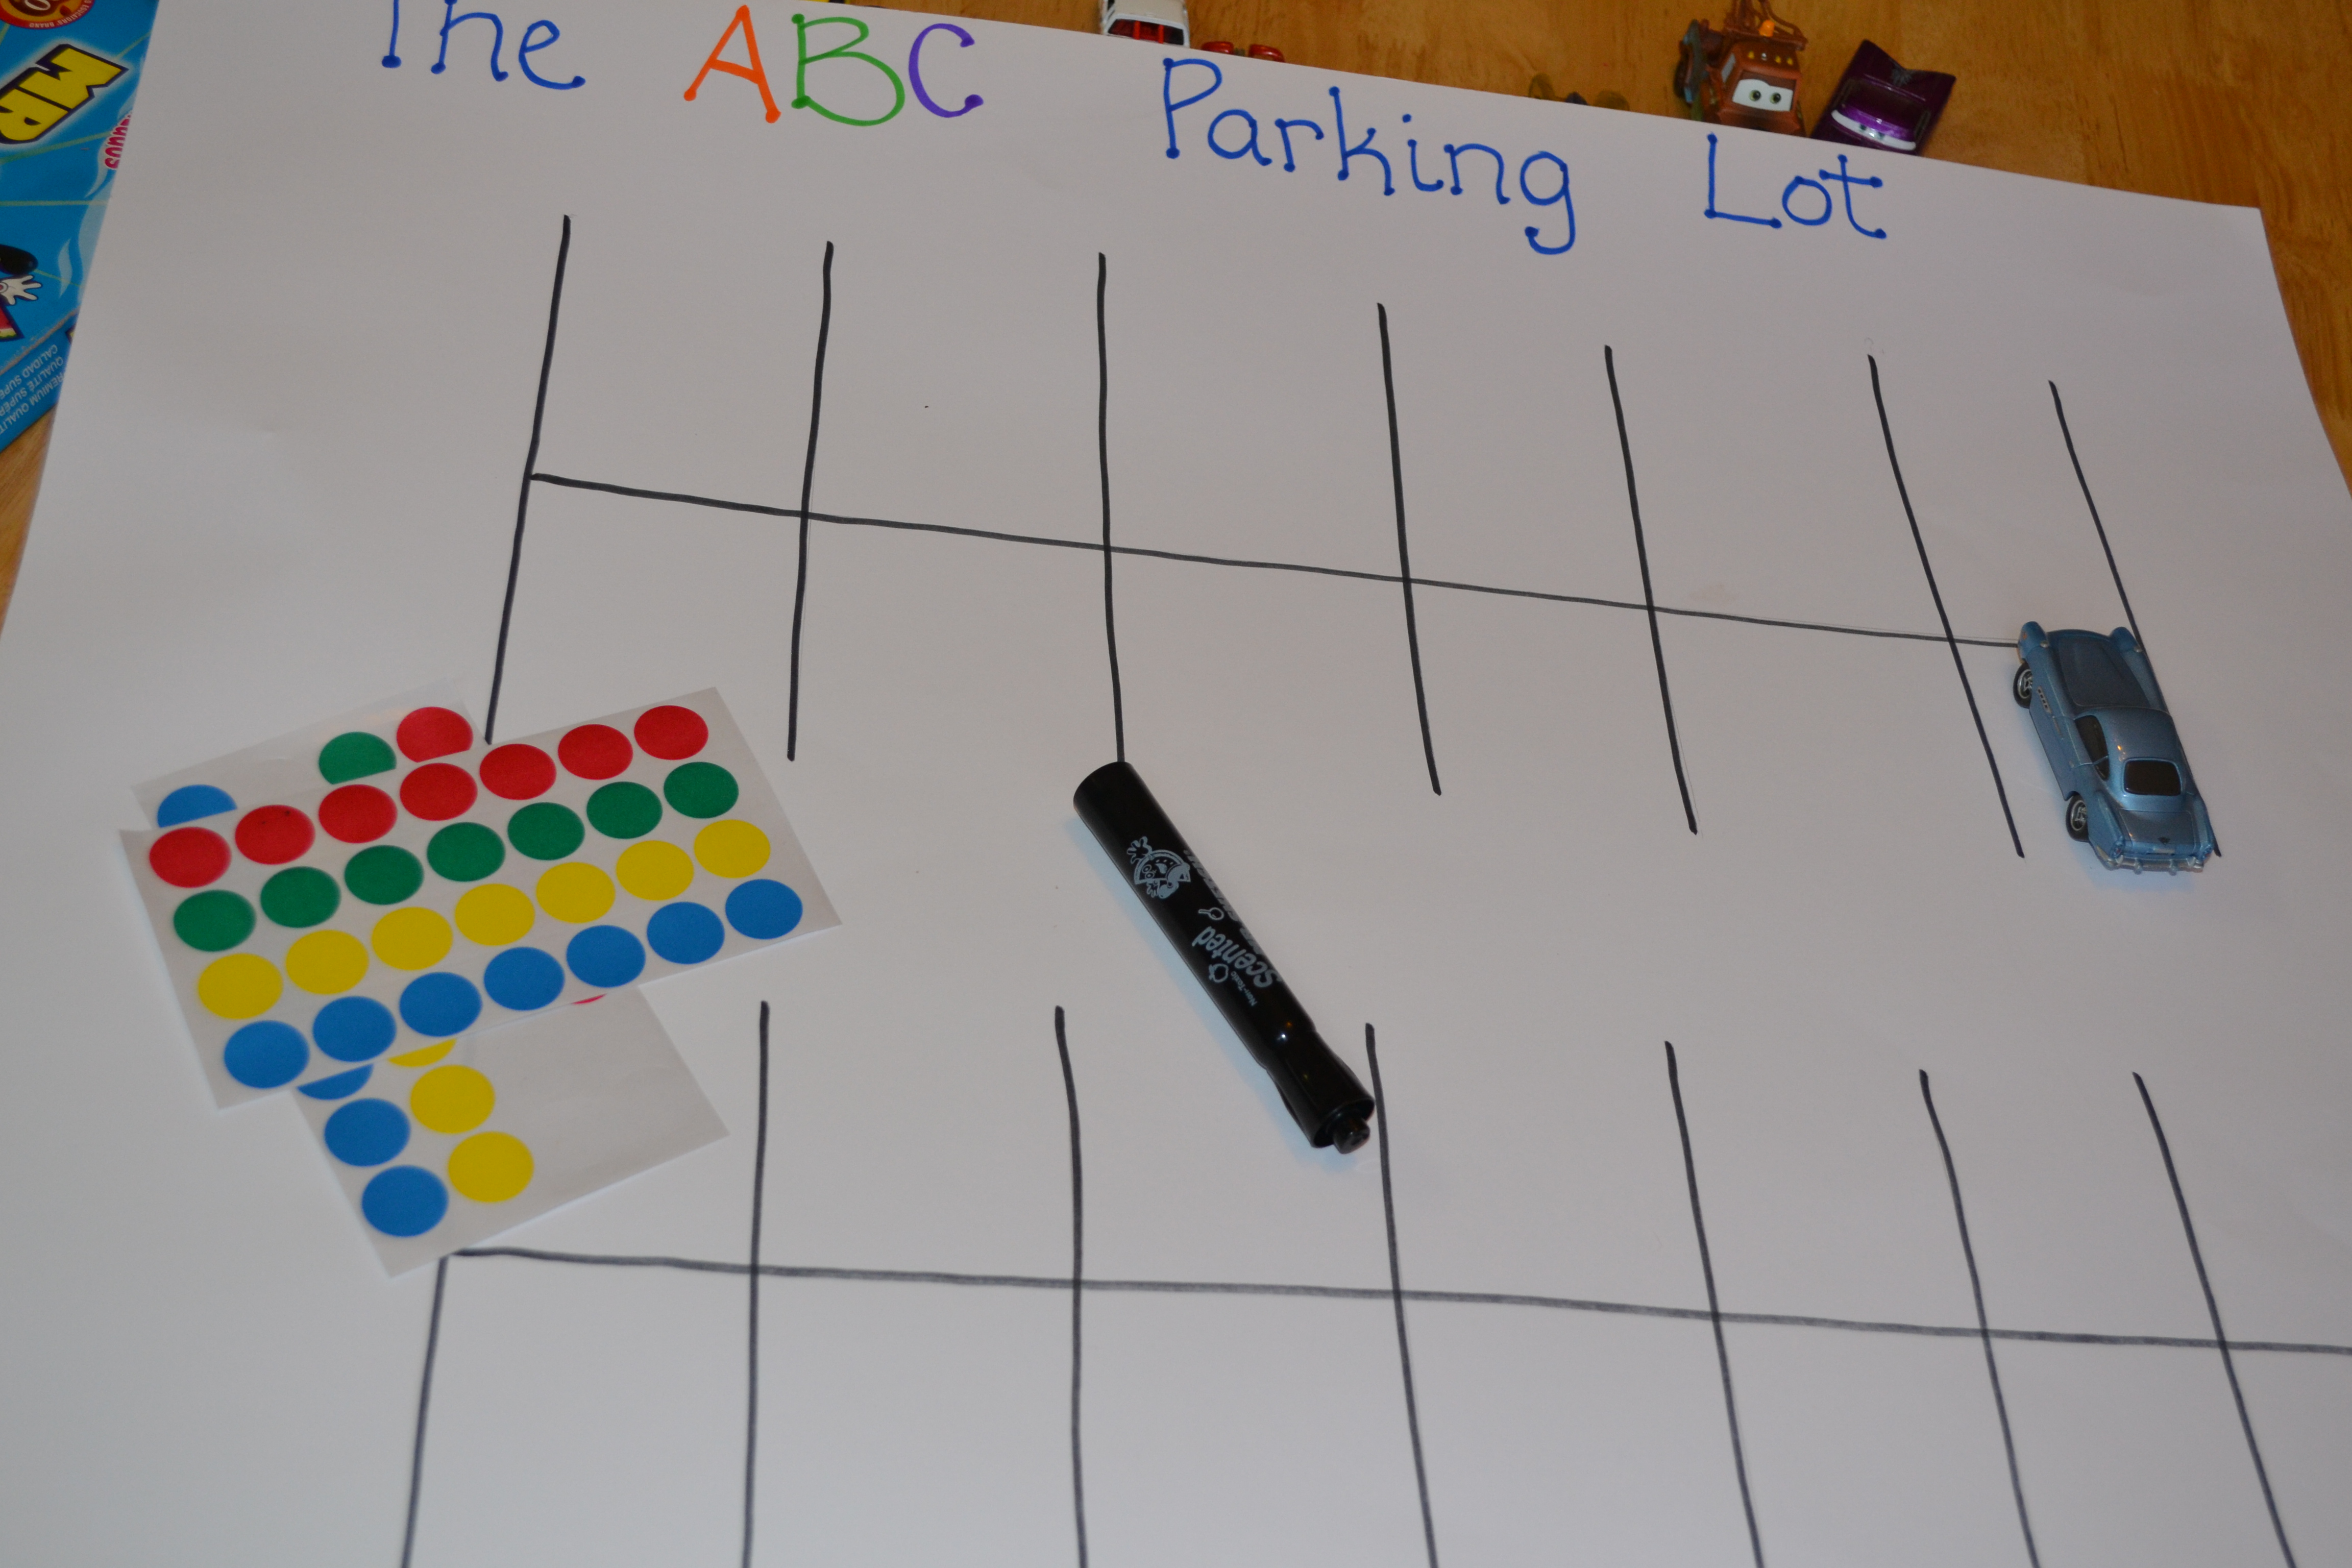
Step 2
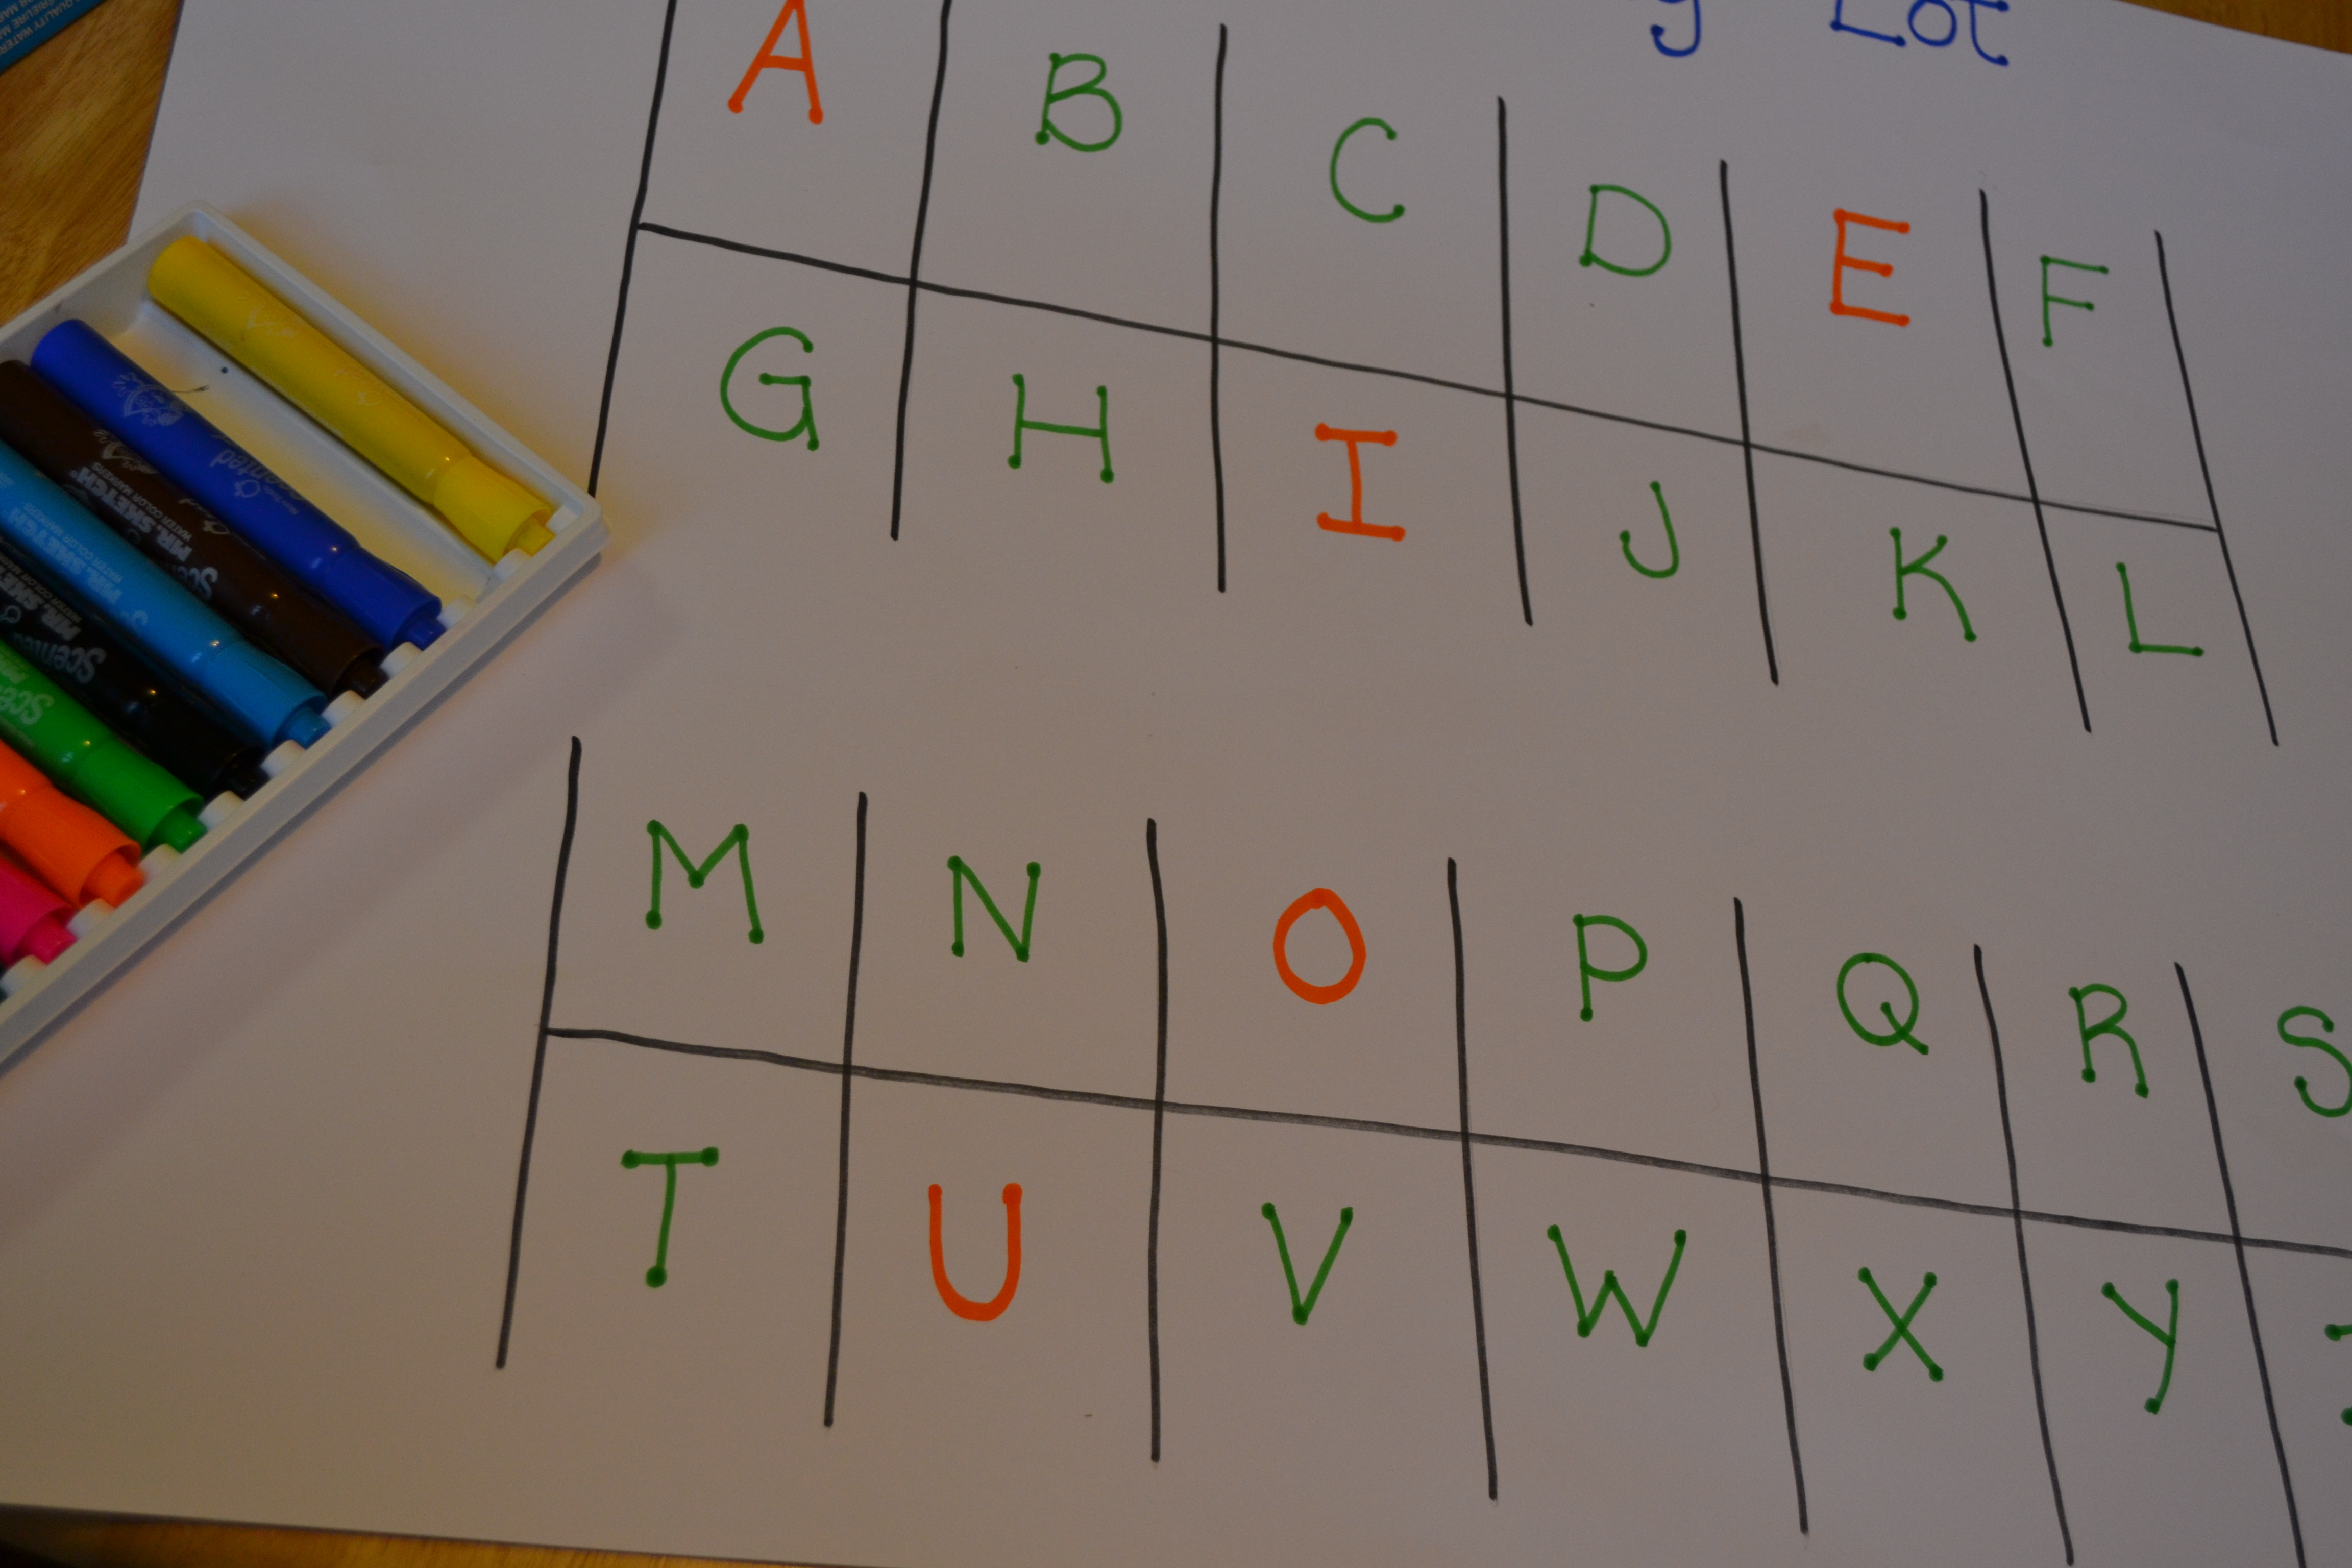
I lined up the cars on the poster board to get a general idea of how much room I needed and then I used a straight edge and a pencil to draw the lines for the parking lot. Then, I traced over them with marker and added the title "The ABC Parking Lot".
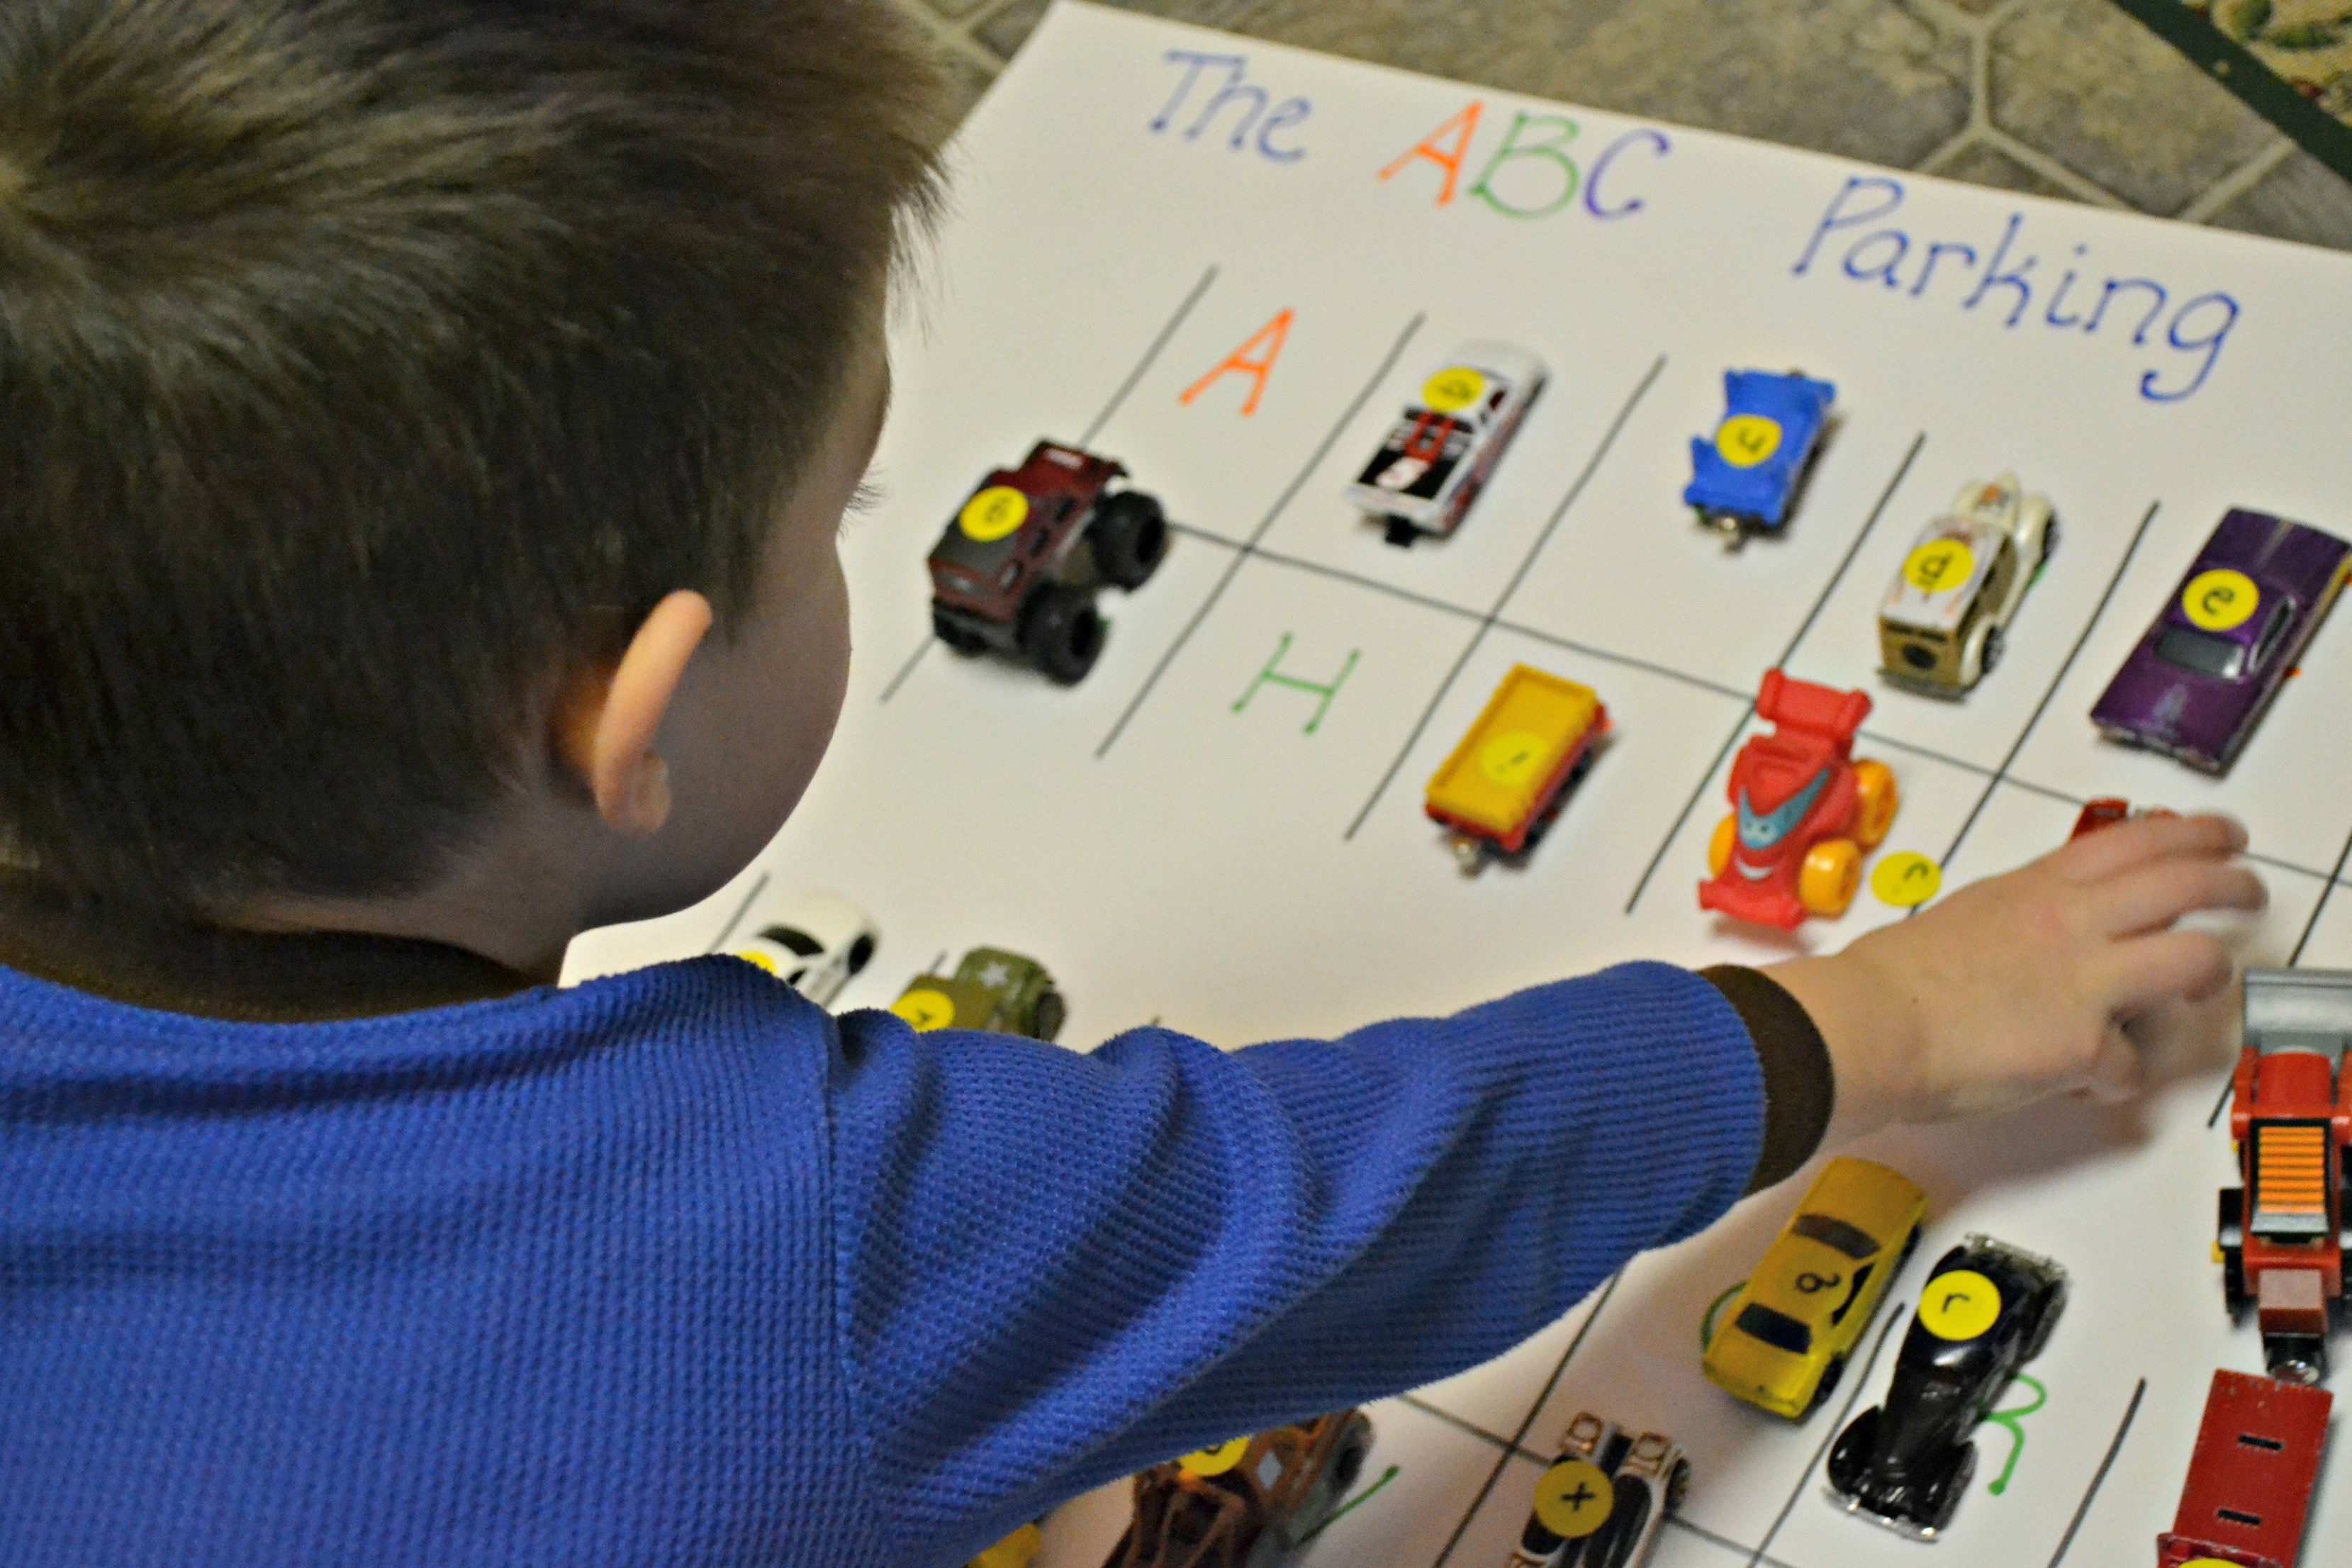
Step 3
Then, I wrote the a letter of the alphabet in each parking space. I chose to do one color for the vowels and one letter for the consonants to help reiterate that skill with my kids.
Step 4
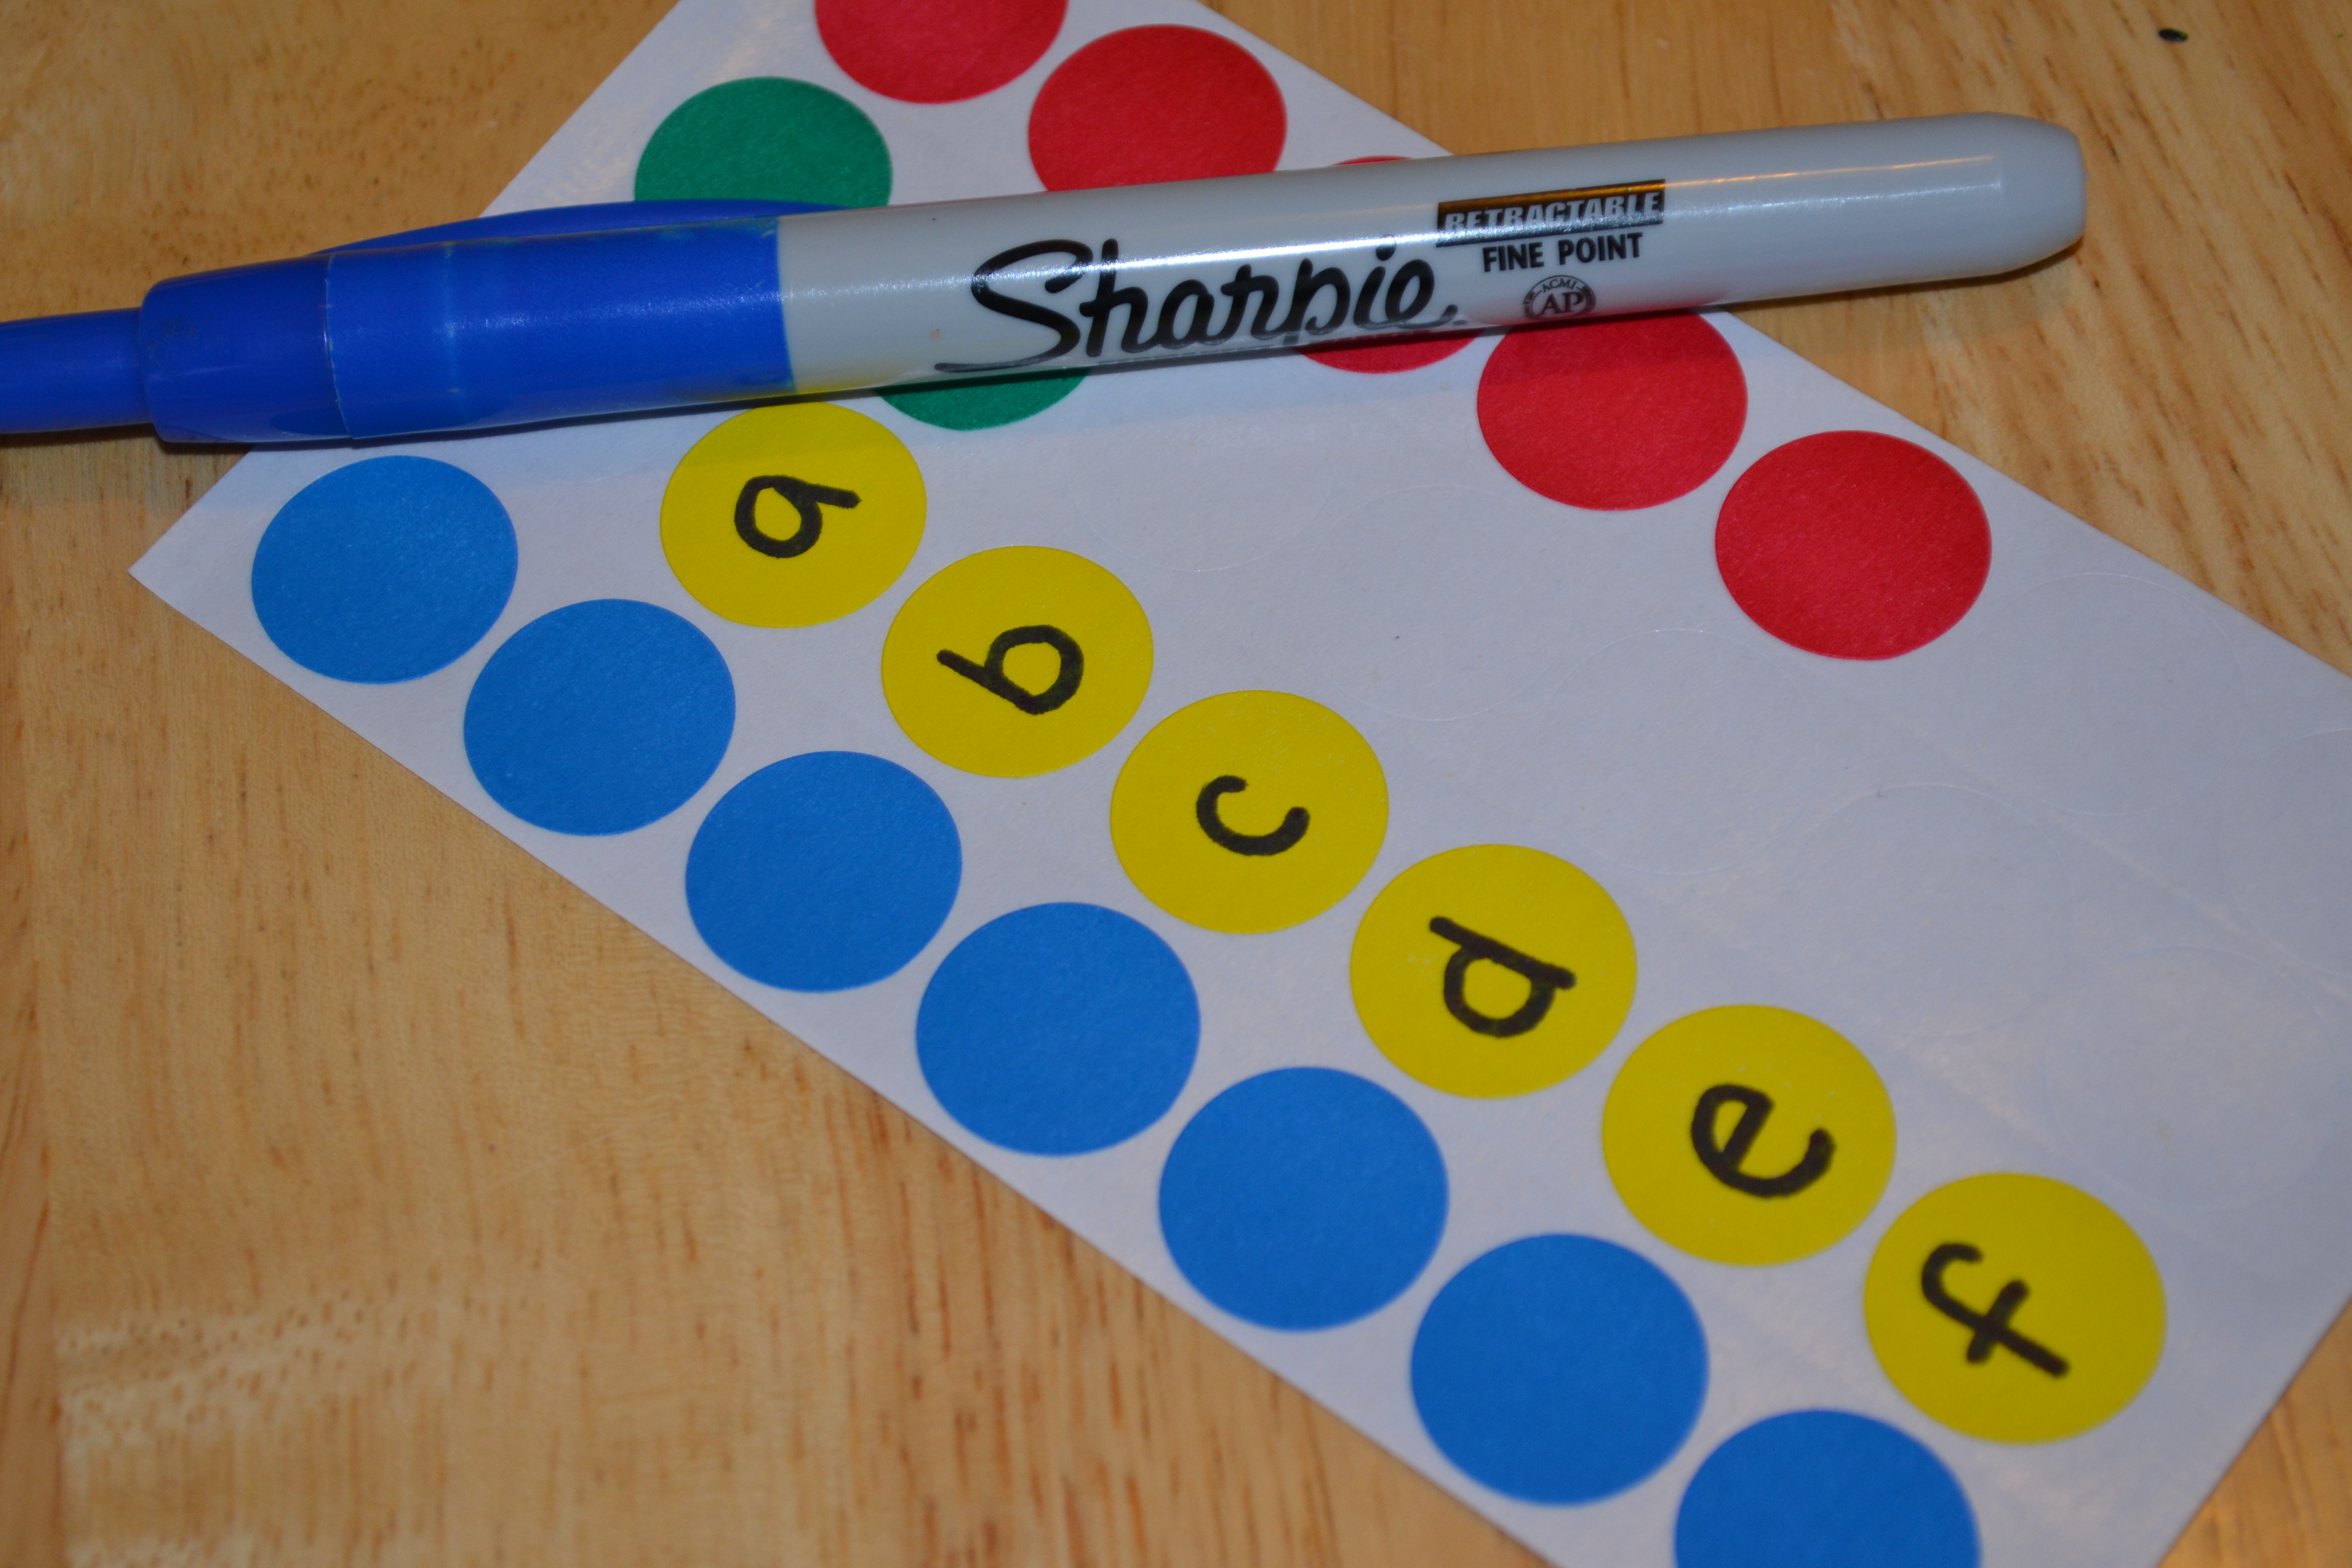
Using the markers, I wrote a lower-case letter on each dot sticker. I chose to use only the yellow stickers so the kids couldn't get used to one row being a certain color or remember that certain colors went in certain spaces. If you wanted to make this easier for younger kids, you could make each row a different color. As the kids were playing, I realized that some of the letters needed a line under them to tell which end was the bottom, like u, n, p, d, m, and w.
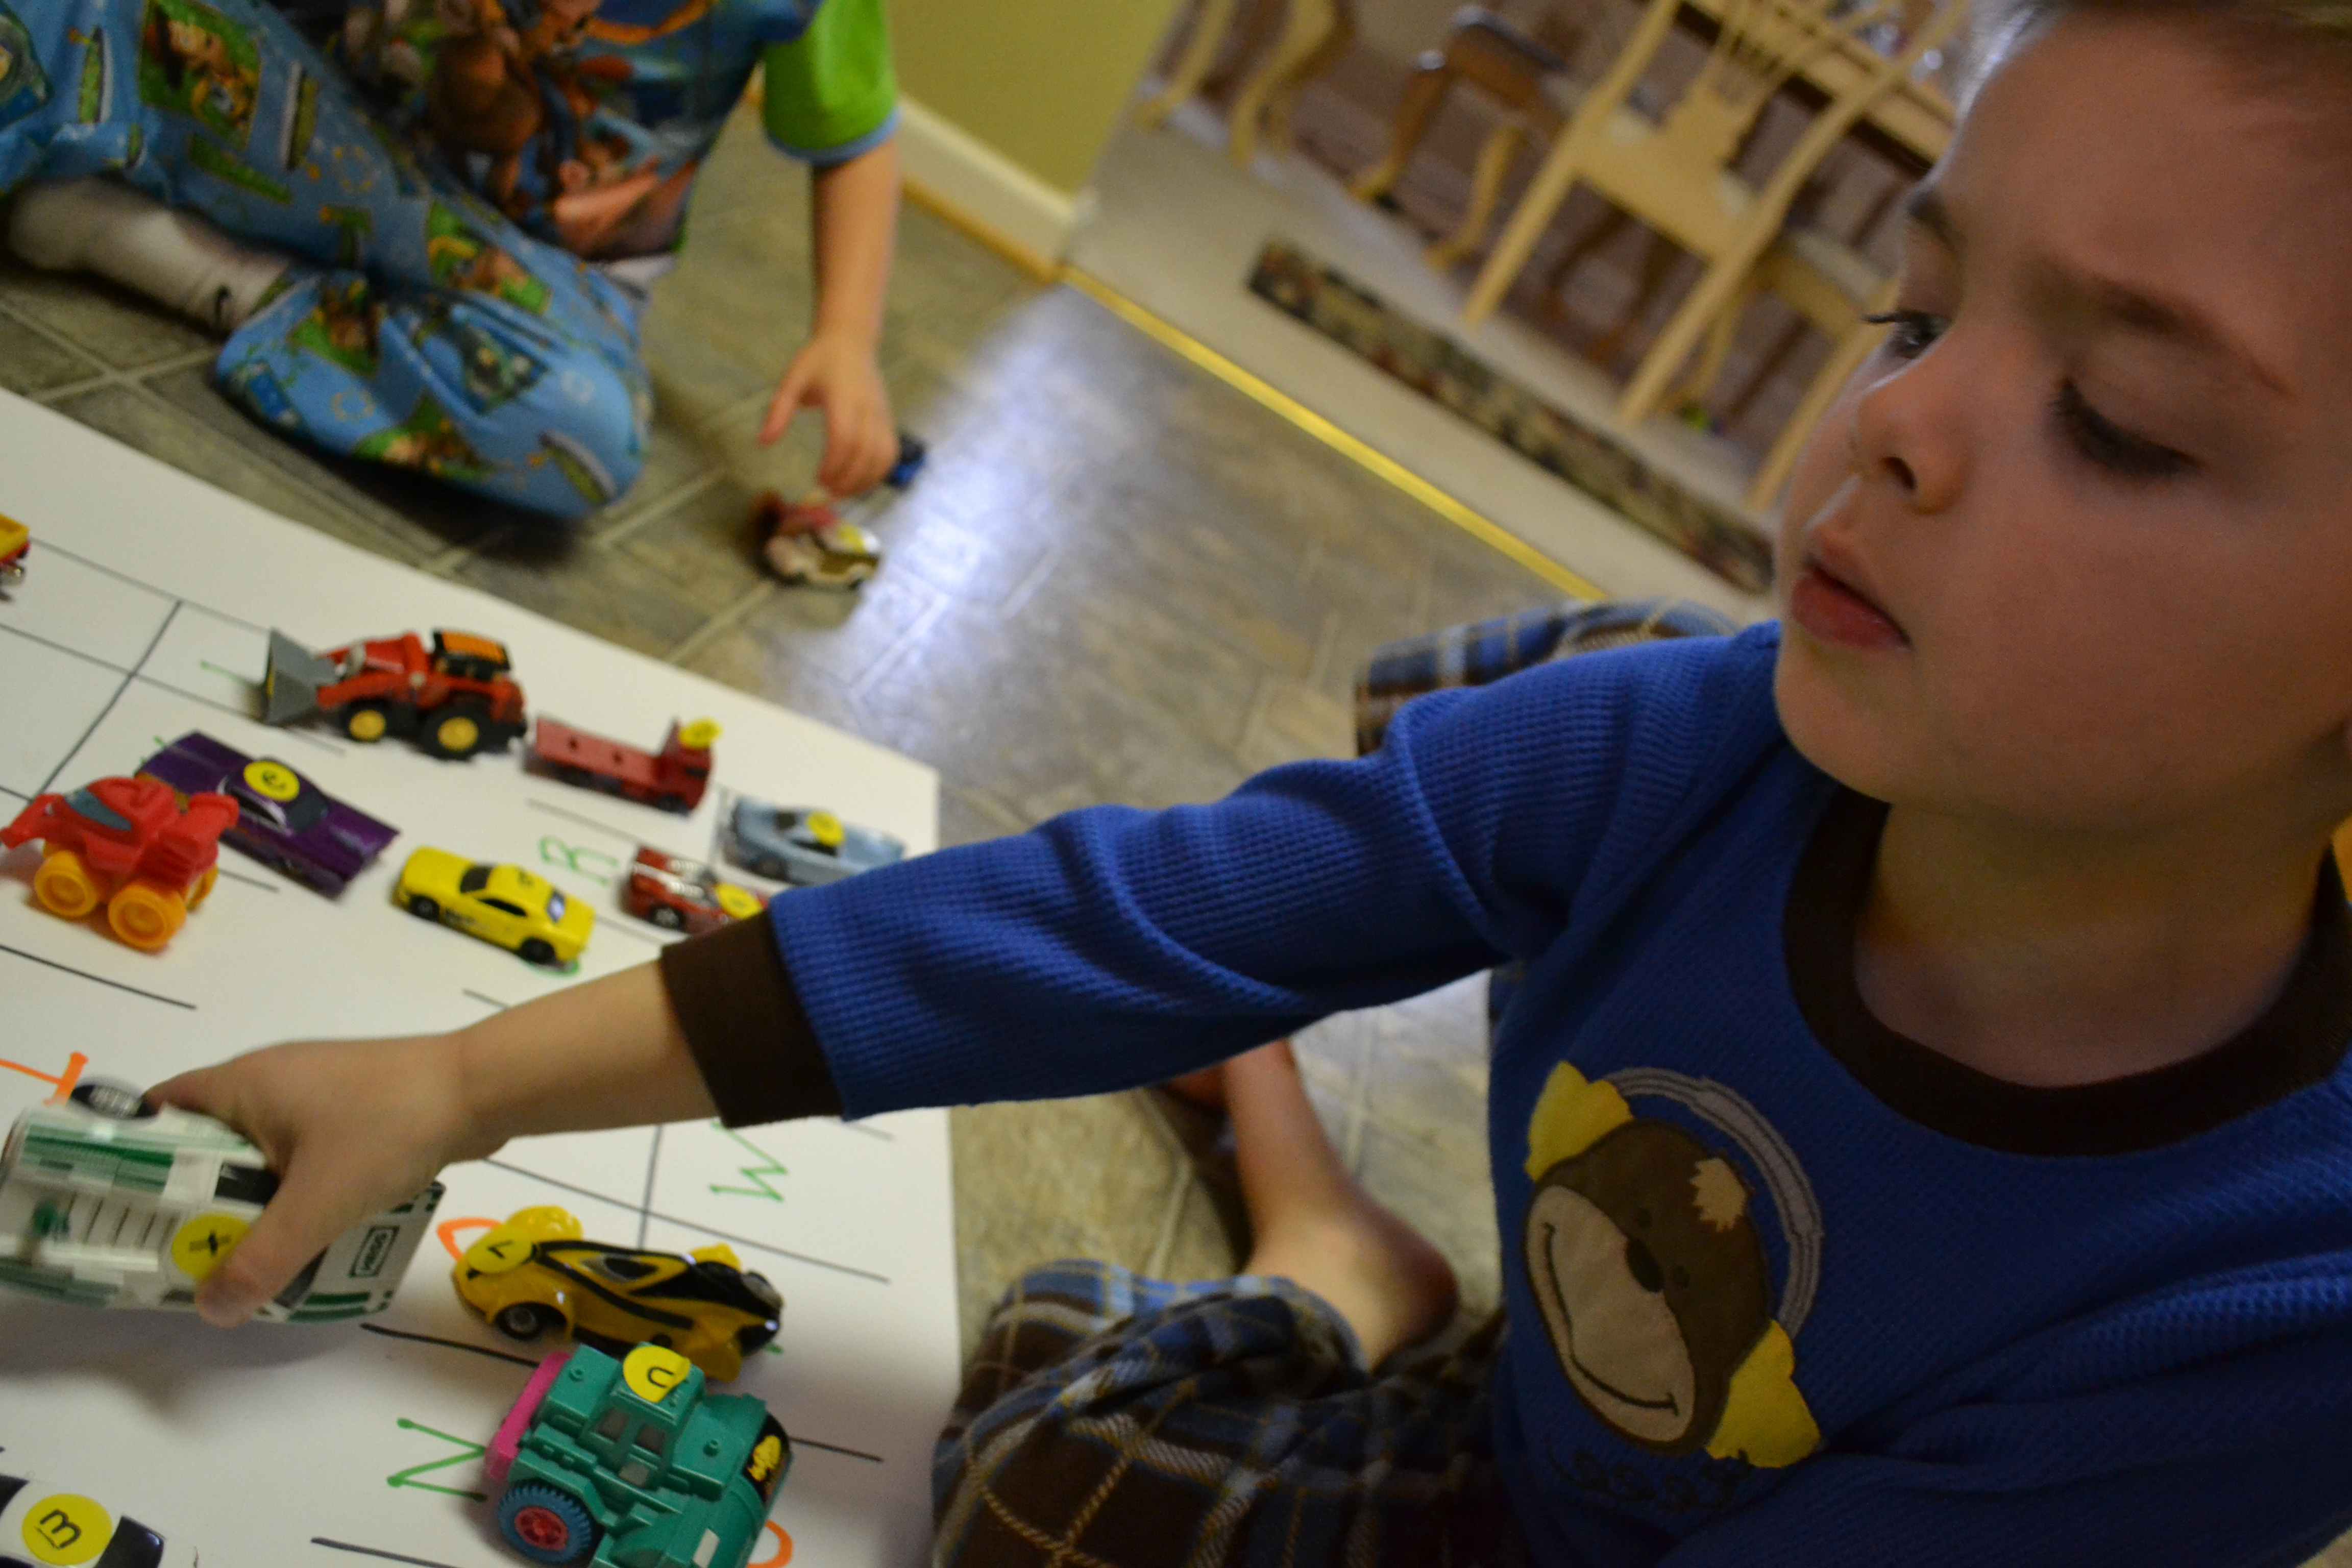
Step 5
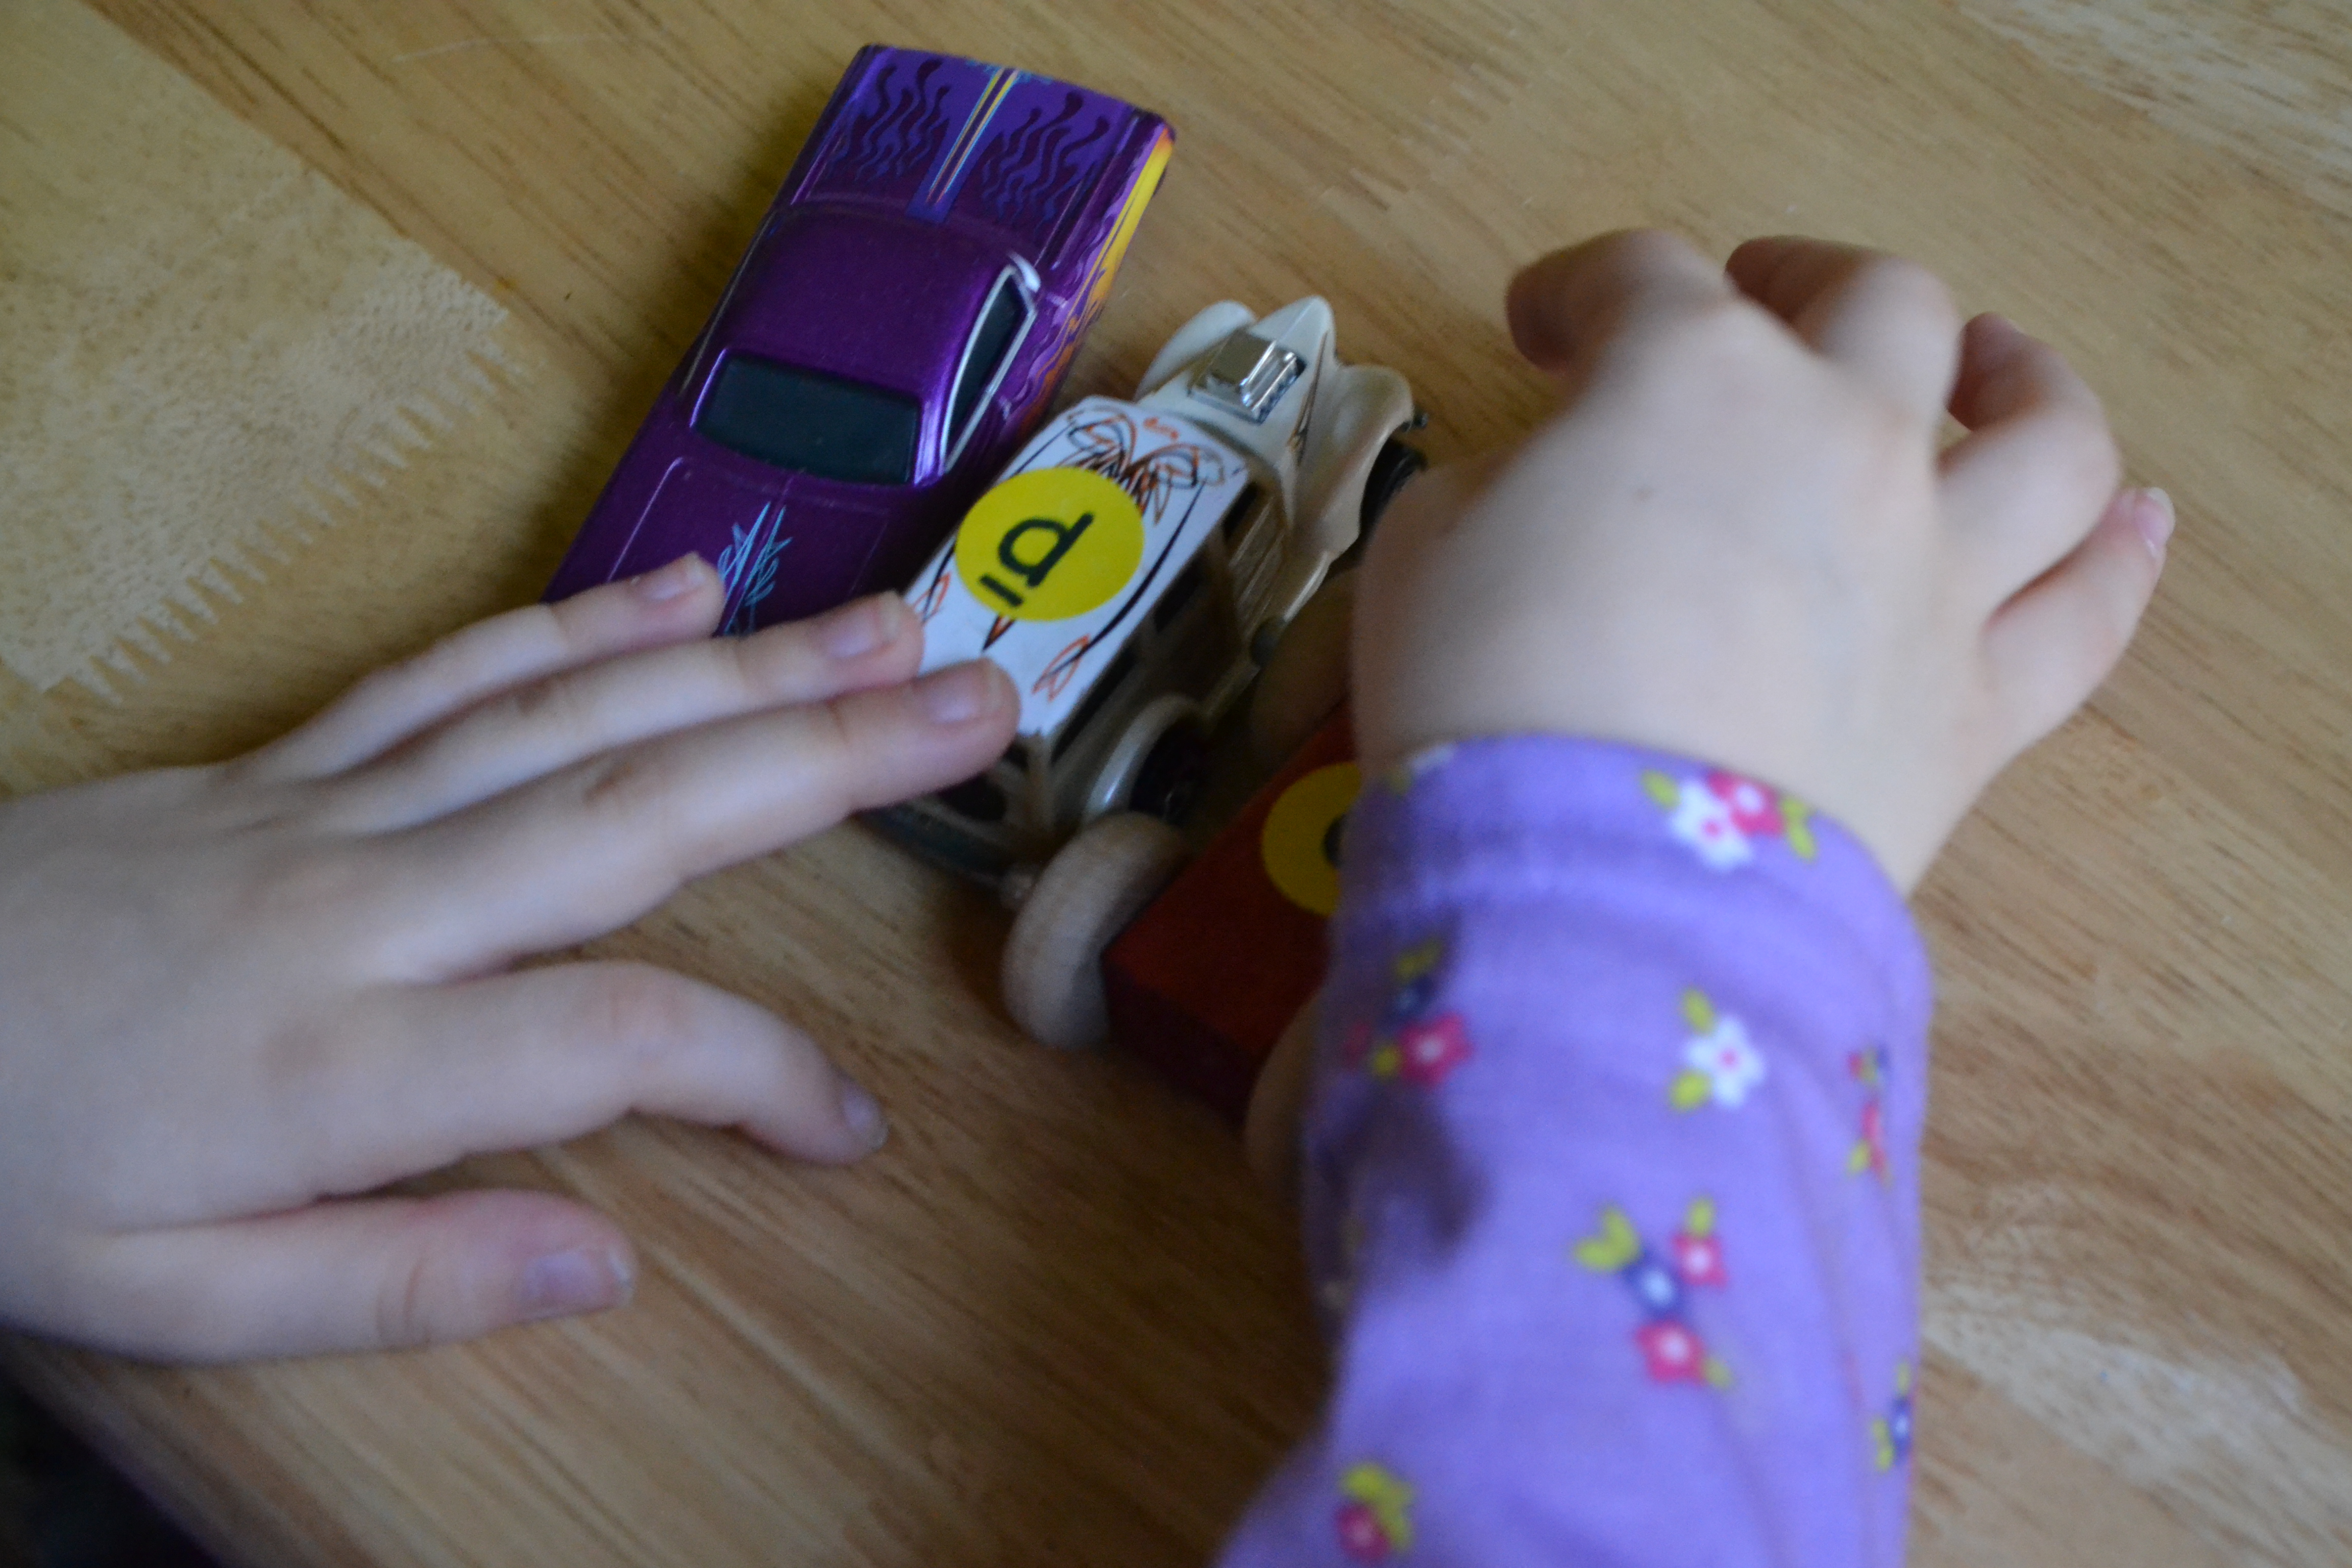
Then, the kids put the stickers on the tops of their toy vehicles. There was quite the discussion of which cars would get the first letter of the names!
Done!
The kids had a blast driving their cars around and "parking" them in the correct spaces. They even made Lego buildings to create a small city for their cars to drive through.