Step-by-step tutorial
Step 1
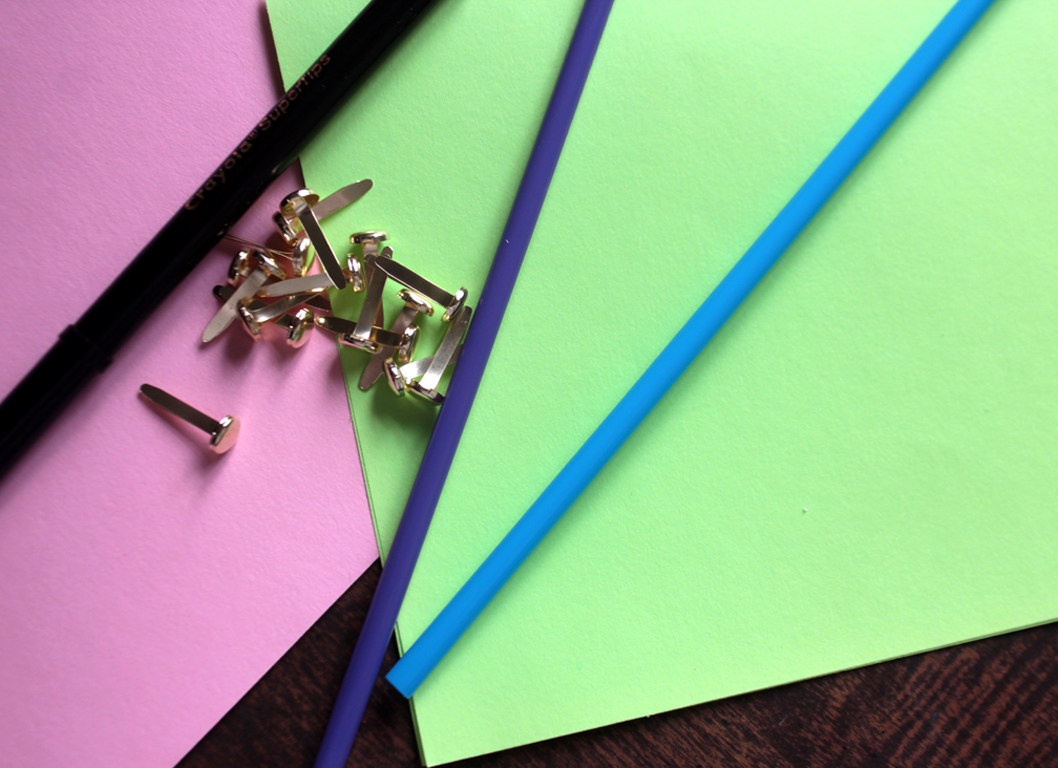
If you don't have a straw, you could paste the puppet onto a straight stick or a dowel.

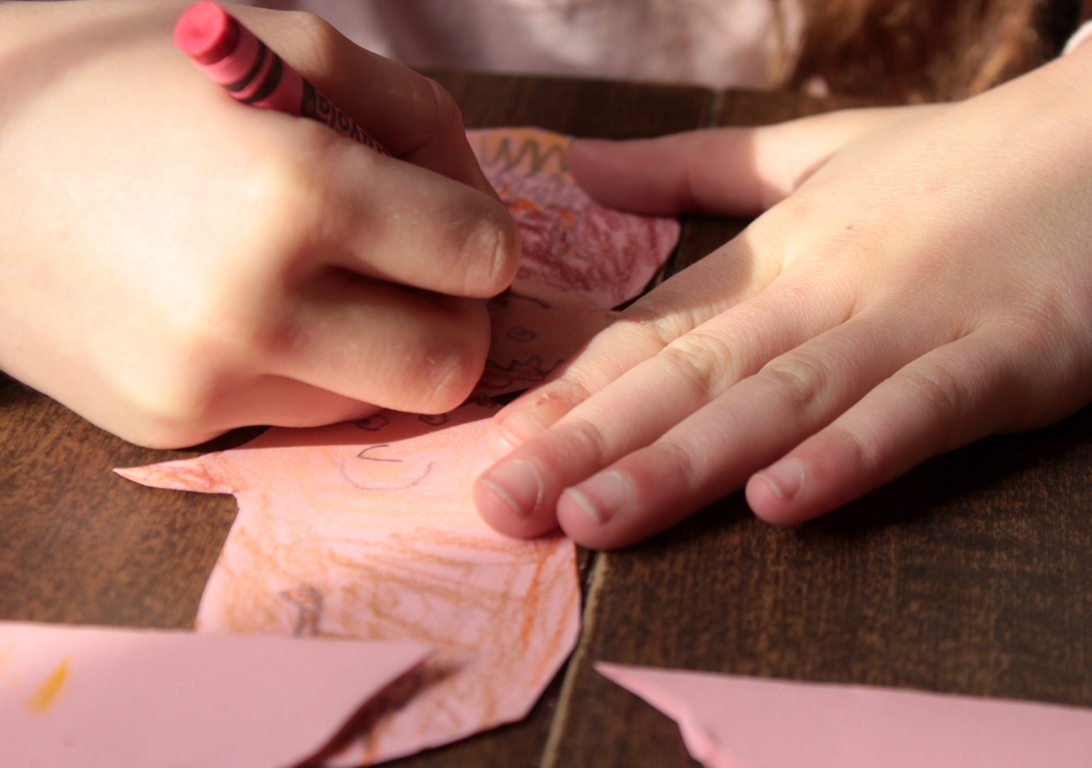
Step 2
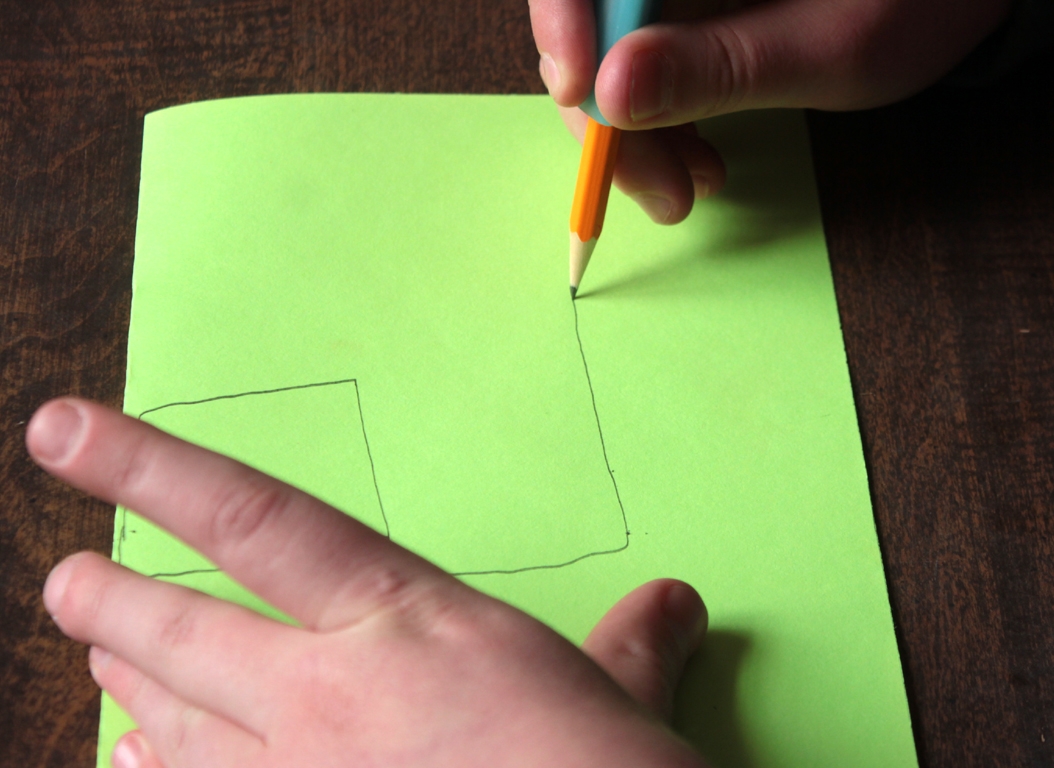
Maddie and Trev chose their colors, and folded their paper in half. I told them that the top of the head needed to be at the top of the paper, where the fold was. They drew heads and torsos, accordingly.
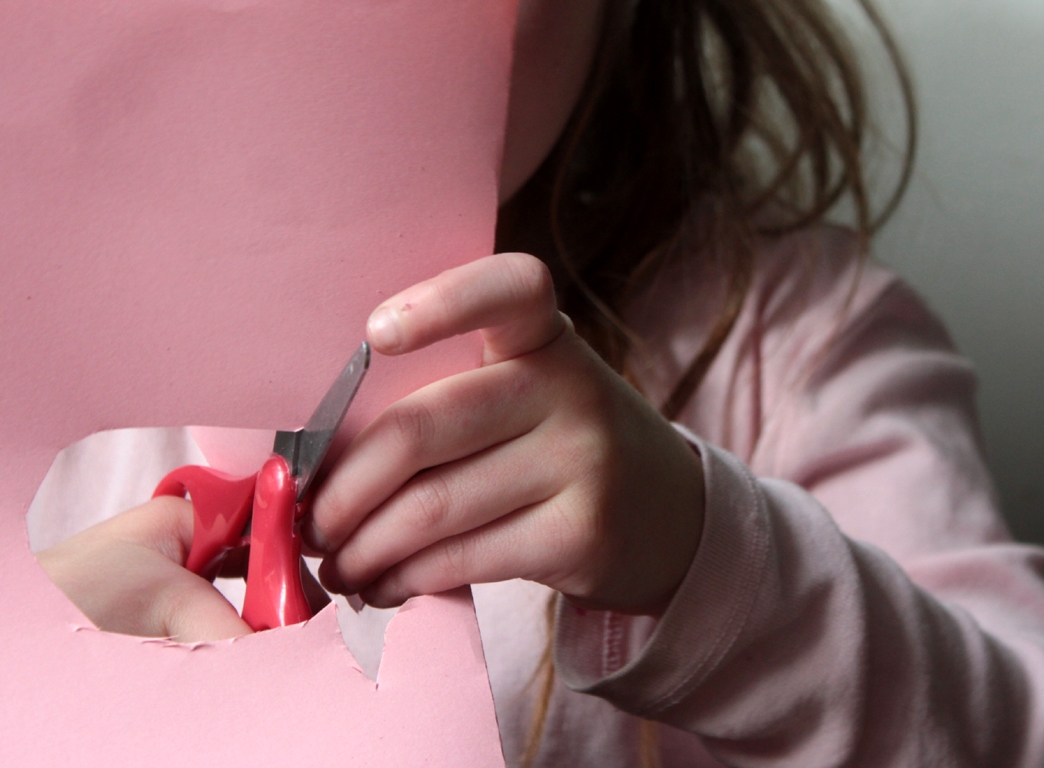
Step 3
They cut out the body, leaving the head attached to the torso.
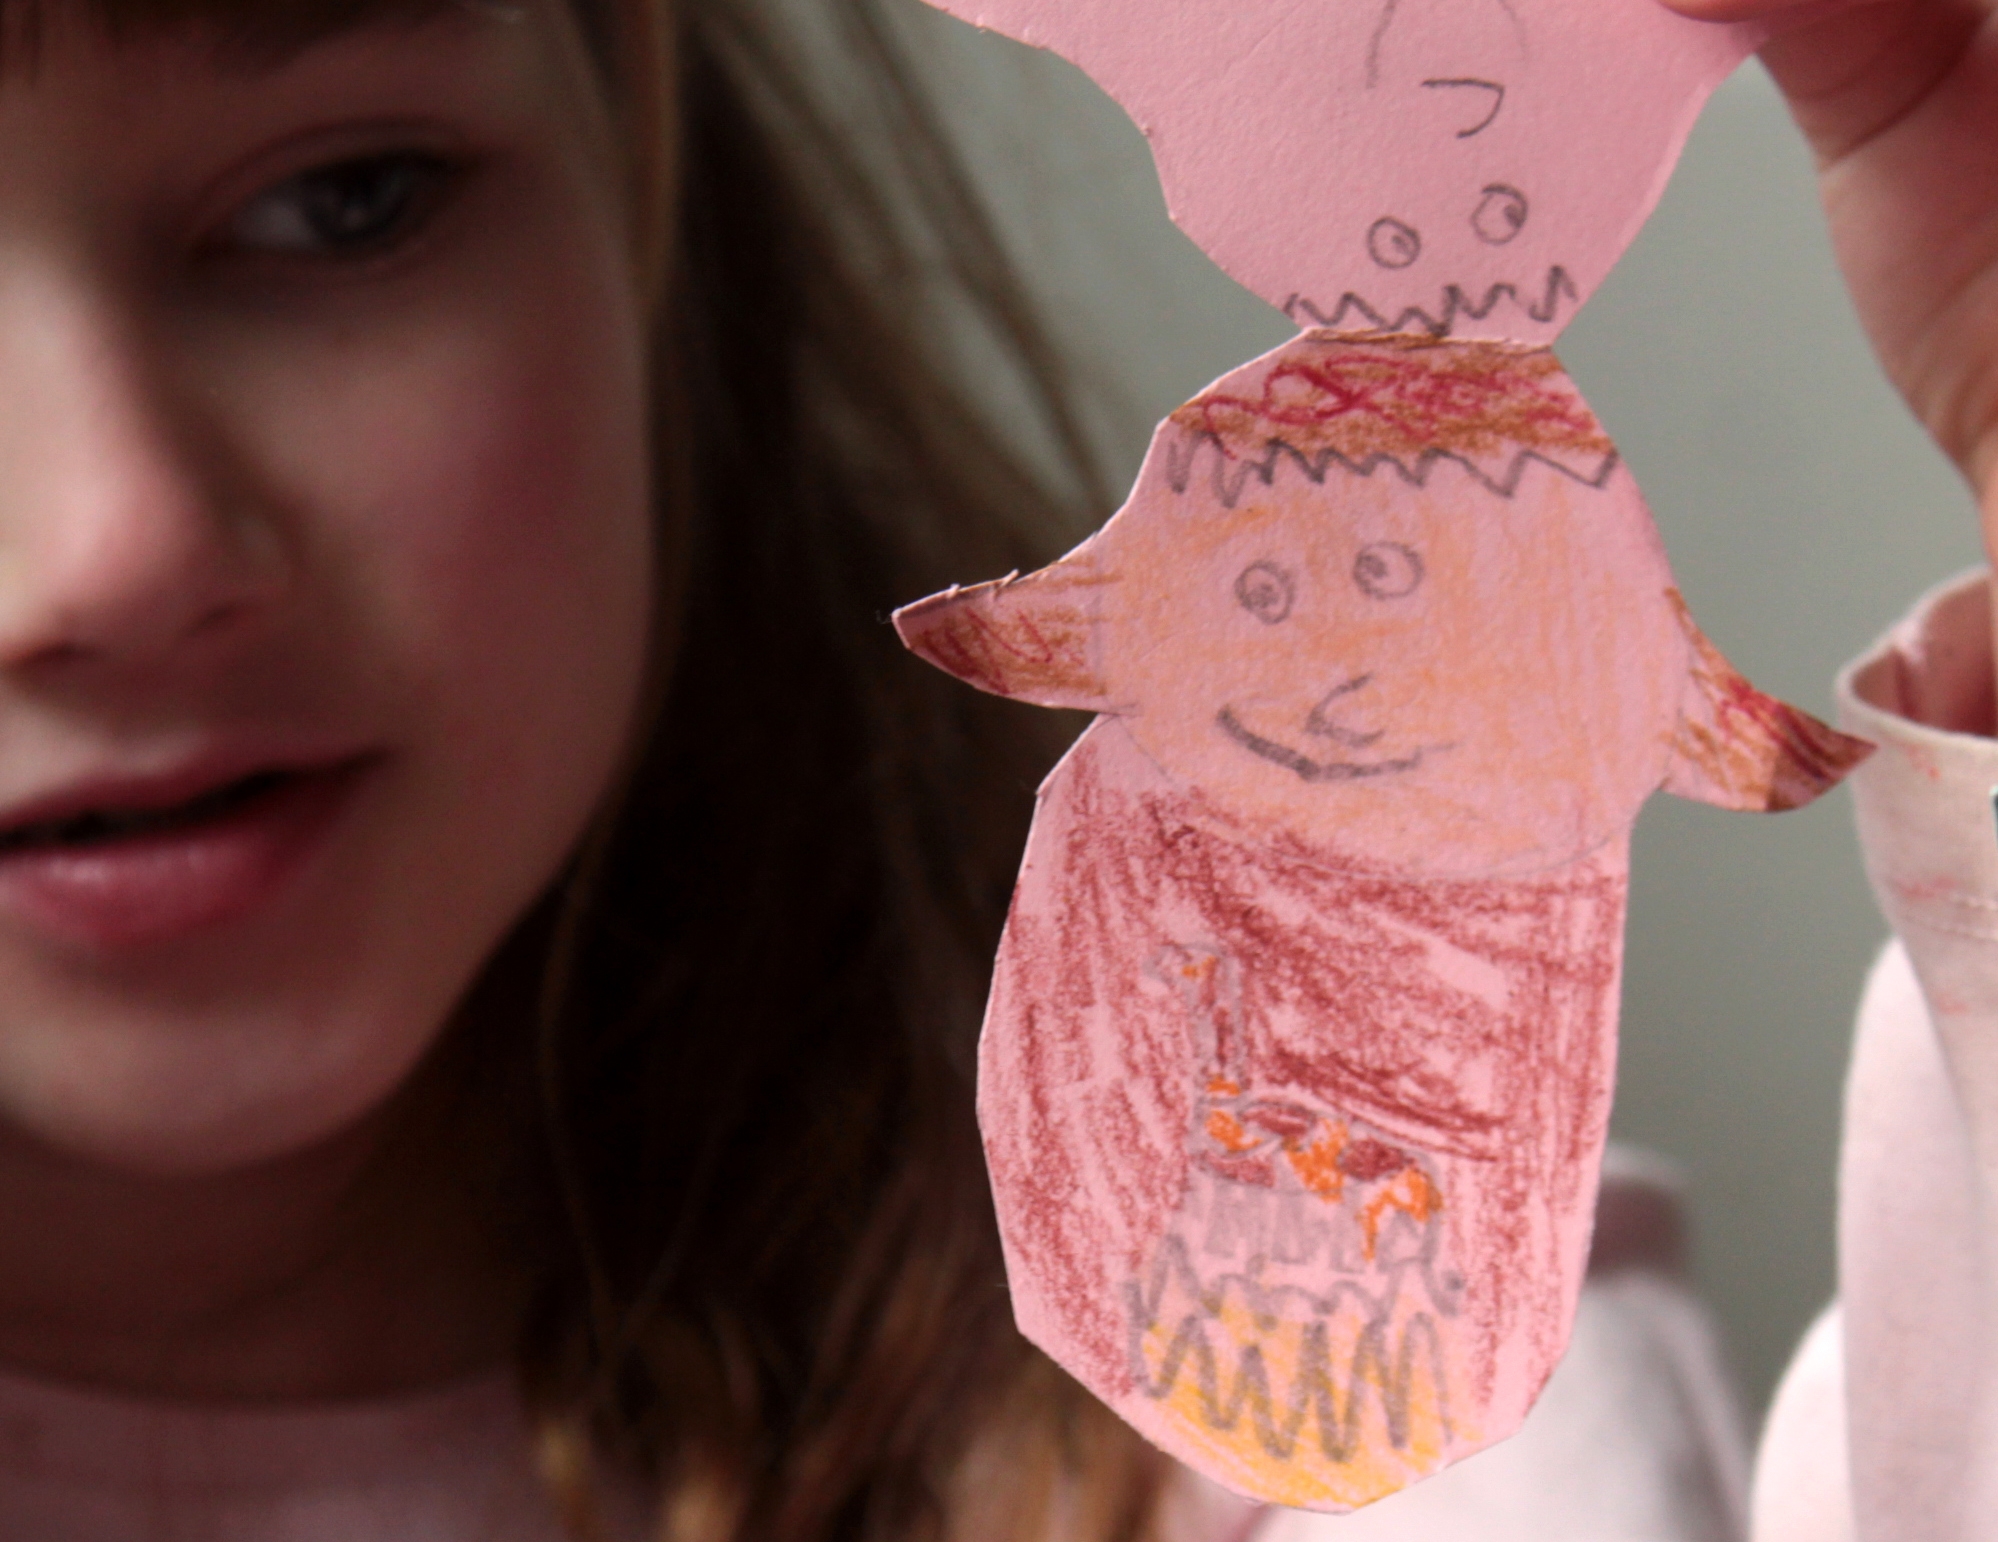
Step 4
Since the puppets are twirled, Maddie made the back of her puppet the same as the front.
Step 5
When it was all ready, they drew and then cut out arms and legs.
Step 6
For assembling the straw, we folded the body (back to original fold), then I stapled a straw inside the body (it was tricky trying to get it in the middle of the straw). If you don't have a stapler or are using a stick, try glue and tape.
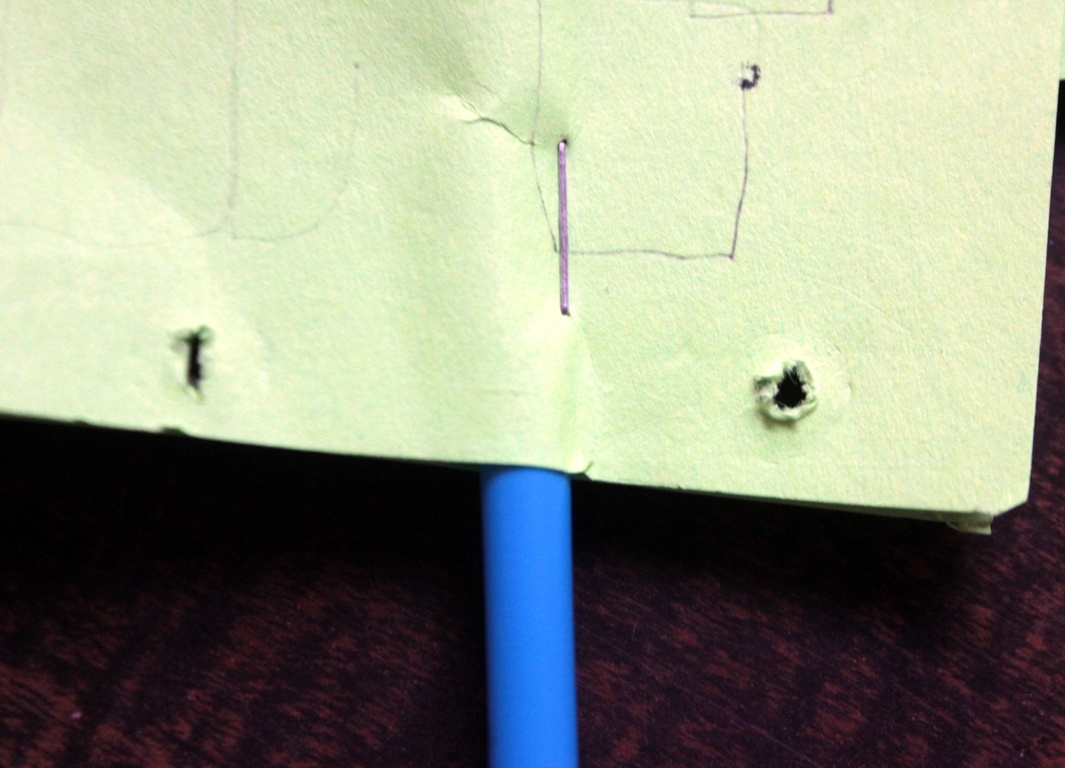
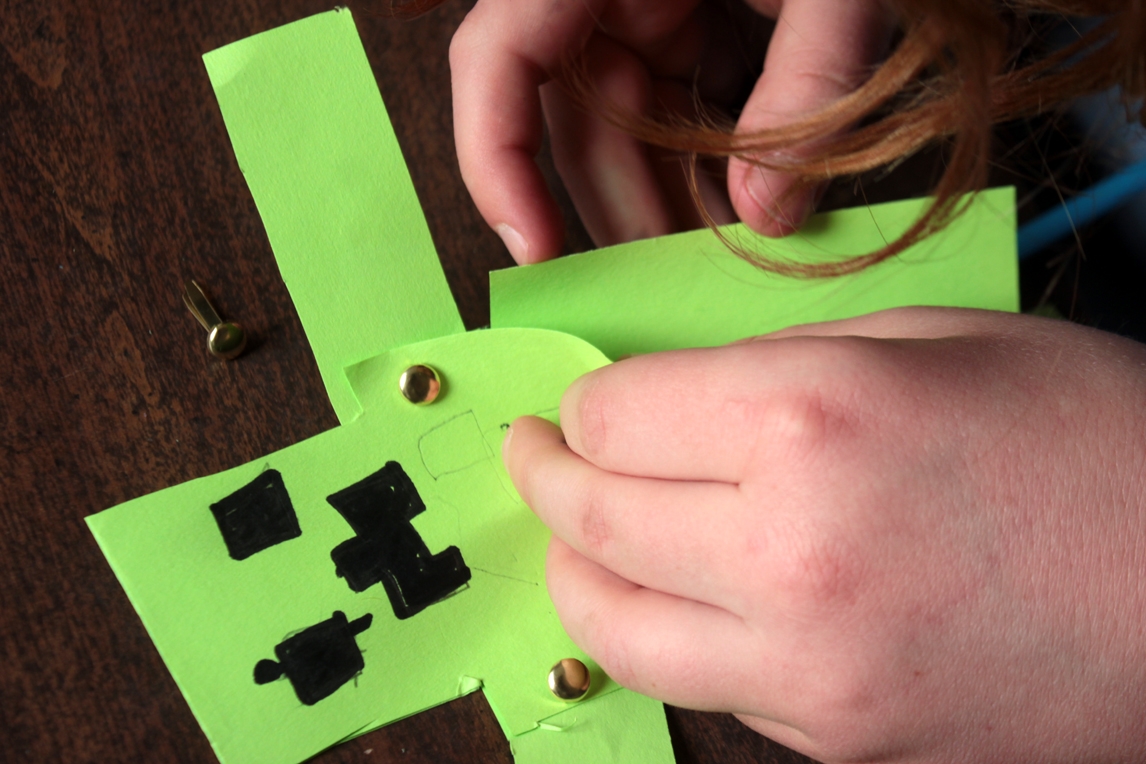
Step 7
I took pointed scissors, and poked through holes at the shoulders and hips, and made holes at the tops of the arms and legs. The children assembled the rest of the body with the brads...
Step 8
...tucking the limbs inside the body fold (front and back).

Step 9
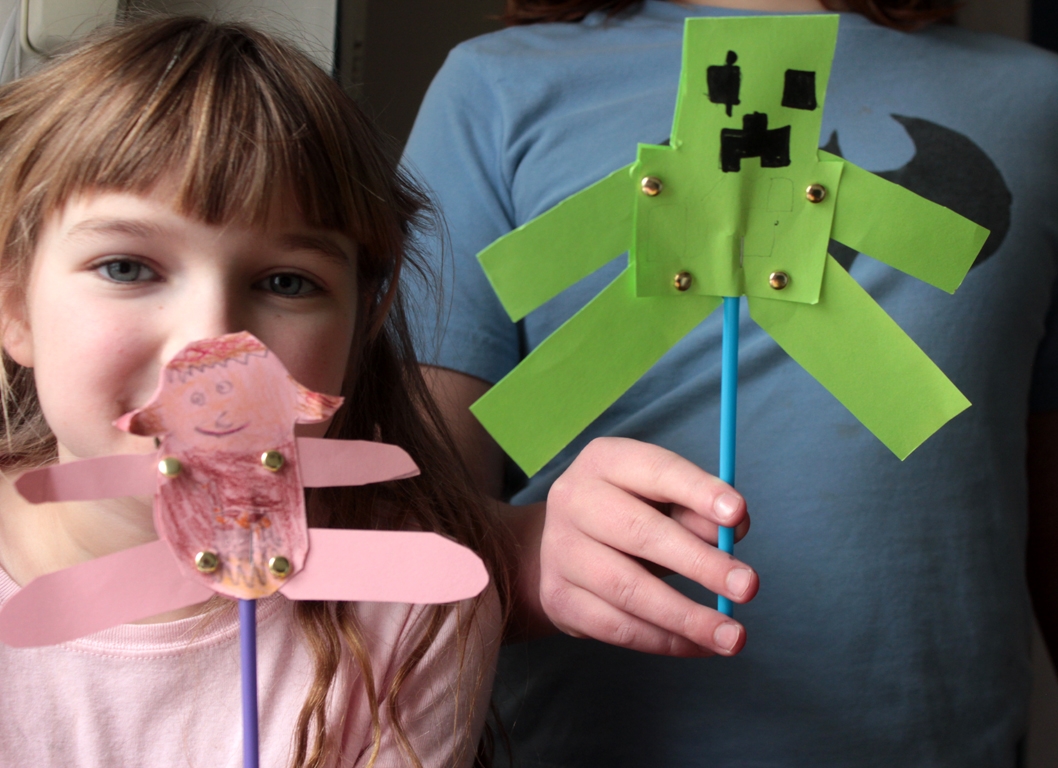
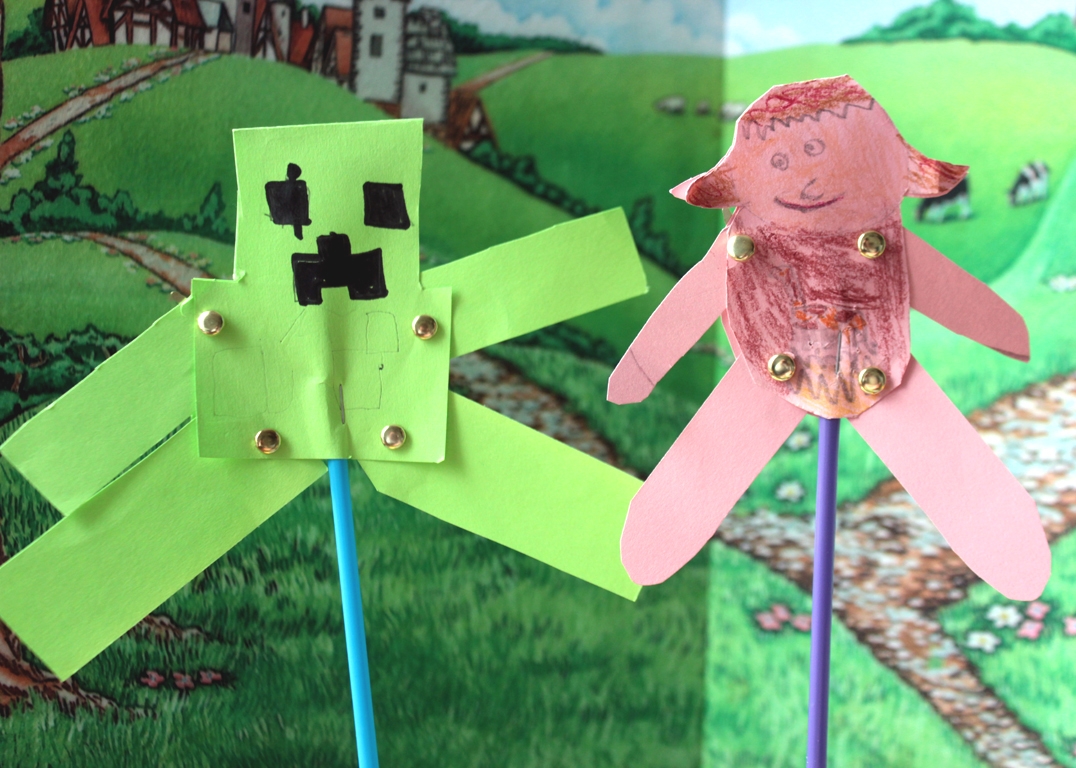
It's finished! Now for the surprise. We started with the limbs hanging down straight (making sure the limbs were able to move; we needed to trim the tops and corners of the legs to allow for the straw), and holding the straw between their palms, Maddie and Trev rubbed the straw back and forth quickly...
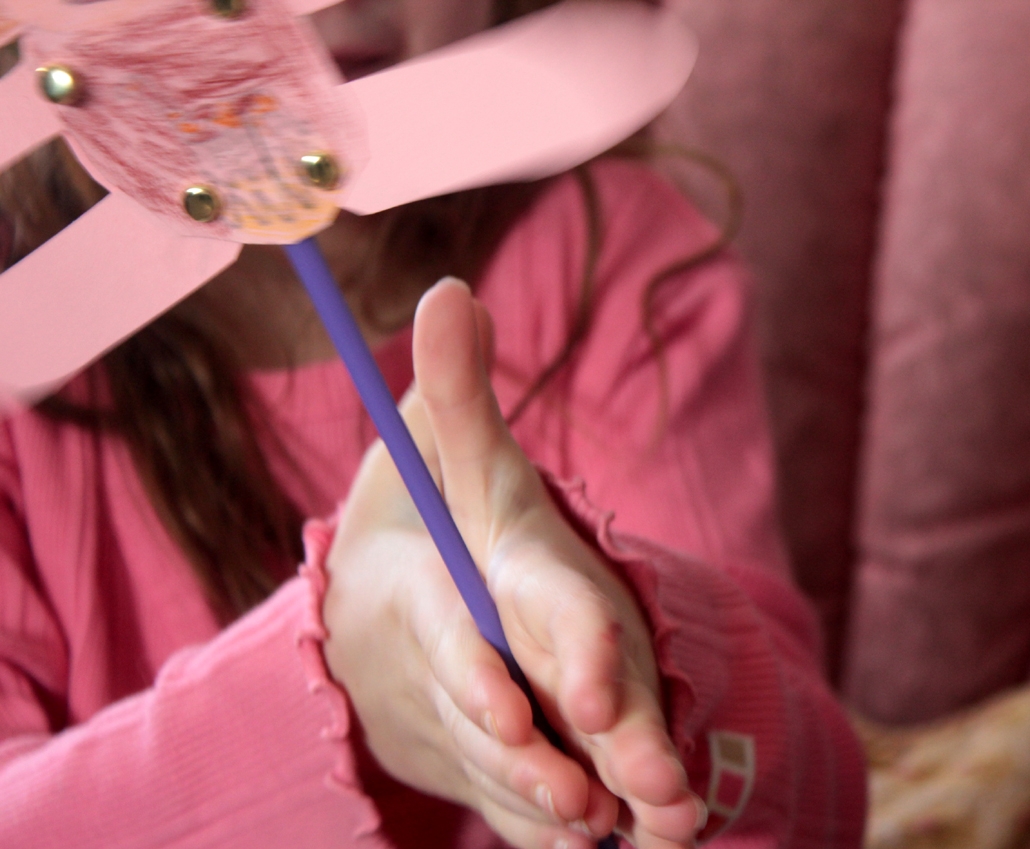
Done!
...they were laughing to see their puppets come alive!