Step-by-step tutorial
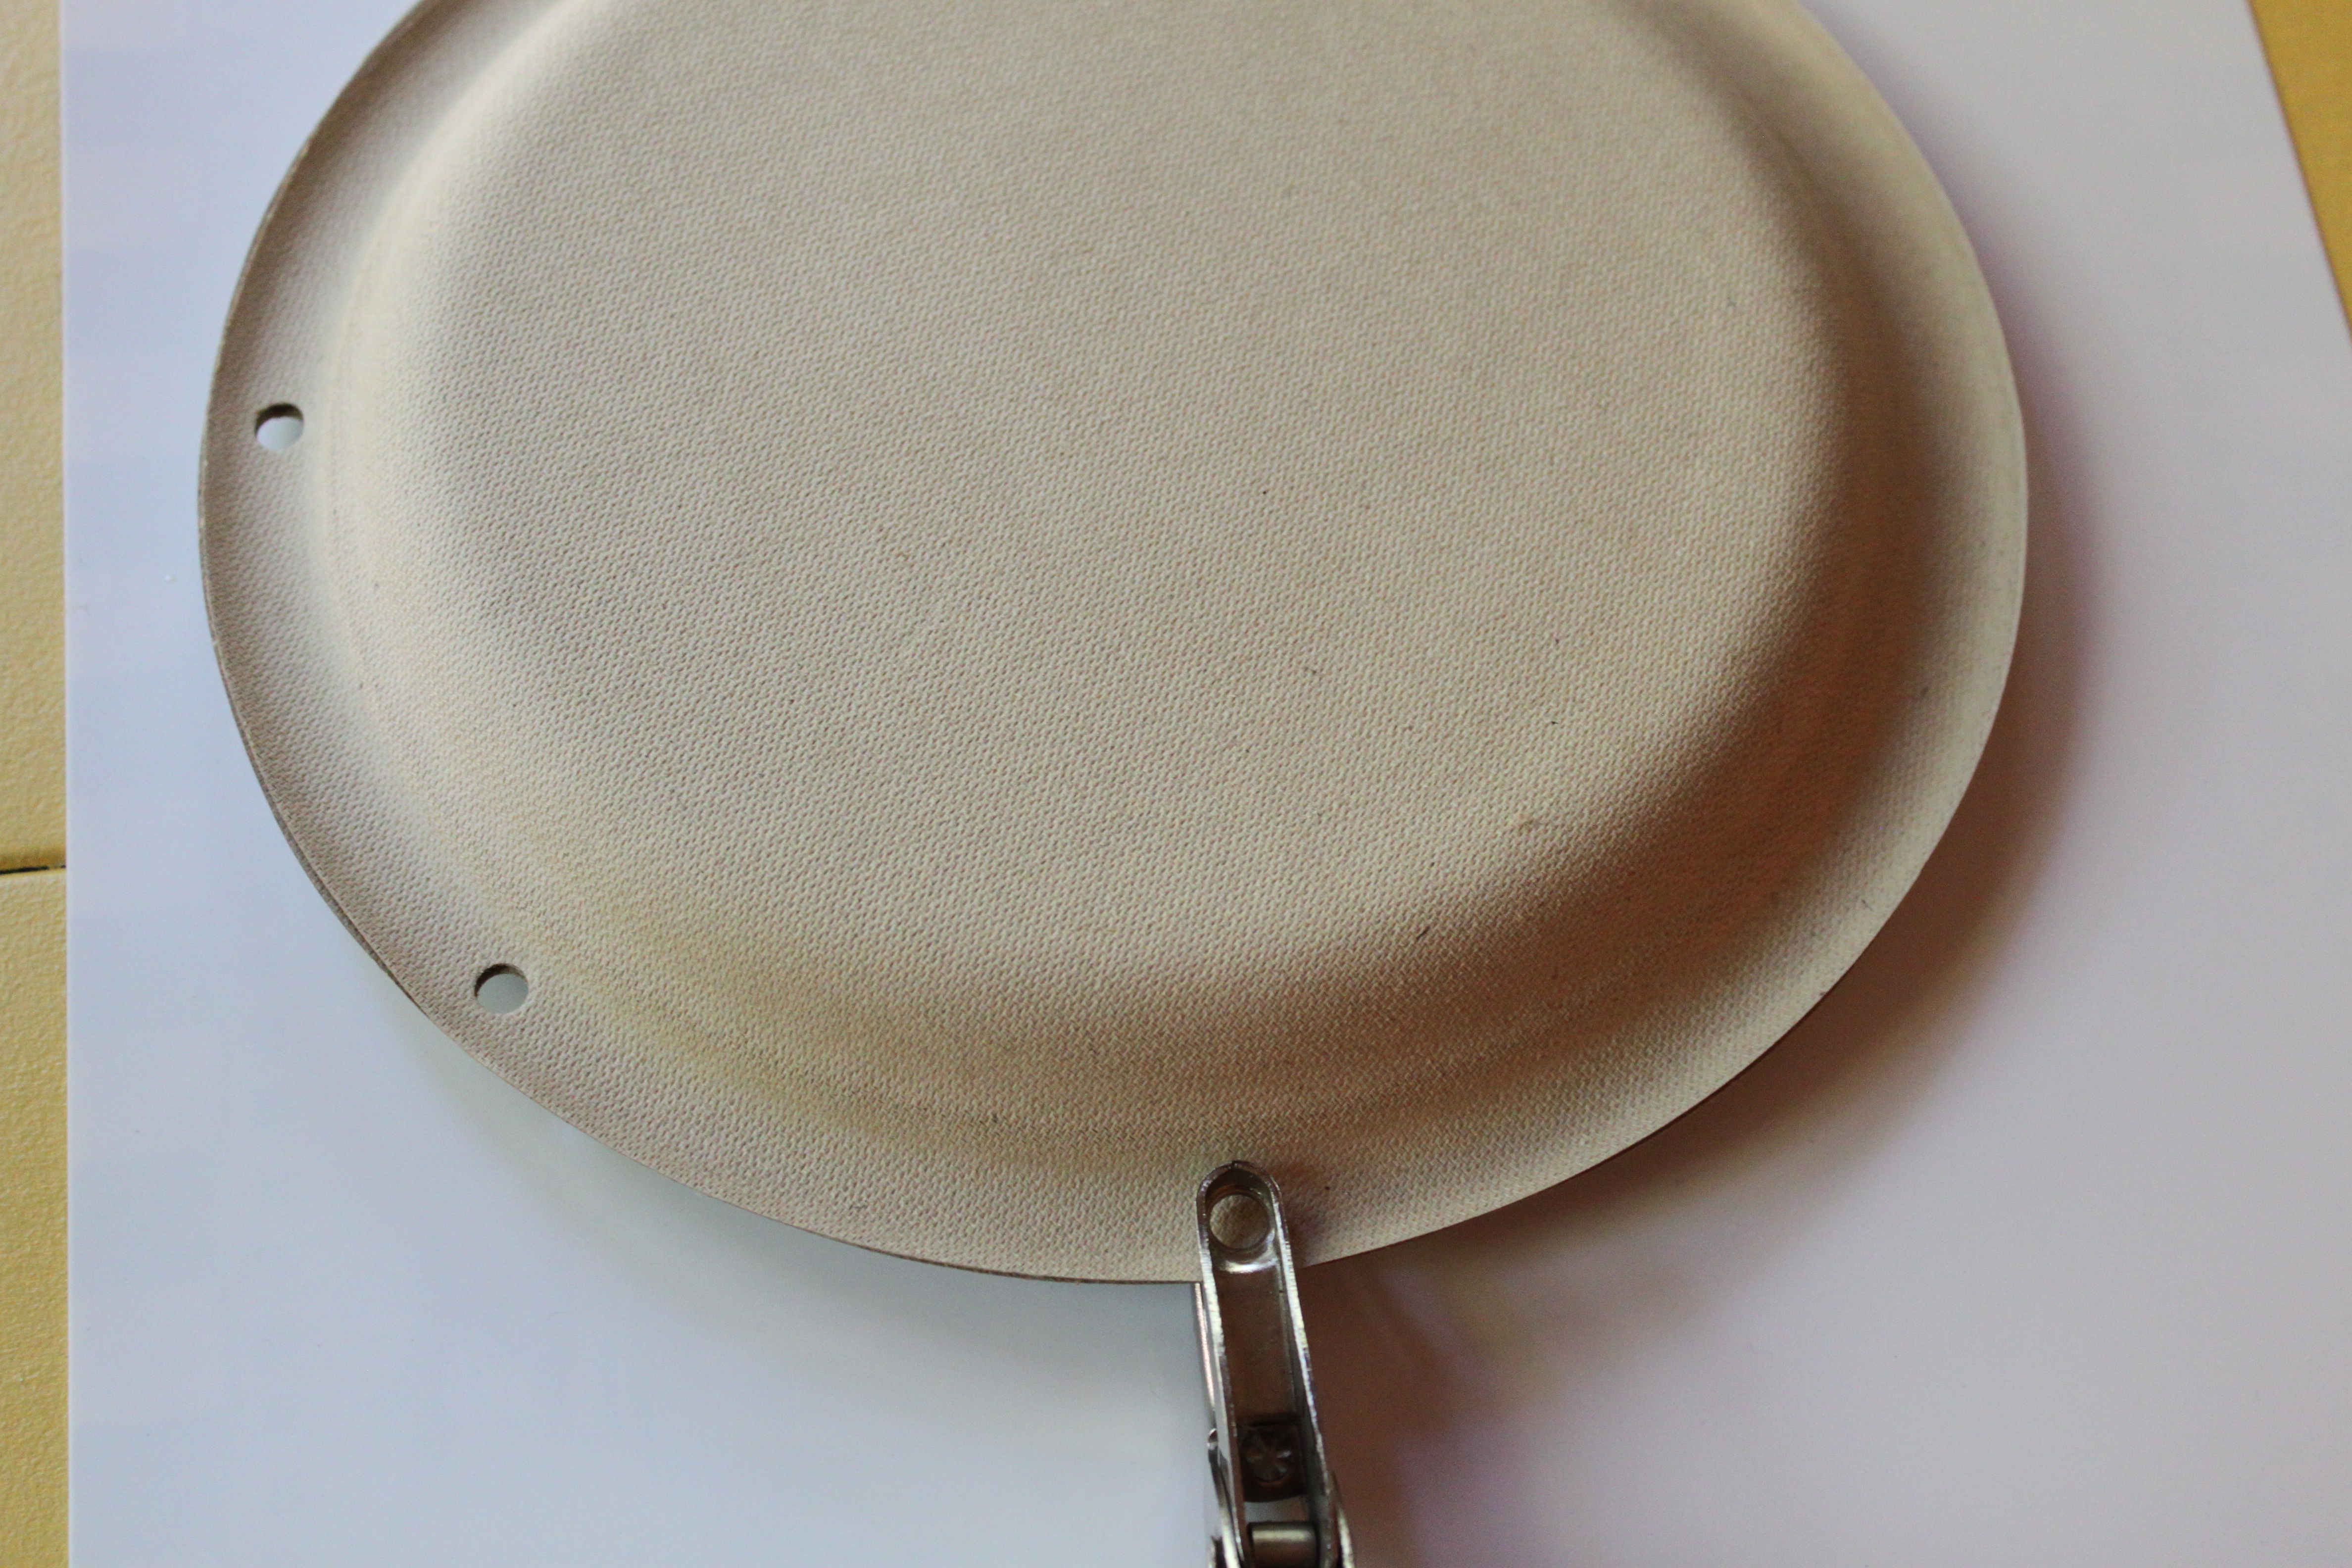
Step 1
First, punch seven holes around your paper plates. (If you can punch through both at once it will be much easier to line up the holes for threading later.) I did this step since it took more strength than my five-year-old had.

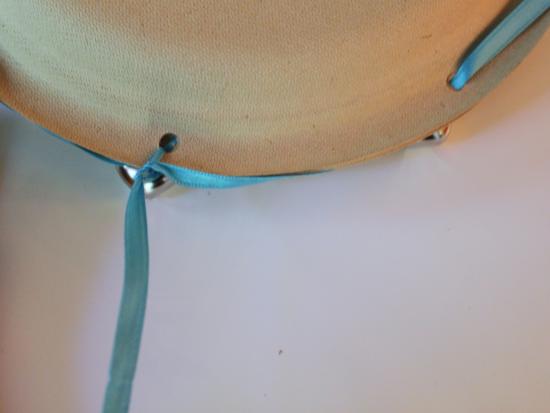
Step 2
Next, tie one end of your ribbon through a hole and add a bell. It's easier for kids to thread if you start it for them.
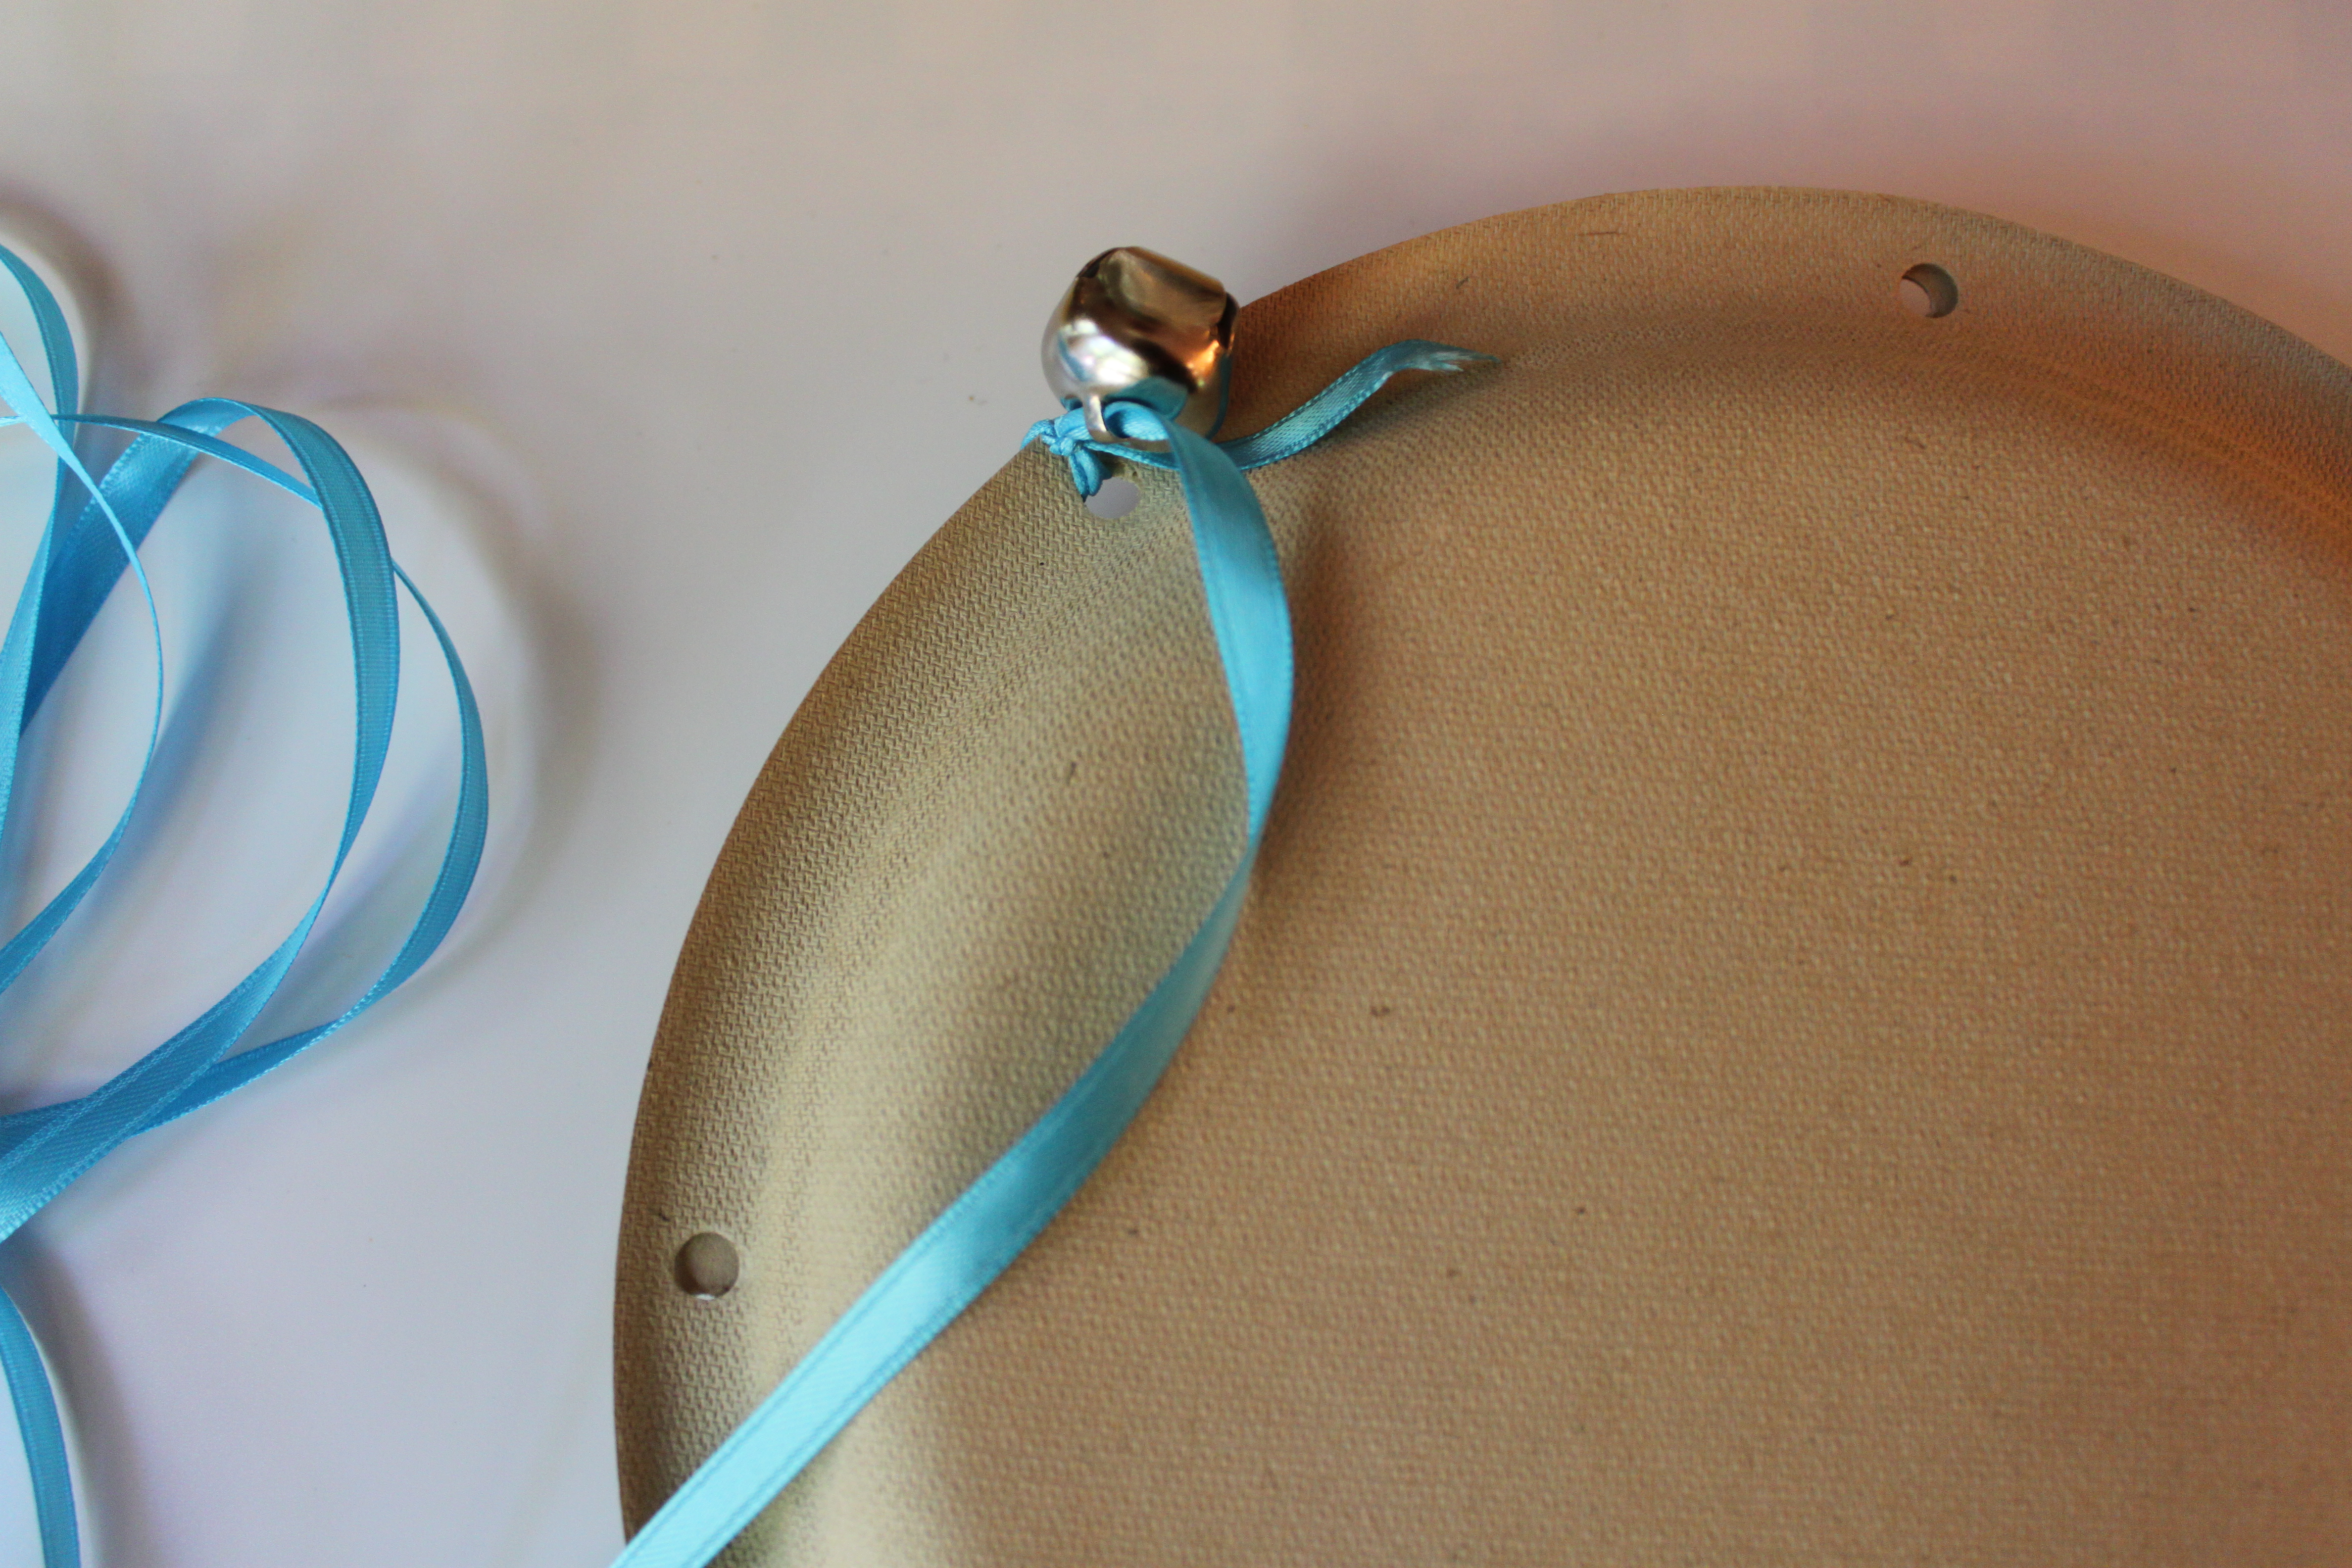
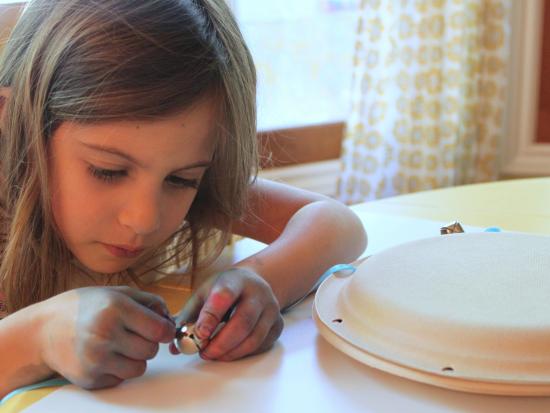
Step 3
Your child can continue threading the ribbon through the plates. Add a bell before moving on to the next hole.
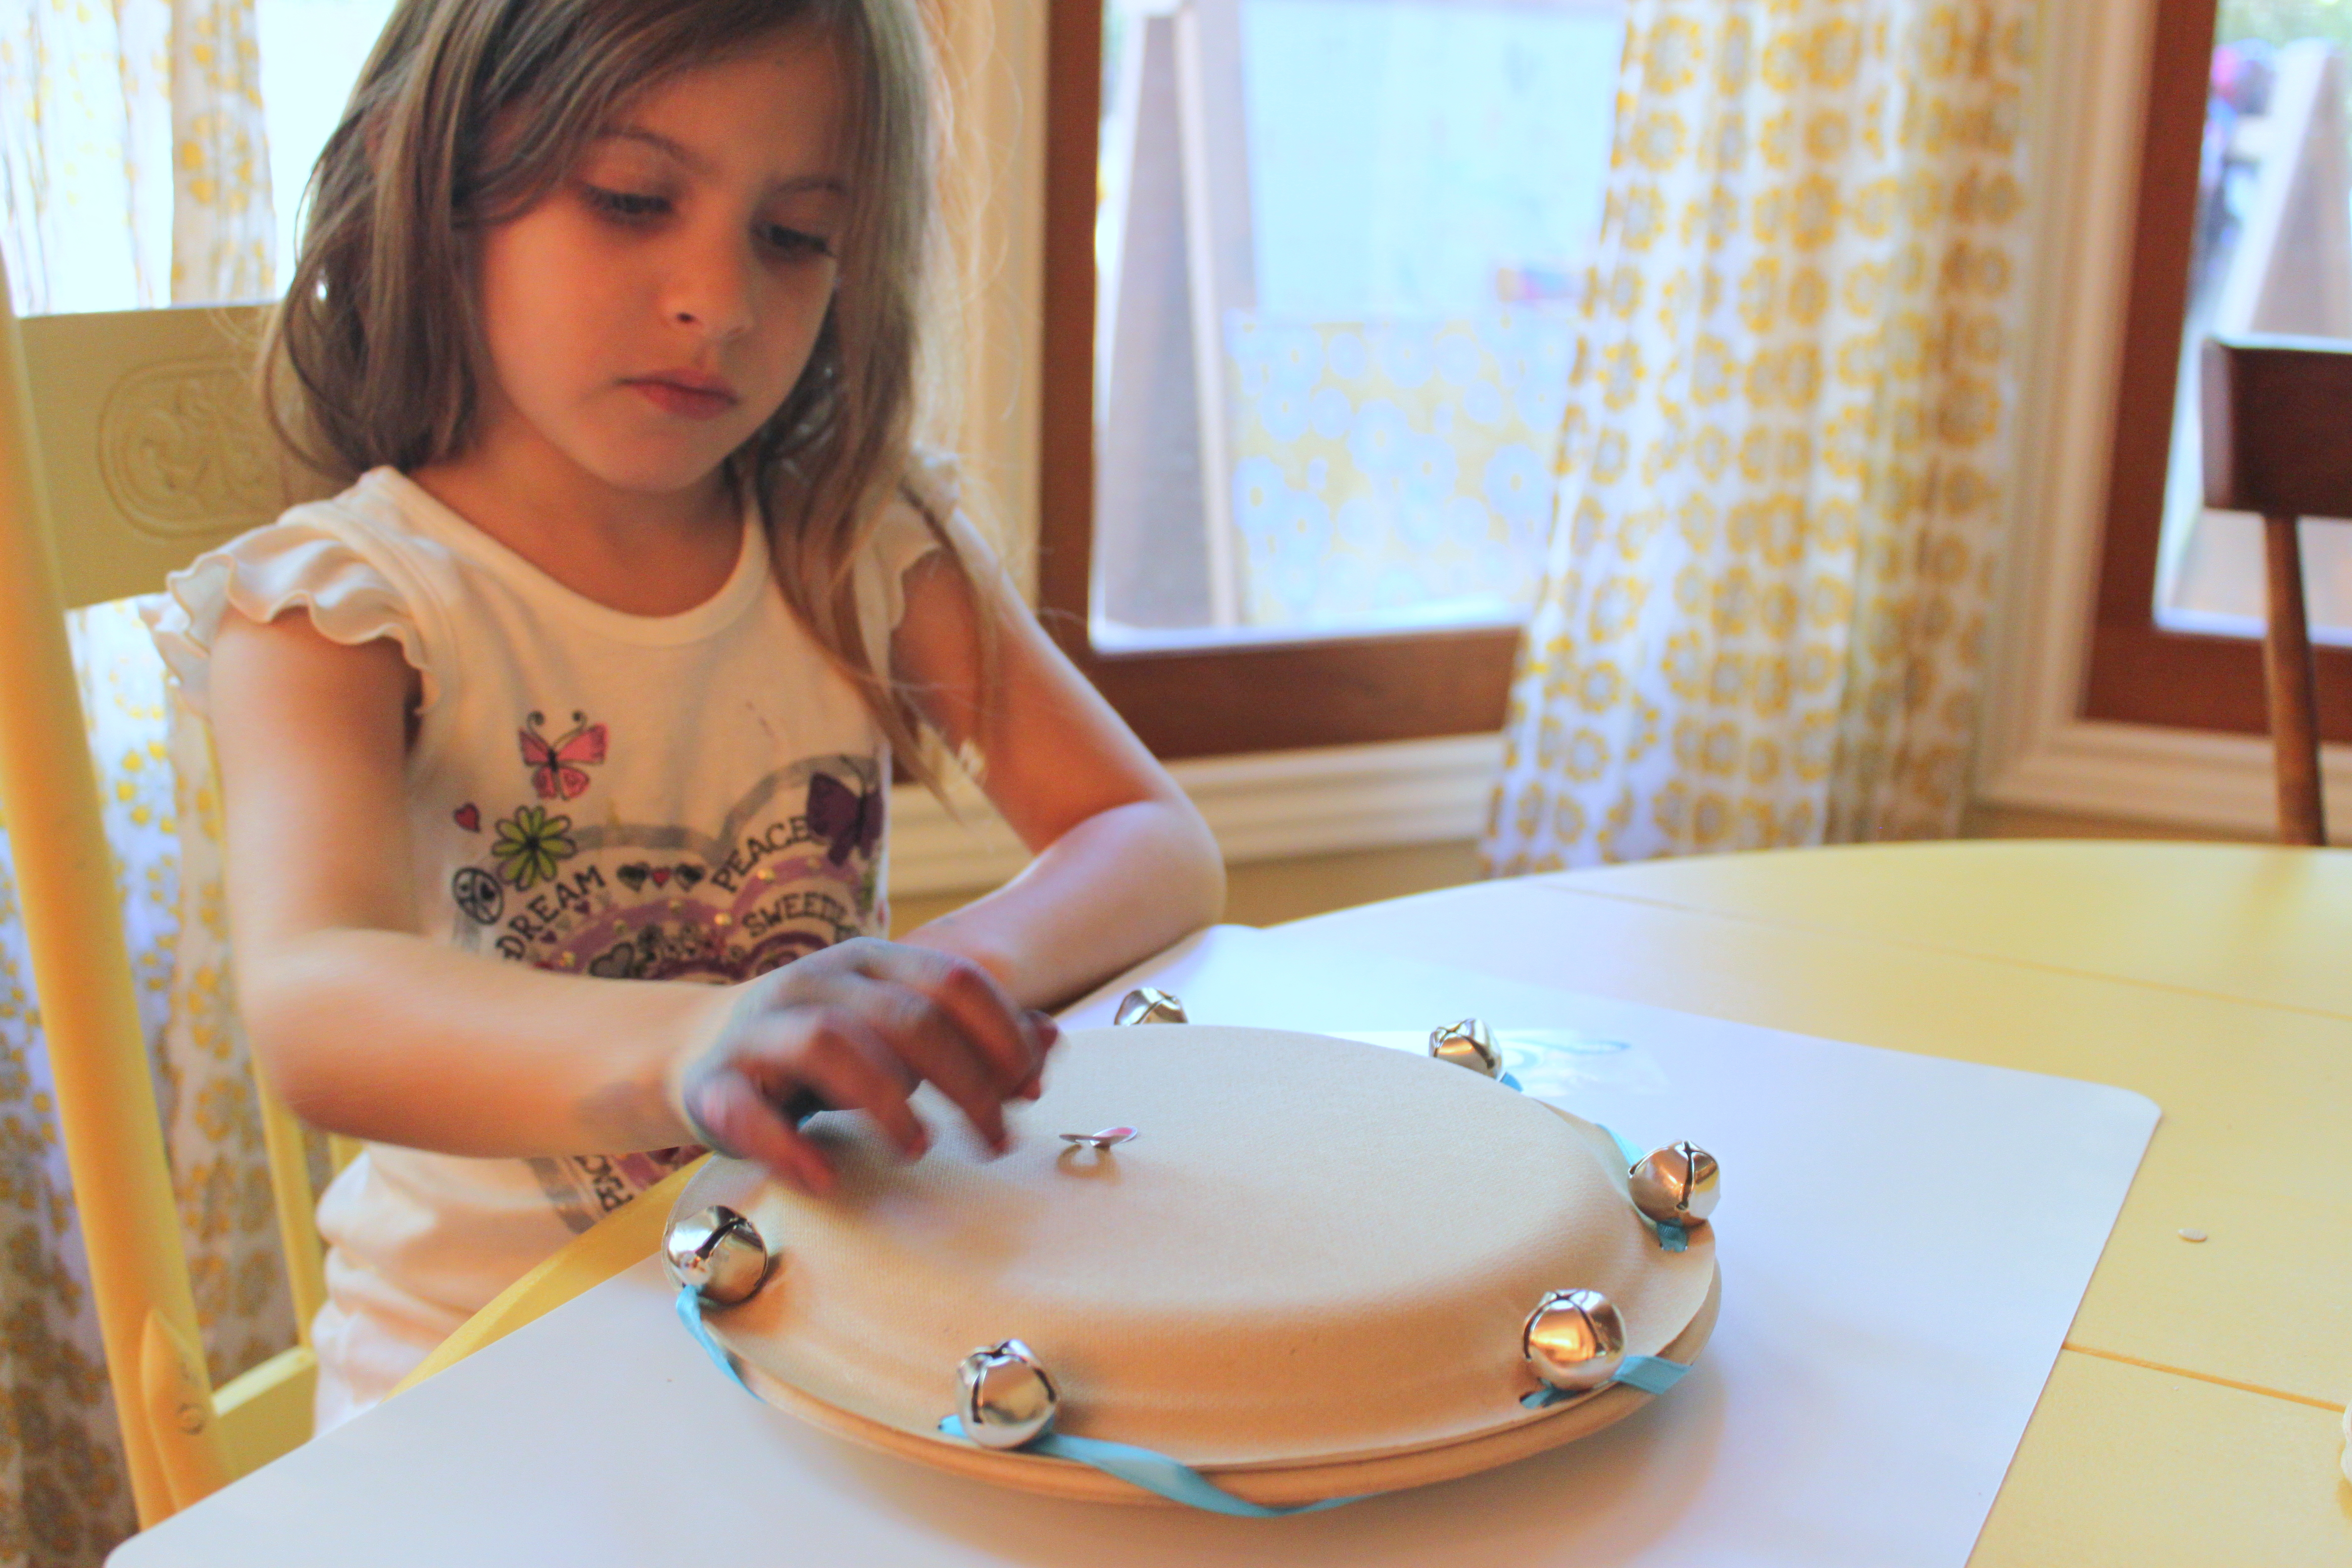
Step 4
Once the ribbon has been threaded all the way around the plate, time the ribbon to the first loop and trim off the excess ribbon.
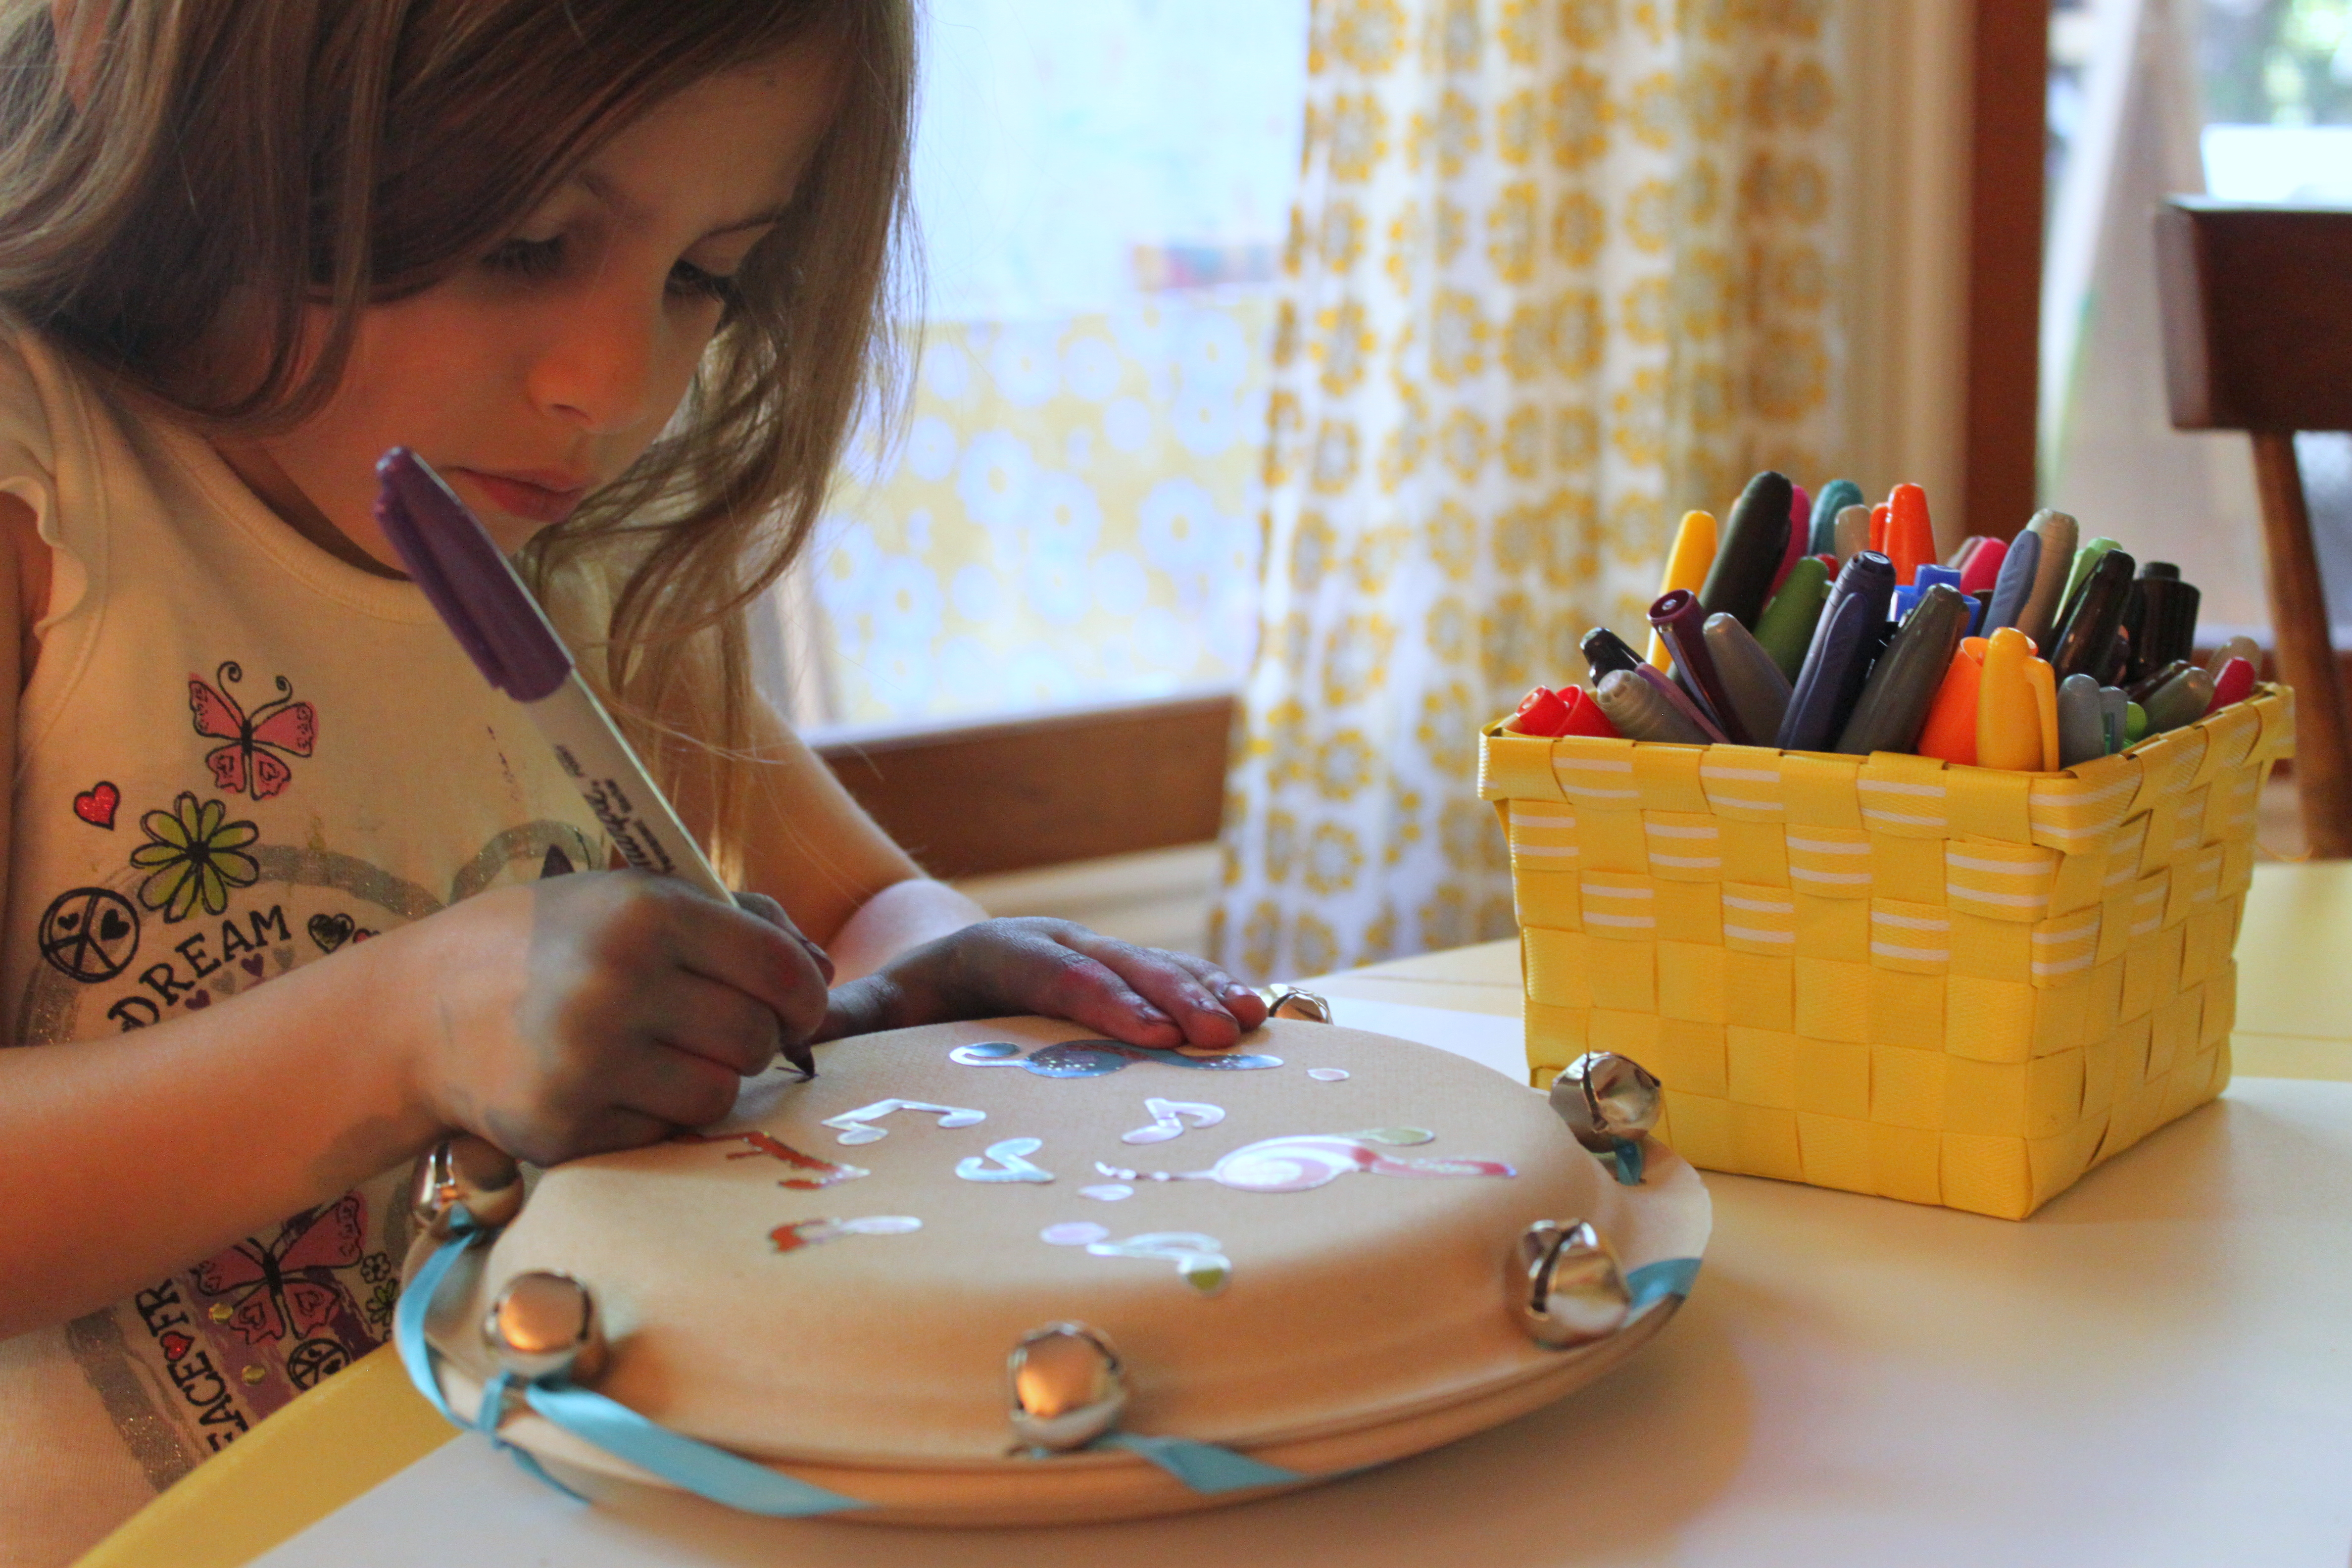
Step 5
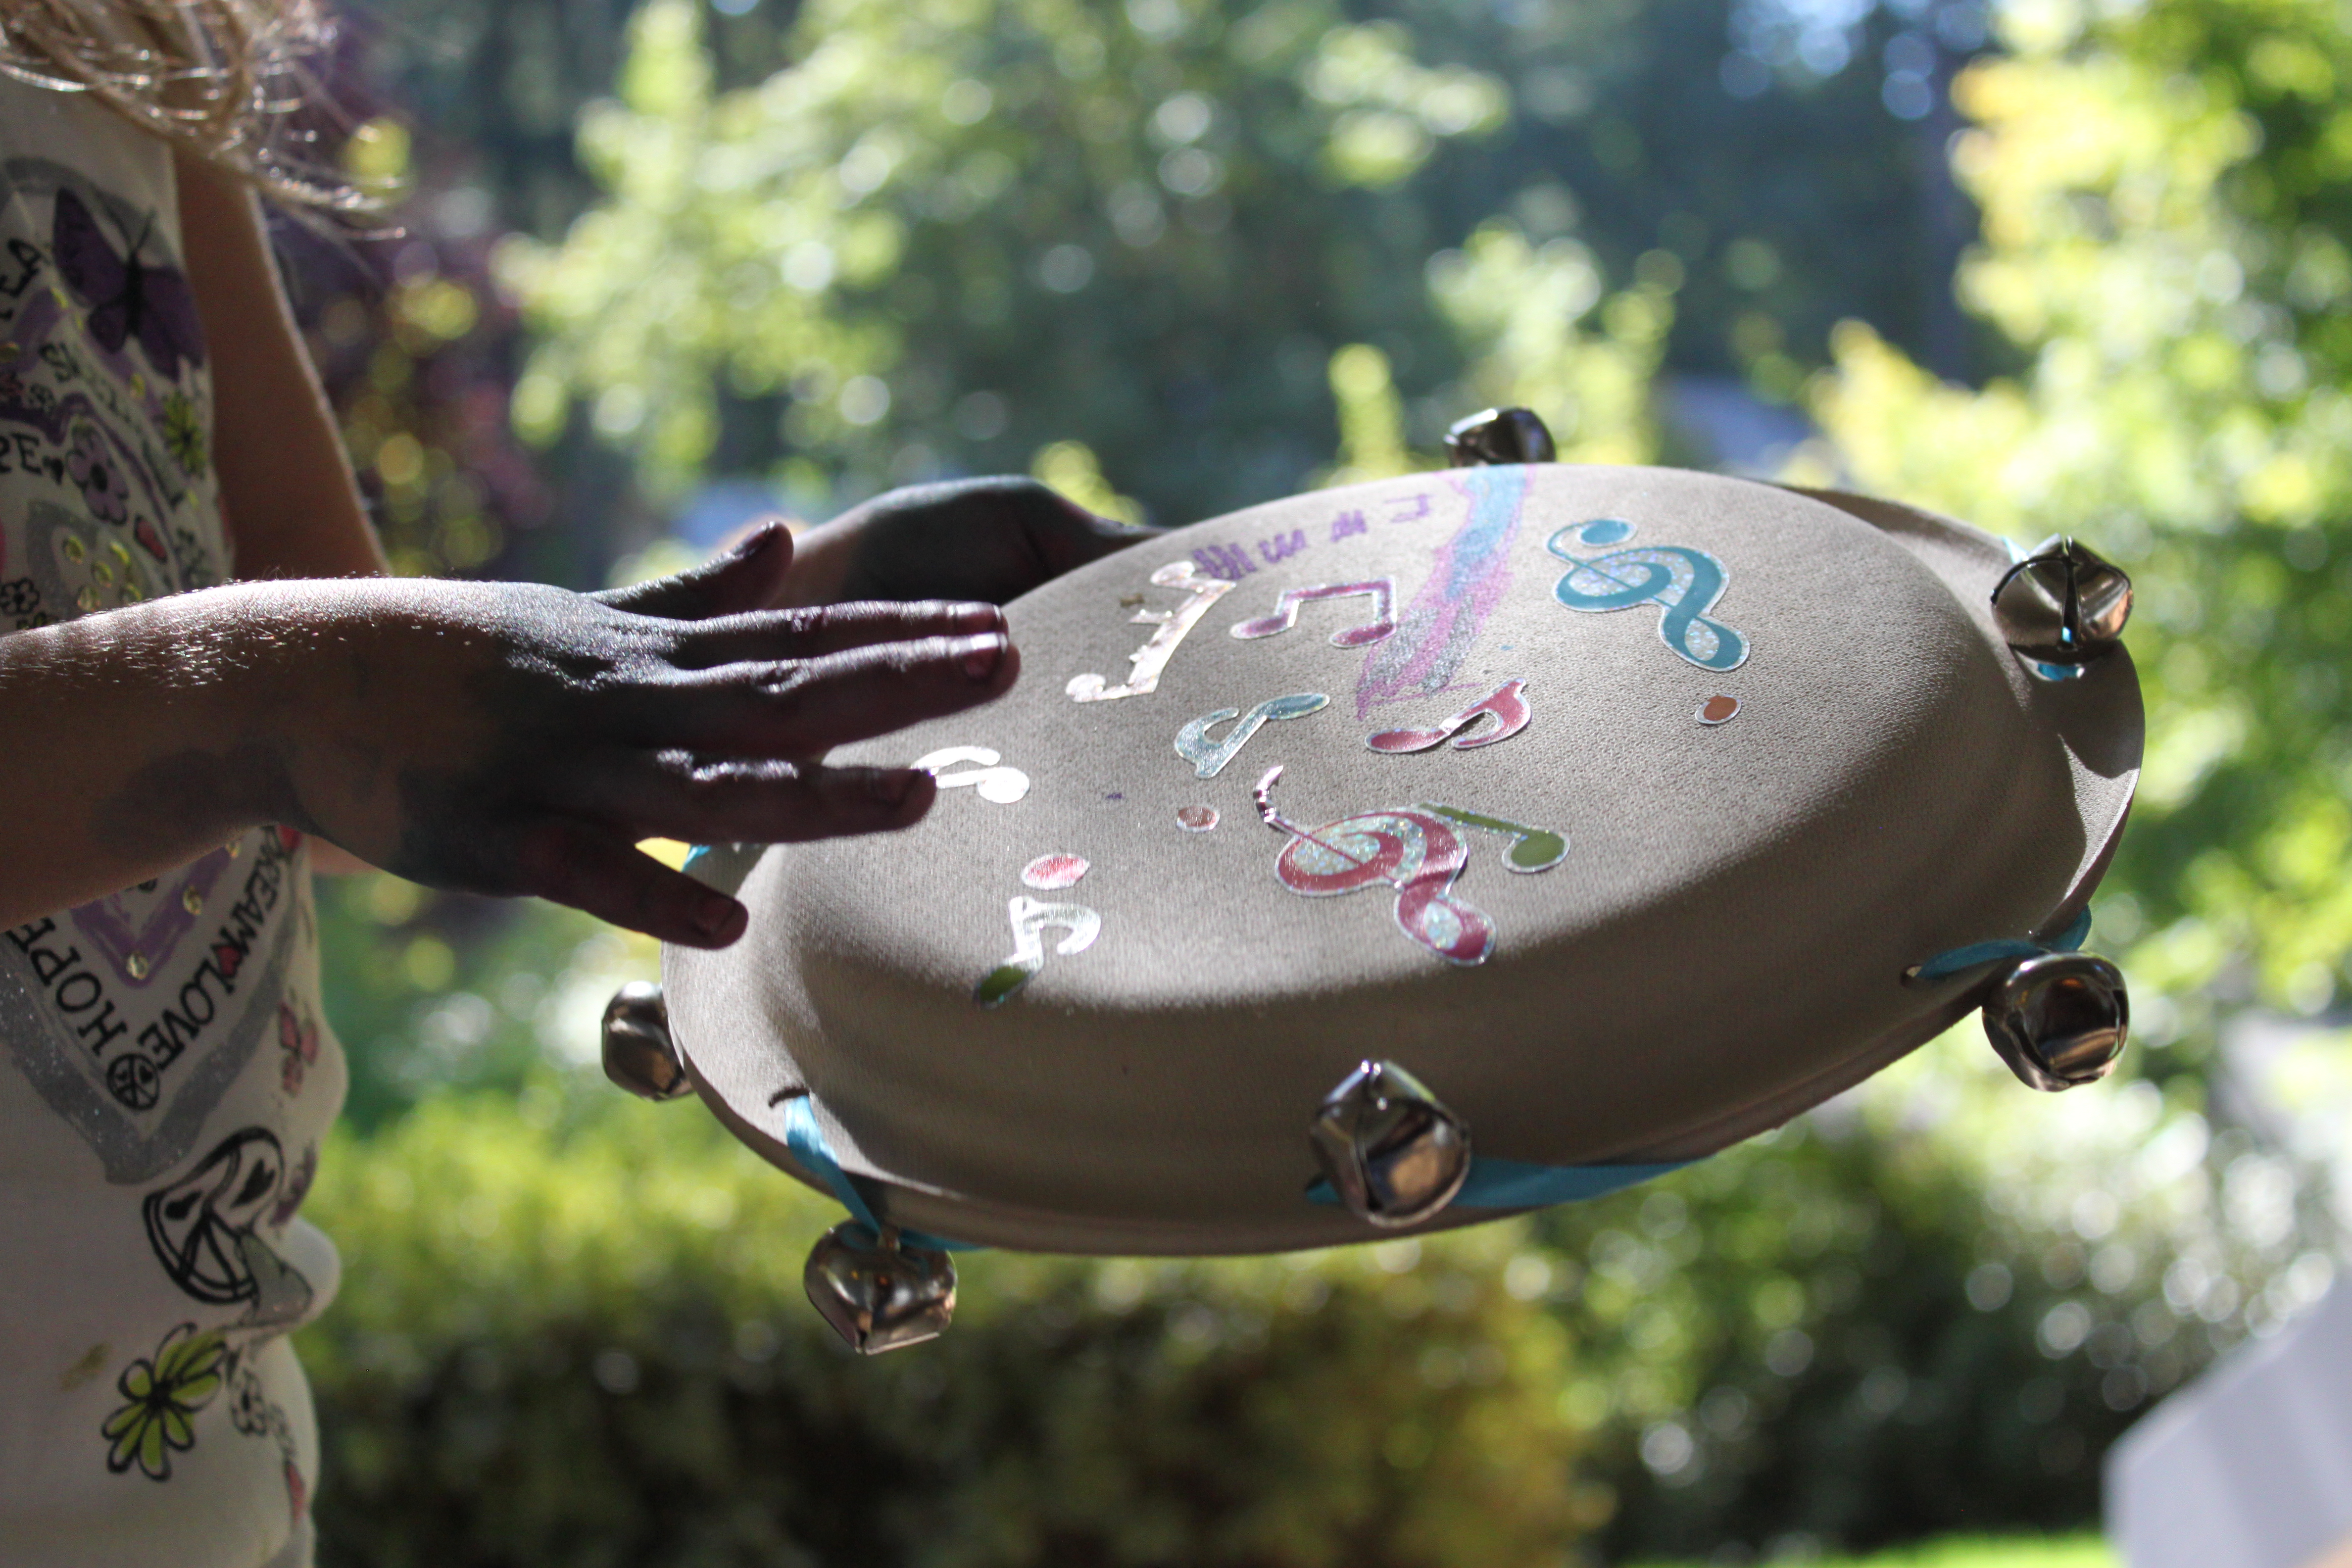
Decorating is always the best part! We used music note stickers and markers.
Step 6
My daughter added some personal touches by drawing a picture of her guitar on the front of the tambourine and of course claiming it with her name across the front.
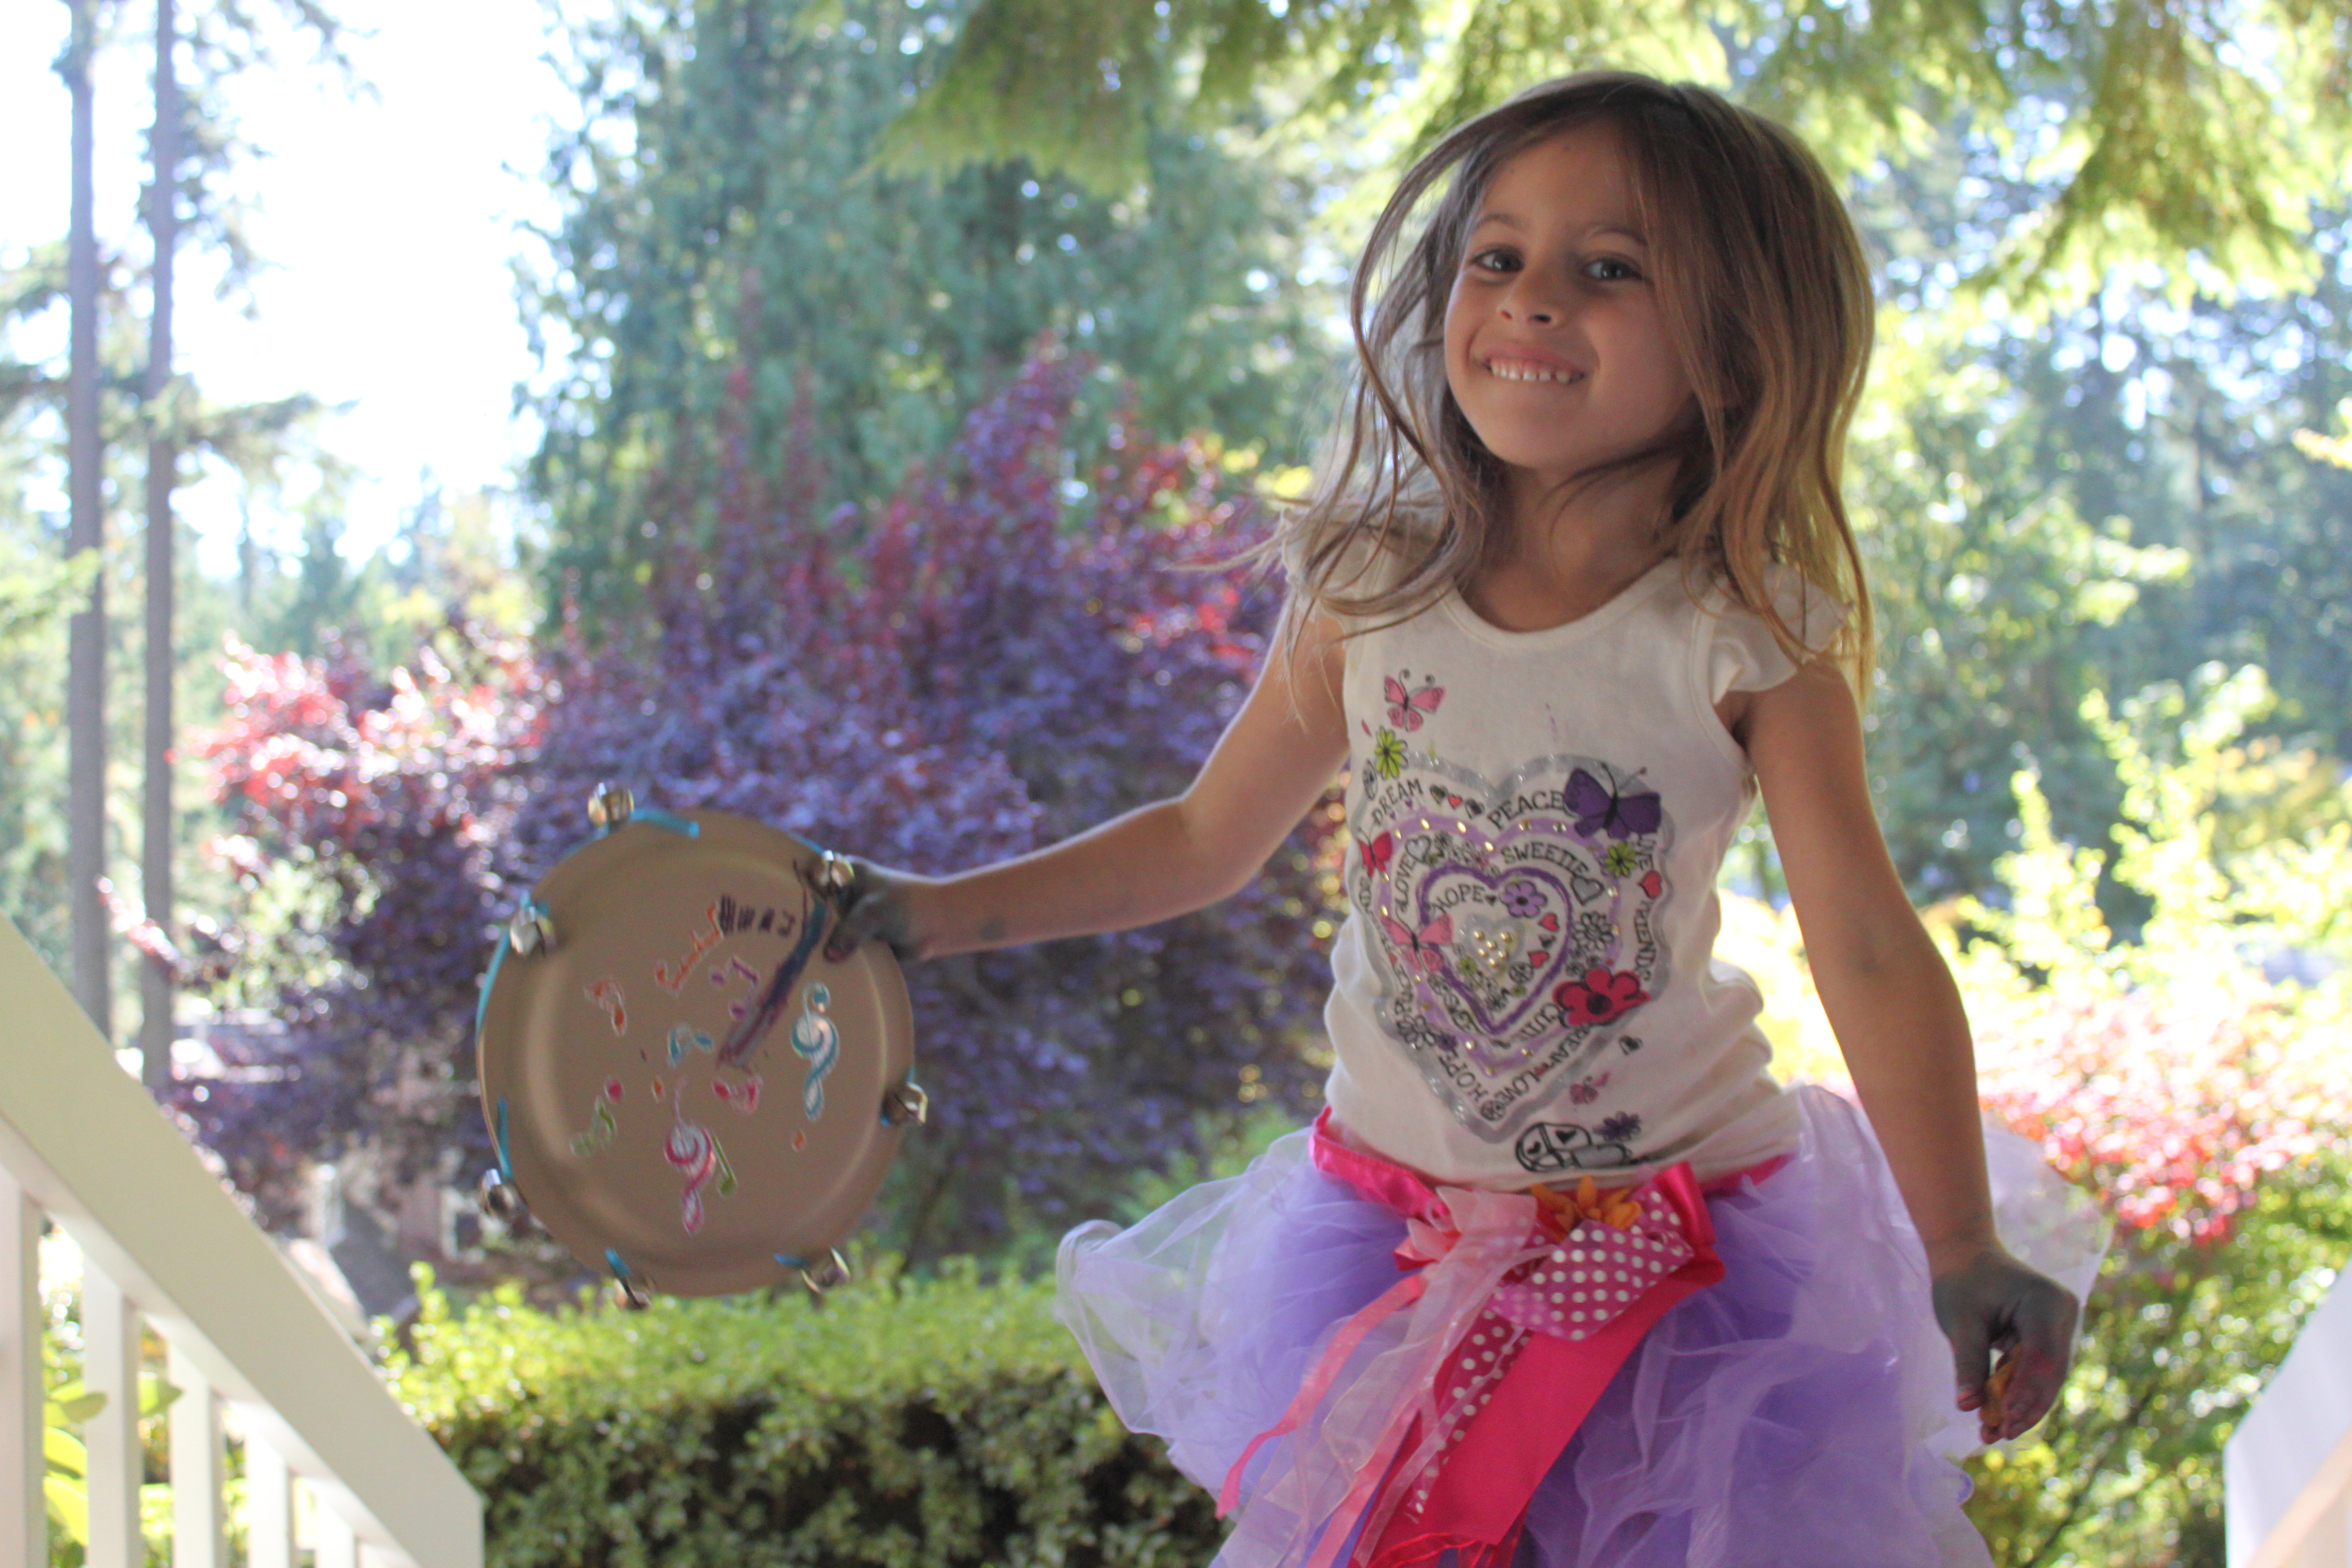
Done!
Now time to shake, move, dance, and sing to the beat of your beautiful tambourine!