Step-by-step tutorial
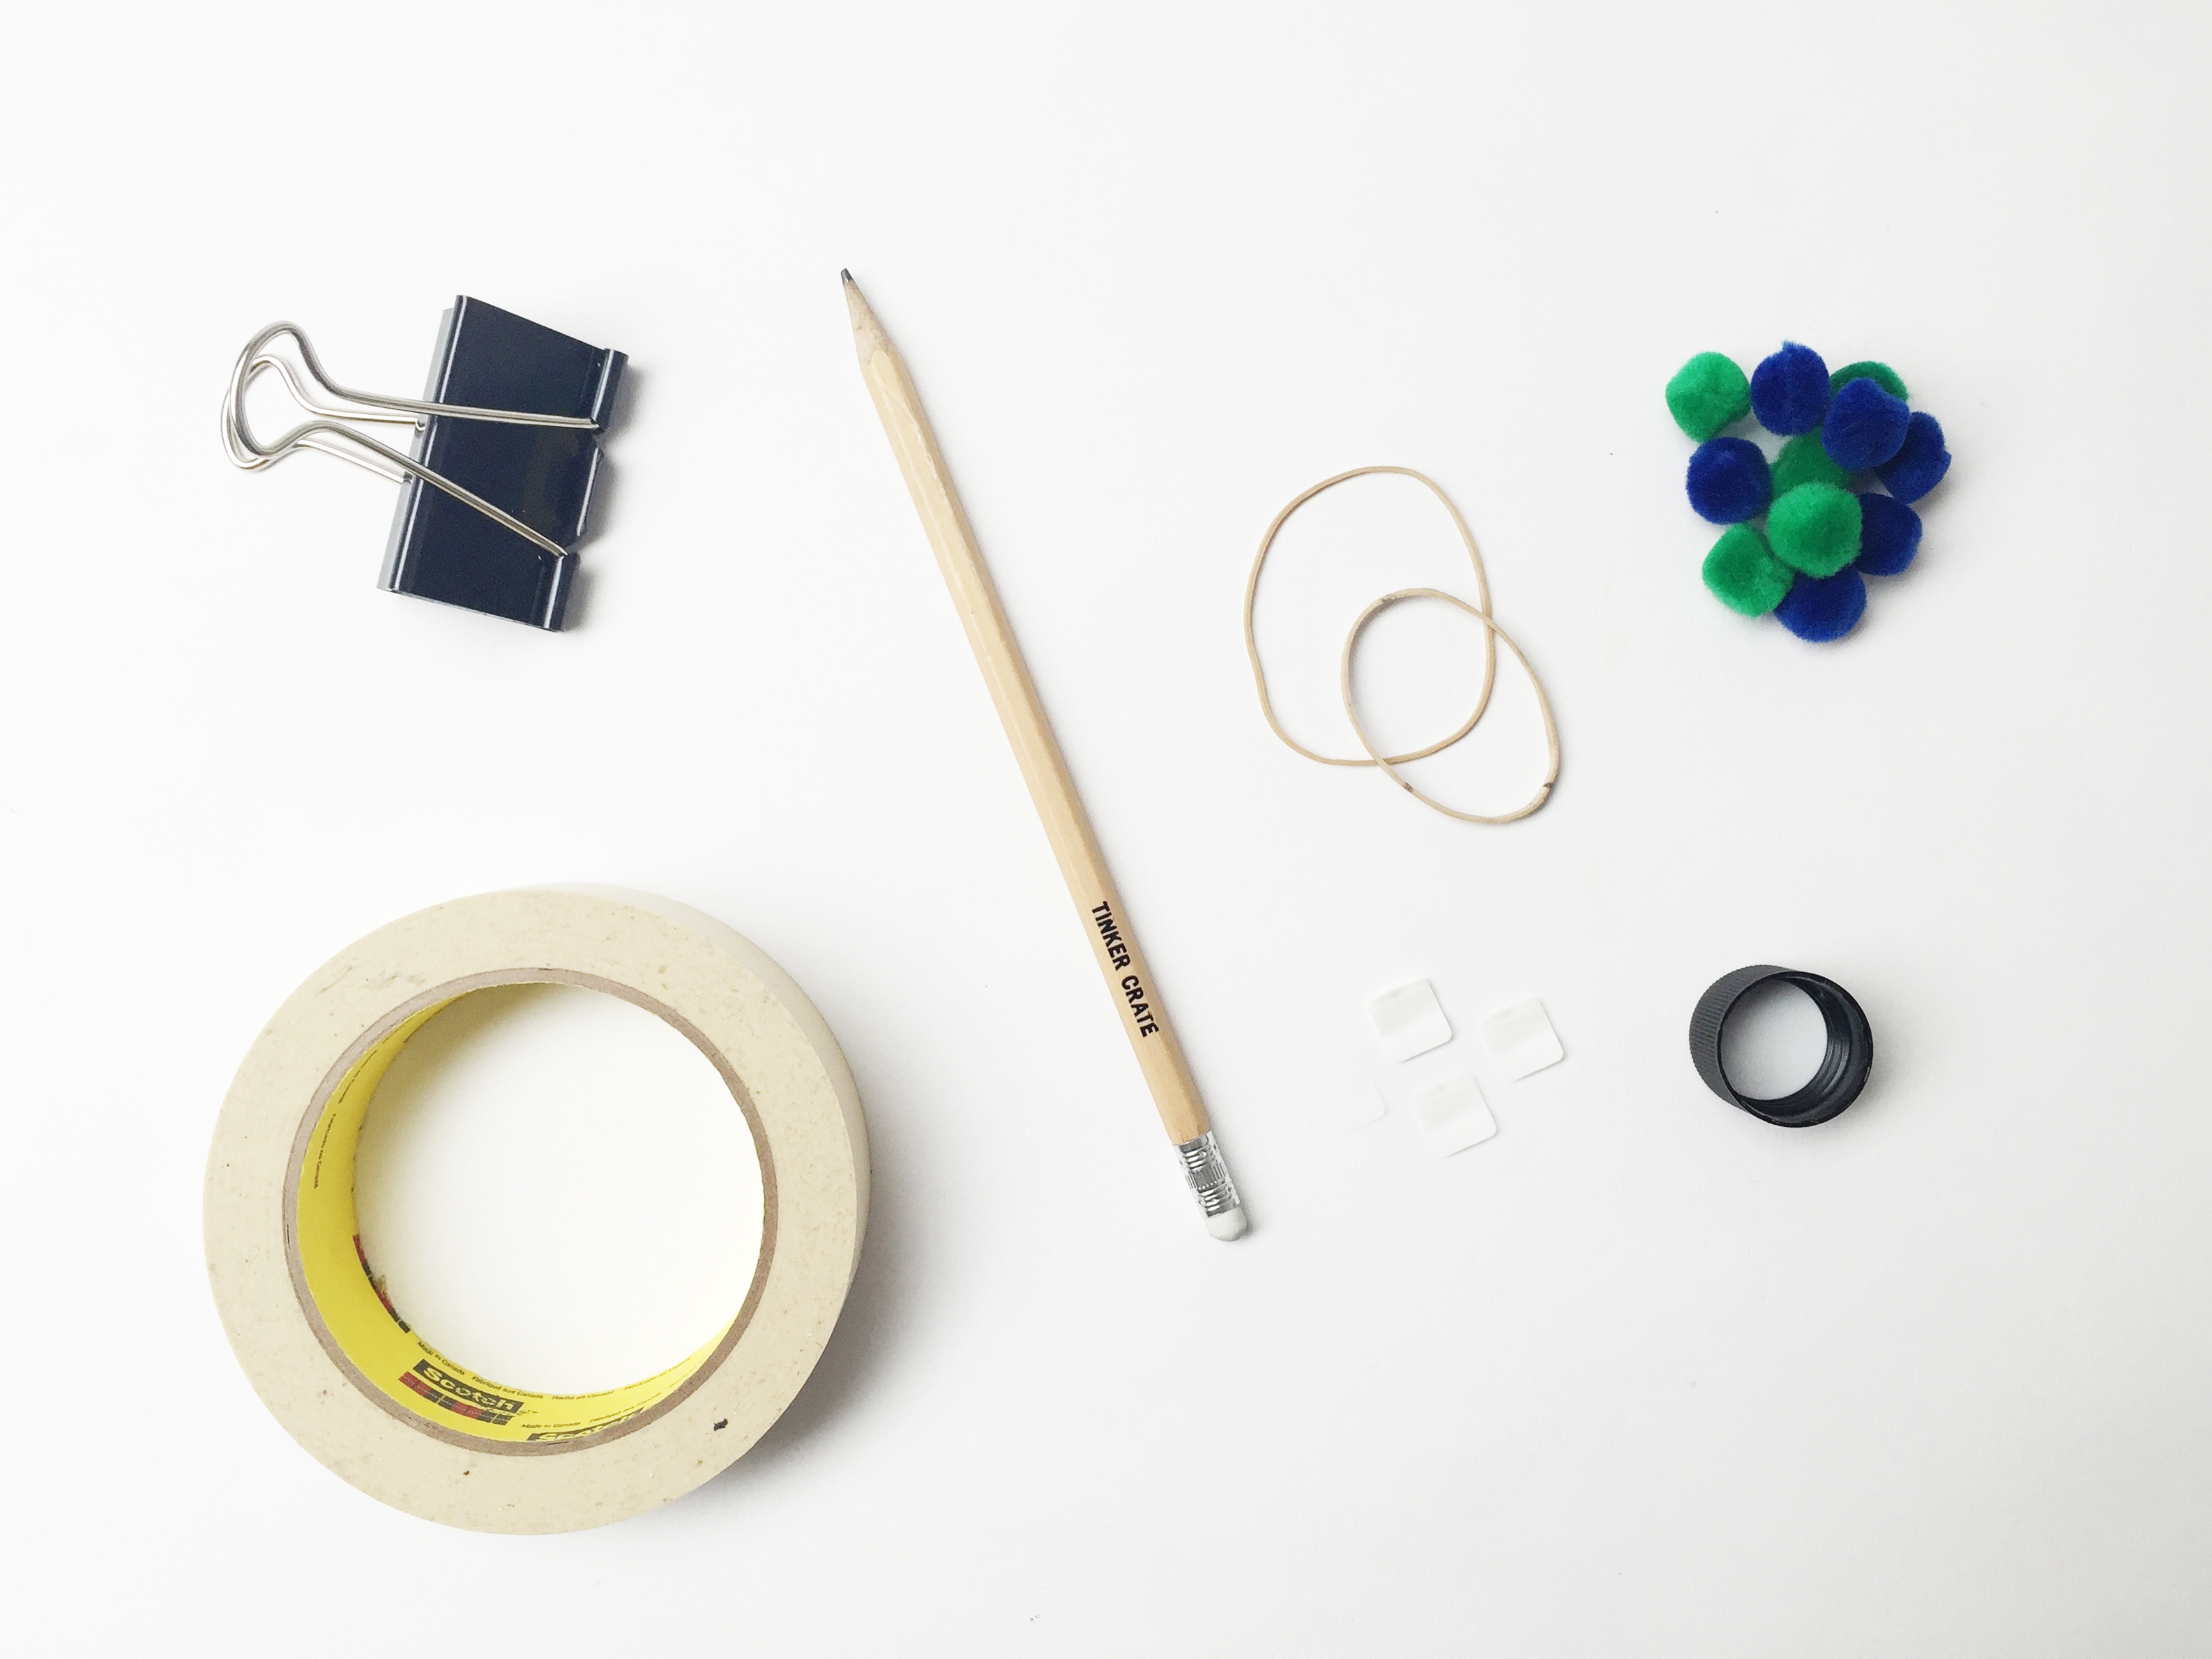
Step 1
Gather the materials you need to make your DIY catapult desk toy.

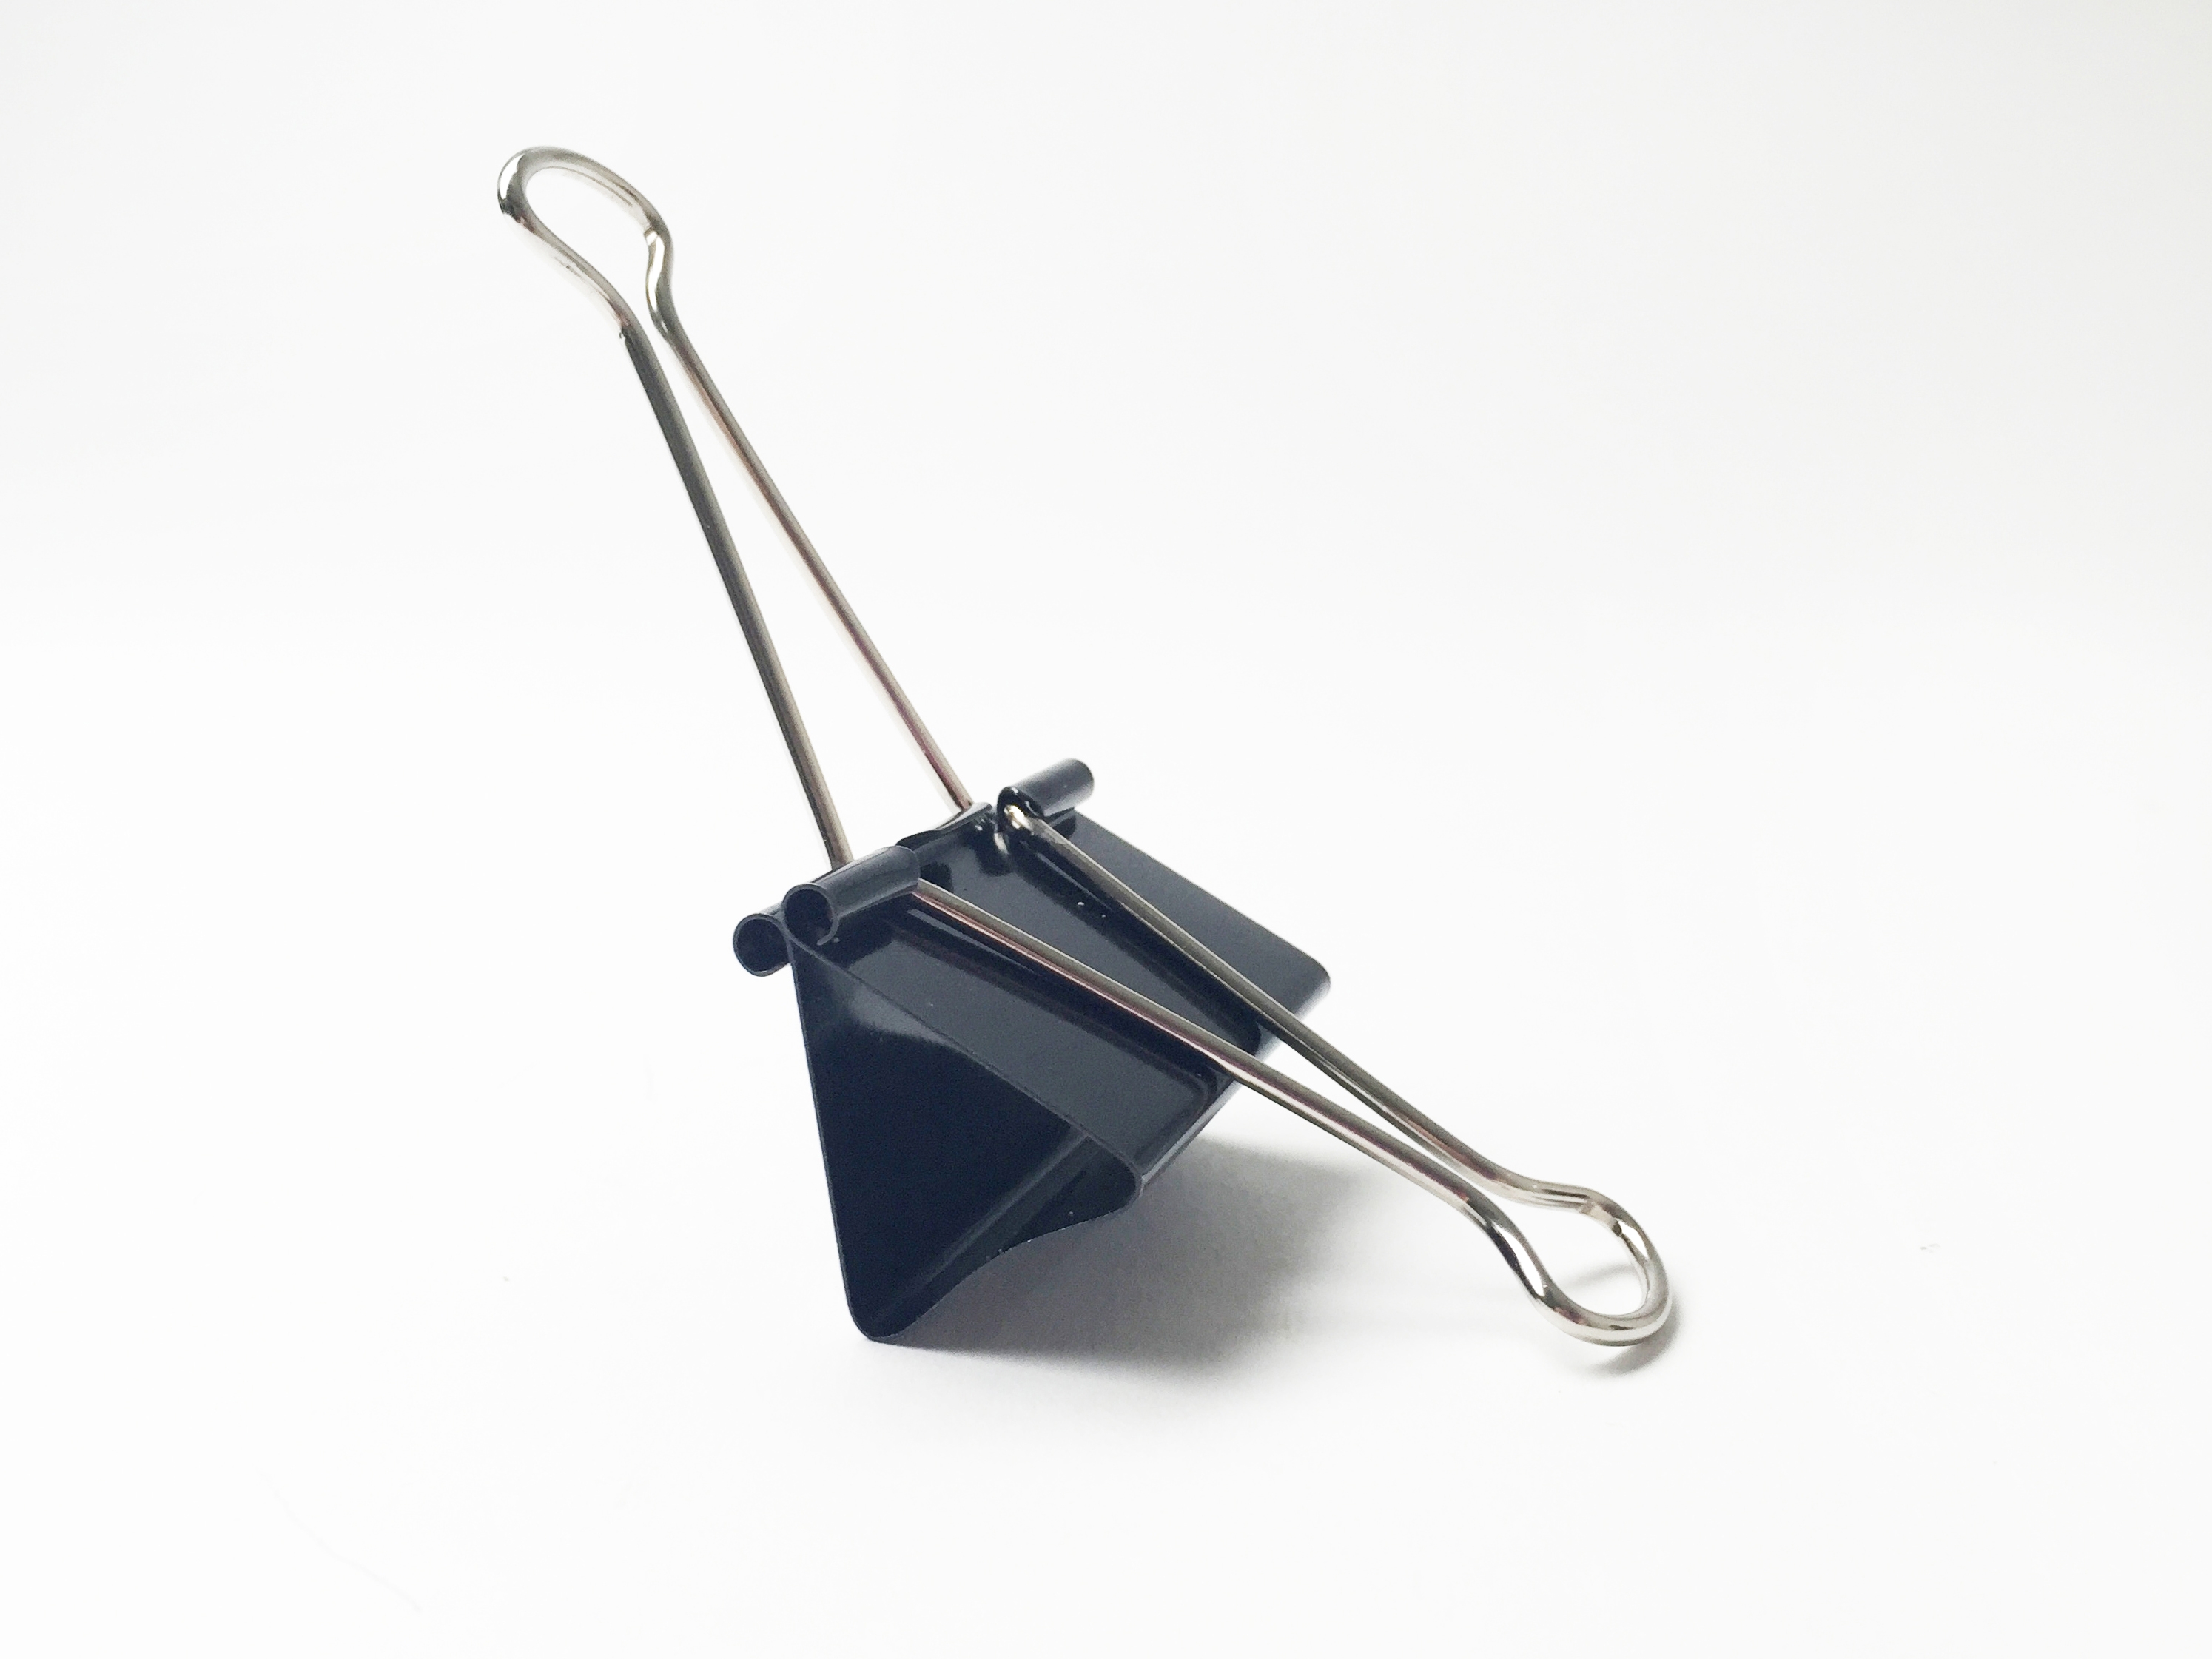
Step 2
Fold up one arm of the binder clip.
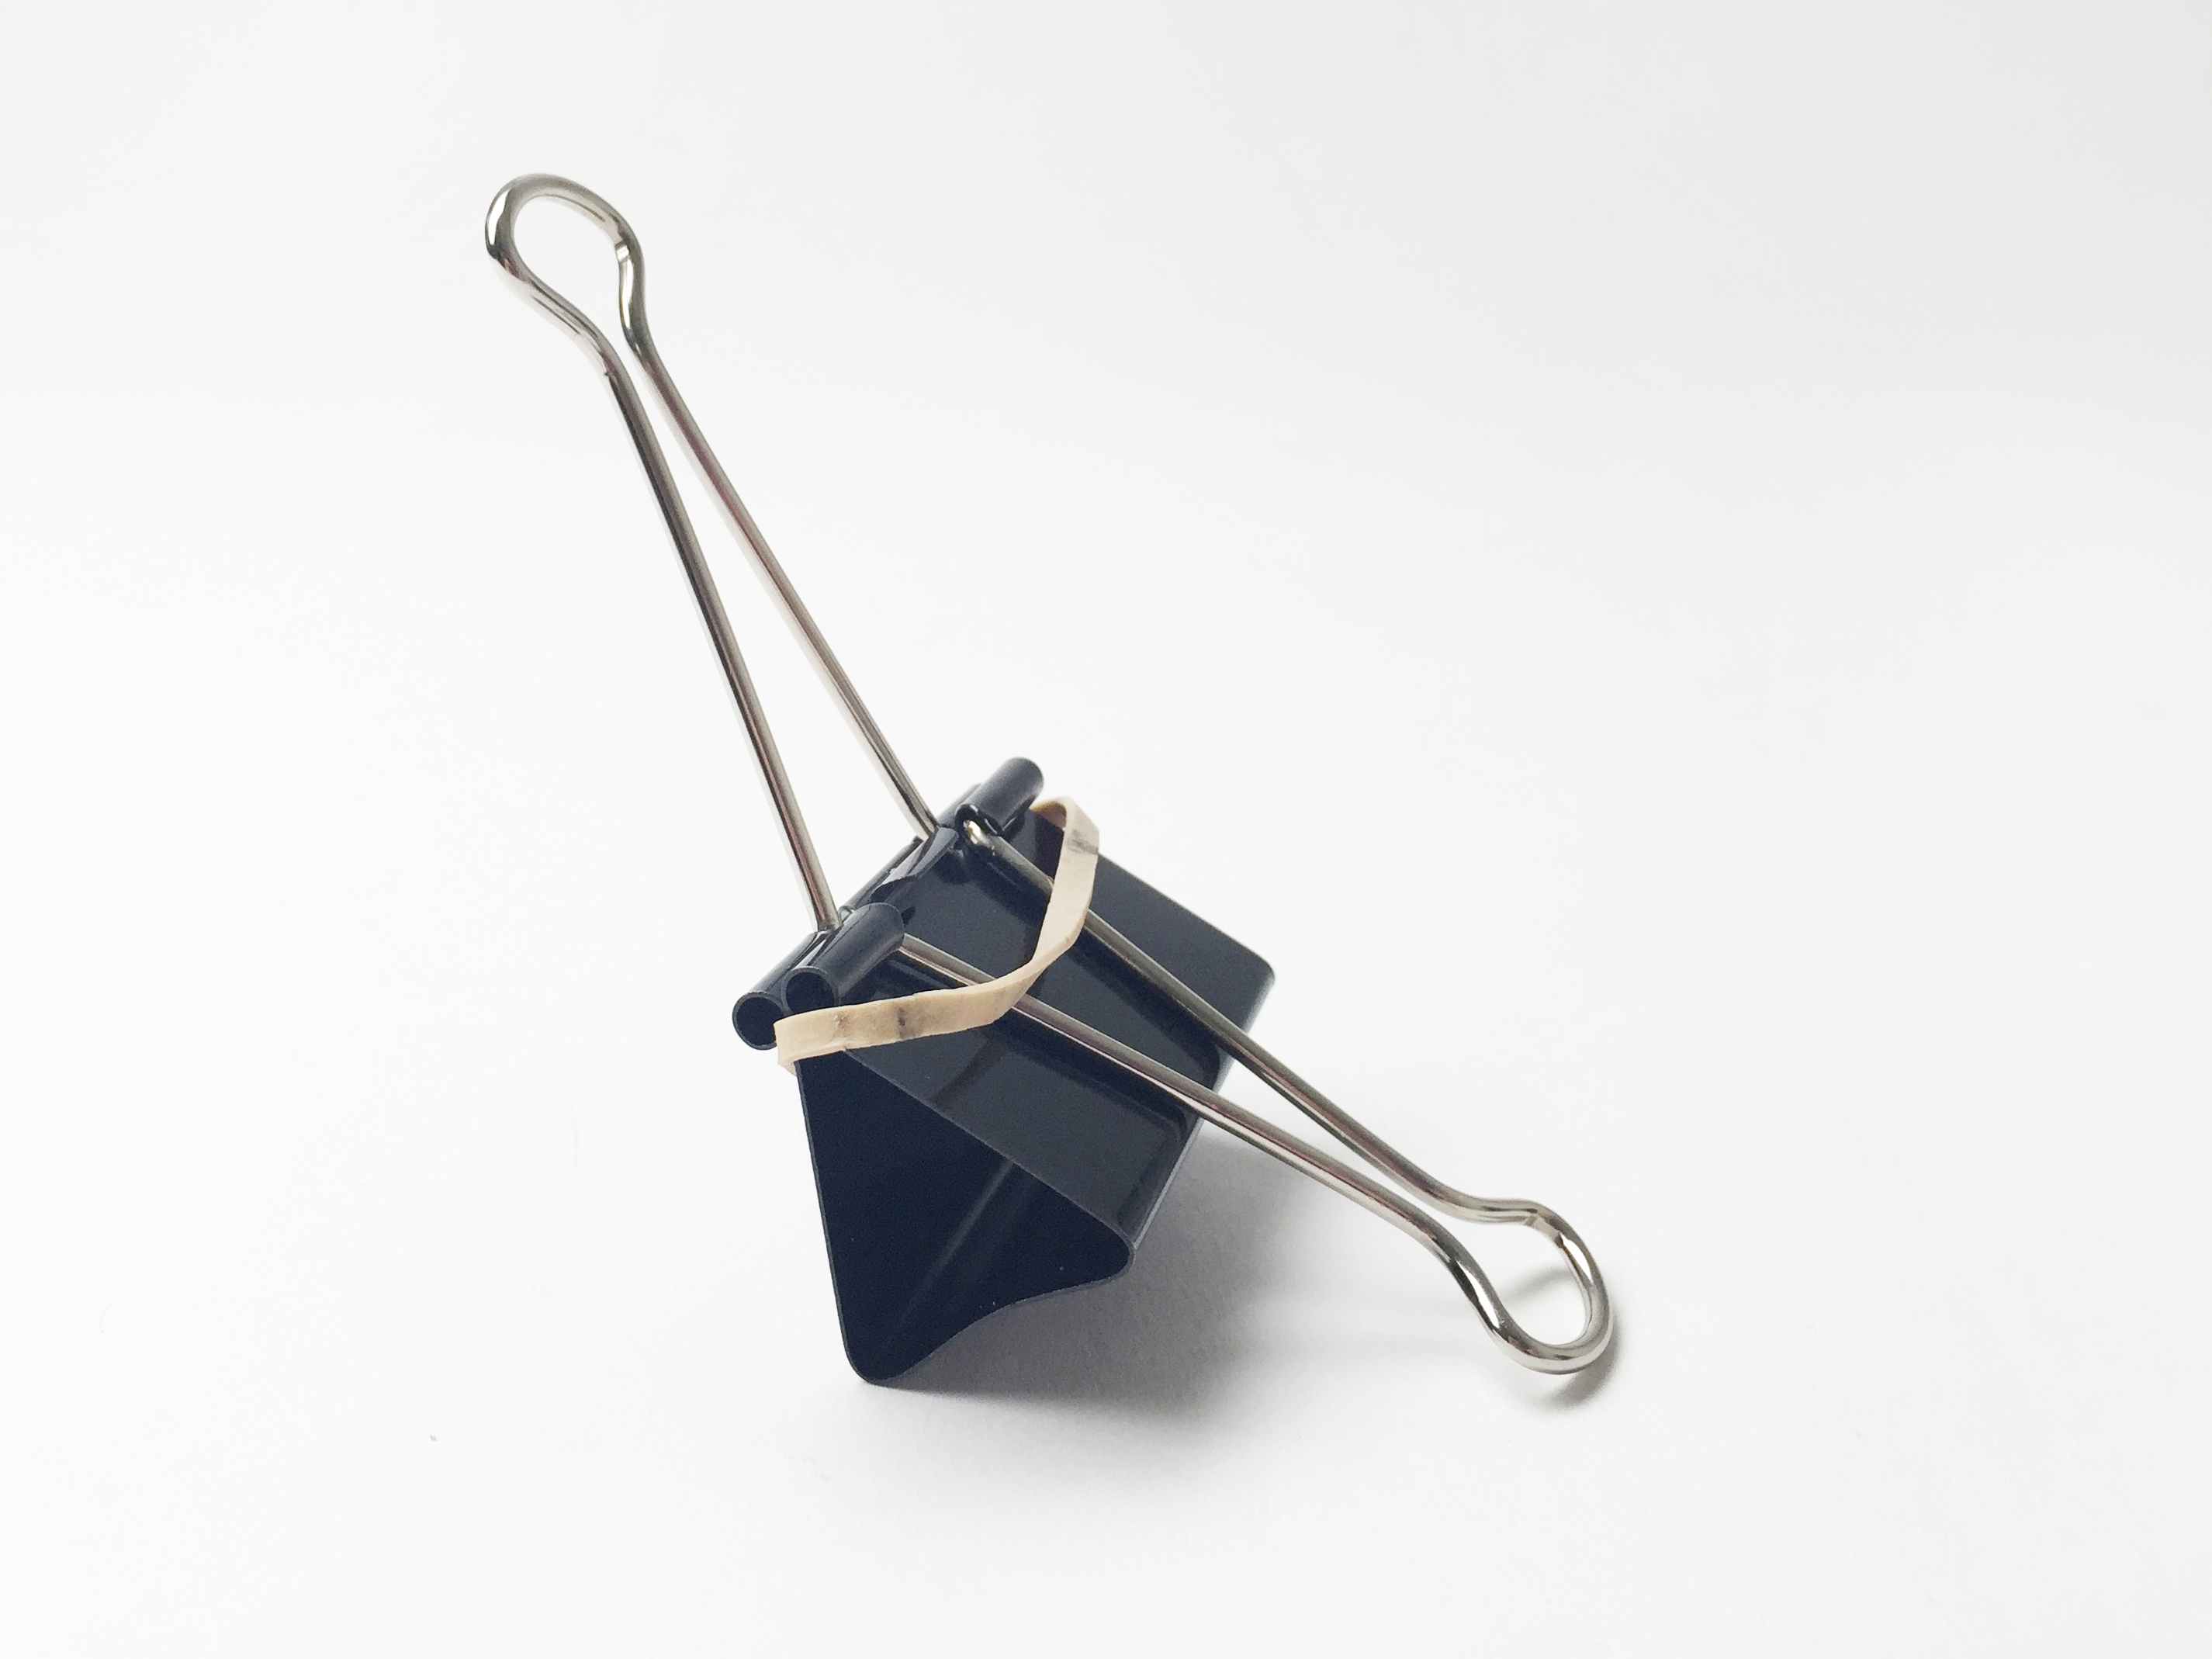
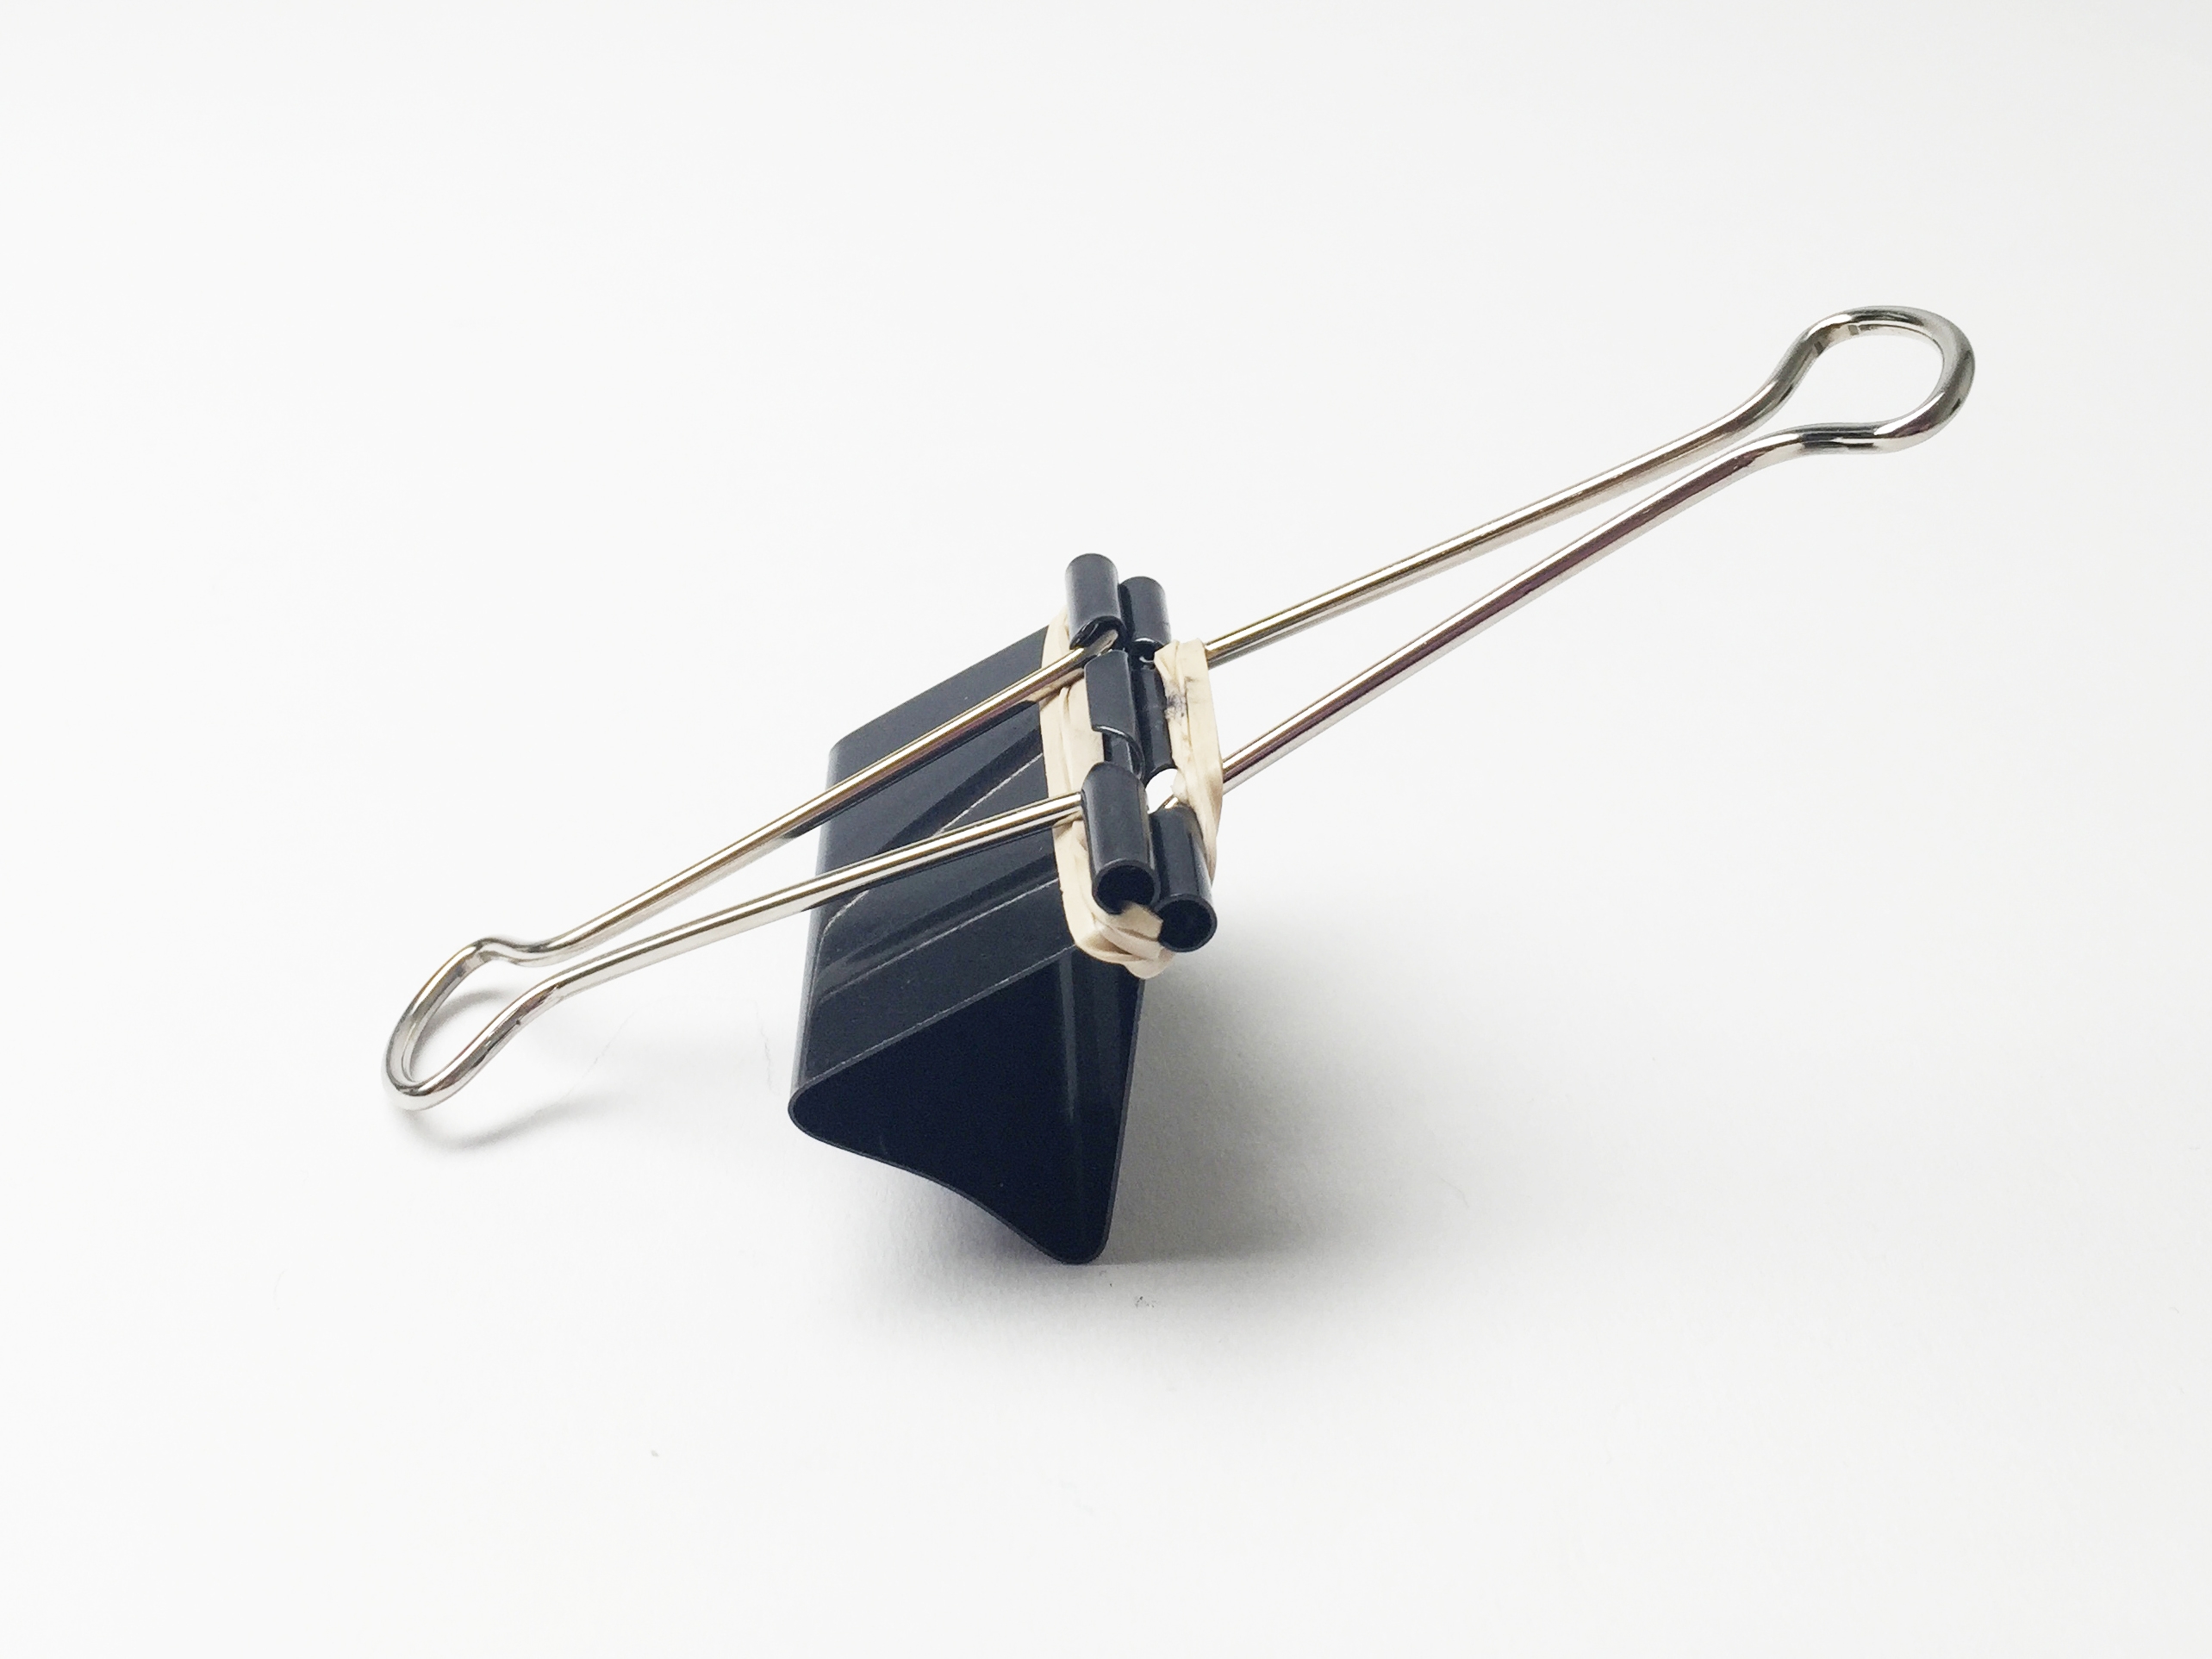
Step 3
Wrap a rubber band around the middle of the binder clip. If it’s loose, keep wrapping it around until it’s tight. I had to wrap mine around three times.
Step 4
Switch the arms, so the one that was up is down and the one that was down is up.
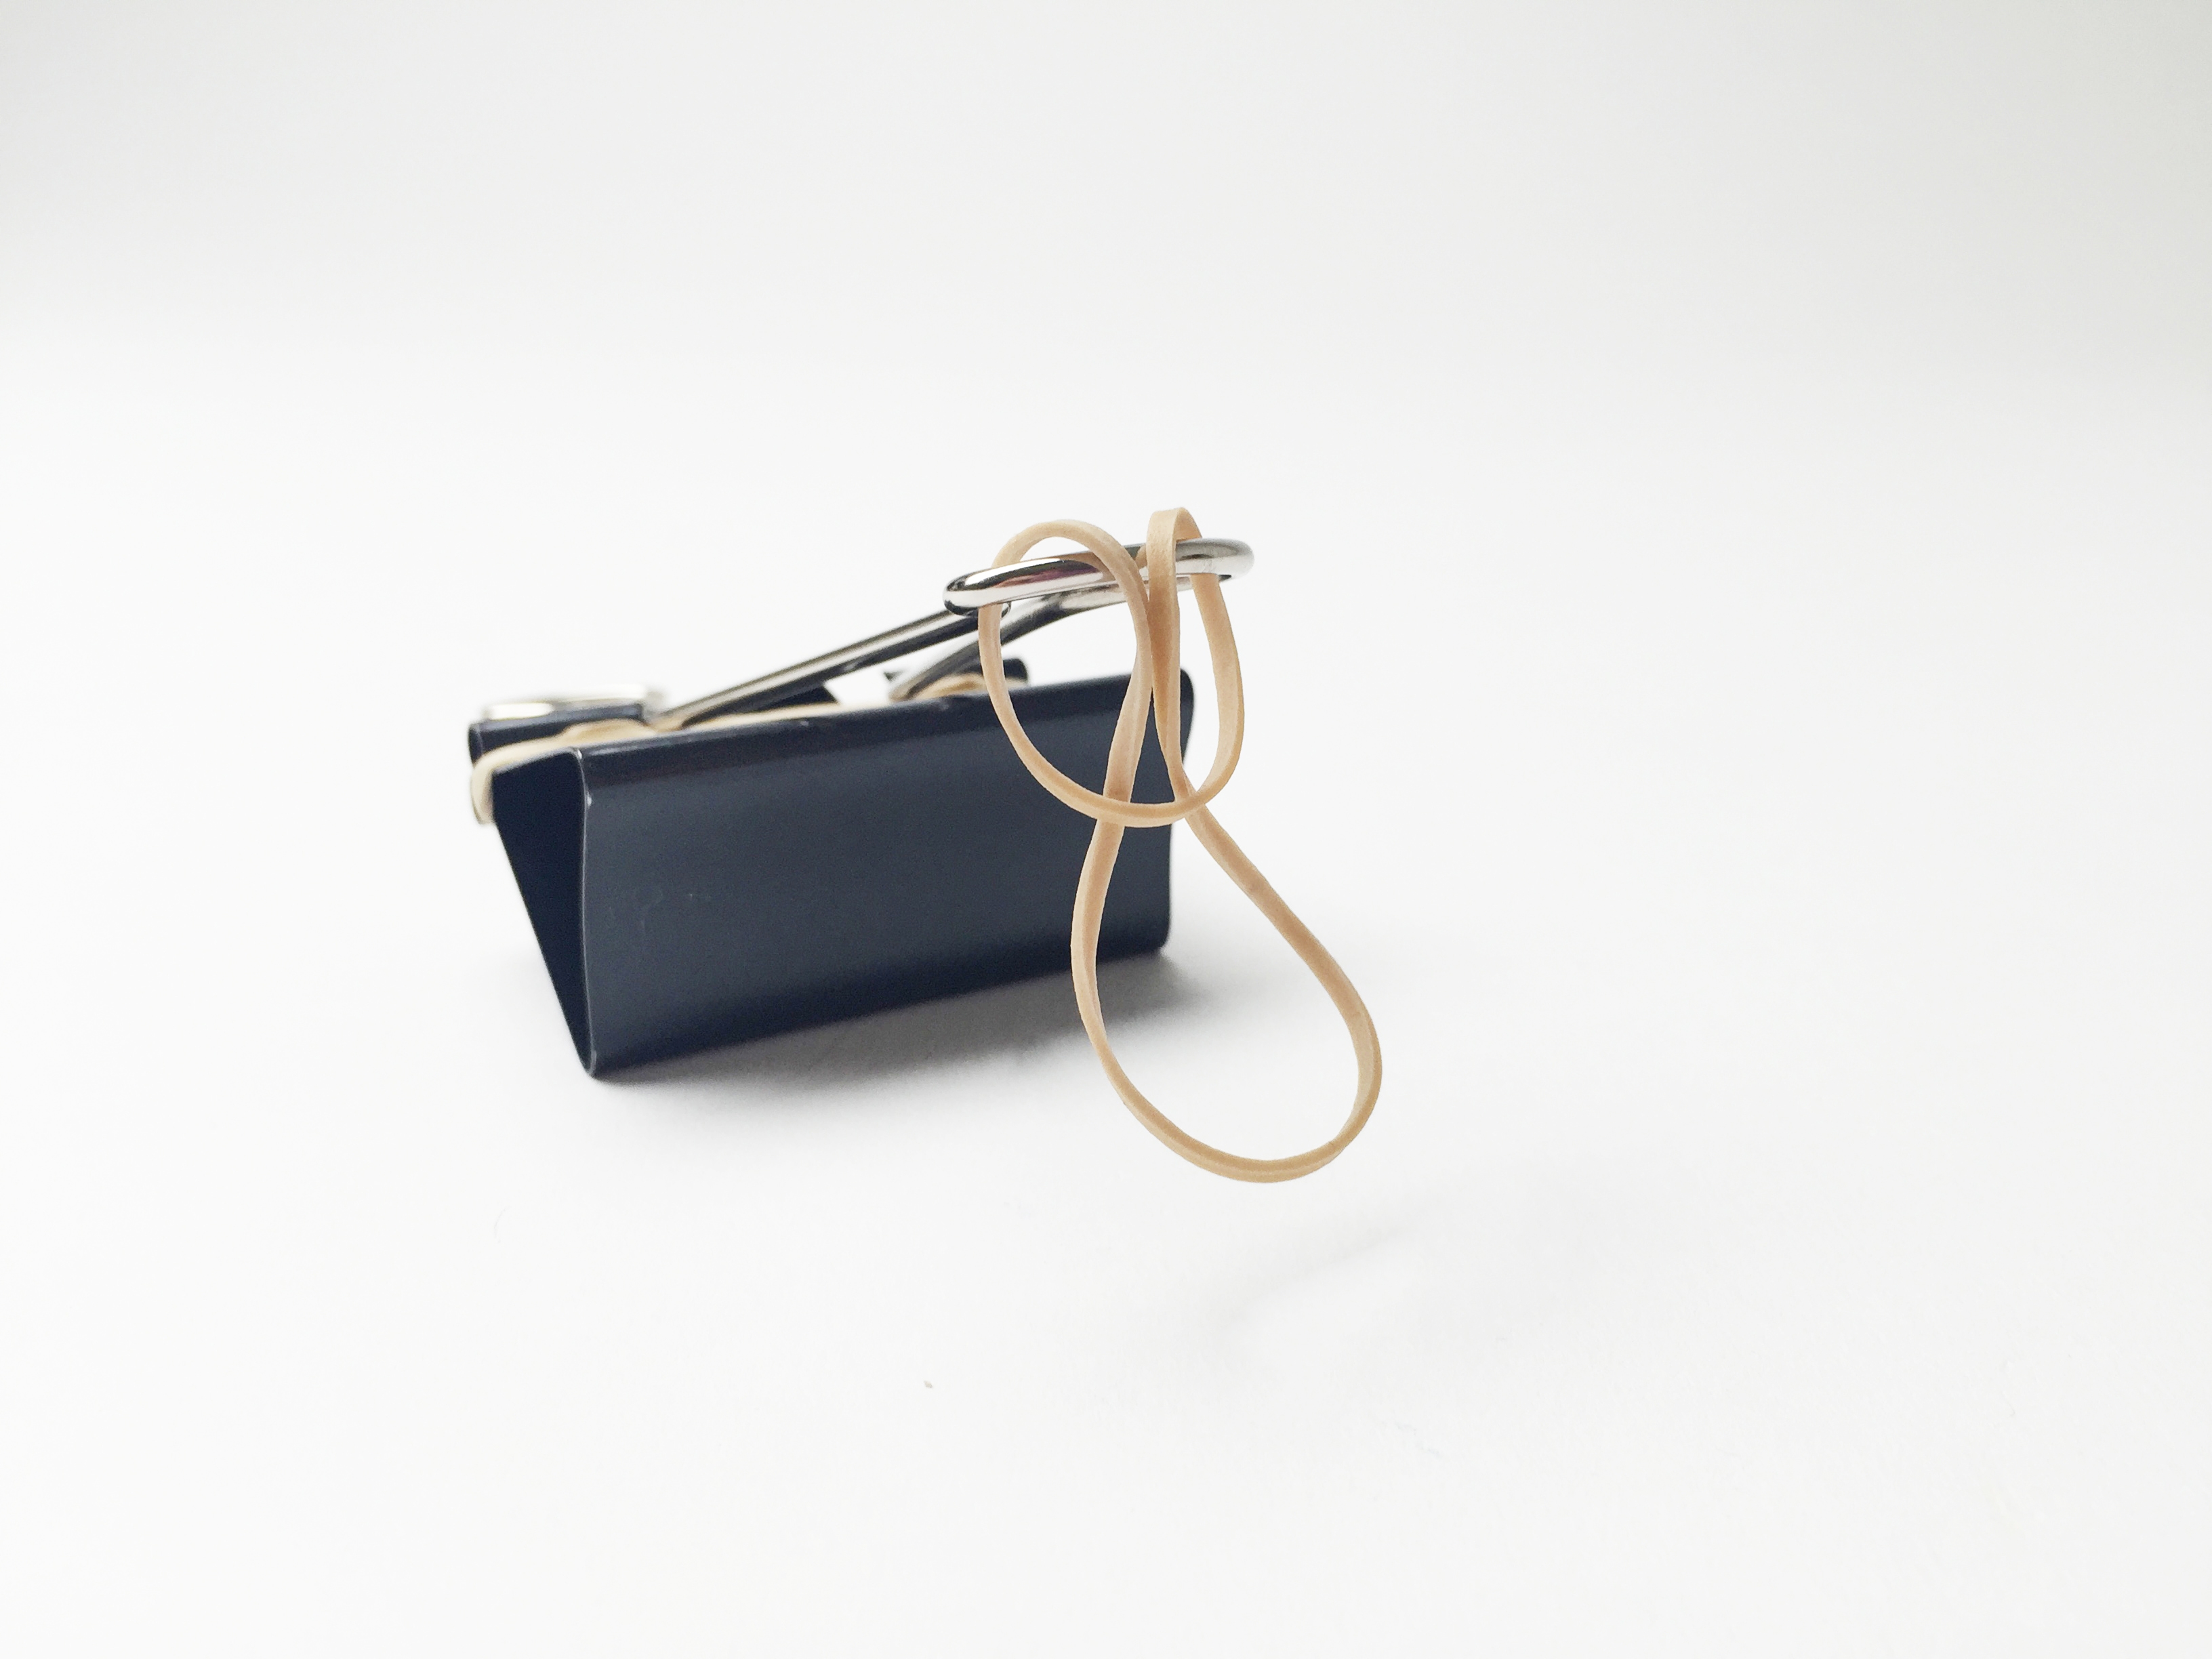
Step 5
Loop a rubber band around the lowered arm and through itself. Pull it tight to attach the band to the arm.
Step 6
Pull the other end of the rubber band through the raised arm. Slot a pencil in between the rubber band loop and the binder clip arm so the rubber band holds the pencil against the arm.
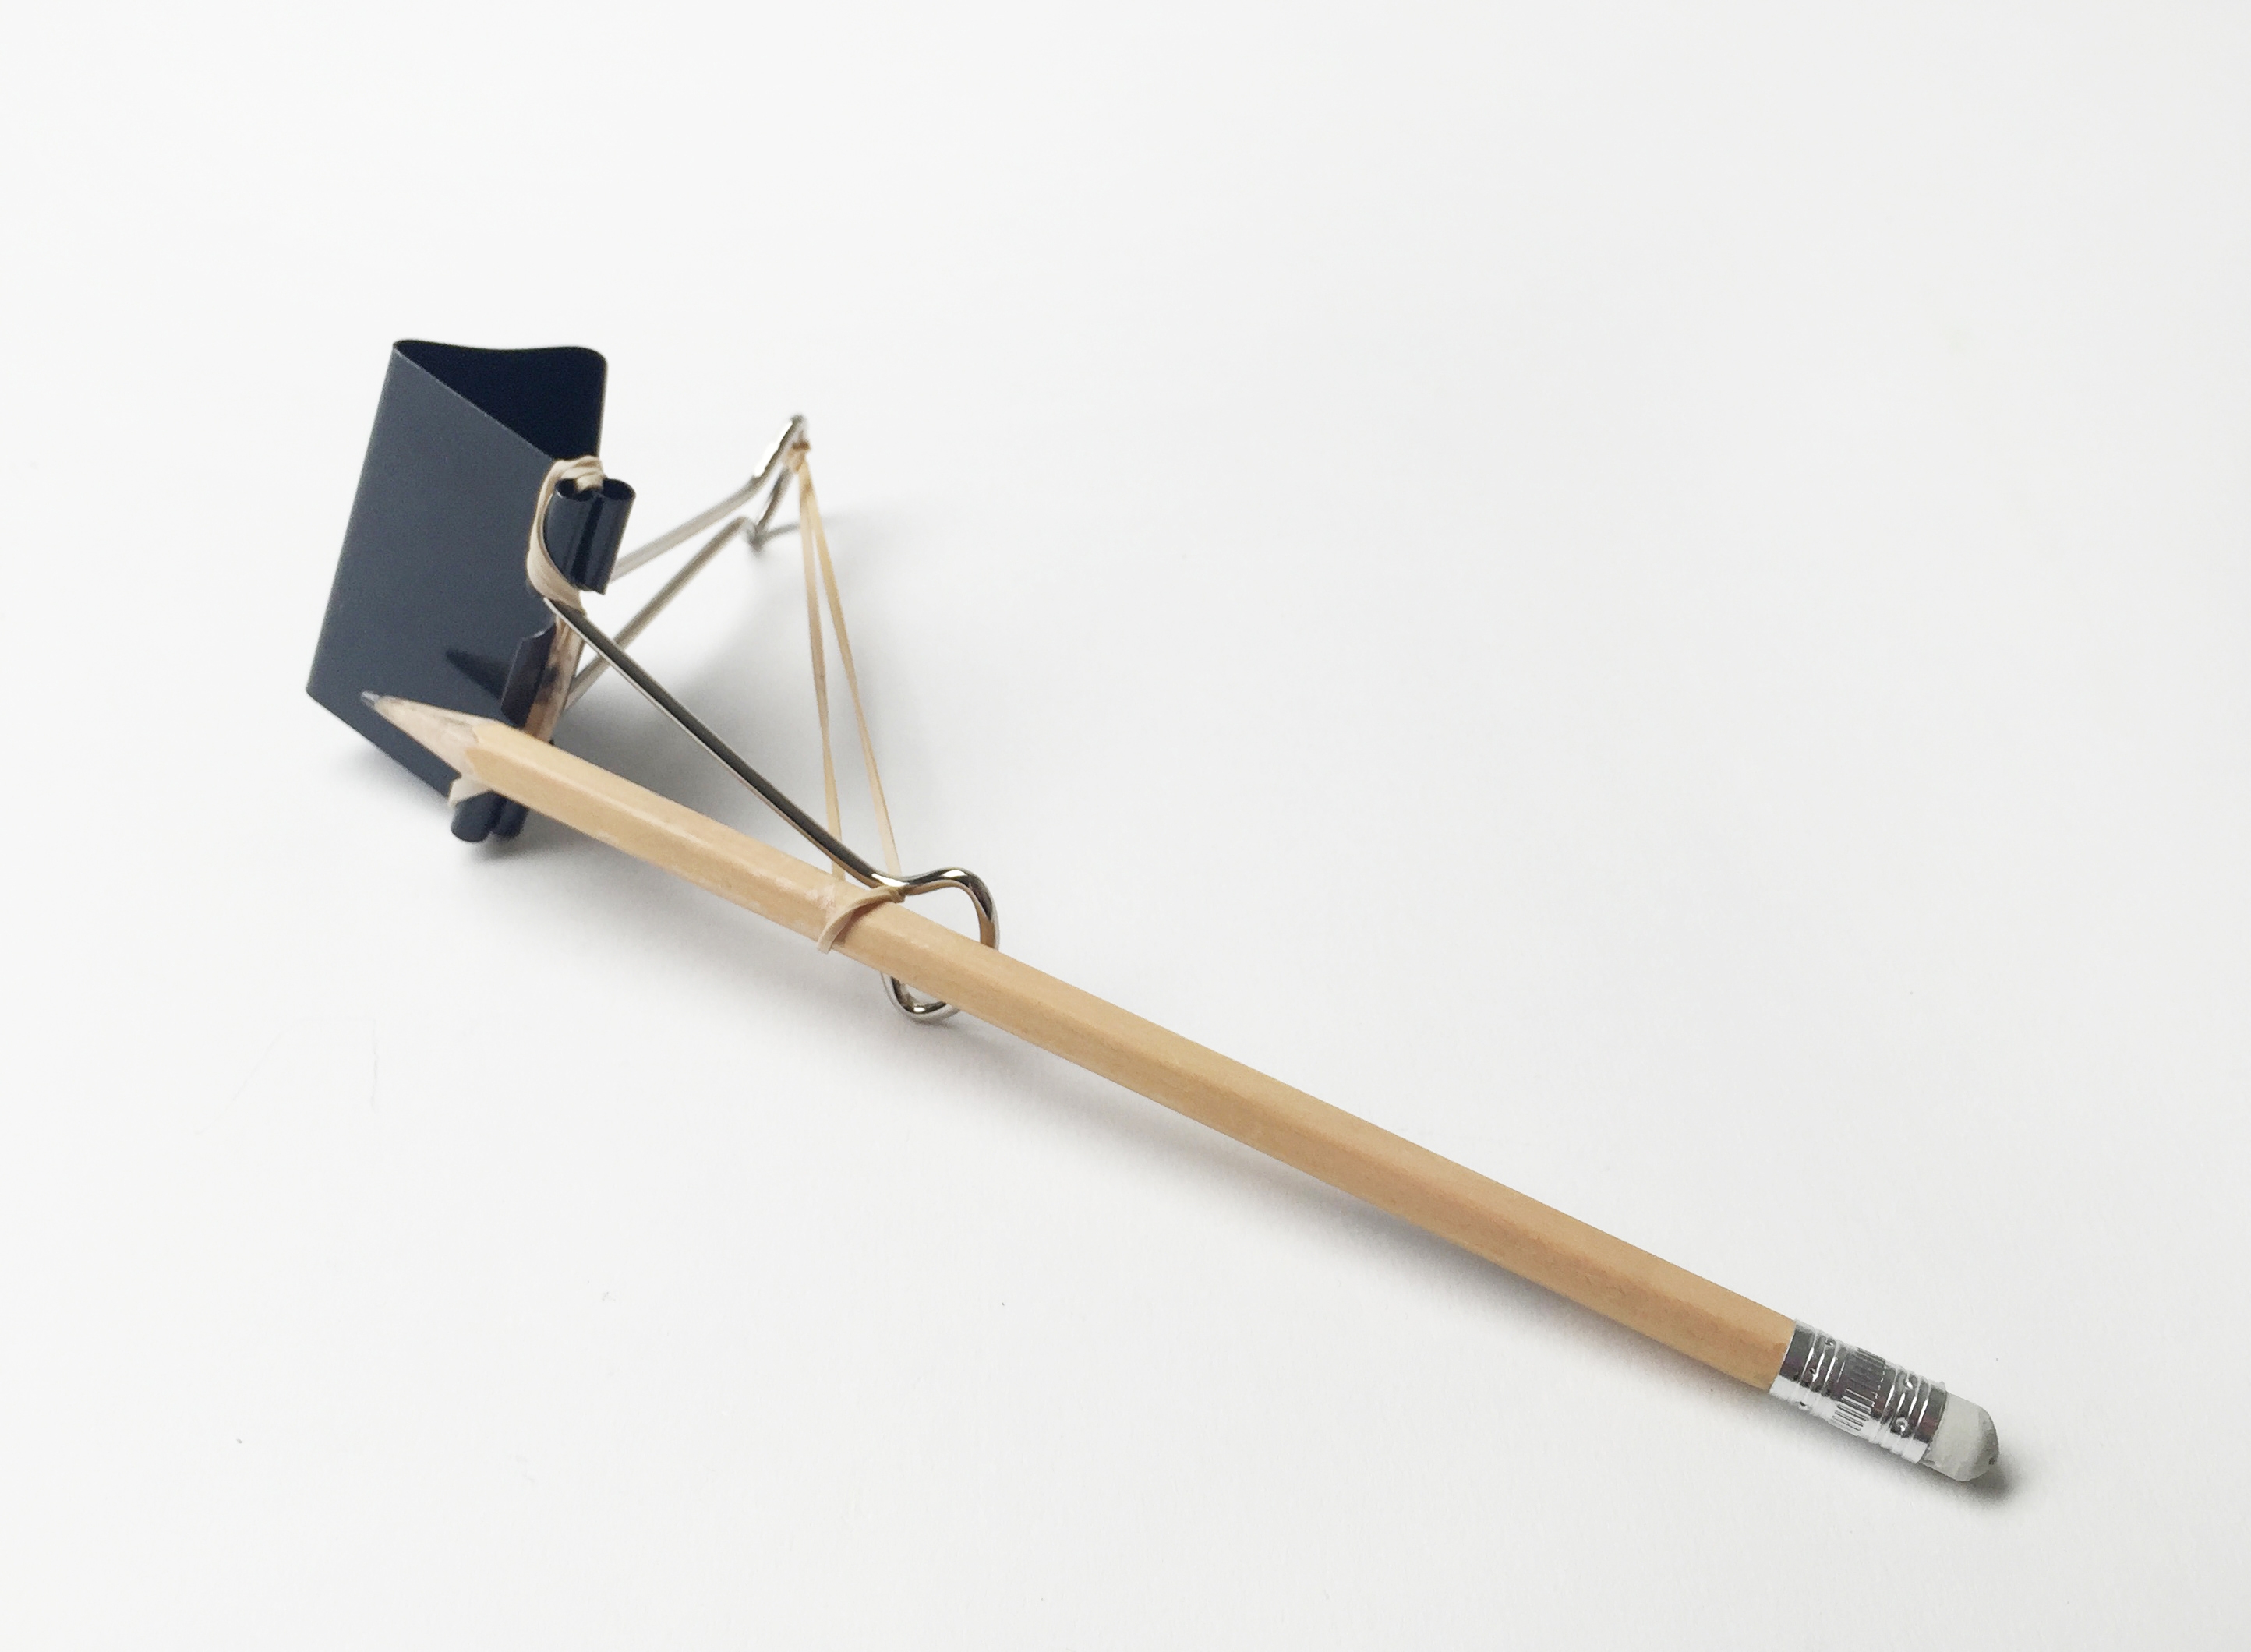
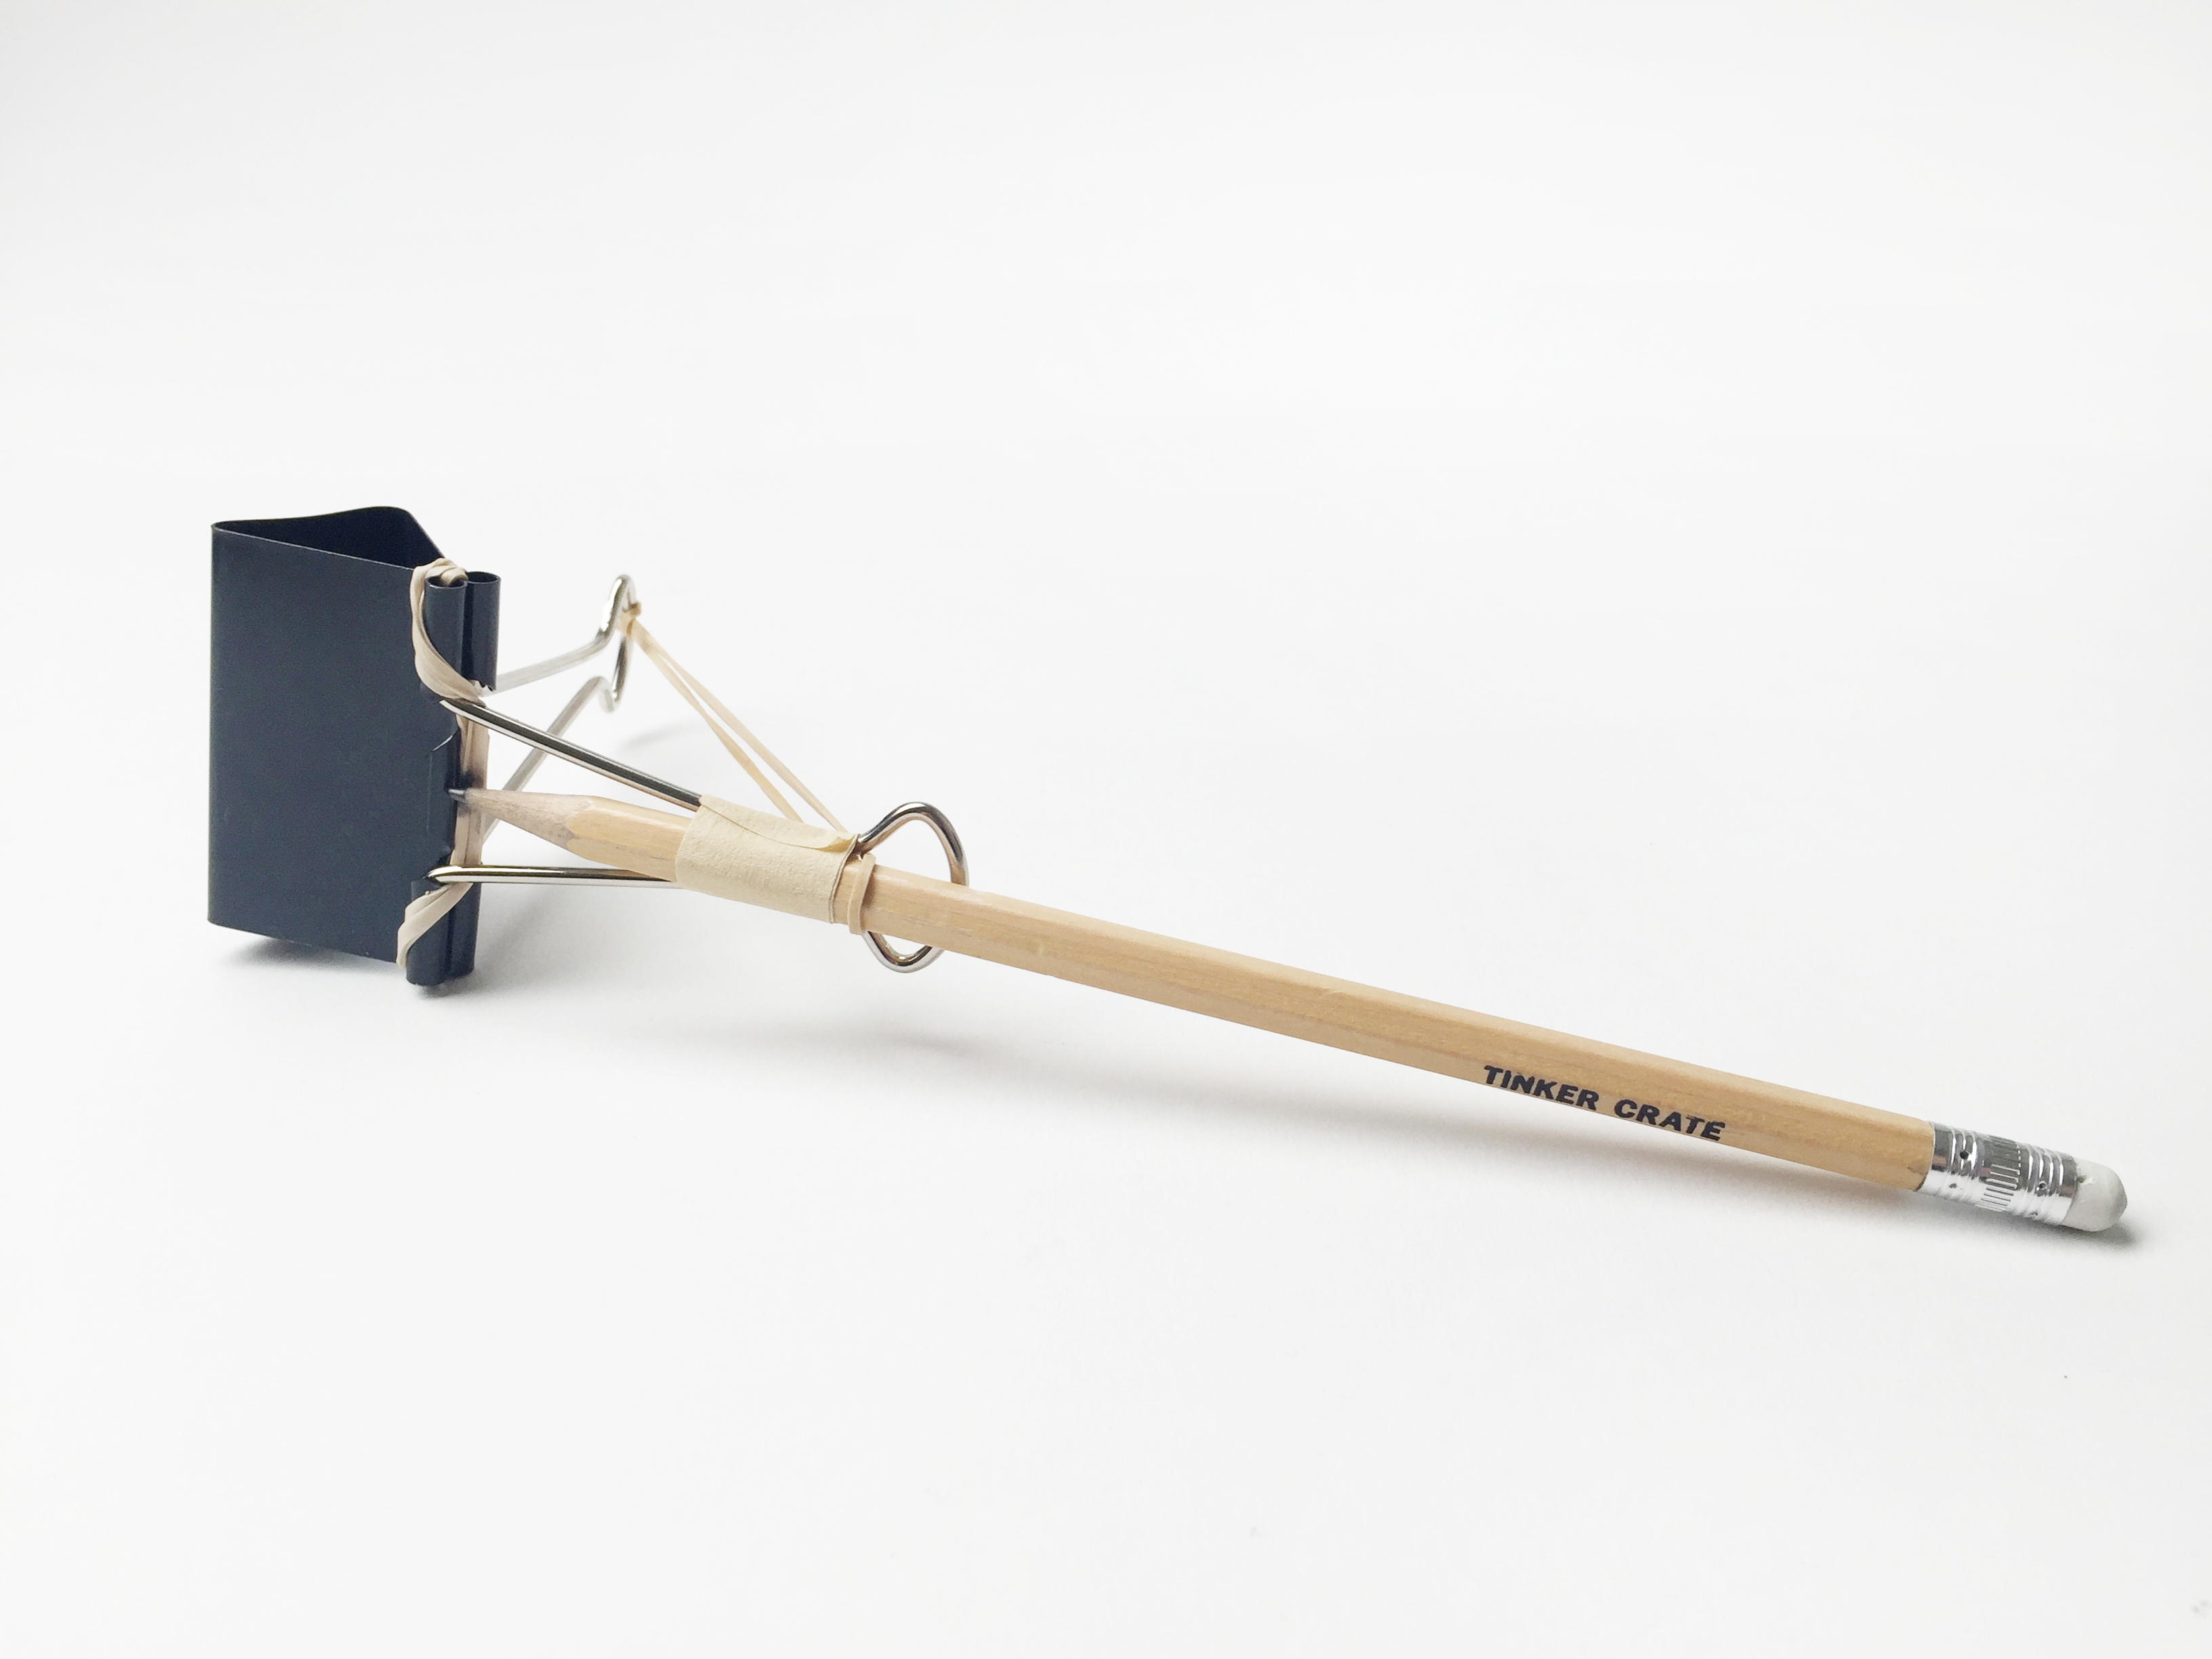
Step 7
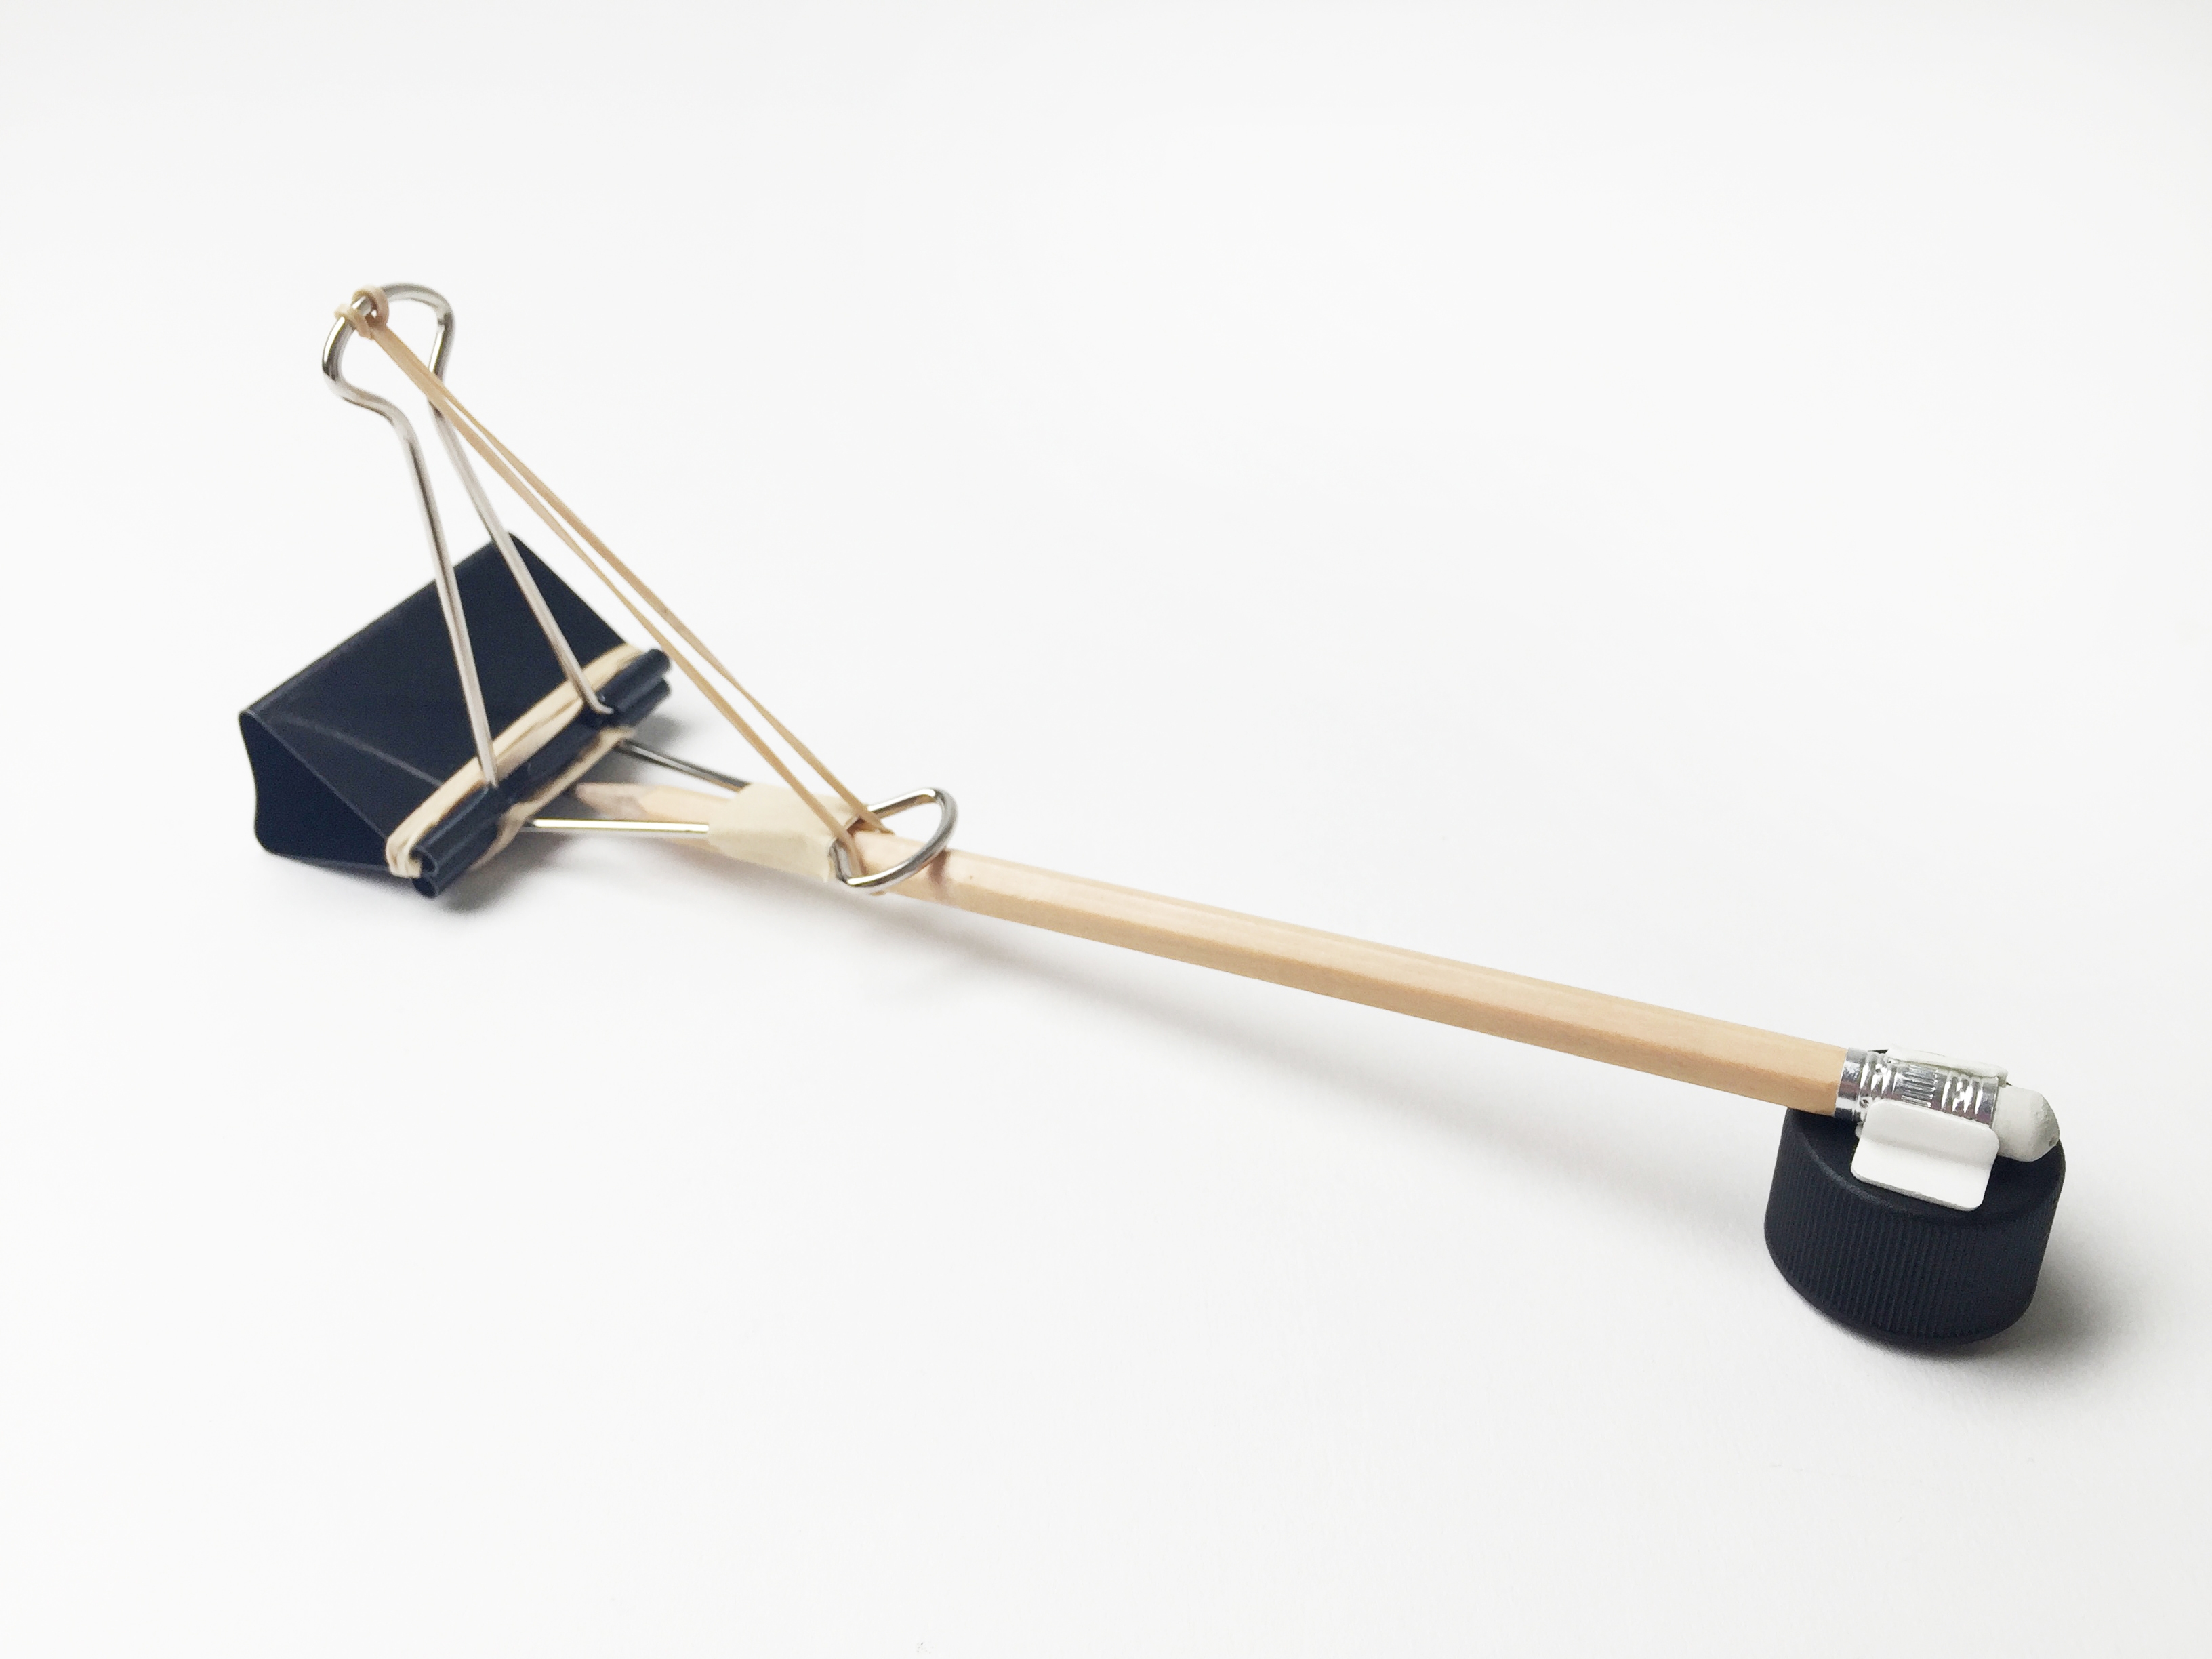
Slide the pencil up or down so the end of the pencil is just above the main body of the binder clip. Tape the pencil to the arm of the binder clip.
Step 8
Stick the bottle cap onto the other end of the pencil. We used sticky foam, but you can also use tape or glue. (Make sure the bottle cap is facing forward!)
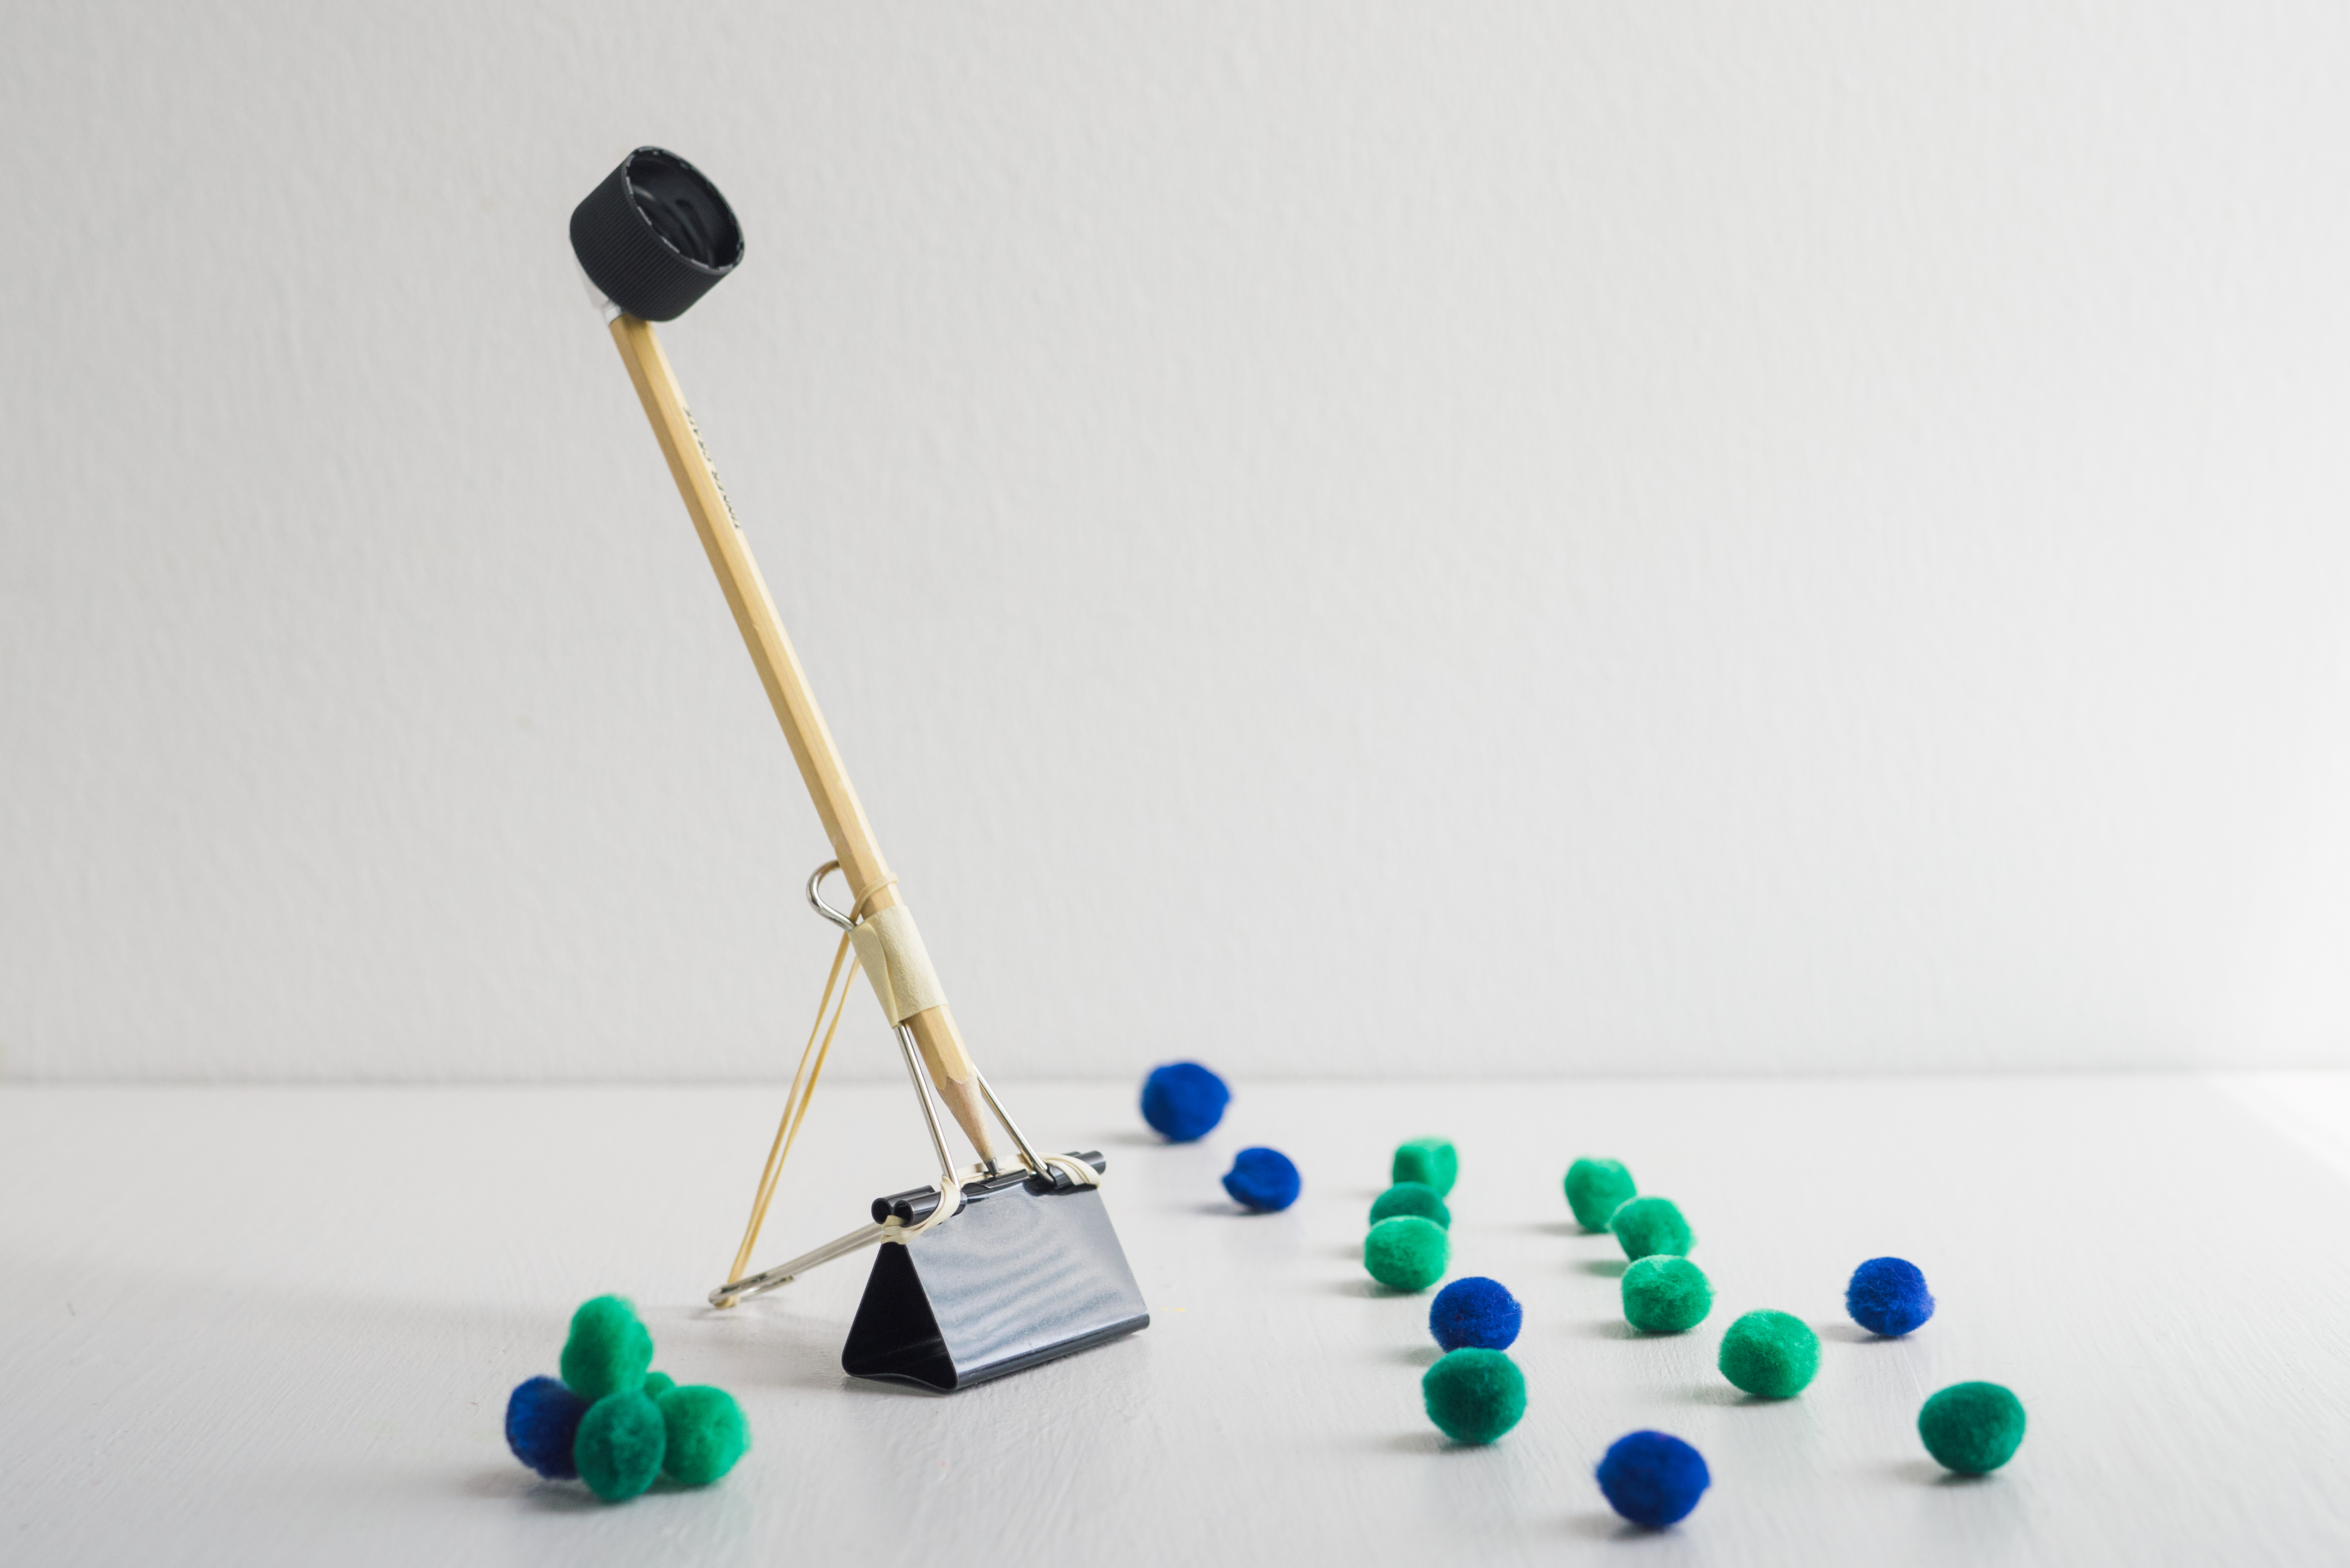
Step 9
You’re ready for launch! Put a pom-pom in the bottle cap, then hold the binder clip down with one hand and pull the pencil back with the other. Let it go and watch the pom-pom fly from the desk toy!
For extra fun, try seeing how far you can launch your pom-poms, throwing several pom-poms at once, or set out a cup as a target and see if you can land a pom-pom in it!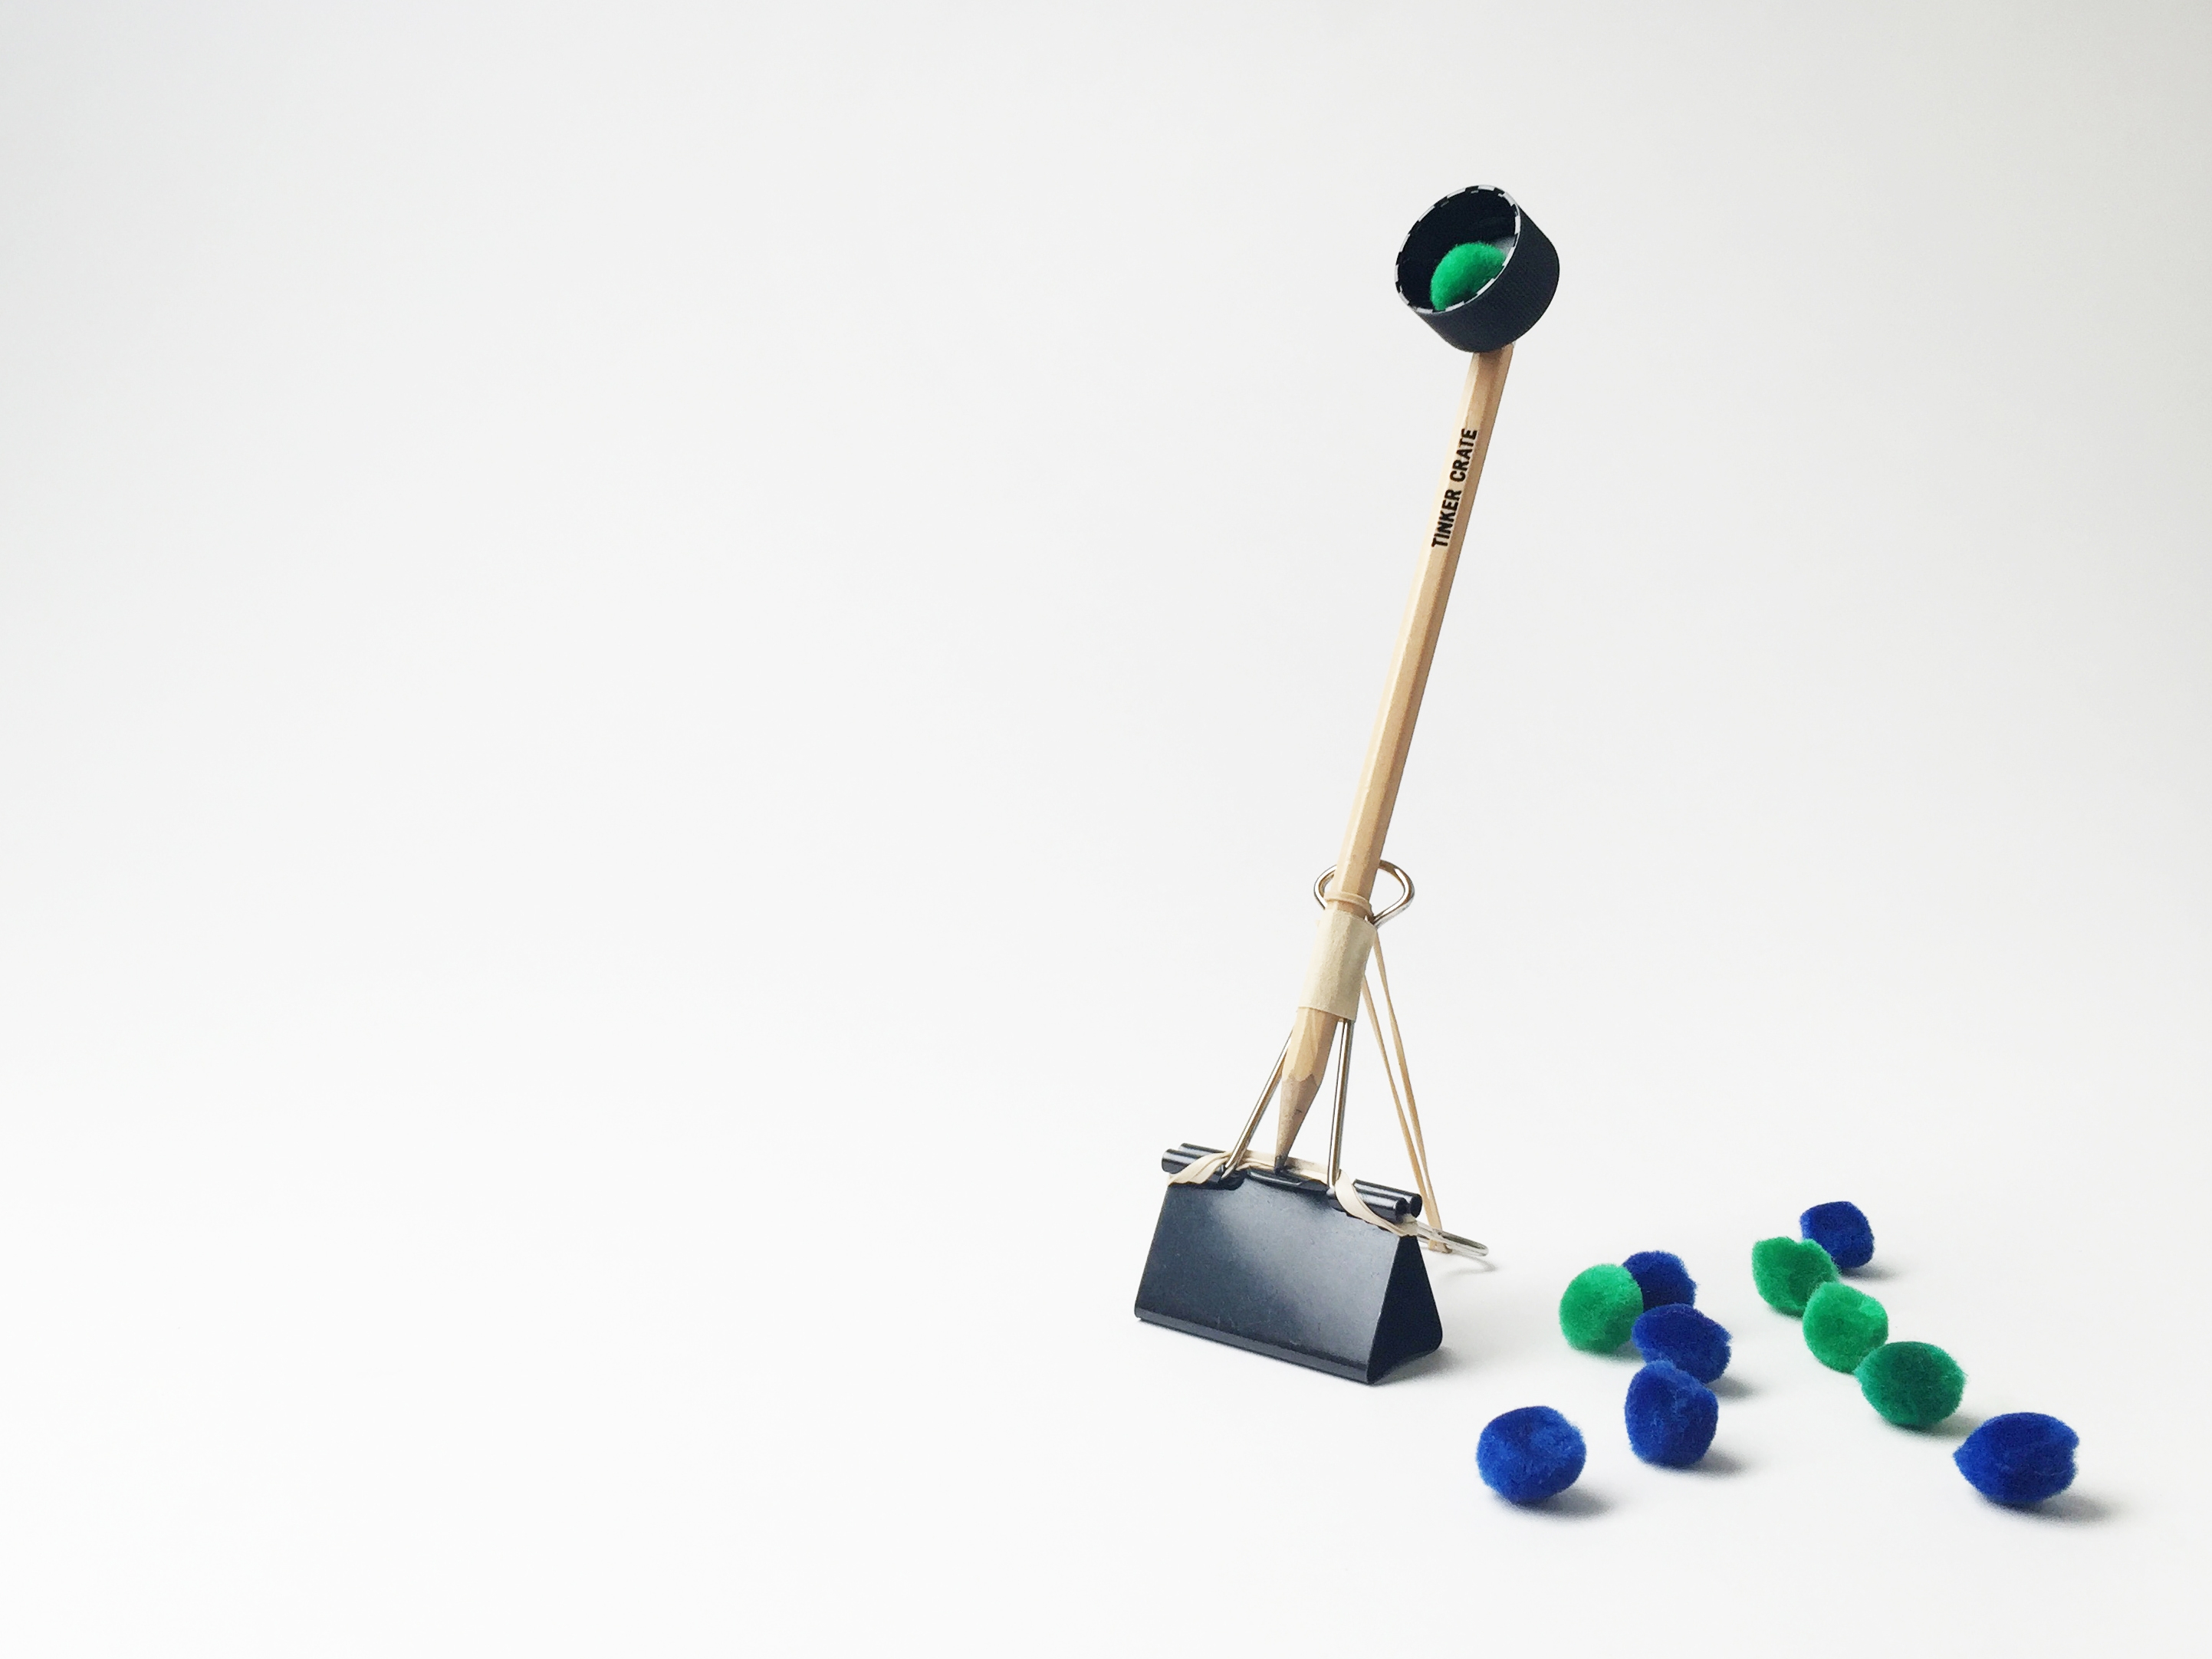
Learn more

What's going on?
The desk catapult is able to throw projectiles because of tension in the binder clip. Tension builds up as the binder clip is bent backwards, out of shape, and when the arms of the binder clip are released, the clip relaxes back into its original shape. This quick relaxation relieves the clip's built-up tension, producing the throwing force that launches the pom poms into the air.


