Step-by-step tutorial
Step 1
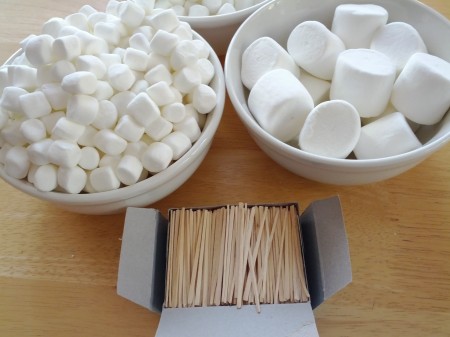
Marshmallows and toothpicks, both things we always have around the Tahoe cabin, are perfect ingredients for a sculpture. We've done this project with gumdrops too. (and if you get the spicy gumdrops, the kids usually don't want to eat them). My little guy already had a good breakfast, so I'm happy to let him have his fill of marshmallows as a prelude to our project.

Step 2
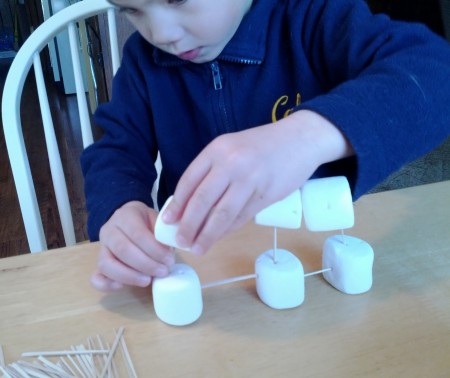
H's first sculpting efforts are mainly staying in two dimensions. He keeps trying to build his sculpture higher, but it keeps falling over. I let him puzzle over why this was happening, and then eventually talk to him about adding a third dimension.
Step 3
We talk about the difference between two and three dimensions, and I show him examples, but I still let him figure out for himself what shapes make the sturdiest structures.
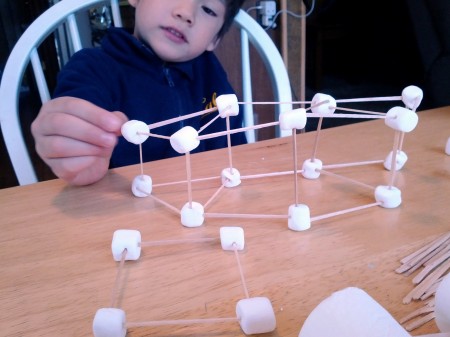
Step 4
He makes his first 3-D triangle, and I can see the wheels turning on how triangles are stronger than squares and rectangles.

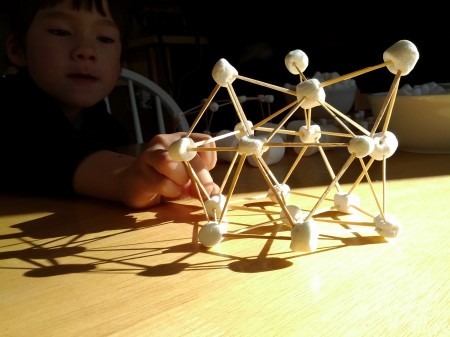
Step 5
He proudly shows me how his sculpture can now stand up on its own. Then he starts adding in more triangles to make it even sturdier. We talk about geodesic domes, and how they're made up of lots of triangles.
Done!
My favorite part of this project is how well it lends to learning math concepts, especially geometry! Happy sculpting!