Step-by-step tutorial
Step 1
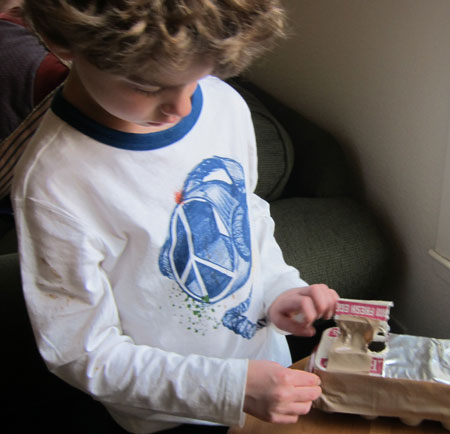
First, we cut the hatchways. (This is the only step I helped with.) I cut two hatchways, positioned so there was enough material left on the ends for our spaceship's rockets. I created really big hatches because I knew I needed to leave room for cars get on board.


Step 2
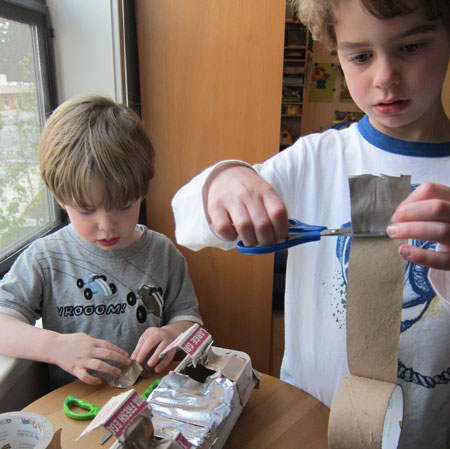
My son took duct tape and (with the help of his little brother) sealed the carton so that the only openings were the hatchways. We taped all the way around the edge, and then added more on top of the hatchways so they'd match.
Done!
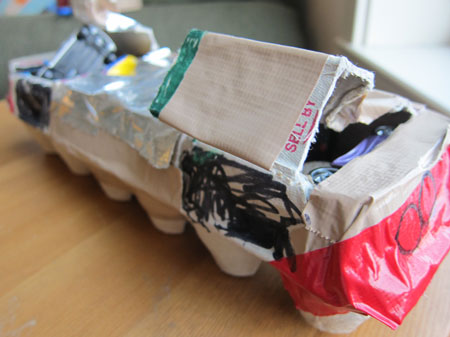
We used different colors of tape and markers to decorate our spaceship. (You could decorate your ship with any embellishments you'd like.) We used red duct tape for the rockets, outlined with the marker. (We used a permanent marker since washable markers don't work well on duct tape, but you could certainly use washable markers to decorate the carton). At that point, my son declared his spaceship "awesome," loaded it up with cars, and zoomed away!