Step-by-step tutorial
Step 1
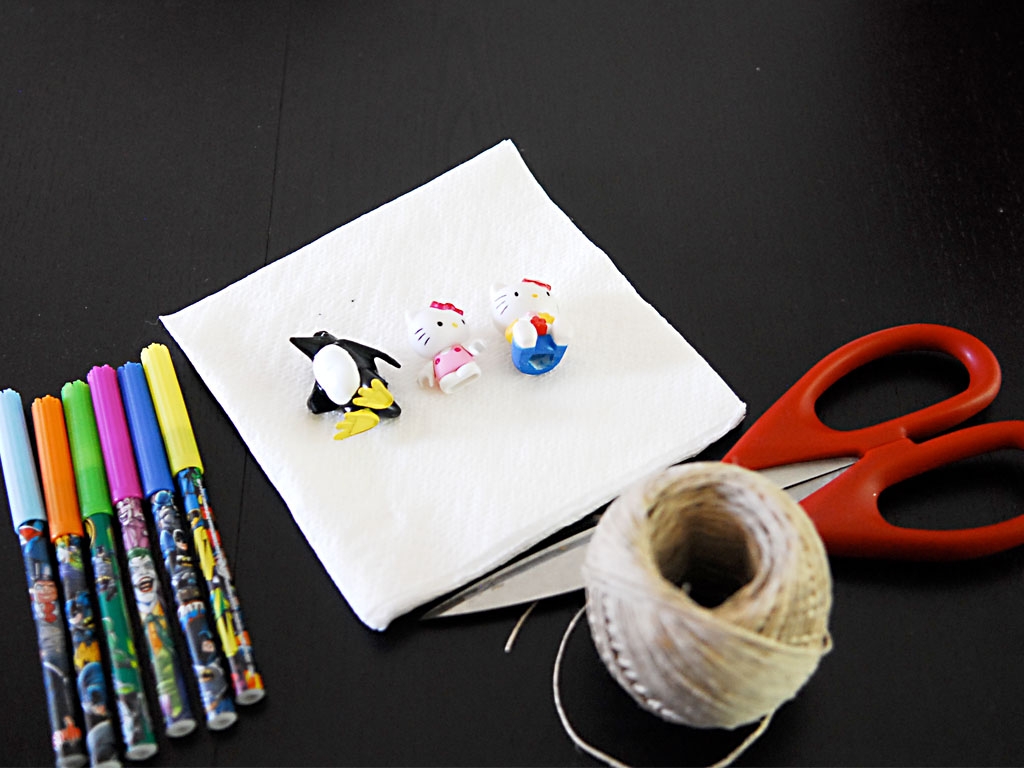
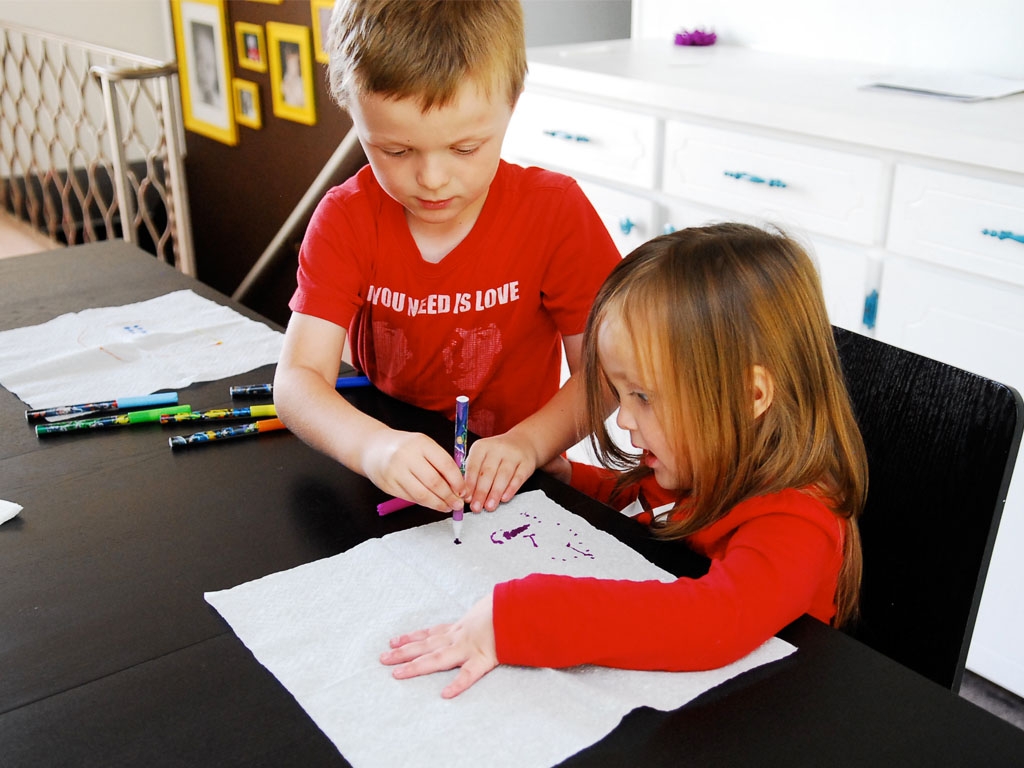
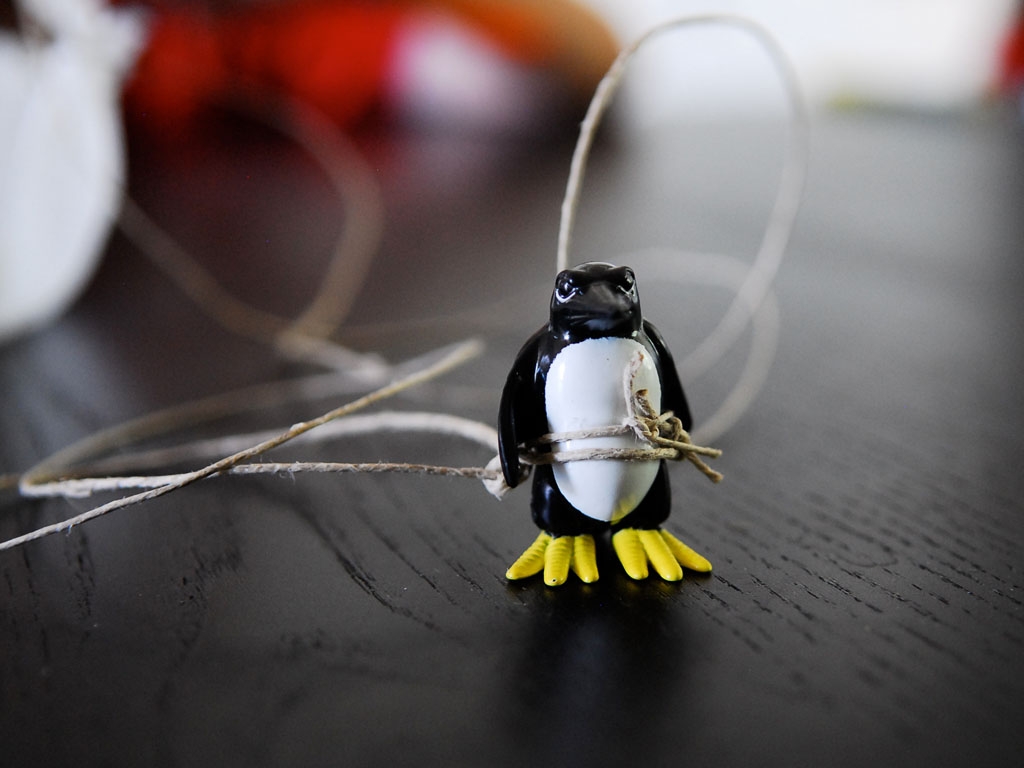
First, we got together our supplies. The kids had the most fun finding their "passenger" for the parachute.

Step 2
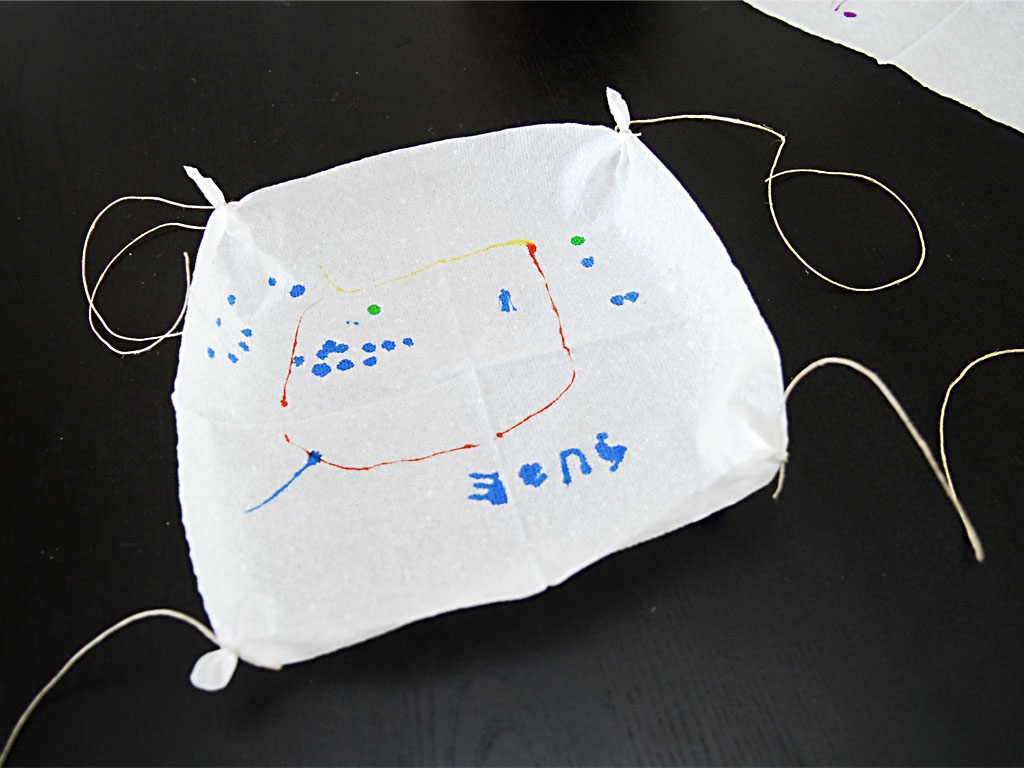
They unfolded their napkins to make large squares. My five-year-old liked sharing his decorating techniques with his three-year-old sis--but both kids designed their parachutes however they liked.
Step 3
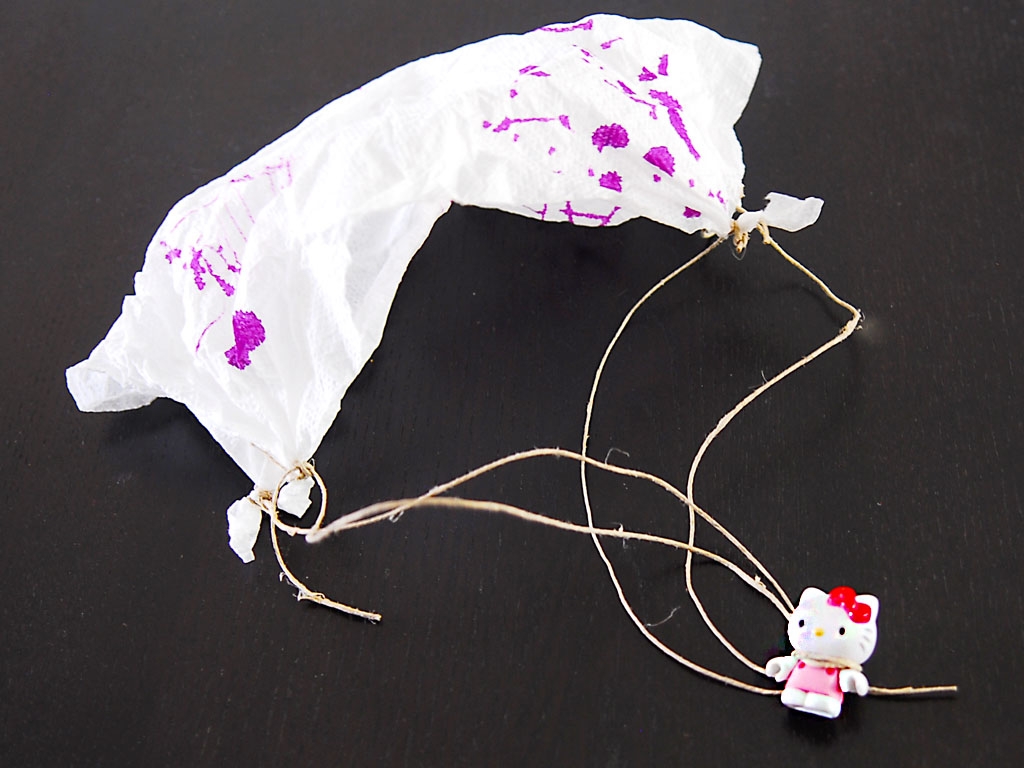
After the parachutes were decorated, they tied a string to each corner of the parachute. (I helped my young kids with this step.)
Step 4
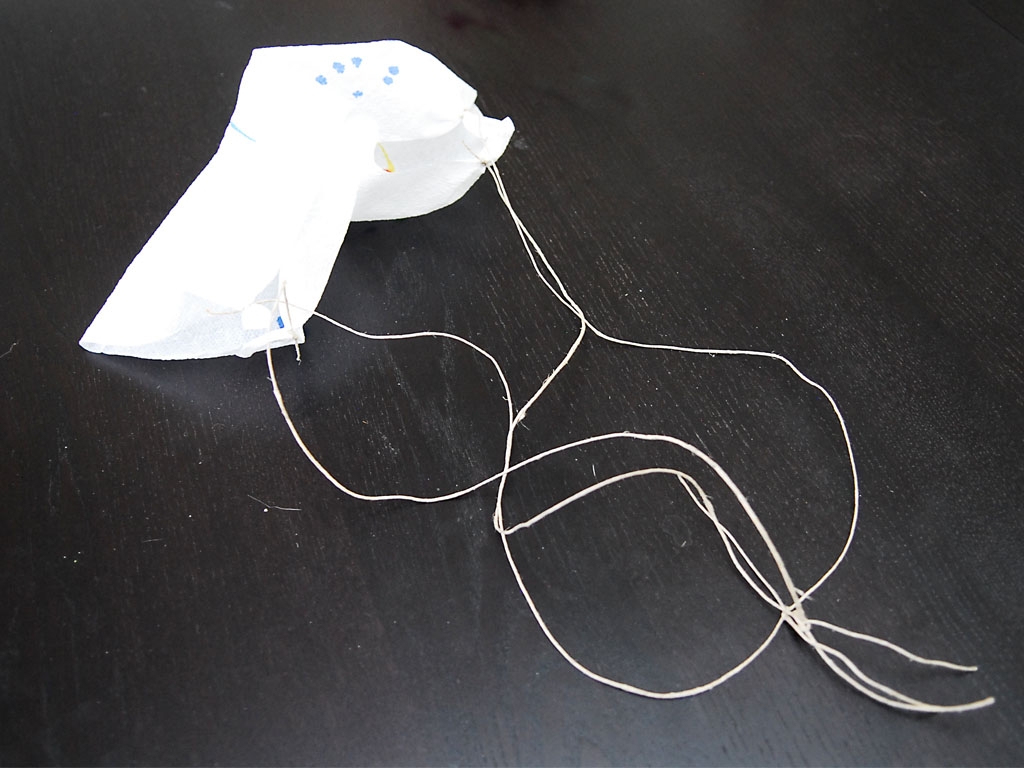
Then, for each parachute, we tied all four strings together down at the bottom, leaving extra long ties at the ends.
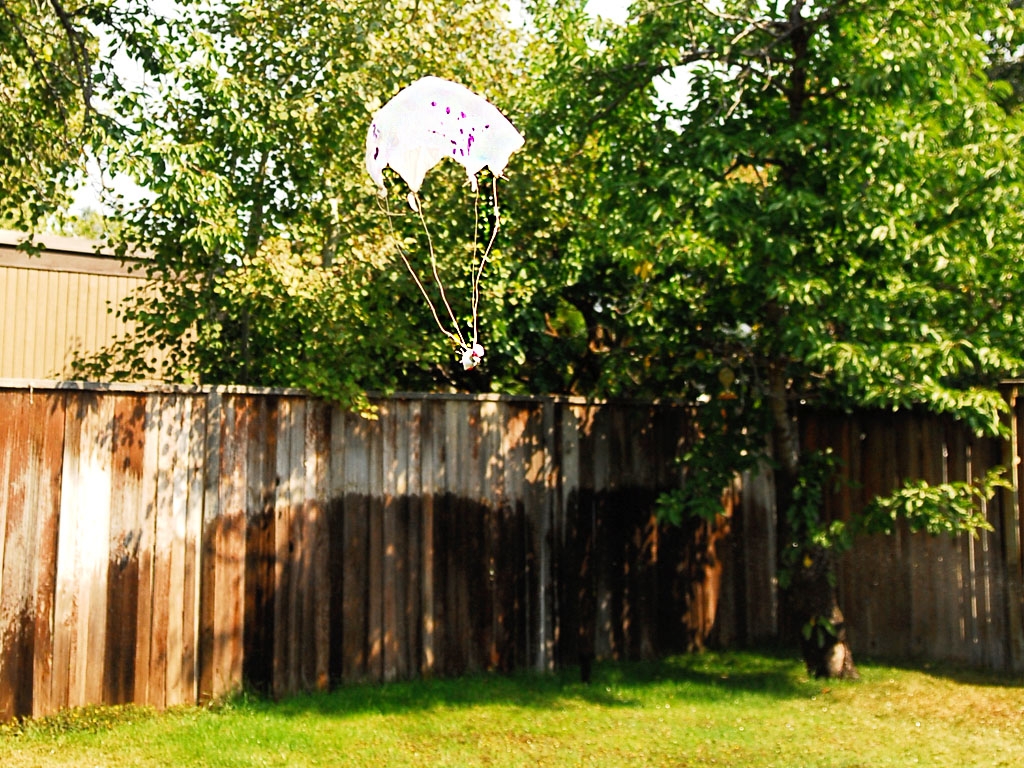
Step 5
Next the kids tied their "passenger" to the strings using the ends. We discussed what parachute the kids thought would be the fastest and which one would be the slowest. They both made their guesses.
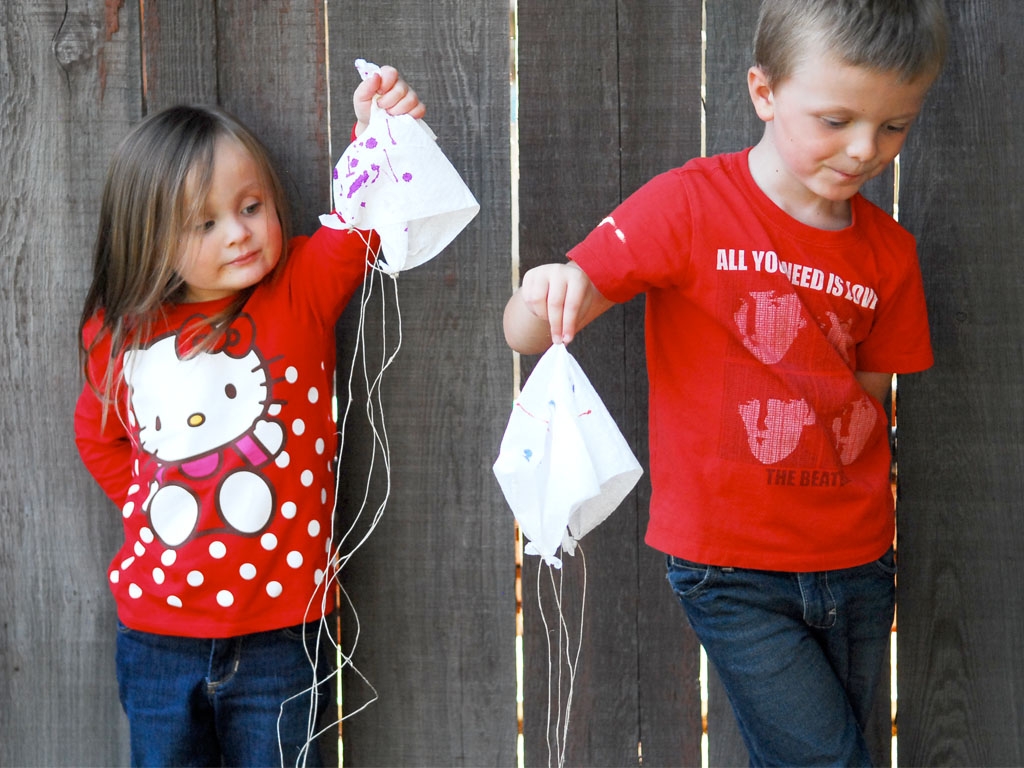
Step 6
Then we took the parachutes outside to test our creations! The parachute can either be dropped from a high point or thrown up high in the air. The kids loved watching their parachutes float (or race down) to the ground.
Done!
We talked about the results and then the kids found other objects they could launch, such as feathers that gently floated to the ground and rocks that PLUMMETED downwards. Hmm--scientific discovery taking flight: What a beautiful thing!