Step-by-step tutorial
Step 1
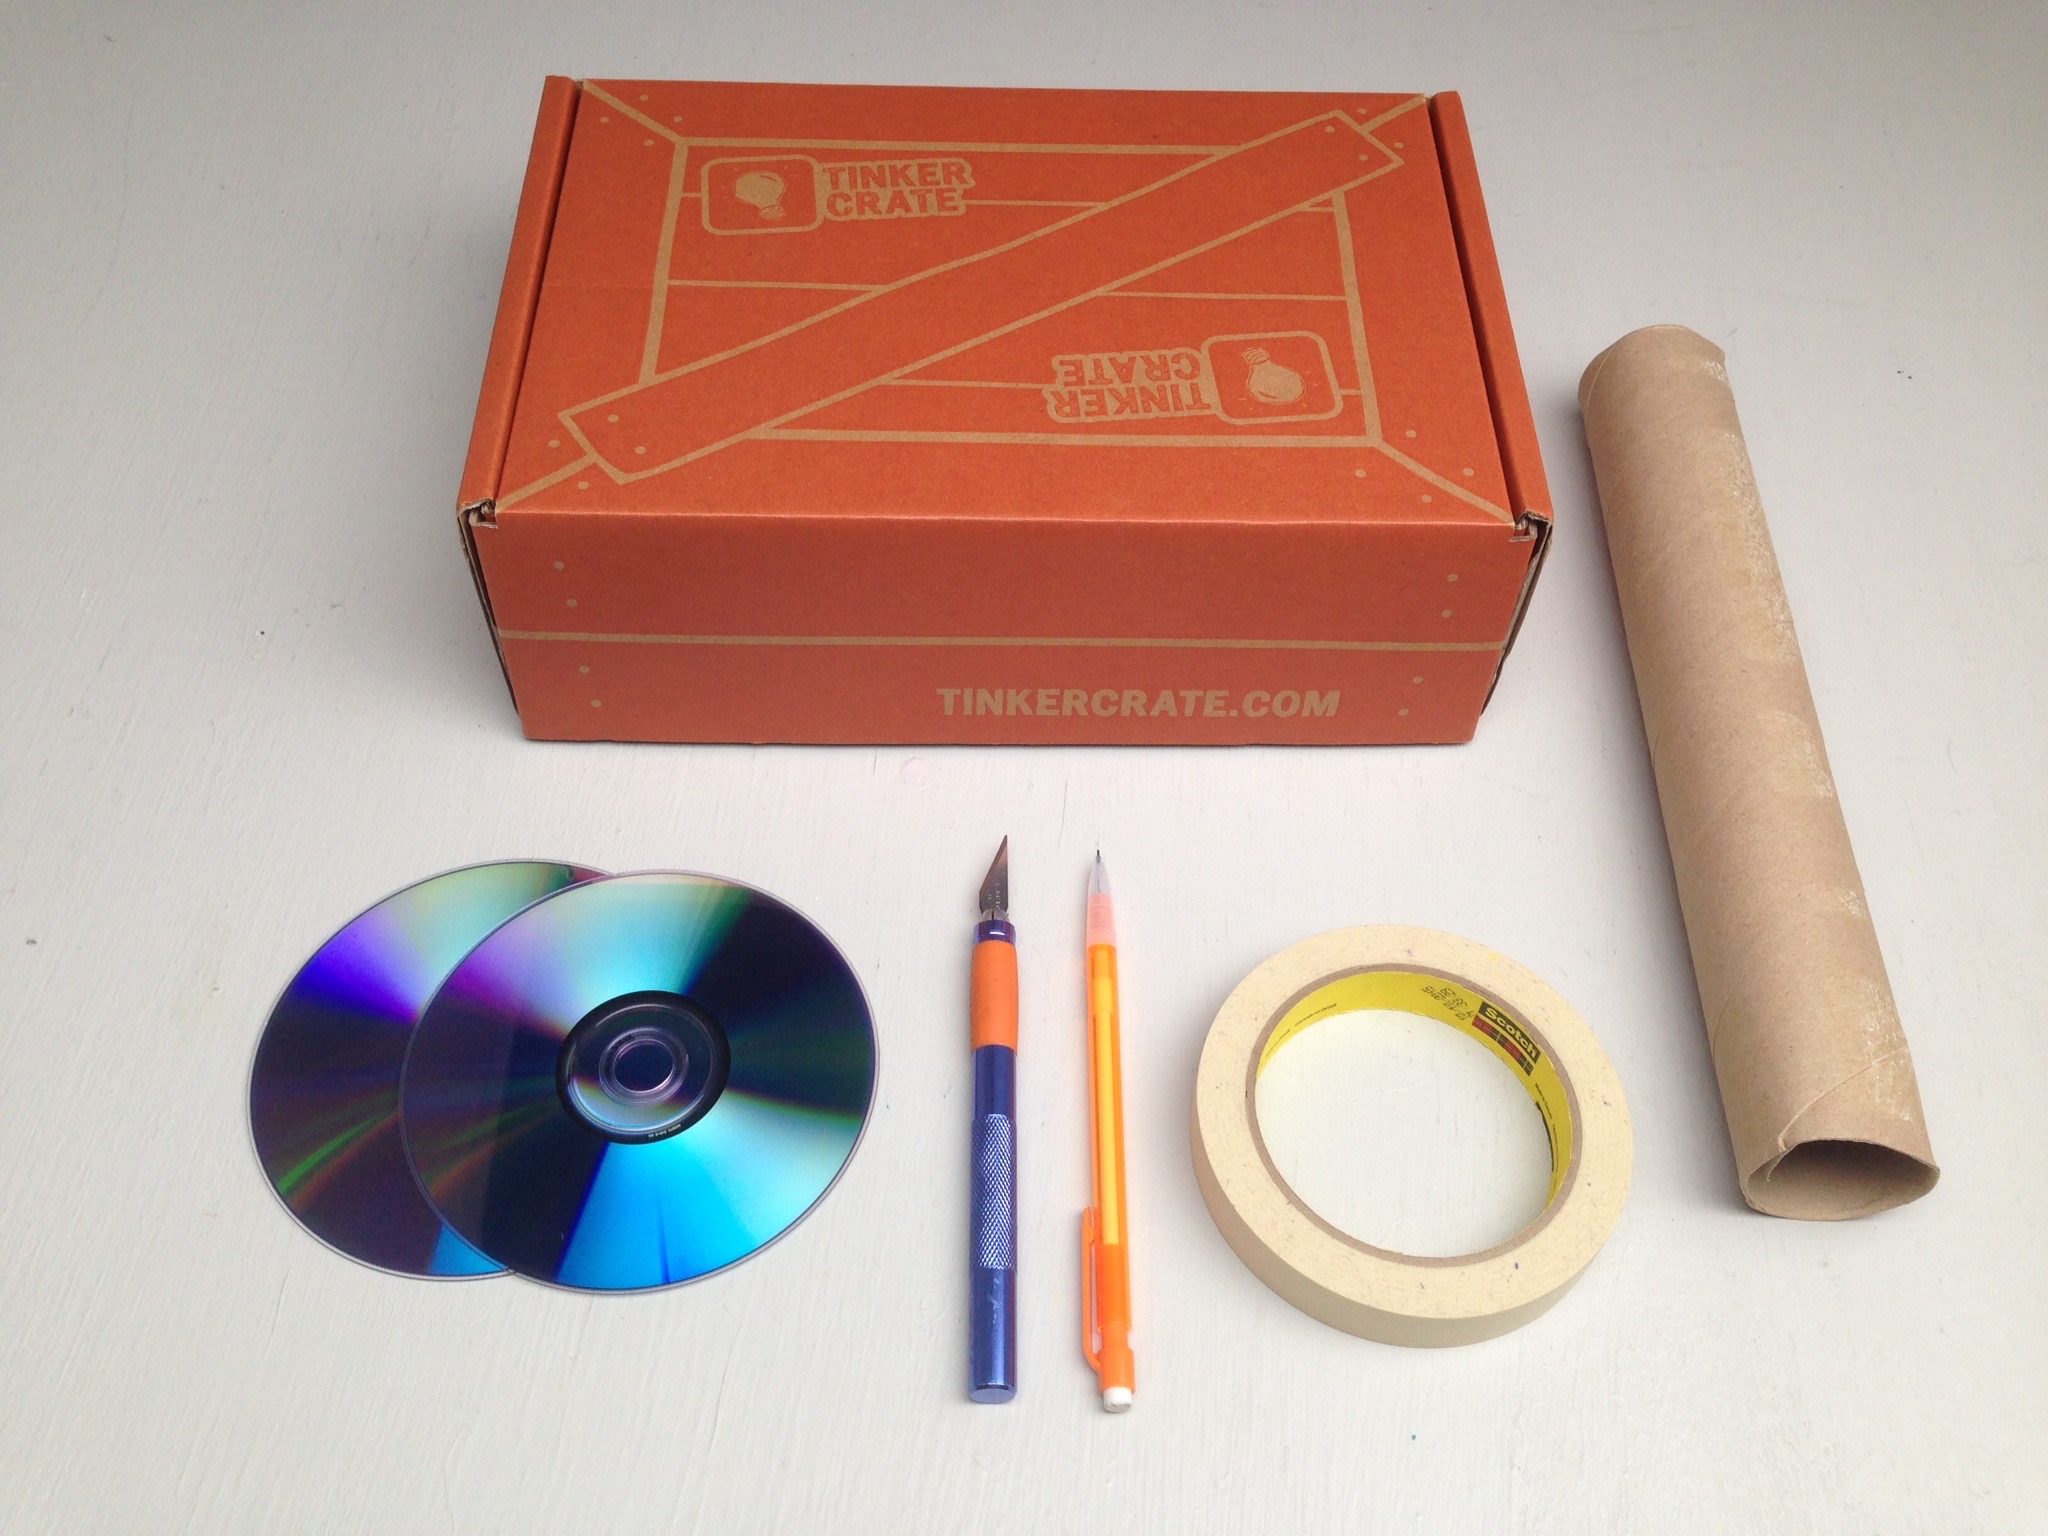
Gather your materials!

Step 2
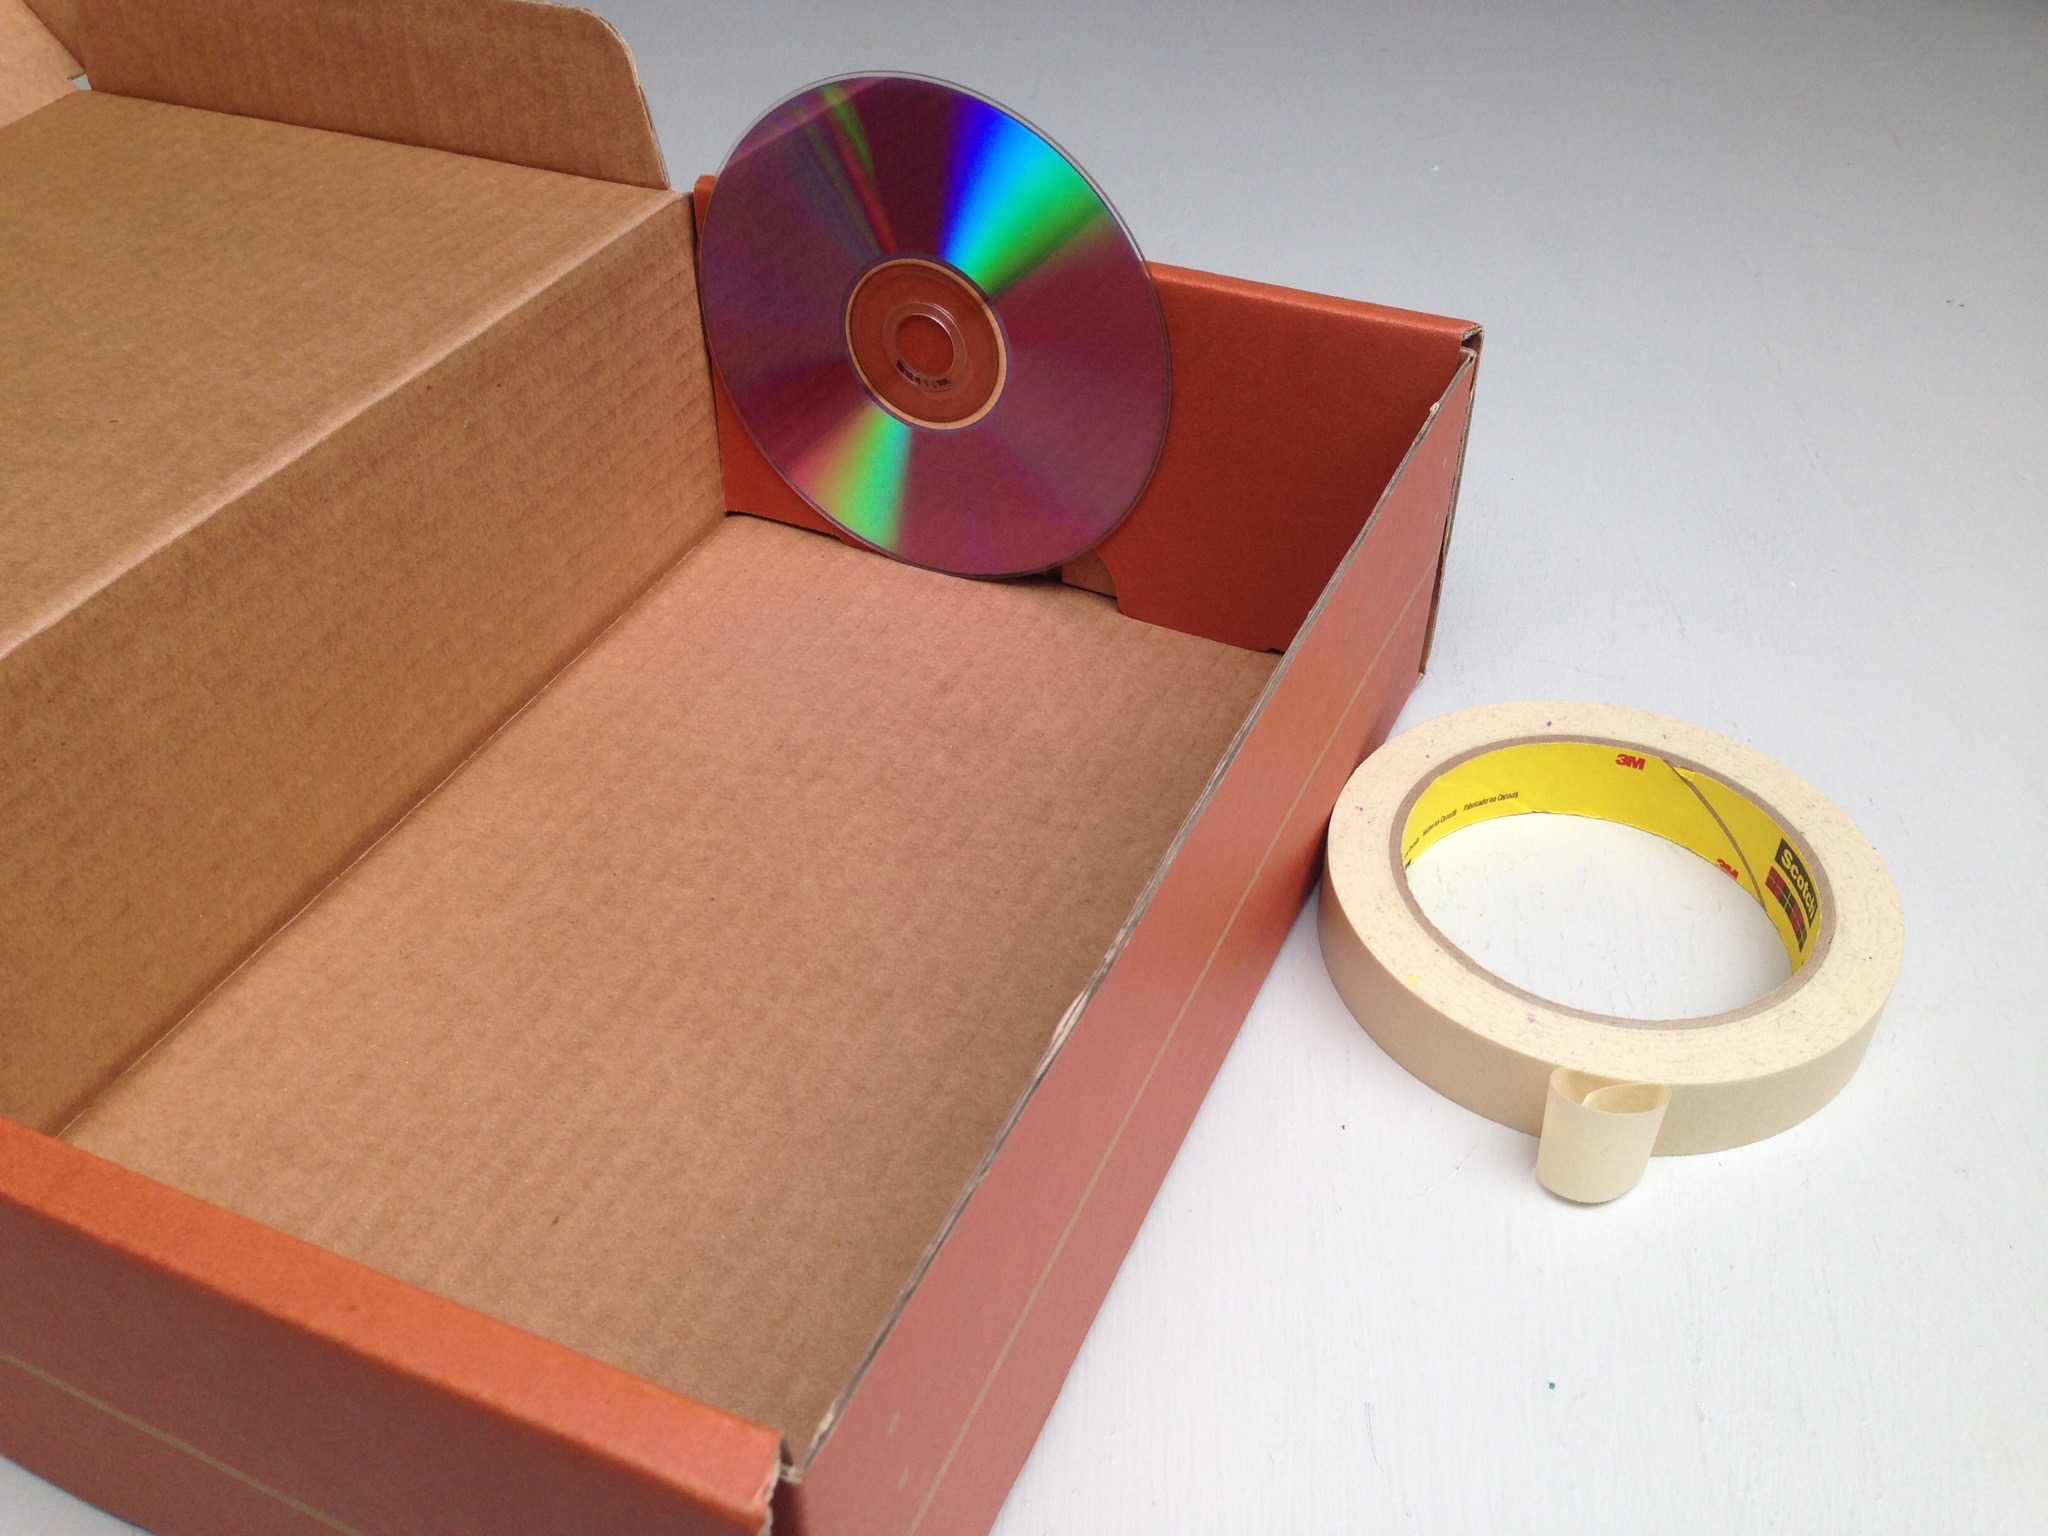
Tape your CD or DVD to the inside of the box so the shiny side is visible. You'll want the disk to be flat against one wall and close to a corner.
Step 3
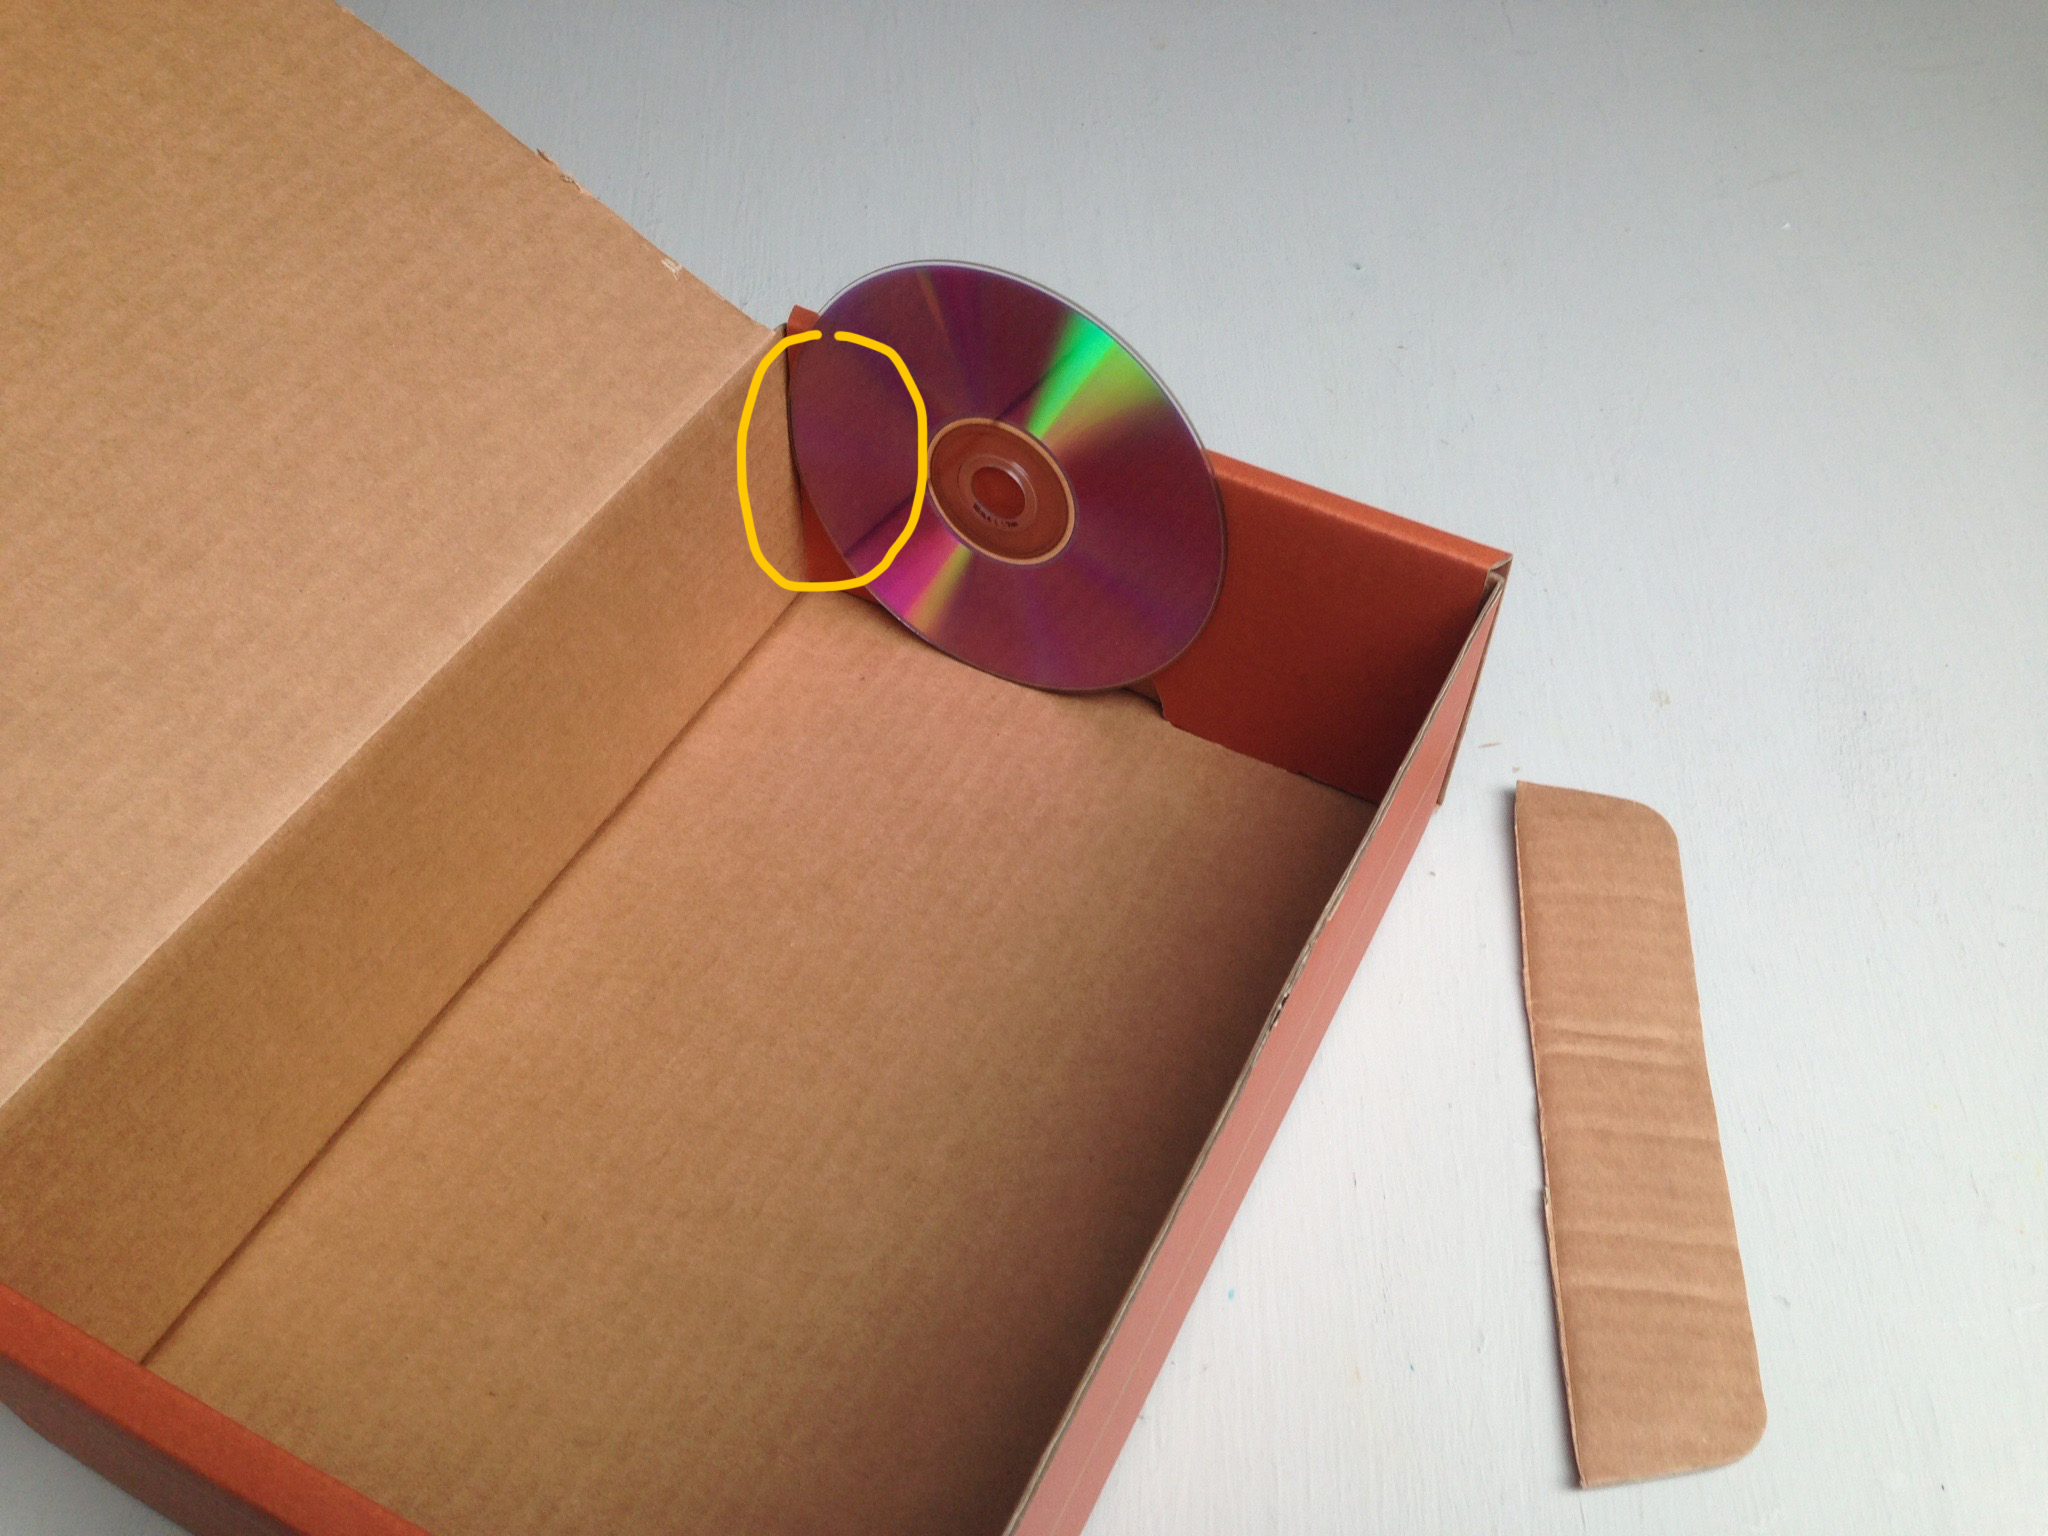
Close your box and make sure nothing is covering the part of the disk closest to the corner of the box (circled in the photo). We had to trim off an edge of our box.
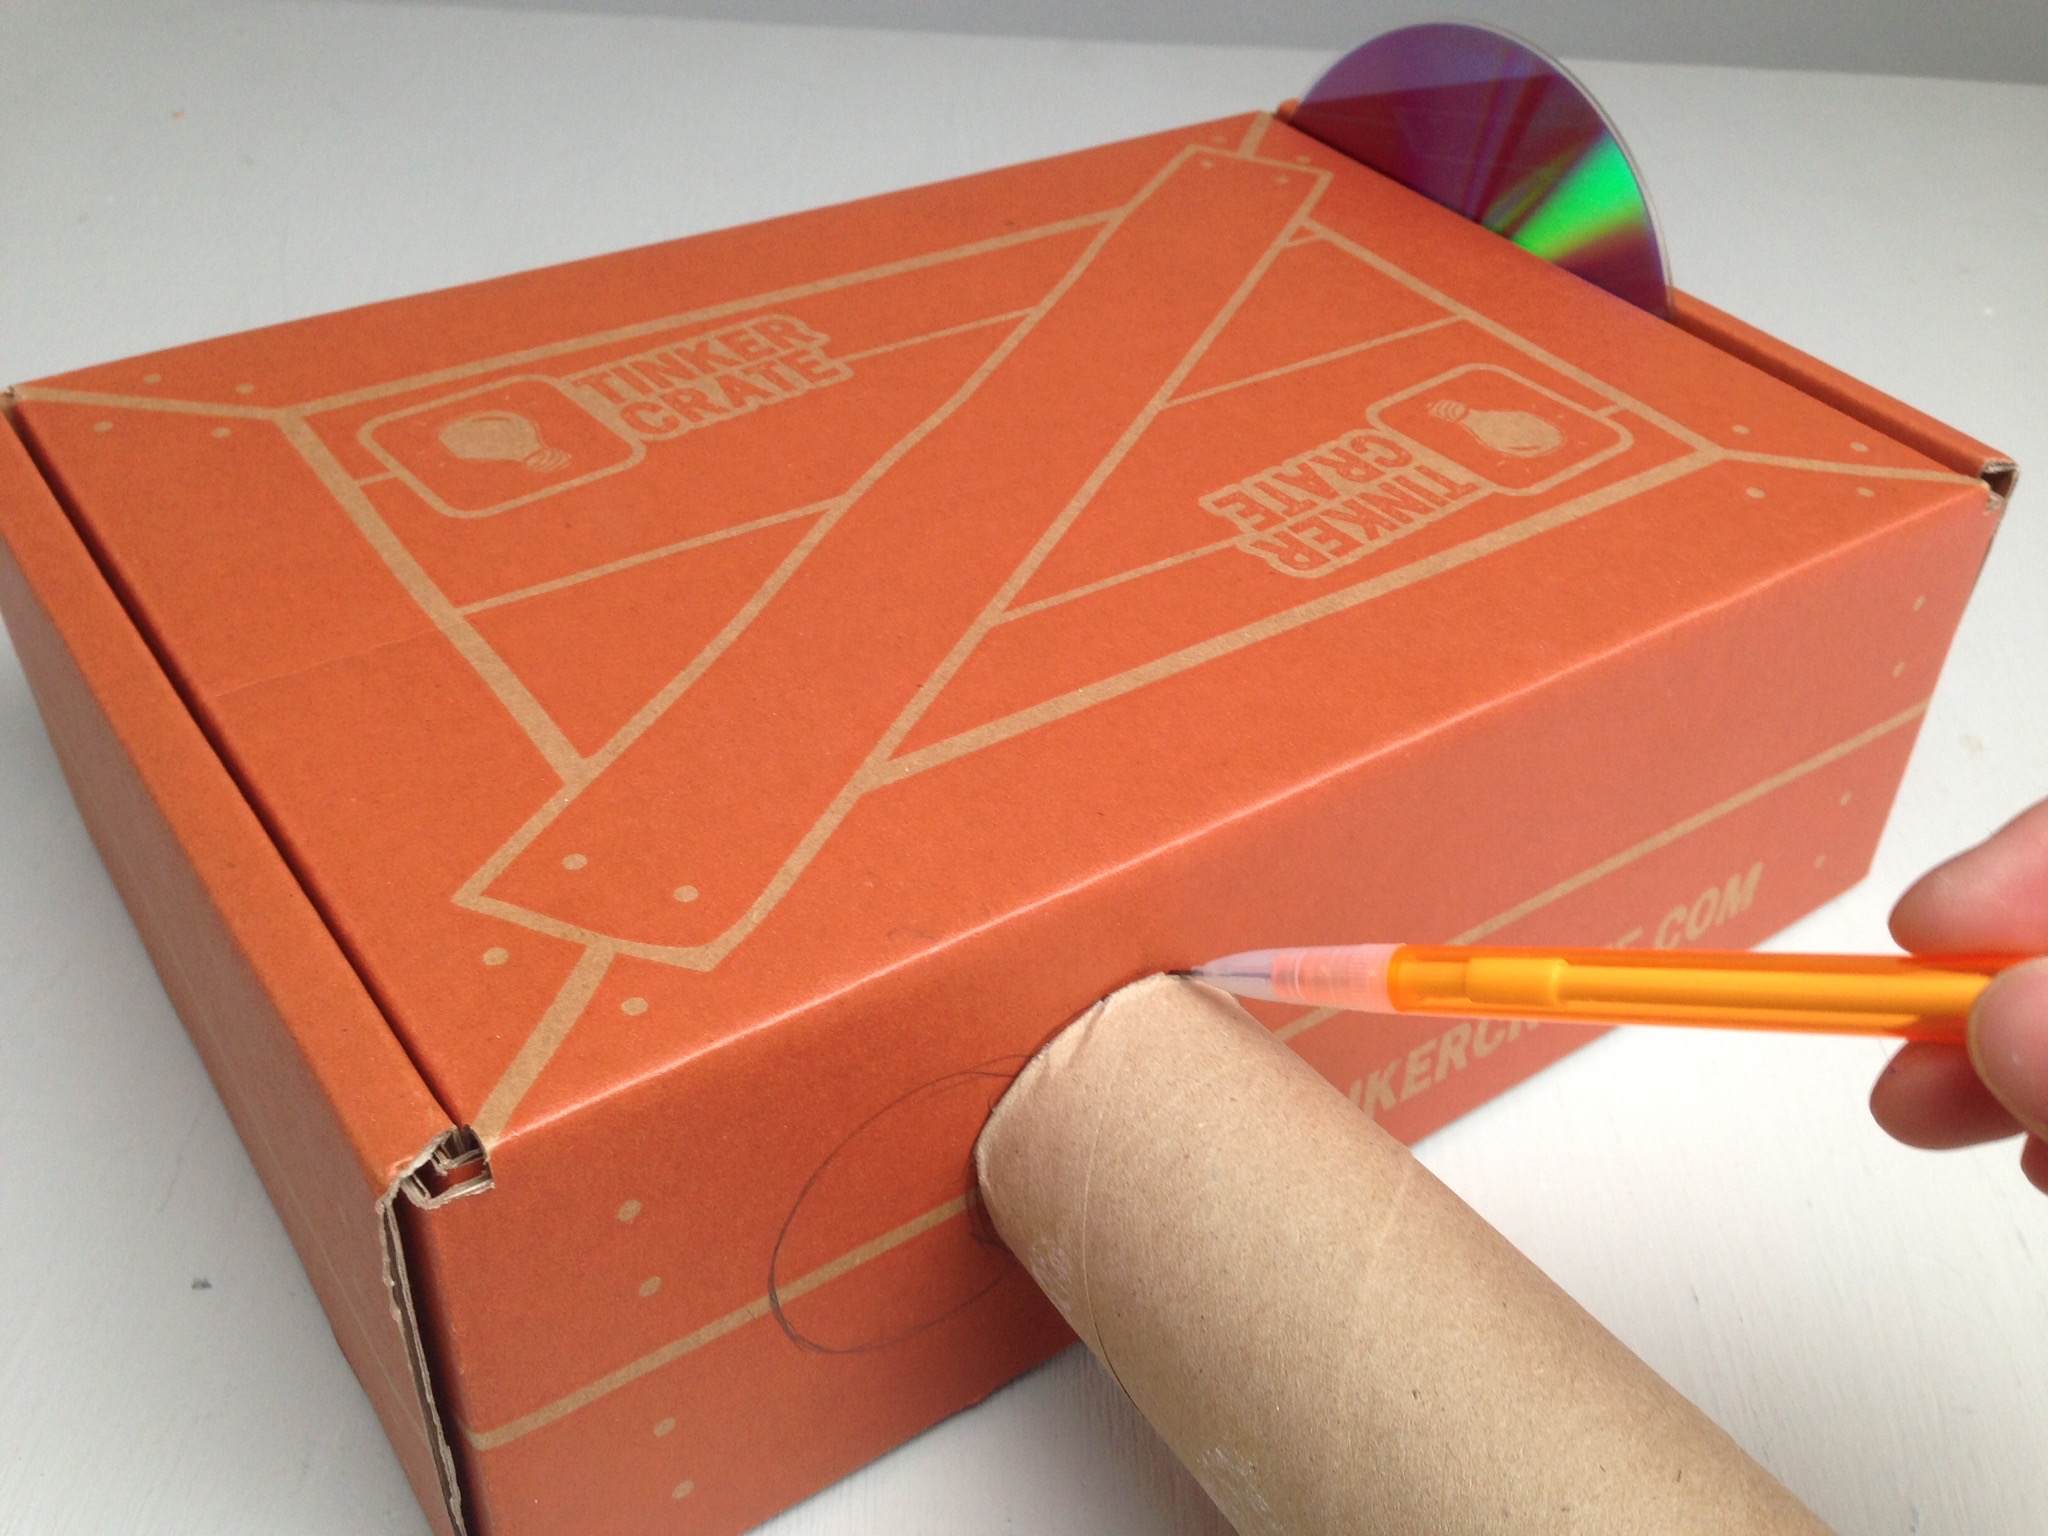
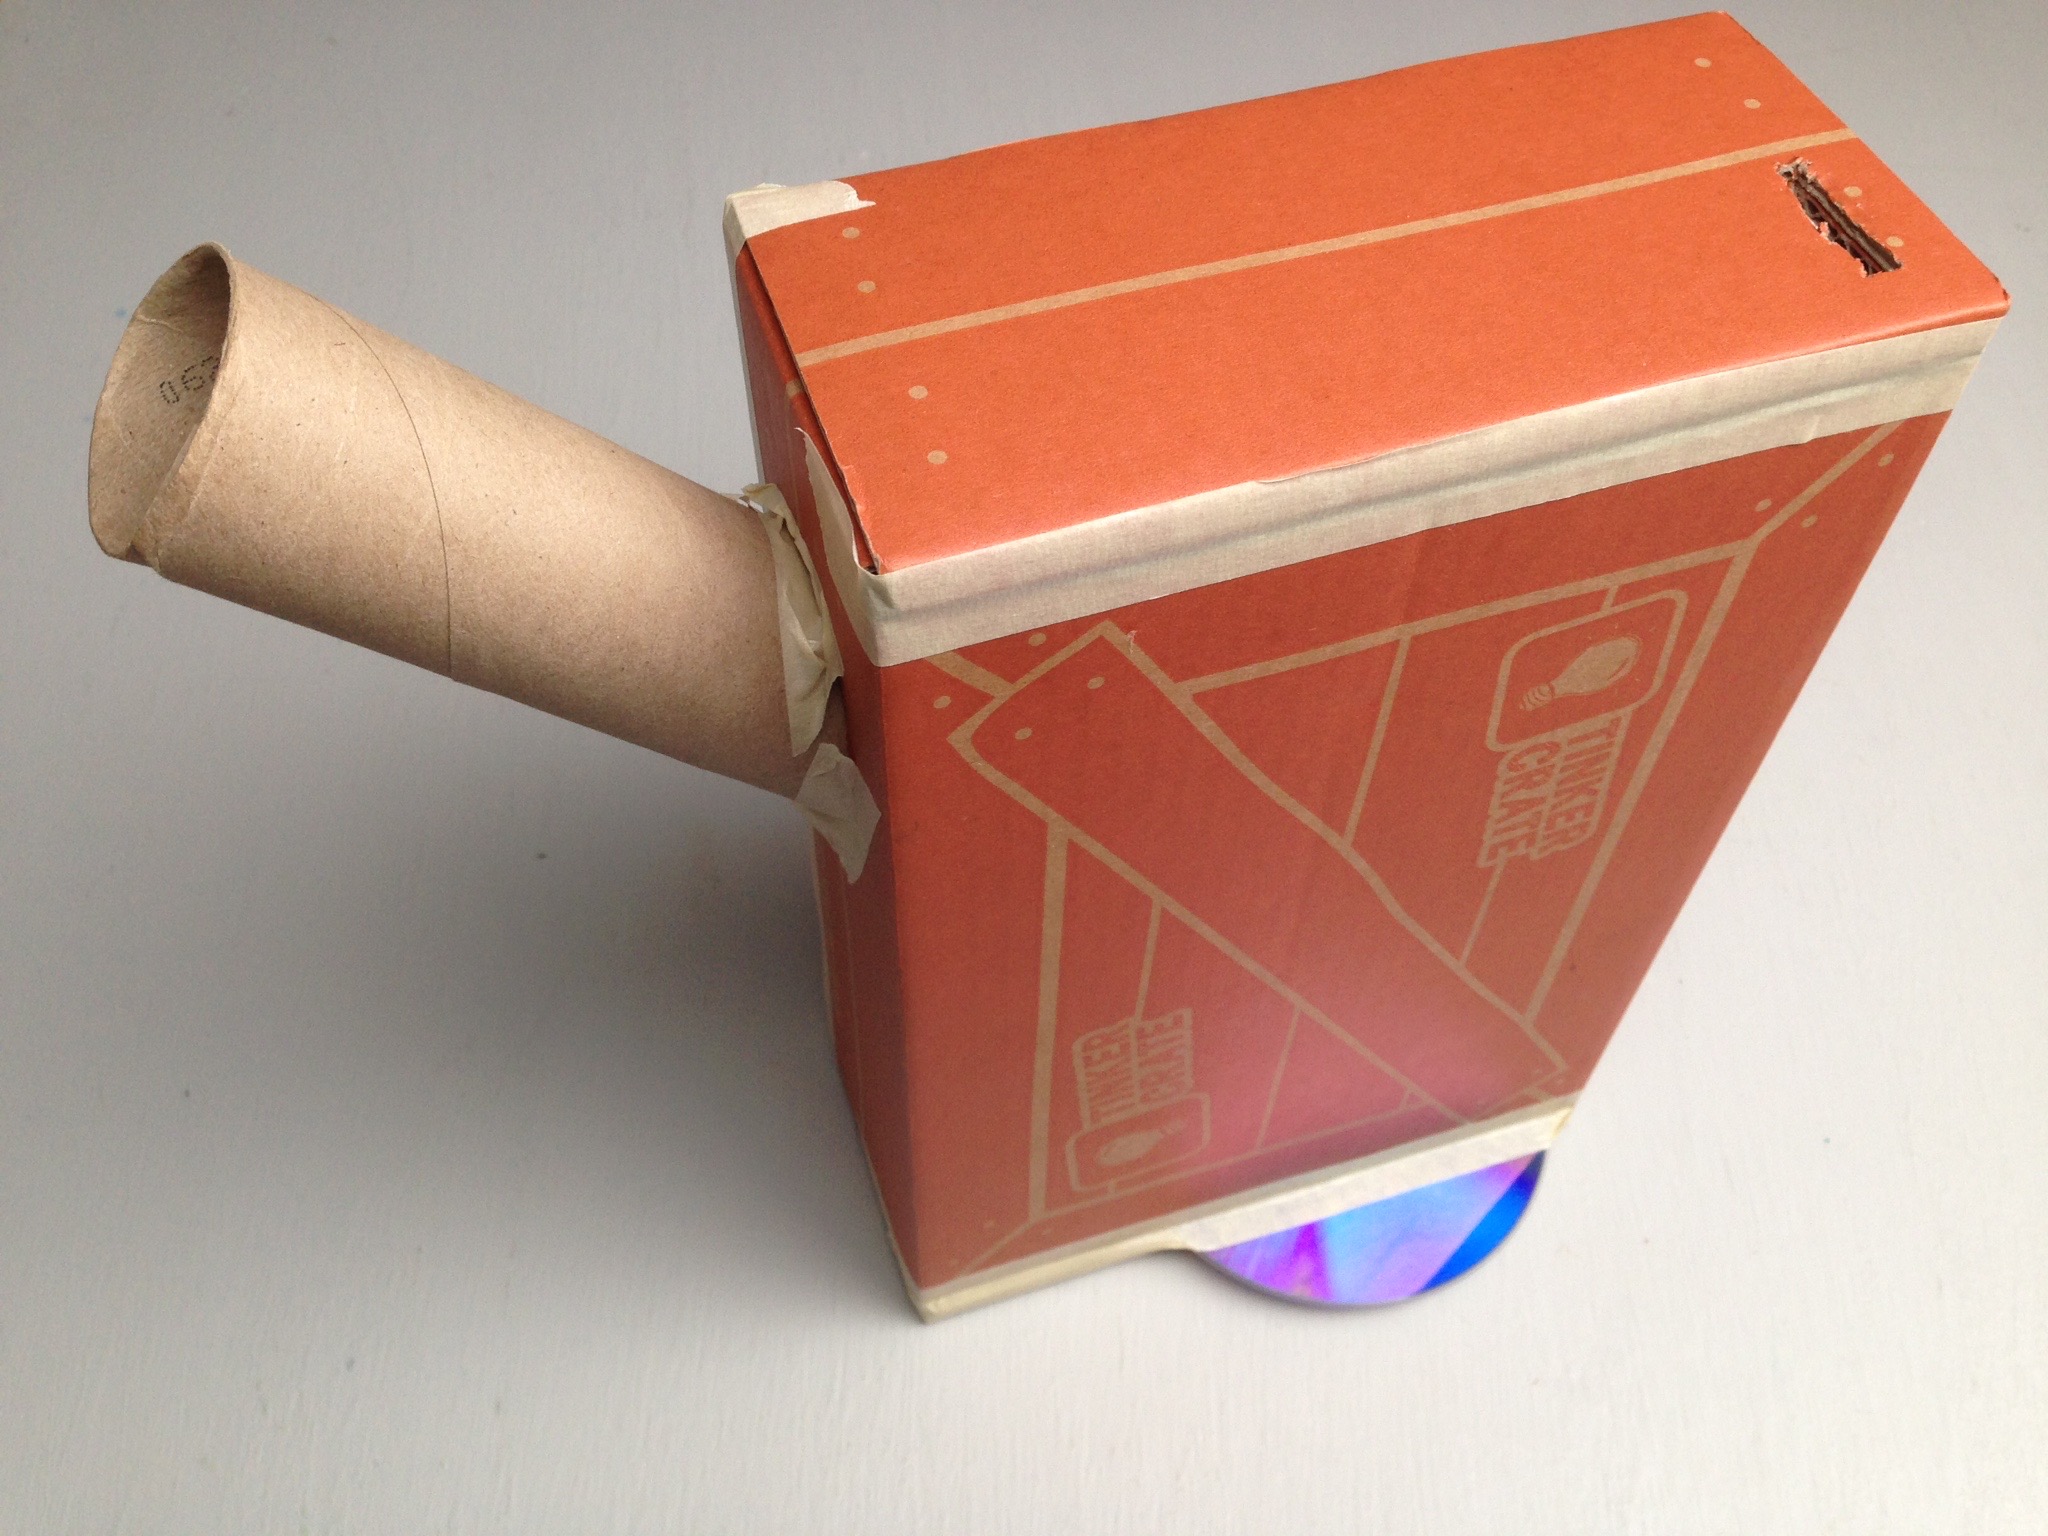
Step 4
Close the box and use the tube to trace a circle on the long side of the box adjacent to the one the disk is on (about 1/4 of the way along the side). Trace another circle about half a tube-width toward the middle of the side. This will become a slot for the viewing tube.
Step 5
Cut out the oval shape defined by the two circles. You should be able to slide the tube into the hole and aim it toward the CD/DVD.
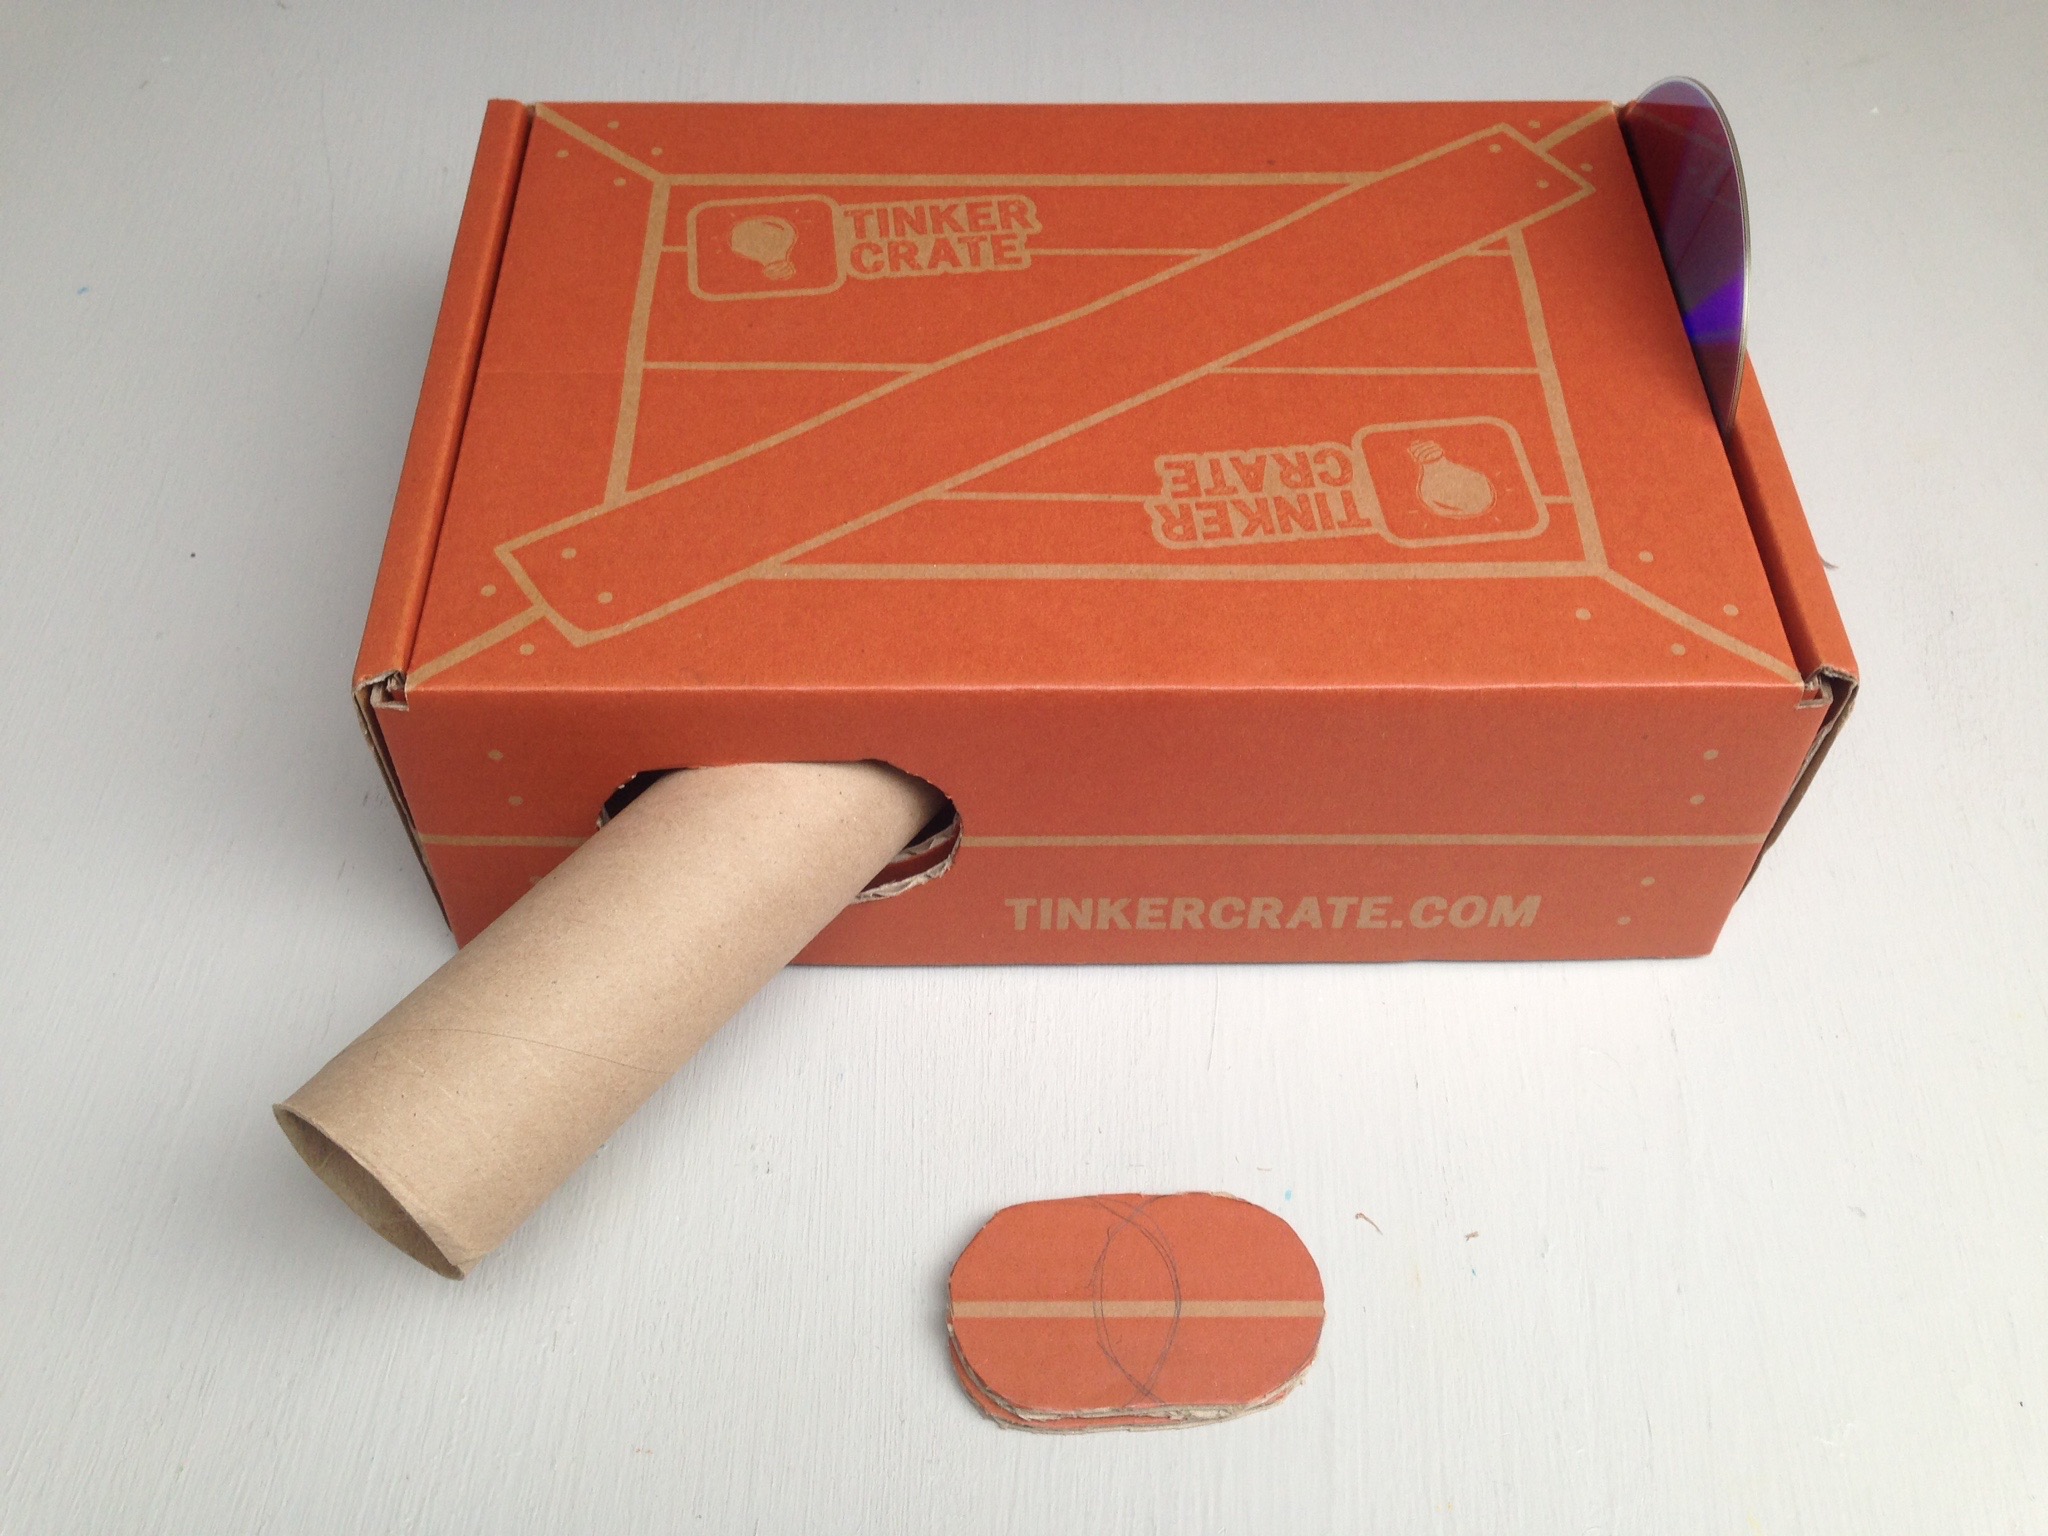
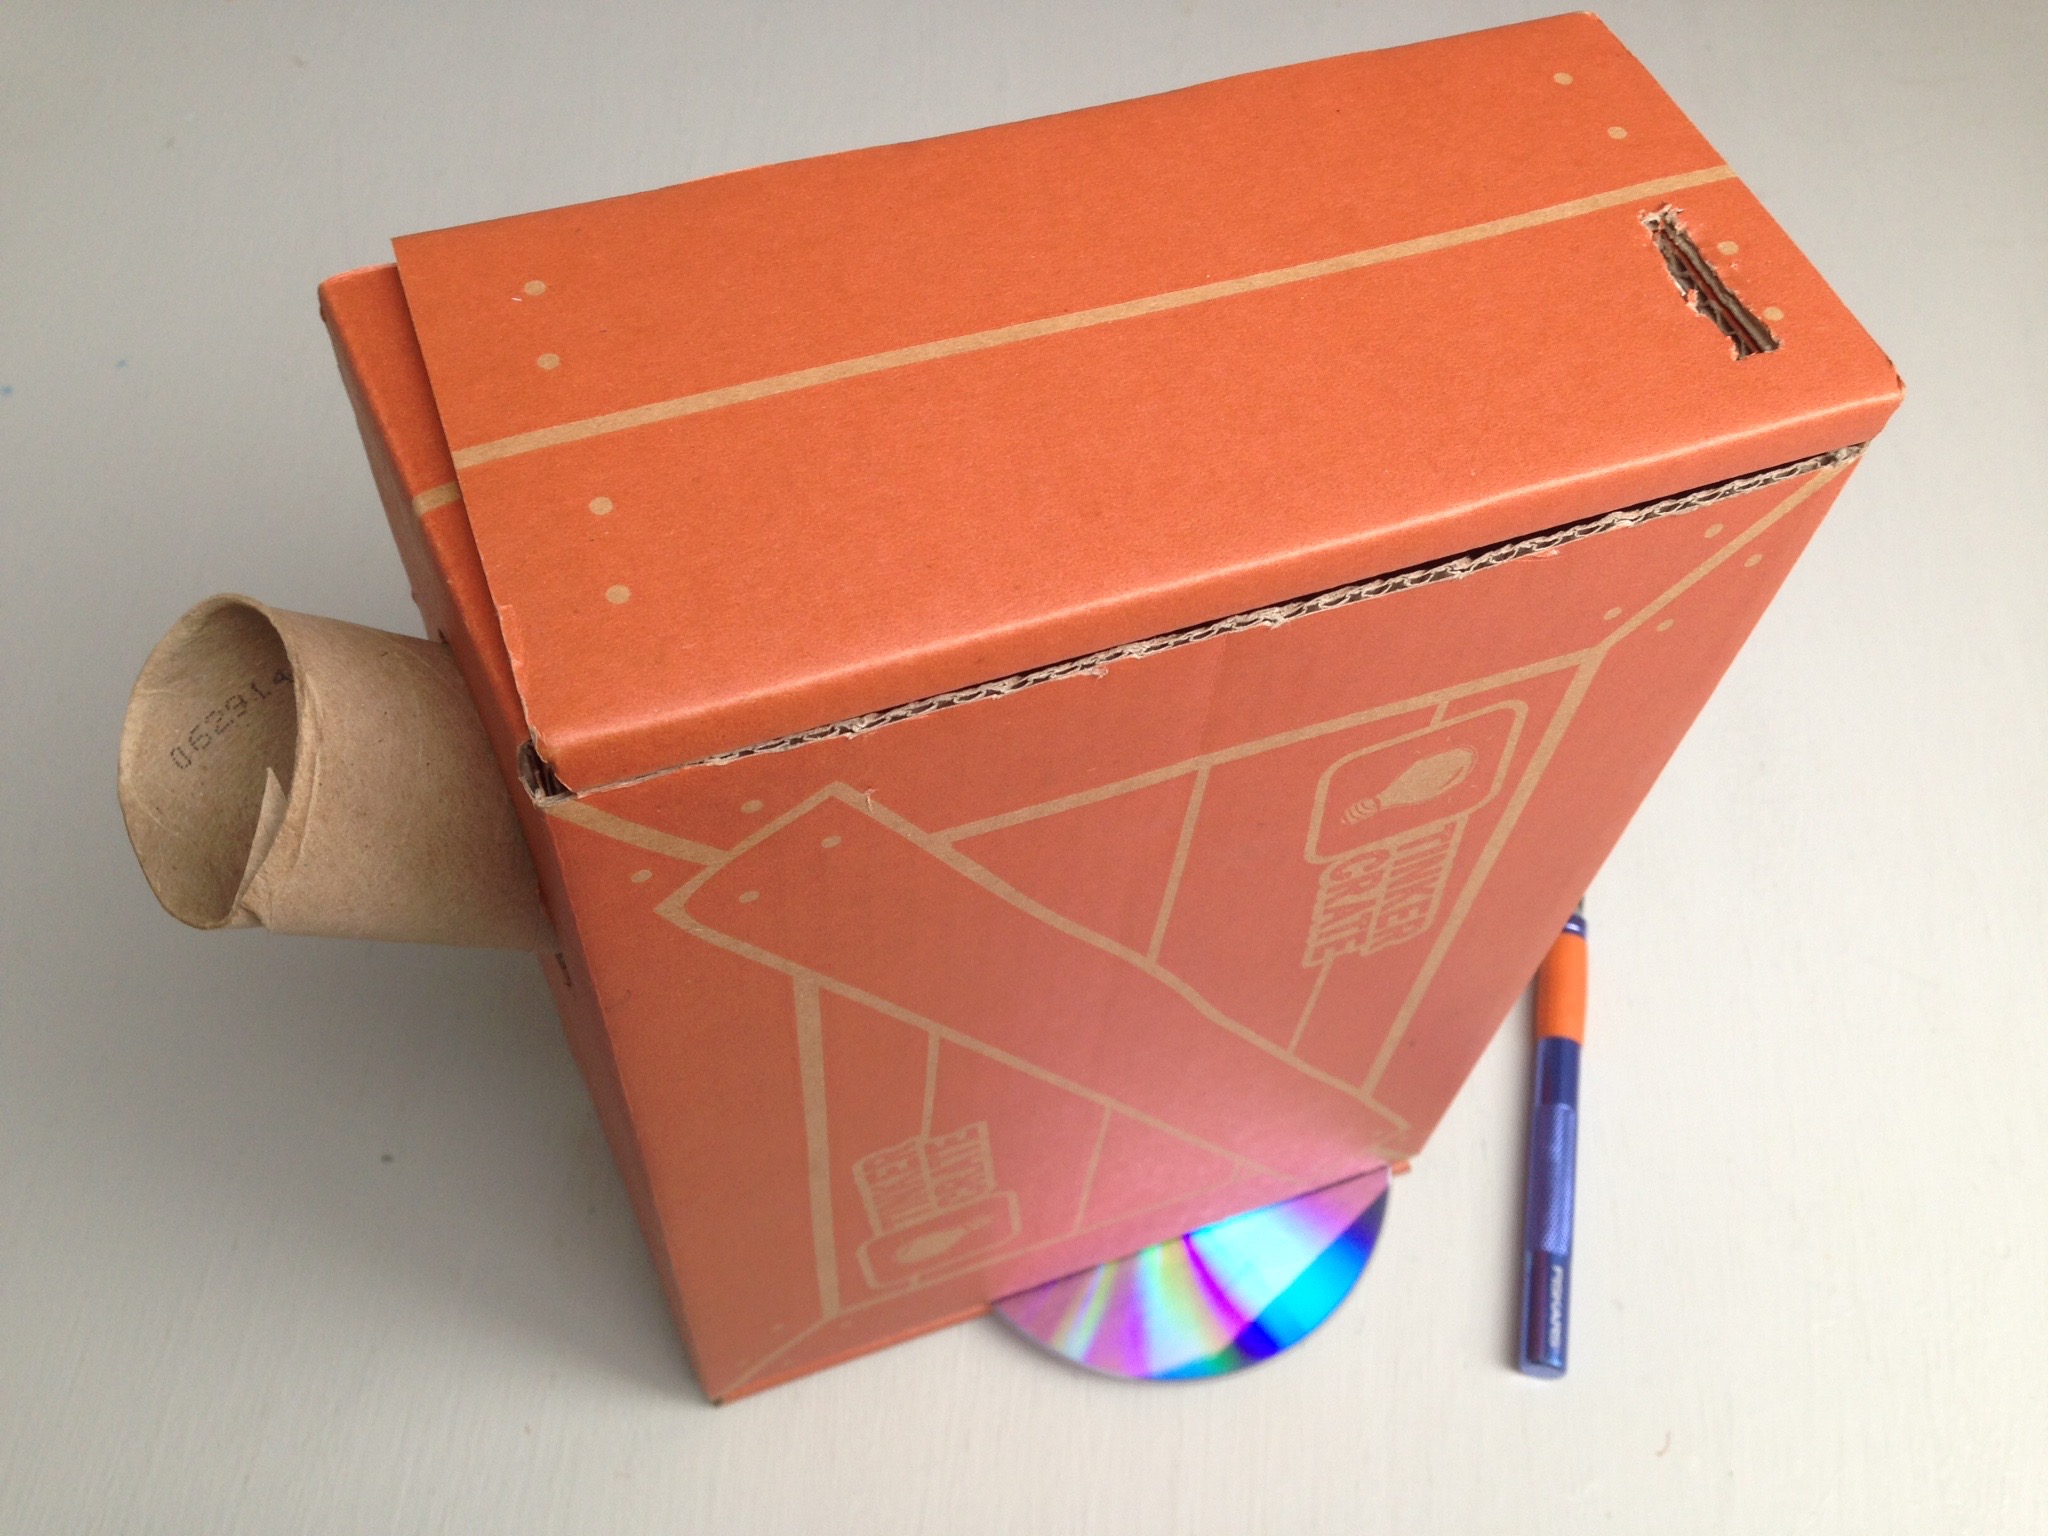
Step 6
Cut a slot into the wall of the box opposite from the CD/DVD. The slot should be lined up with the part of the CD/DVD that's close to the corner of the box.
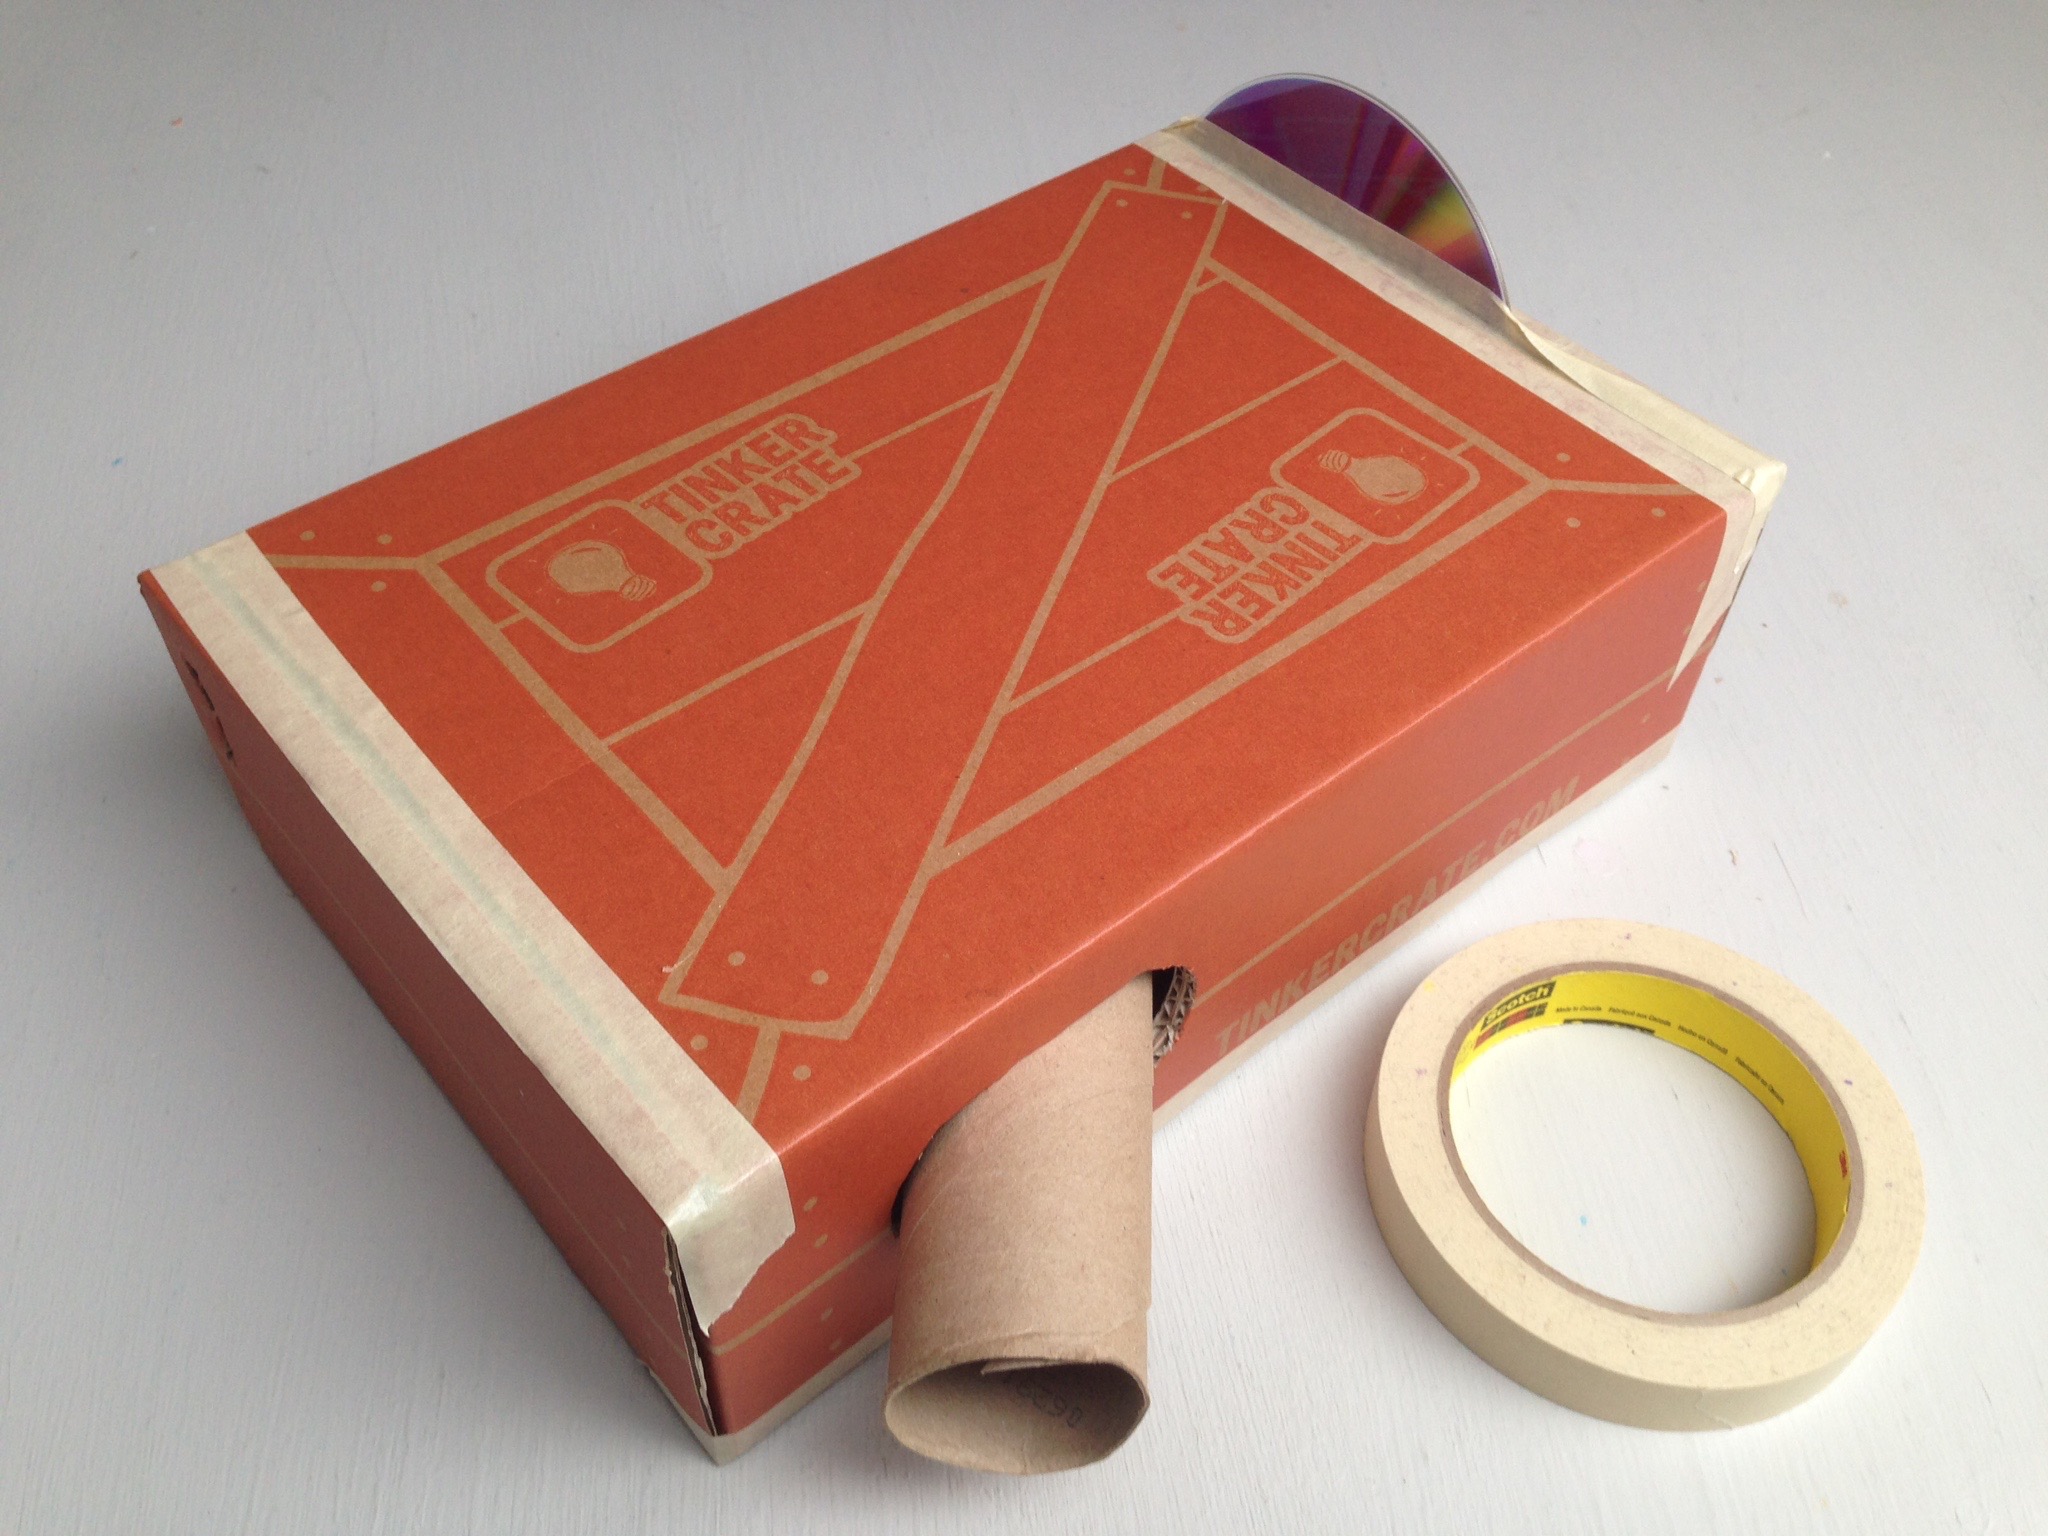
Step 7
Close up the box and cover any other holes or slots with tape. Check through the tube to see if there are any light leaks.
Step 8
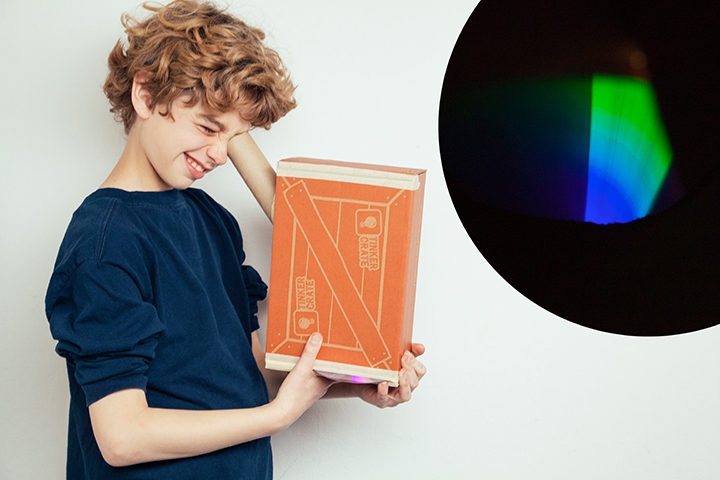
Aim the box so the slit faces a light source and look through the tube. (NOTE: Never look directly at the sun, even when using your spectroscope!) You should see a rainbow stripe with bright bands. You may need to adjust the size of the slit, the placement of the CD/DVD, or the angle of the tube to get the best rainbow result.
Learn more

What's happening?
What you're seeing is called an emission spectrum. The CD/DVD is diffracting light, just like a prism (or water droplets in the sky during a rainbow). This splits up the light into its different colors. Sunlight contains a complete band of colors, but you may find that other light sources contain only a few distinct colors that add up to look white!
Try looking at lots of different light sources. What kinds of emission spectra can you find?


